Showing posts with label naval. Show all posts
Friday, April 10, 2015
Adepticon 2015: Fistful of Seamen and the Adventure of HMS Titan's Uranus
At Adepticon Tim and I participated in the Saturday night edition of this massive, colorfully-named "Fistful of Seamen" (FoS) swashbuckling and sailing game.
Easily the largest game I've ever been a part of, this massive game spanned a half-dozen tables, a few dozen ships and what appeared to be 50-plus participants.
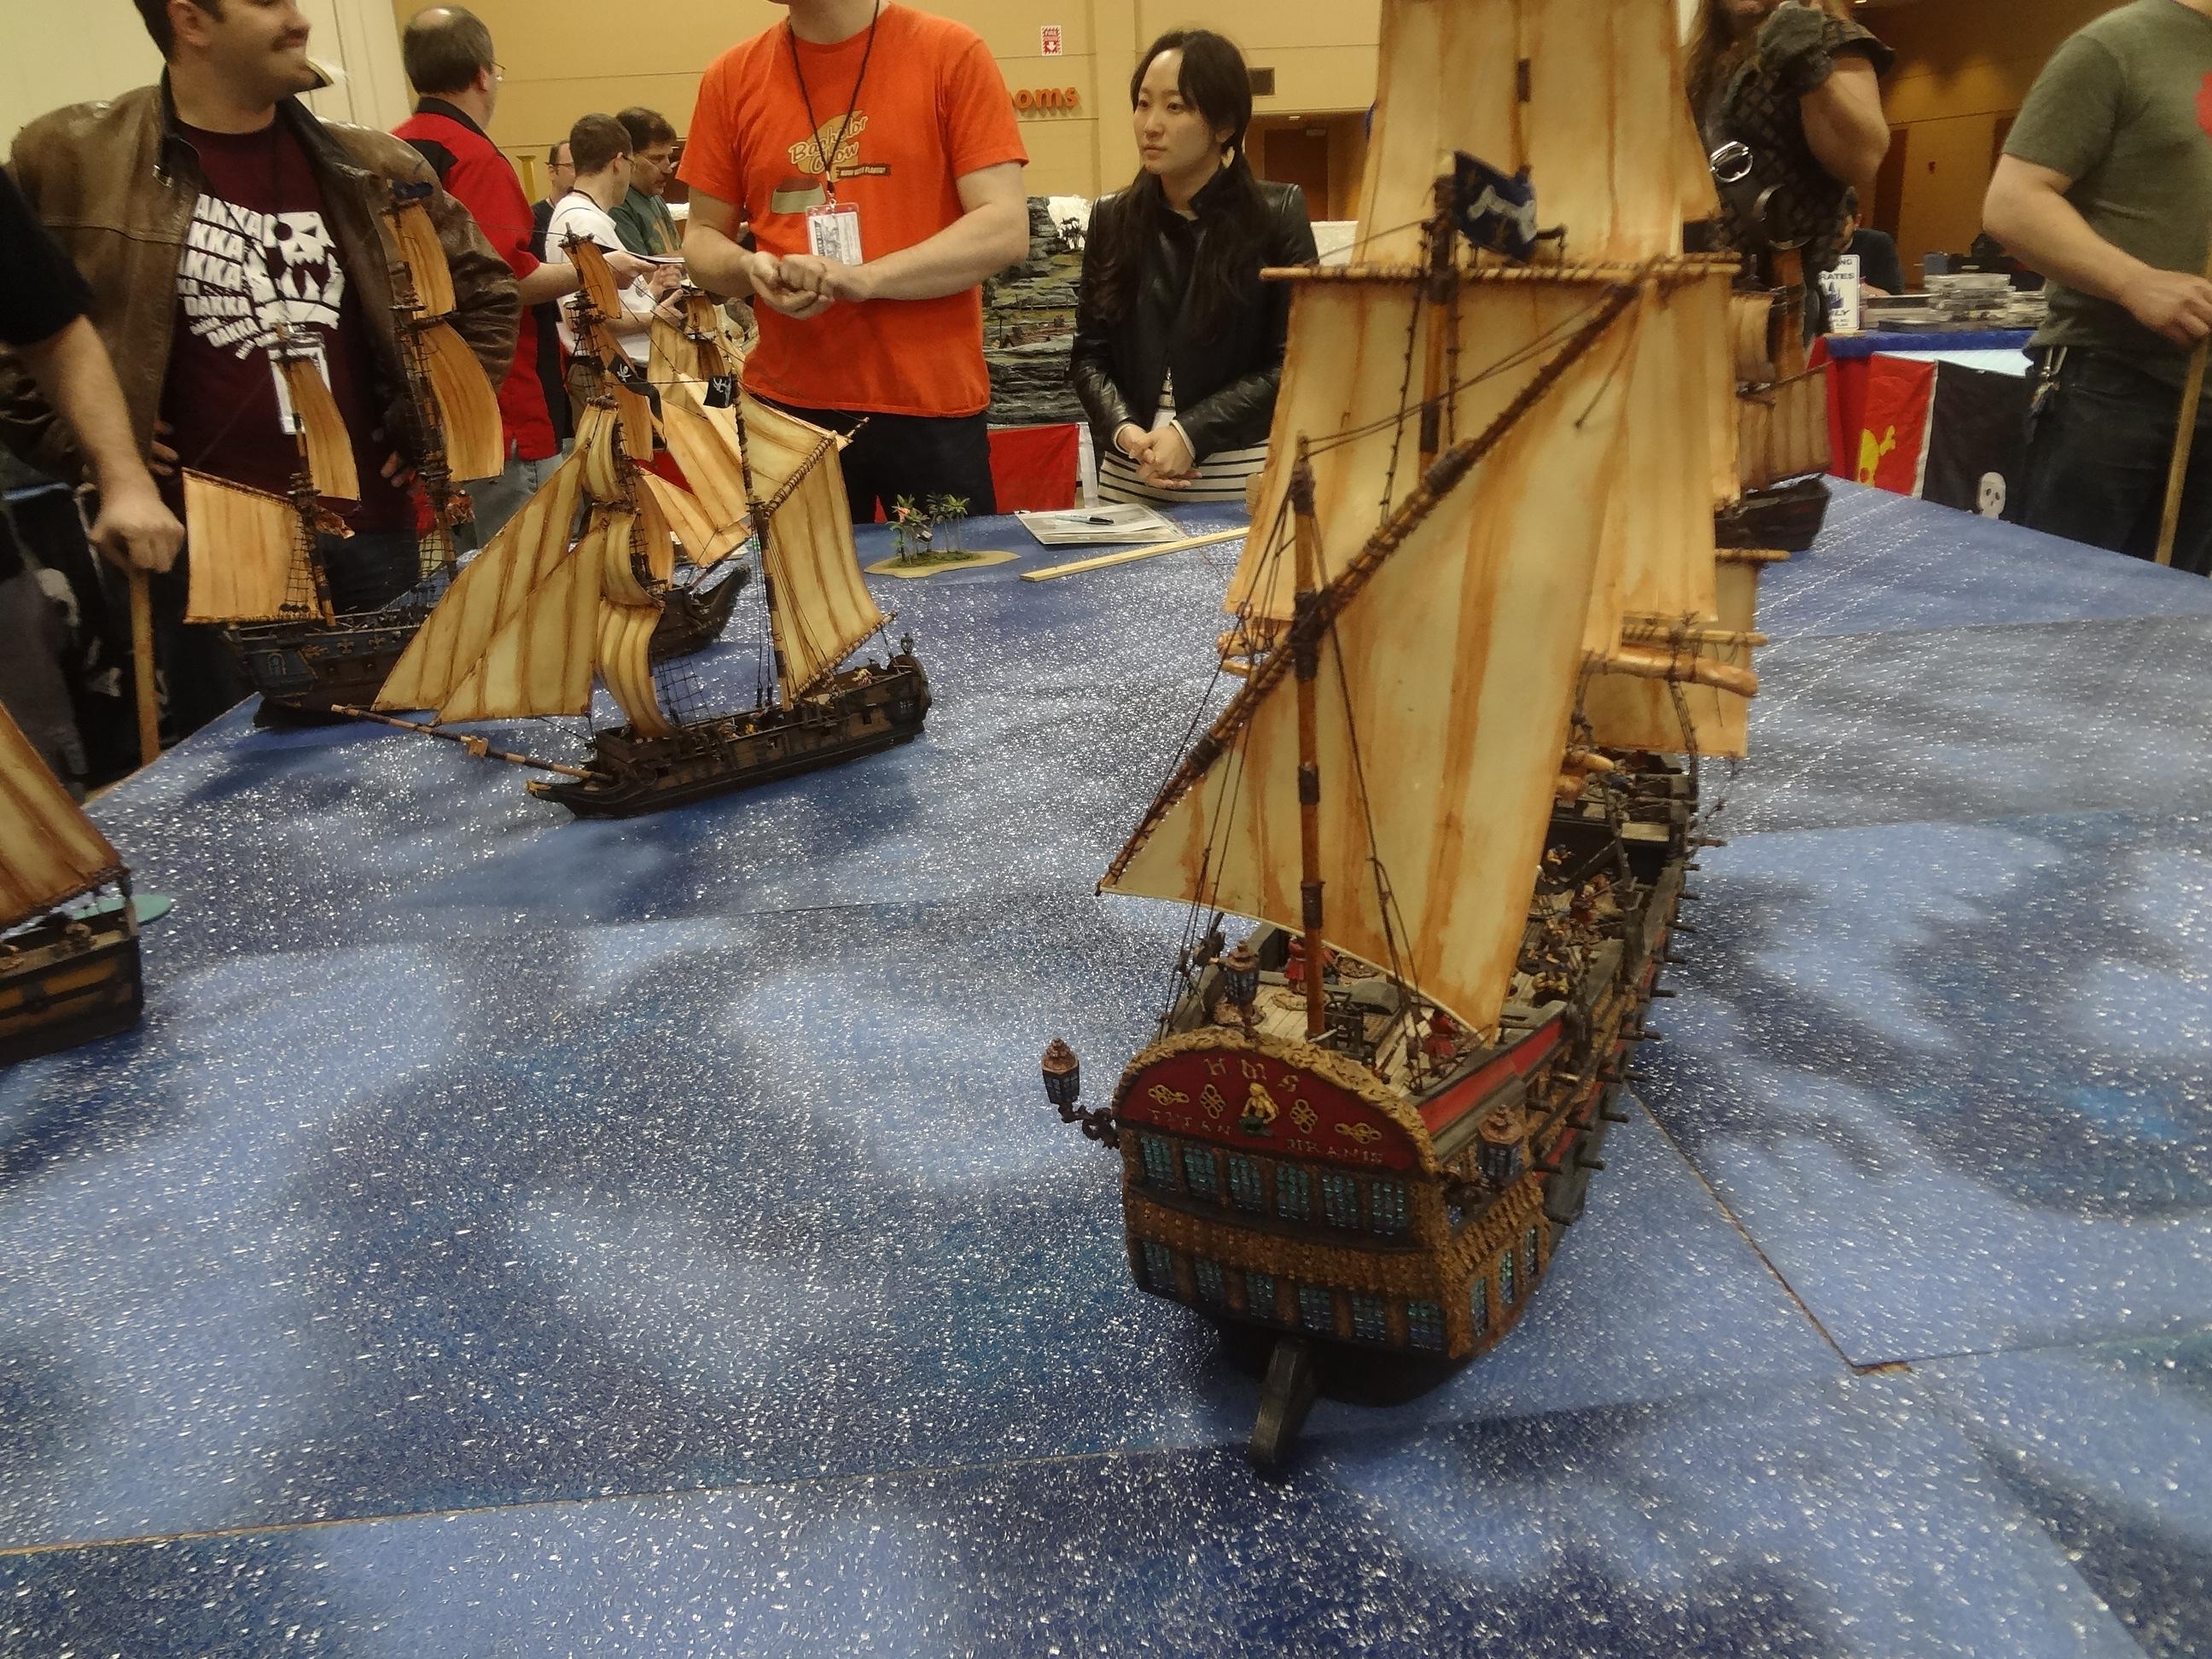
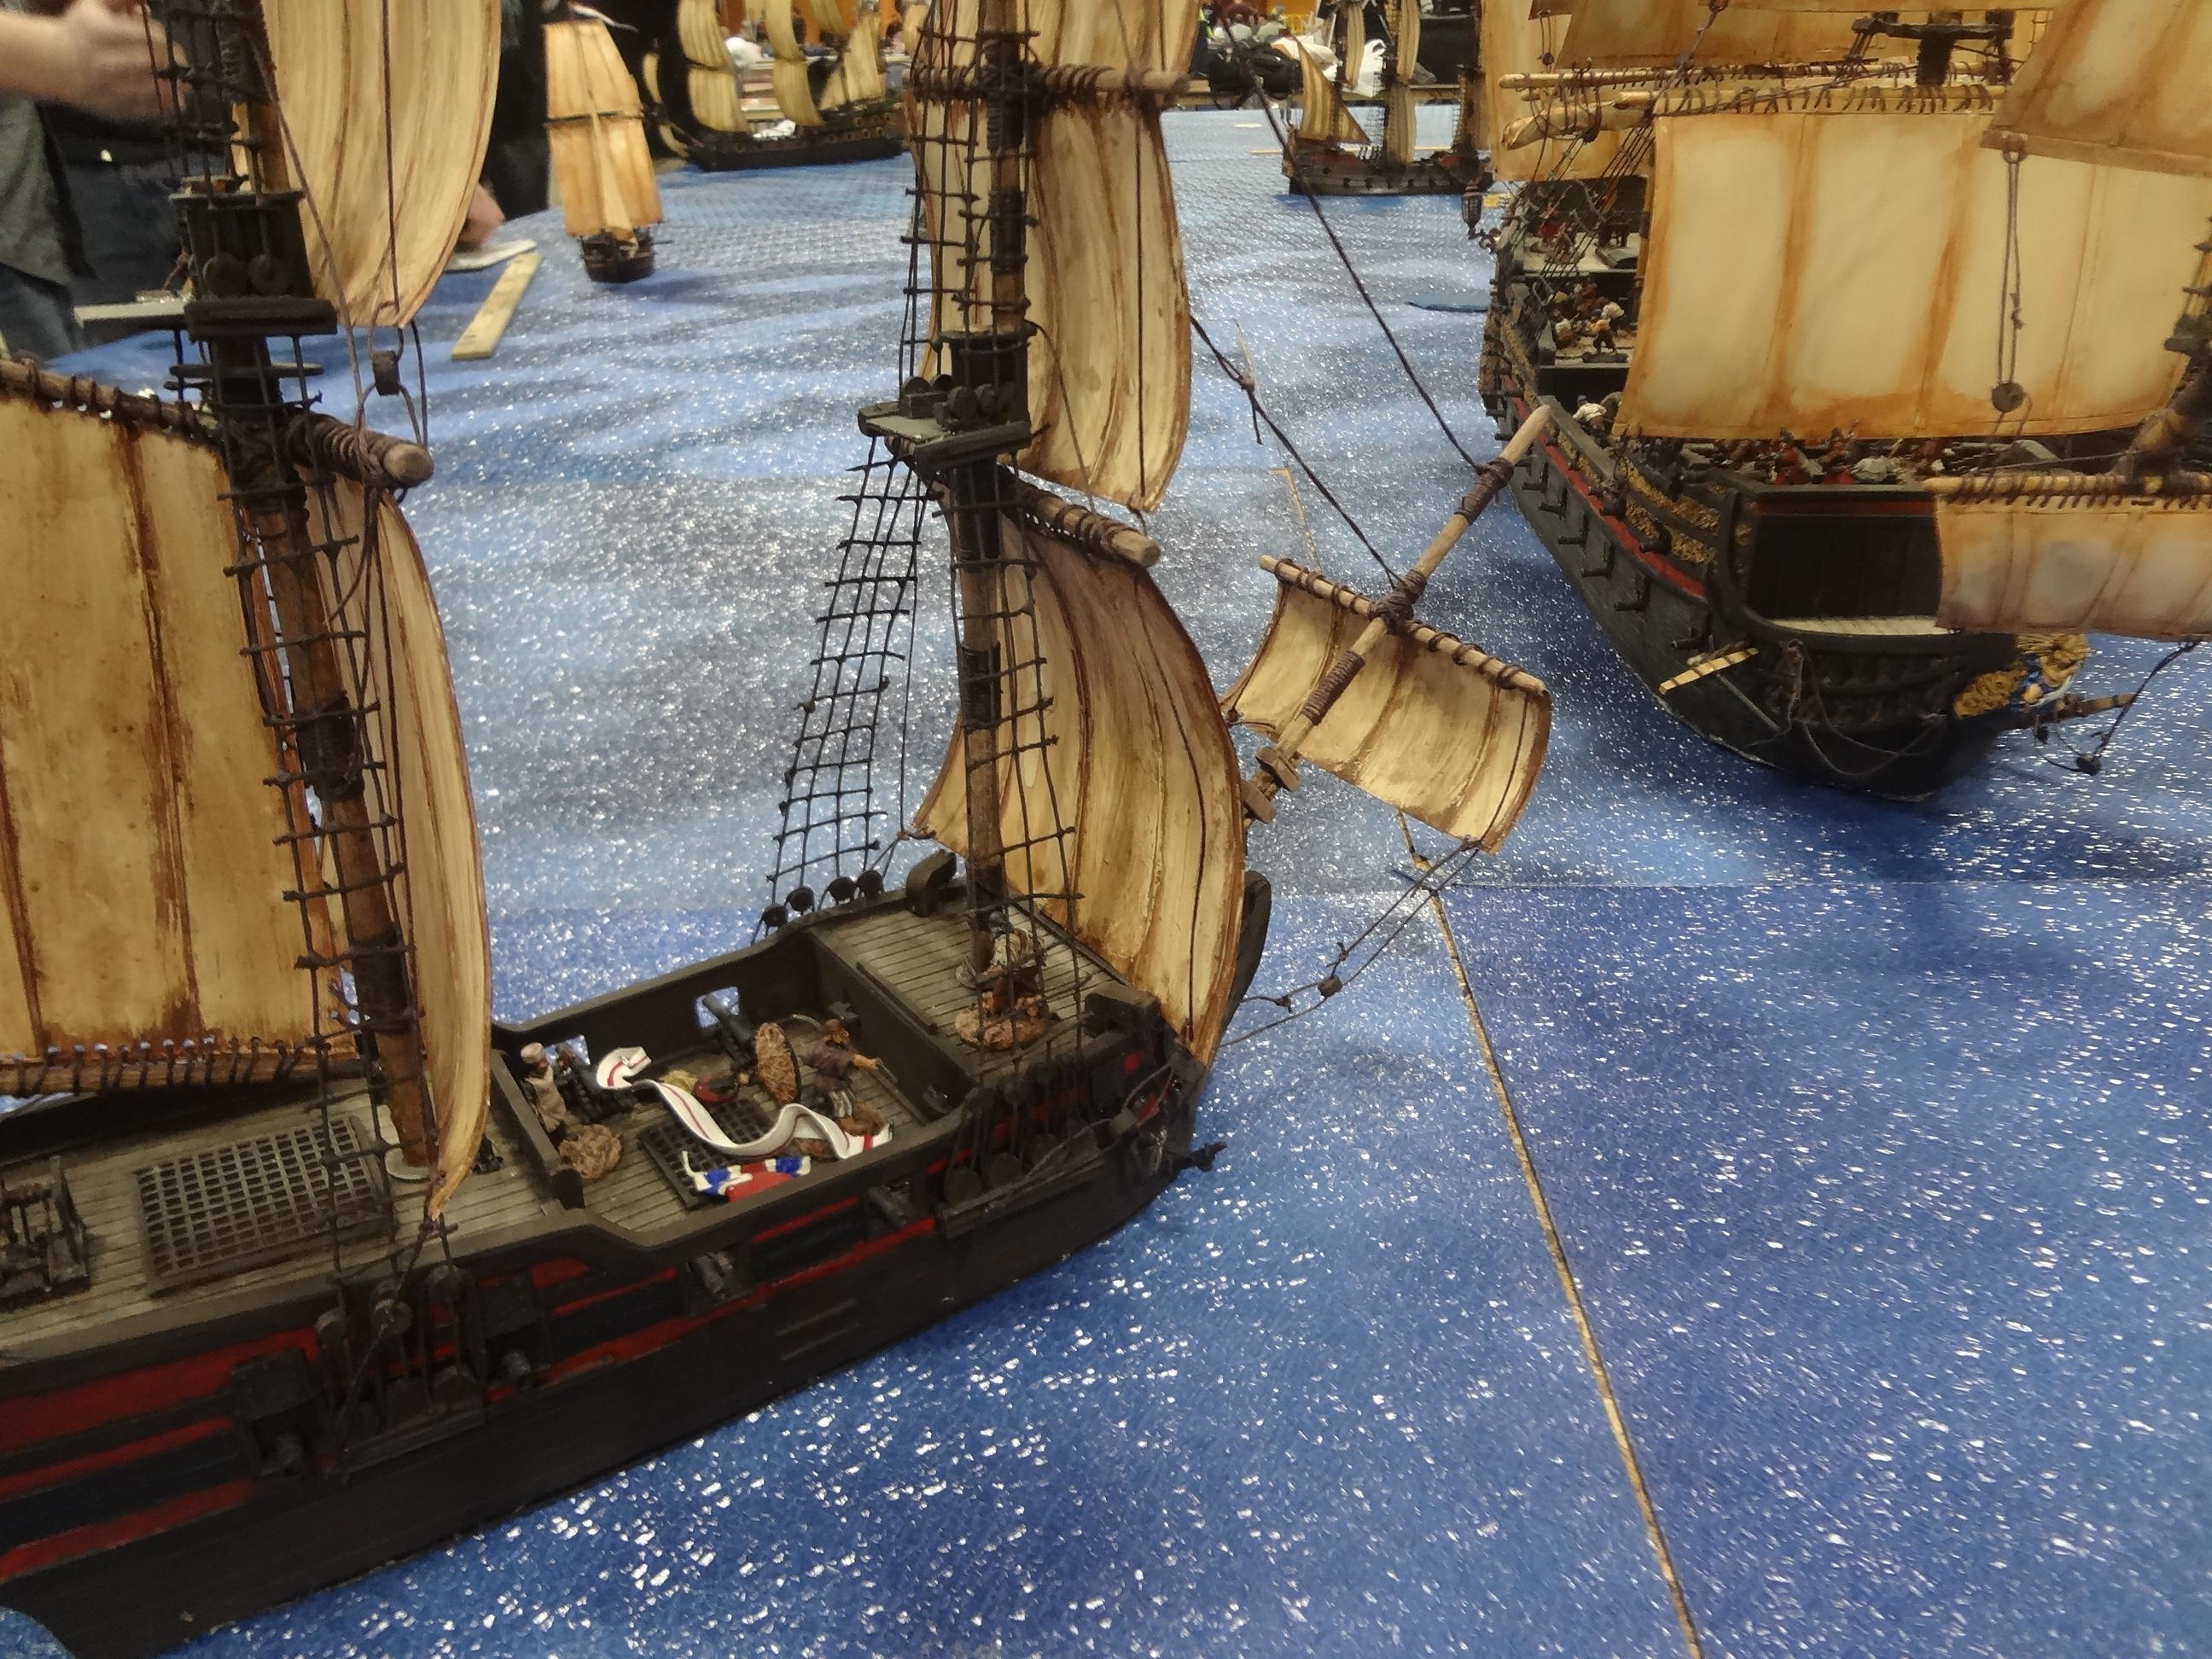
We had spoken with some of the gamemasters (all of whom appeared in suitable pirate garb) and looked at the terrain ahead of time, but our participation nearly didn't happen. Tickets were sold out, so we hung around the table as the event began and learned what we could. Nations in the game included the French, Dutch, English and Spanish. Players might be military, traders, privateers or pirates depending on what boat they selected. The number of ships available was dizzying.
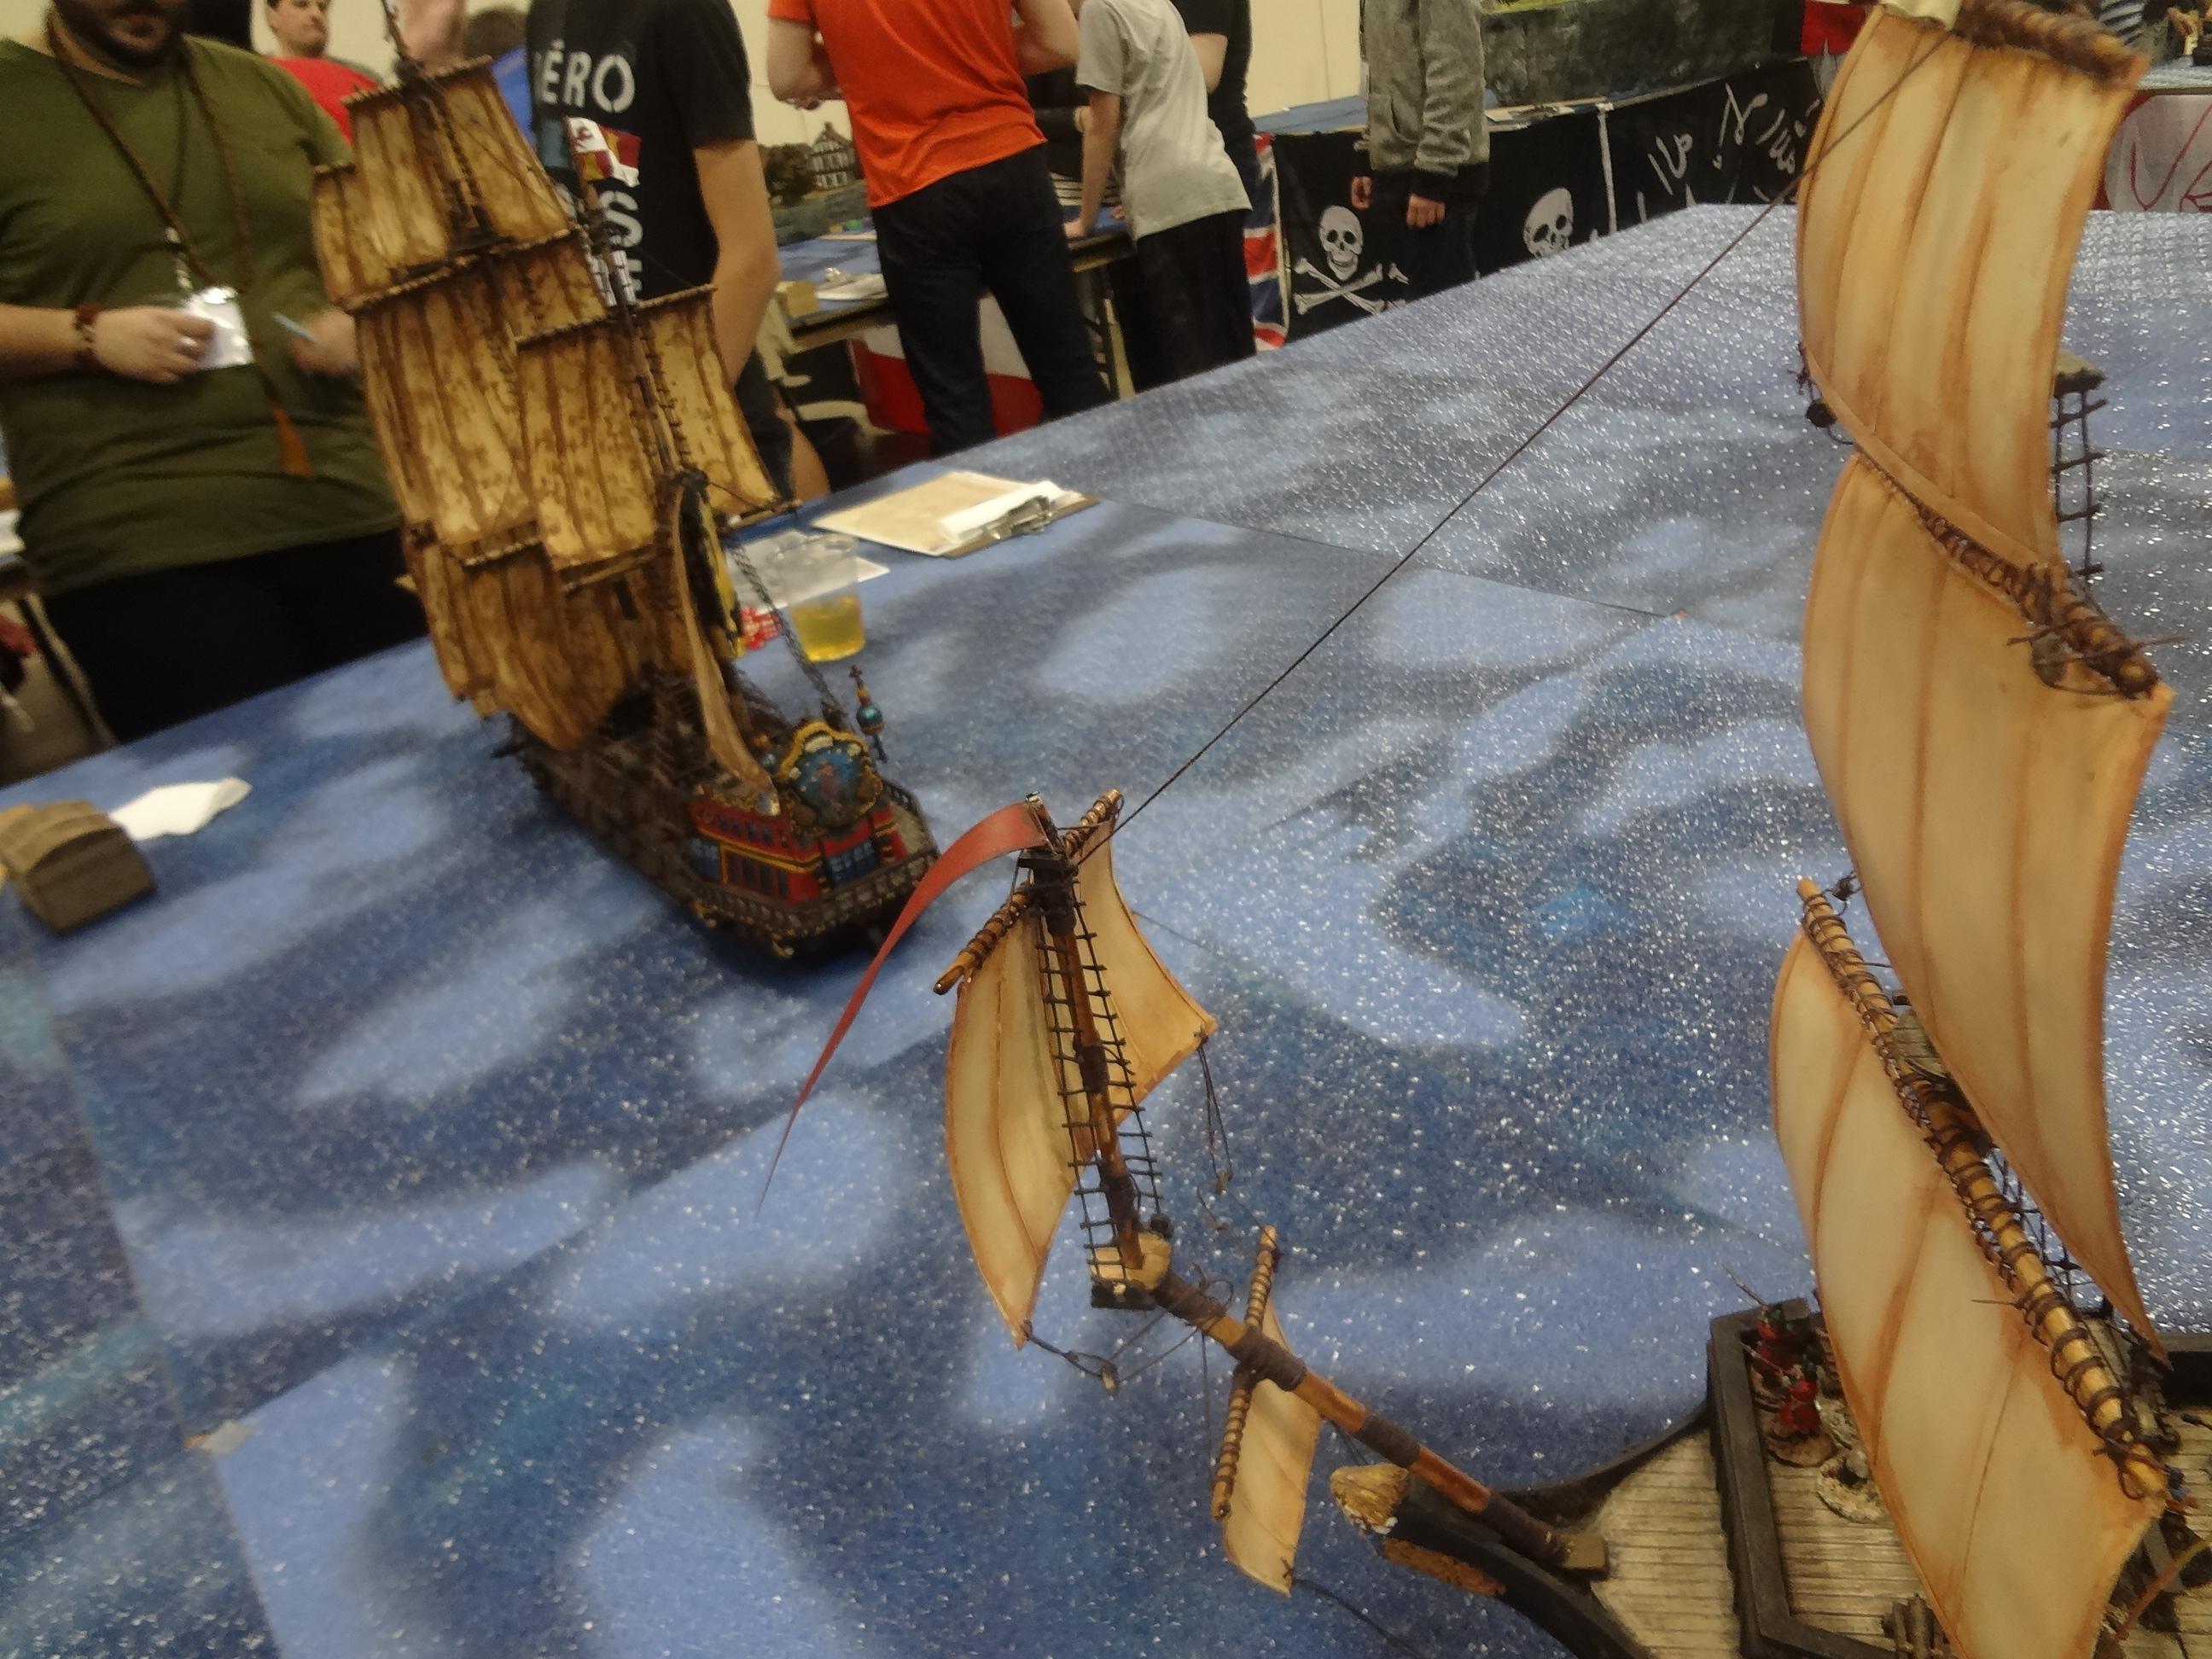
Luckily, captains who had participated the previous evening were allowed to select "First Mates" from the unwashed masses. Admiral D. was kind enough to pick Tim and me, and we joined him as crew on the HMS Titan's Uranus (I kid you not) hereafter referred to as the Titan. This massive 5-master was the crown of the English fleet and the largest ship in the game.
To attempt to report on the entire game would have been madness, but the beauty of FoS is that each ship essentially plays out its own adventure as it interacts with the other players and the various features of the game. So we'll just follow the Titan's adventures.
As soon as the game began, we left the English port and began to sail across the board escorting a trio of smaller schooners and traders. No sooner had we reached the open sea then we were set upon by the Marseille. The vessel was the pride of the French navy and nearly matched our own size.
We bravely placed ourselves between the raider and our charges, allowing them to slip away. Despite it being a time of peace, the brash French captain declared that we mush strike colors, raise the French flag and join his fleet. We replied with appropriate scorn and righteous indignation.
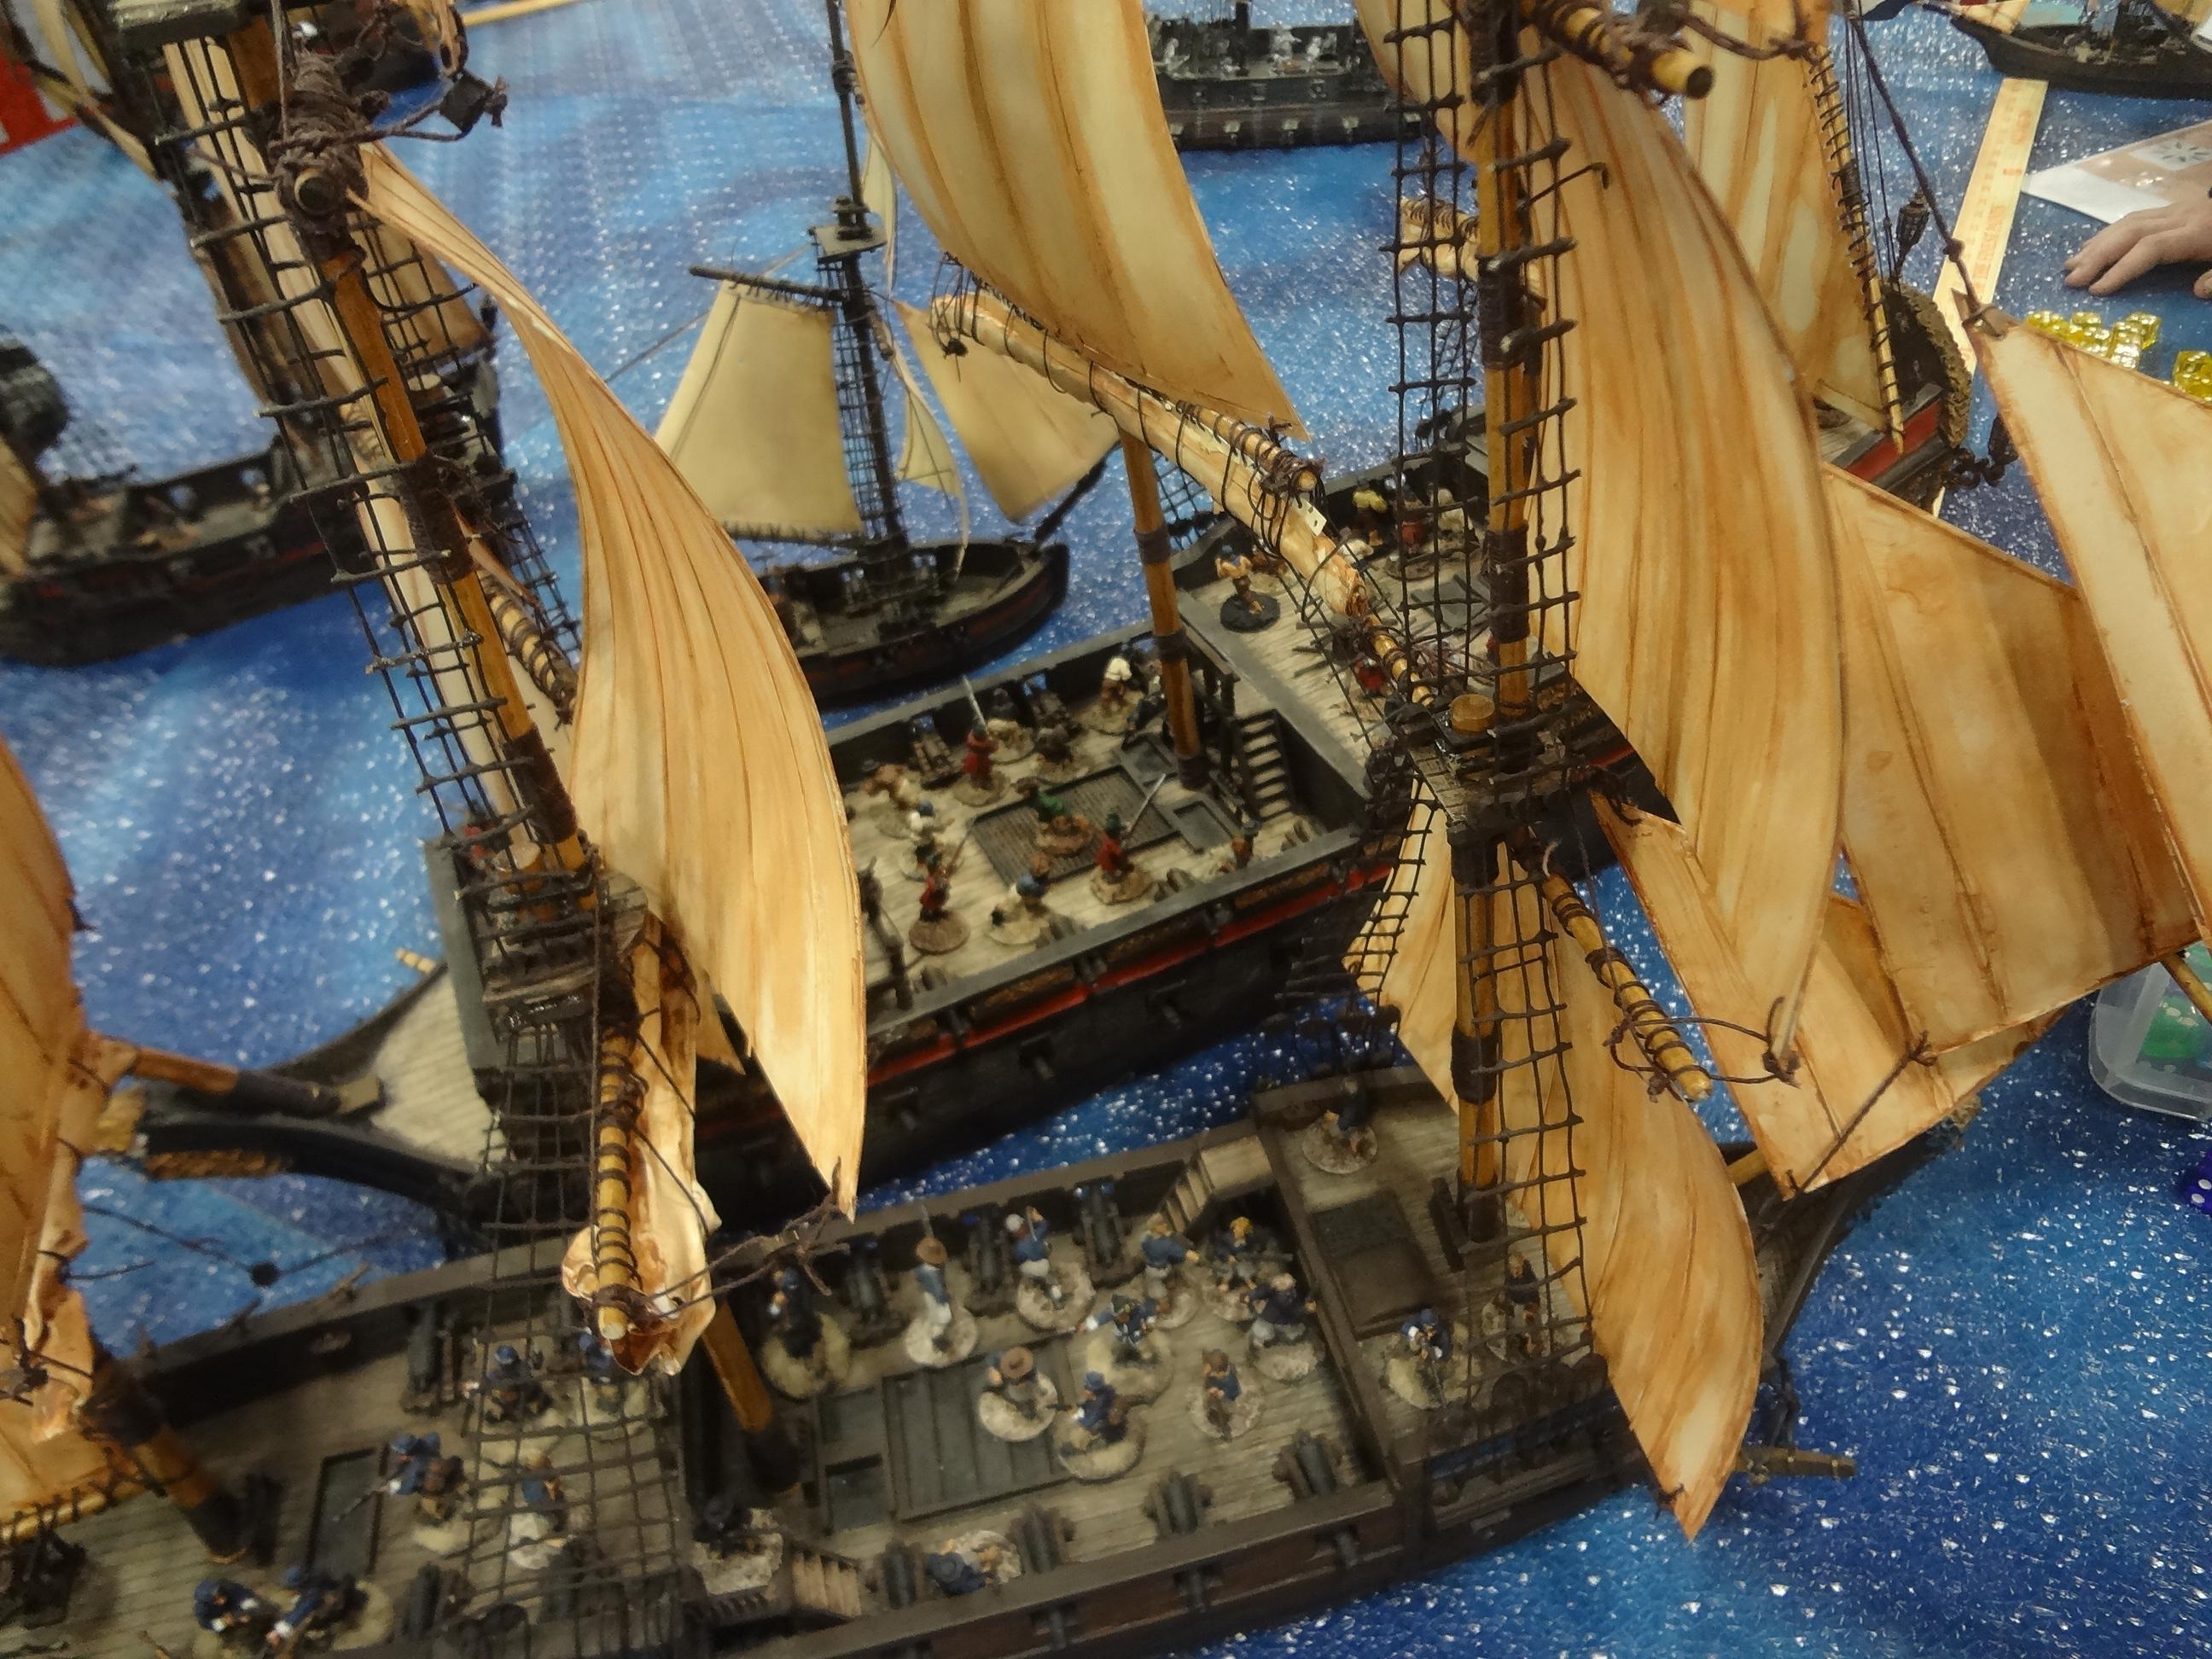
The ships closed quickly and brutal deck-to-deck combat ensued. After taking a significant casualties, our crew surrendered. Admiral D. was taken onto the Marseille, and the first mate of the Marseille became our new captain. Under her command, we sailed on to the French island for repairs and re-crewing, but upon arrival a surprise was waiting for us.
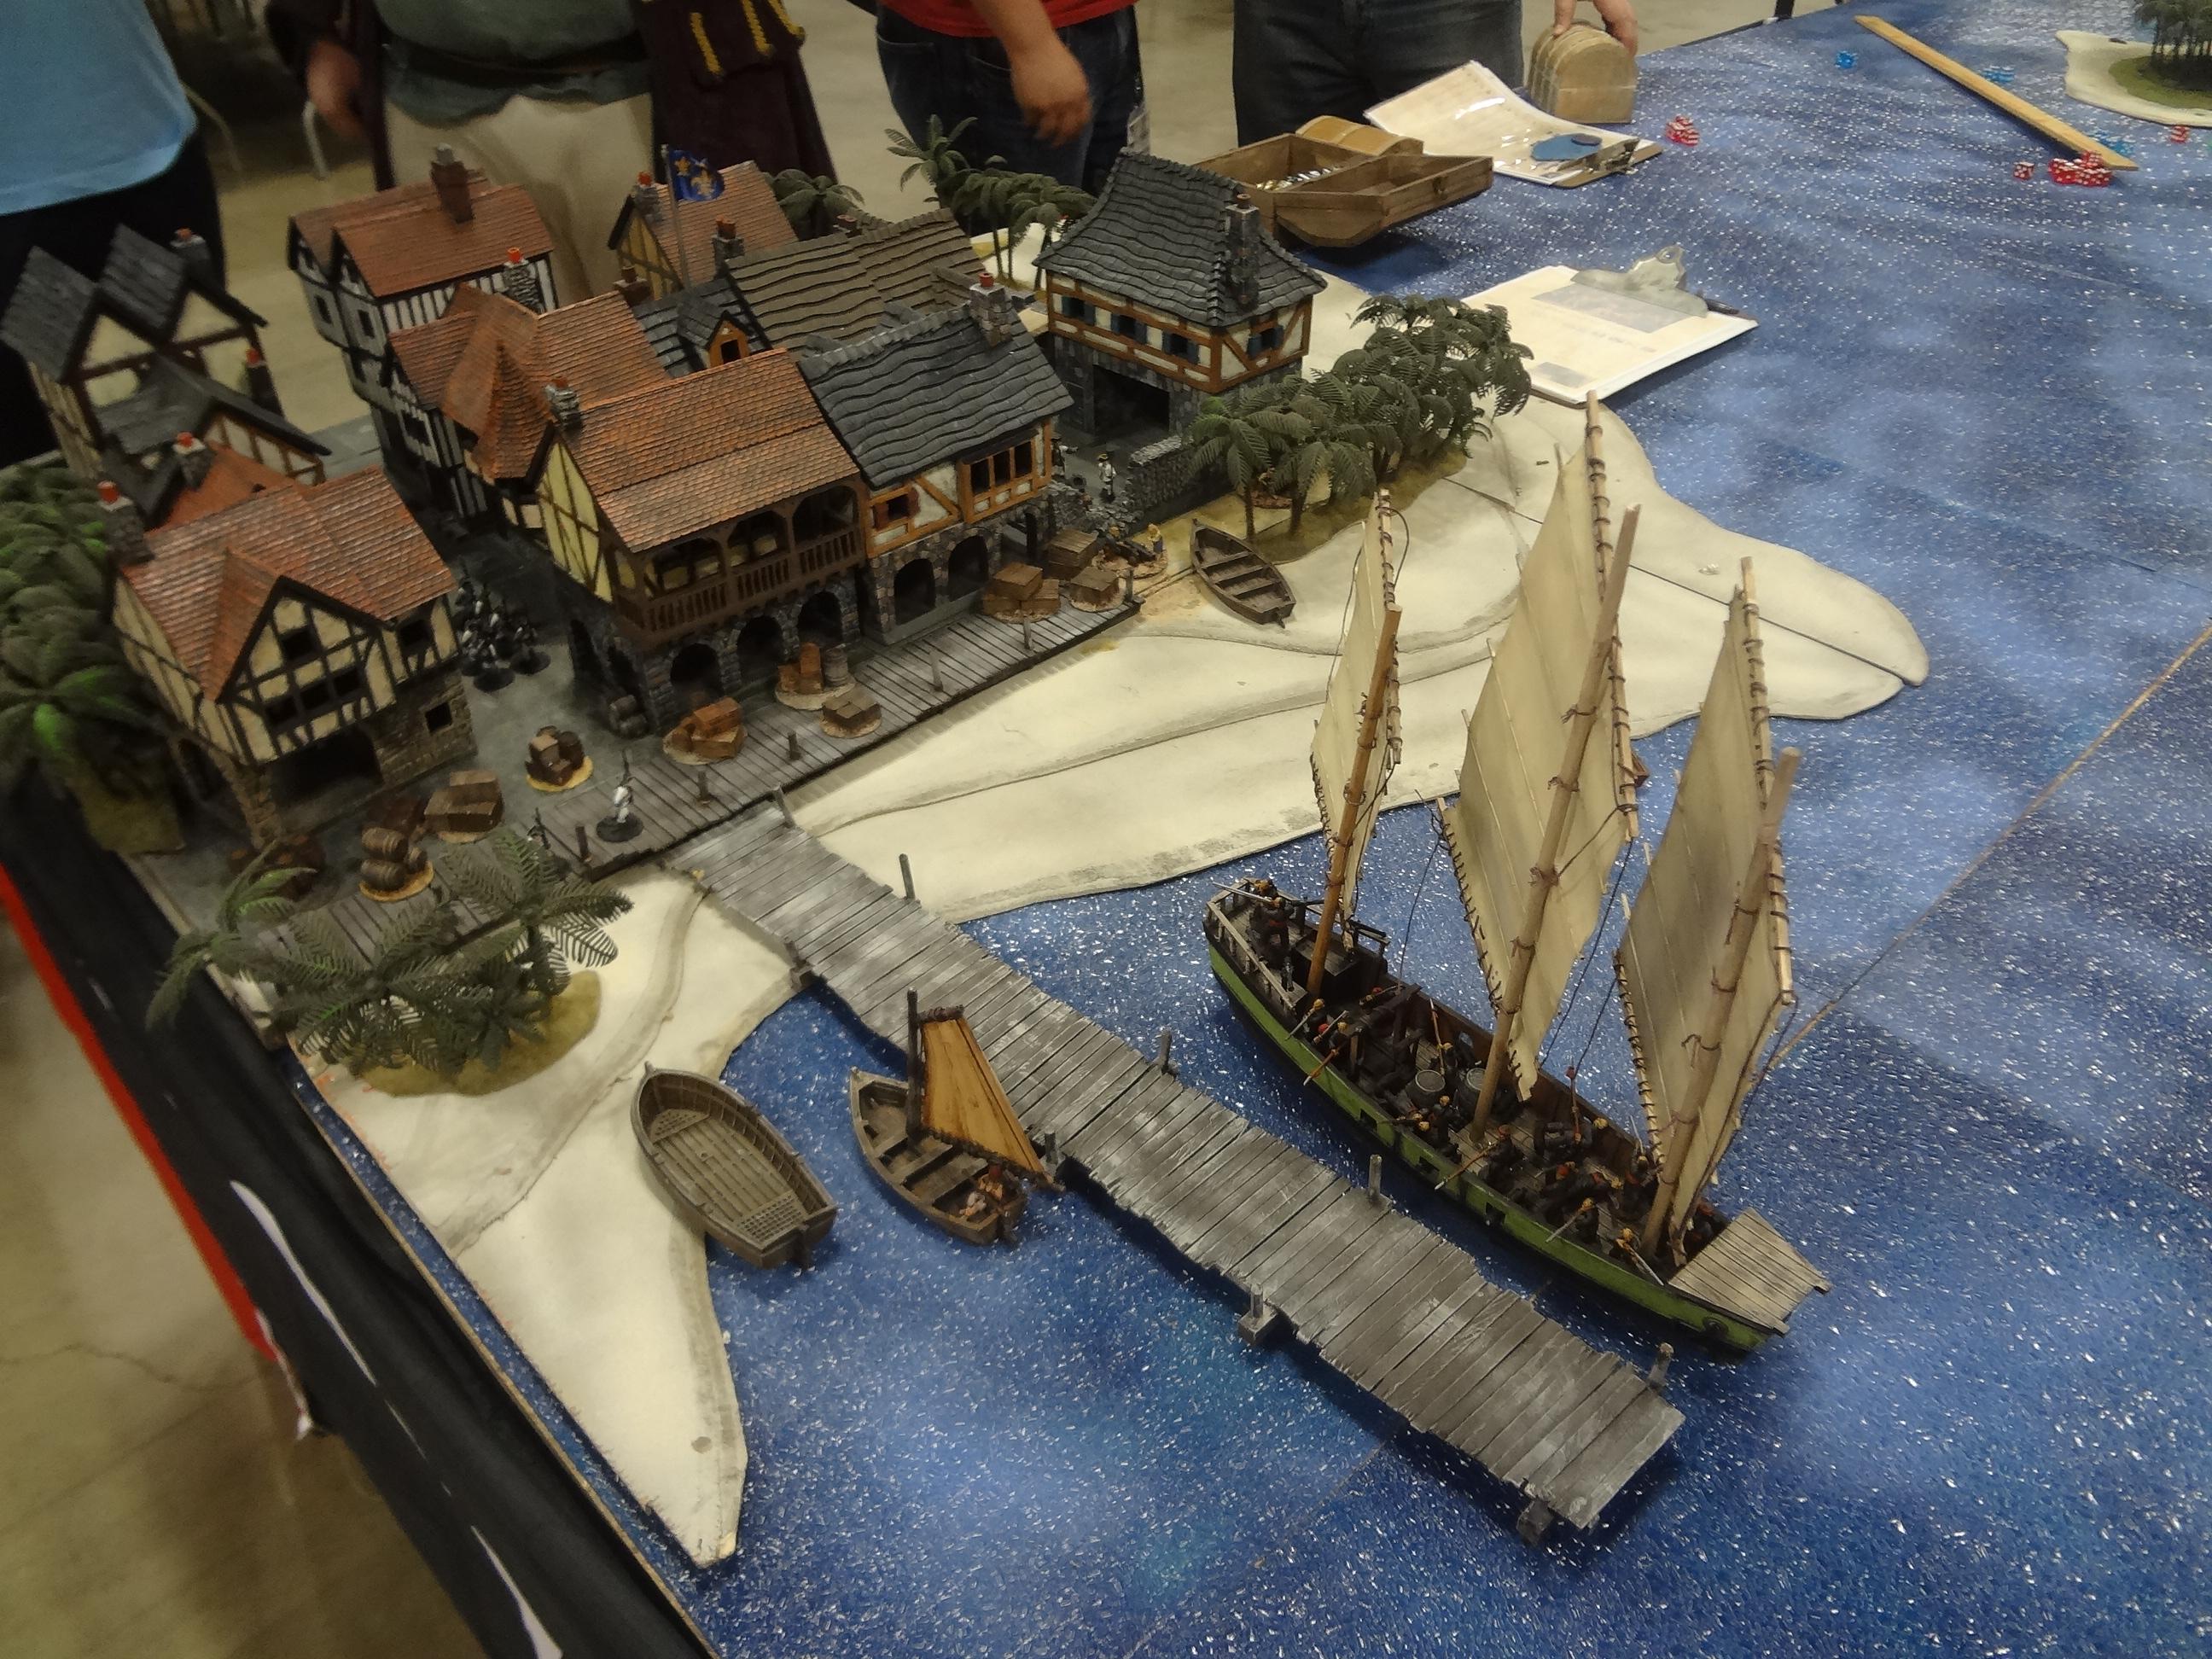
As we sailed into the port, the French Governor immediately stated his intention to seize or destroy our ship. As we had been taken in a time of peace, its seizure was considered an act of piracy. Seeking to avoid a diplomatic incident, the Governor was prepared to try the entire crew as pirates.
We begged the Governor's favor and explained that we had been brought under duress and would willingly hand over the rebel French captain. The Governor agreed. I dueled our French captain for command and she was defeated. We handed her over to the Governor to be hung for piracy and bringing dishonor to the name of France. Though given no refit, we were encouraged to raise our original English flag and leave the island post-haste.
Thus we found ourselves somehow in command of one of the most fearsome ships on the sea. We set off again across the sea, heading back toward the English island. Spain had recently declared war on the English and on the way, we briefly skirmished with a Spanish galleon.
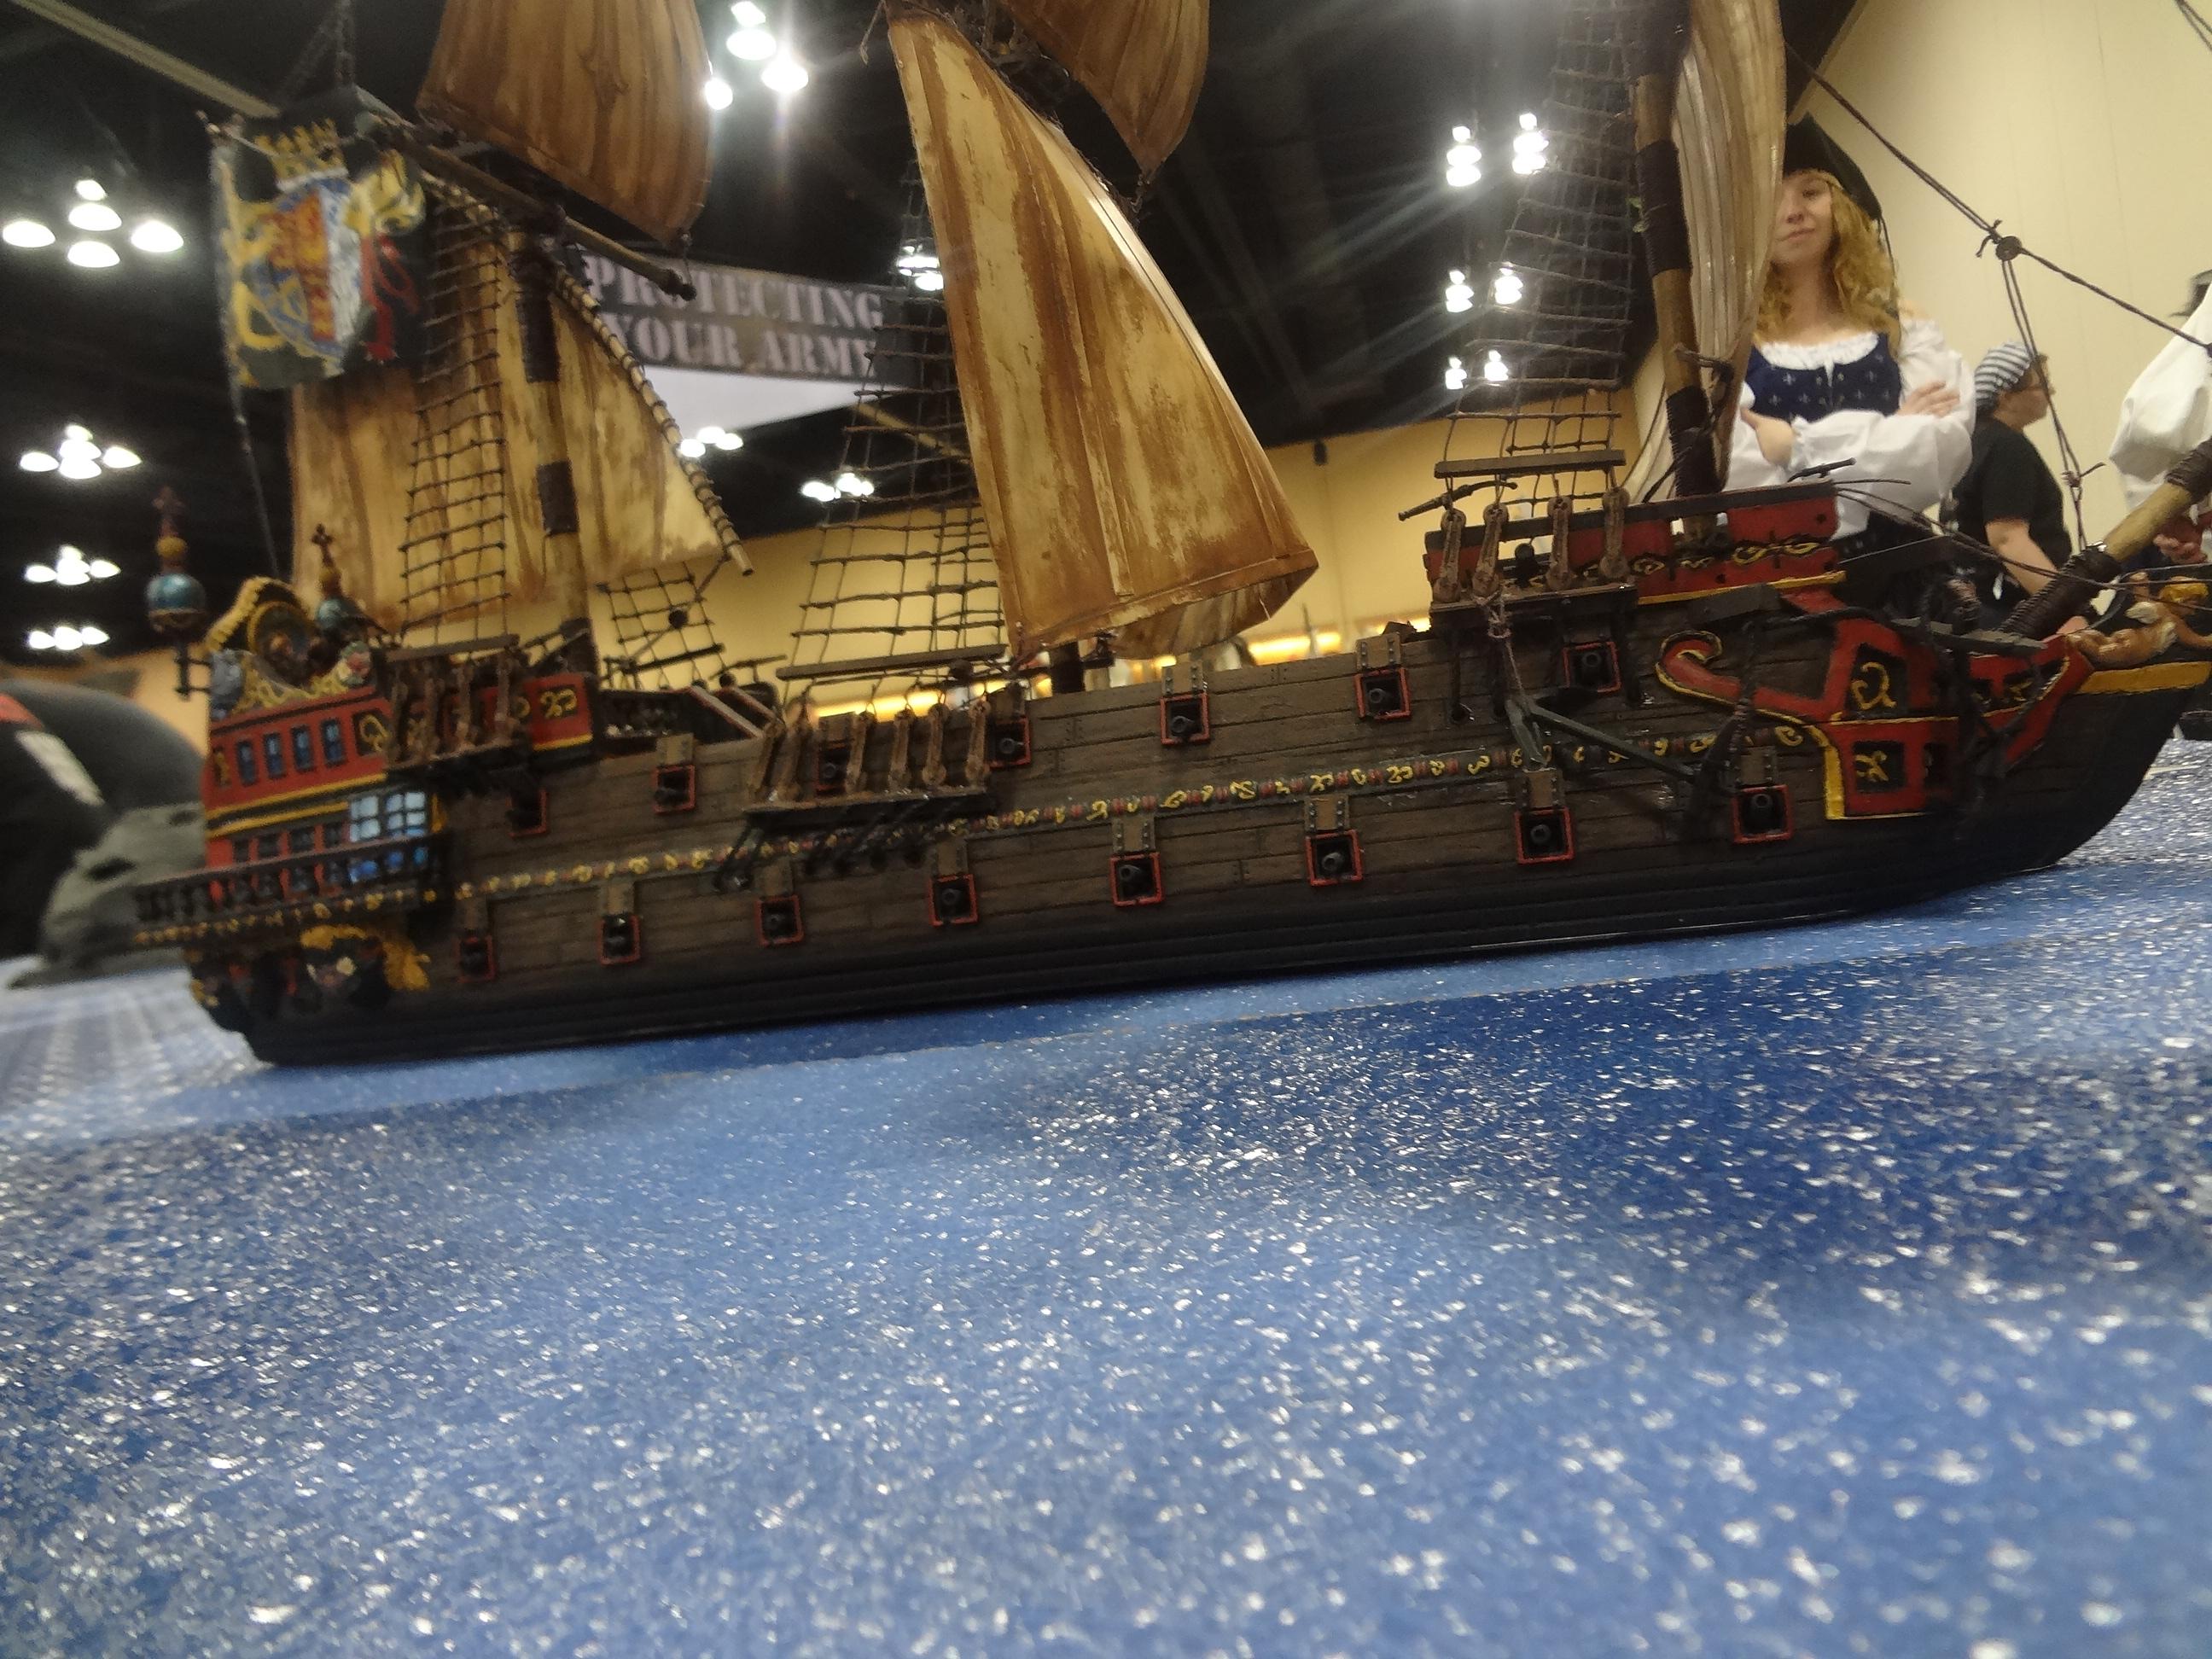
However, our swifter craft safely made it home in time to leisurely watch the papist galleon be mercilessly raked by the English island's artillery.
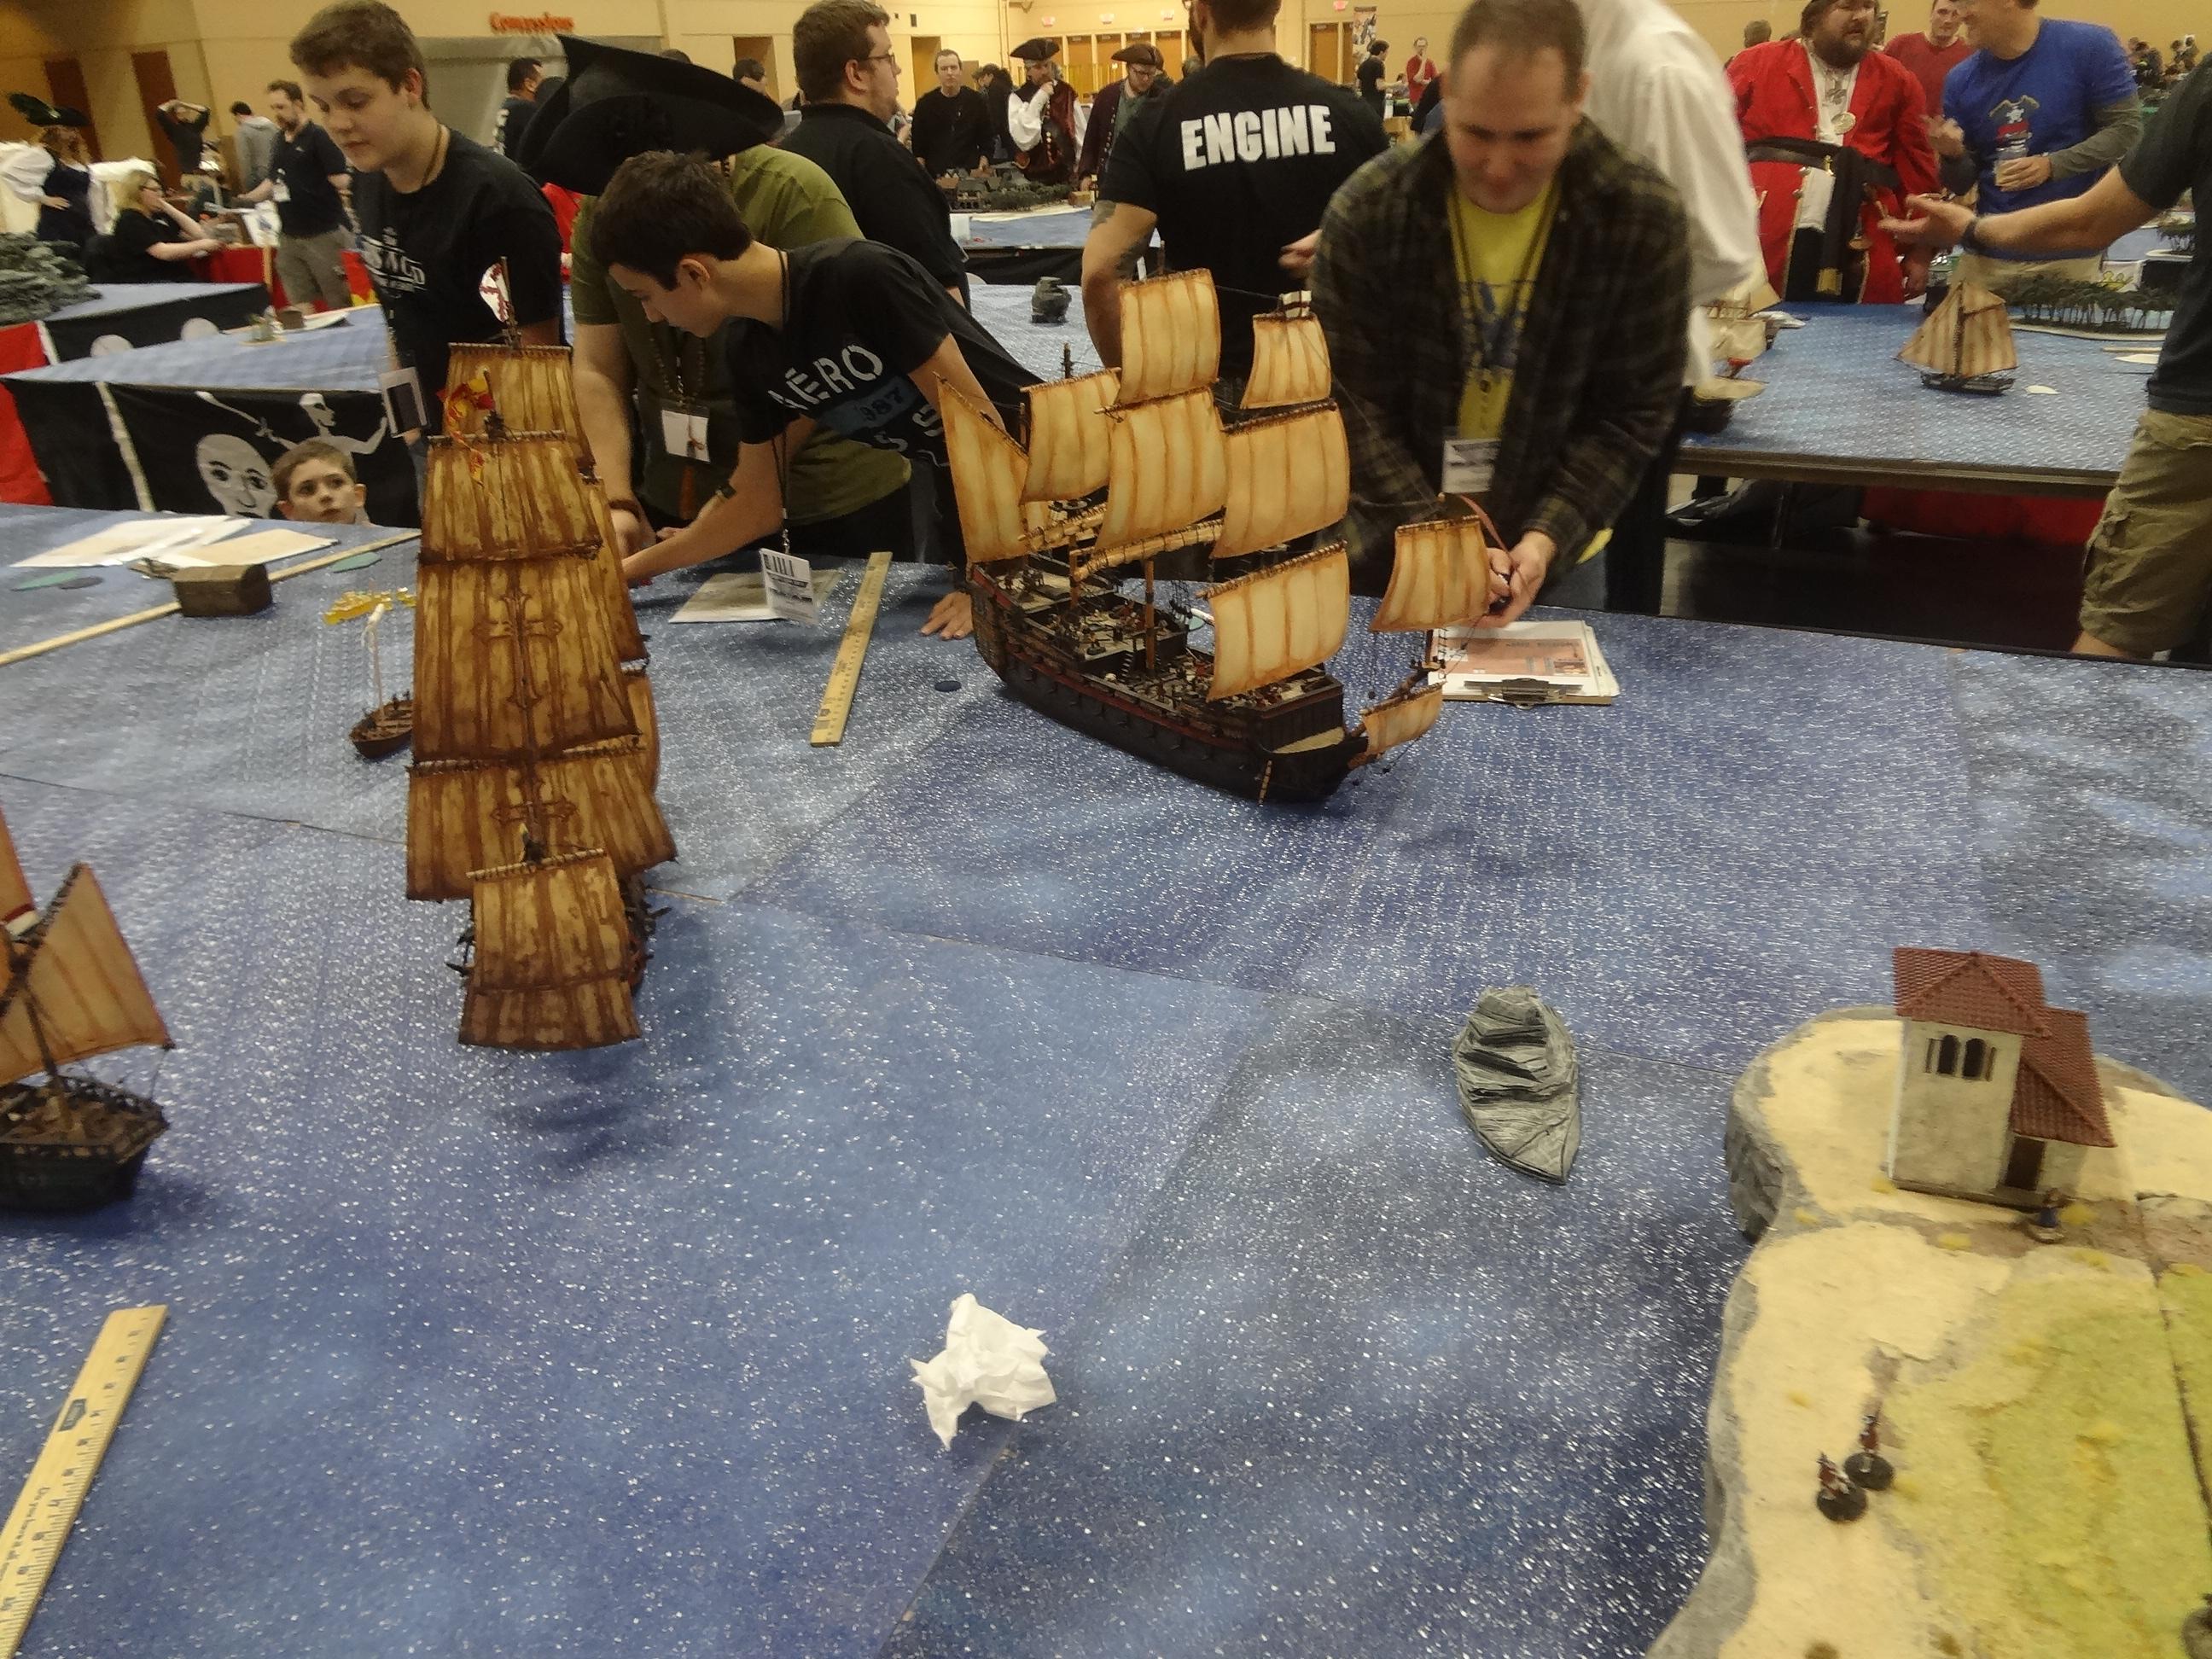
Having feared us lost, the Governor listened with rapt attention to our tale of battle, capture and return. After hearing our tale he heartily congratulated us and awarded us promotions in honor (the currency of the game for military units) and titles to lands.
Following a full refit and with a full crew we set out again on the open sea. A minor skirmish with some pirates ensued. We were not capable of pursuing them into rocky shoals, so after a blistering broadside to demonstrate the seriousness of our position, we extorted a minor fee and let them go.
Returning to the French port again in peacetime, we paid some coin to learn the local news (the game allows for "buying" a random game event) and discovered that the Kraken had been sighted! With this disturbing news, we returned to blue water only to be set upon the feared and neigh-invincible Ghost Ship.
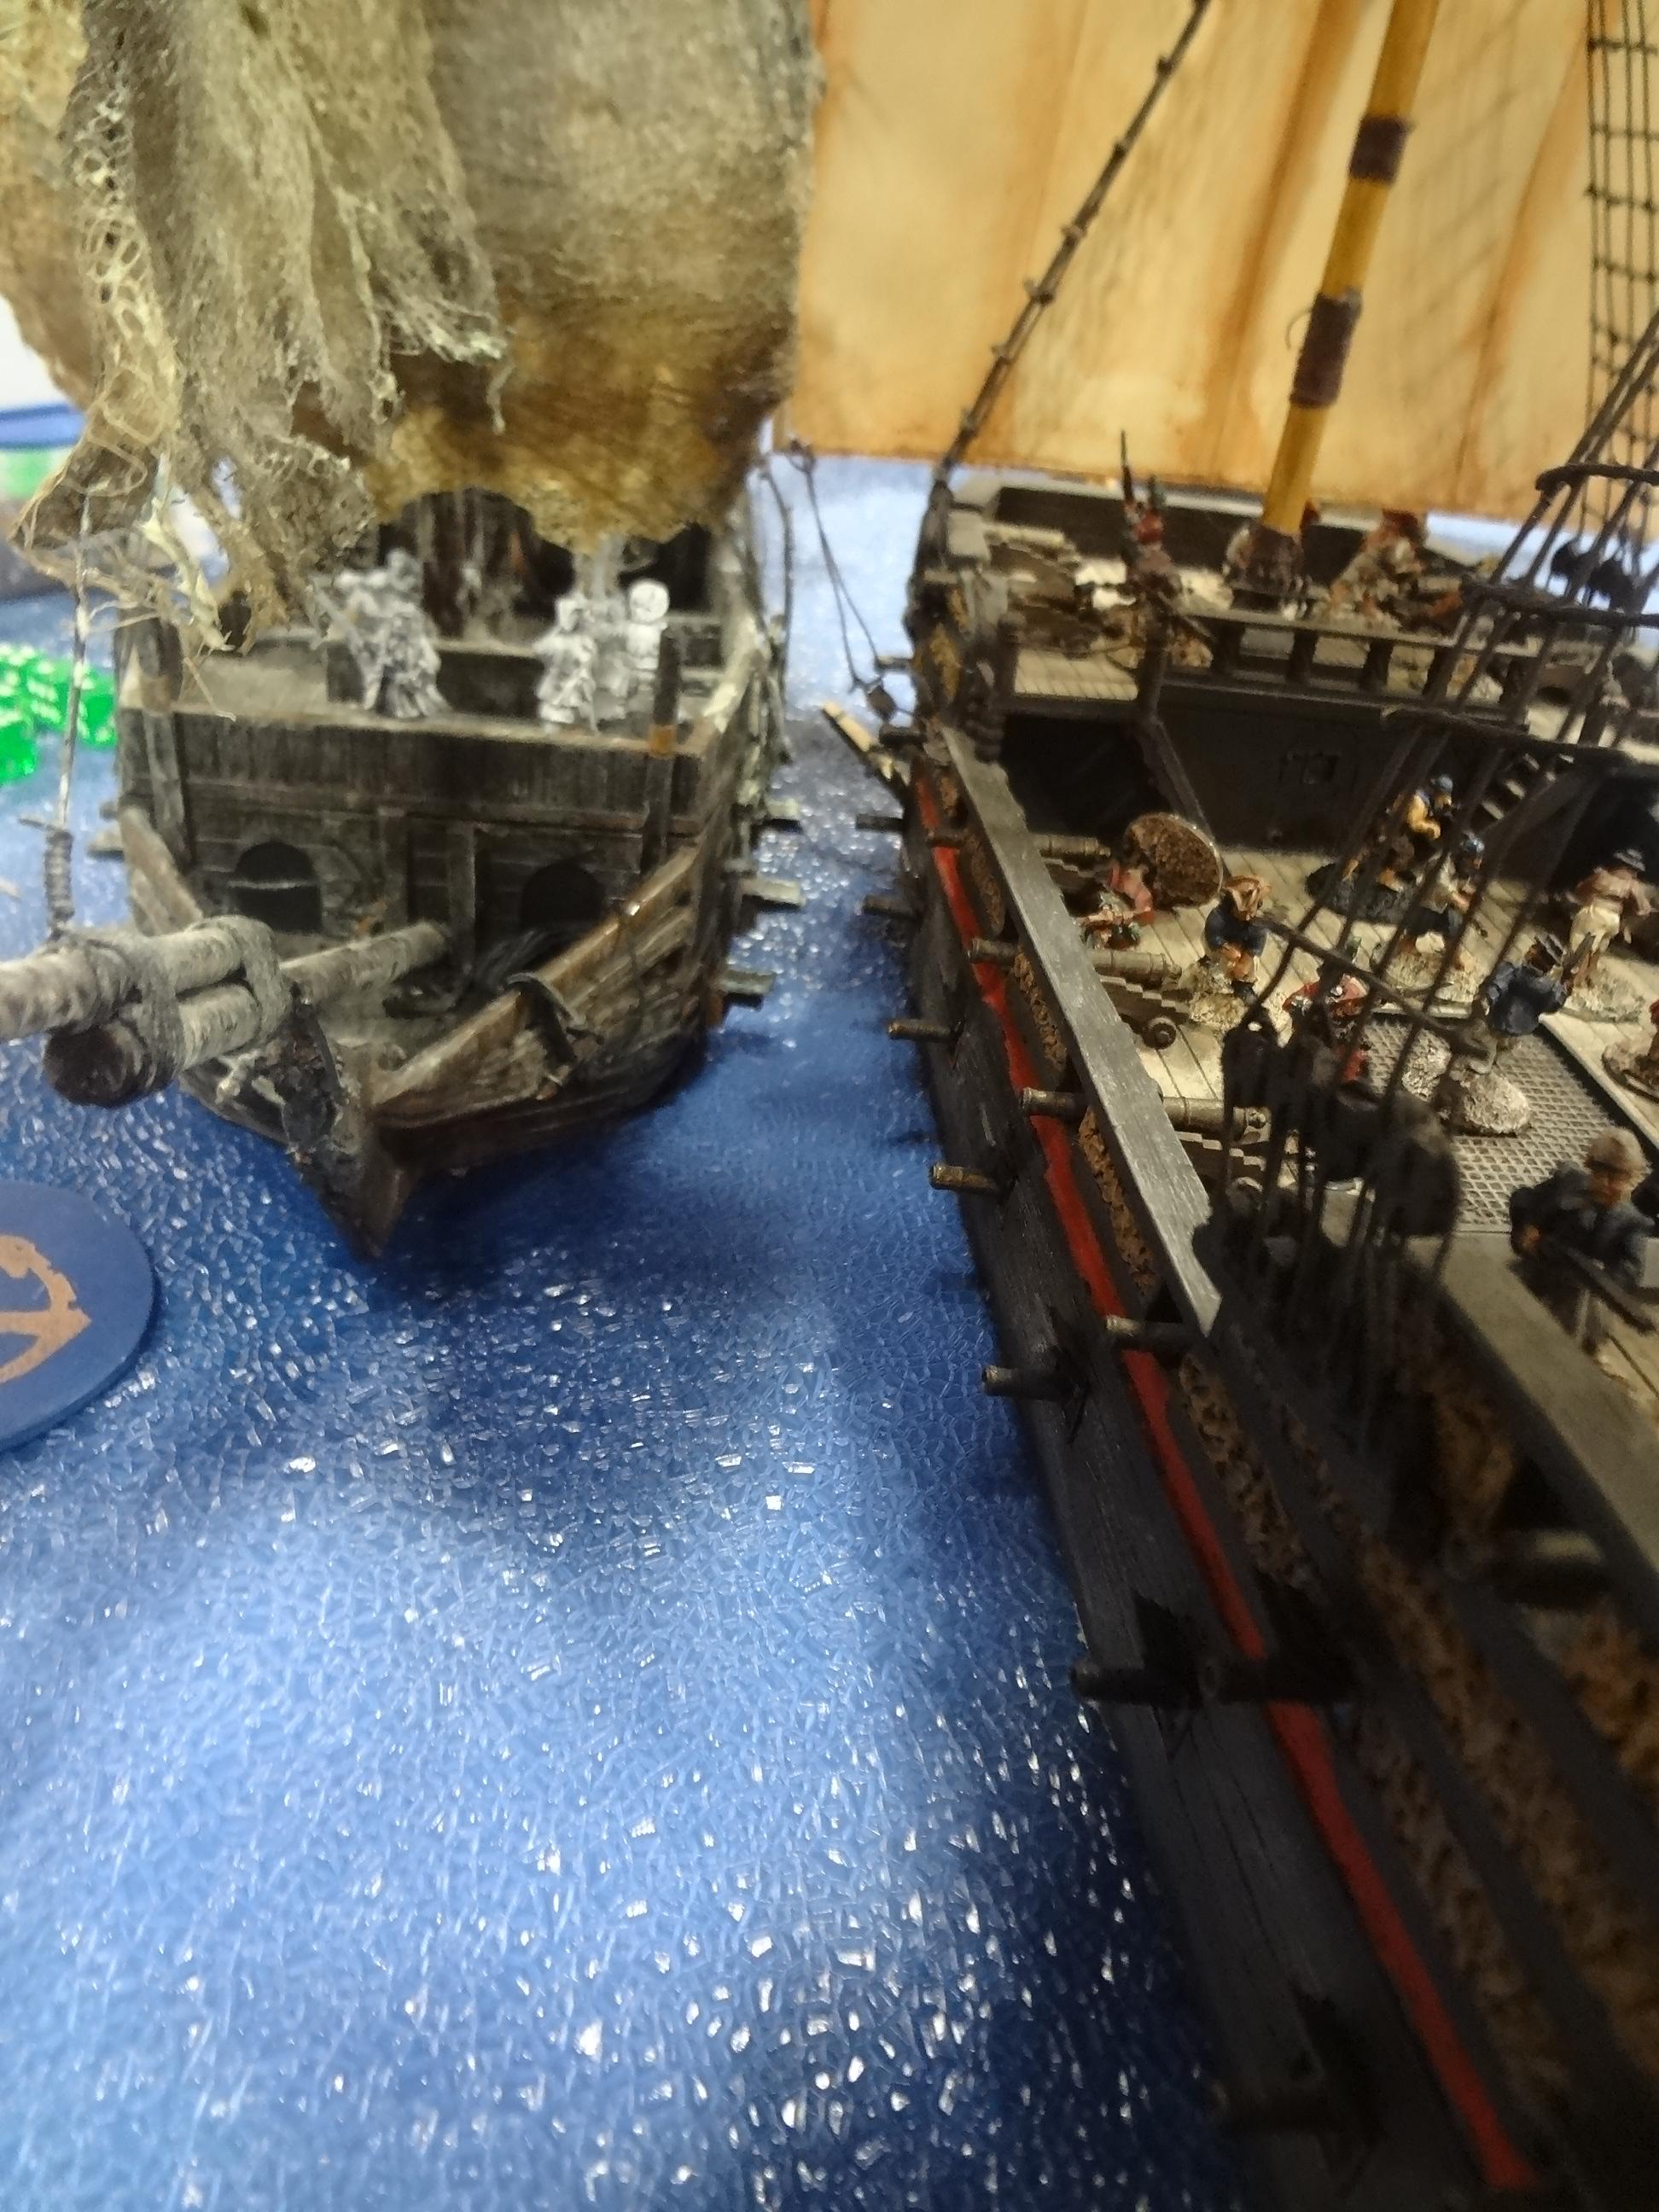
We reluctantly paid the Ghost Ship's tax and gave a tithe of his crew as souls to the feed the spectral vessel's terrible appetites. There was not time to ruminate on the fate of those poor devils, however. No sooner had we left the unholy vessel than we came across the Kraken!
Fortunately for us, the legendary beast proved to not be as fearsome as its reputation. A few volleys set the monster back on its heels long enough for the Titan to sail away.
With our tour coming to an end (the game was nearing it's completion), the Titan at last returned to the English island to exchange the last of our deeds and gold into honor and lands.
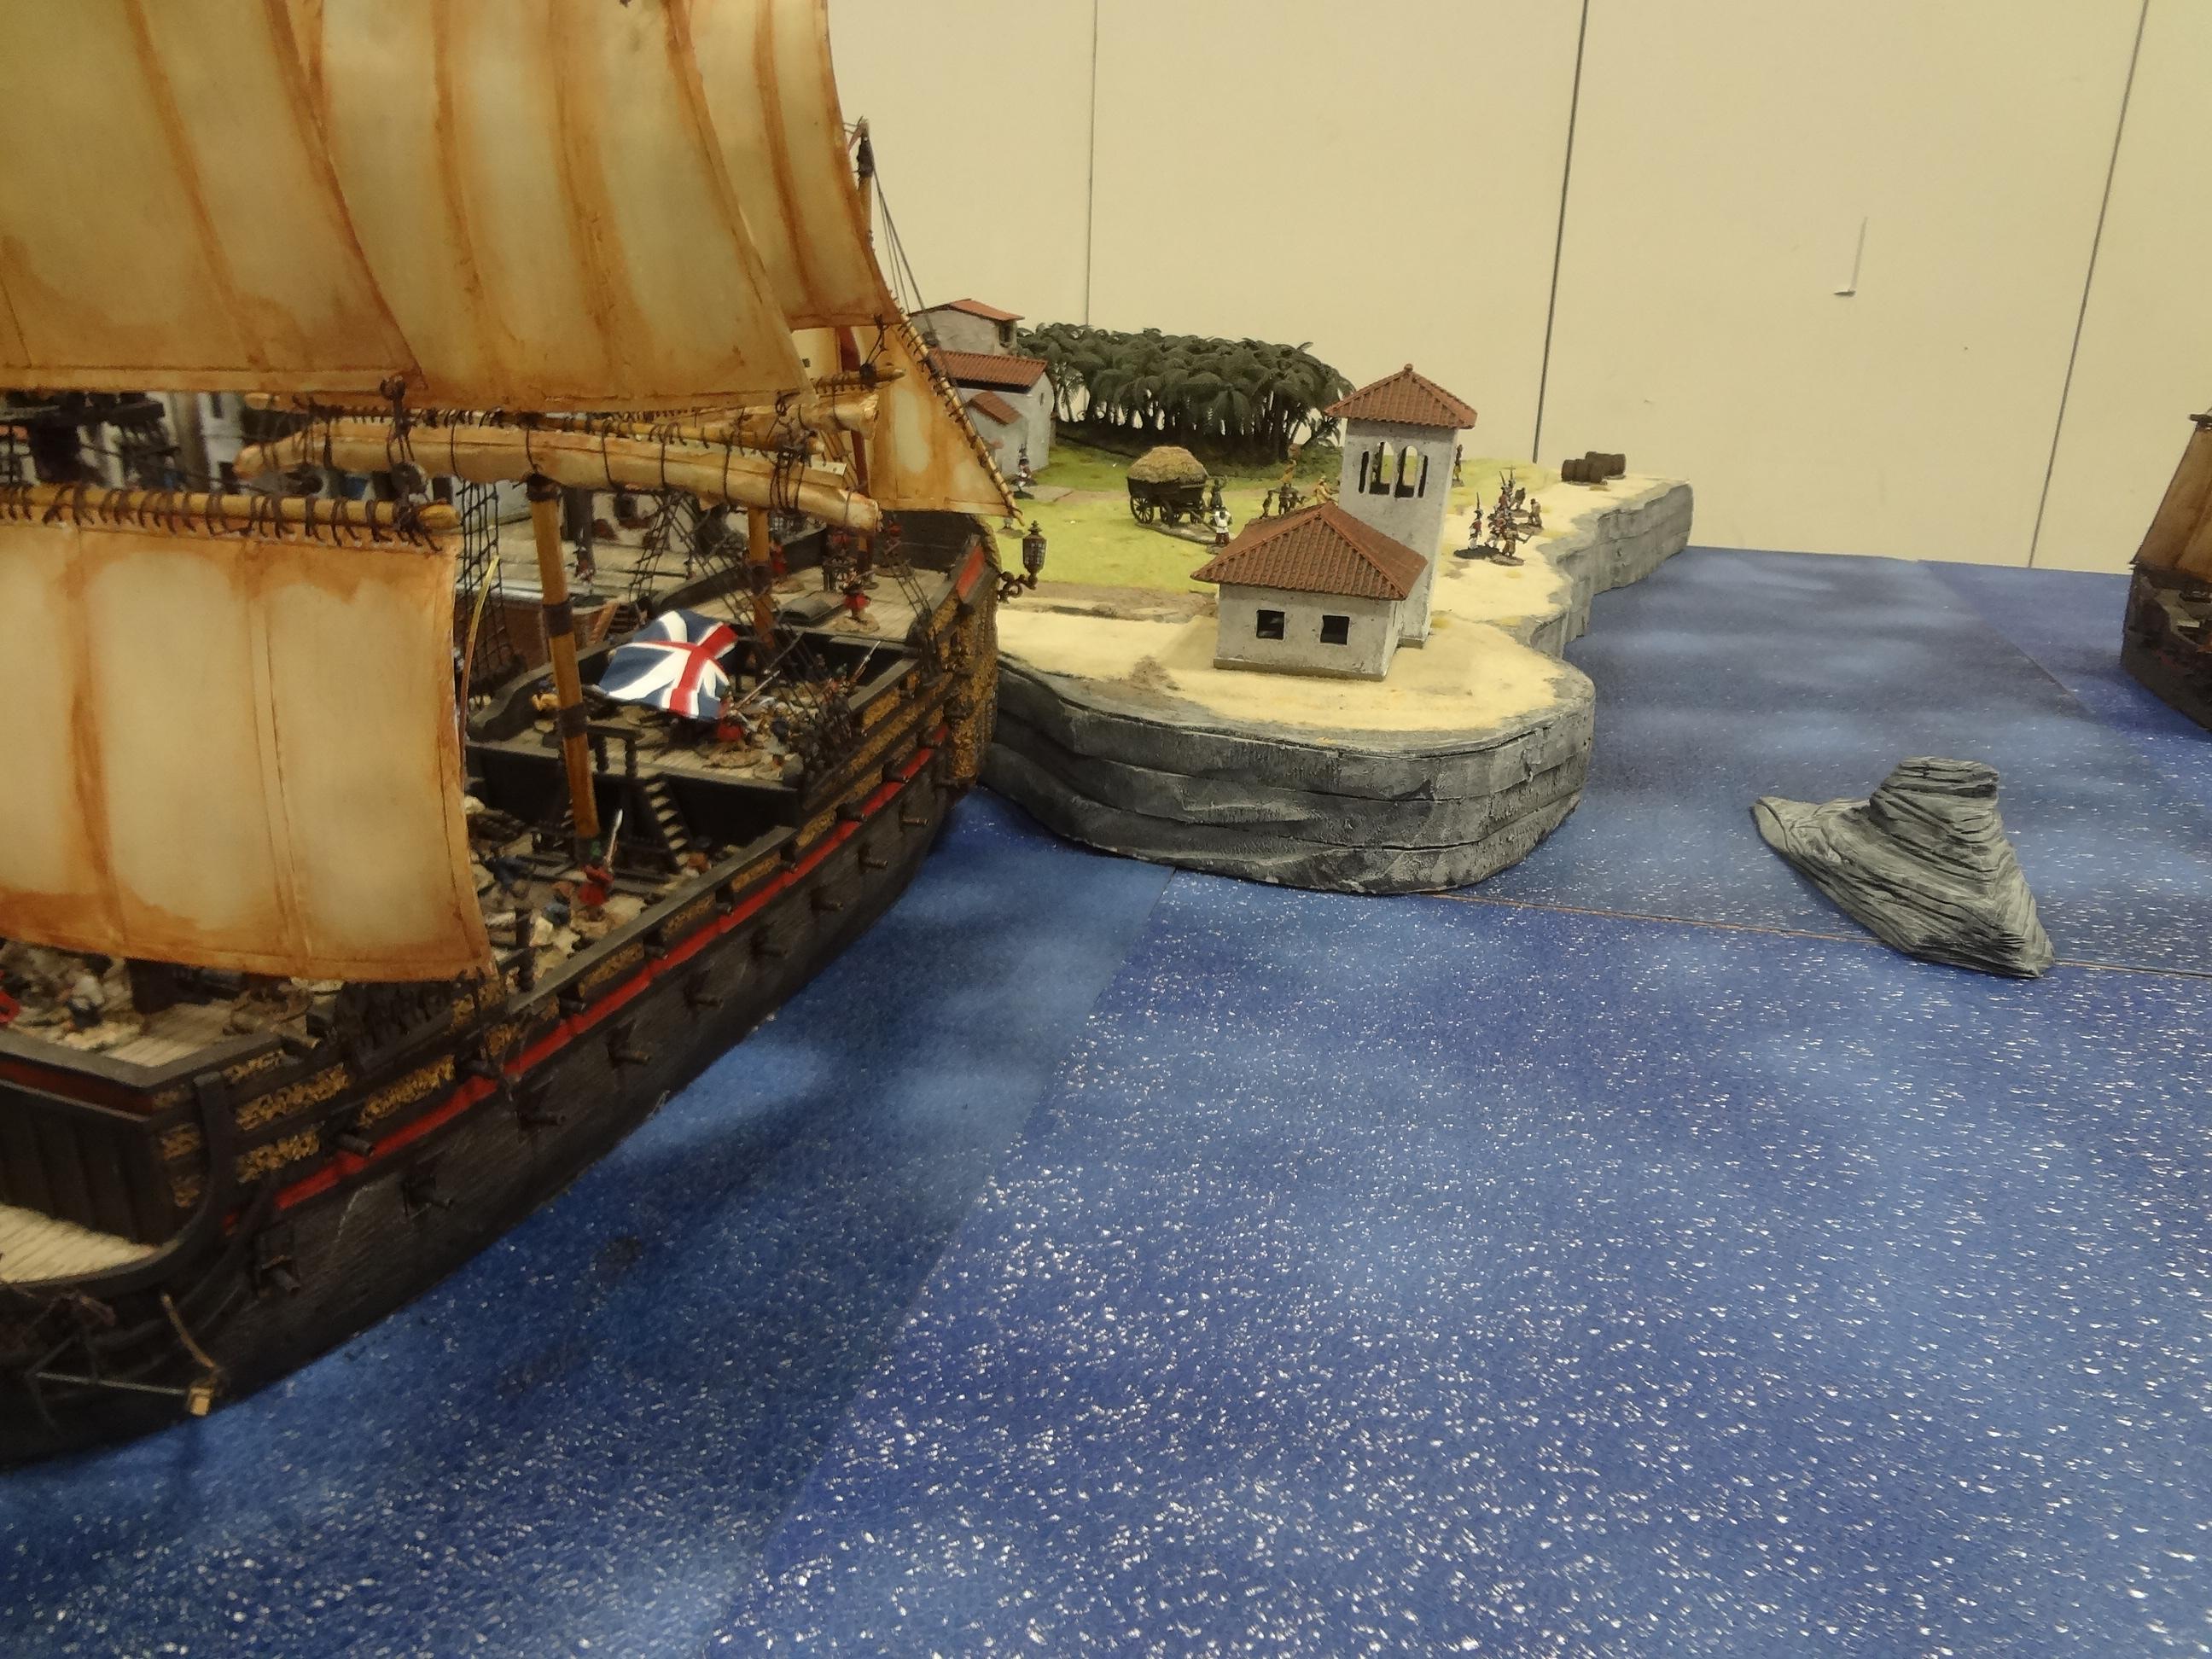
Our experience with FoS was a real pleasure. The ruleset was concise, and a dozen GMs were present to assist in combat resolution and clear up whatever complications might arise. I'm not usually a fan of systems that require writing down one's commands in advance, but I greatly enjoyed FoS's mechanics which required each captain to make two moves ahead during each turn. Tim thinks we could play it out with his small scale Uncharted Seas ships.
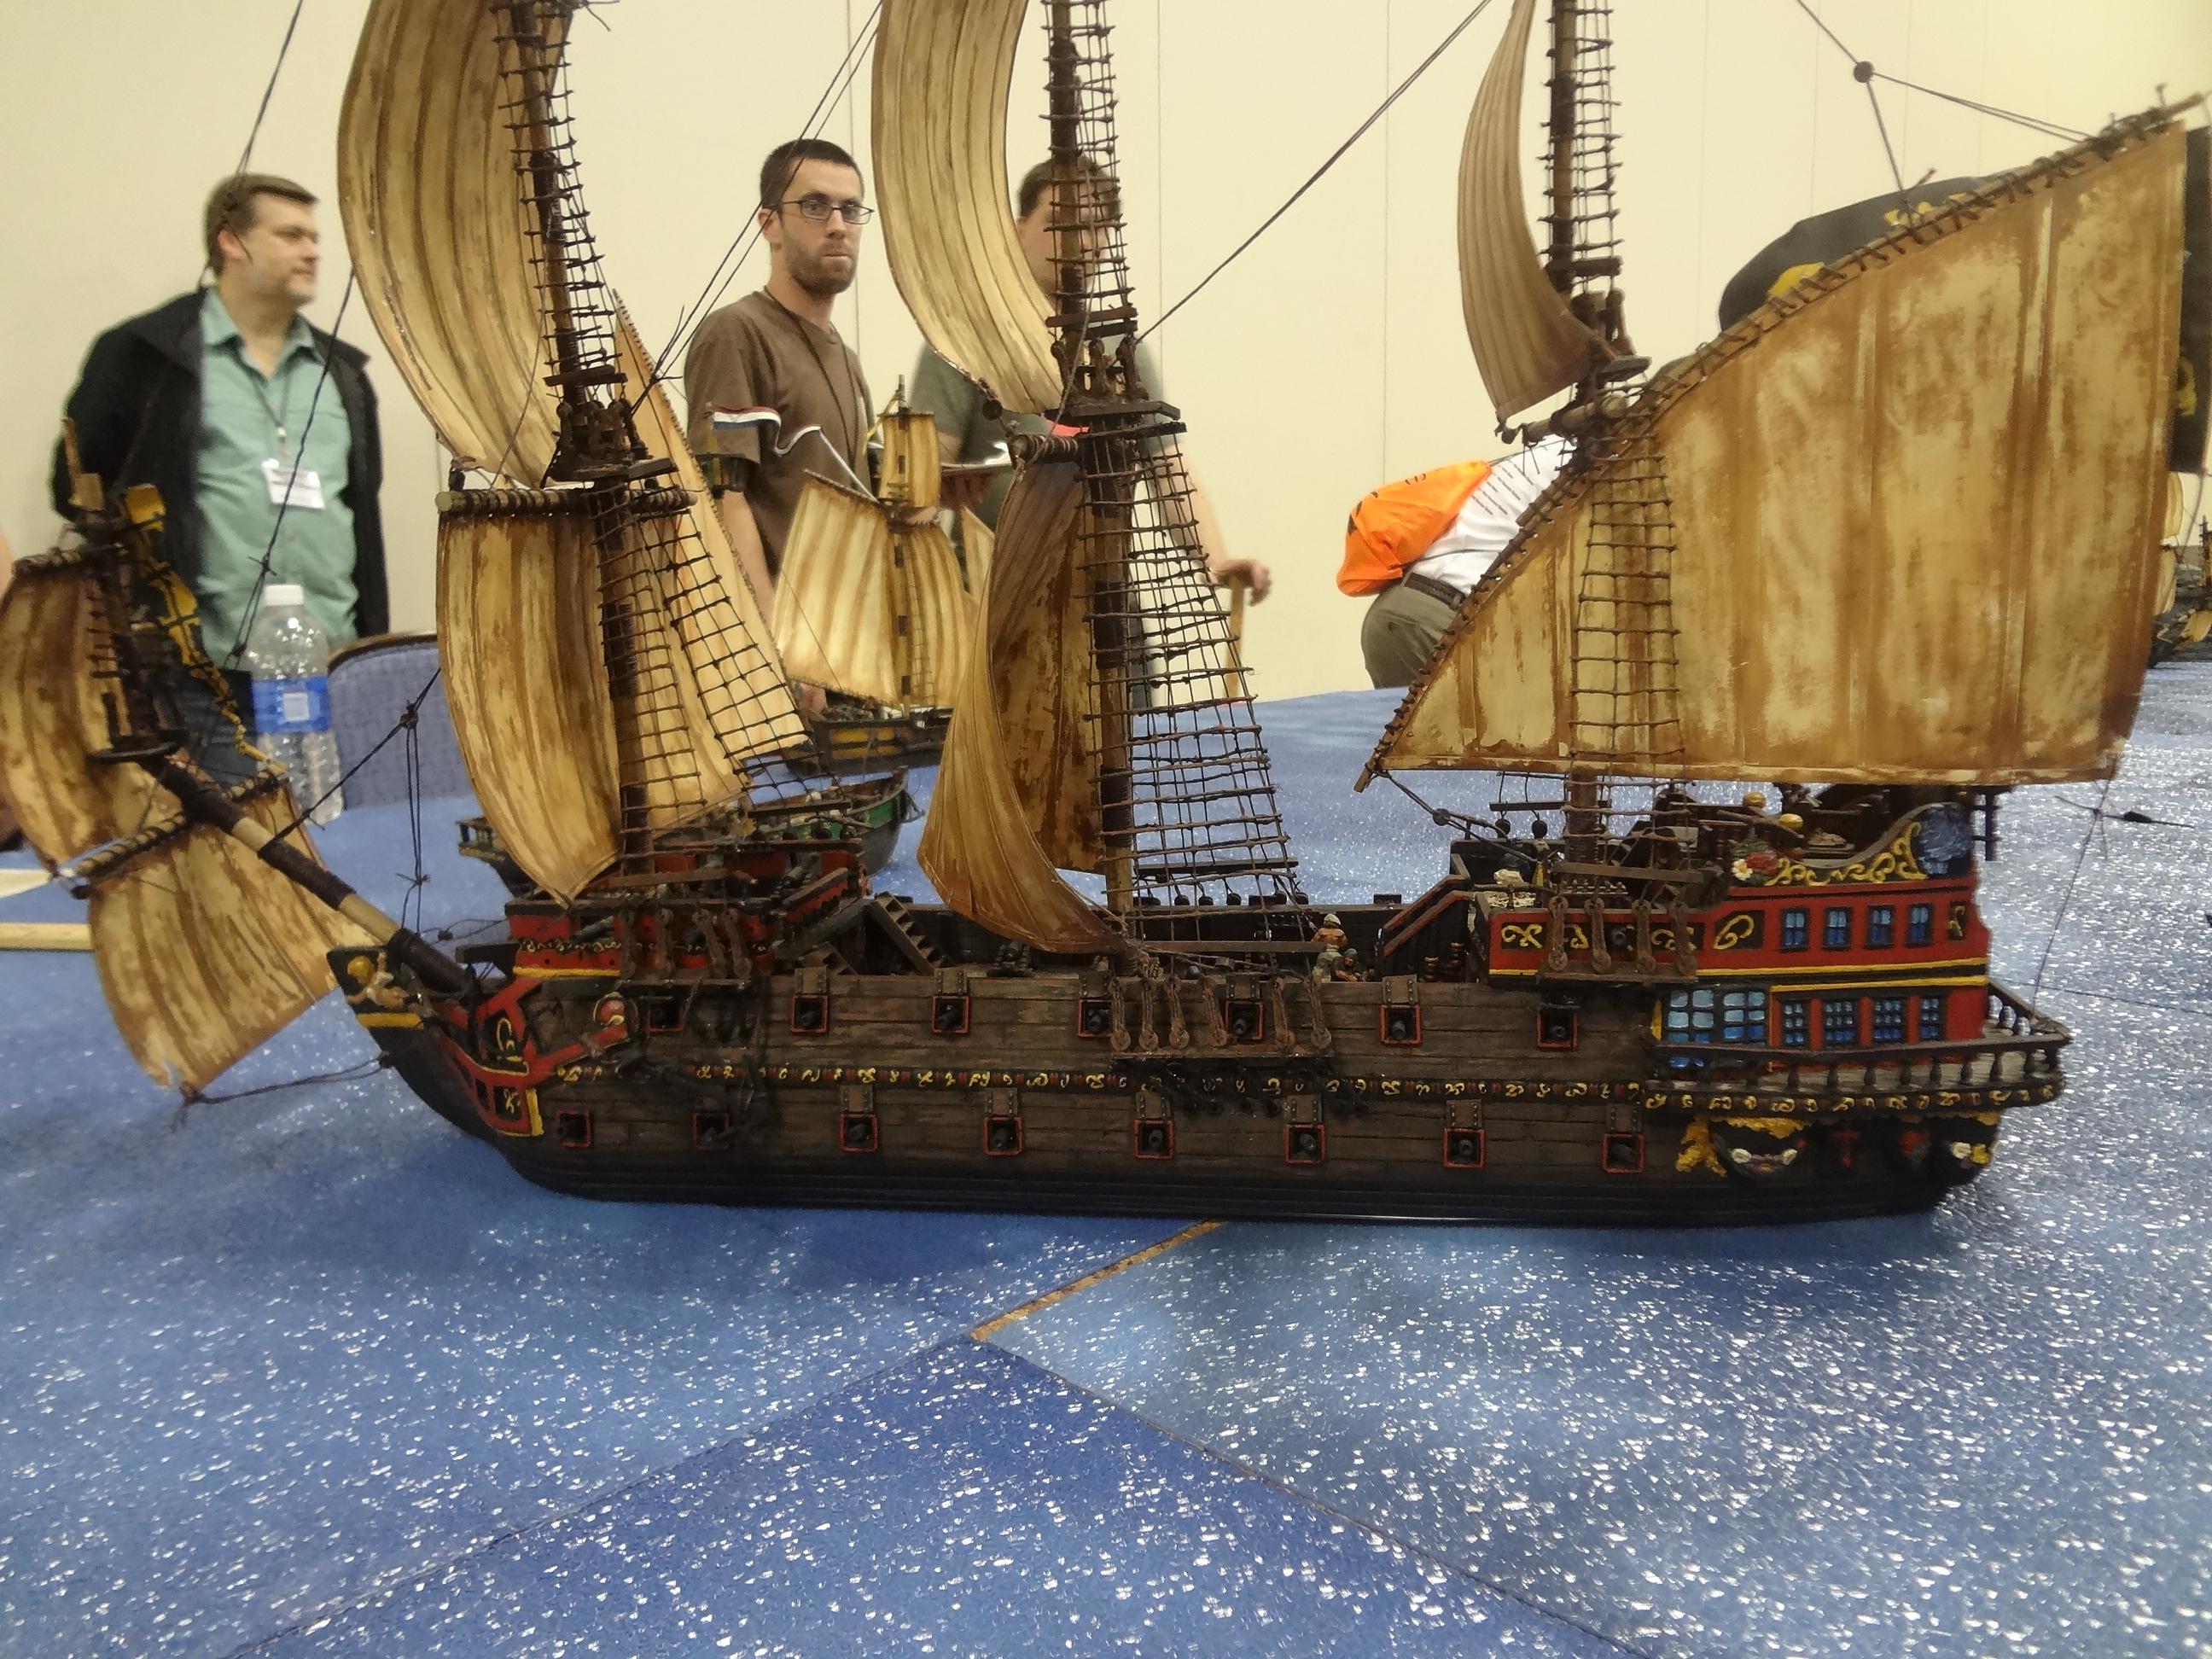
The ruleset as a whole seems to target fun as the highest priority, and it paid off handsomely. Though we supposedly had the most fearsome ship on the sea, brief contact with other captains showed that every ship seemed to be made to excel in a specific manner, such that no player's fun was handicapped by their vessel and some rather unassuming vessels were quite fearsome.
If the cheers at the post-game debrief were any indication, I suspect that every captain in the game could tell a tale as dramatic as ours.
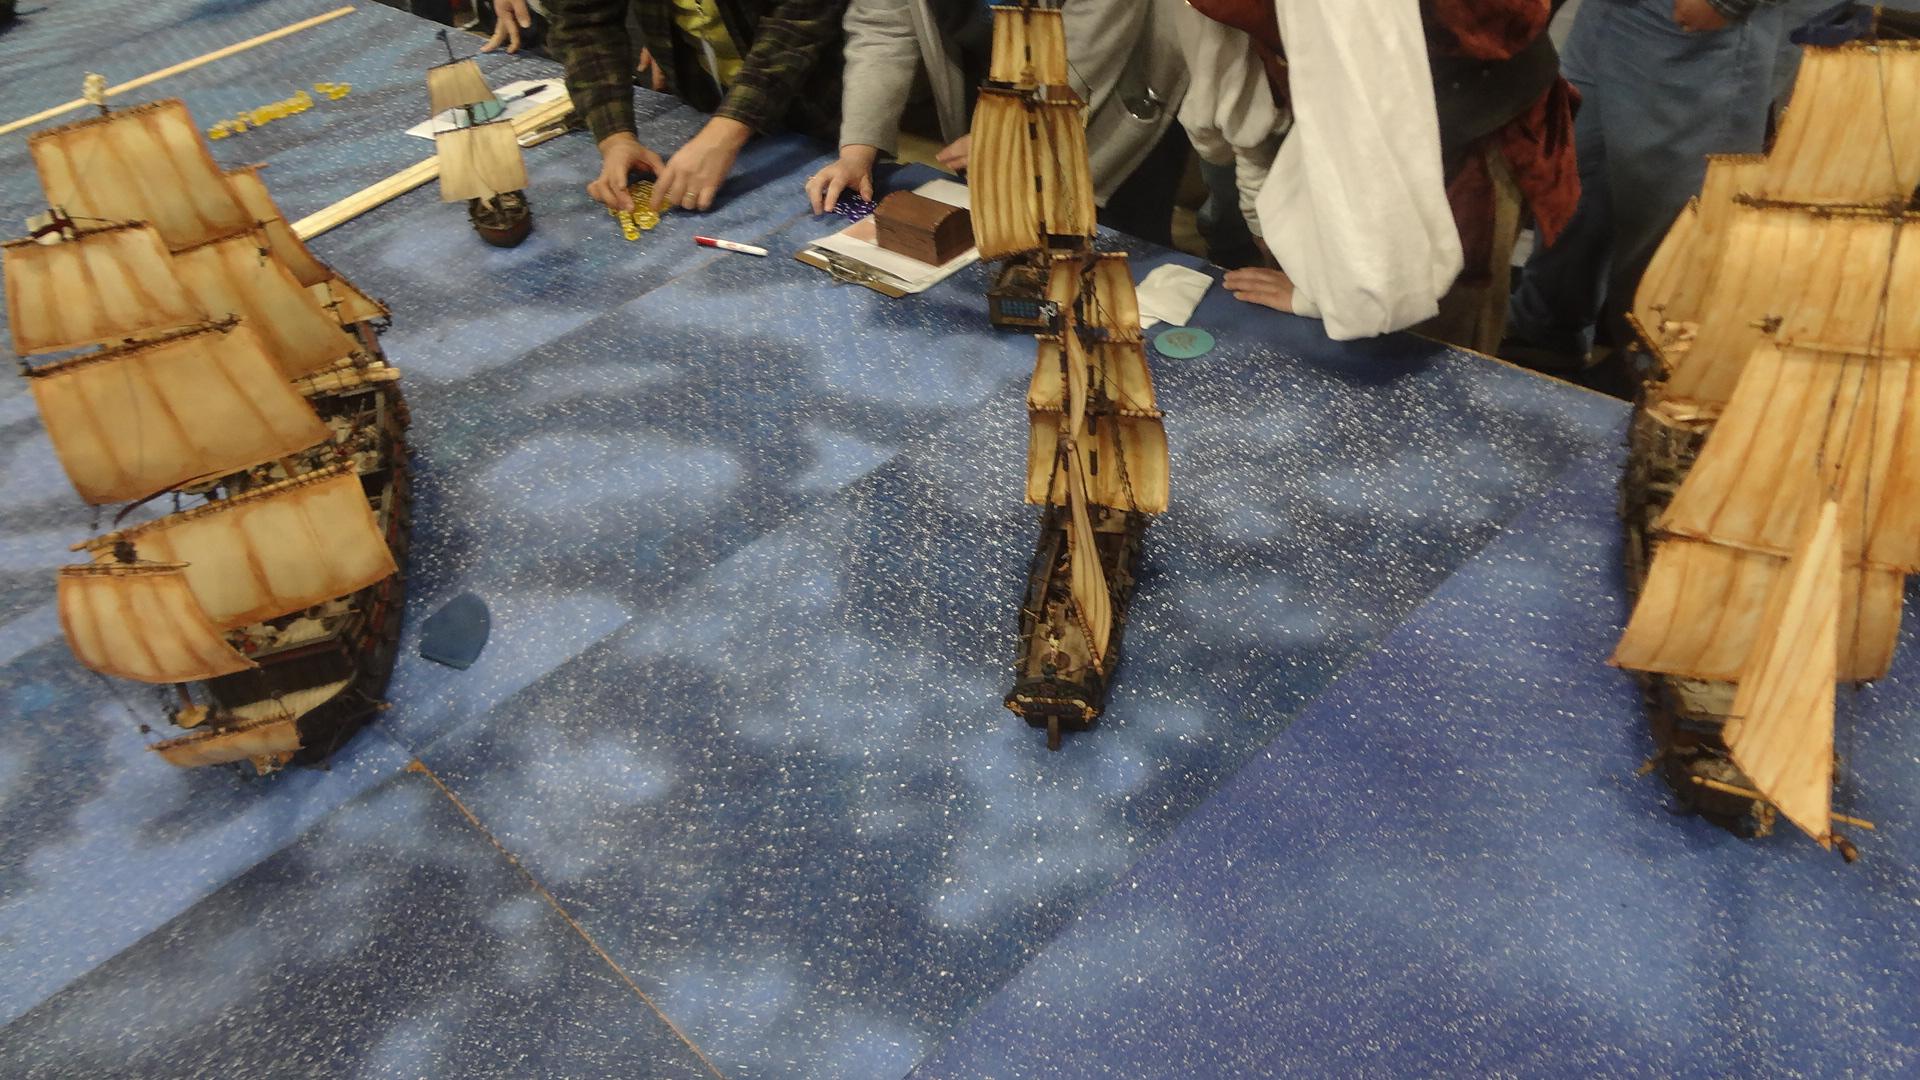
All in all, an excellent participation game and one that I would be pleased to play again. Most interestingly, this has created a small spark of interest in swashbuckling games, a genre I've never been interested in before. Definitely not something on my immediate radar, and certainly not an undertaking of this size, but maybe someday when I'm in need of a new gaming project I'll turn my eyes to the high seas.
-- Karl, Chicago Skirmish Wargames club member
Tuesday, October 9, 2012
Naval Thunder report: Raid on Rabaul
I ran a game recently at Nav-Con, a long-running convention dedicated solely to naval wargaming. This year I once again used my trusty naval combat ruleset: "Naval Thunder: Battleship Row" by Steel Dreadnought Games.
It's a fairly simple system with a limited amount of bookkeeping and doesn't take all day to play out. For the scenario, I took a real event and modified it slightly. The basic premise was an attempt by the American Pacific Fleet to raid the newly captured Japanese port of Rabaul, which became their most important possession in the Southeast Pacific region.
At this point in the war, the port was poorly fortified. Because of that, Allied command sent Task Force 11, centered on the old carrier USS Lexington, to bomb the base and any warships anchored there. Historically, the Japanese spotted the Americans using a flying boat, and then the Americans saw the flying boat. The Japanese launched an ineffective air raid against the task force, and the American ships fled for safer waters.
In my scenario, the Japanese spotted the Americans while remaining undetected and instead sprang a clever trap. Attacking at three different points, the Japanese ships have caught the Americans napping, despite the fact that they are individually less powerful.
The main Japanese force consisted of their four oldest cruisers, Aoba, Kinugasa, Furutaka and Kako in Cruiser Division 6. Two light cruisers, Kuma and Tama, attacked from the opposite side. Steaming in with Aoba's group was the real-life Destroyer Squadron 6, composed of six old destroyers and led by the light cruiser Yubari.
On the American side, the carrier USS Lexington was at the center. She was the oldest US fleet carrier to fight in the war and still had her eight-inch guns available, which proved to be quite powerful in this scenario.
In close protection were three heavy cruisers, USS Indianapolis, USS Minneapolis, and USS San Francisco. Along with them were eight destroyers, most of which were of the WWI era. A small force had pulled ahead of the main group containing one heavy cruiser, USS Pensacola, and two destroyers.
For this game there was effectively only one objective. The Japanese had to sink the Lexington while the Americans would sacrifice every other ship to save her.
To make the Americans' lives even harder, the Japanese crews were experienced, which made it easier for them to hit things, while the Americans were stripped of their powerful radar-directed fire control. Also, USS Lexington was effectively a floating bomb, and any time she was hit in the first two turns there was a decent chance a fire would start.
On Turn 1 the Americans turned around while sending Indianapolis with two destroyers to assist Pensacola's group in sinking Kuma and Tama. They succeeded the following turn with heavy losses but basically removed themselves from the game as a result.
Japanese CruDiv 6 turned to cut off the Americans in a line abreast formation, while DesRon 6 began assembling itself into battle formation. USS Lexington hit Kima with her eight-inch guns, making her captain grin wildly at the thought of his carrier engaging in a gunfight.
The cruisers exchanged fire, started a few fires, and Kinugasa blew the old US destroyer USS Litchfield apart with surprisingly accurate fire. USS Pensacola began to flood, and ineffective damage control teams made the problem worse.
Turn 2 proved to be quite bloody for both sides. USS Lexington and her escorts continued running despite the Japanese ships in front of them. CruDiv 6 turned to starboard to clear all their guns for action while DesRon 6 just kept racing forward. Lexington was hit several times, sparking a fire which would last the rest of the game. USS San Francisco took an engine hit but caused a magazine explosion on Aoba which blew the Japanese cruiser apart. Furutaka burst into flames thanks to accurate fire from USS Minneapolis but remained afloat and fighting. USS Lexington continued her destructive streak by sinking Yubari.
On the other side of the board, Kuma was sunk by USS Indianapolis but managed to sink USS Porter and USS Pensacola with torpedoes. Tama hit USS Winslow with gunfire but didn't sink the plucky destroyer and then fled the board with a mangled hull and raging fires that were barely extinguished.
With both Japanese light cruisers gone, USS Indianapolis and the surviving destroyers tried to catch up to USS Lexington but didn't make it by the end of the game.
Turn 3 proved to be the decisive turn for the Japanese. DesDiv 6 split in half, with three destroyers quickly turning their broadside to USS Lexington, while the other three crossed the T of the beleaguered carrier. Continuing her hot streak, Lexington sunk Furutaka with accurate gunfire. Kako hit USS Minneapolis and started a flood. Minneapolis hit back and started a fire. Then USS San Francisco raked Kako with five-inch shells and sent her to the bottom, while the destroyer USS Zane blasted Mochizuki apart.
But it was too late! Three torpedoes slammed into USS Lexington and shattered the proud ship, taking her from 113 hull points to 41 and then quickly to 37 from flooding damage. Fortunately, the other three Japanese destroyers all missed.
On turn 4 Kinugasa launched her carefully husbanded torpedo salvo on USS Lexington, hoping desperately to sink the tough ship. But the salvo missed completely while her gunfire was slightly more successful. Kinugasa was finished off by San Francisco and almost all of the remaining Japanese destroyers joined her beneath the waves.
It looked bleak for the Japanese, but inept damage control teams finished the work of the Imperial Japanese Navy, and USS Lexington capsized.
The ripples from this battle will surely echo through the history of the Pacific War. Without Lexington, the US fleet would never have opposed the Port Moresby invasion and they might not have sent USS Enterprise and USS Hornet off the launch the Doolittle Raid. In addition, the loss of CruDiv 6 would create problems for the Japanese. Those four heavy cruisers were vitally important to the Guadalcanal operation. Needless to say, history shifted drastically from this what-if battle.
-- Mike, Chicago Skirmish Wargames club member
Wednesday, May 30, 2012
Naval Thunder report: Battle of the Denmark Strait
A few months ago four of us made the long trek out to Games Plus in Mt.
Prospect to play our club's first naval game. With only a few people attending, it made sense to
play a battle with a small number of ships. The one I picked happened to also be one of
the classic battles of WWII.
In late May, 1941, the German battleship Bismarck tried to break out into the North Atlantic. Accompanied by a heavy cruiser, the Prinz Eugen, the two German ships set a course for the Denmark Strait. They were met by the Royal Navy's newest battleship and the pride of the fleet, HMS Hood. HMS Prince of Wales was so new that she hadn't even gone through her trials yet and still had civilian dockworkers on board. Hood was a ship built at the end of WWI and was considered at the time to be the most powerful in the world, at least by the British.
The miniatures we used were all 1/3000-scale ships from a variety of manufacturers. That scale is getting quite rare in the US and can really only be found in England. All the miniatures except Hood were made by Skytrex. Hood was brought from a fellow named Mick Yarrow, who makes these ships in his basement. He makes some odd ships like German carriers, and I have dealt with him many times.
The rules we used for this skirmish are called Naval Thunder: Battleship Row and the expansion, Bitterest Rivals. It is a very well-polished rule system that I have used many times for naval games. It covers time periods from the Spanish-American War of 1898 to WWII.
There were a handful of specific rules for this scenario, mostly to accurately reflect the conditions of the ships during this particular battle — and they all affected the British. Prince of Wales had to roll each turret separately and any ones rolled would negate that turret's fire, reflecting the poor state of affairs aboard that new ship.
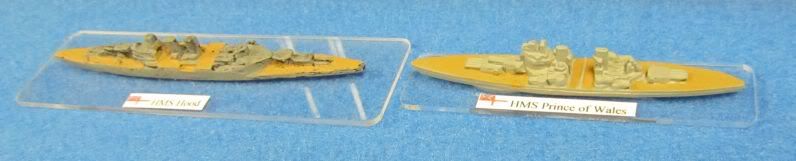
In addition, the British would have to roll a command check if either ship was sunk. I had Hood, Tim had Prince of Wales, Karl had the powerful Bismarck, and Kevin was stuck with Prinz Eugen, a ship which was totally outclassed in the battle. Here are the British ships:
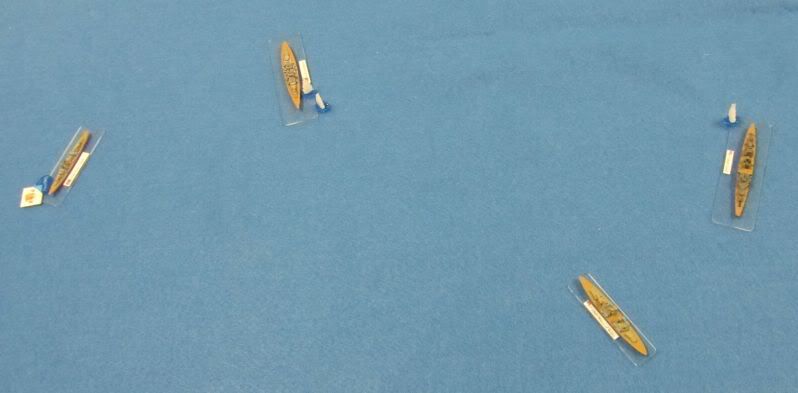
After a short explanation of the rules, we were off. Turn one had Hood and Prince of Wales, turning to starboard (right). The Germans moved toward their exit point, still unsure about the rules. Hood fired at Prinz Eugen and missed. Bismarck hit Prince of Wales, as did Prinz Eugen. However, the smaller guns on Prinz Eugen did no damage at all.
Turn 2 had the British continuing their turn to cut off the Germans and uncover all their guns. Bismarck and Prinz Eugen continued on course, as the British shooting hadn't done much the previous turn. Hood fired on Prinz Eugen again and hit, penetrating the weak armor and causing the cruiser to begin flooding. Bismarck and Prince of Wales exchanged fire, both hitting but not causing major damage. Prinz Eugen failed to fix her flooding and took more damage.
In Turn 3, the Germans changed tactics. Realizing that they were being overwhelmed, Bismarck turned to port (left) to unmask all her guns. Prinz Eugen continued on course while the British continued on their previous course to keep the Germans from their objective. Bismarck fired on Hood for a change and hit, but didn't penetrate Hood's moderate armor. Prince of Wales hit Bismarck and did some hull damage, but not a lot. Hood smashed Prinz Eugen's engine room, reducing the cruiser's speed while Prinz Eugen managed to hit Hood and do some damage, but nothing critical.
On Turn 4 Bismarck continued to turn while all the other ships remained on their previous course. Hood switched fire to Bismarck and did some damage. Bismarck replied and did some damage to Hood, while Prince of Wales caused a fire to start on the beleaguered Prinz Eugen. But Prinz Eugen hit Hood again and damaged the large ship's engines.
During Turn 5 Bismarck reversed course now headed to starboard while the British continued on their course. Hood blew up after a devastating barrage from Bismarck, while Prince of Wales smashed one of Bismarck's main battery turrets. Prinz Eugen sank as a result of fires and flooding.
Turn 6 started with only half the remaining ships in the fight. The loss of Hood had not scared the British, and they continued to fight. Both ships moved in close, blasting away with everything they had. While Bismarck did some damage to Prince of Wales, she took a lot of damage in return. Her bridge was smashed and she was on fire.
On Turn 7 it was all over. Prince of Wales crossed the T of Bismarck and raked her with a well-aimed round of fire, causing the Bismarck to slip under the waves and vanish into the pages of history.
Everyone had a lot of fun playing and all agreed to try it again in the future. Our results differed greatly from those of history, and yet some things remained the same. In reality, Bismarck and Prinz Eugen briefly exchanged fire with the British before Hood blew up and Prince of Wales turned around and sailed away, having accomplished nothing in the battle. Bismarck sailed on and was damaged a few days later, making her attempt to return to Brest in occupied France for repairs. She was attacked and sunk by the Royal Navy on her way there.
— Mike, Chicago Skirmish Wargames club member
In late May, 1941, the German battleship Bismarck tried to break out into the North Atlantic. Accompanied by a heavy cruiser, the Prinz Eugen, the two German ships set a course for the Denmark Strait. They were met by the Royal Navy's newest battleship and the pride of the fleet, HMS Hood. HMS Prince of Wales was so new that she hadn't even gone through her trials yet and still had civilian dockworkers on board. Hood was a ship built at the end of WWI and was considered at the time to be the most powerful in the world, at least by the British.
The miniatures we used were all 1/3000-scale ships from a variety of manufacturers. That scale is getting quite rare in the US and can really only be found in England. All the miniatures except Hood were made by Skytrex. Hood was brought from a fellow named Mick Yarrow, who makes these ships in his basement. He makes some odd ships like German carriers, and I have dealt with him many times.
The rules we used for this skirmish are called Naval Thunder: Battleship Row and the expansion, Bitterest Rivals. It is a very well-polished rule system that I have used many times for naval games. It covers time periods from the Spanish-American War of 1898 to WWII.
There were a handful of specific rules for this scenario, mostly to accurately reflect the conditions of the ships during this particular battle — and they all affected the British. Prince of Wales had to roll each turret separately and any ones rolled would negate that turret's fire, reflecting the poor state of affairs aboard that new ship.
In addition, the British would have to roll a command check if either ship was sunk. I had Hood, Tim had Prince of Wales, Karl had the powerful Bismarck, and Kevin was stuck with Prinz Eugen, a ship which was totally outclassed in the battle. Here are the British ships:
After a short explanation of the rules, we were off. Turn one had Hood and Prince of Wales, turning to starboard (right). The Germans moved toward their exit point, still unsure about the rules. Hood fired at Prinz Eugen and missed. Bismarck hit Prince of Wales, as did Prinz Eugen. However, the smaller guns on Prinz Eugen did no damage at all.
Turn 2 had the British continuing their turn to cut off the Germans and uncover all their guns. Bismarck and Prinz Eugen continued on course, as the British shooting hadn't done much the previous turn. Hood fired on Prinz Eugen again and hit, penetrating the weak armor and causing the cruiser to begin flooding. Bismarck and Prince of Wales exchanged fire, both hitting but not causing major damage. Prinz Eugen failed to fix her flooding and took more damage.
In Turn 3, the Germans changed tactics. Realizing that they were being overwhelmed, Bismarck turned to port (left) to unmask all her guns. Prinz Eugen continued on course while the British continued on their previous course to keep the Germans from their objective. Bismarck fired on Hood for a change and hit, but didn't penetrate Hood's moderate armor. Prince of Wales hit Bismarck and did some hull damage, but not a lot. Hood smashed Prinz Eugen's engine room, reducing the cruiser's speed while Prinz Eugen managed to hit Hood and do some damage, but nothing critical.
On Turn 4 Bismarck continued to turn while all the other ships remained on their previous course. Hood switched fire to Bismarck and did some damage. Bismarck replied and did some damage to Hood, while Prince of Wales caused a fire to start on the beleaguered Prinz Eugen. But Prinz Eugen hit Hood again and damaged the large ship's engines.
During Turn 5 Bismarck reversed course now headed to starboard while the British continued on their course. Hood blew up after a devastating barrage from Bismarck, while Prince of Wales smashed one of Bismarck's main battery turrets. Prinz Eugen sank as a result of fires and flooding.
Turn 6 started with only half the remaining ships in the fight. The loss of Hood had not scared the British, and they continued to fight. Both ships moved in close, blasting away with everything they had. While Bismarck did some damage to Prince of Wales, she took a lot of damage in return. Her bridge was smashed and she was on fire.
On Turn 7 it was all over. Prince of Wales crossed the T of Bismarck and raked her with a well-aimed round of fire, causing the Bismarck to slip under the waves and vanish into the pages of history.
Everyone had a lot of fun playing and all agreed to try it again in the future. Our results differed greatly from those of history, and yet some things remained the same. In reality, Bismarck and Prinz Eugen briefly exchanged fire with the British before Hood blew up and Prince of Wales turned around and sailed away, having accomplished nothing in the battle. Bismarck sailed on and was damaged a few days later, making her attempt to return to Brest in occupied France for repairs. She was attacked and sunk by the Royal Navy on her way there.
— Mike, Chicago Skirmish Wargames club member
Saturday, November 5, 2011
Naval Thunder at Rock-Con

The scenario I ran at Rock-Con, an annual convention in Rockford, Illinois, was one I created myself using historical ORBATs from several late-war battles in the Pacific during WWII. The rules used were Naval Thunder: Battleship Row, which I found to be a great and easy-to-use naval ruleset.
The goal for the Japanese was to do significant damage to an American island base without losing their important cruisers and battleships. The Americans had to defend their base and hopefully sink or seriously damage Japanese ships.

There were 20 American ships and 16 Japanese ships on the table by the time the US reinforcements showed up divided into several divisions. At the start of the game, the Americans had three battleships — Tennessee, California, and Pennsylvania — on the board, as well as two light cruisers, Omaha and Milwaukee. Six destroyers made up the remainder of their fleet, divided into two division of three ships each.
The Japanese entered the board with the powerful battleships Yamato, Musashi, and Nagato leading their fleet. They also had 7 heavy cruisers: Kumano, Suzuya, Chikuma, and Tone in one division, and Takao, Haguro, and Myoko in another. Finally they had 6 destroyers spread out in front of their heavy ships as a scouting force.

Turn 1 - The Japanese entered the table in the corner opposite the US base and immediately their battleships turned to bring all their guns to bear on the base. The cruisers continued ahead with their destroyers to put themselves in front of the valuable battleships. The American destroyers charged at the enemy line while the American heavy ships turned to bring all their guns to bear as well. One American destroyer was sunk by Japanese cruisers during the shooting phase.

Turn 2 - The Japanese battleships blasted the island again and were rewarded with something blowing up. The battleships all missed each other as did the cruisers. The destroyer skirmish was inconclusive as well. All players were confused as to why they were getting virtually no hits. At the end of the turn more American ships came onto the board.
By the Japanese appeared the large cruiser Alaska leading the cruisers Baltimore and Canberra onto the board. Next to the island 6 American ships appeared. The battleships Indiana and North Carolina are a close match for the Japanese super-ships, while the cruisers Wichita, Minneapolis, Vincennes, and San Francisco are additional welcome relief to the beleaguered Americans.

Turn 3 - The Japanese were slowly moving toward the island while their cruisers and destroyers moved toward the American ships to screen their battleships. This turn the shooting was a lot more exciting. Kumano got hammered by Alaska and lost several turrets. Myoko started flooding. Yamato and Musashi used their secondary turrets to blow several destroyers out of the water, but they had already launched their torpedoes. Omaha and Milwaukee ganged up and sunk a Japanese destroyer. Suzuya was sunk by torpedo but the American destroyers were out of torpedoes at this point.

Turn 4 - The Japanese turned to escape, feeling that their mission was complete. The Americans didn't try fancy maneuvering, they simply charged the Japanese. Several ships were damaged in the new exchange of gunfire, including the last surviving American destroyer. The American battleship commander wished he could actually do some real damage to the Japanese as his older battleships couldn't even penetrate the armor of Yamato and Musashi if he hits.

Turn 5 - The last turn of the game. The American cruisers continued to accomplish little, and Baltimore barely avoided being torpedoed. Alaska finally sank Kumano after hammering it all game. Two more Japanese cruisers sank to gunfire from the older American battleships, while North Carolina finally hit Musashi and, amazingly, took out all three main battery turrets with three hits. All players were amazed by this and wondered if main battery hits should be more rare.
After this turn the victory points were tallied. The Americans sunk three Japanese cruisers for three victory points and destroyed the main turrets on Musashi for another three points, bringing them to six. But the Japanese destroyed the island's airfield, the tarmac, one ammo dump, both fuel storage farms, and one set of barracks. They get eleven victory points and score a victory, having met their objectives.
All the players enjoyed the game and had suggestions on how to make the scenario work better. If I run this one again, there will be fewer ships involved and they will be closer together at the beginning so some hits can actually be made. Nothing really happened for the first three turns until finally some real fighting took place. I might try to make my next scenario a knife fight in a phone booth in the dark, just for giggles and the sheer violence of it all.
— Mike, Chicago Skirmish Wargames club member