I've got a blast from the past for you today in the form of my new Van Saar gang, which I just completed after collecting them off and on for many years. Further down I'll also go over a couple of nifty wargaming products for the gamer on the budget: brush-on matt varnish from Winsor Newton and plastic scenic wargaming bases from Champ Industries.
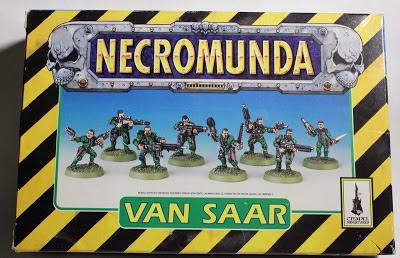
These Van Saar figures represent one of my earliest gaming purchases back in the mid-1990s. Memory is fuzzy, but I may even have purchased the gang before I bought the actual Necromunda game. Just looking at the box gives me warm fuzzy nostalgic feelings.
Unlike many of my other early gaming purchases, I painted these guys quickly, though to a standard that I find slightly embarrassing today. For some reason I've recently become rather taken with the idea of playing Necromunda, even though it's nearly a decade since the last new Necromunda product release and more than a year since the miniatures were unceremoniously dropped from the Games Workshop catalog.
Luckily, over the years I've managed to gather up enough minis for four factions, So my old gang went for a swim in paint stripper and I dug out a handful of other Van Saar and assorted scum models and got to work.
Most the gangers are stock with a few exceptions. Here are a few converted figures. The first ganger here is one of the multi-part Van Saar figures released later in the game's history. He has a Van Saar head, but hands from plastic Imperial Guardsmen and a Heresy Miniatures sniper rifle. The rifle is not really a practical or common weapon in the Necromunda game, but it can easily serve as a lasgun or autogun and is really an admission that these figs will see battle in games outside of Necromunda. The heavy is a Heavy Stubber gunner with an Imperial Guard flamethrower. The hose to the tanks in back is a piece of guitar string.

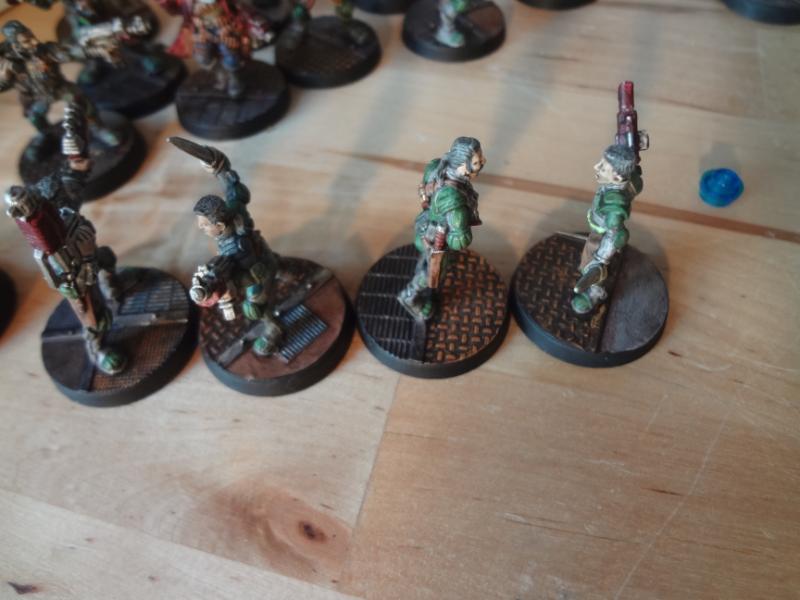
These next two are also multi-part Van Saar plastic figures. On the left, I've given her a head from Alpha Forge Salvage Crew (formerly sold by Megaminis) and a Warhammer sword hand. The fellow to the right has a new hands from plastic Imperial Guardsmen and a Rogue Trader-era Space Ork plasma gun, one of my favorite Games Workshop bits of all time. (I'm currently trading for more if you've got any…)
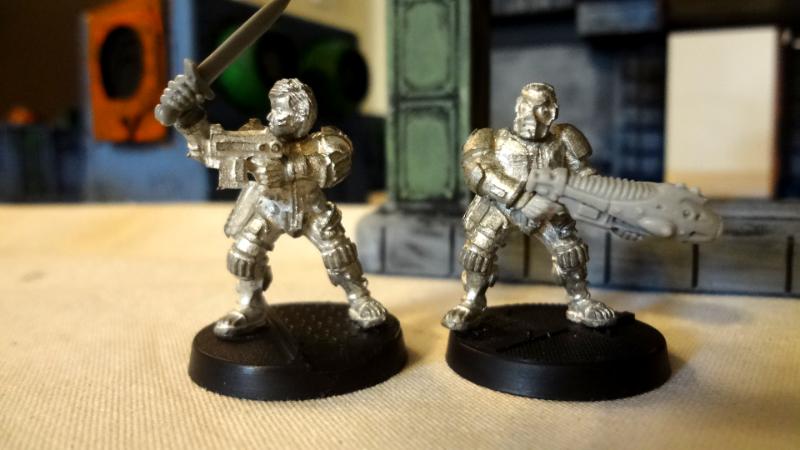
A quick word about the multi-part Van Saar who were released eight years or so after the originals: It's always nice to be able to add some variety to your warband, but in many ways these figures represent a missed opportunity. They do not have any of the slender grace of the original figures. The details are chunky compared to the finely sculpted original figures. Oddly, none of the heads on the sprue have the signature Van Saar hairstyles, or facial hair.
As usual, I opted for a fast paint scheme. All the figures were primed with white gesso mixed to a grey color. then I block-painted all of the basic colors, followed by a drybrush of light grey on the hair and light green on the green sections. The bases were given a brown wash and then they were brush dipped with Minwax Polyshades Tudor Satin.
To cut the shine from the Minwax, I varnished them with Windsor Newton Galleria Acrylic Matt Varnish at full concentration with no water added.
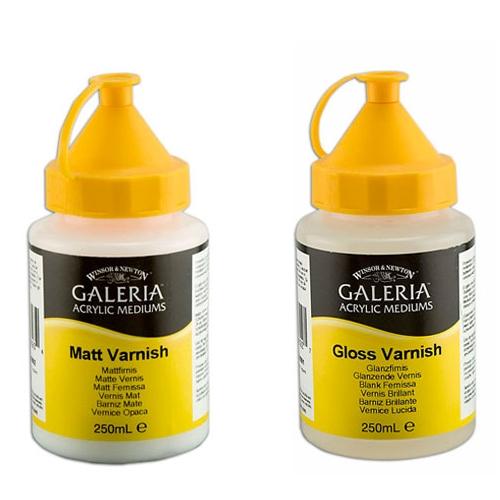
It was my first use of this particular brush-on varnish and I am completely sold on it. After years of searching, I have found my brush-on varnish! It's cheap, has low odor and it cuts all the shine in a coat or two. Eight ounces (250ML) is just $8 at my local art store! I've read online that you should use thin coats to avoid clouding the miniature. I found that it dried flat in just a few minutes and I was able to touch up spots I missed quickly.
However it does stay tacky for a while. If you plan on doing any painting over the varnish, it's probably best to leave the figures to dry thoroughly first.
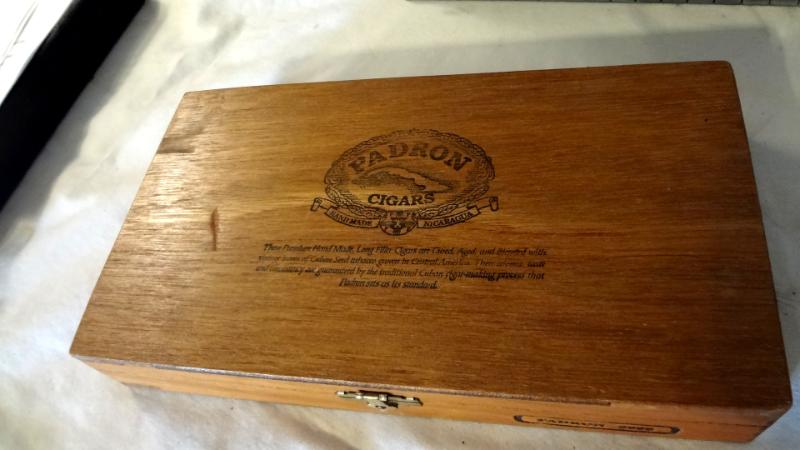
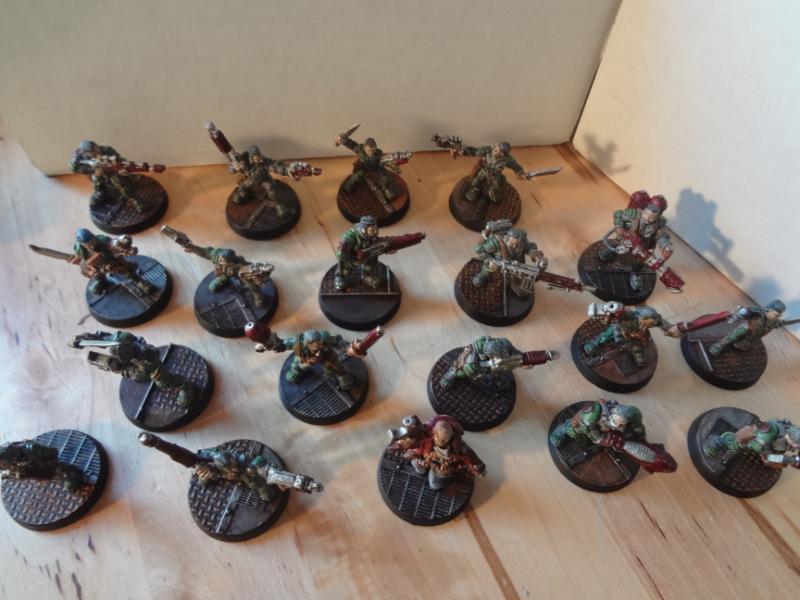
Now let's see. What's in this cigar box?
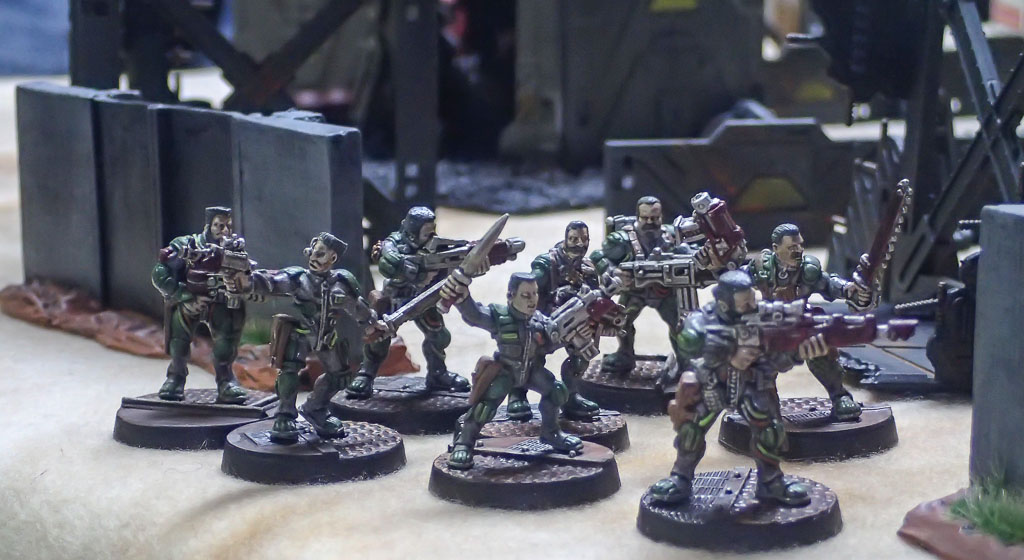
Why it appears to be a Van Saar gang!
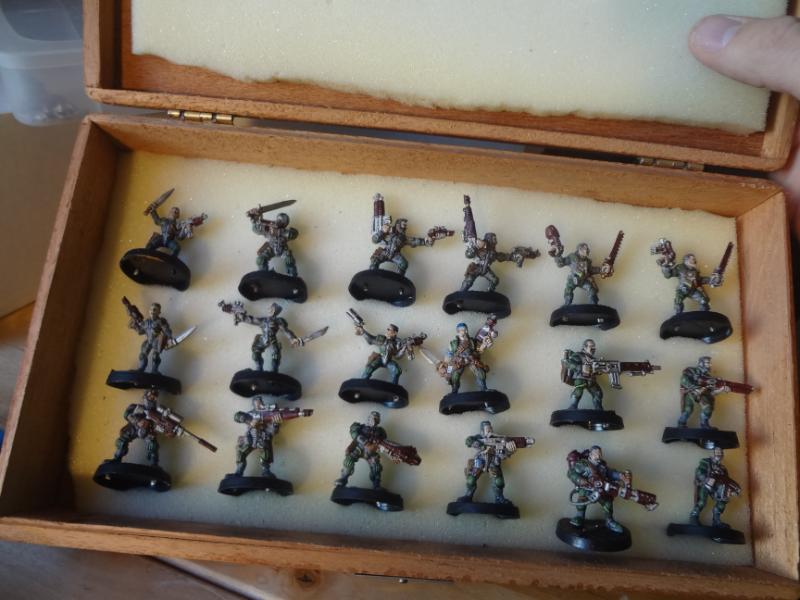
Let's take a closer look... here are the Juves
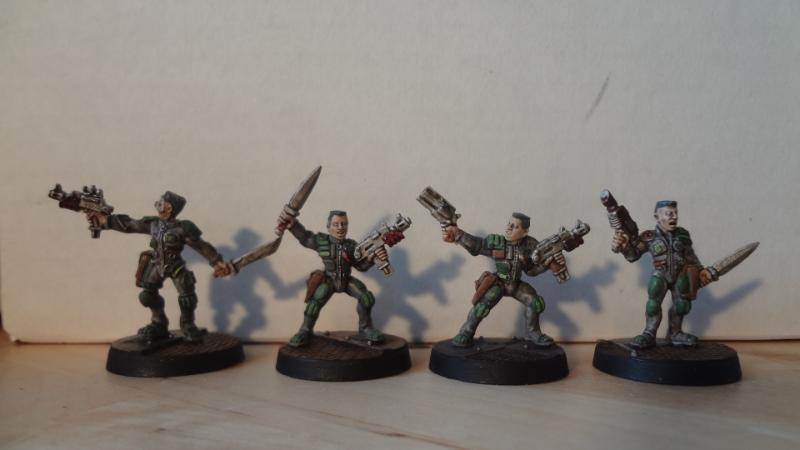
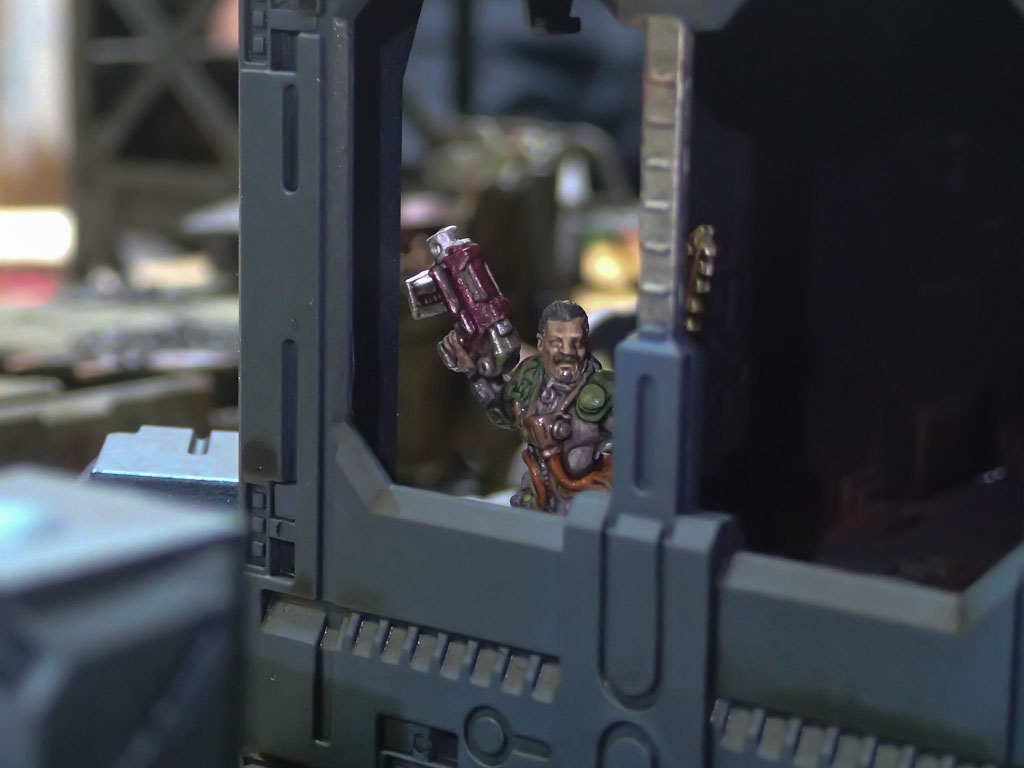
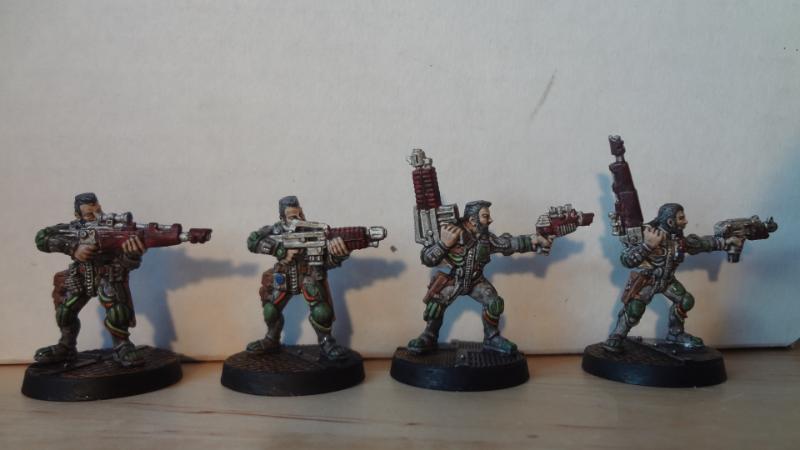
Lasgun and autogun gangers. I'm very pleased with the way the dark crimson color came out on thier weapons. I'm going to do more of this in the future.
Other gangers
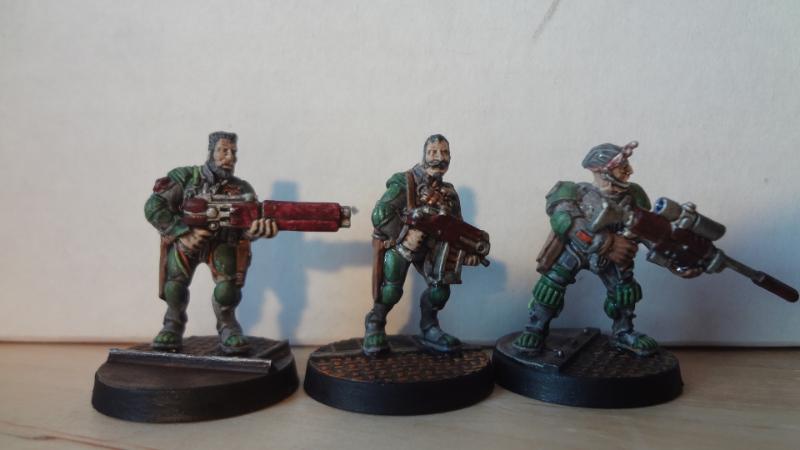
Heavies.

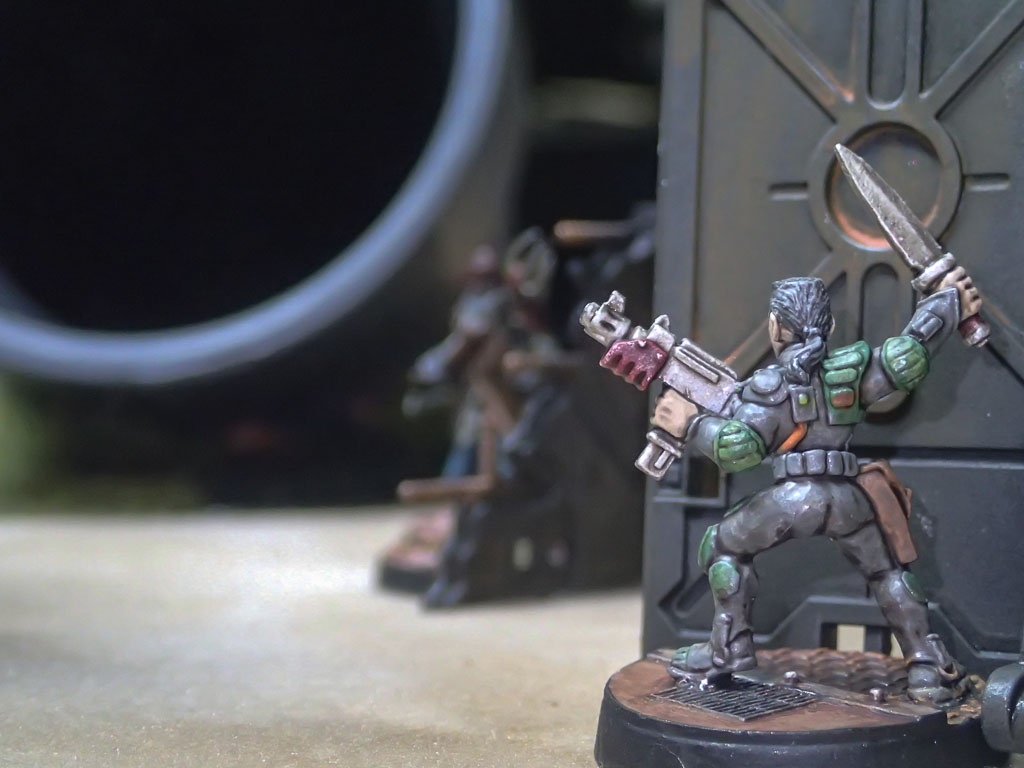
Leaders and close combat gangers
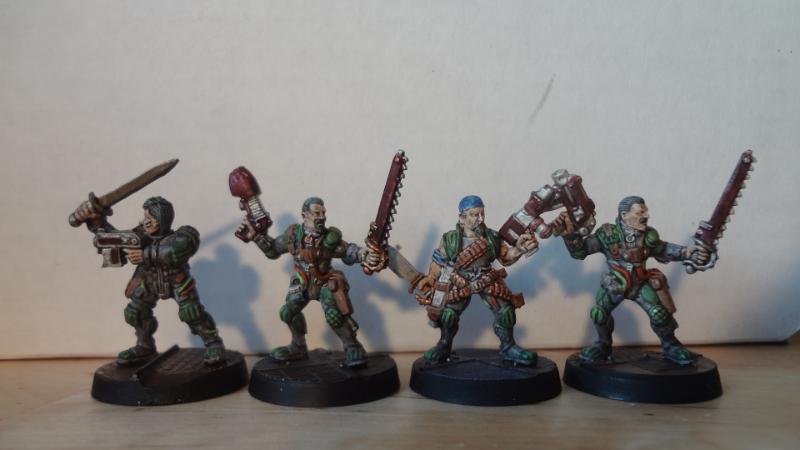
The figure with the bandana is actually a Scum figure, but since he's already wearing half of a Van Saar body suit and the appropriate facial hair I decided to paint him as one of the gang. This is the other Scum figure that came in a pack with the Scum above. One of my favorites, this independent fellow is definitely not a permanent part of anyone's gang.
All the figures had their slotta tabs trimmed down to a peg under each foot and were based on Champ Industries plastic scenic bases with small holes drilled for the pegs.
They are excellent bases with crisp casting and none of the drawbacks (flat bottom, bubbles, flash, etc) that one gets with resin bases. They were originally created for the Rezolution: Dark Tomorrow game and are now available direct for the ridiculously low price of 30 cents each! The only drawback is that each of two themes only has 4 different sculpts.
However, they're easy to modify and really simple to work with! One wonders why more companies aren't making plastic bases.

There you have it. My first Necromunda gang gets a new lease on life and some more useful products for the thrifty gamer. I'm not done with Necromunda either. I've got the figures for Escher and Cawdor and maybe Delaque and Orlock gangs as well.
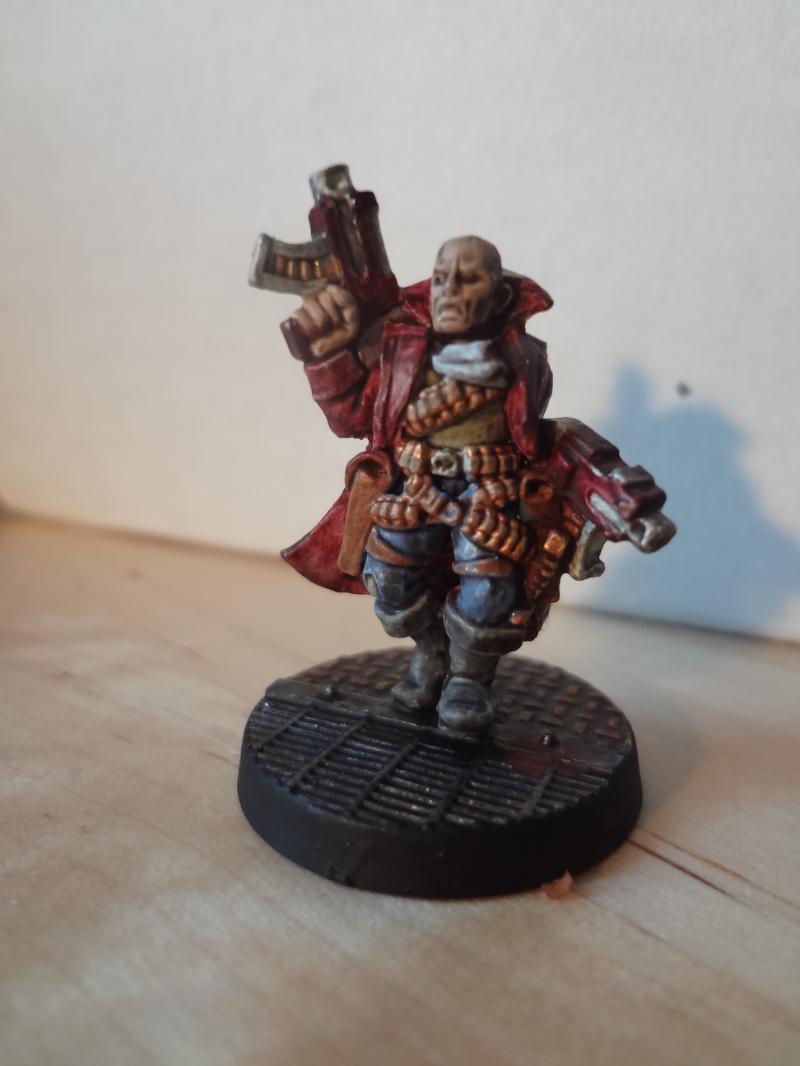
Lastly, this figure just came to me from Tim a week ago.

With his flamboyant outfit, lack of insignia and bulbous head, I though he was a Genestealer Cult character. However it turns out he is an Imperial Psyker. Necromunda has rules for Wyrds (psychics) and I think this guy will be perfect!
-- Karl, Chicago Skirmish Wargames club member