Friday, February 28, 2014
Dark Days of Qaarra, Session 8: Torchlight Raids
The club got together again this week for our regular game night. We set up a couple games of Song of Blades & Heroes, and although we weren't running our experienced campaign warbands, it still pleased me to set these games in Qaarra, our campaign world from last summer. So this is session 8, albeit less official than most of our campaign games since we skipped the post-game steps like determining casualties, calculating income and the like. Still, we're building the mythology of Qaarra and that is a good thing.
We set up two side-by-side tables: a windswept wasteland of shattered rocks and stunted trees, part of the Sunderstone Badlands, and the eerie, abandoned village of Windspiel, high on the northwestern coast of Qaarra.
In the Sunderstone Badlands, Terrence's orcs were tasked with retrieving the bodies of two fallen comrades before Tim's nightmarish monstrosities could consume them in a tidal wave of fire, blood and space jelly. Here are Terrence's orcs advancing inexorably across the badlands.
Tim's monsters were freshly painted figures from the Descent board game, and it was really cool to see them on the table. So often these cool sculpts stagnate in board game boxes without ever feeling the soft caress of a paintbrush.
Since their first game ended pretty quickly, Tim and Terrence set up another game, where his orcs were tasked with escorting their rescued buddies across the badlands in a borrowed cart. Alas, they ran smack into Tim's monstrosities and were reduced to a fine red mist.
Across the table, my evil warband (led by Gracklemar the gnoll and featuring more gnolls, ratmen and a nasty troll) encountered Mattias's rowdy band of knaves from the Wyrdwold crowded around a smoky campfire. Here they are, apparently drunk on mead and riding horses around the camp.
Those barrels contained gems and loot from a recent raid, and that was exactly what Gracklemar and his minions were seeking. It was night, so the raid began with stealthy maneuvering. Here the ratman close in on the sentries while the rest of Mattias's guys sit around the fire, oblivious to the coming chaos.
When the alarm went up, the Wyrdwold marauders leapt into action, rallying around their banner to beat back Gracklemar's invaders.
Yep, that standard bearer proved to be a key part of Mattias's victory. Not just another pretty face! In the end, I was able to recover a couple barrels of loot, not nearly enough to win the scenario. My guys looked pretty cool, even in defeat! You be the judge. Here my ratman sneak lurks in a ruined cottage.
And here's a glowering look from my troll as he retreated with the remains of my warband. Don't worry, they'll all live to fight another day.
After that, we switched chairs, shuffled up the terrain and started another game. I was paired with Tim, so we set up a scenario where my ratmen were defending an entrance to their sewer hideout, represented by this low tower. It was surrounded by copses of parched trees.
Terrence and Mattias set up another variation on their "rescue the wounded orcs" scenario, with Mattias's Wyrdwolders trying to haul off the unconscious orcs before their comrades could rescue them. Here's the initial clash.
This scenario ended (as many do in Song of Blades & Heroes) with a gruesome kill by one of Terrence's orc champions. Luckily my camera was there to capture the moment it happened.
Looks like the Lord of Lichens will have to find himself a new horse before the next game!
And here's how my game with Tim finally shook out. This photo, showing my troll beset by fire elementals and star vampires, should give you some idea of my fate.
Yep, pretty grim! My troll scored a lucky hit and prompted Tim's entire warband to rout and run off the table, though. I literally snatched victory from the jaws of defeat.
All in all it was another fun, flavorful evening of gaming with our favorite skirmish ruleset. The village of Windspiel was soaked through with blood from the recent conflicts, and the Sunderstone Badlands will no doubt be haunted by the ghosts of those who died in its dusty reaches. Just another day in the chaos-wracked lands of Qaarra.
-- Patrick, Chicago Skirmish Wargames club member
Friday, February 21, 2014
Tomorrow's War: Operation Snakepit
Once again, Josh and I had the day off, and so with snow in the forecast, we decided to sneak in a quick game of Tomorrow's War. We used our previous scenario as the jumping-off point for this battle.
Operation Snakepit
Colony World: Fornacis III
Area: New Tupelov
Following their decisive victory in New Tupelov’s urban core, the Subathi empire has begun redeploying its heavy weapons in preparation for a long-expected seige of the city by Terran armored divisions. Sensing an opportunity, the Thunderbolts mercenary army, operating under its own agenda, has prepared an ambush along one of these resupply corridors, hoping to catch the Subathi off-balance and inflict a devastating defeat. A setback here would give the Terrans an opening for their massed assault -- and it would serve the Thunderbolts’ own strategic purposes.
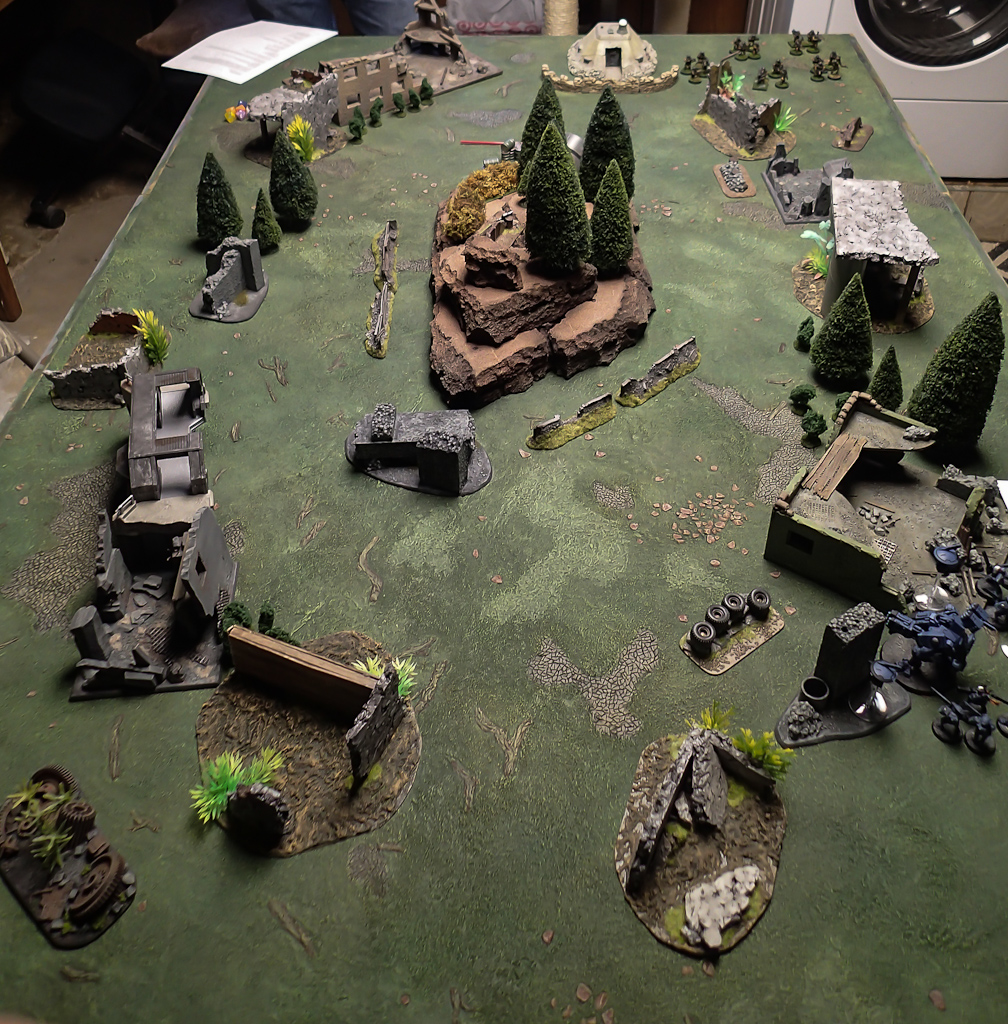
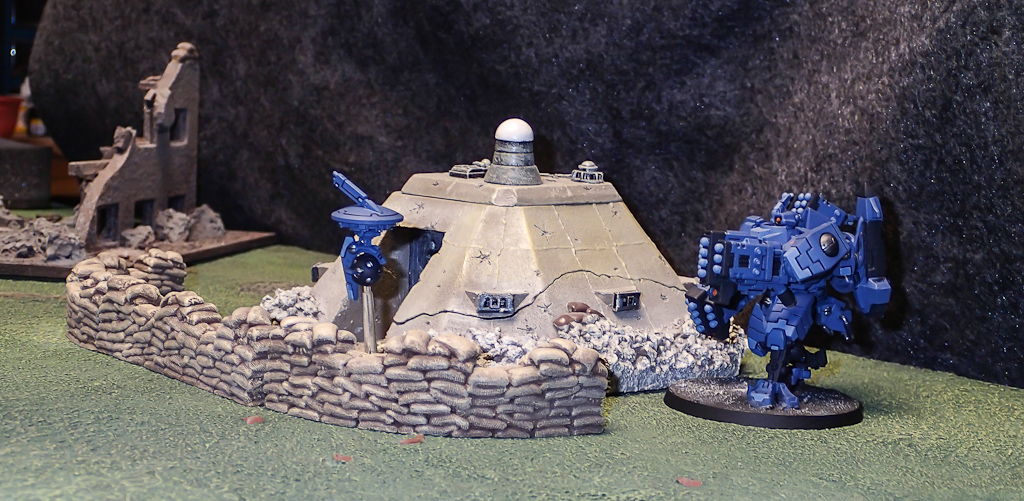
In game terms, the Subathi empire (represented by Josh's shiny Tau figures) had to escort a deactivated heavy weapon battle suit across a long table into a designated resupply zone on the other end of the table. My mercenary army, Colonel Markham's Thunderbolts, would attempt to ambush the escort and destroy the heavy weapon suit. Here's the battlefield (the bunker on the far end of the table represents Josh's destination):
The big rocky bluff in the center of the table proved to be an interesting terrain piece. It was large enough that it completely blocked line of sight across the table, effectively turning the battlefield into two smaller avenues and forcing Josh to choose a route through the broken ruins of New Tupelov.
(The awesome latex mat is from Zuzzy and I just finished painting it for Josh. Hopefully we'll see it again soon in games to come!)
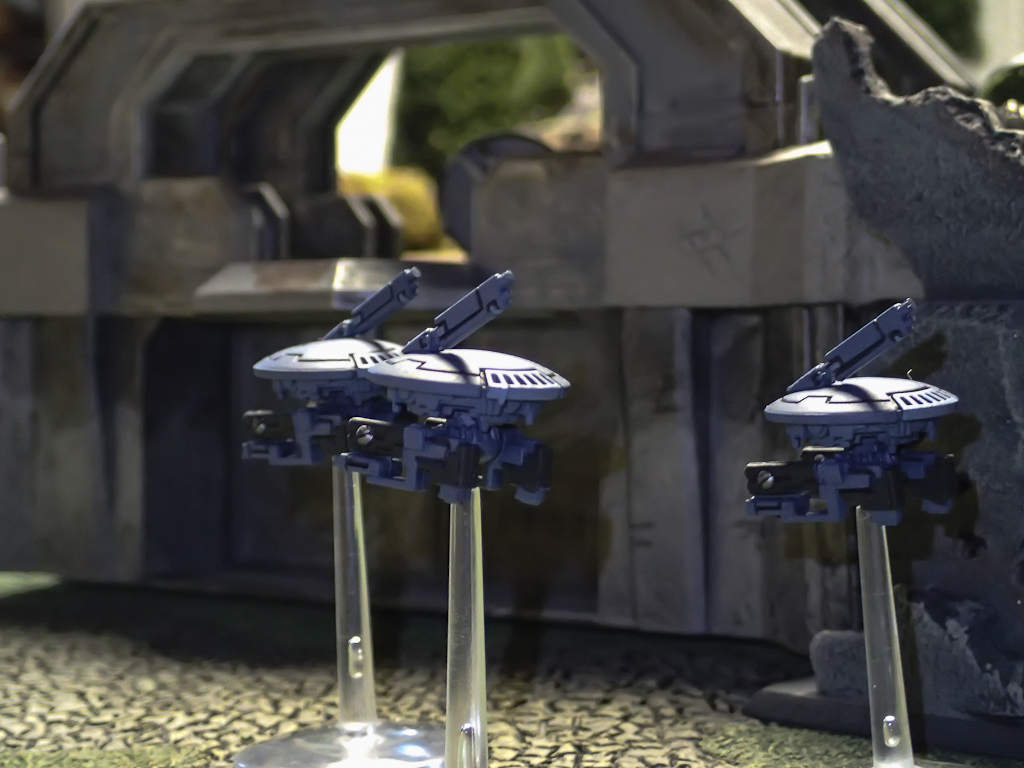
We added a few new tweaks to this game. Josh kept the initiative the entire game, which meant that my Thunderbolts could only react to his actions as per the Tomorrow's War rules. Also, his Subathi had shield drones that generated a forcefield around his heavy weapon suit. I could target and destroy the shield drones, but that proved difficult and costly as the game wore on.
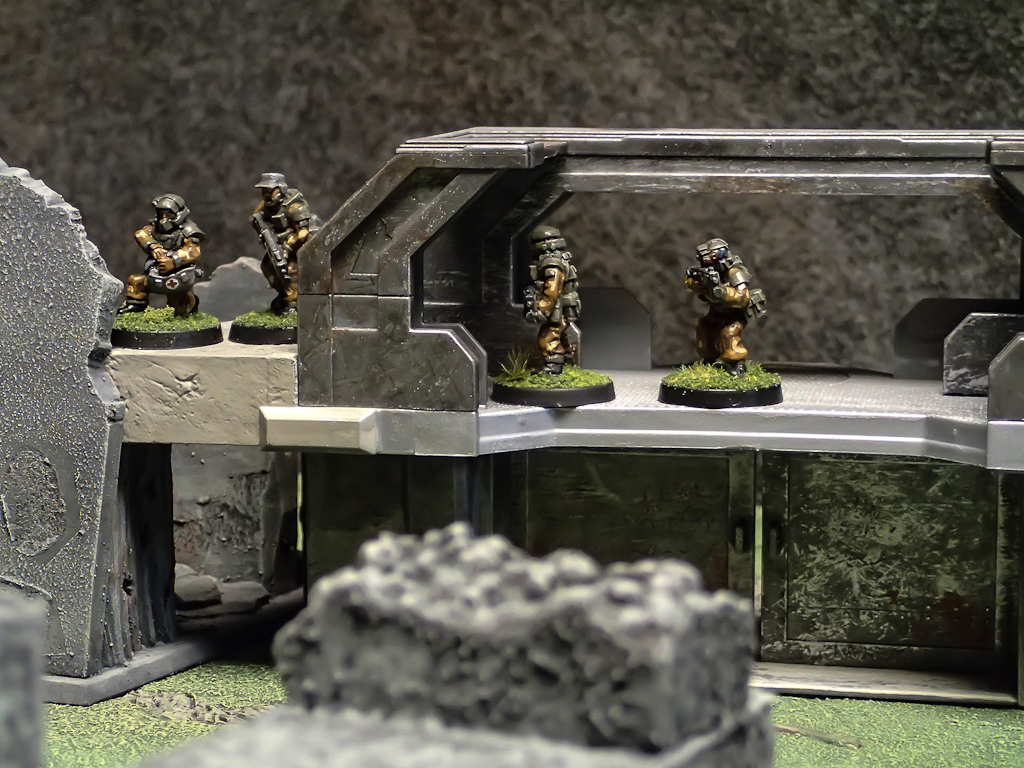
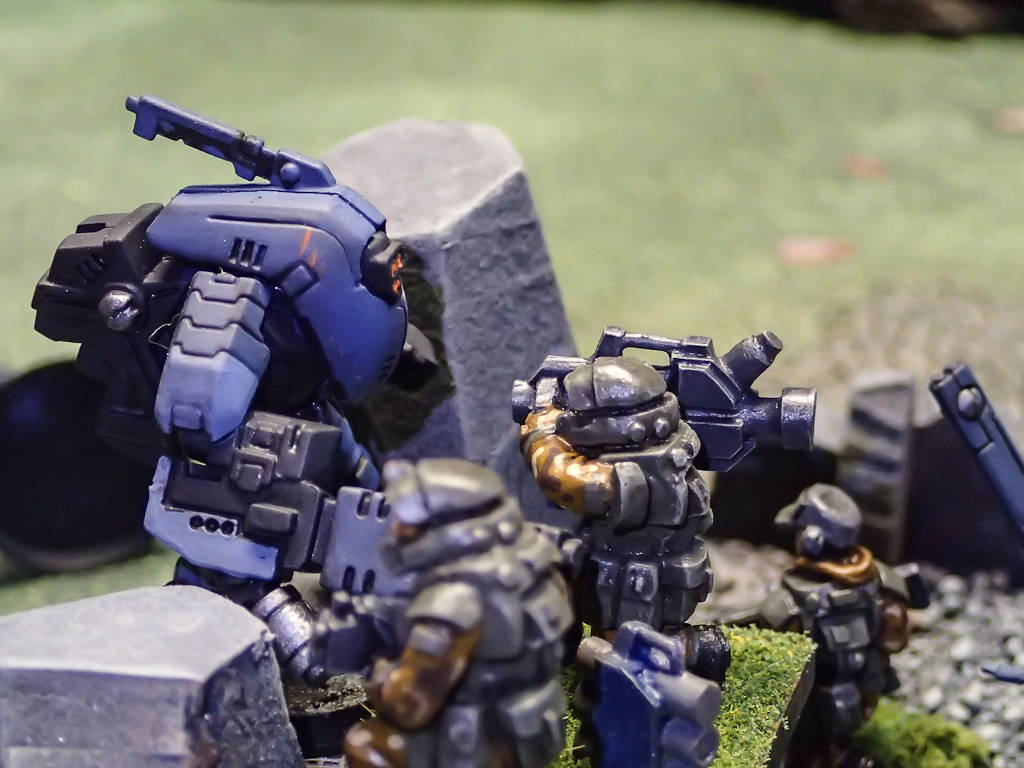
Josh's opening moves sent his guys around the right flank, seizing some ruins and laying down covering fire with some of his Subathi warriors. These initial maneuvers proved very effective, as it hampered my ability to move across the battlefield and respond to his flanking move. Here are two photos of a typical engagement from the opening turns of the game: my guys moving from cover and getting caught out in the open!
Oh crap! Run guys!
Eventually I slogged my way through Josh's firepower and deployed a couple fireteams on the rocky bluff in the center of the table. These guys spent the rest of the game lurking in the wooded hills, firing on Josh's shield drones as they tried to move across the table with their heavy weapon suit.
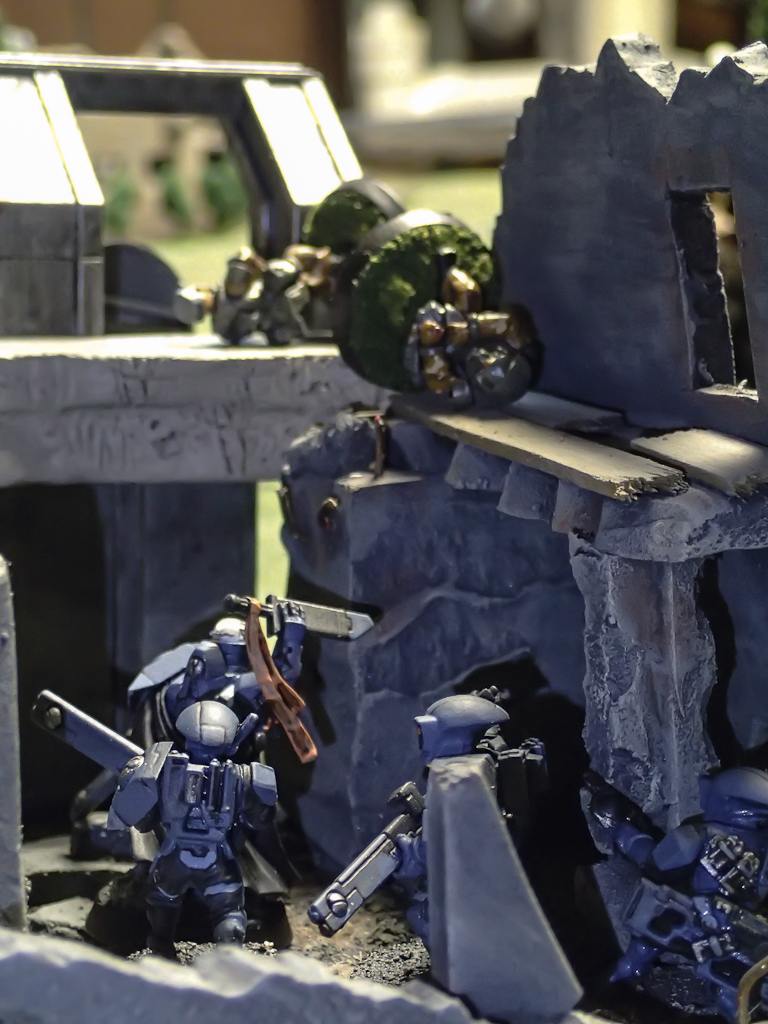
Josh's reinforcements arrived on turn 2, and he sent them up the left flank, which I had been busily evacuating so I could focus on the right flank. Oops! I had a couple fire teams on the left side of the board, so I put them into cover in the ruins of New Tupelov and prepared to return fire.
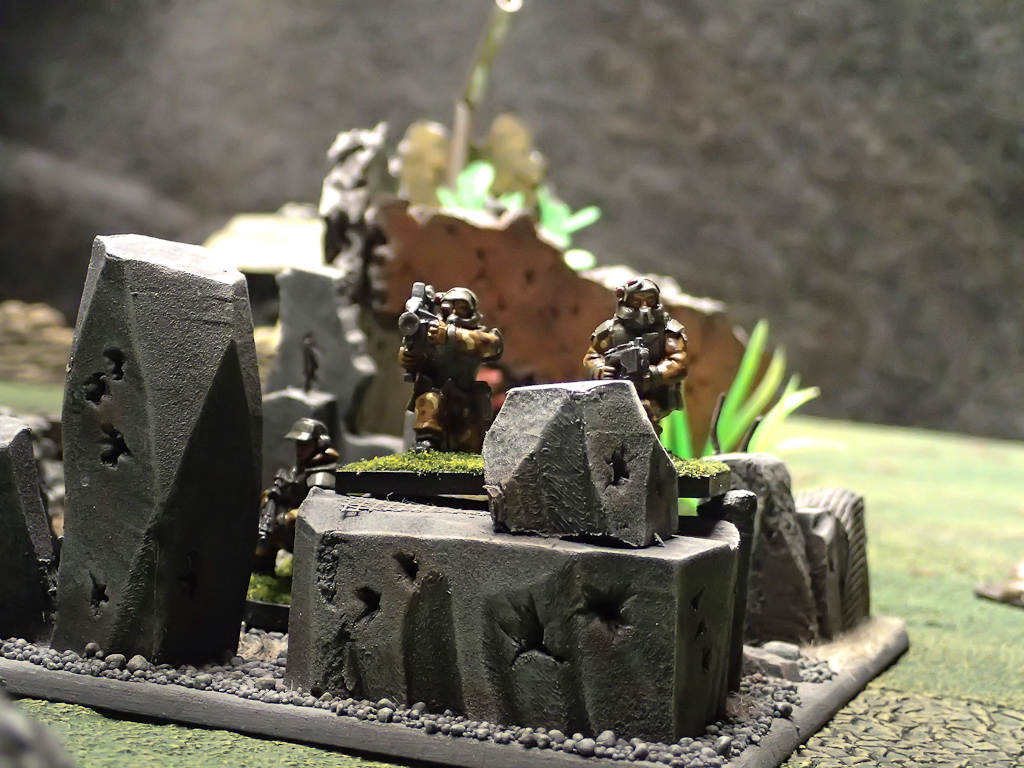
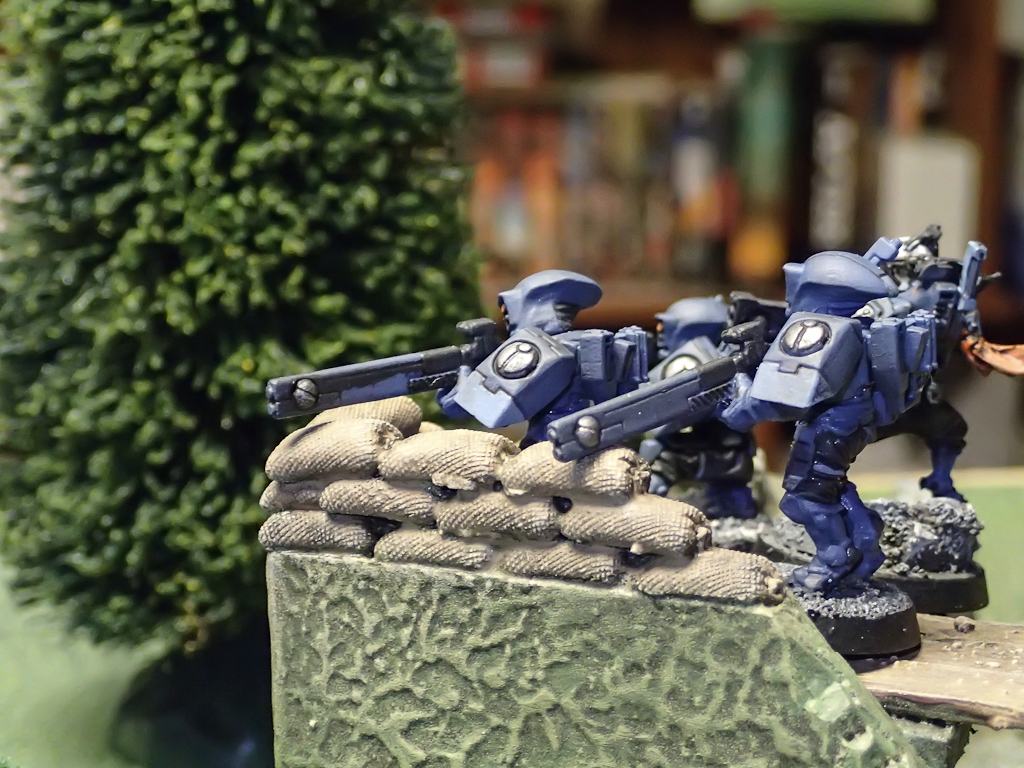
These figures are from Pig Iron's Heavy Infantry range and they're absolutely fantastic -- chunky, mid-tech near future warriors with appropriately sized weapons and a lot of character.
Shortly after I took this photo, a squad of Subathi warriors shot this fireteam to pieces, leaving only wounded, moaning troops lying in the dust. While the battle raged on the other side of the table, Josh sent a squad to capture my wounded mercenaries -- no doubt to give us a reason for a follow-up game! Here's the capture:
Across the table, I was doing a pretty good job of throwing roadblocks into Josh's path. In one notable engagement, he sent a squad of Subathi warriors charging into a mercenary squad that was already weakened by casualties. In a miraculous turn of events, the mercenaries rallied, fought off the Subathi, and proceeded to annihilate the opposing squad to a man.
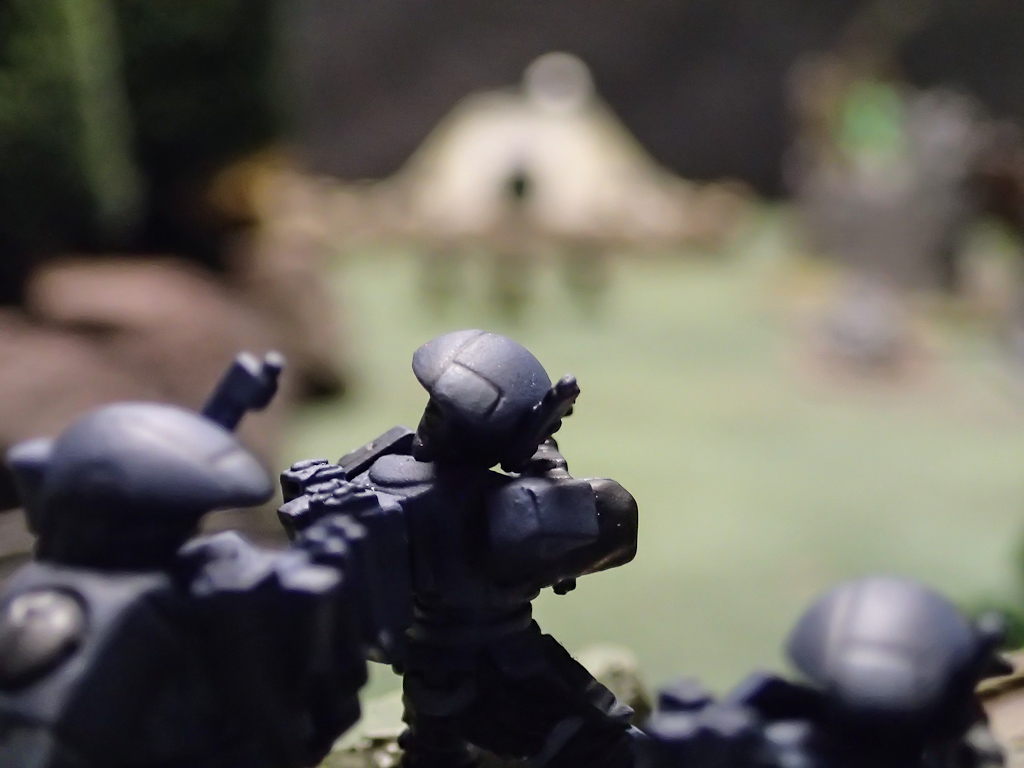
As the game entered its final turns, I was finally able to shoot down a few of those pesky shield drones, thus exposing Josh's heavy weapon suit.
But my fireteams were out of position and I was only able to get off a few rounds of fire before we reached out turn limit. We actually played 1 turn beyond our limit because it was clear that Josh was on the verge of victory. And indeed, with his Subathi warriors providing covering fire, the heavy weapon suit marched into the resupply zone and secured the win.
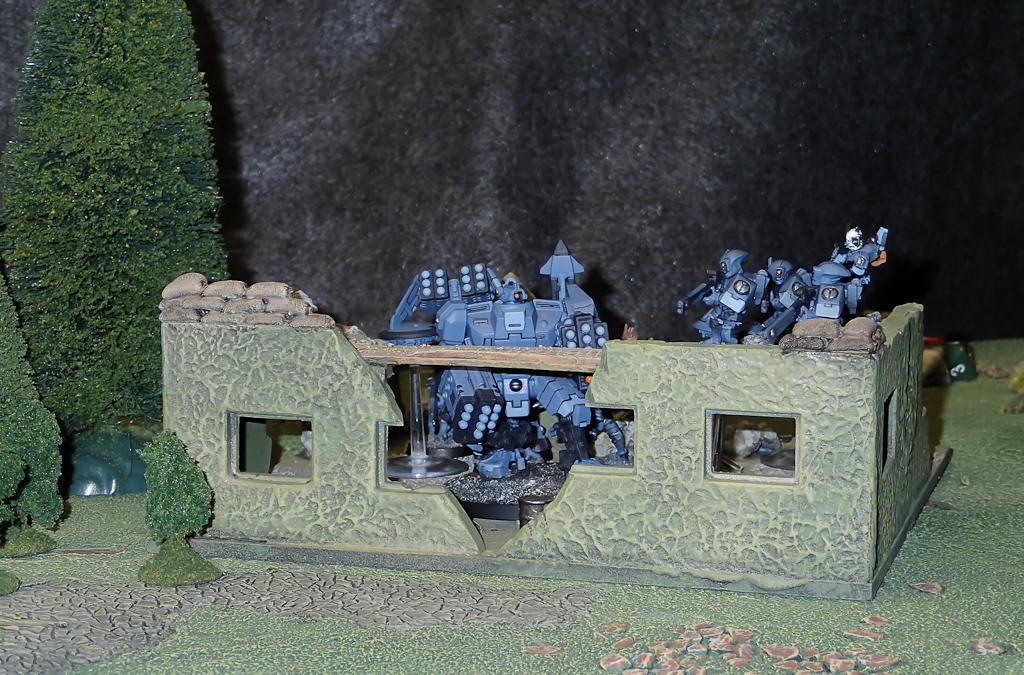
Look, here's weapon suit. He's the one with missiles for hands. He's dancin'!
Once again we had a very enjoyable game of Tomorrow's War. With both players now pretty experienced, our games have begun to hum along quite smoothly. Josh and I agreed that the next game would be an all-out assault to free the captive mercs, so stay tuned for that one in the near future!
-- Patrick, Chicago Skirmish Wargames club member, with photos by Josh
Thursday, February 6, 2014
[SBH] Arcane and Deadly Objects
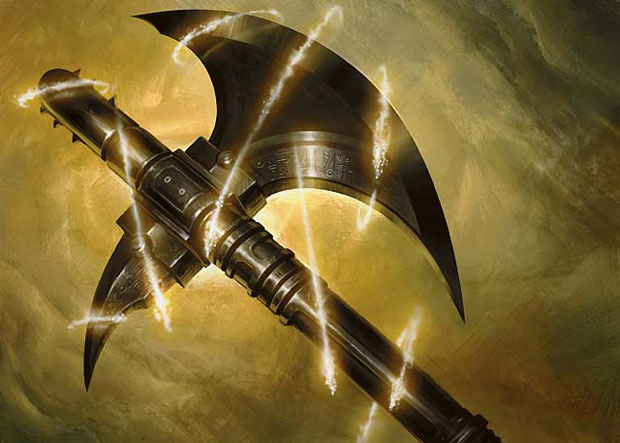
CSW comrade Mattias, whose grim hunchymen faced off against Pat's dwarves in a Song of Blades & Heroes game late last year, recently published a wondrous two-page supplement that's sure to jazz up your fantasy games. Arcane and Deadly Objects is a random table of wily, vile and downright delicious equipment to use in your SBH games. And if you happen to use another ruleset for skirmish gaming, fear not! You'll find plenty of flavor and inspiration in this trim little supplement. Do yourself a favor and check it out post-haste!