Showing posts with label toys. Show all posts

Tuesday, September 8, 2015

Shipping Containers from Micro Machines Playsets


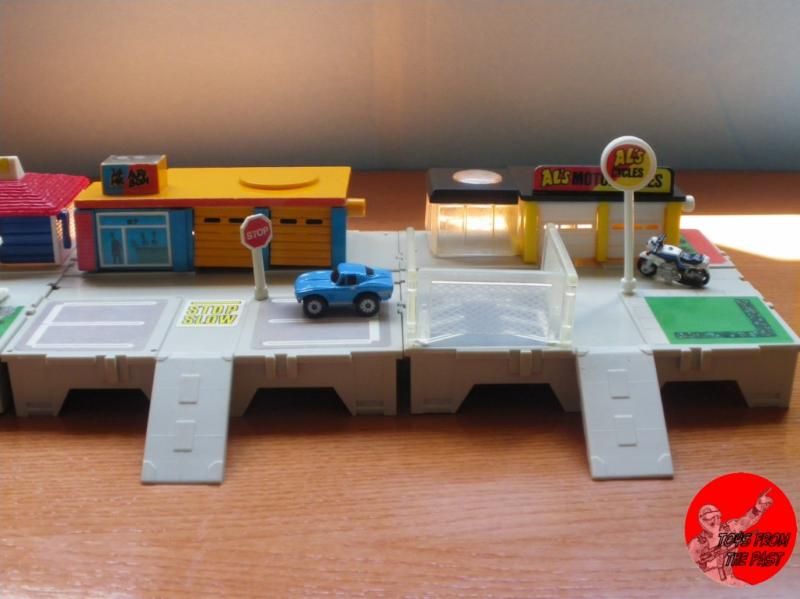
A while back I came across a bag of old Micro Machine playsets at a resale shop. They were largely incomplete, but the bag contained 11 of them and the price was great, so I picked them up as a basis for sci-fi shipping containers. In their original form they would have looked something like this.


(Picture via Toys from the Past)

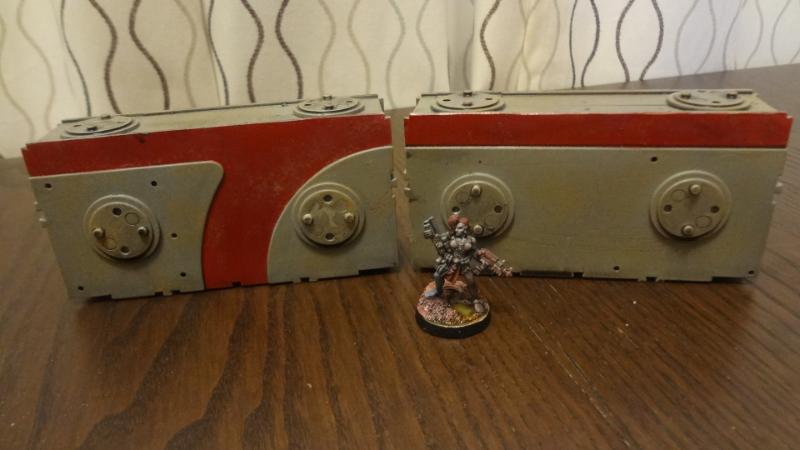
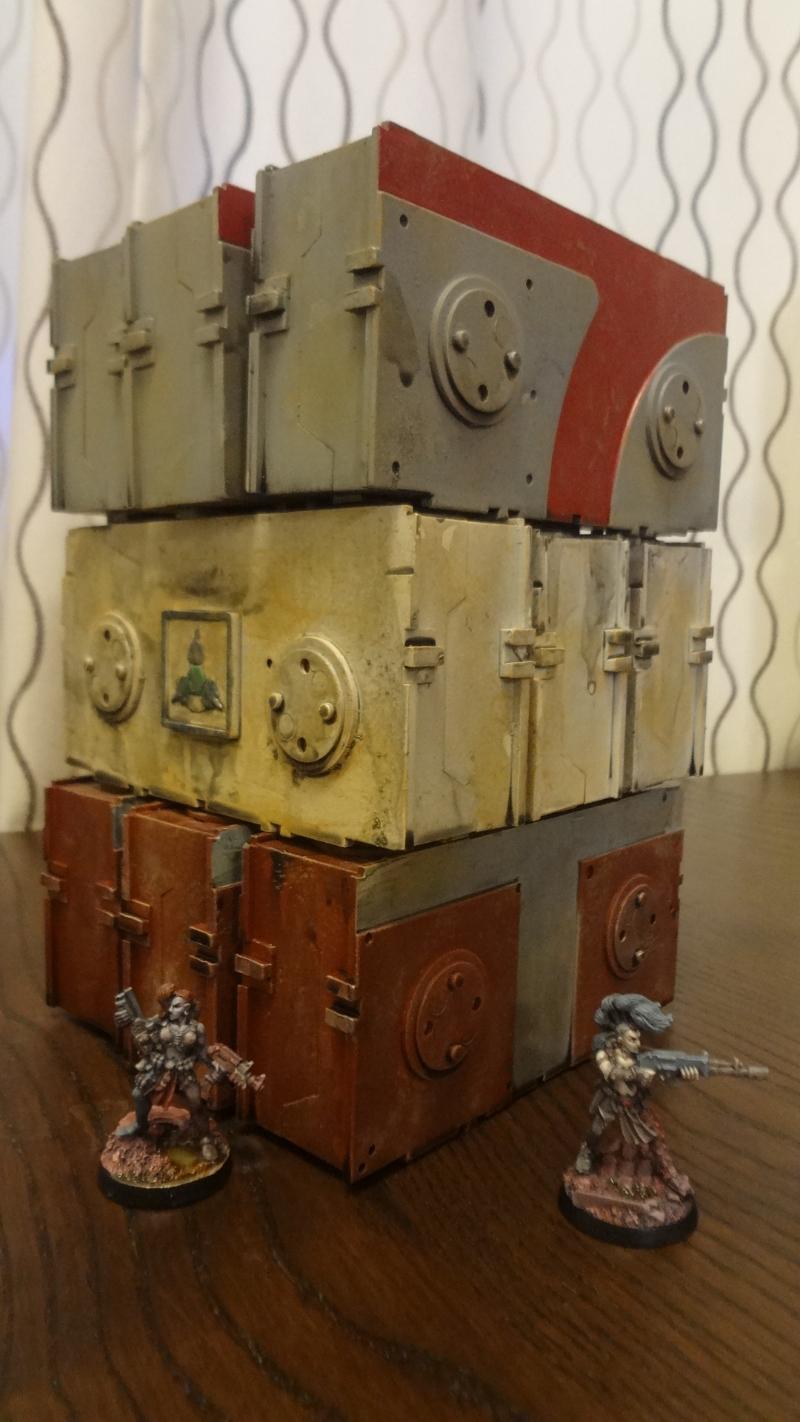
After cleaning off any stickers, I clipped off the hinges and glued them shut. They're a very nice size, being tall enough to completely conceal a 28mm miniature or even a small vehicle, but thin enough to not take up too much space on the tabletop.


The round details are status markers from the Sedition Wars game that are meant to stack under the bases of the miniatures.


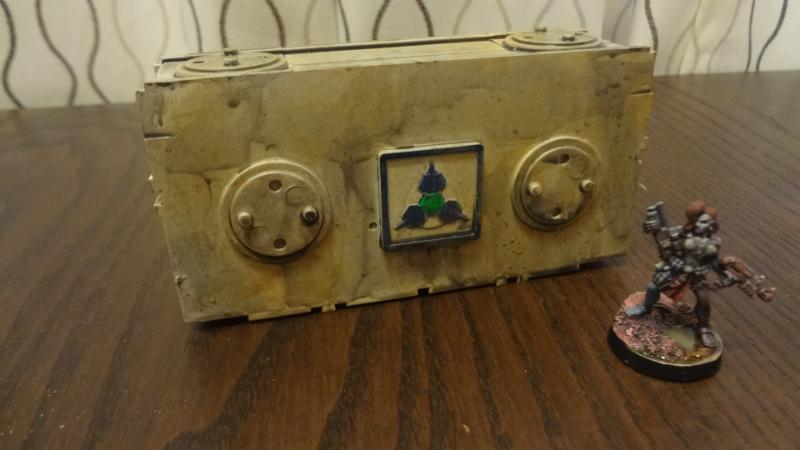
The logo details are mutation markers from the same game.


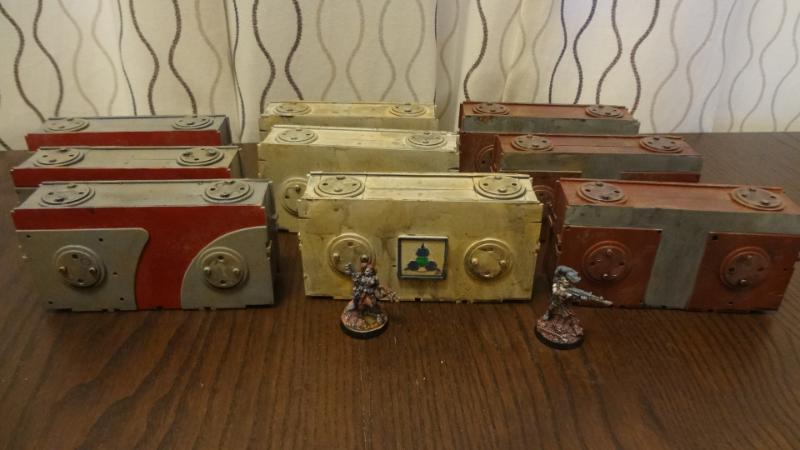
I used a heavy coat of "Magic Wash" (Future Floor Polish and paint) to weather these. I'm not entirely pleased with the results, as it's almost too dirty and drippy. If I use Magic Wash in the future, I'll probably use ink rather than paint. Still, the results are quite serviceable. I have three each of three different types, each type painted in a different manner.


They are pretty stable and can be stacked to make a rather impressive tower.


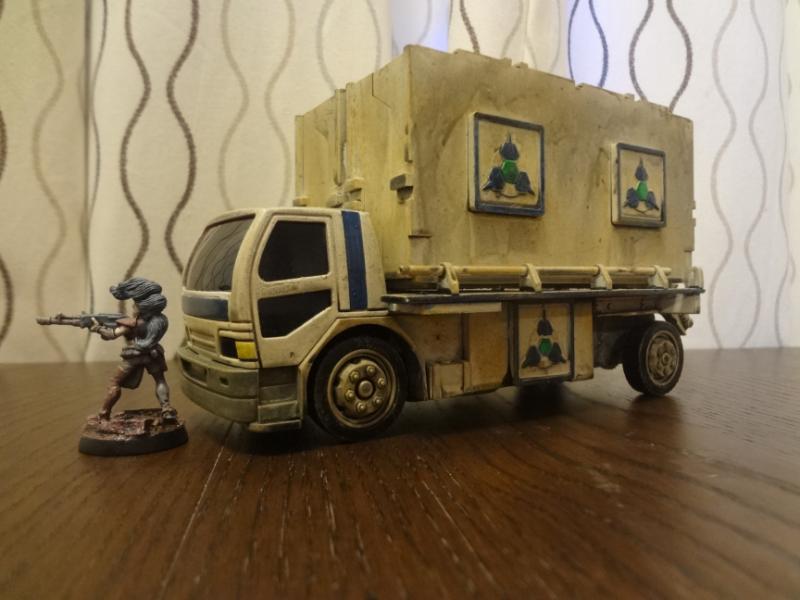
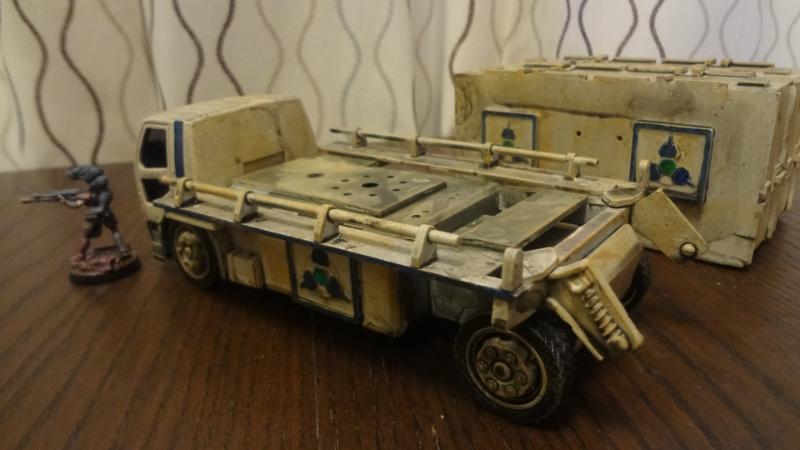
I also kitbashed a flatbed transport truck from various toy parts and a removable double container.


Again I'm not entirely pleased with the Magic Wash, but it looks fine on the tabletop.


These are a welcome addition to my sci-fi scatter terrain collection. They've already seen use in Necromunda and Mech Attack and I'm sure that's just the beginning.

-- Karl, Chicago Skirmish Wargames club member

Thursday, July 23, 2015

Terrain for Mattias, Part 1: The Negotiation


There's a lot of painting talent in our club. One member in particular has a very unique style that I like a lot. Mattias's approach has a palette and look that is quite unlike most other painters. You can see it on his less-than-accurately titled Amateur Hour blog.

When it came time for Necromunda, I really wanted him to paint my Eschers for me. I simply don't have the skill to paint these amazing miniatures in a satisfactory way. However, knowing his schedule, and my inability to pay him what his skill would deserve, I knew I would have to make a big offer.

I convinced him to accept two Macross models, a mess of custom terrain and use of the Eschers in the our Necromunda campaign in exchange for him painting up a 14-member Escher gang. In a few weeks we should be able to see the entire gang (his starting warband is already finished, and some are in this post), but today I will present my half of the bargain.

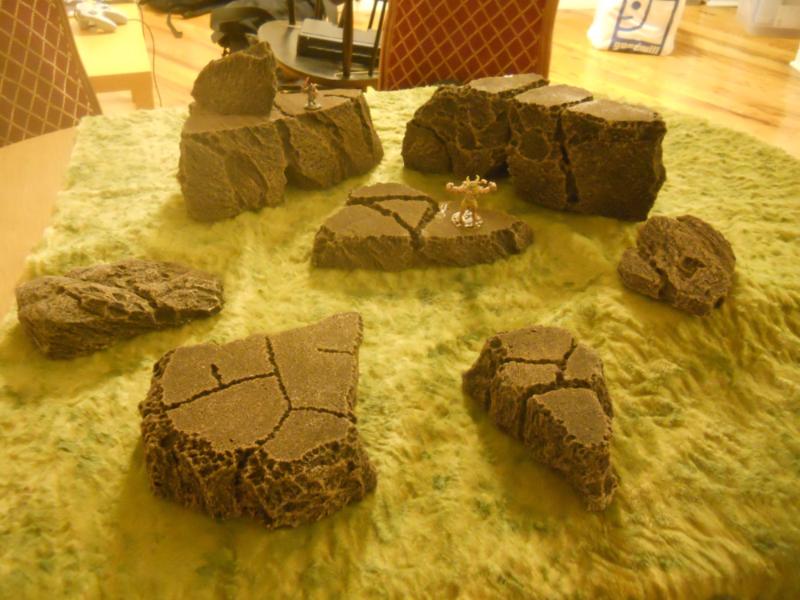
The rocks are seat cushion foam, torn by hand and then painted black with drybrushes of brown and bamboo.


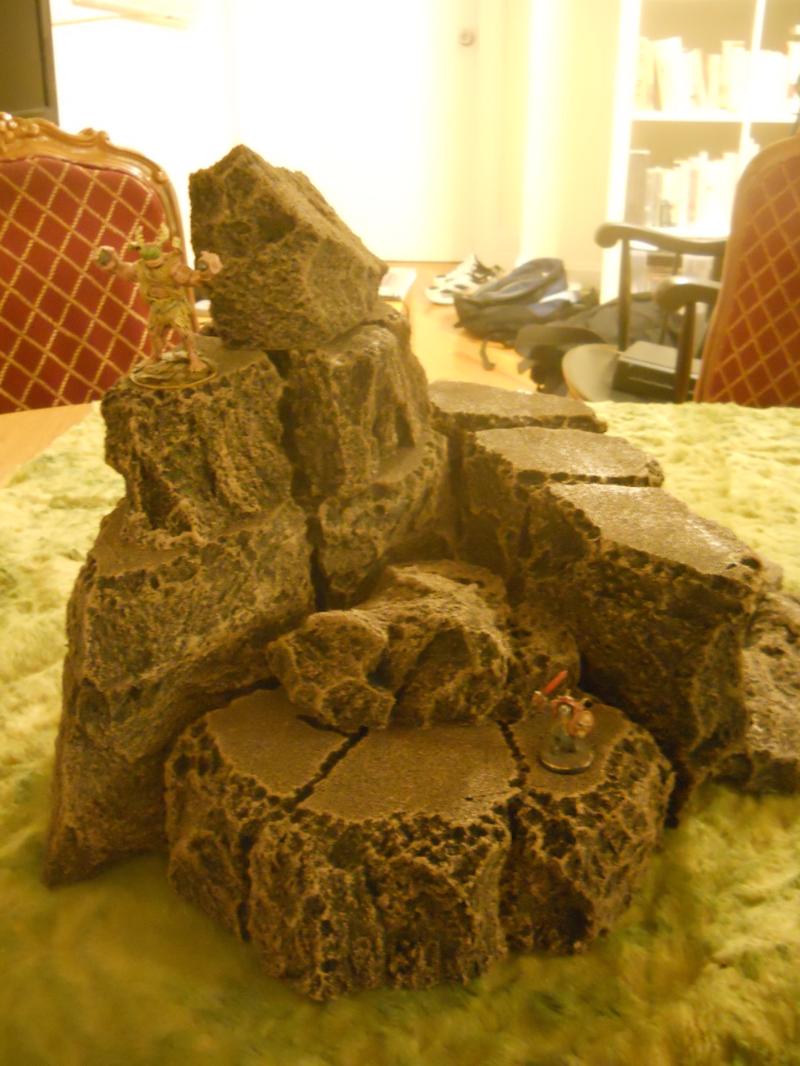
A few of them have tunnels running under them. The piece near the middle with the monster on it was cut from the piece in the upper right with an electric carving knife. It perfectly matches and can be used separately or together to make a taller piece.


I hadn't though much about it, but Mattias showed me how they can be combined for some cool looking formations.

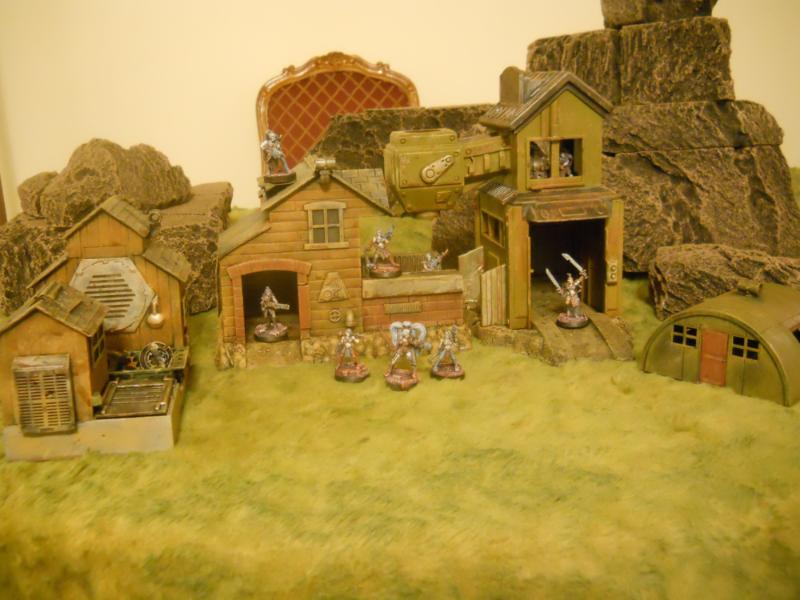
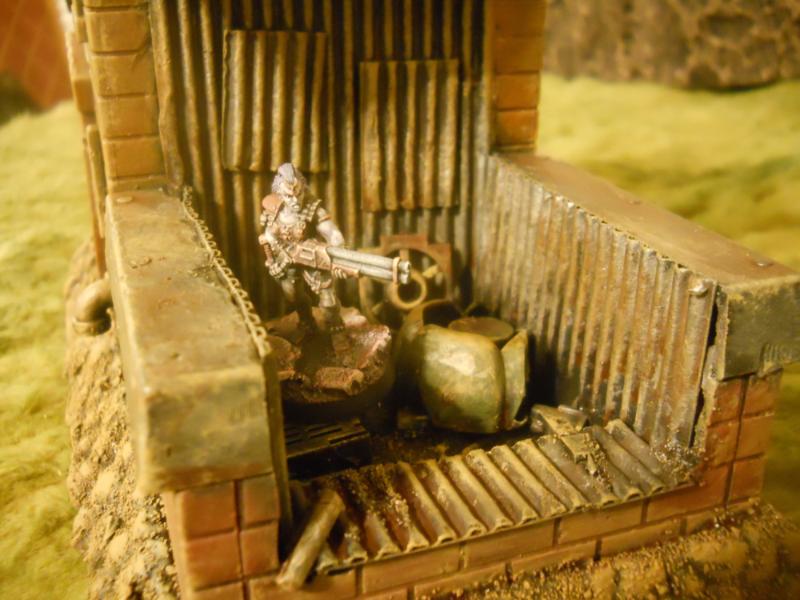
The buildings below are made with my typical methods of Dremeling away any sections I don't want, then covering the resulting openings and details I don't like with corrugated cardboard and sci-fi bits, plus lots of additional greebling. These first two in particular have lots of nice junky bits in the receptacles. Feel free to ask any construction-related questions in the comments section.

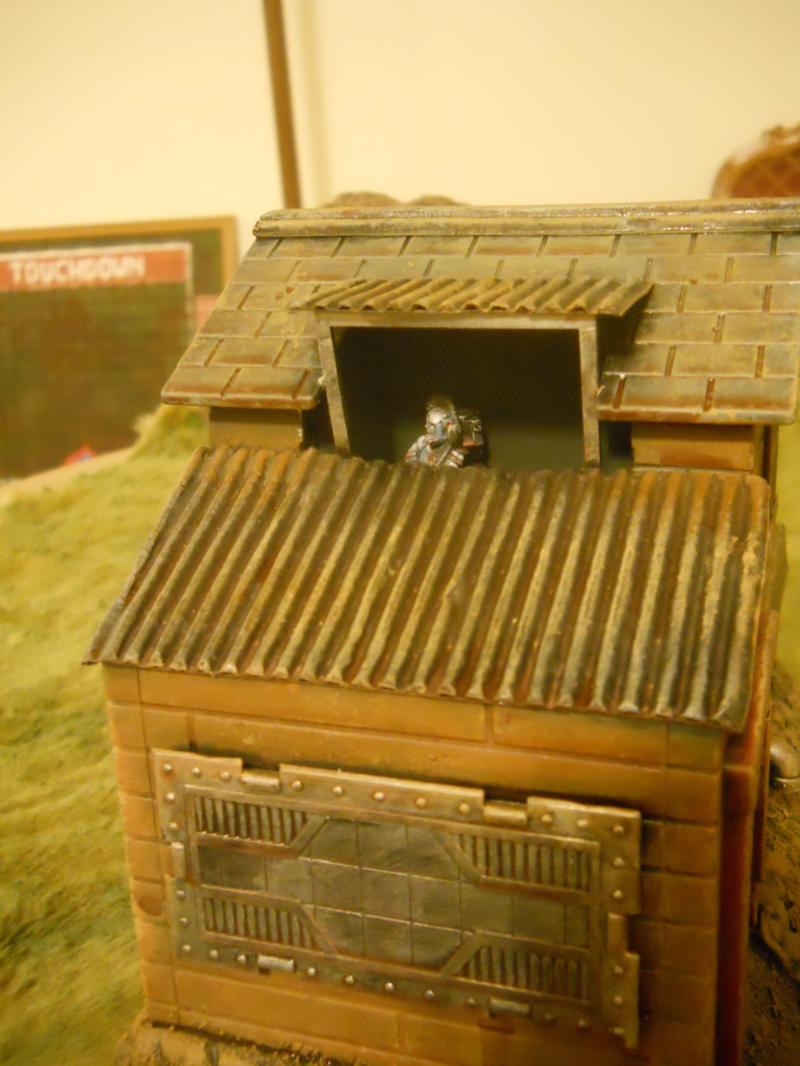
The first two buildings are similar in style, both based on Thomas and Friends railway buildings. I've painted them similarly and made them into a sort of recycling center.


I'm particularly proud of the spot on the back where minis can be placed in a lookout.


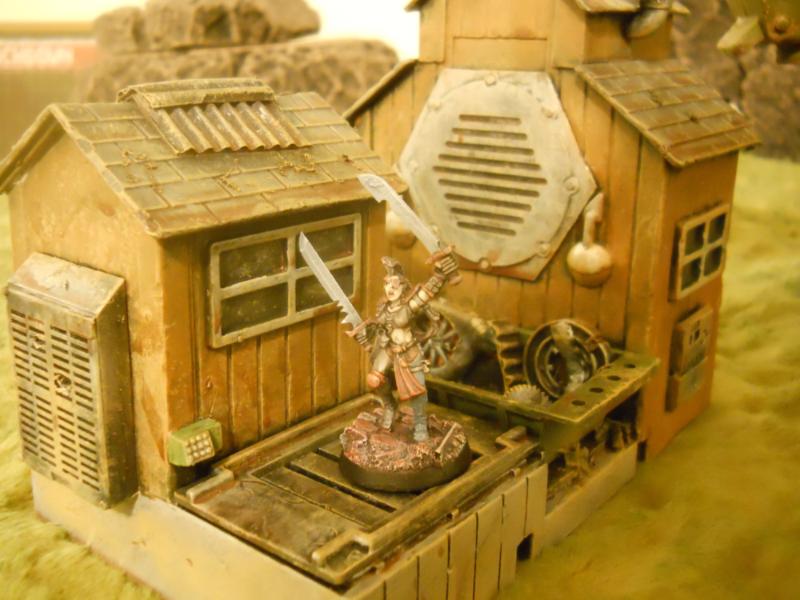
This second piece is more like two buildings on the same base.


I've cut away the chute that once connected them and put a dumpster in between them. A few bits on the other side implies a covered trash compactor.


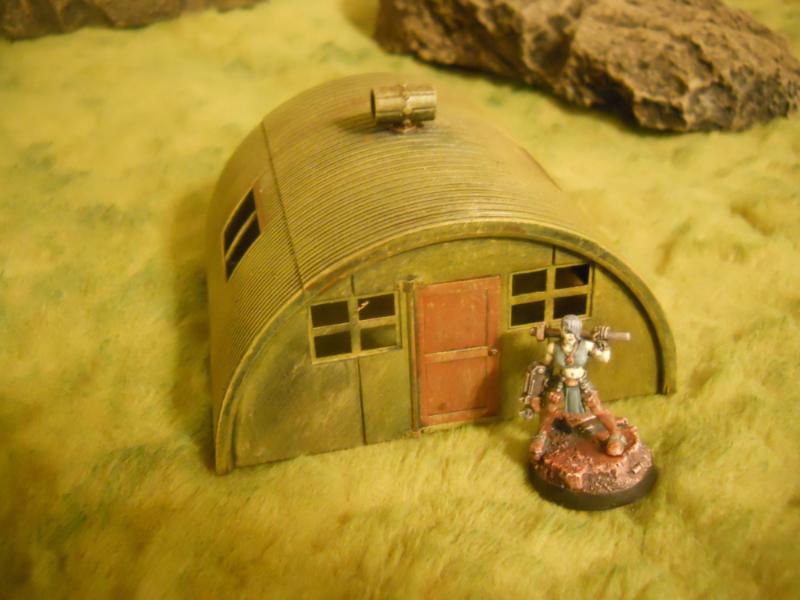
This third building is a stock model from Dust Tactics Airfield Quonset Hut Accessory Pack with an added smokestack.


I really think that 28mm wargamers owes it to themselves to buy a box of these. About $20 will get you 4 incredibly useful buildings that can fit into any setting from 1941 through the far future. They even have opening doors! I've also found them useful as roofs on top of Dust Tactics Warzone Tenement buildings.

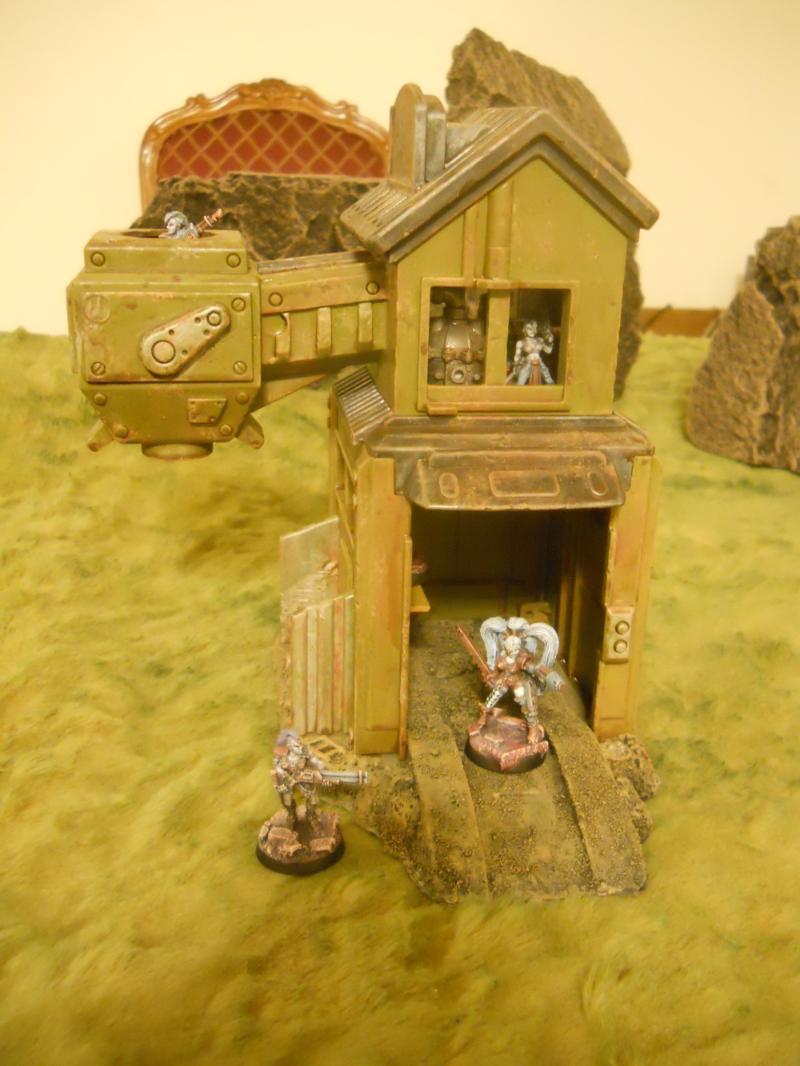
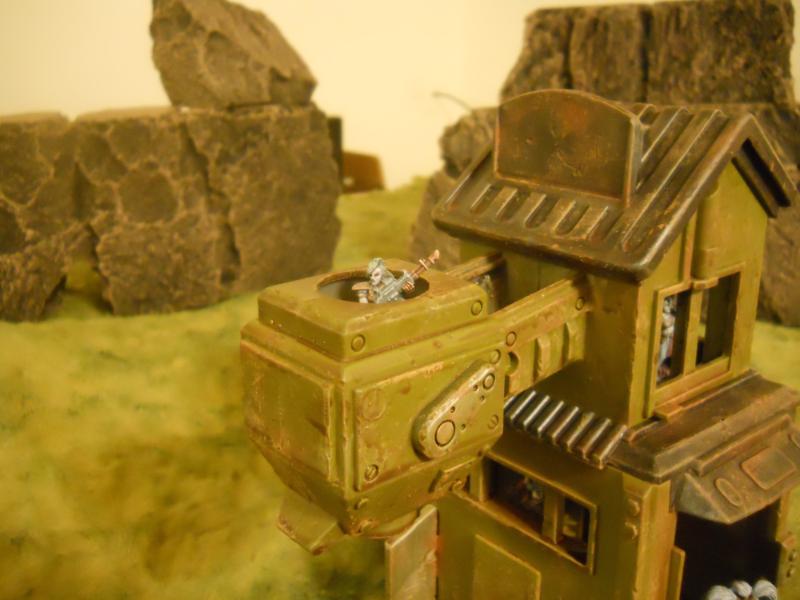
The final building is a converted Fisher Price toy.


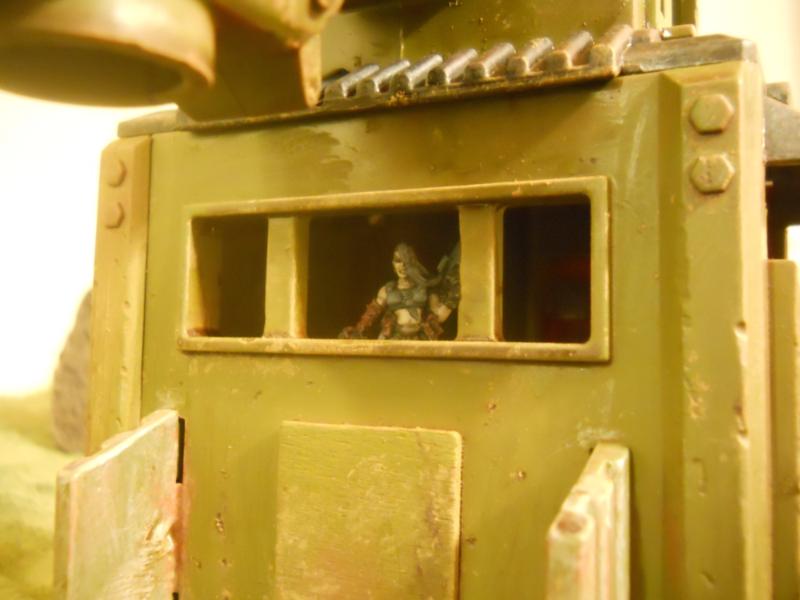
I removed a window to allow access to the upper story and added a bit of machinery inside.


I also removed a variety of other parts and bracing from the boom and bucket to make the area accessible to miniatures.


An added shelf makes the upper first story window a nice lookout.


I was so happy with this one that I didn't want to let it go, so imagine my joy at finding another one at the resale shop a few weeks ago! I'm eagerly awaiting the completed Escher gang, though I will have to wait until the end of the campaign to take possession. When they're ready, I'll post them up and you all can judge if I made a good bargain.

-- Karl, Chicago Skirmish Wargames club member

Tuesday, June 16, 2015

More Toybashing: Creepy Crawlers and an Egg Box


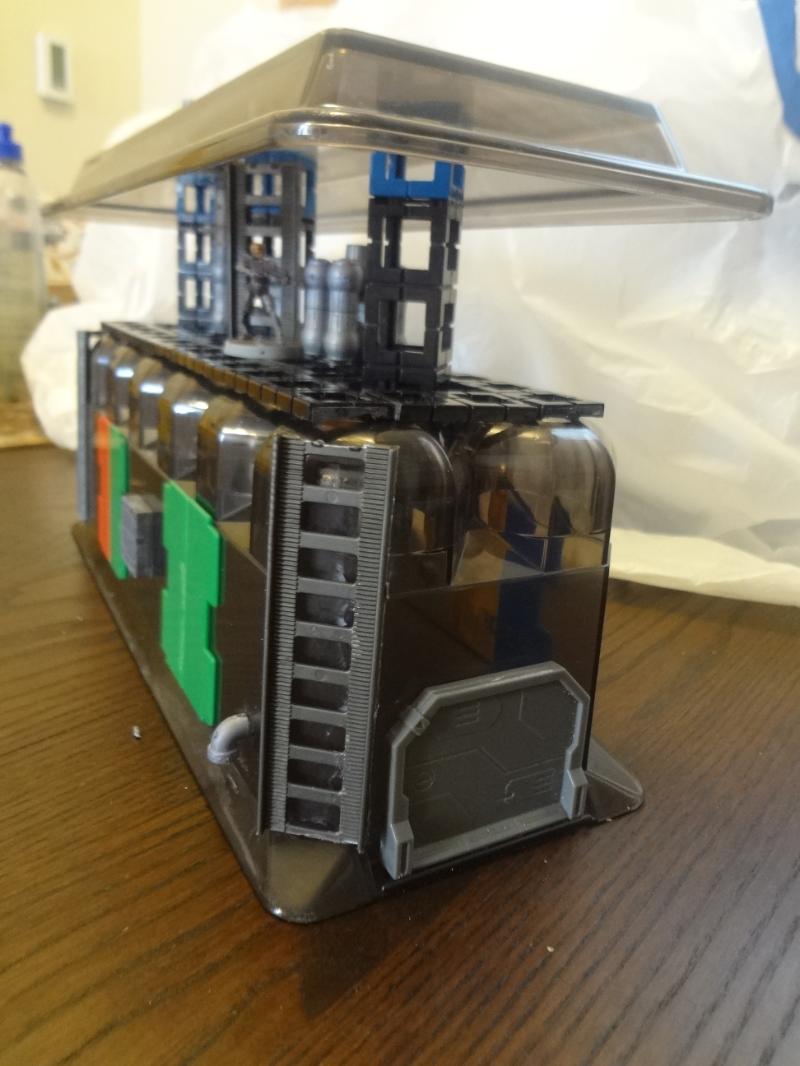
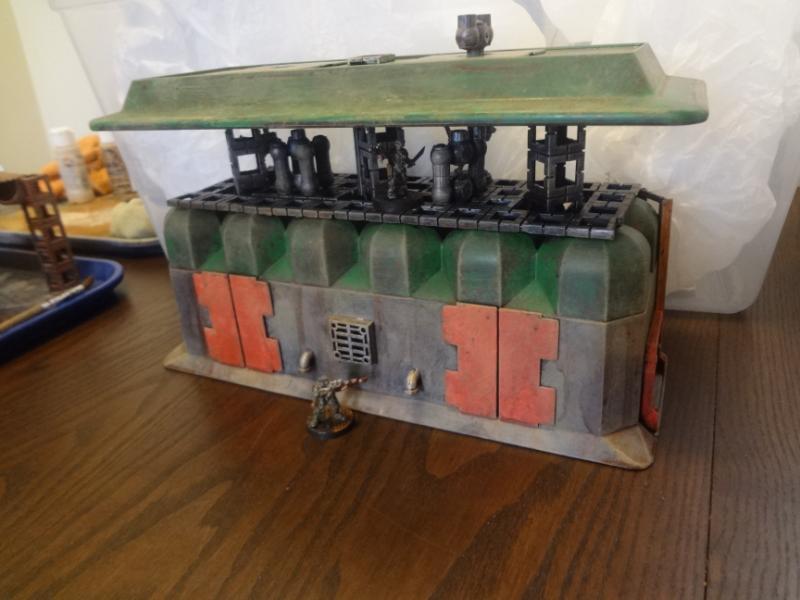
I'm back with two more pieces of sci-fi terrain made from old toys and cast-off junk. These started life as a "Creepy Crawlers" molding station and a vintage refrigerator egg box that Josh gave me.
 
For the egg box, I flipped it over and used the lid as the roof. I used a bunch of Rokenbok pieces both as supports and as flat sections for the floors.


I added some plastic slabs on the sides and roof, plus a few bits from the Pegasus Chemical Plant kit. This kit has become hard to find in the USA and I highly recommend buying it if you can find it. I use pieces from the kit on almost every terrain piece I make.


The end pieces are plastic doors are upgrade pieces from the Sedition Wars game. The ladders are cut from pieces of toy Power City train track.

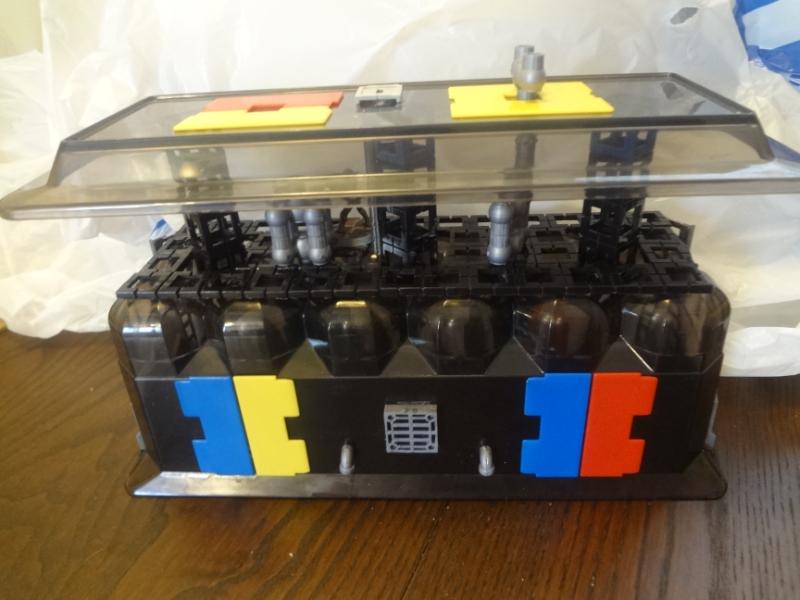
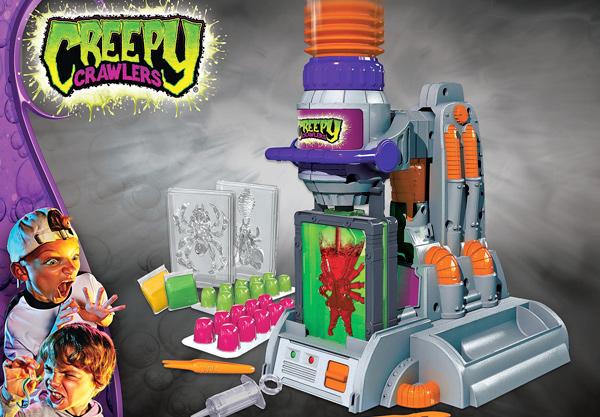
Here's a look at the original Creepy Crawlers kit. I don't have any in-progress pics of the Creepy Crawlers piece, but here's what it was made from.


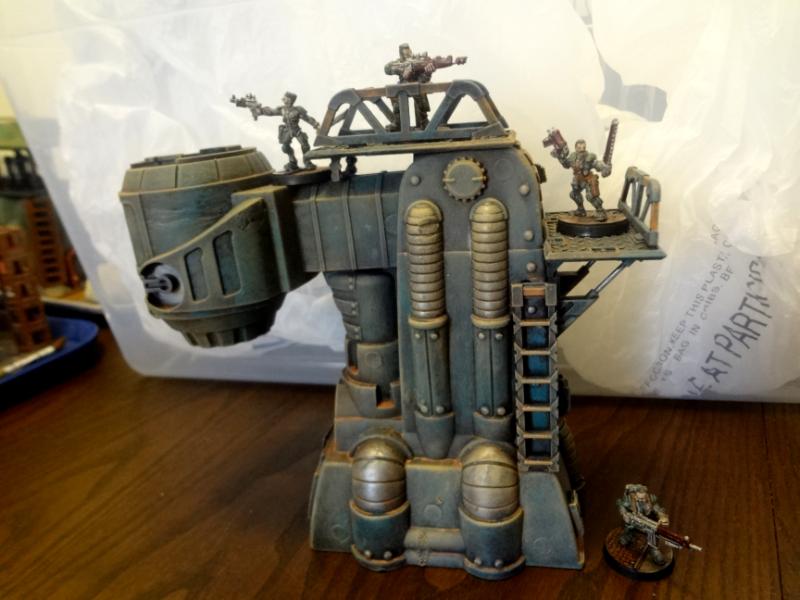
I separated the toy from its base to shrink the footprint a bit, then rebuilt it into a sort of forge.


I covered up many of the screw holes with either plaster or round bits of plastic punched from blister pack plastic with a standard paper hole punch.


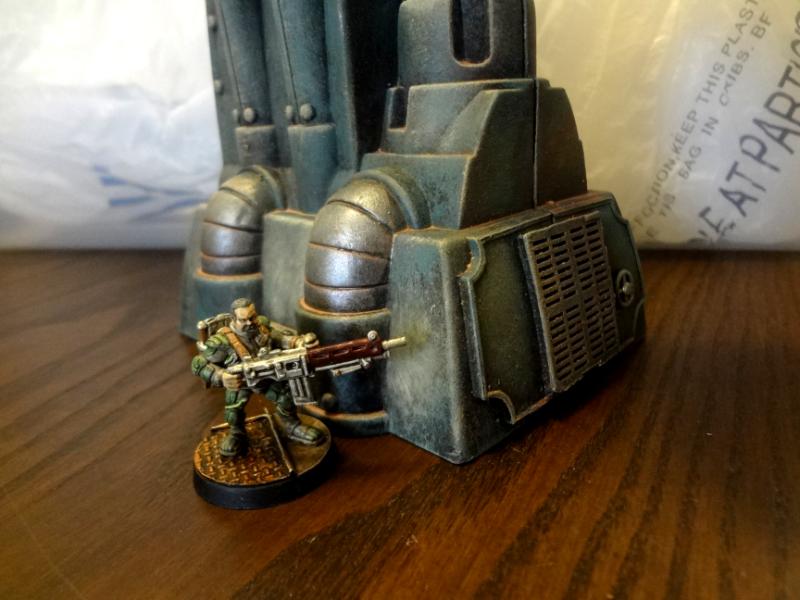
Except for a small grate and a few other pieces, almost all the added bits are from Mantic Battlezone accessory sprues. This thing just screams Necromunda to me. Though it's finished, I feel that I need to build some kind of gondola or reservoir to hold whatever it dumps out of its bucket.

The egg box building doesn't have quite the same Necromunda look, but it's a nice piece that is perhaps a bit more futuristic. It looks to me like some sort of chemical storage facility.


The simple orange, green and gray scheme has some nice contrasts.


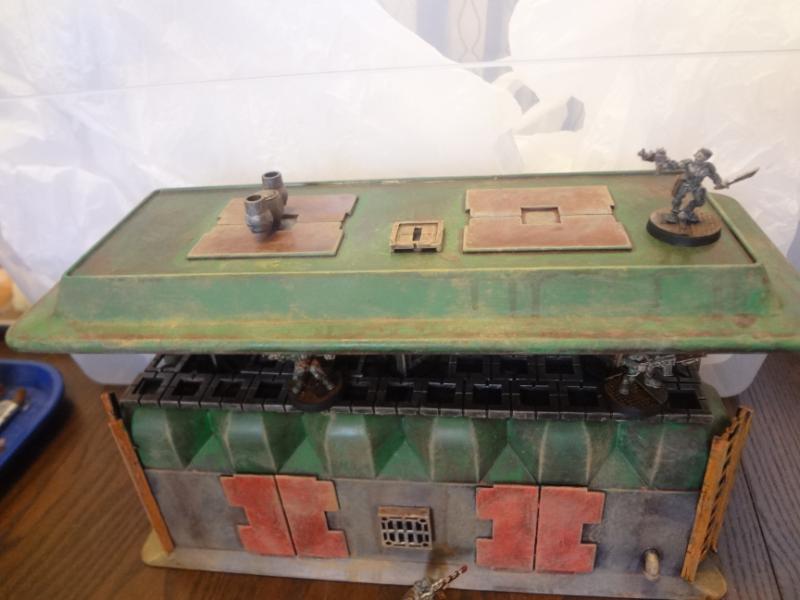
I really like these Sedition Wars doorway bits, though I wish I'd chosen a color other than aluminum, which looks an awful lot like the grey walls after a couple washes and a dusty tan drybrush.


The bit in the middle is a hatch that lines up with a ladder from the 2nd level. The roof looks good enough, but perhaps I should have done something to split up the one-piece look of the lid.

Overall, the egg box building has a very unique look that sets it apart from the rest of my collection. I particularly like the way miniatures can be on a second level elevation and still have overhead cover. Now that I'm occasionally playing Necromunda, I'm thinking a lot more about multilevel terrain and cover. Both of these pieces are well in that vein.

-- Karl, Chicago Skirmish Wargames club member
Wednesday, June 10, 2015

Rokenbok Terrain Bonanza

A week ago I was at my local resale shop when I came across a Rokenbok Monorail Start Set.


It lacked the train and many of the other small elements, but the other large elements -- a ball elevator and storage tank -- that intrigued me most.

For those who don't know, Rokenbok is a building system based around mostly cubed construction elements and radio controlled items such as trucks, monorails and other motorized features. Despite having other projects in the pipeline, as soon as I got home I broke out my tools and glue and started building.

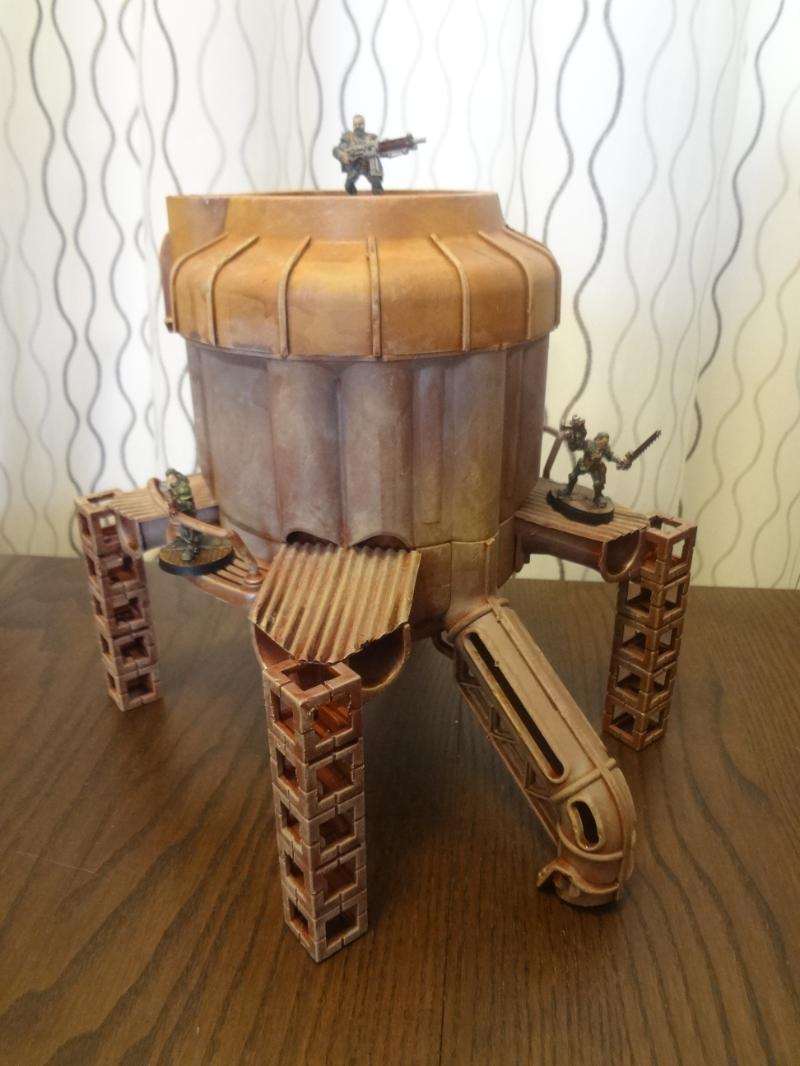
First off the assembly line was this Storage Tank.


It is mostly stock pieces, except for the addition of a grating on top cut from circular cross stitch mesh (which is an excellent way to add industrial-looking floors to any round item). I also added some corrugated floors over the downspouts (not pictured).

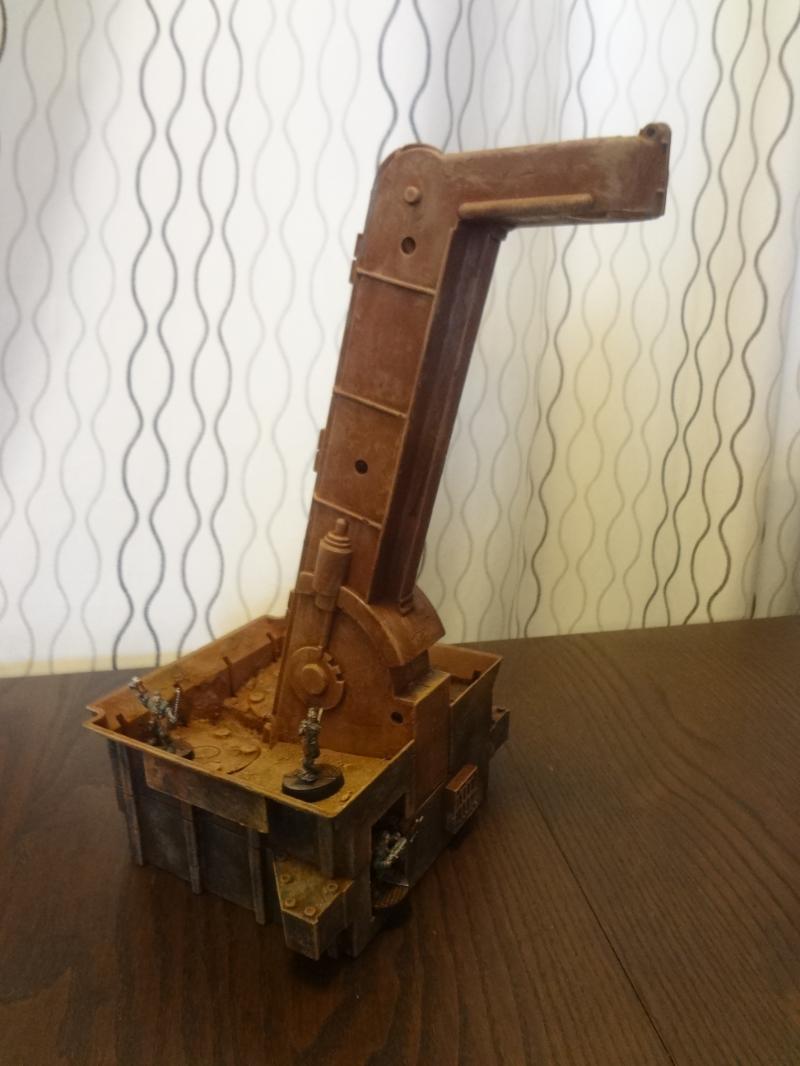
The second item is the Ball Elevator, originally intended to lift plastic balls up into the storage tank. After cutting away the power cords, I removed the rubber conveyor belt and glued in some lift sections. A bit of cutting enlarged the top spout enough to fit miniatures up there.


A couple of small bits from the Pegasus Chemical Plant kit were added. The cavity in the back for the power cord is perfectly sized for 28mm figures.


Both terrain pieces were undercoated with ruddy brown Kryon spray primer. Then I added a wet overbrushed color layer, followed by a brown wash and a light tan drybrush to dust everything up.

The inner areas of the elevator also got some heavy ballast using the concrete topper mix that I've been trying out. It's concrete mixed with a nice variety of gravel and sand. The concrete portion isn't as gritty as plain sand (which takes a drybrush extremely well), but it looks like soil when painted, and the mix of gravel sizes is great.

Here's what they look like with paint. Adding pieces of corrugated cardboard turns the downspouts into useable area and makes the entire second story of the tank much more useable. If you don't have any corrugated cardboard on hand, just grab a few Starbucks drink sleeves.


Looks like I forgot to include a ladder up to the top though...


The elevator makes both a very fortified position and a means to access higher sections of a multilayer terrain layout. This bad boy is tall!


Though it looks plain blue in the picture, the paint is actually a really nice blue-green color.


The bucket sections are close enough to avoid disrupting movement in most gaming rulesets.


These were on the table for last weeks game, and they looked great. I'm especially keen to see them as part of a Necromunda layout. The square supports that make up most of the Rokenobok system run the risk of looking a bit similar if used to much, but they have a nice futuristic look, and I'll be using these parts in future constructions.

Lastly Rokenbok toys are a bit too expensive to buy at retail just for terrain purposes (this set cost almost $200 in stores!), but I'll definitely be keeping an eye out for them at the resale shop.

-- Karl, Chicago Skirmish Wargames club member
Monday, April 13, 2015

Small-Scale Building Commissions

I recently completed my first small-scale commission work. Two different customers both requested 6mm buildings. The finished structures below borrow shamelessly from Sean Patten's inspiring Gundam terrain, and like his, they are based around cassette tape cases with a variety of added bits.


As I don't have any 6mm miniatures, I've used 10mm rebased Mechwarrior units for scale purposes. Except for a few very small ground doors, I think these pieces will work equally well in either scale.

These first two are a pair of Mars Colony themed buildings. The quonset-style roofs were a surprise resale find and are from the "Robotix" line of toys.


I only got one picture of this one, but it's pretty symmetrical anyway.


These next three are more traditional urban-industrial style buildings. These are more directly based on the Ironhands style of Gundam buildings. This customer is working on a Gundam game project of his own.

Small Warehouse 


Medium Factory 


Large Repair Center 


Small-scale building was a bit of a switch for me from the 28mm stuff that I usually make. Extensive fine detail at this scale isn't really doable without a massive investment of time and bits, so it becomes a matter of viewing the building at arms length and deciding what details will make the structure "pop" on the table. I'm still working on the balance between contrasting colors, but I think I'm getting to a method that produces pretty solid results.

I'm fairly new to commission work, but I can build/paint more of these on request. The starting price is $15 + shipping for a building the size of the white structure and goes up from there based on size and individual requests. Of course larger and other scale buildings (28mm, etc…) can be done as well.

-- Karl, Chicago Skirmish Wargames club member