Showing posts with label conversions. Show all posts

Tuesday, January 13, 2015

Getting the Most from Dust Tactics Tenement Buildings

 
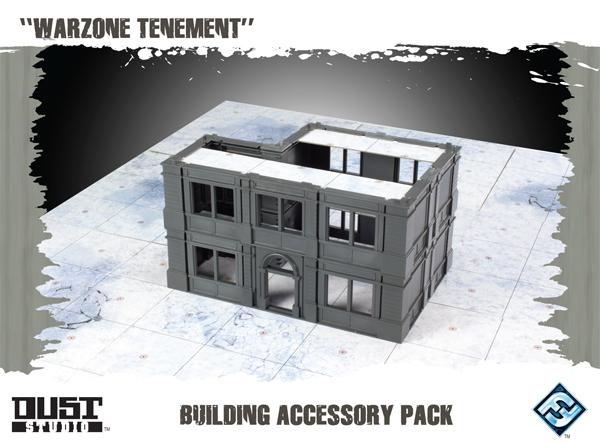
Last year I sold off a large medieval army, and I turned right around and sunk the proceeds into nine boxes of Dust Tactics Warzone Tenements from Fantasy Flight Games' year-end sale. There are already some fine reviews of the product out there, so this article will focus mainly on how to get the most out of these kits.

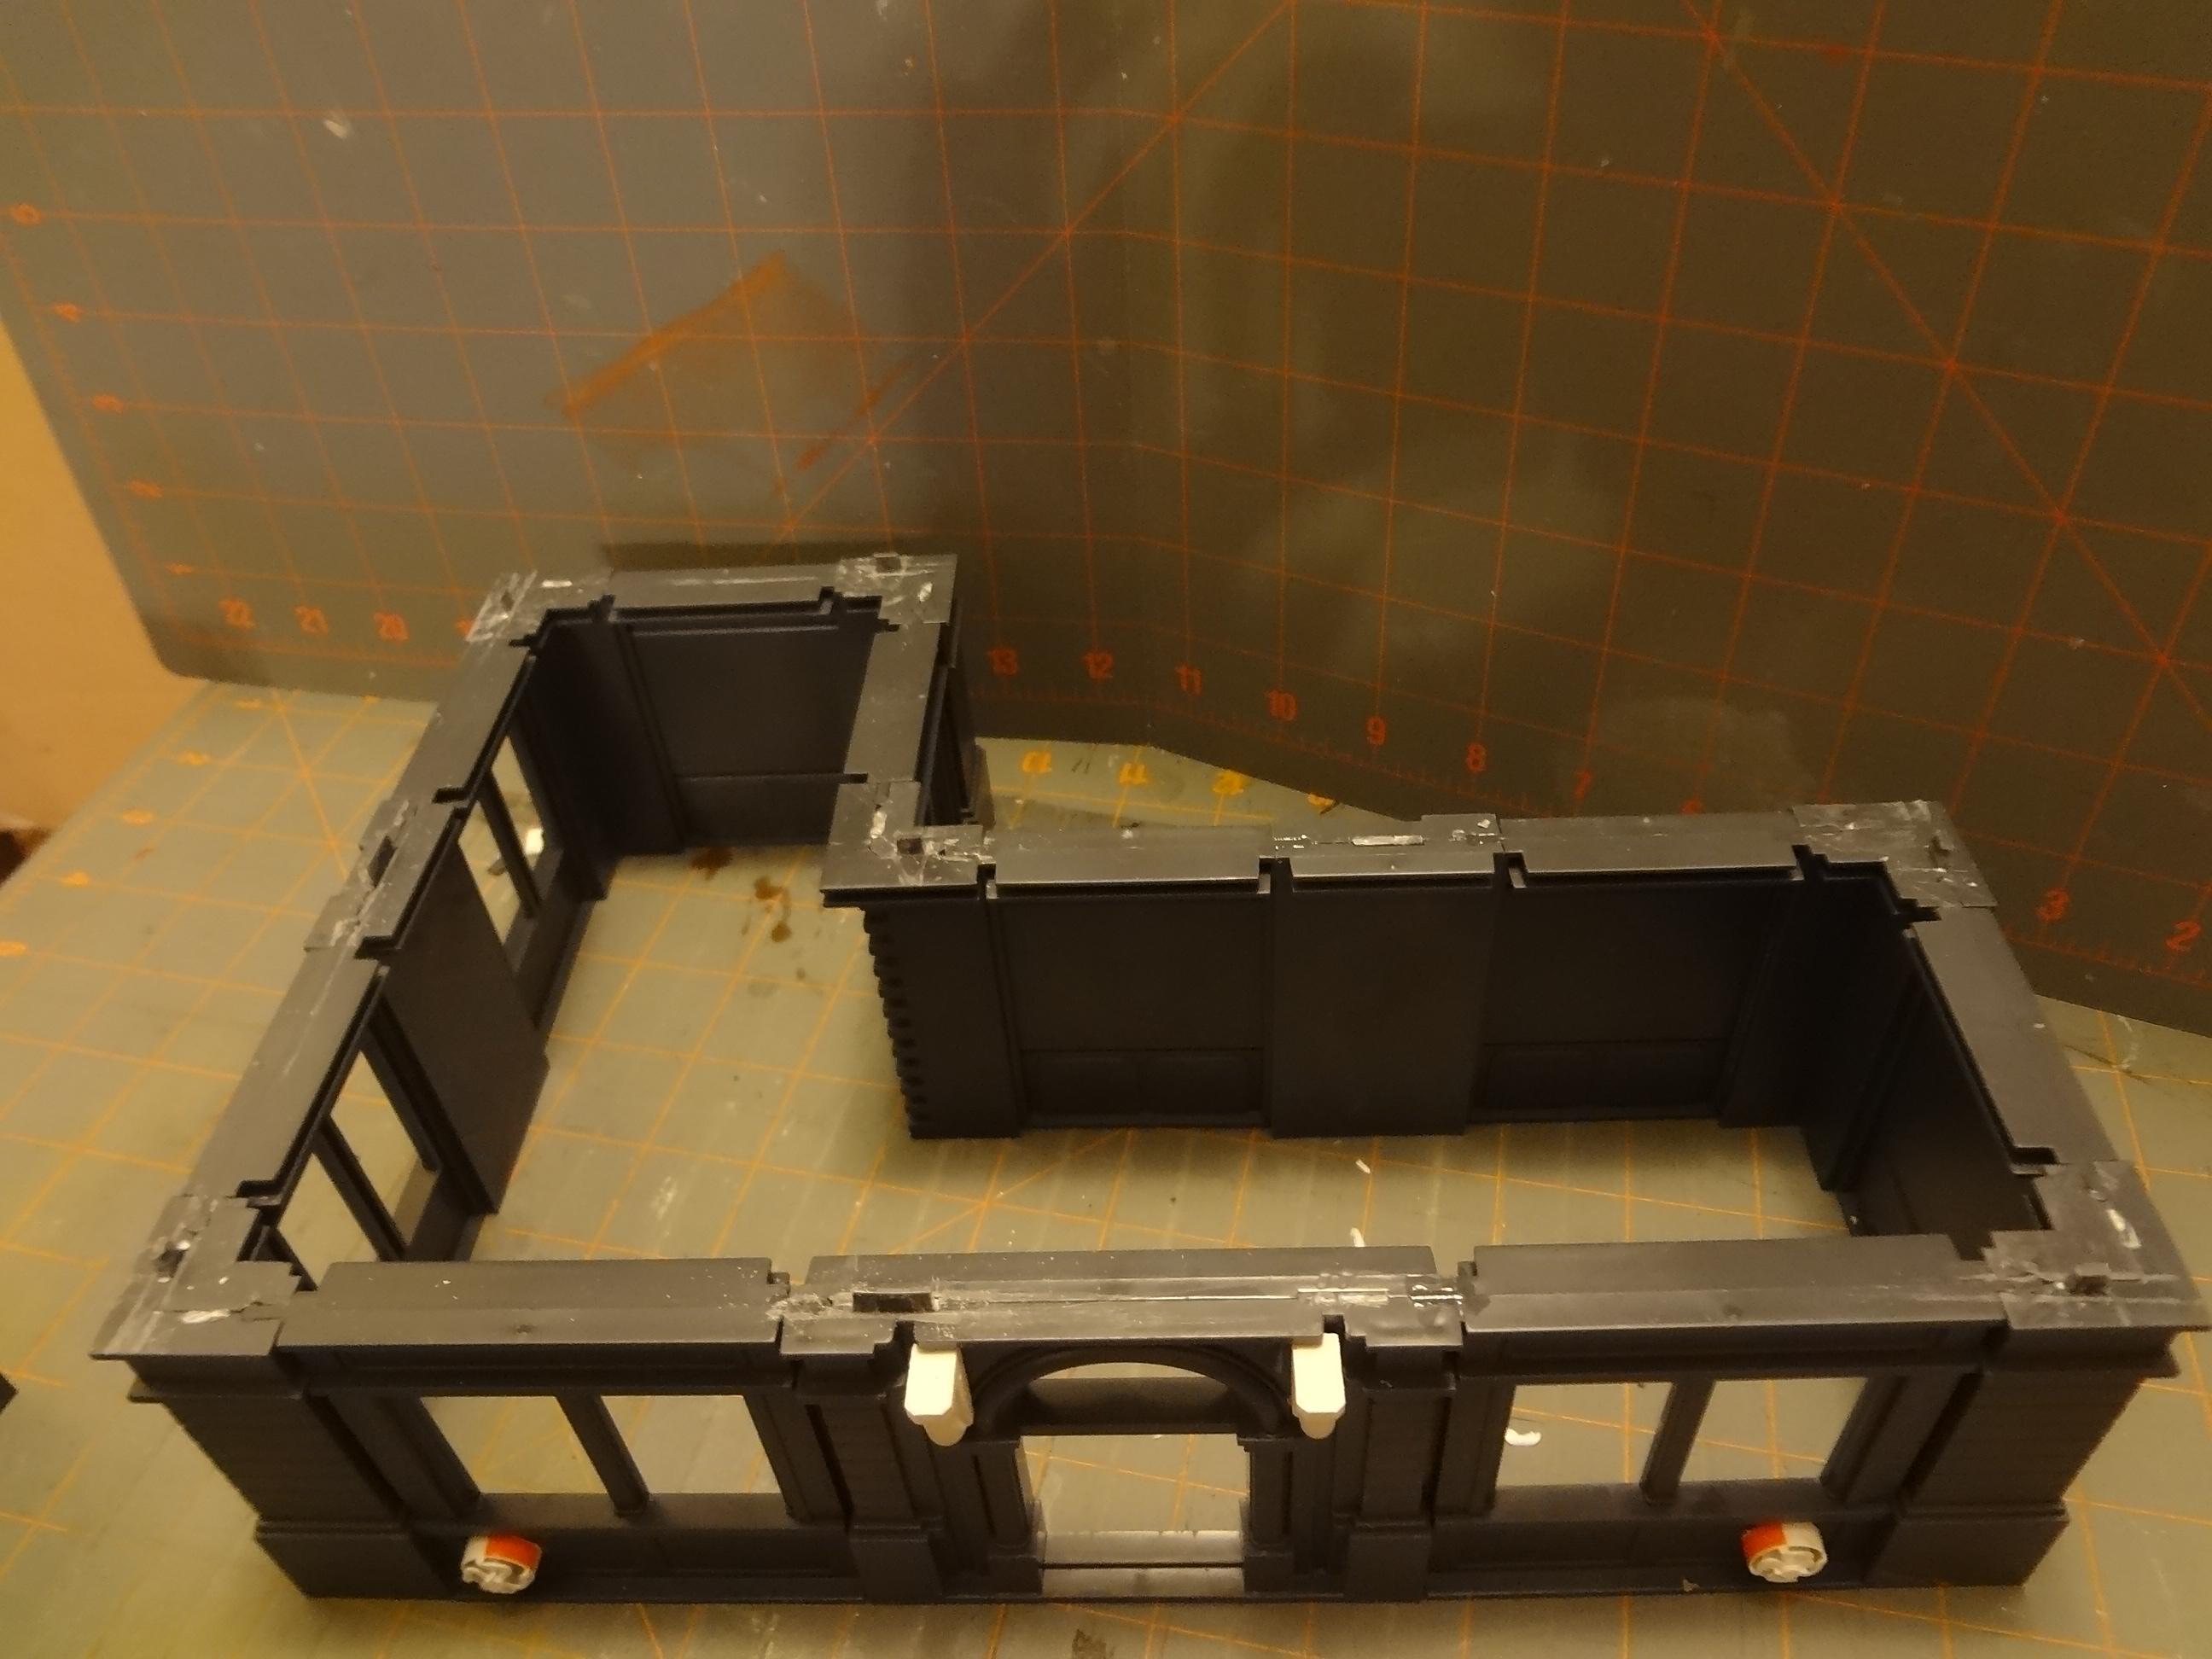
The kits themselves are very well made. The components arrive off the sprue and partially assembled (front and back wall sections). Cleanup isn't necessary, and you can start building immediately. It may take a bit to familiarize yourself with the metrics and proportions used for the various sizes of walls, but once you get the hang of it these buildings go together easily and somewhat intuitively.

In a future post I will display all the completed structures, but today I'll show a just a few.

This first building is entirely closed, so there was no need to use the floor pieces or put on a removable roof.
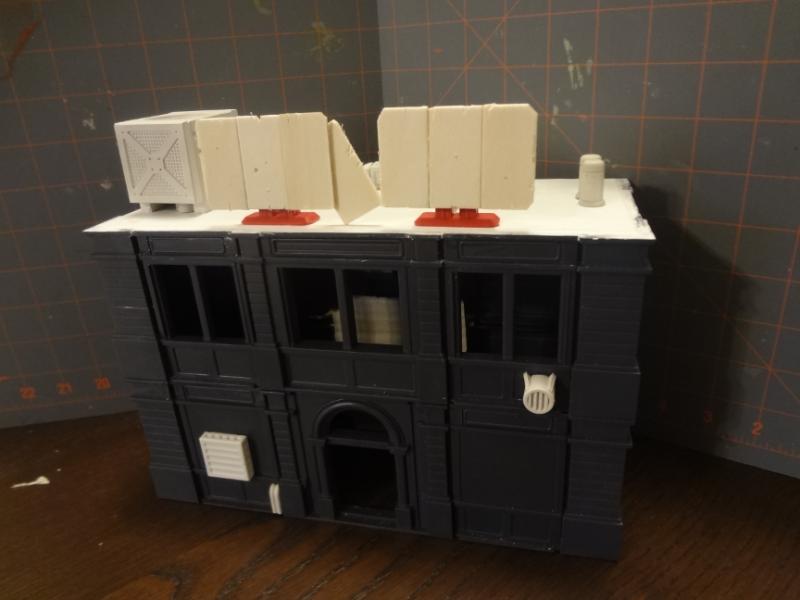

I used cardboard floor sections to cover the windows and doors on the front. The wooden sign sections are from little bags of pre-cut wood that you can find at the craft store. I highly recommend these wood pieces for detail work on your buildings.
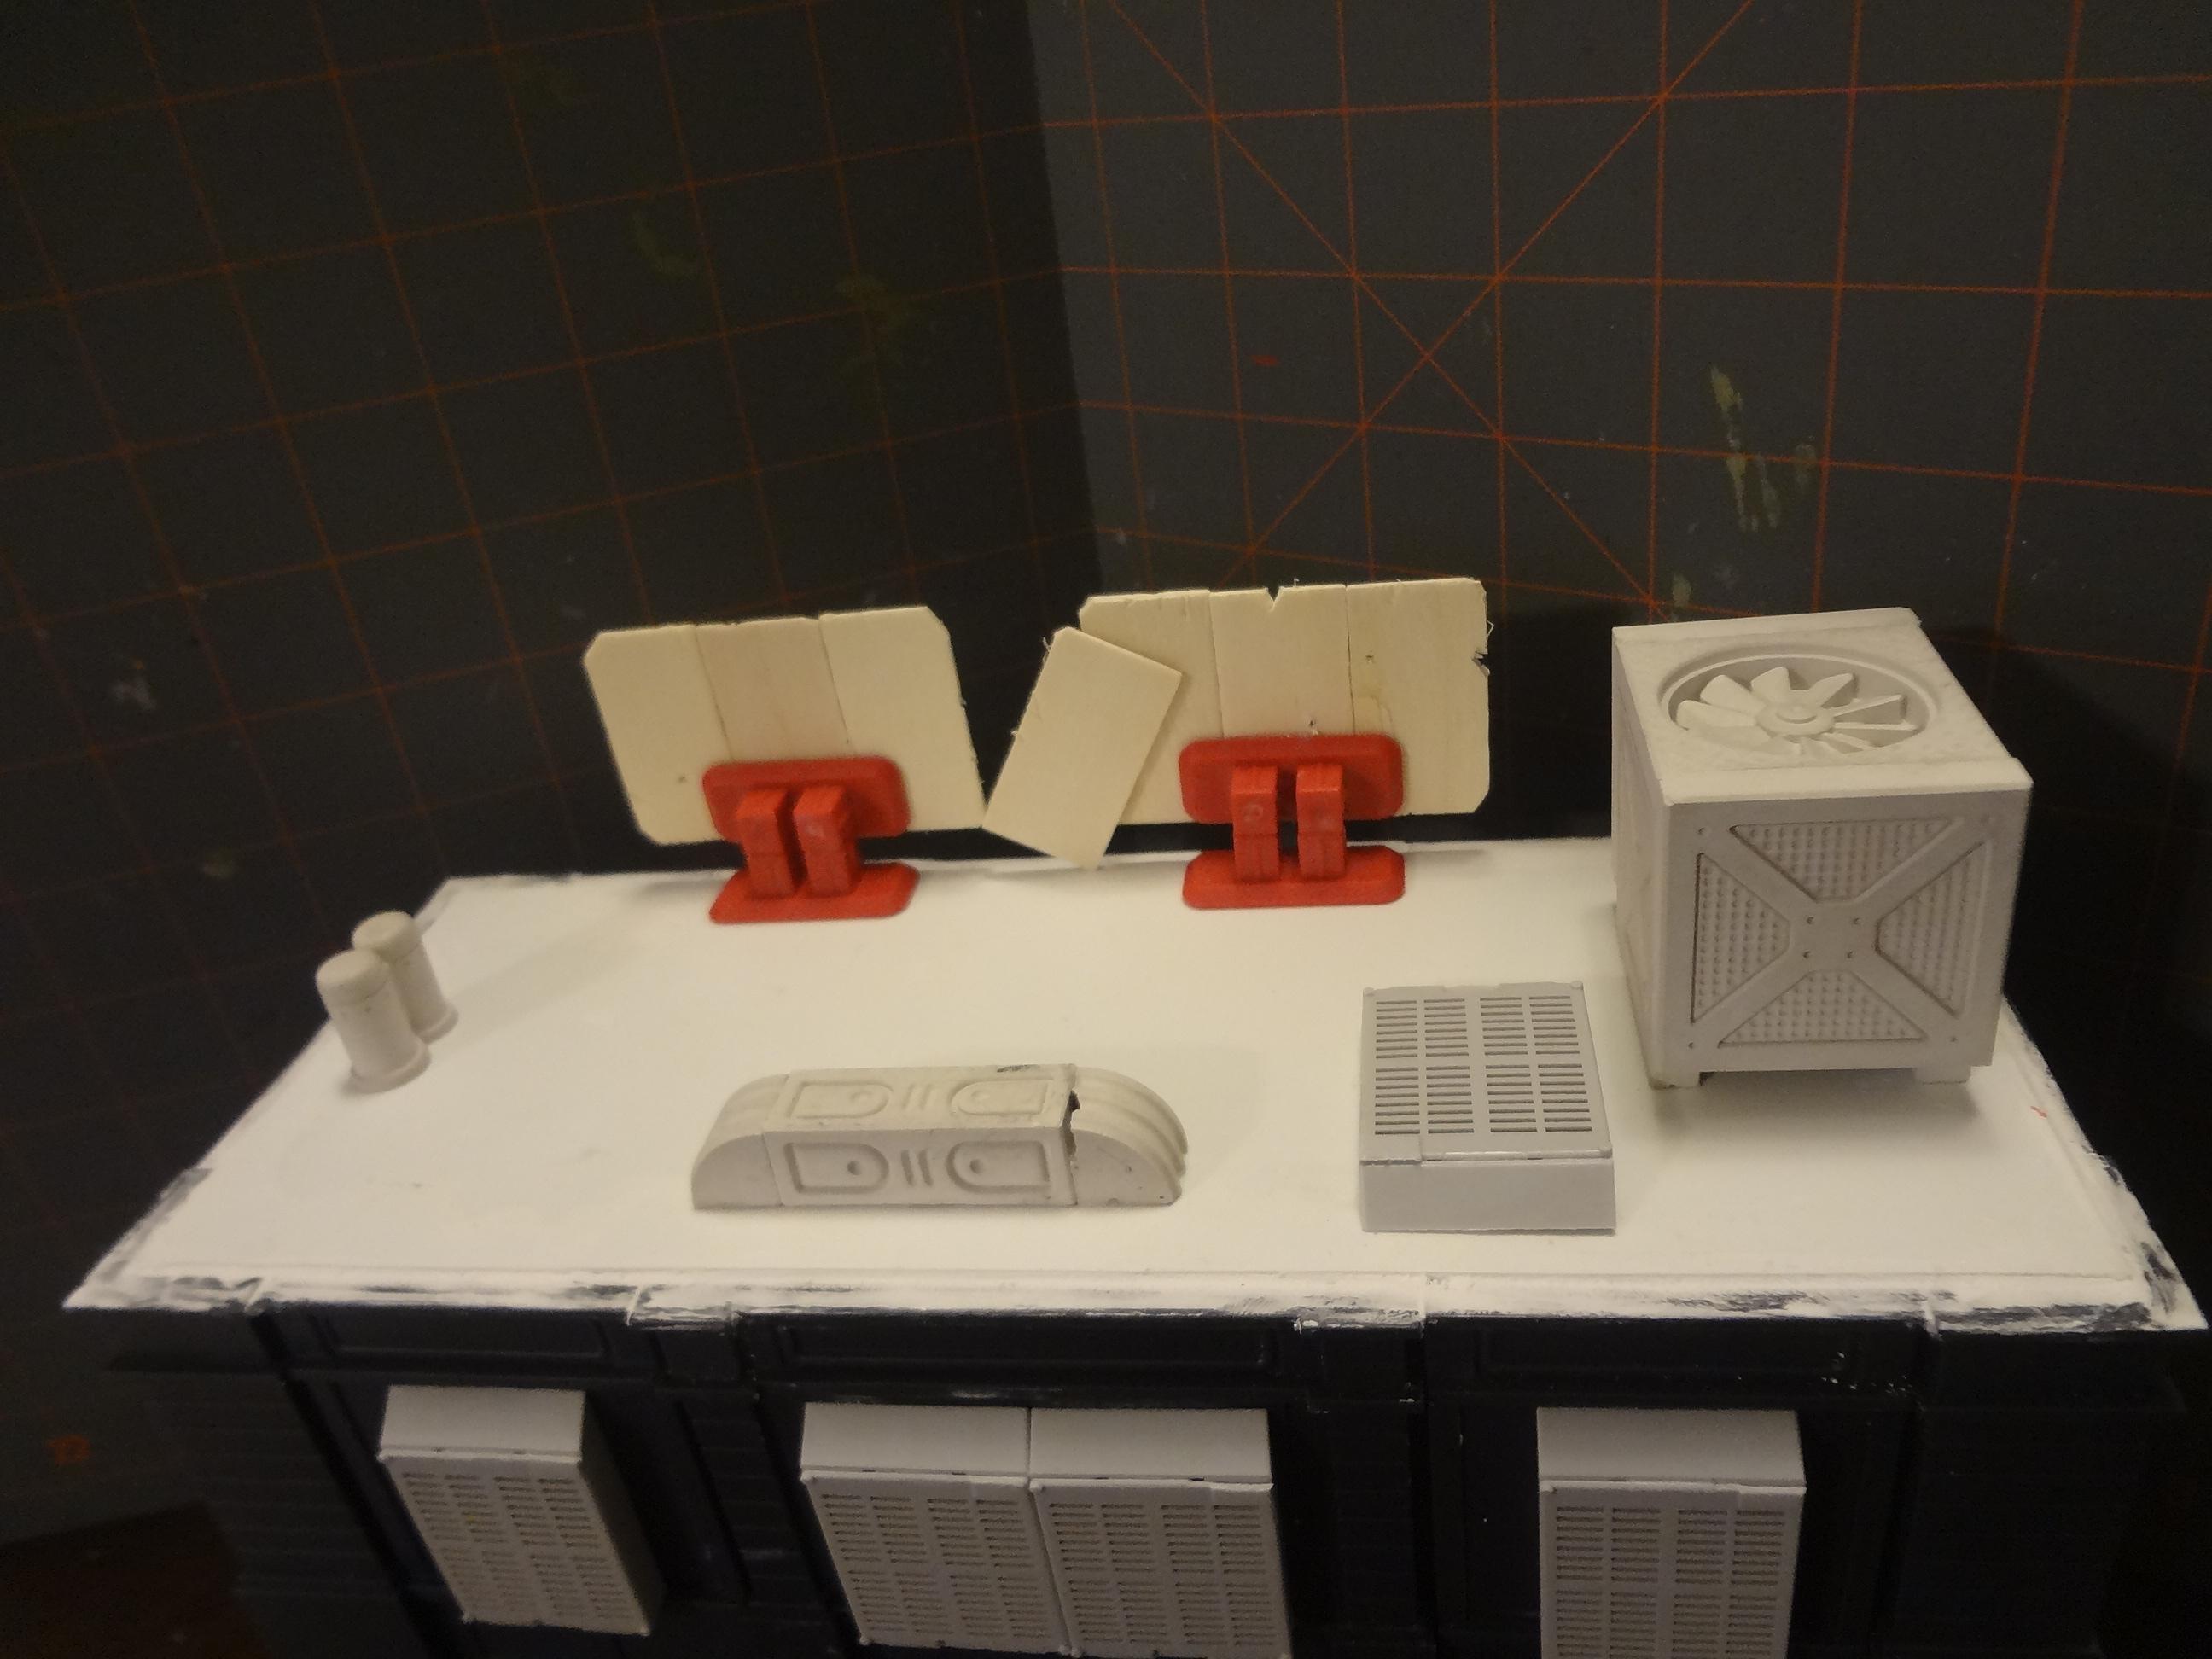

In this building, some Hirst Arts plaster bits provide tech details and the rooftop air conditioning unit. The Hirst pieces came from fellow blogger Lucky Joe, who sent me a bunch of extra bits a while back. They've sat in my collection unused for several years, but they were a godsend for this project.

If you know anyone who casts Hirst Arts, I highly recommend inquiring about leftovers. Most folks will have a lot of random, unused pieces after given project. 
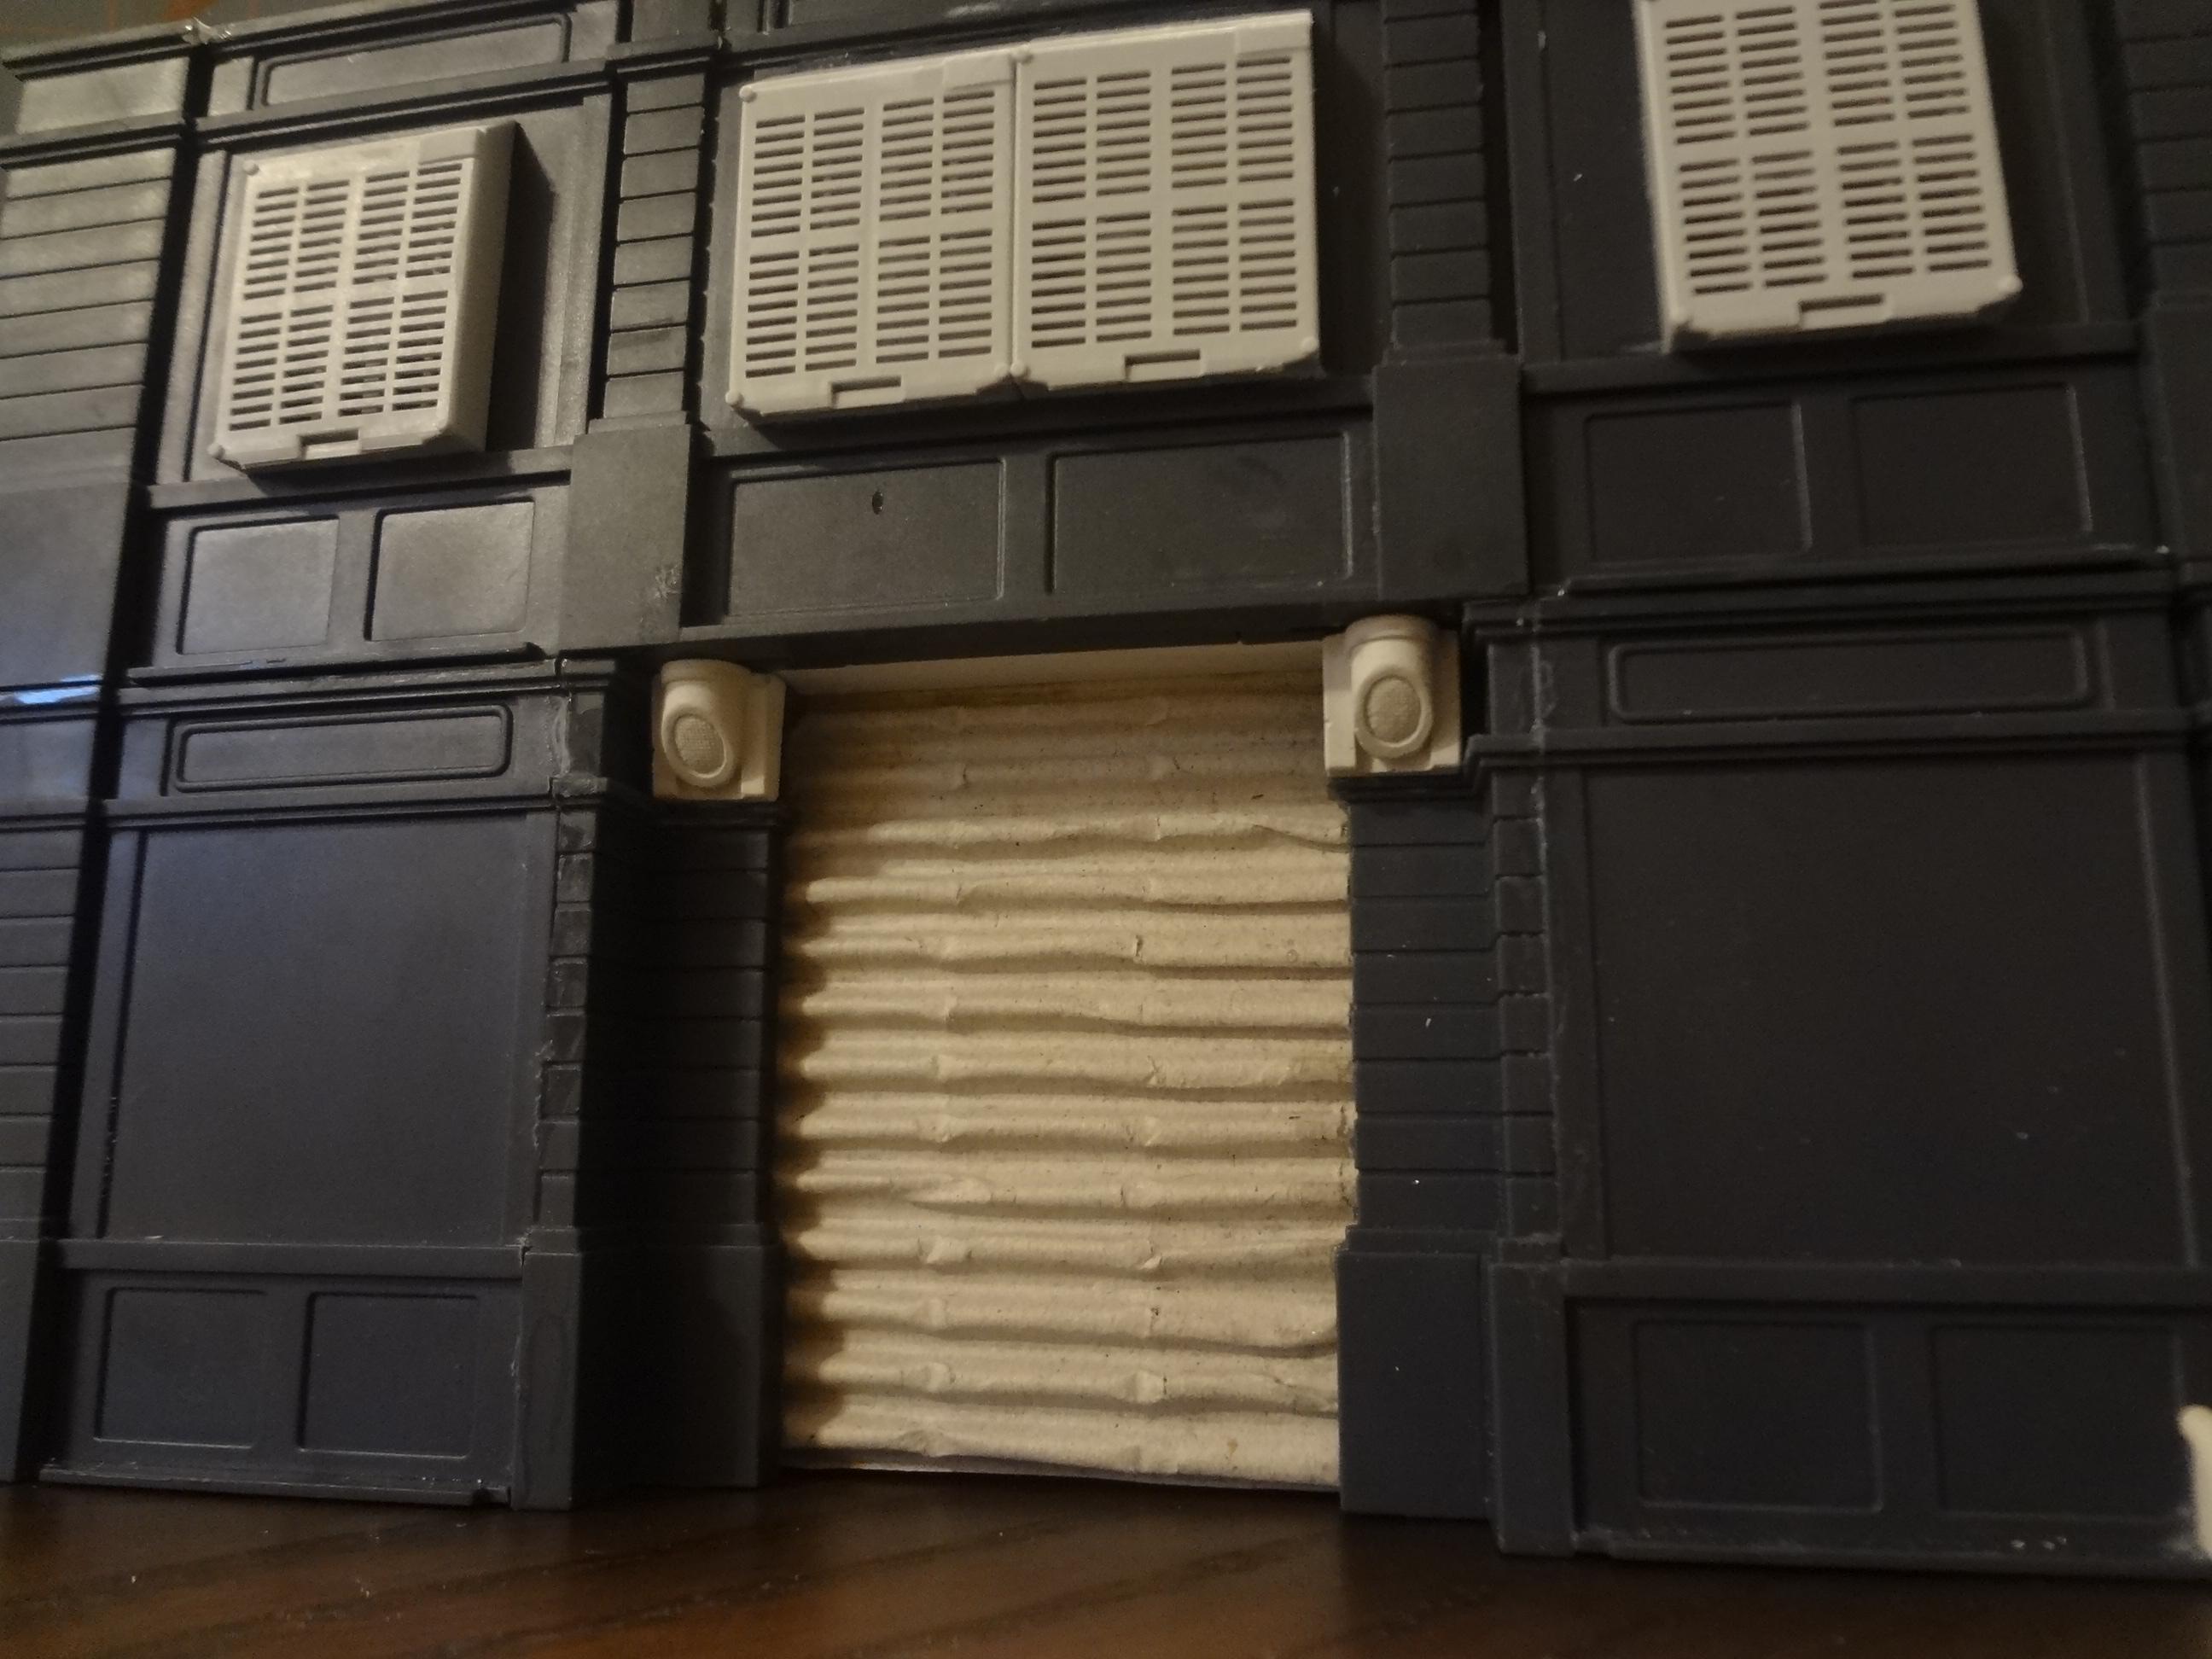

The rear side of the building has medical specimen cases as window coverings. They look a lot like metal board-up screens. The garage door is single-sided corrugated cardboard. The lights are Hirst Arts pipe ends pointed downward.

This next building uses the Dust Tactics Quonset Huts as roof sections.
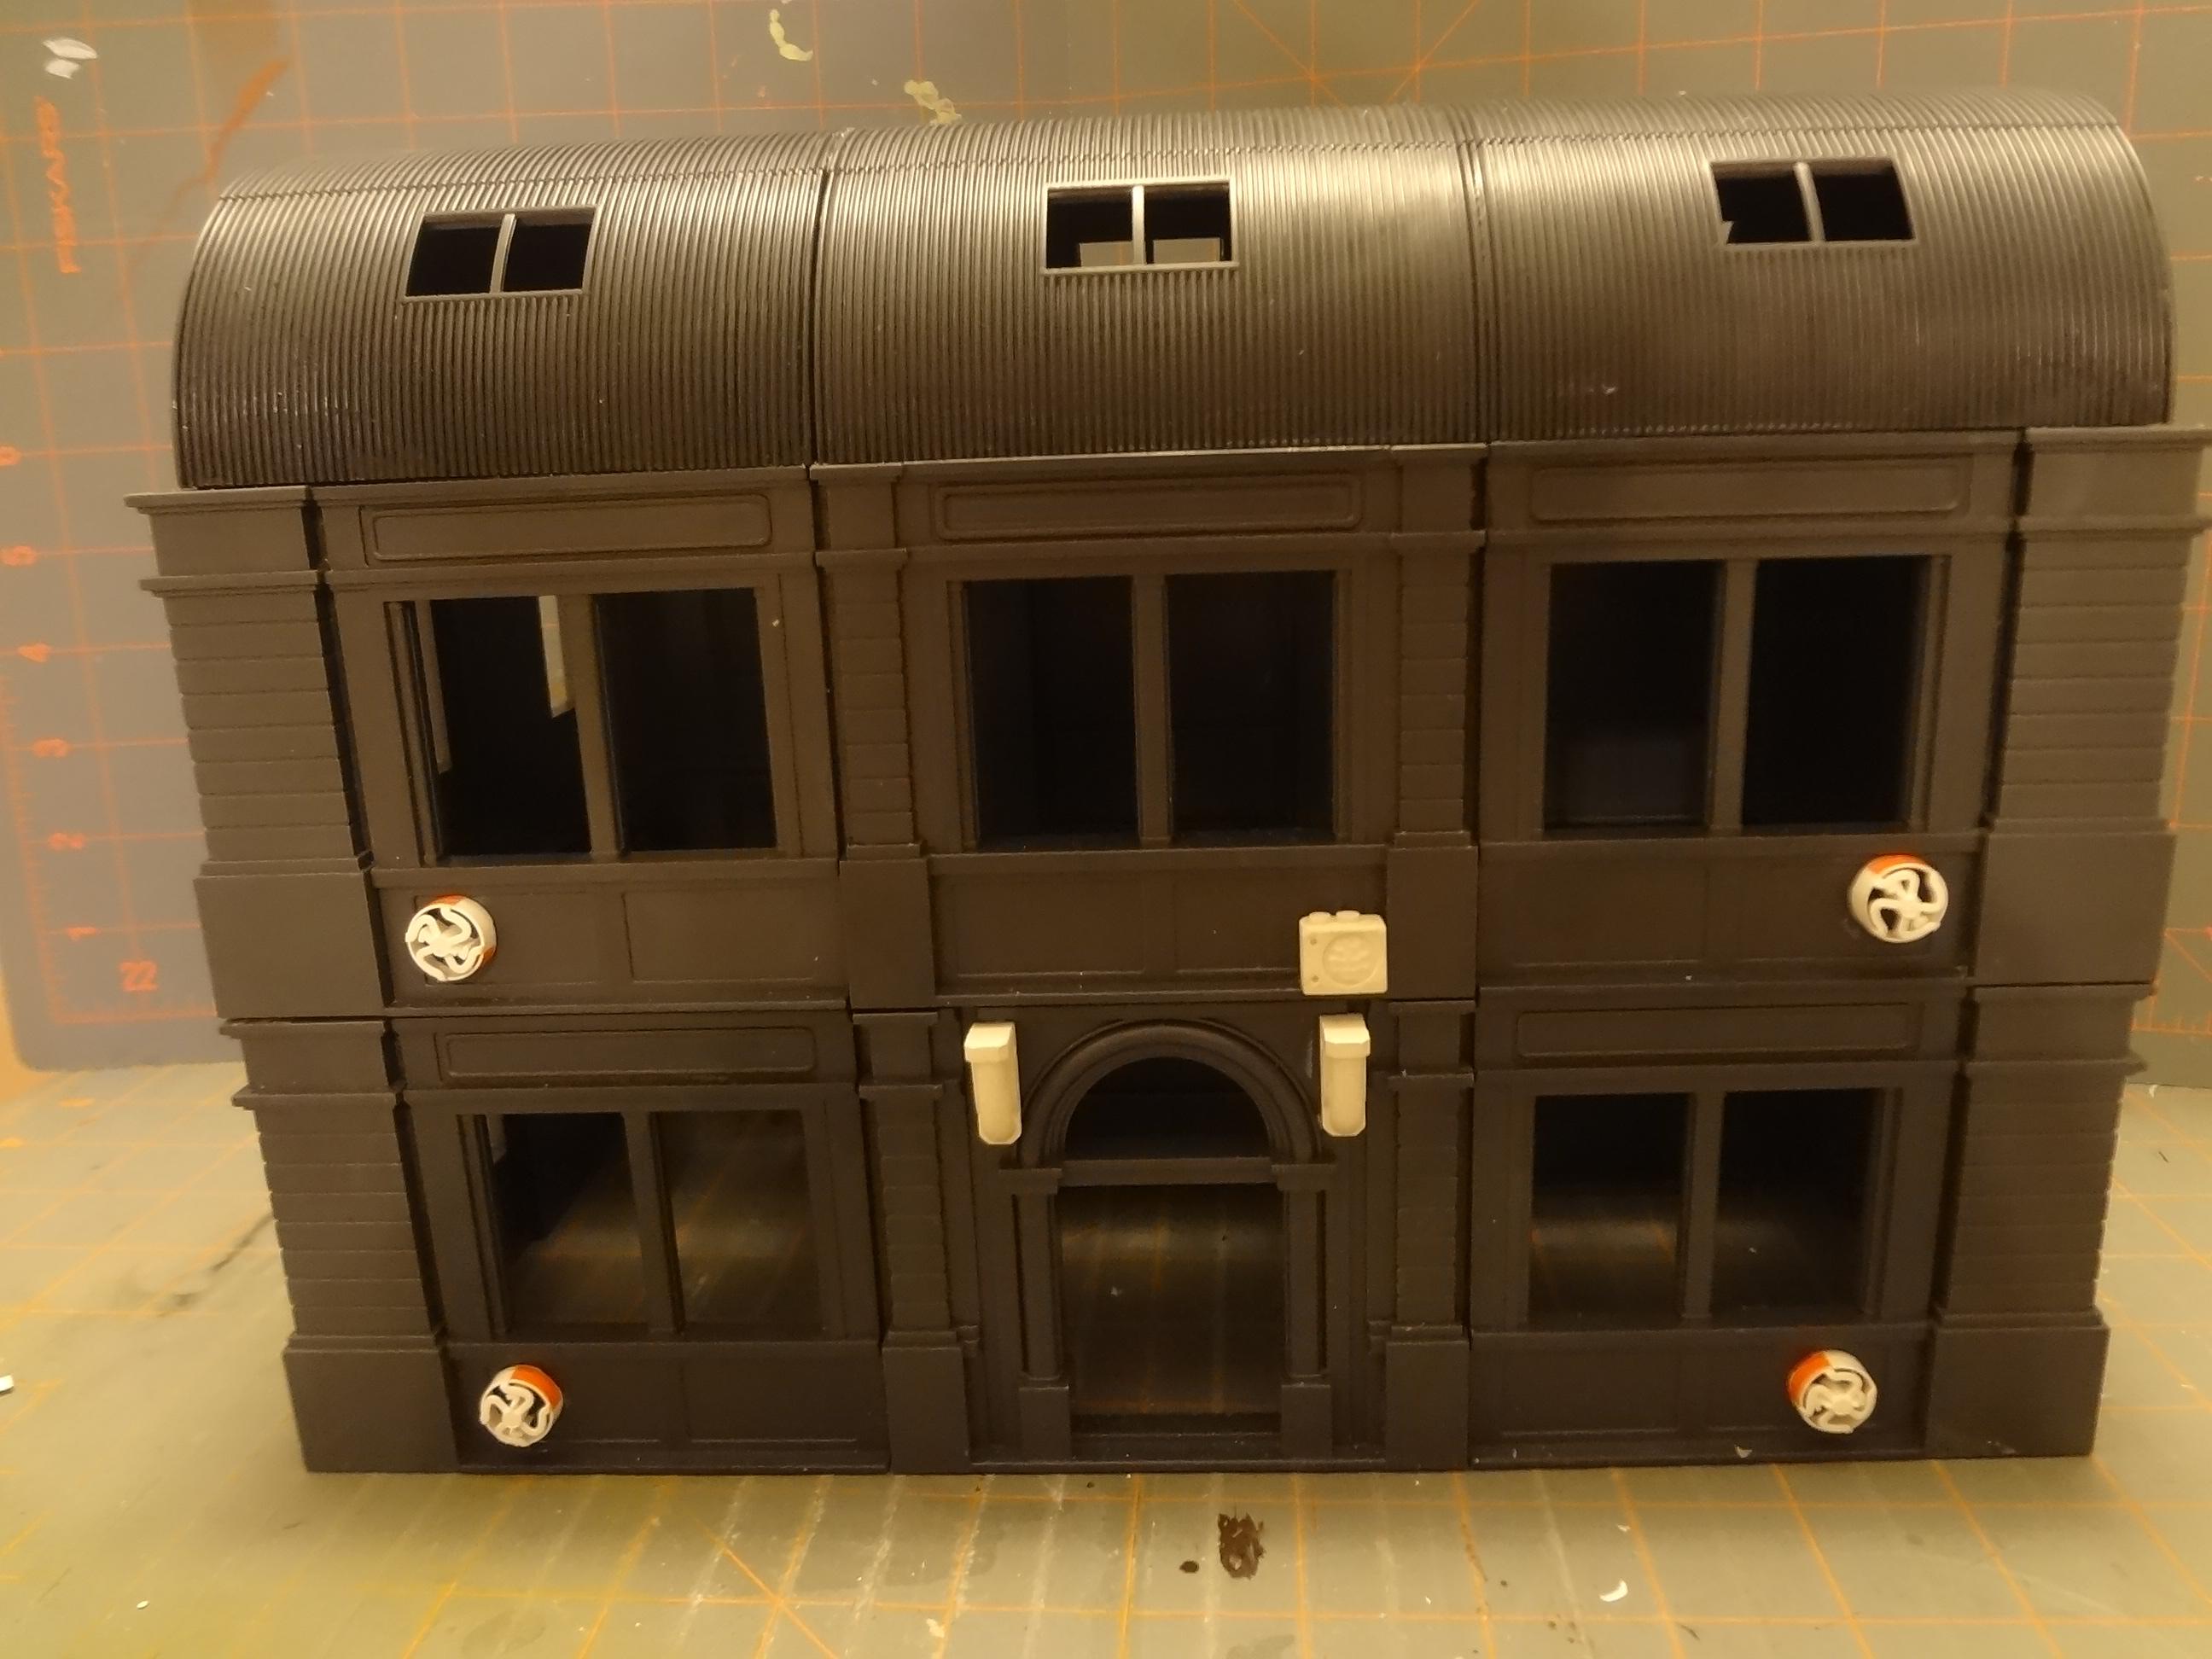


The huts are almost exactly the same width as a building made with the short wall sections.
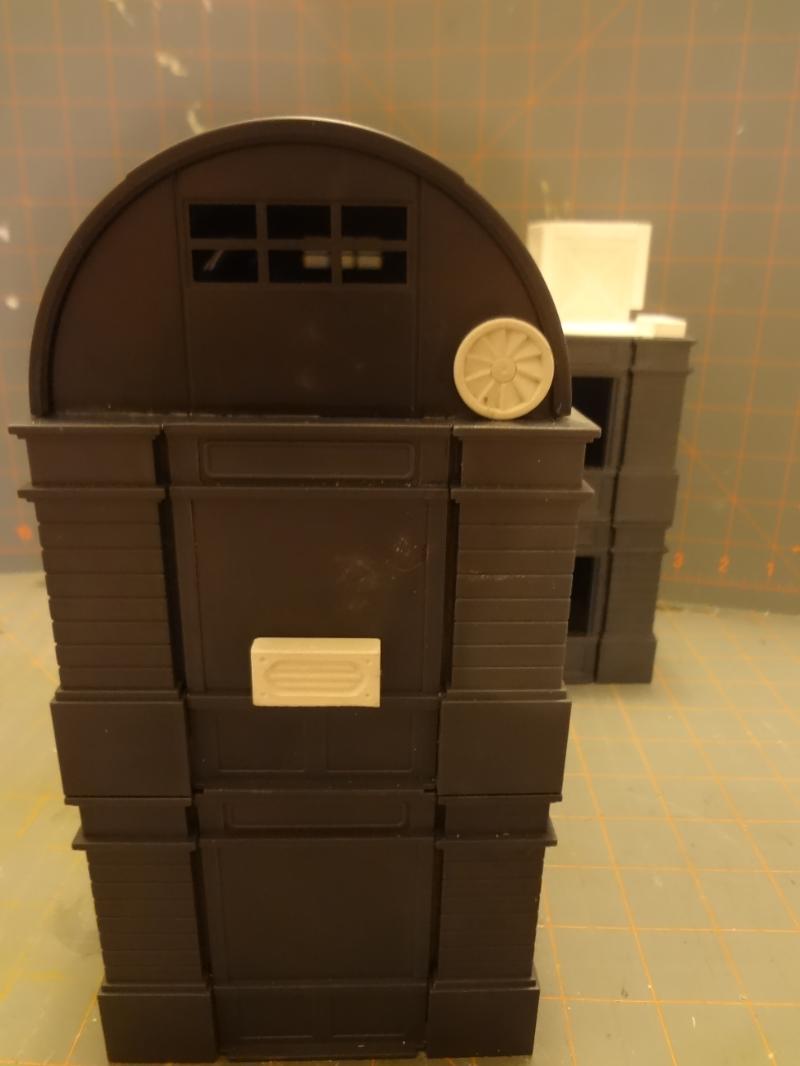

For this one, I had to cut some of the huts down, but the grooves on the roofs make for very easy cutting. More Hirst Arts bits -- sci-fi tube curves in this case -- made for great light fixtures.
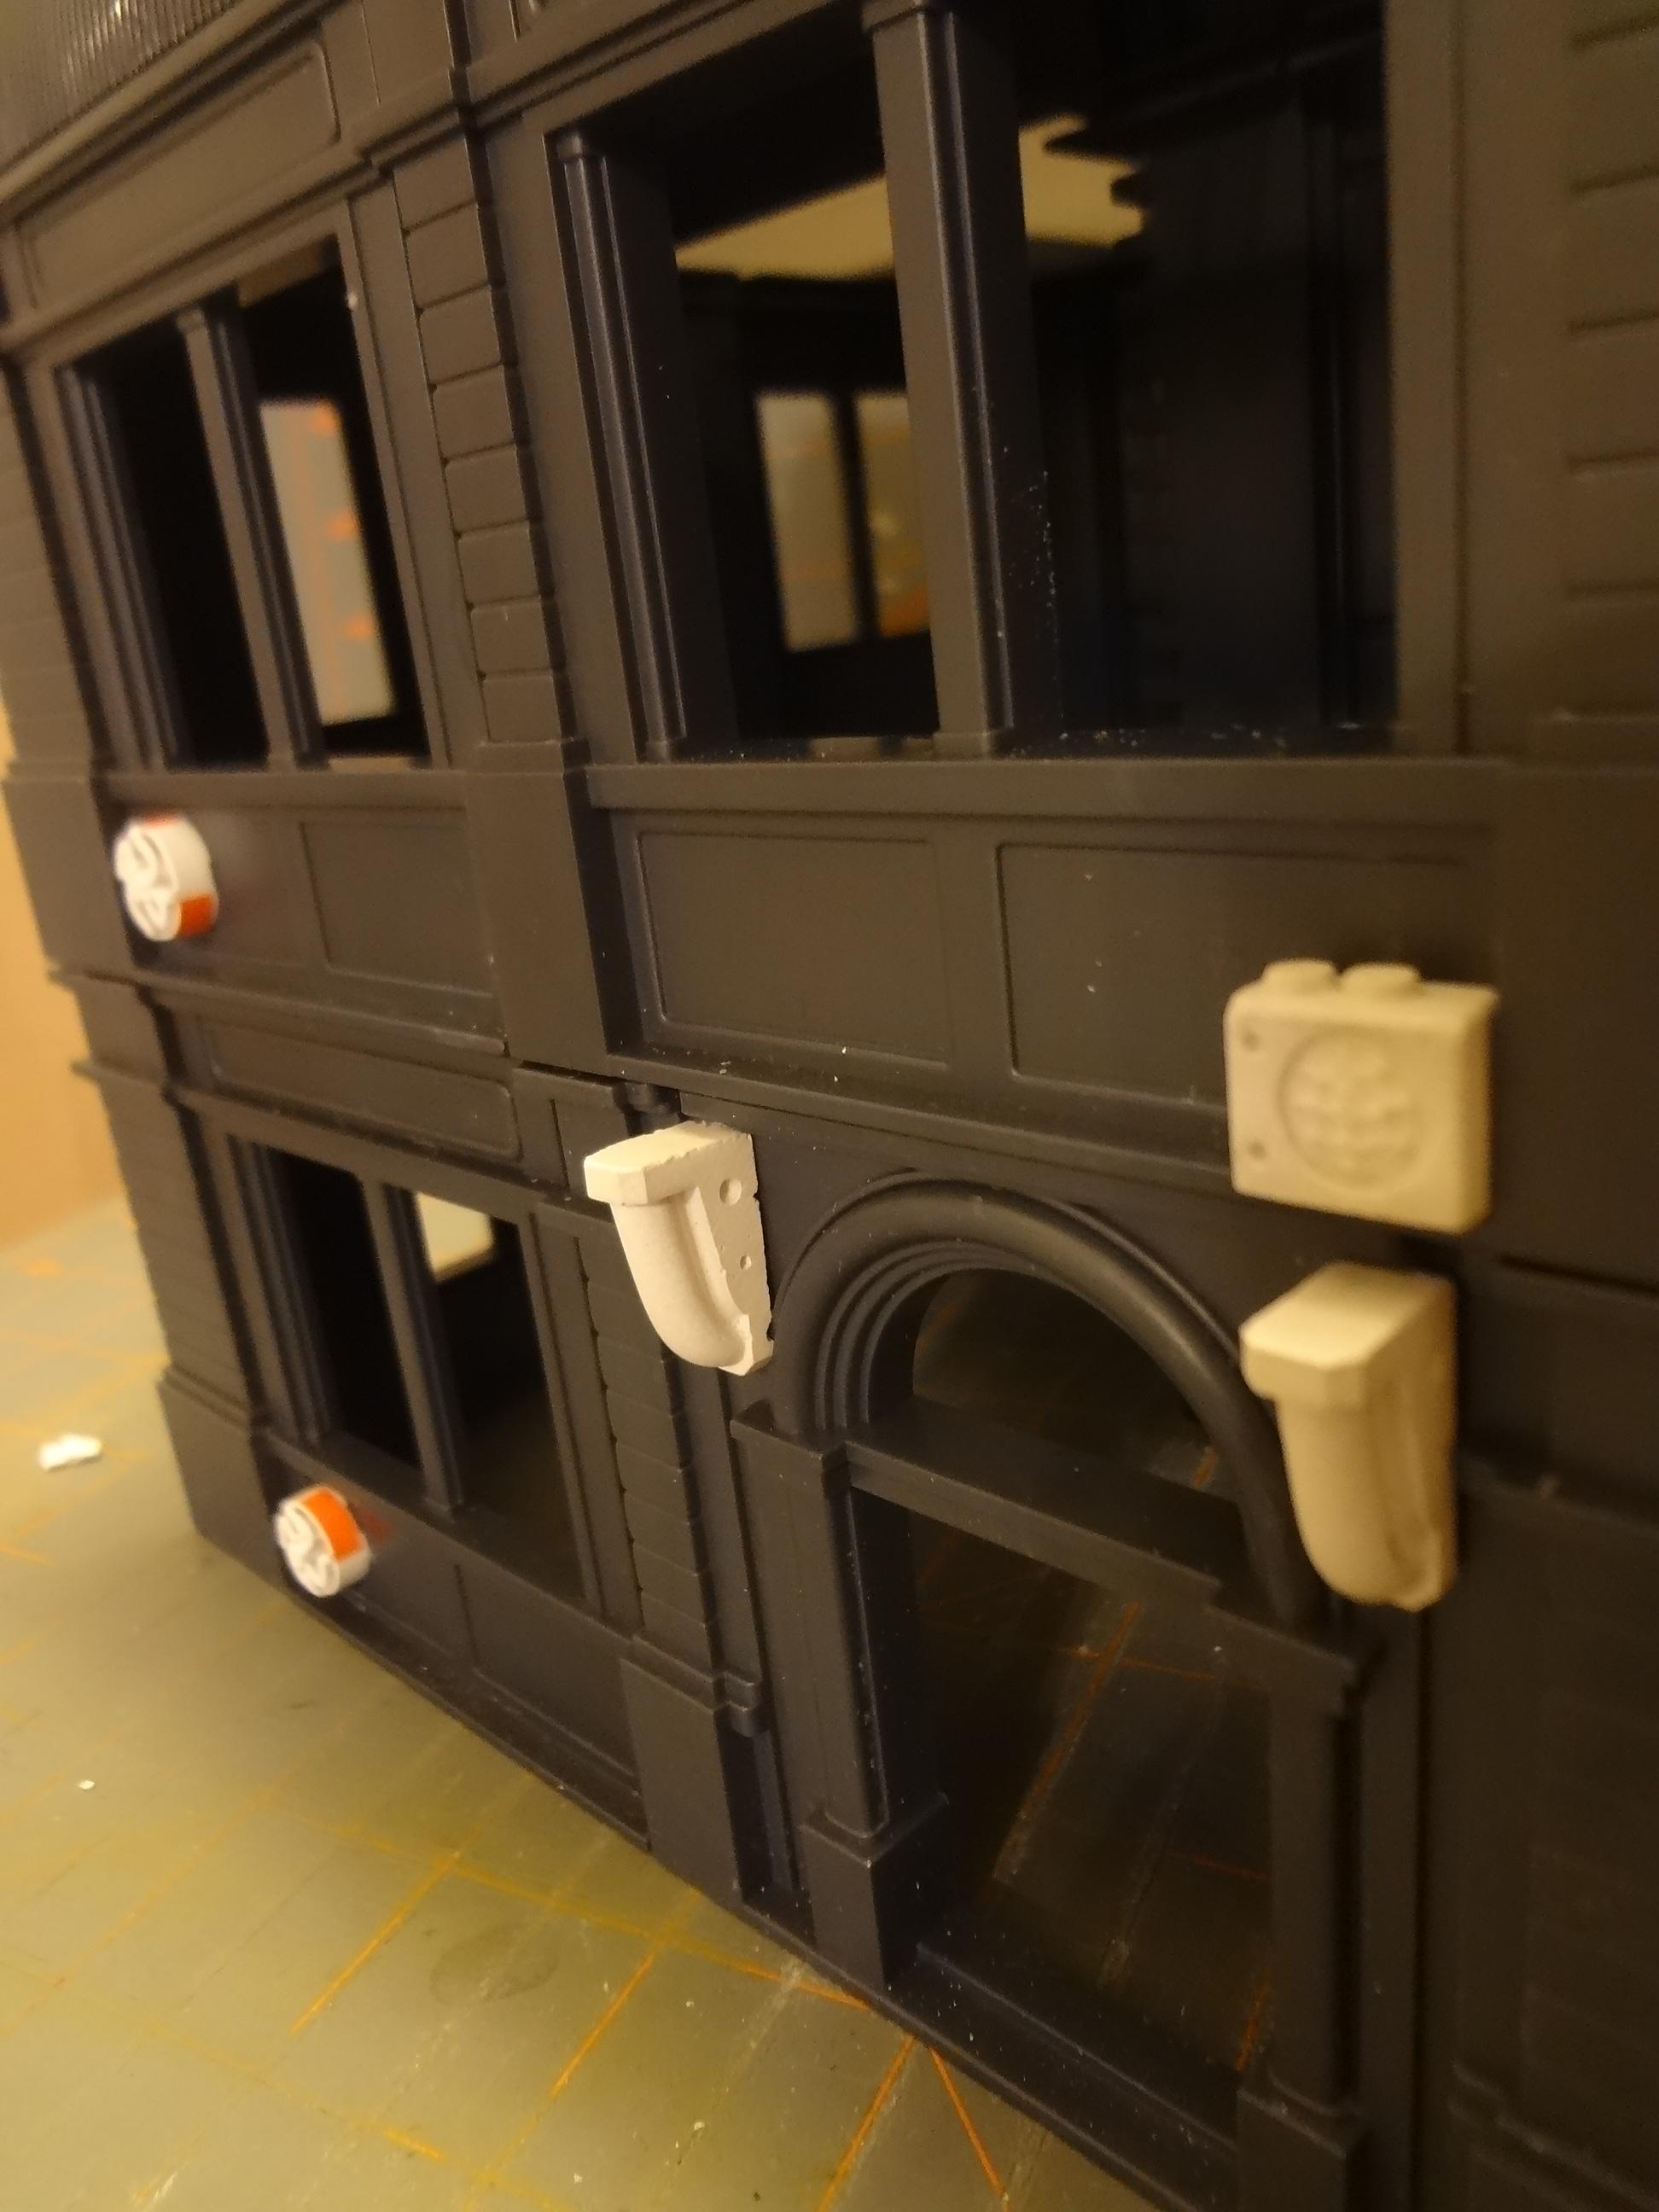


The little round vents are small medical bits of unknown origin. The second story of this building lifts away, which was made possible by removing almost all of the connecting tabs and trimming the remaining tabs down.

Here's a trio of buildings.
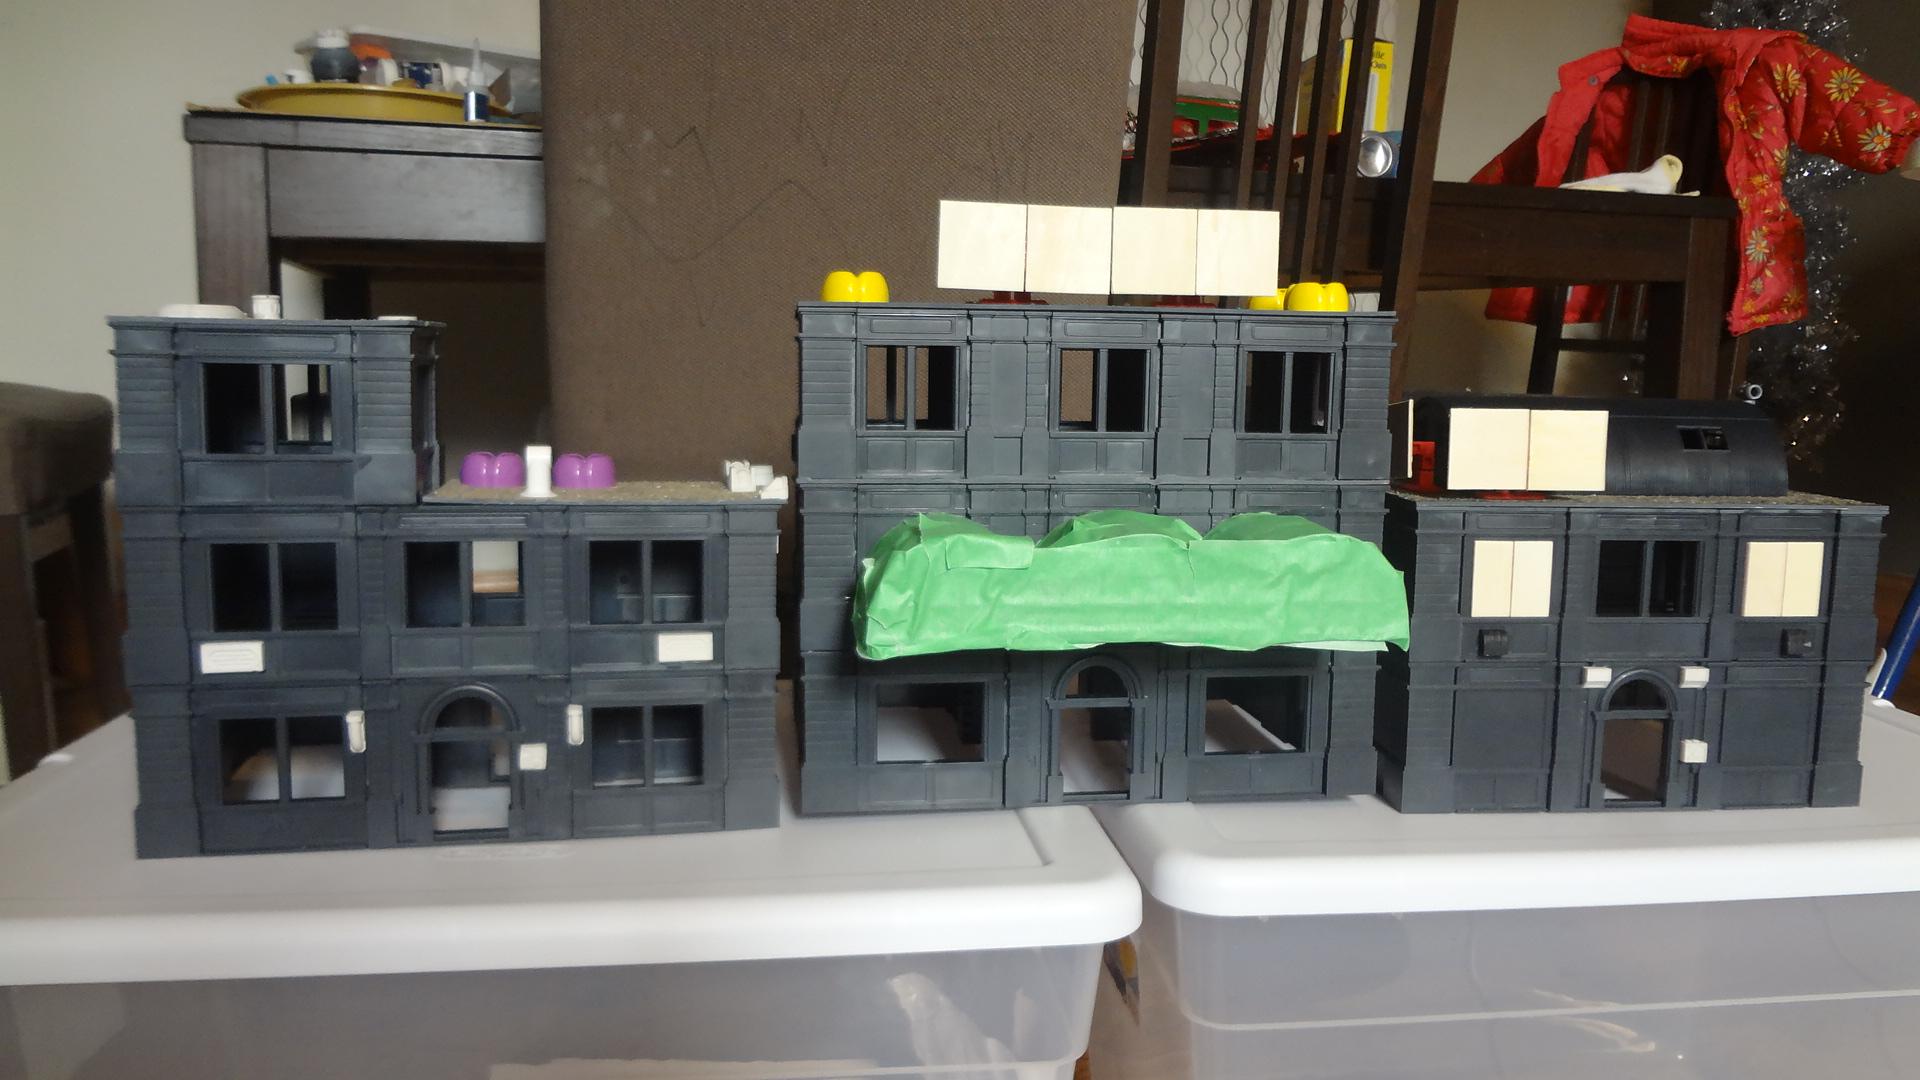

The masked-off awning is from a toy train station that I found at a resale shop. The purple and yellow vents are the caps from baby food pouches. For these roofs, I tried something different that worked really well. The roofs are self-adhesive vinyl composite tiles. At about $1 per square foot, these cheap tiles have adhesive on one side.
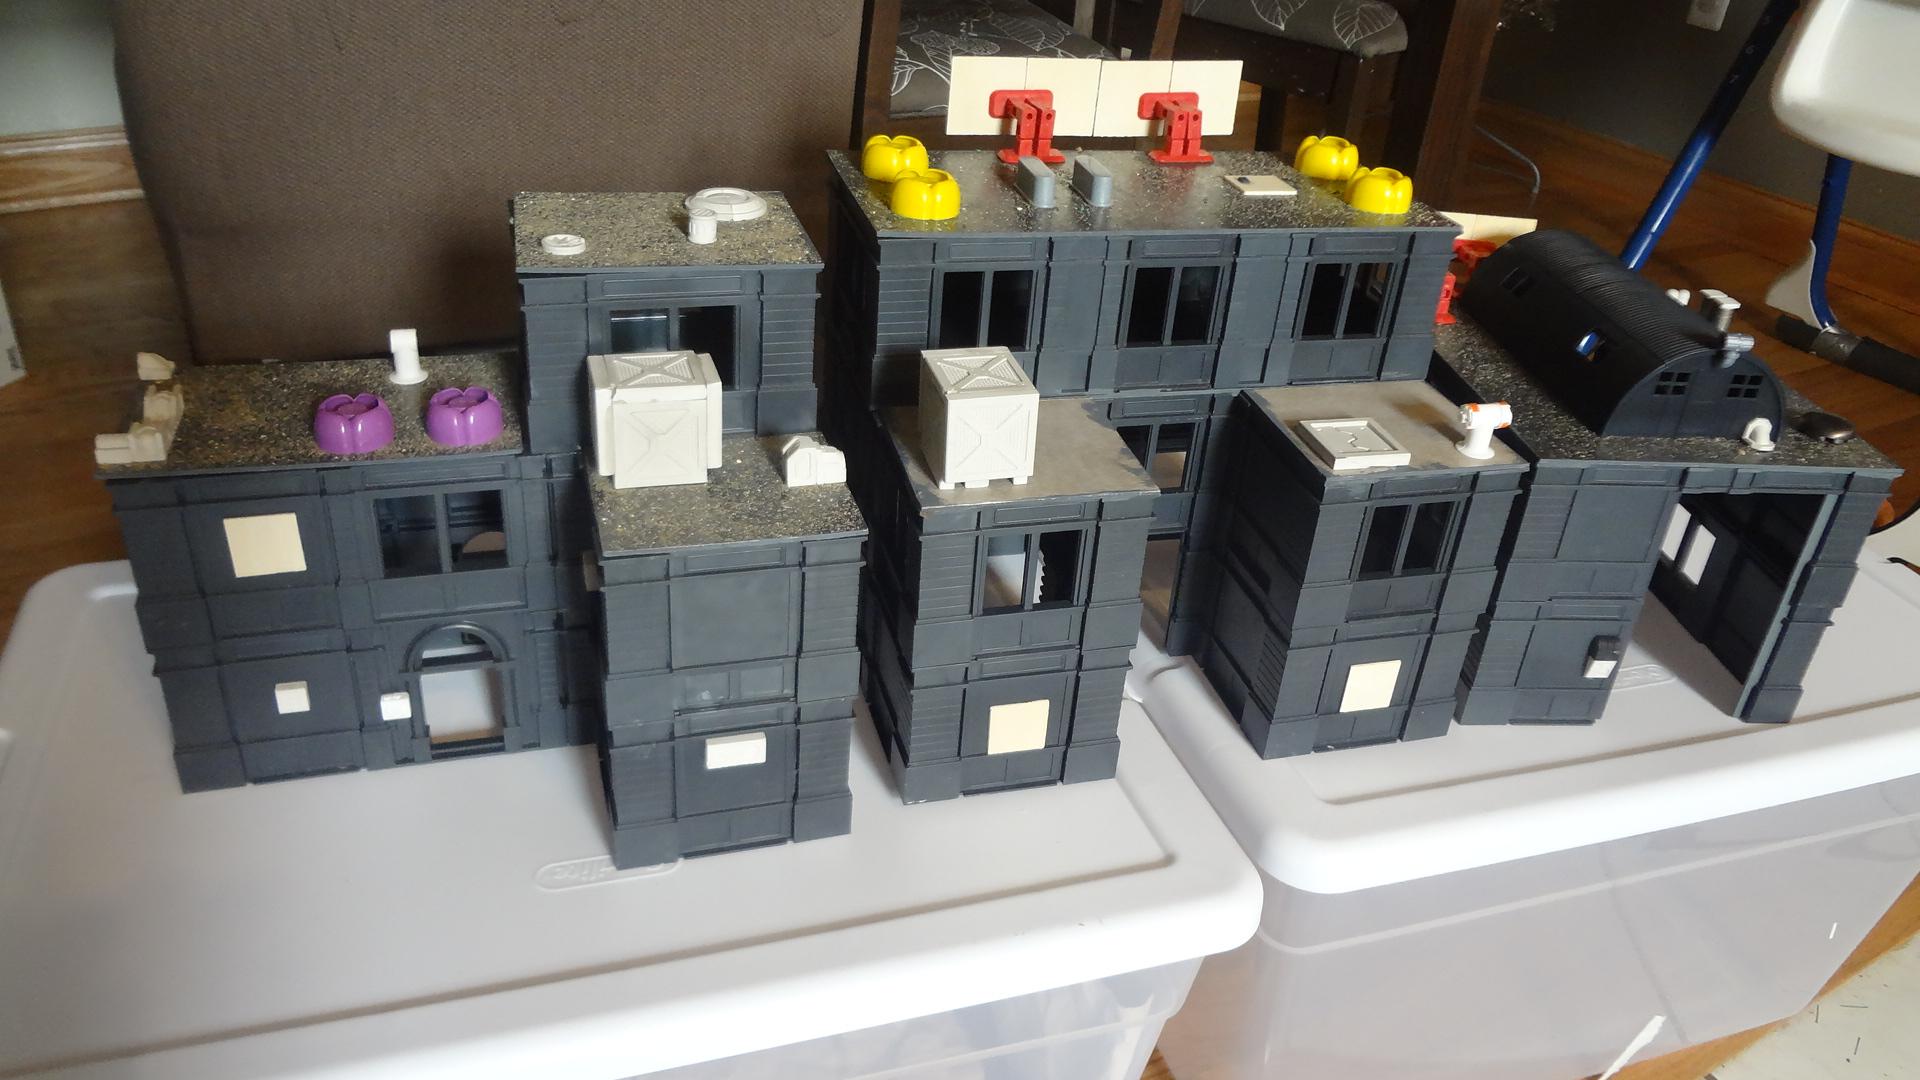


You can put them sticky side down as seen on the 2nd floor of the middle building, or (as with the rest) you can put them sticky side up. The glue is sticky enough that almost all the stuff on top of them required no glue. After I attached the various details, I sprinkled sand over the rest of the sticky surfaces to simulate the tar and gravel roofs that are so common in the city. Black gesso will nicely cover any remaining adhesive Almost all roofs lift off to access the interior of the buildings.

That's all for now! I'm working on two more buildings, but you'll have to wait for the next post to see them all. Here's a teaser of what's to come when I show off all seven finished buildings…
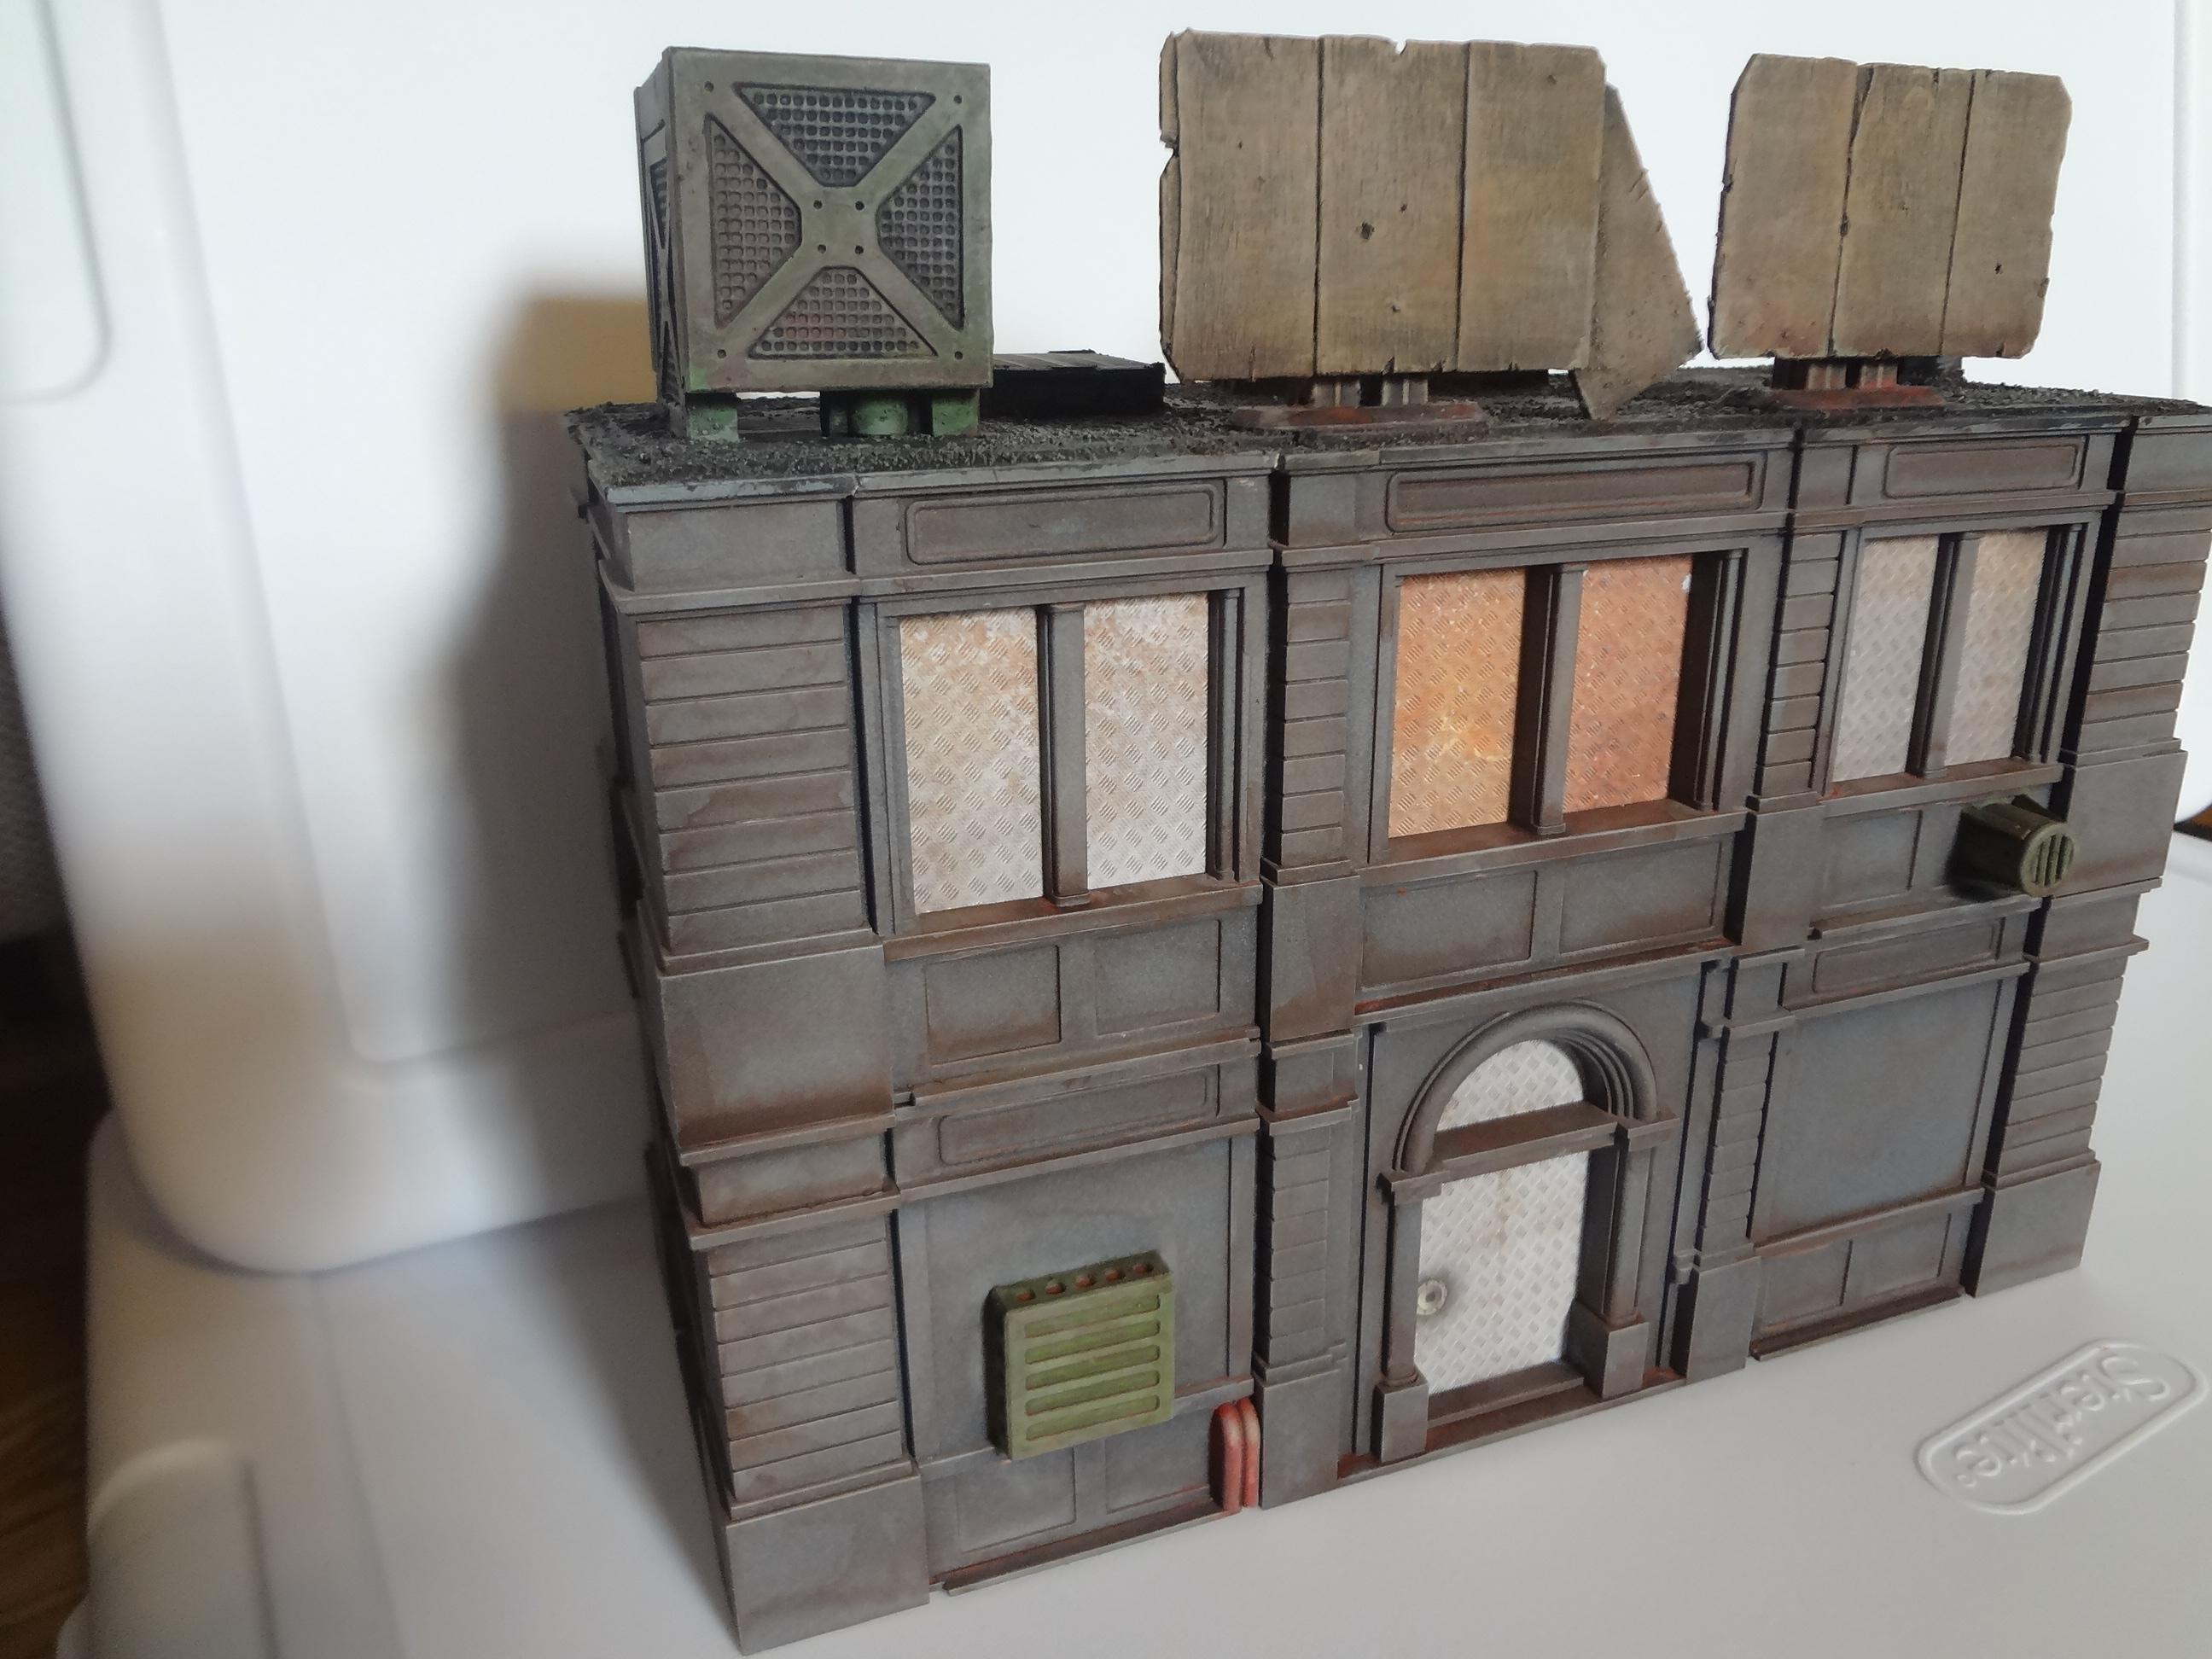

Stay tuned!

-- Karl, Chicago Skirmish Wargames club member

Tuesday, October 14, 2014

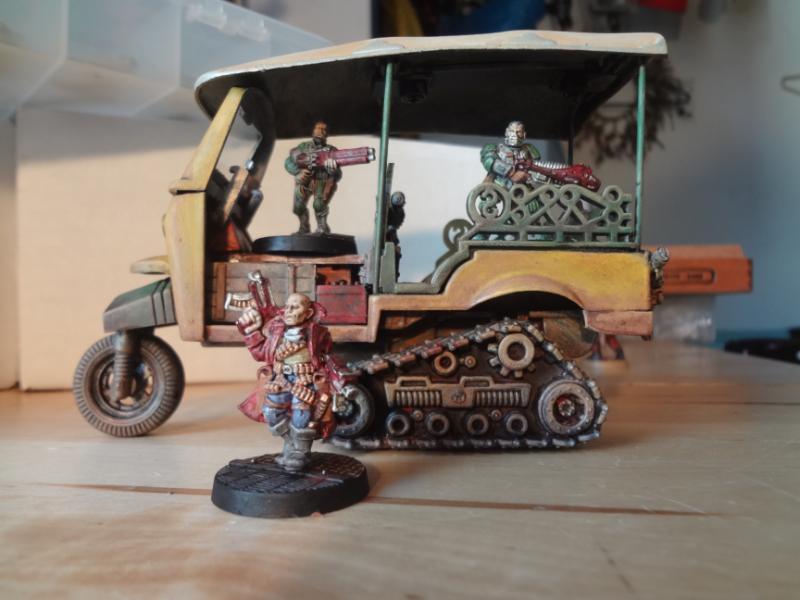
Post-Apocalyptic Tuk Tuk Auto Rickshaw

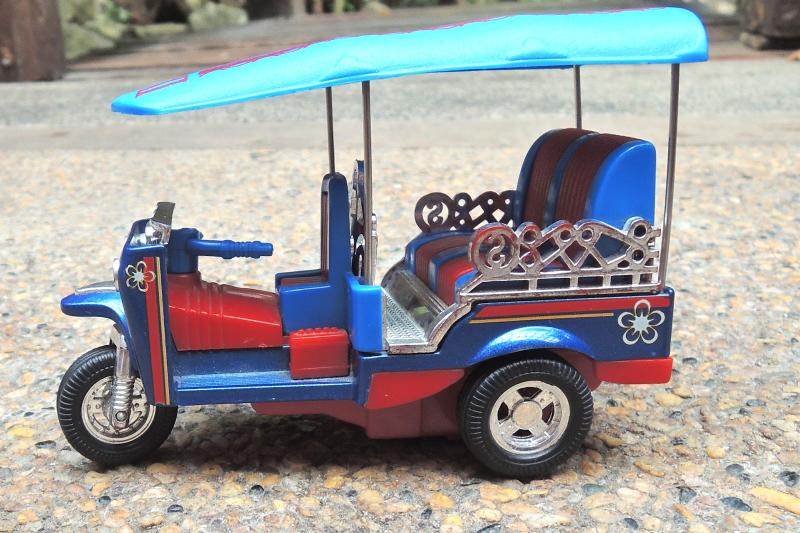
I found this little gem a couple weeks ago and couldn't resist it. Here's how it looked originally (not my pic, but mine was identical except that this example is missing the windshield).


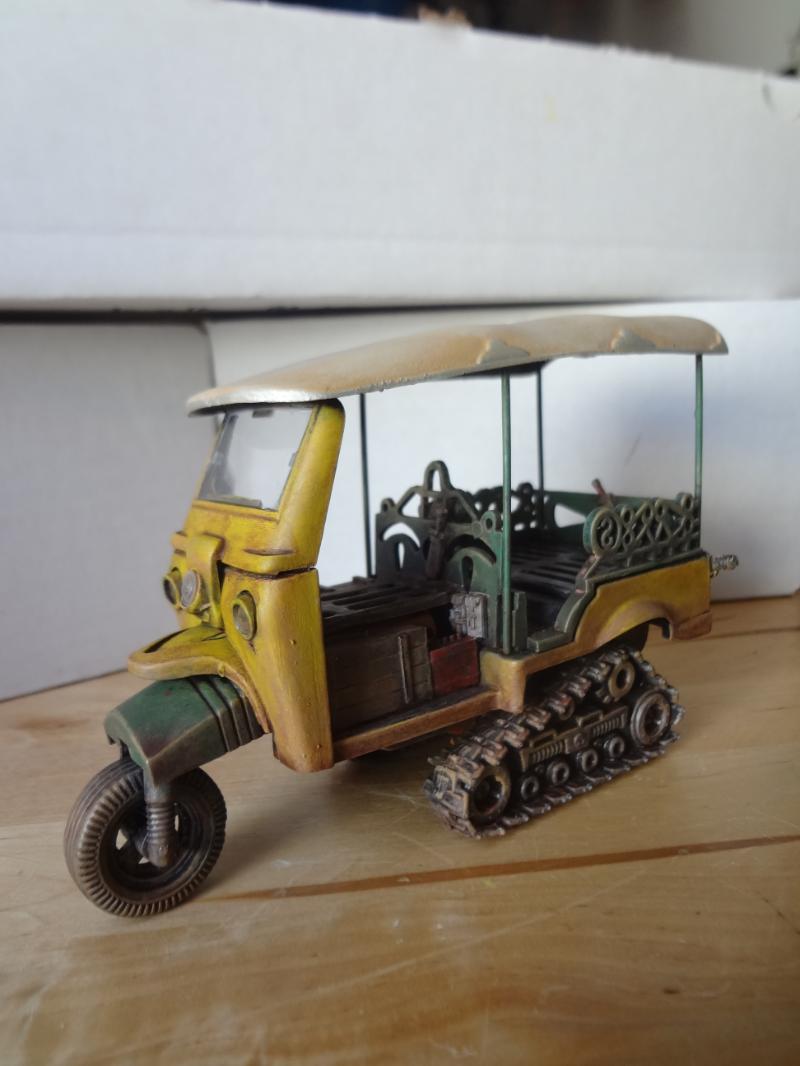
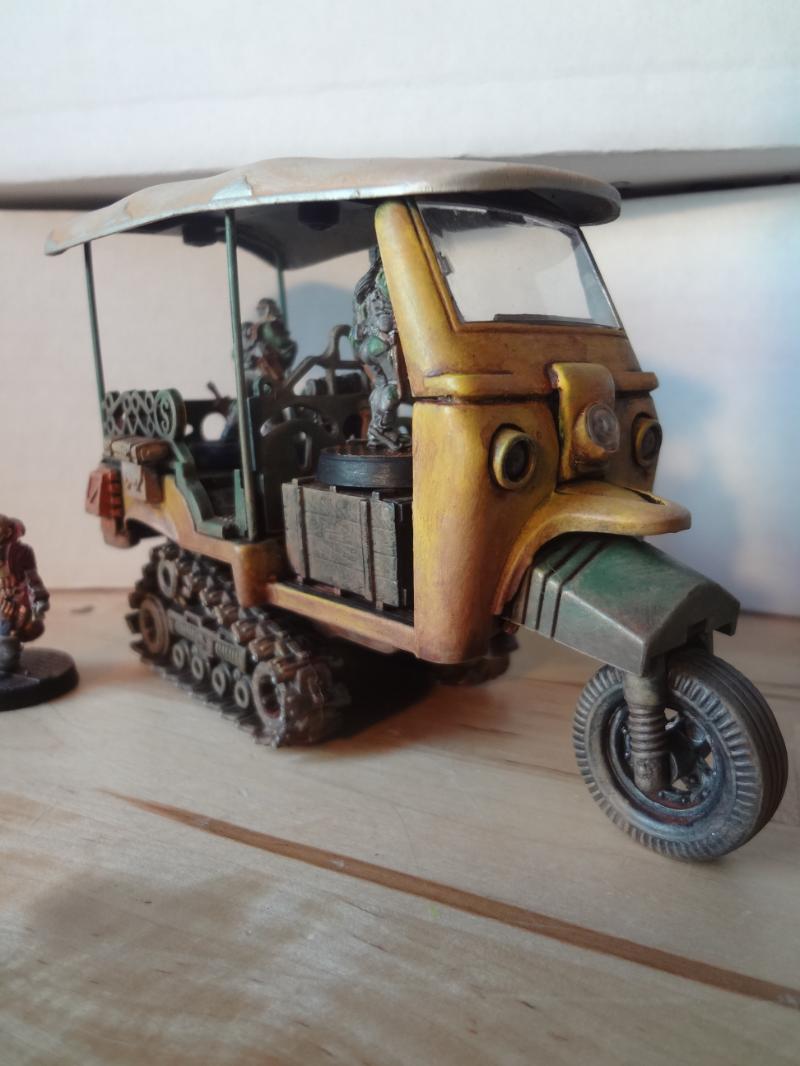
After disassembling the model and ripping out the seats, I set to work mixing it up a bit. The gas tank became the new front wheel fender.


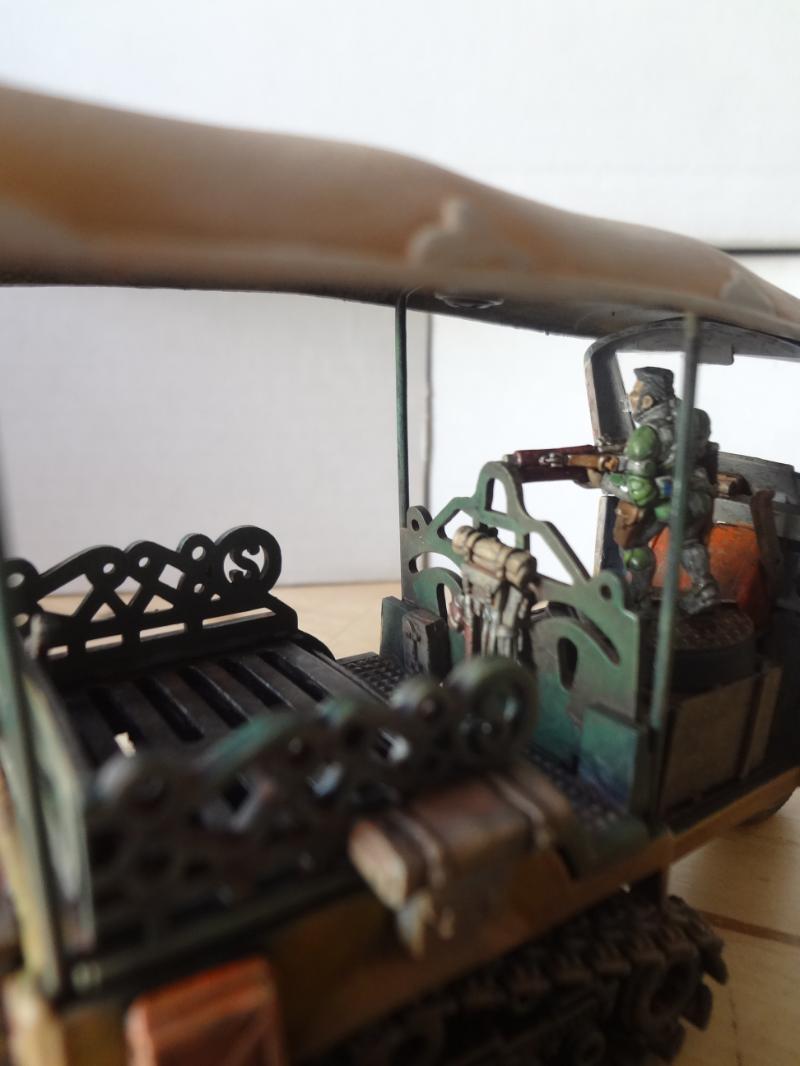
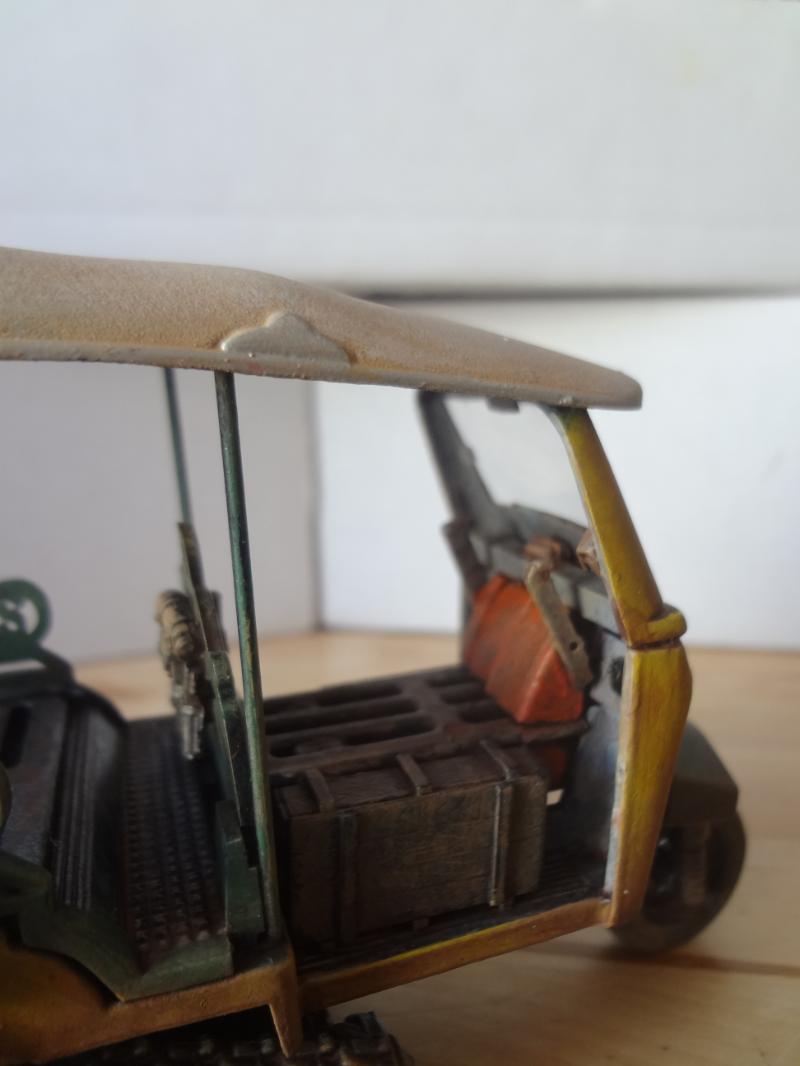
The vehicle is roughly 1/35 scale, so I had to build up the level of the drivers station floor with tubes from Robogear mech missile launchers and various other stowage, topped with a grated bit. Note the two levers for tank tread steering.


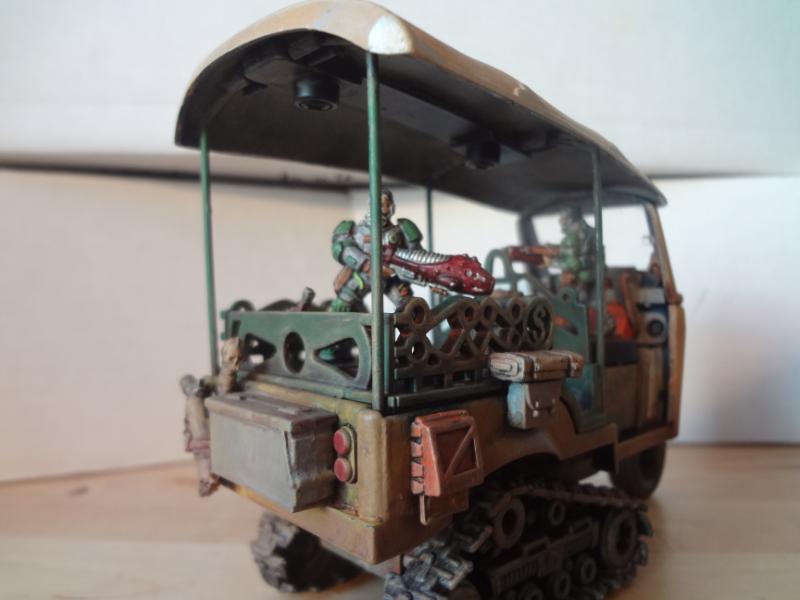
In the rear bed all it needed was a similar floor grating and some stowage.


More stowage on the starboard side.


And on the back, I finally found a place to use this awesome Ork backpack that's been on my workbench for quite a while.


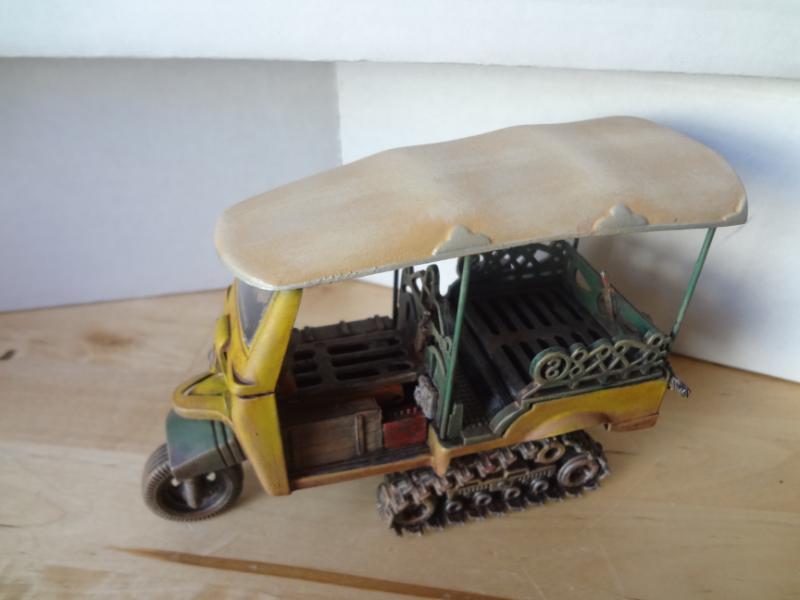
Here's a shot of the sun-faded canopy.


And another shot of the whole thing.


Here's a pic with some 28mm figures for scale. As you can see, this thing is pretty big -- almost a sort of small land-ship.


-- Karl, Chicago Skirmish Wargames club member
Sunday, October 12, 2014

New Paint for Old Friends: Necromunda Van Saar


I've got a blast from the past for you today in the form of my new Van Saar gang, which I just completed after collecting them off and on for many years. Further down I'll also go over a couple of nifty wargaming products for the gamer on the budget: brush-on matt varnish from Winsor Newton and plastic scenic wargaming bases from Champ Industries.

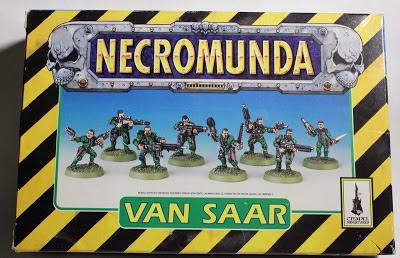
These Van Saar figures represent one of my earliest gaming purchases back in the mid-1990s. Memory is fuzzy, but I may even have purchased the gang before I bought the actual Necromunda game. Just looking at the box gives me warm fuzzy nostalgic feelings.


Unlike many of my other early gaming purchases, I painted these guys quickly, though to a standard that I find slightly embarrassing today. For some reason I've recently become rather taken with the idea of playing Necromunda, even though it's nearly a decade since the last new Necromunda product release and more than a year since the miniatures were unceremoniously dropped from the Games Workshop catalog.

Luckily, over the years I've managed to gather up enough minis for four factions, So my old gang went for a swim in paint stripper and I dug out a handful of other Van Saar and assorted scum models and got to work.

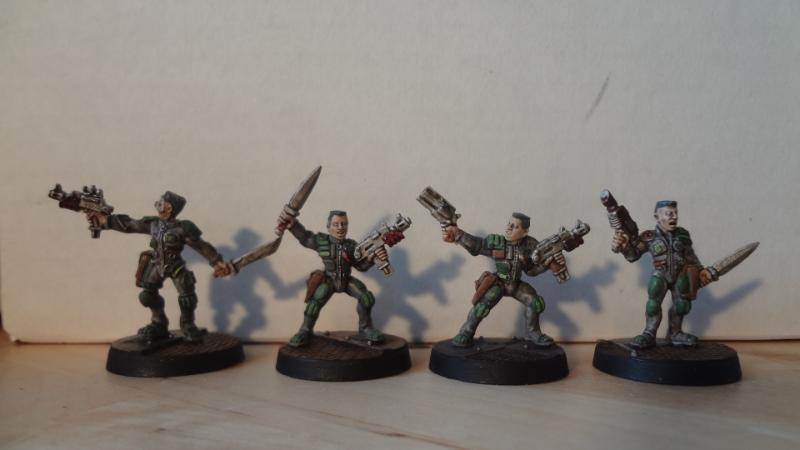
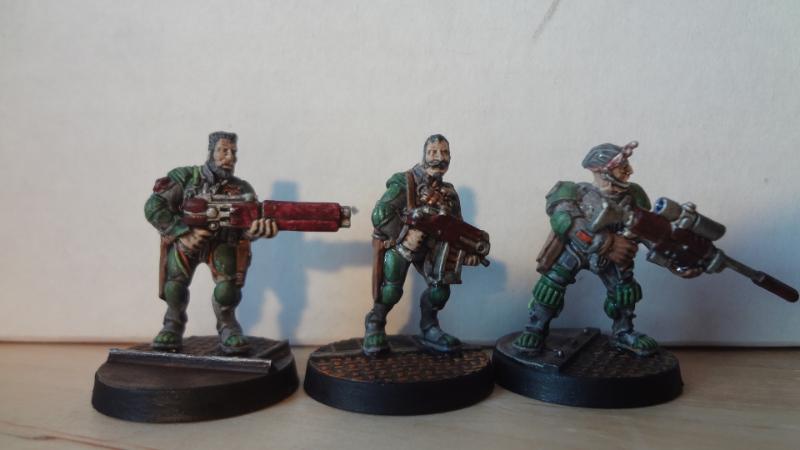
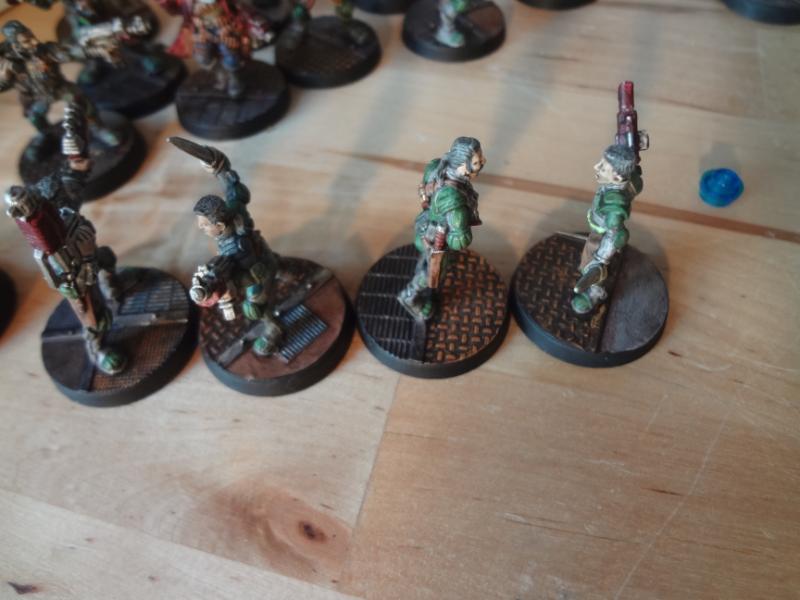
Most the gangers are stock with a few exceptions. Here are a few converted figures. The first ganger here is one of the multi-part Van Saar figures released later in the game's history. He has a Van Saar head, but hands from plastic Imperial Guardsmen and a Heresy Miniatures sniper rifle. The rifle is not really a practical or common weapon in the Necromunda game, but it can easily serve as a lasgun or autogun and is really an admission that these figs will see battle in games outside of Necromunda. The heavy is a Heavy Stubber gunner with an Imperial Guard flamethrower. The hose to the tanks in back is a piece of guitar string.


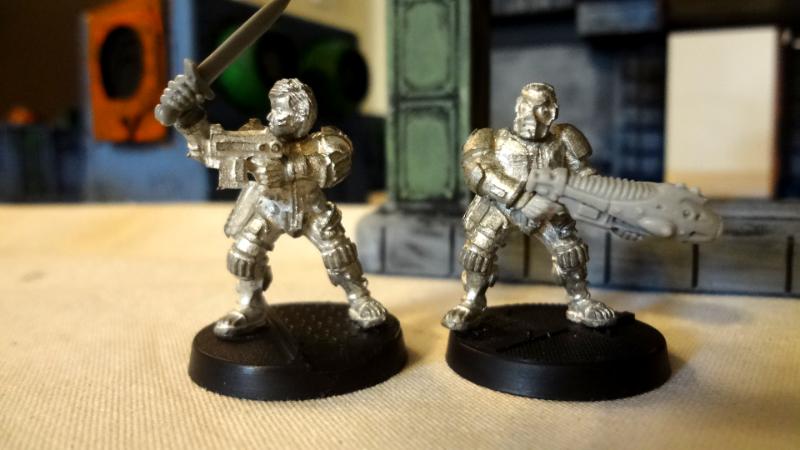
These next two are also multi-part Van Saar plastic figures. On the left, I've given her a head from Alpha Forge Salvage Crew (formerly sold by Megaminis) and a Warhammer sword hand. The fellow to the right has a new hands from plastic Imperial Guardsmen and a Rogue Trader-era Space Ork plasma gun, one of my favorite Games Workshop bits of all time. (I'm currently trading for more if you've got any…)


A quick word about the multi-part Van Saar who were released eight years or so after the originals: It's always nice to be able to add some variety to your warband, but in many ways these figures represent a missed opportunity. They do not have any of the slender grace of the original figures. The details are chunky compared to the finely sculpted original figures. Oddly, none of the heads on the sprue have the signature Van Saar hairstyles, or facial hair.

As usual, I opted for a fast paint scheme. All the figures were primed with white gesso mixed to a grey color. then I block-painted all of the basic colors, followed by a drybrush of light grey on the hair and light green on the green sections. The bases were given a brown wash and then they were brush dipped with Minwax Polyshades Tudor Satin.

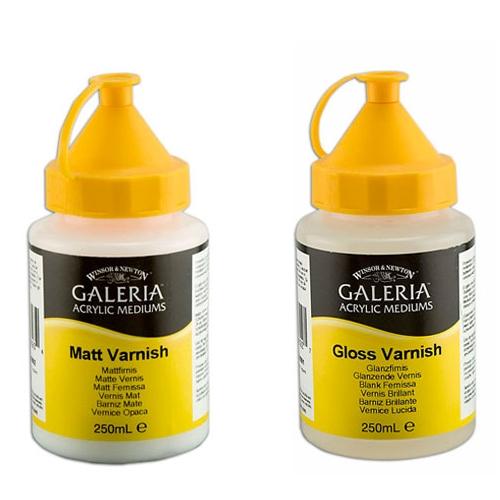
To cut the shine from the Minwax, I varnished them with Windsor Newton Galleria Acrylic Matt Varnish at full concentration with no water added.


It was my first use of this particular brush-on varnish and I am completely sold on it. After years of searching, I have found my brush-on varnish! It's cheap, has low odor and it cuts all the shine in a coat or two. Eight ounces (250ML) is just $8 at my local art store! I've read online that you should use thin coats to avoid clouding the miniature. I found that it dried flat in just a few minutes and I was able to touch up spots I missed quickly.

However it does stay tacky for a while. If you plan on doing any painting over the varnish, it's probably best to leave the figures to dry thoroughly first.

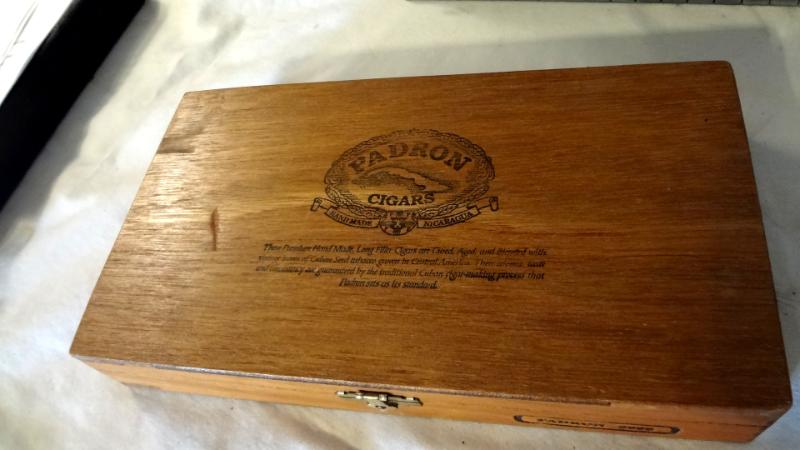
Now let's see. What's in this cigar box?


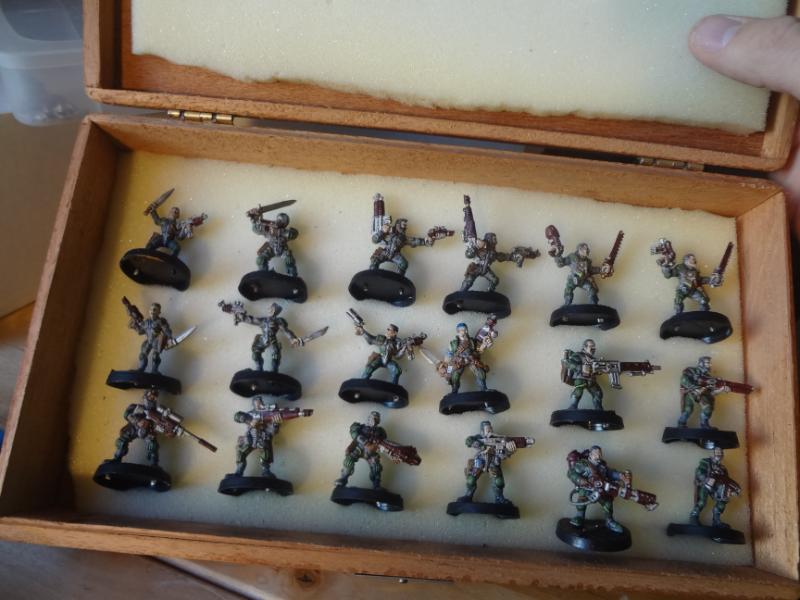
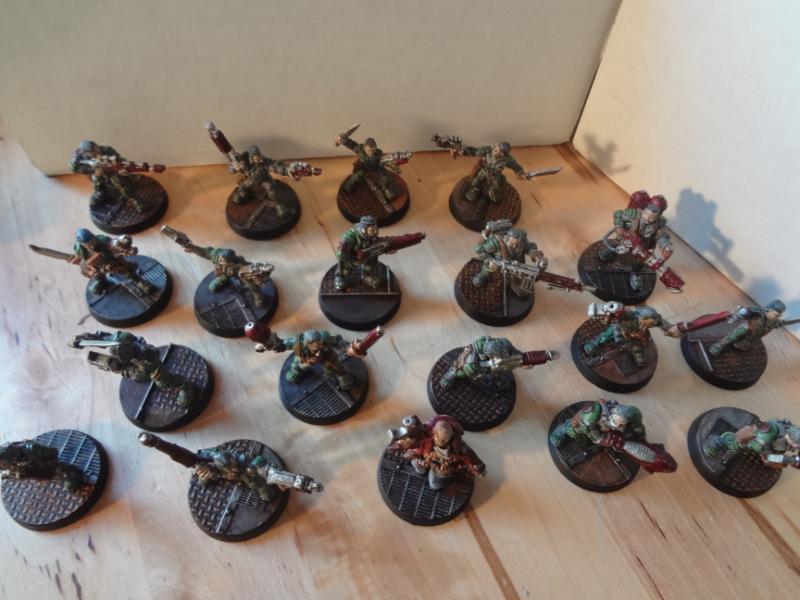
Why it appears to be a Van Saar gang!


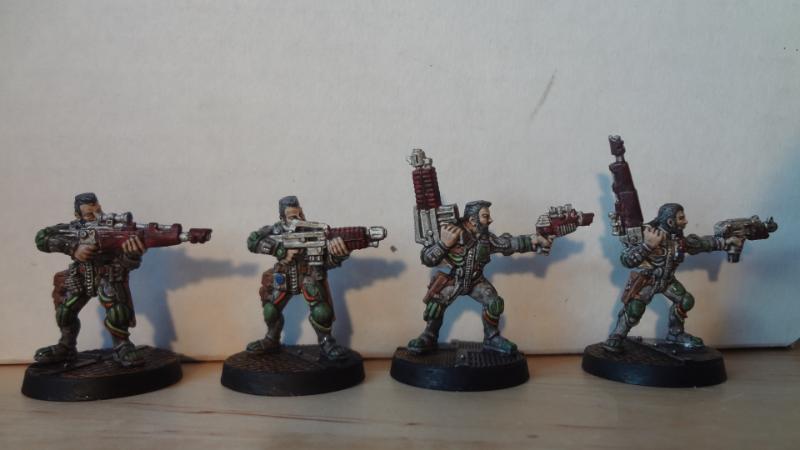
Let's take a closer look... here are the Juves


Lasgun and autogun gangers. I'm very pleased with the way the dark crimson color came out on thier weapons. I'm going to do more of this in the future.


Other gangers


Heavies.


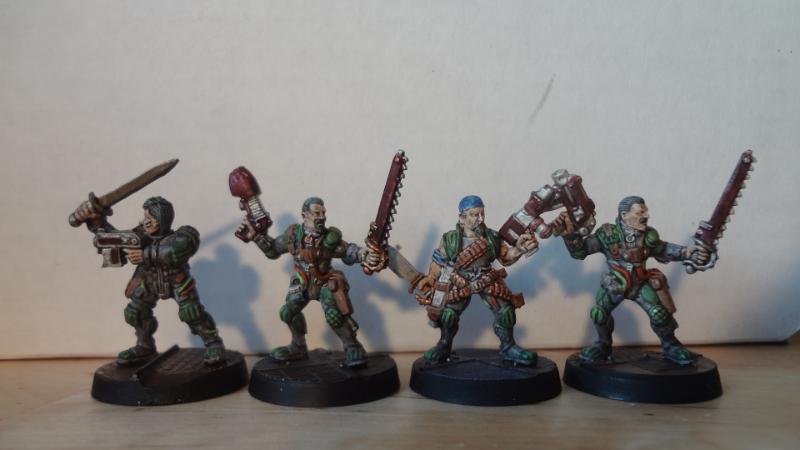
Leaders and close combat gangers


The figure with the bandana is actually a Scum figure, but since he's already wearing half of a Van Saar body suit and the appropriate facial hair I decided to paint him as one of the gang. This is the other Scum figure that came in a pack with the Scum above. One of my favorites, this independent fellow is definitely not a permanent part of anyone's gang.


All the figures had their slotta tabs trimmed down to a peg under each foot and were based on Champ Industries plastic scenic bases with small holes drilled for the pegs.


They are excellent bases with crisp casting and none of the drawbacks (flat bottom, bubbles, flash, etc) that one gets with resin bases. They were originally created for the Rezolution: Dark Tomorrow game and are now available direct for the ridiculously low price of 30 cents each! The only drawback is that each of two themes only has 4 different sculpts.


However, they're easy to modify and really simple to work with! One wonders why more companies aren't making plastic bases.


There you have it. My first Necromunda gang gets a new lease on life and some more useful products for the thrifty gamer. I'm not done with Necromunda either. I've got the figures for Escher and Cawdor and maybe Delaque and Orlock gangs as well.

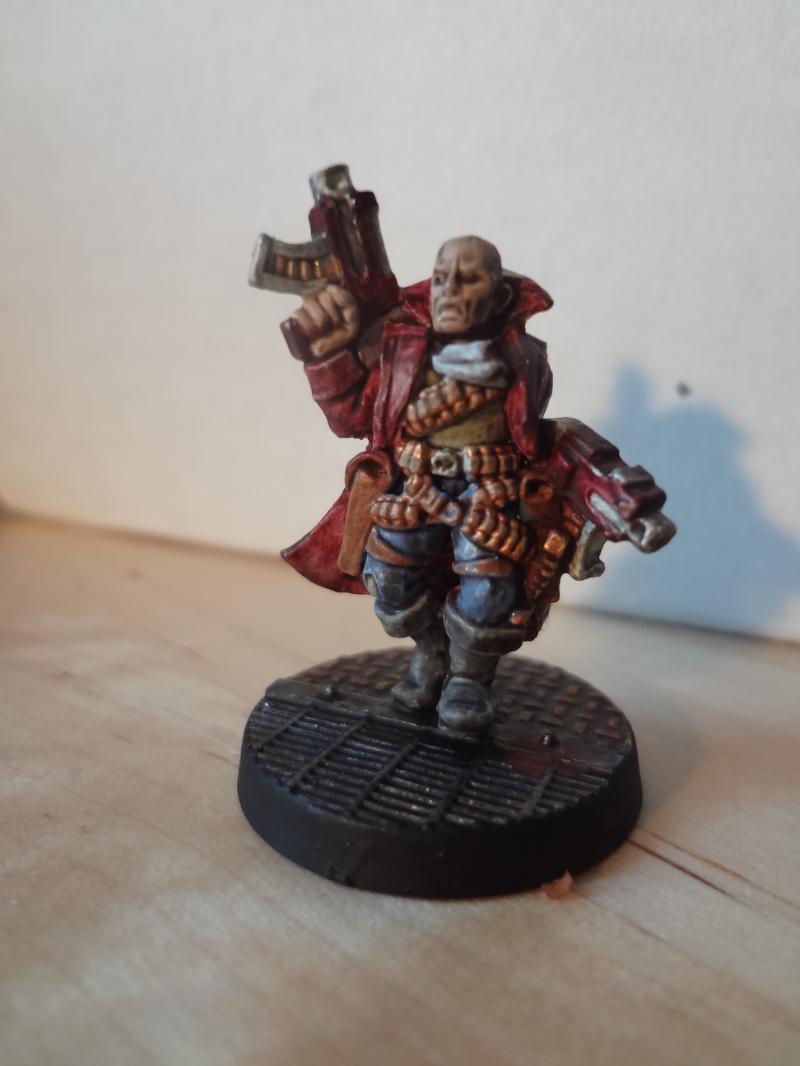
Lastly, this figure just came to me from Tim a week ago.


With his flamboyant outfit, lack of insignia and bulbous head, I though he was a Genestealer Cult character. However it turns out he is an Imperial Psyker. Necromunda has rules for Wyrds (psychics) and I think this guy will be perfect!

-- Karl, Chicago Skirmish Wargames club member
Wednesday, October 1, 2014

Terrain: Post-Apocalyptic Shanty Compound & Shed


Ever since I began browsing the wondrous terrain creations over at the Post-Apoc Forums, I've wanted to try my hand at building my very own shanty building. It wasn't until recently that I managed to assemble the critical mass of raw materials to embark upon this effort. A bits order to Ramshackle Games gave me a goodly pile of doors, junk, machinery and smokestacks. To that I added a big pile of leftover Deadzone plastic pieces and scrap plasticard given to me by Josh. Then last weekend, I started building.

I went with a fairly simple design to start with: a two story compound with an overhanging balcony. I basically glued two low, square cardboard boxes atop each other, then wallpapered the structure with a hodgepodge of plasticard, balsa strips, Deadzone bits, Ramshackle bits and other assorted pieces of junk. Here is what I came up with.


It's pretty big! Probably 12 inches by 10 inches. It can definitely work as the centerpiece of any shantytown. I added some gravel, rubble and other junk to the base, then started painting. In the past, this is where my terrain seems to fall down on the job. No matter how hard I try, I always seem to make the colors too dark and muted. That's fine for rubble and ruins, but for this piece I wanted to make it a little more visually interesting. So I took a page from Voark's impressive shantytown called Tull's Resolve, and went with a rusty basecoat followed by some dabs of brighter color, then more rust and dust.

Here's the final product.


I painted up a few pieces of scatter terrain specific for this shanty compound, to create a little bit of cover for the large flat roof areas. There will be sandbags for the topmost roof (near the hatch) an at least one metal barricade on the first level roof.

And just for fun, I used the leftover bits to whip together this small outbuilding. Maybe it's a shed, or a jail, or even the entrance to a subterranean bunker?


Check out the pic at the top of this post for a look at the larger compound with 28mm miniatures for scale. Can't wait to get 'em all on the battlefield together!

-- Patrick, Chicago Skirmish Wargames club member
Monday, September 22, 2014

Terrain: Cathedral de la Pegasus

Here's the most recent project that's been keeping me from finishing my Necromunda Van Saar: a church made from Pegasus Gothic Building parts, equally at home on medieval fantasy or far future battlefields.


I acquired a big pile of mismatched Pegasus kits some time ago, and and they've been boxed up in my workshop ever since. I don't know the exact makeup, but it appears that I have the entirety of #4592 Gothic City Buildings Small Set #1, one wall section from the #4390 Gothic City Ruins and additional wall sections, probably from the #4923 Gothic City Buildings Large Set.

You can see the entire line of kits here, though they are available for less elsewhere. In this article I will discuss how I assembled this church from several different Pegasus kits.


If you're not familiar with Pegasus, these are really sturdy, well-made kits, suitably Gothic enough to be used anytime from the 11th century AD, all the way into the grim darkness of the 400th century, while not being overburdened with the skulls and iconography of the later years.

They could just as easily be liturgical buildings, government offices or institutional edifices. The assembly is easy, but you'll need a good pair of clippers and a file.

However, except for the ruins set, these are not complete kits. They do not have roofs, parapet walls or floors. All three of these omissions are fairly important when building a structure for wargaming terrain. All three are present in my model,  and I'll get into how I addressed these later. For now, on to the building. 


The entryway pieces are nice enough: a pair of doors with a nice block pattern on them. The walls come in single and double sections with a pillar at one end. The regular windowed walls have a different pattern on the inside and outside, such that a given floor will always have the same pattern on the outward side. There are also solid walls without windows with similar differing patterns.


I made the parapet walls by cutting away the upper part of the walls and the pillar from each wall section. For the parapet above the bell tower, I left part of the pillars in place. For this I used my Dremel and my trust #543 cutting/shaping bit. It took quite a bit of time, but it would literally take hours of cutting and sanding if done by hand. For this project, I ended up cutting 9 parapet walls for the right and left side of the cruciform-shaped building.

The floors are just sand sprinkled over gesso primer, with a second layer of gesso on top. I was trying for the gravel and tar roof look that is so common here in the city, but I probably should have added more sand. 


The roof support pieces are 2 walls wide. I didn't have the pieces to make the building any wider, so I cut the pillar out of the middle of the roof support halves and ended up with an overhanging roof. The roof structure is 2 pieces of fairly thick plasticard, and the cladding is vinyl cabinet lining material upside down, which has a nice double-ridge pattern. Vinyl doesn't take paint well, so I used Krylon Fusion spray paint to prime it. After painting, I gave it a couple of heavy coats of varnish. 


Every pillar section has two sets of holes on each face. These are for attaching to the wall sections, but can also be filled with blank blocks, gargoyles and lights that are supplied with the kit. The incomplete kit that I had, while lacking floors, did contain floor supports that also attach to these holes. 


The gargoyles are a nice mix of dogs, lions and bats. I used the lamps, but not the torches. I used various hobby tools to add the various chips in the pillars and walls.


The roof is removable, revealing an interior. I left the interior empty for easy access, but did put in a plasticard floor with tiling made from patterned paper from the craft shop.


The interior isn't visible close up anyway, so I just cut the paper to approximately the right size and then used permanent marker to blacken the edges where the white plasticard would show. I glued the paper down and then gave it a light brown wash. The paper buckled up during the wash, but then dried flat.


The top of the belltower is also removable (maybe I'll add a bell someday) revealing an interior floor made from balsa scored in a plank pattern, given a brown wash and glued to a piece of plasticard. 


You may notice that the bell tower is about one-third shorter than the other wall sections. It's made from the sections of wall that I cut away to make my parapet walls. I also cut away the inner window subdivisions and details to make the large open windows.


I started the paintjob with Krylon Camo dark brown spray paint, followed by a heavy drybrush of Delta Ceramcoat Terra Cotta, then a light drybrush of Spice Tan. I didn't use any washes on this particular piece of terrain.

I can't speak highly enough about Delta Ceramcoat paints. The pigmentation is better than any other craft paint brand, and the value is quite unmatched. I even use them on my miniatures.

The verdgris details start with the same brown base, but I dropped in a heavy drybrush of Reaper Turf Green before the final tan drybrush. 


I hope this inspires you to get the most out of any incomplete or partial kits you might have sitting around in your workshop. I'm looking forward to getting this on the table soon. This piece is ideal since it has enough space for squad-based games, plus enough interesting nooks for skirmishes. And perhaps most importantly for me, it's tall enough to conceal a 28mm battle mech!

-- Karl, Chicago Skirmish Wargames club member