Showing posts with label cheap. Show all posts

Tuesday, March 31, 2015

Adepticon: A First-Timer's Perspective

Earlier this month I had the pleasure of attending Adepticon 2015, and here's a review of the experience from my varied perspectives, as a:

  • First time attendee who isn't a player of the flagship Adepticon games 
  • Terrain-building addict 
  • First time Adepticon game master 
  • Bargain hunter 


Thoughts as a First-Time Attendee
As an attendee, I have to say that the convention is very impressive. Even though I don't play any of the flagship Adepticon games (such as Warhammer 40,000, Warhammer Fantasy, Flames of War, Warmachine or Hordes), I found a lot to like about this convention.

From what Tim tells me, Adepticon has recently widened it's scope to cover other sci-fi and fantasy games, and it showed this year. This expansion wasn't limited to some of the other big players like Reaper Miniatures, Mantic Games, Bolt Action and Infinity. There were demos and booths for small local games like Wreck Age, recent Kickstarter successes like Aetherium and Super Dungeon Explore, startups like Broken Contract, and a host of vendors selling all manner of Mminiature supplies and services.

To be fair, many of these ancilary companies were directly related to the "big" games, but there was still alot to enjoy.
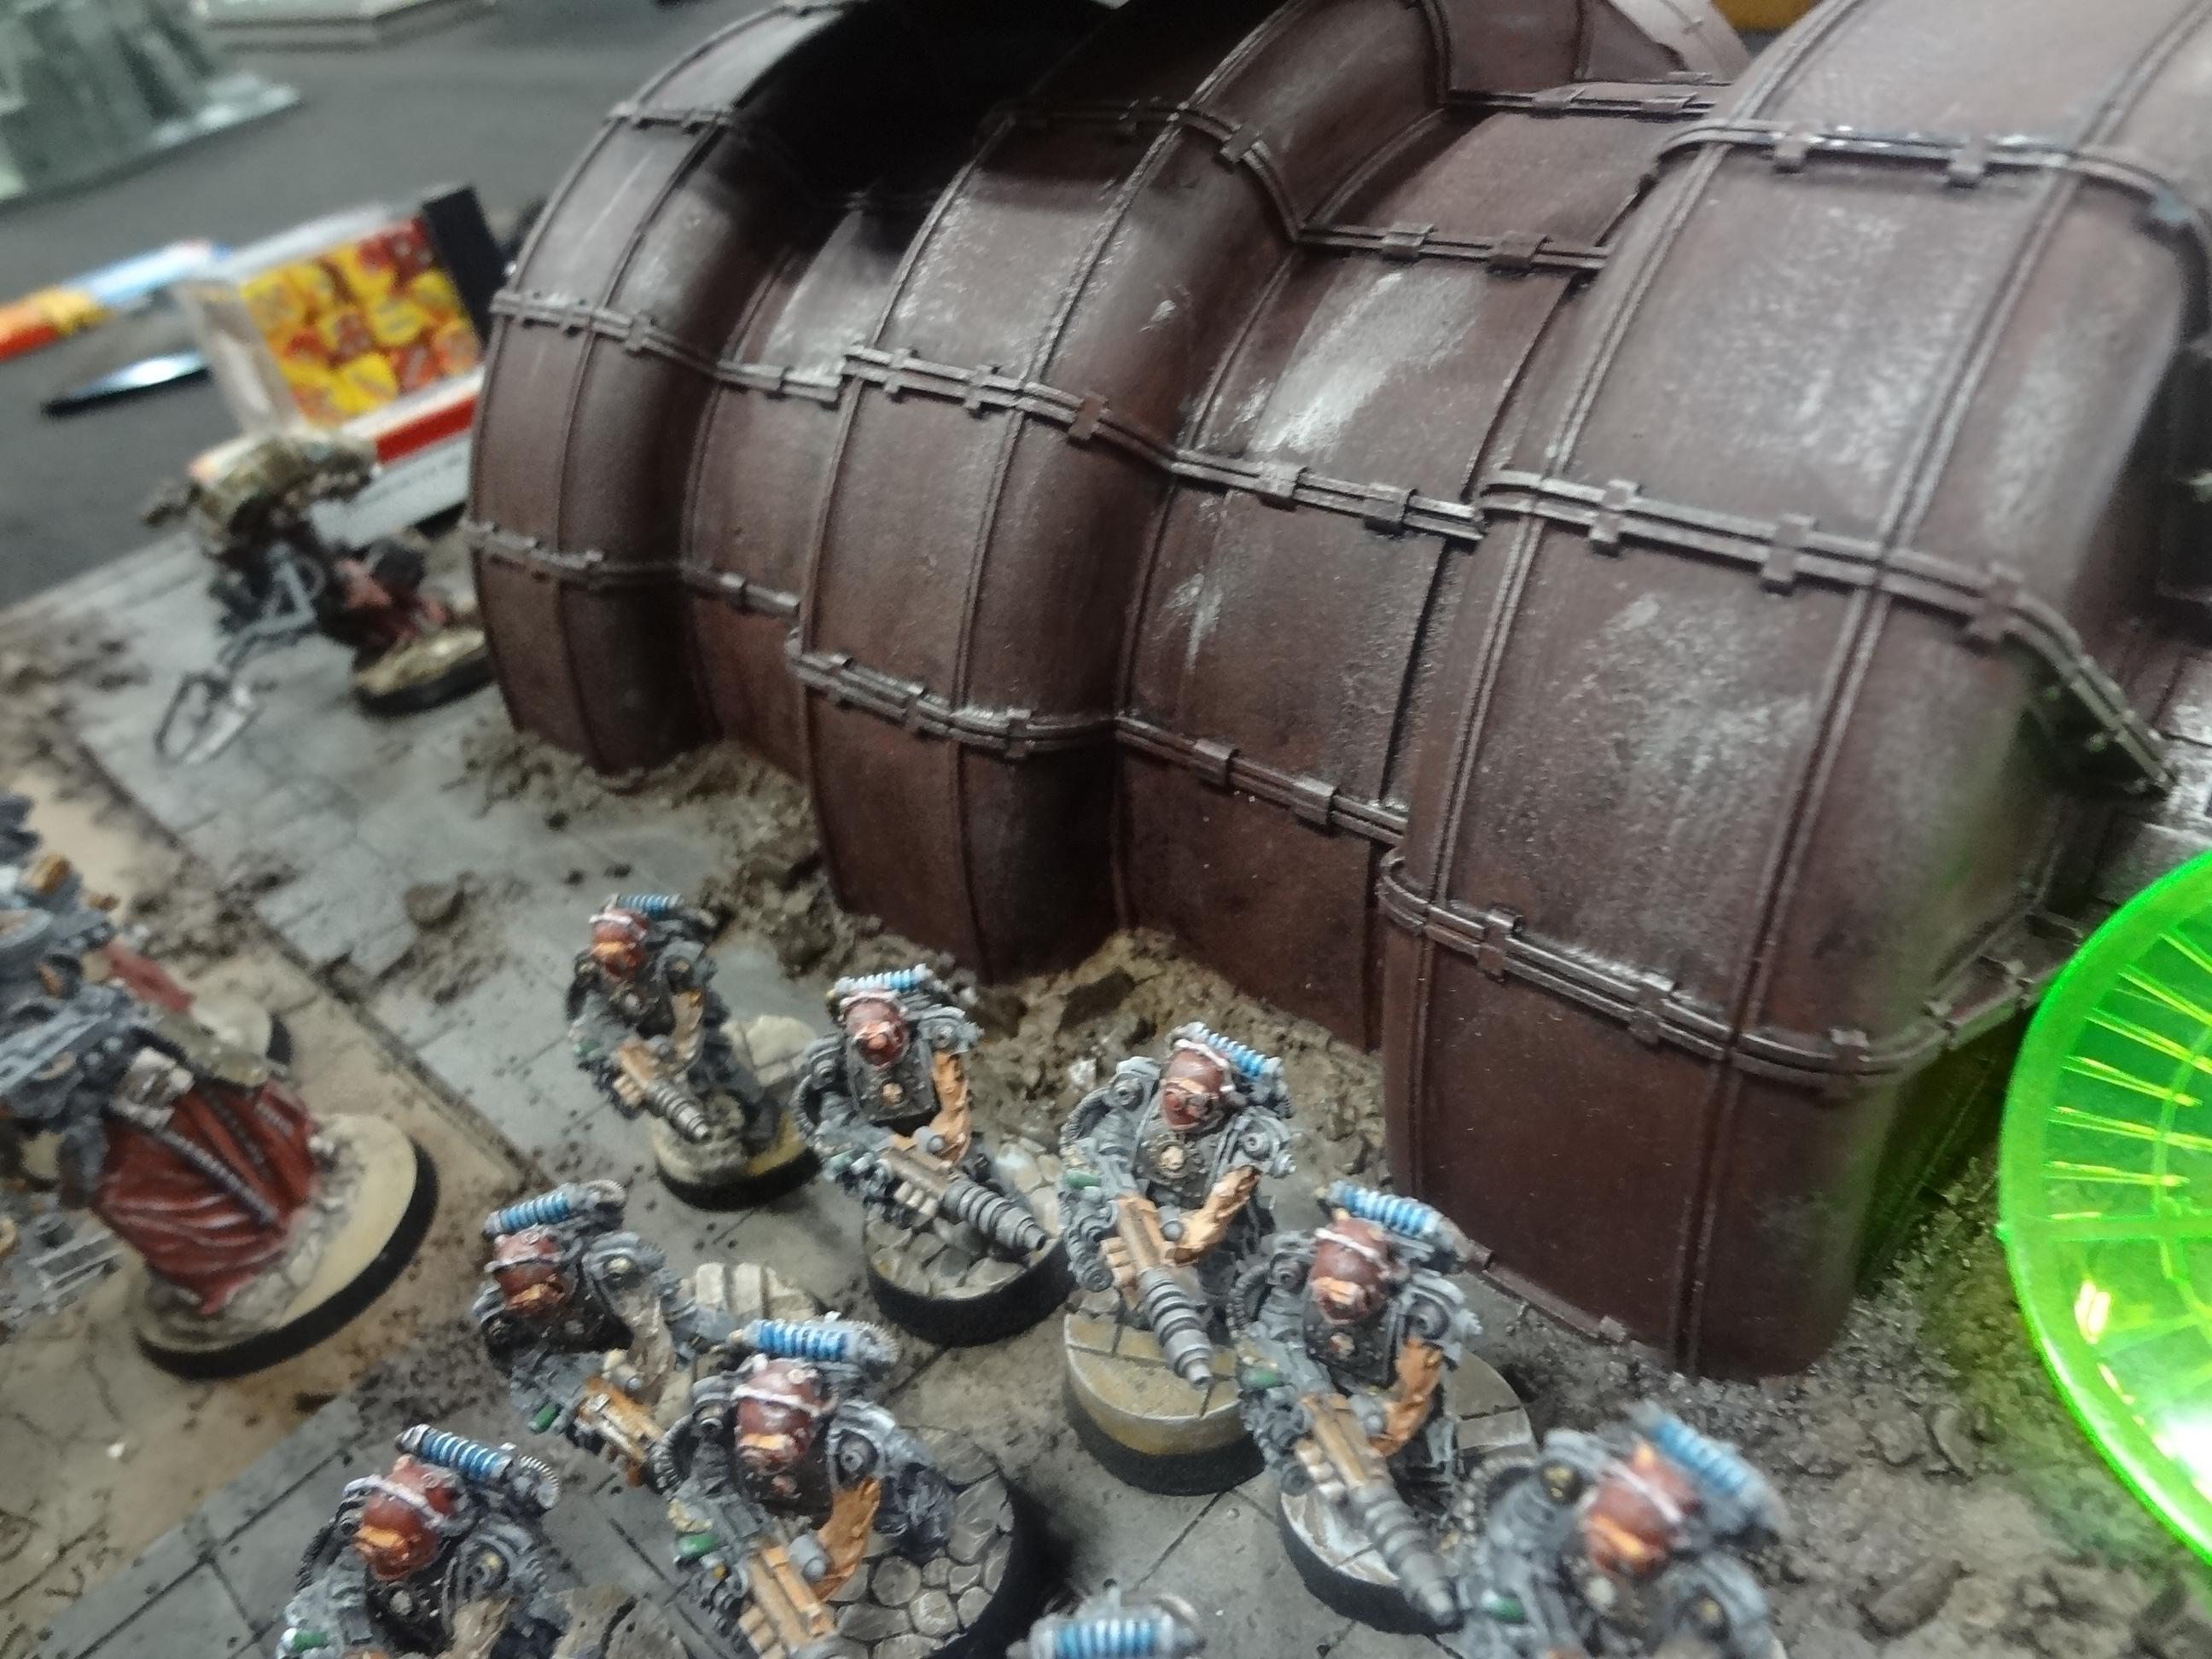


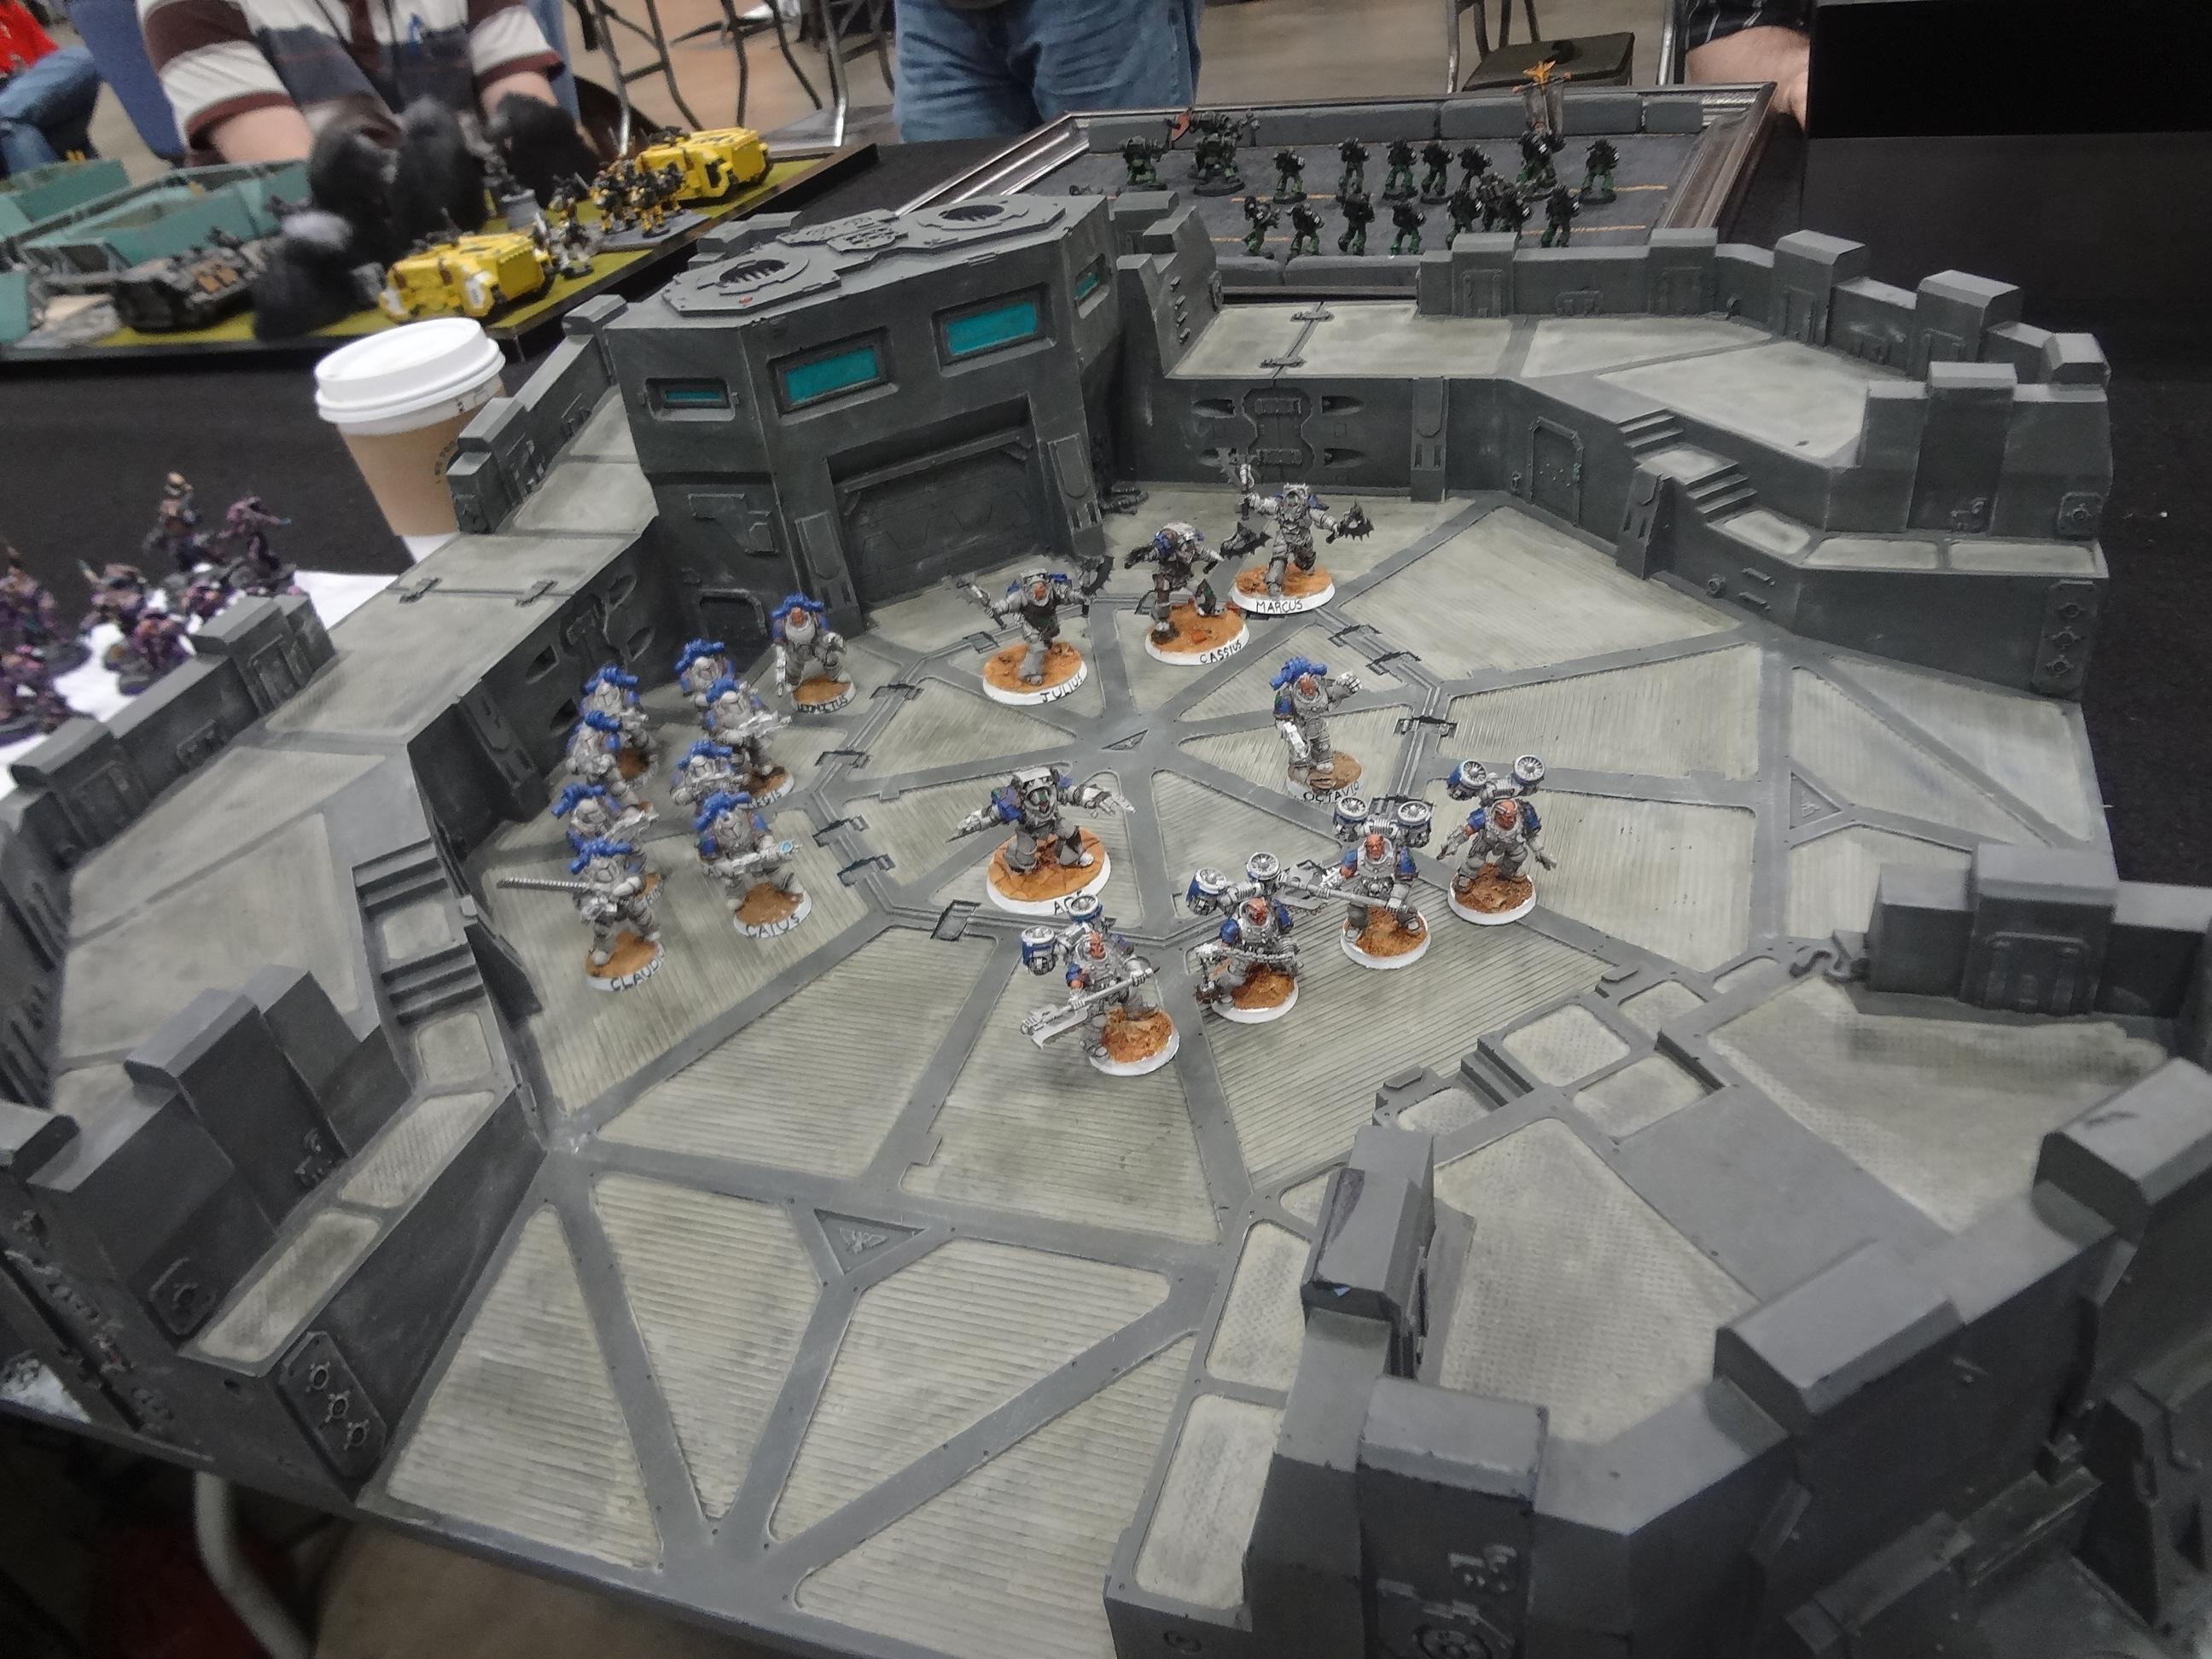
I'll say right up front that the convention also did a bit to improve my views of the "big games." When we game at the FLGS, I invariably find the 40k tables to be loaded with unpainted, half-assembled miniatures. To the guy playing with three sets of unpainted dreadknight legs (just the legs): I'm looking at you. However, at Adepticon, the 40k tables were filled with wonderfully painted miniatures alongside good terrain and thematic boards.


I didn't take any pictures of them, but the Hordes (see what I did there...) of bare metal Warmachine miniatures seen on shop tables were instead replaced by lovely paint jobs showing off the incredible detail of these elaborate sculpts.

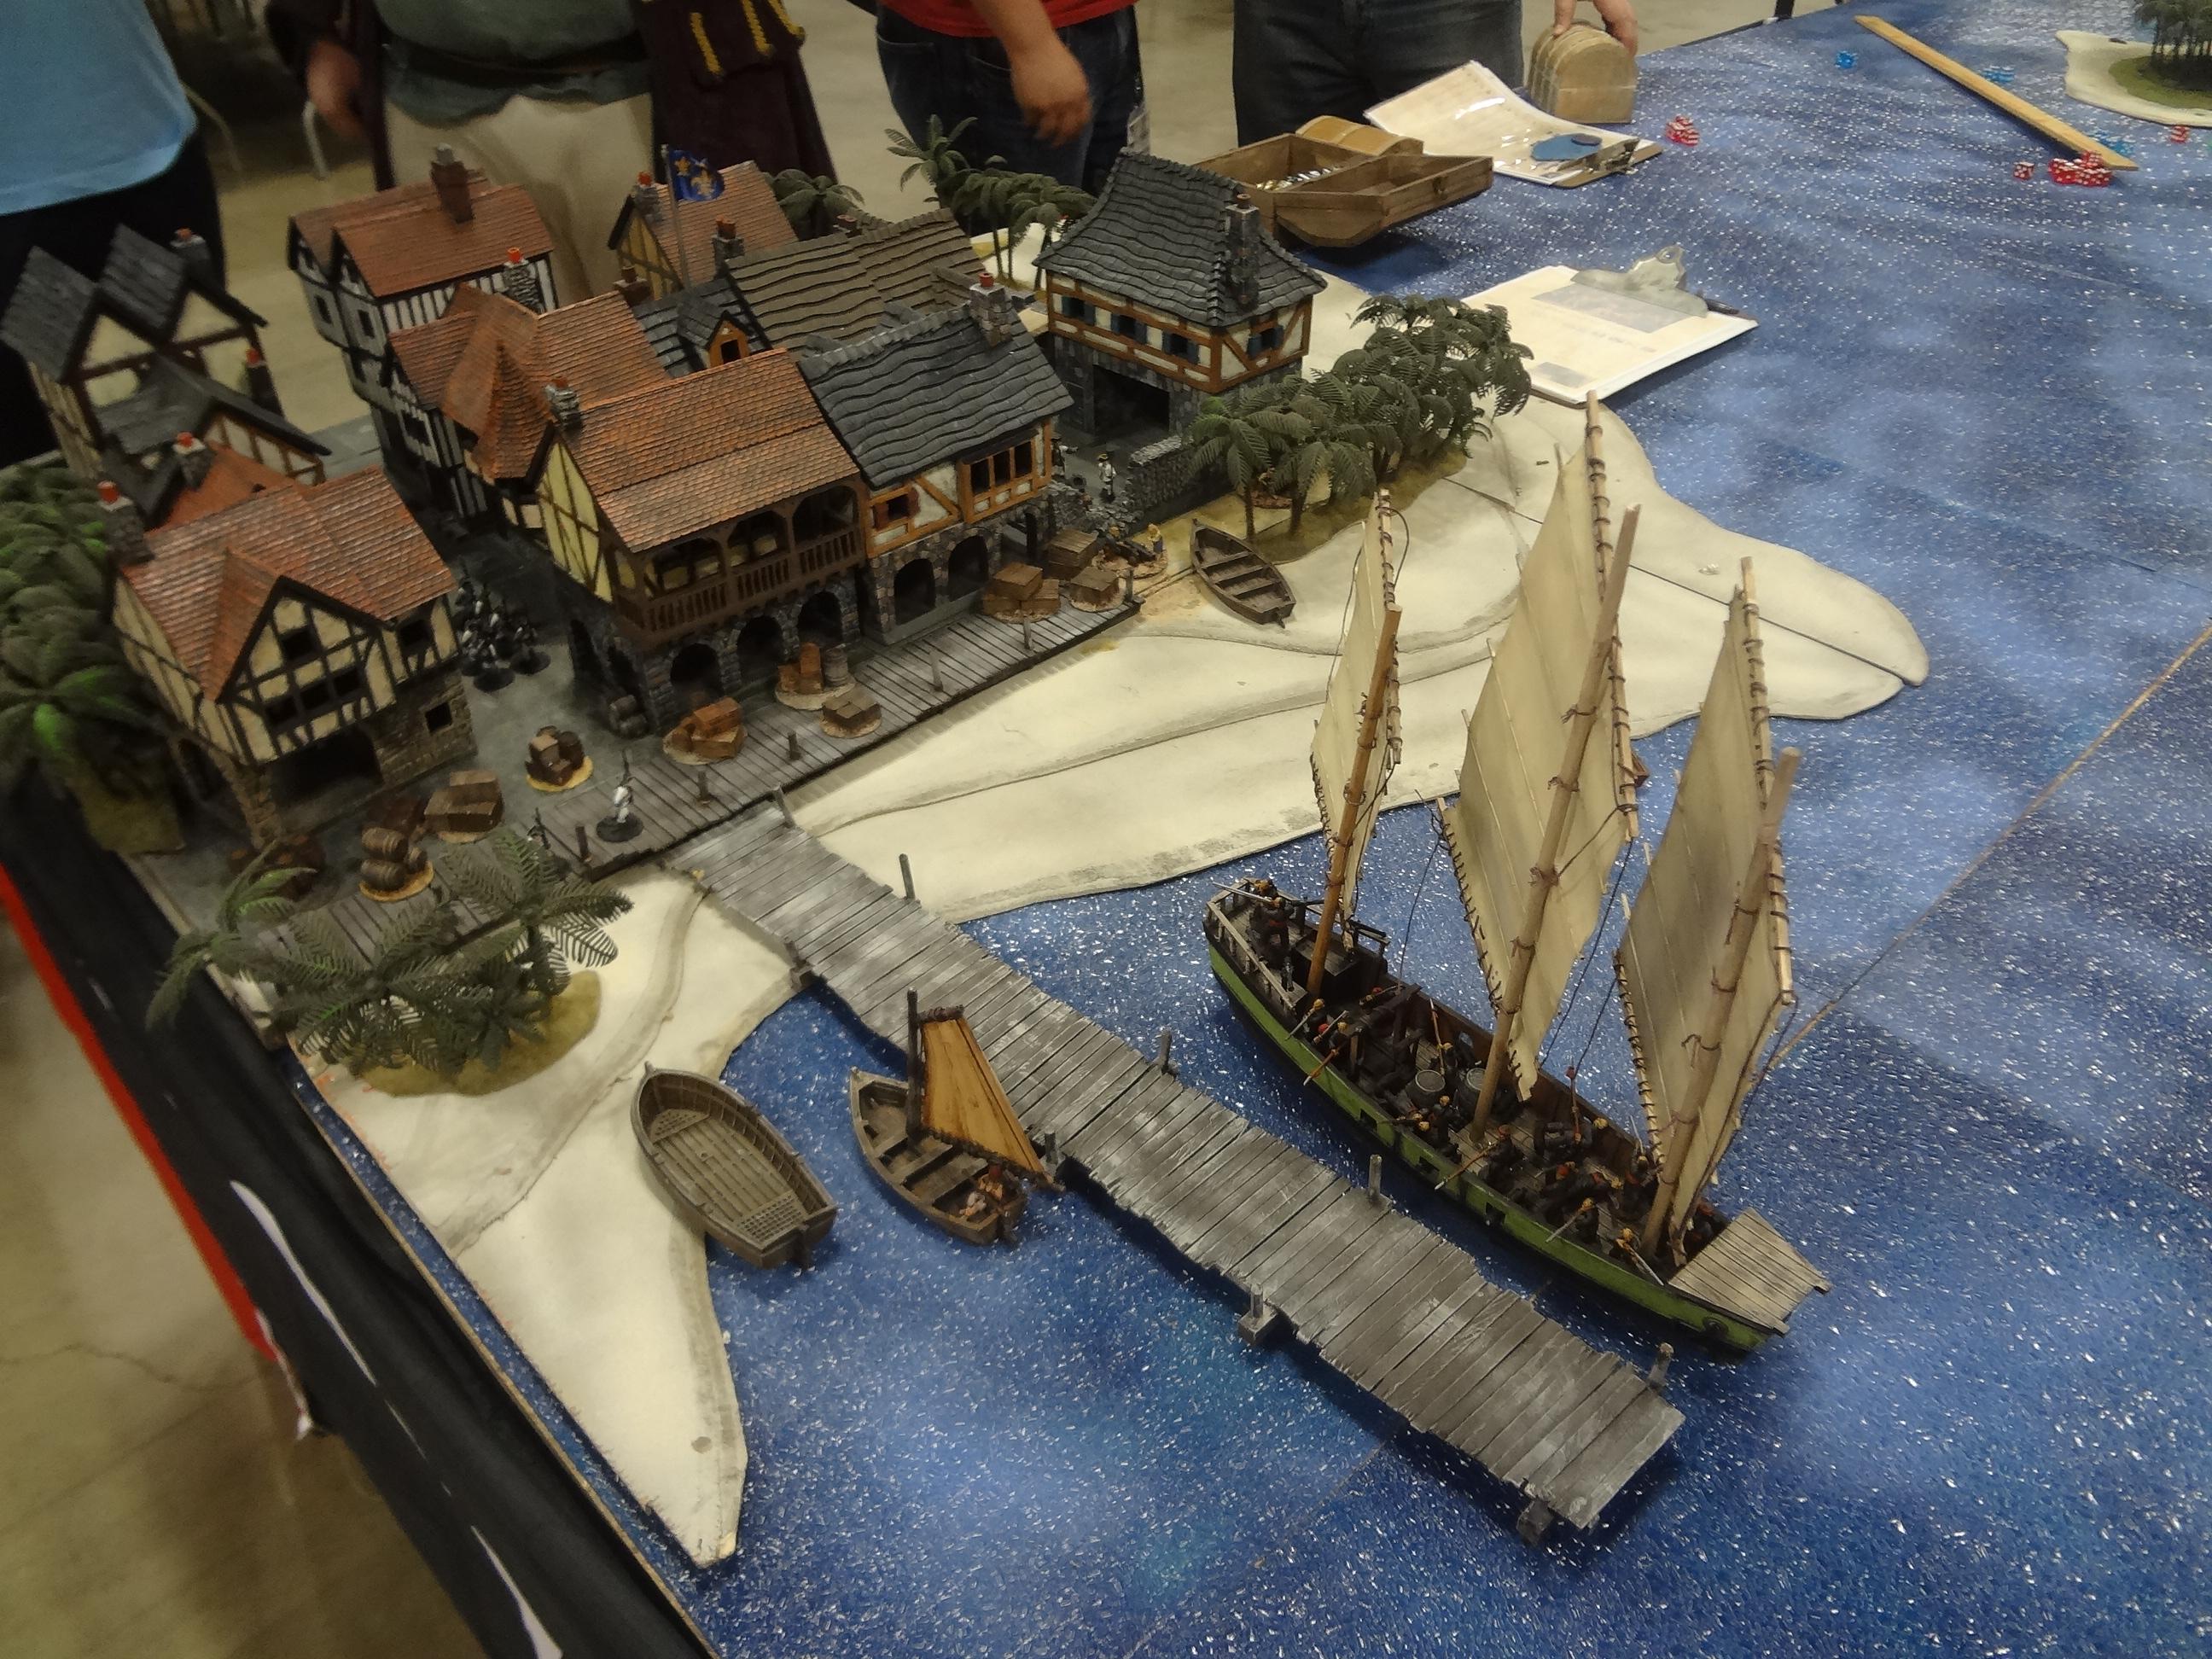
As an example of the variety, Tim, Mike and I were treated to a full guided game of SAGA, a historical Dark Ages warband combat game. The experience was extremely enjoyable, and as Tim has the rules, we will definitely be trying this game out again soon. Tim and I also played in a massive naval game that I'll review in a future blog post.


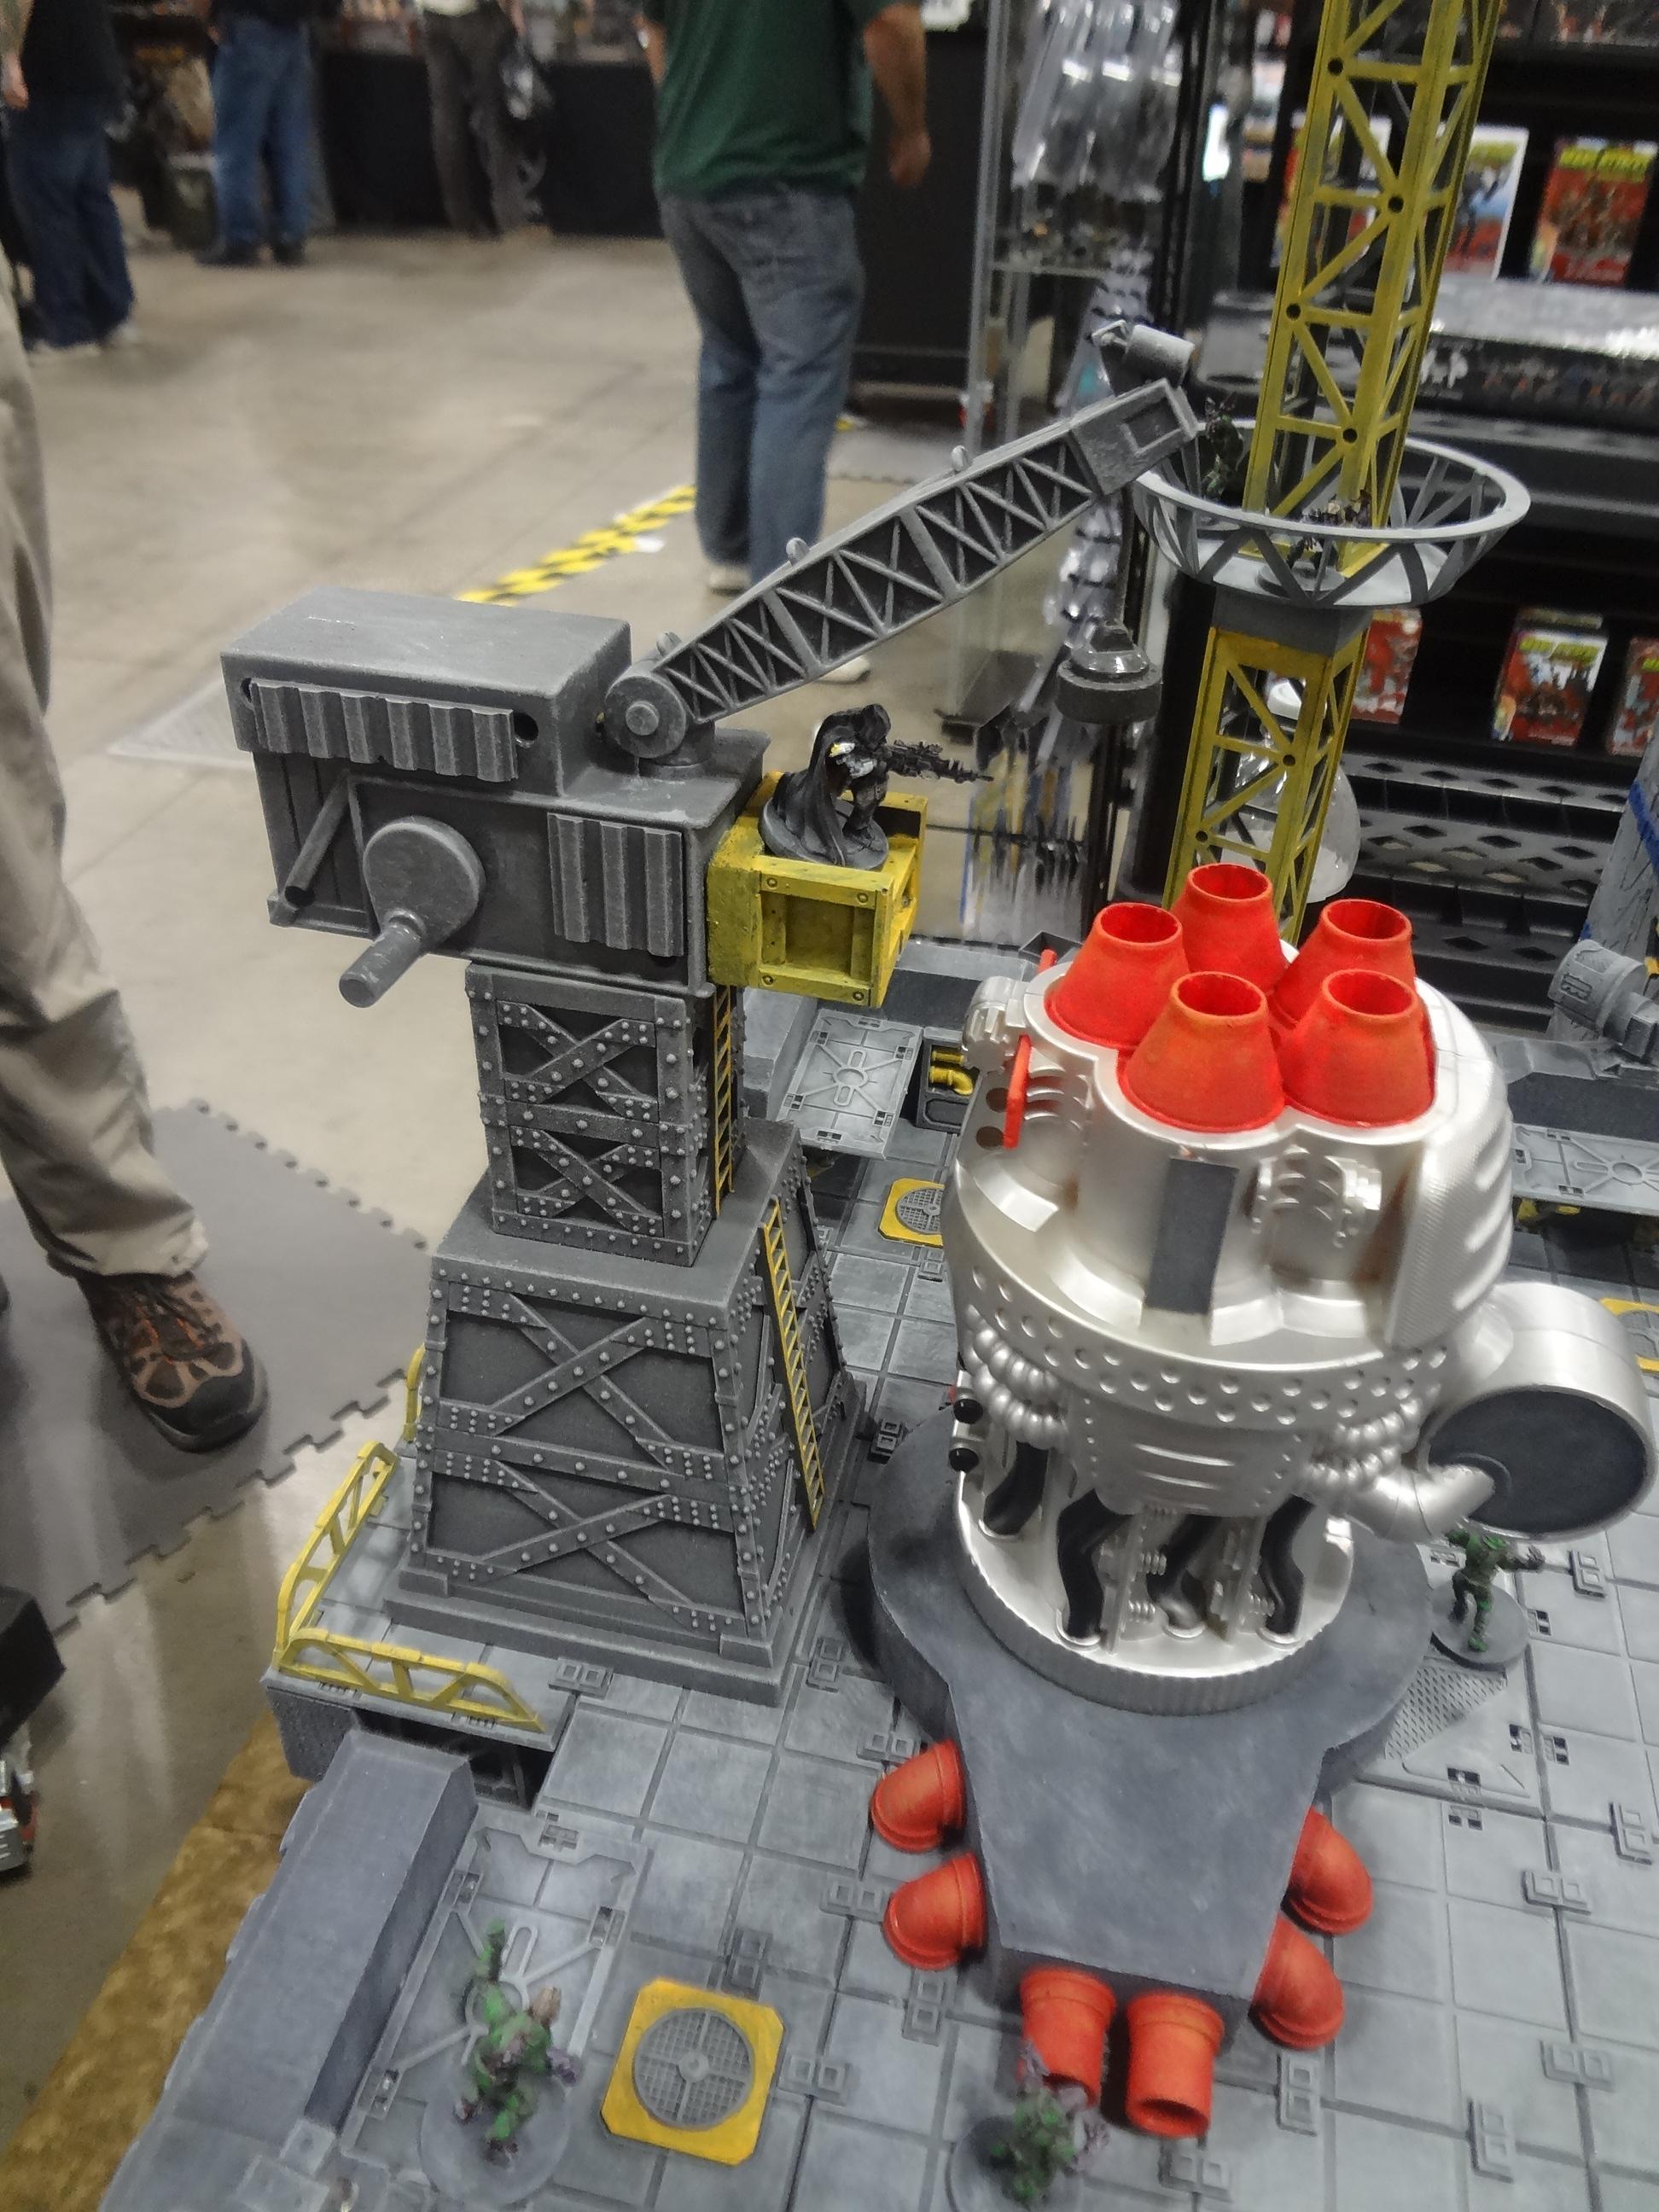
In the vendor hall, I had an excellent conversation with Mike of Terrainaholic.com about his construction of this display at the Mantic booth. Note the interesting use of NERF guns and other toys.


Thoughts from the Terrain Addict's View
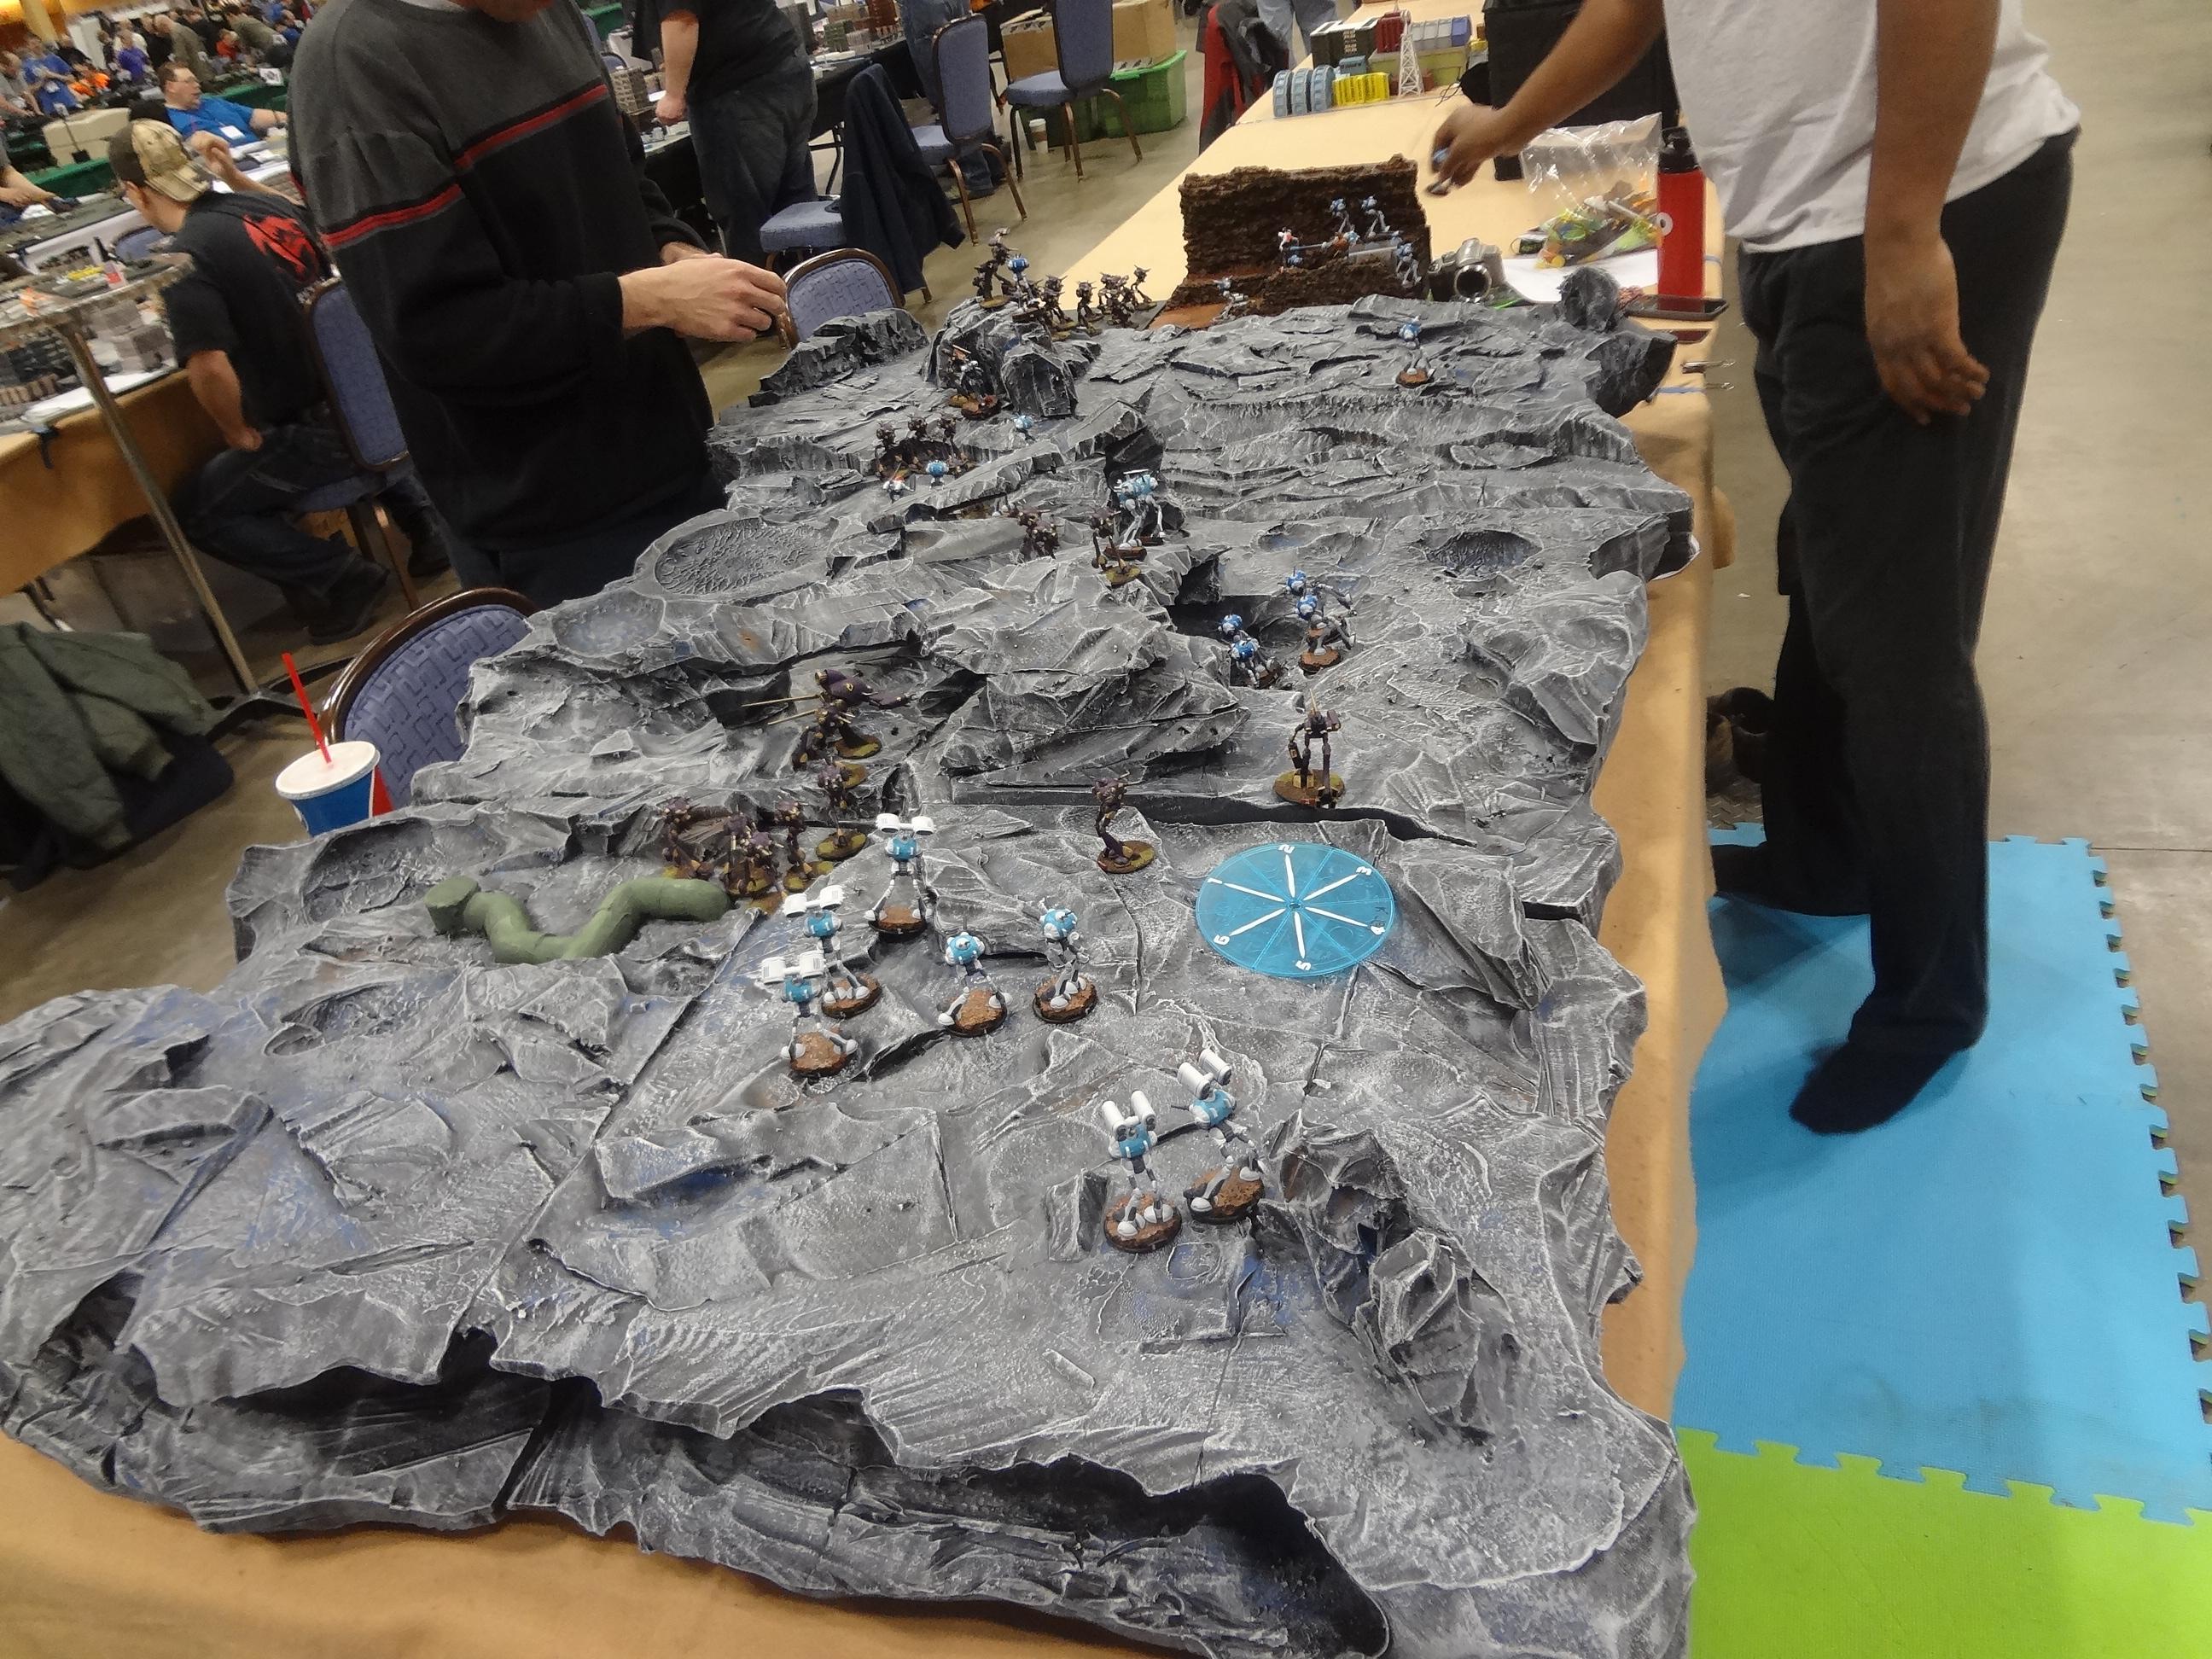
Much of my interest in attending was seeing what kind of terrain folks had constructed. Even if you're not a paying attendee, Adepticon is a joy to walk through just to see the variety of terrain on display, such as this amazing asteroid setup for Robotech.

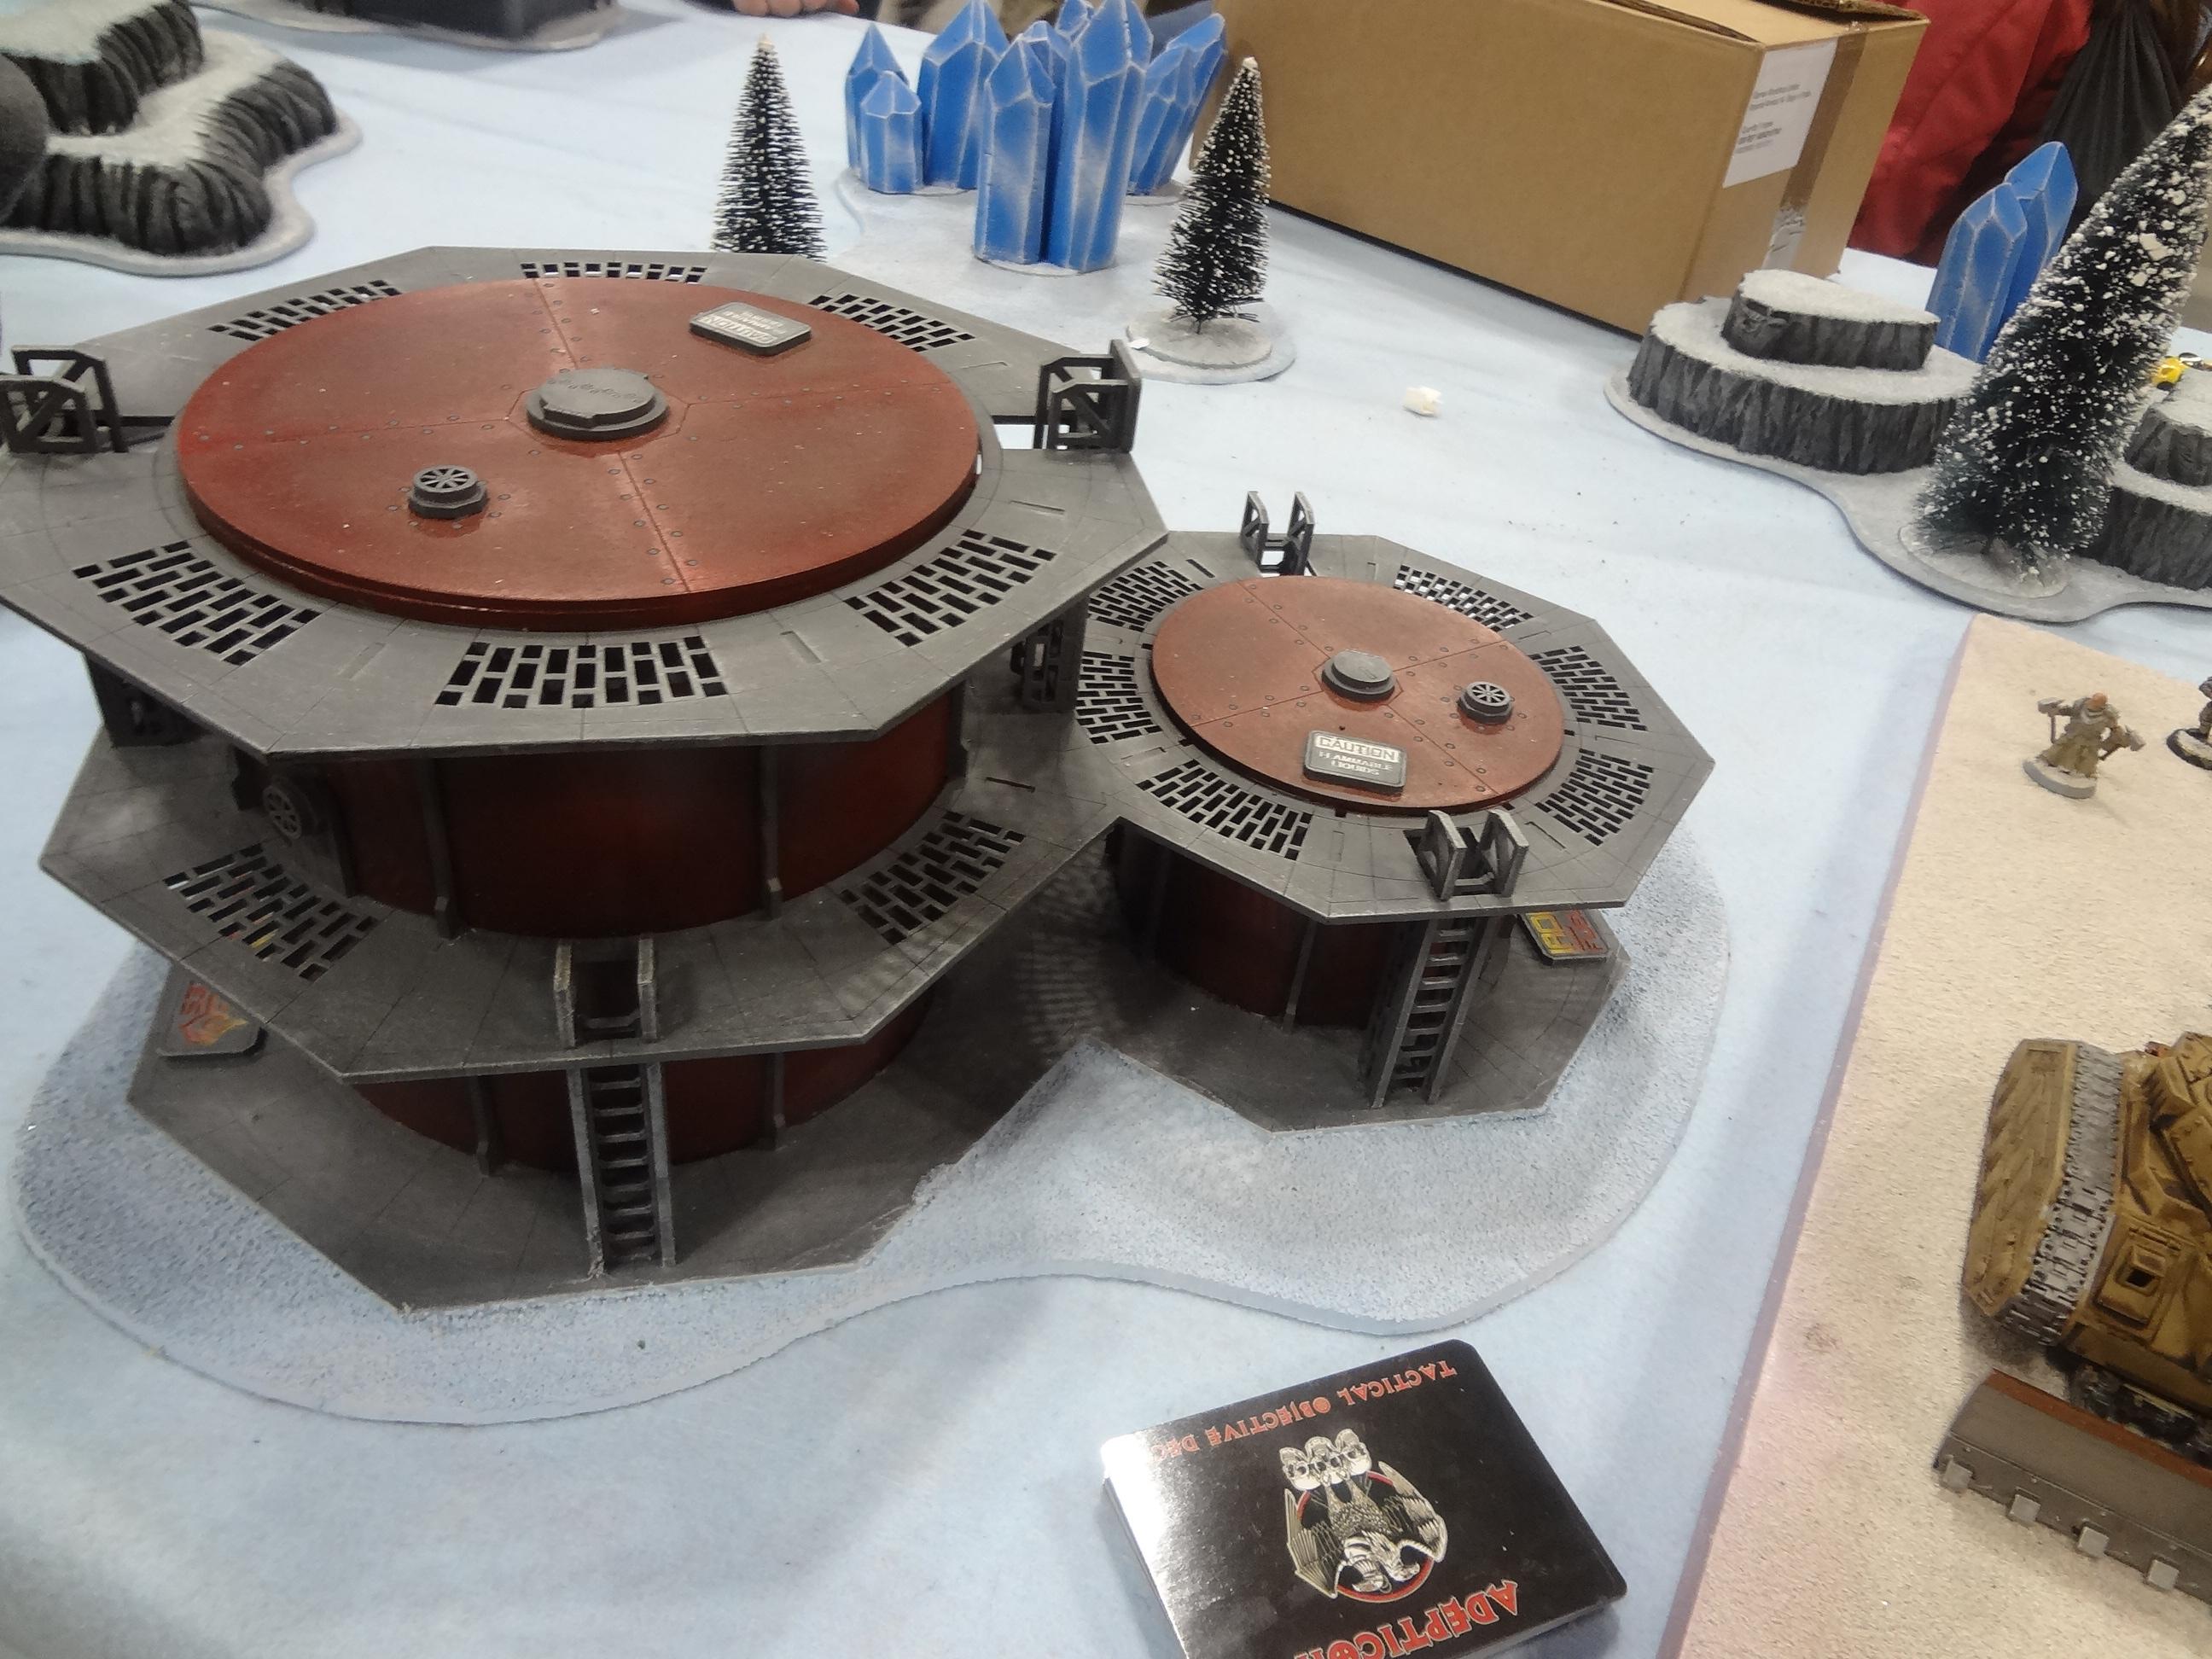
We saw a number of terrain pieces based around common sizes of buckets combined with laser-cut wood MDF elements. I must find out more about this clever product.

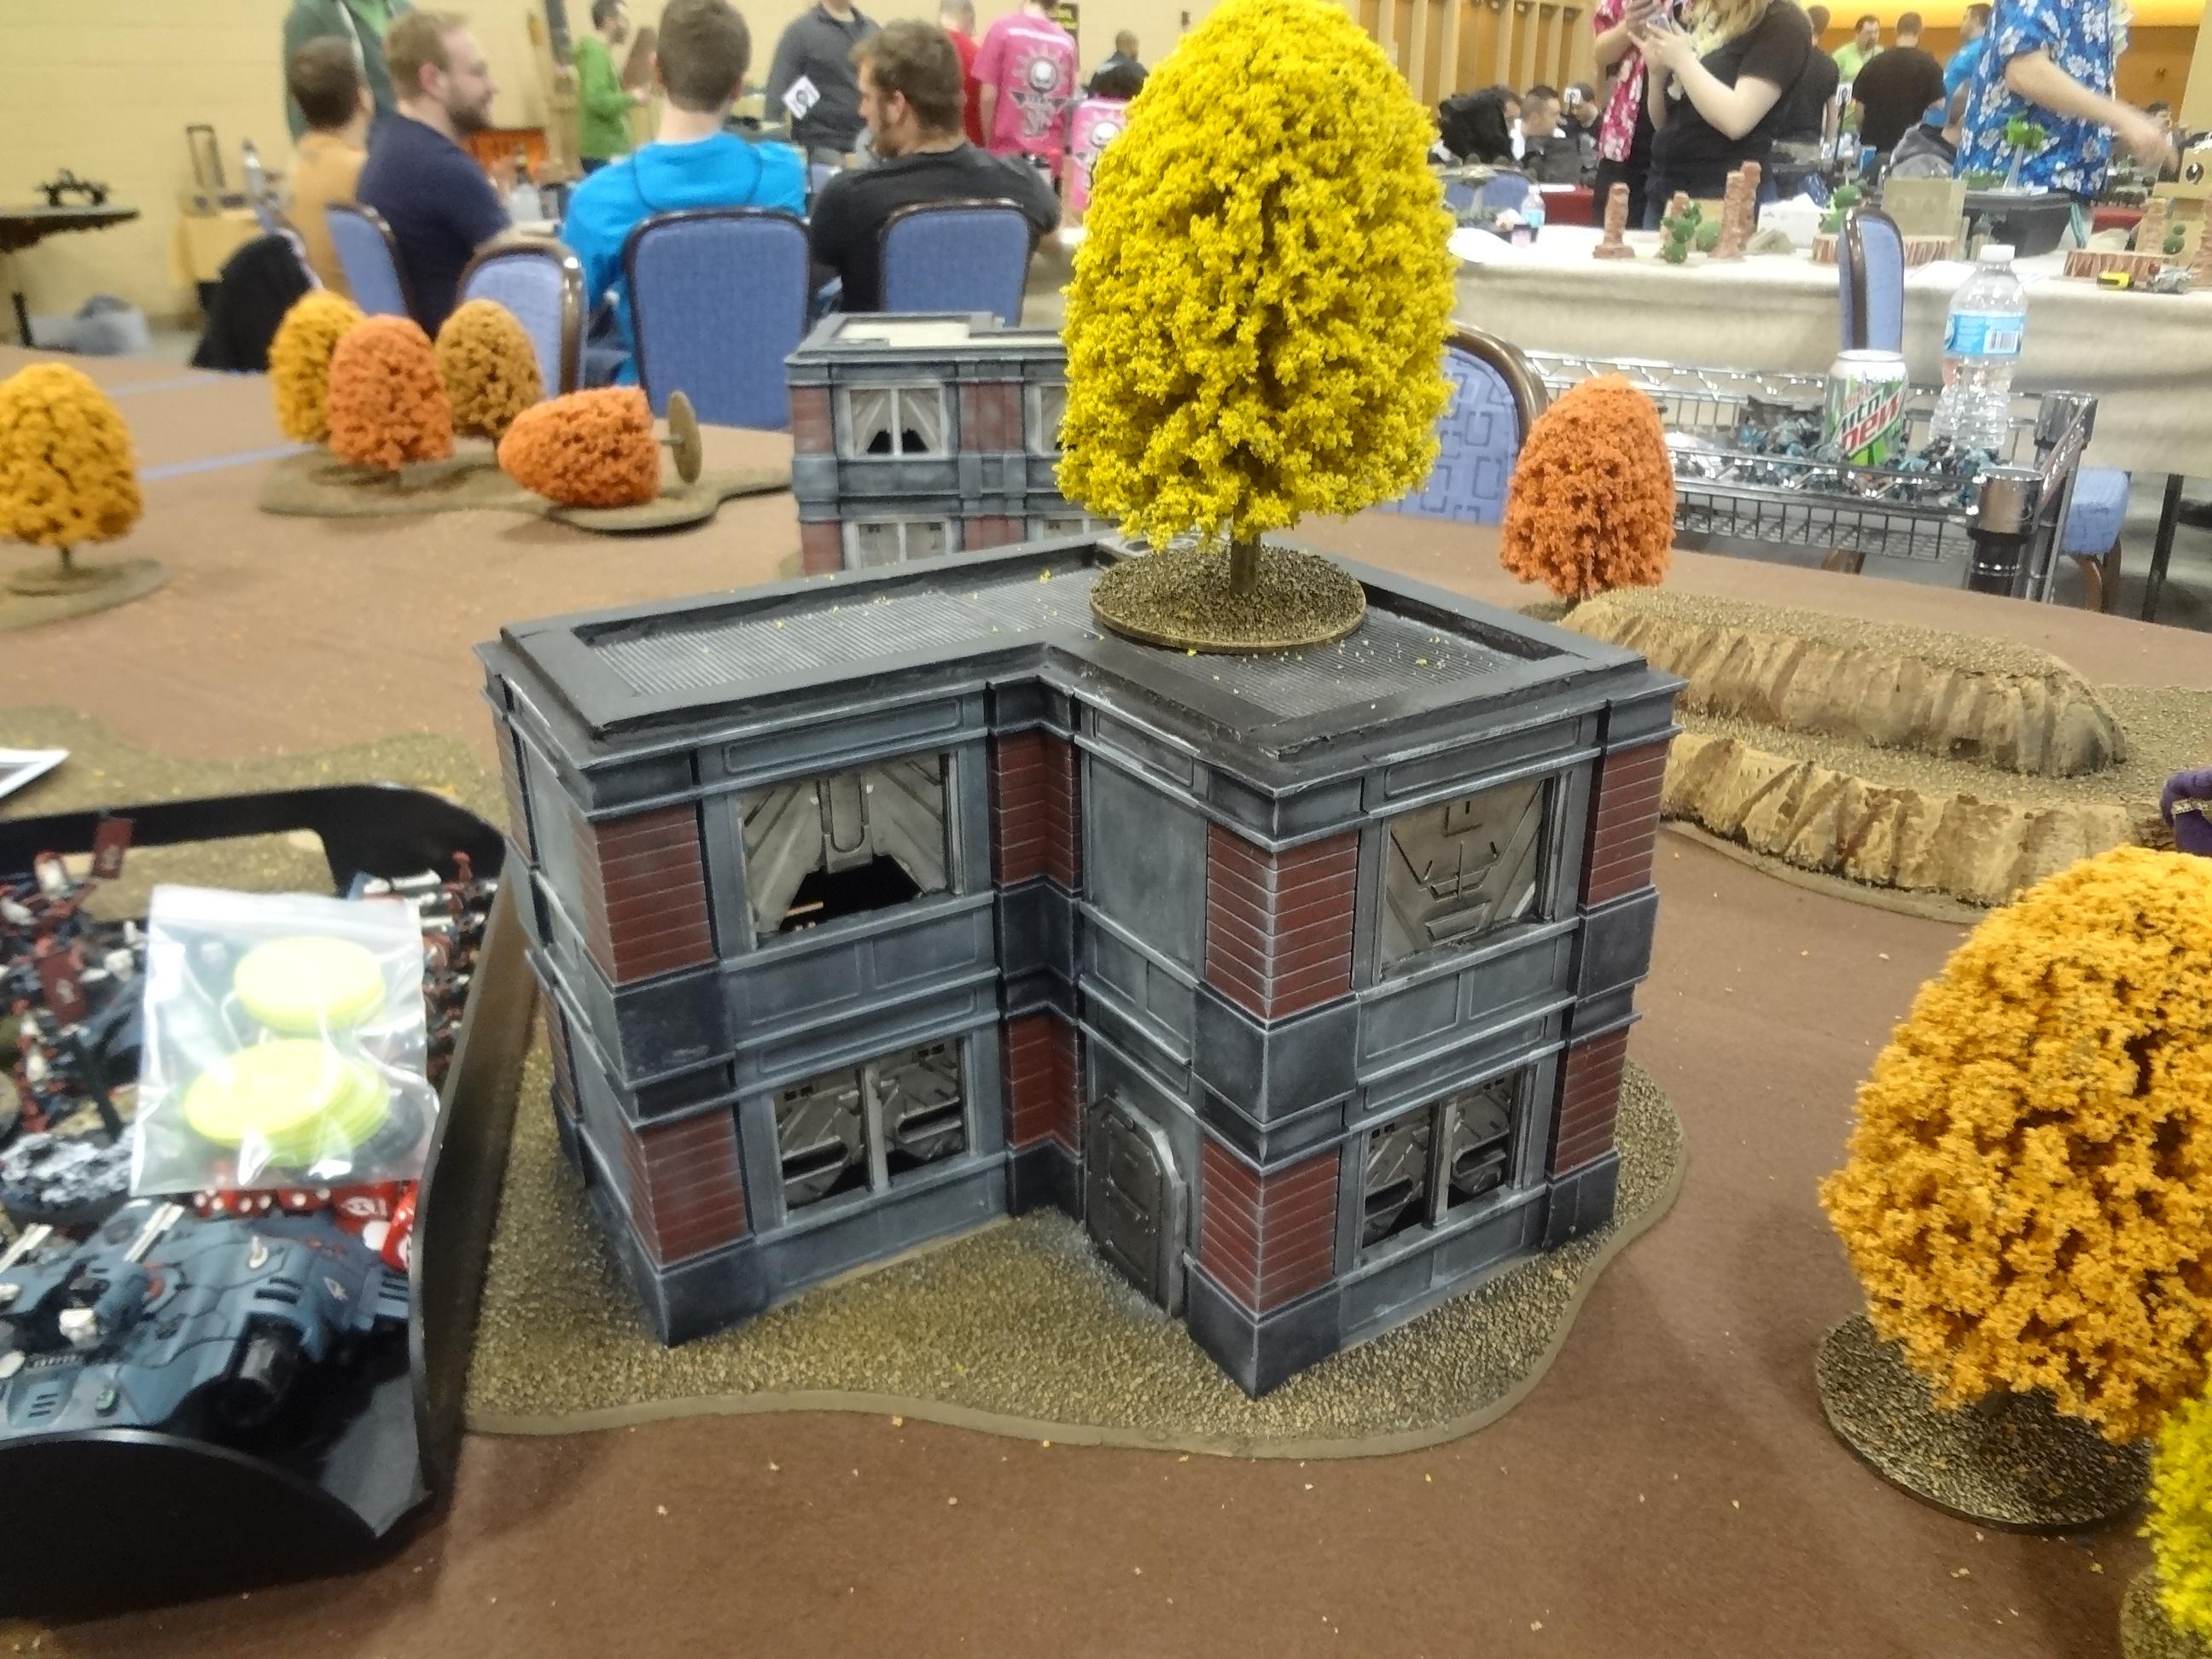
I don't think this concept is quite fleshed out, but I plan to try a similar combination of Dust Tactics buildings and Mantic Battlezone pieces. I have a large quantity of Deadzone sprues on the way…

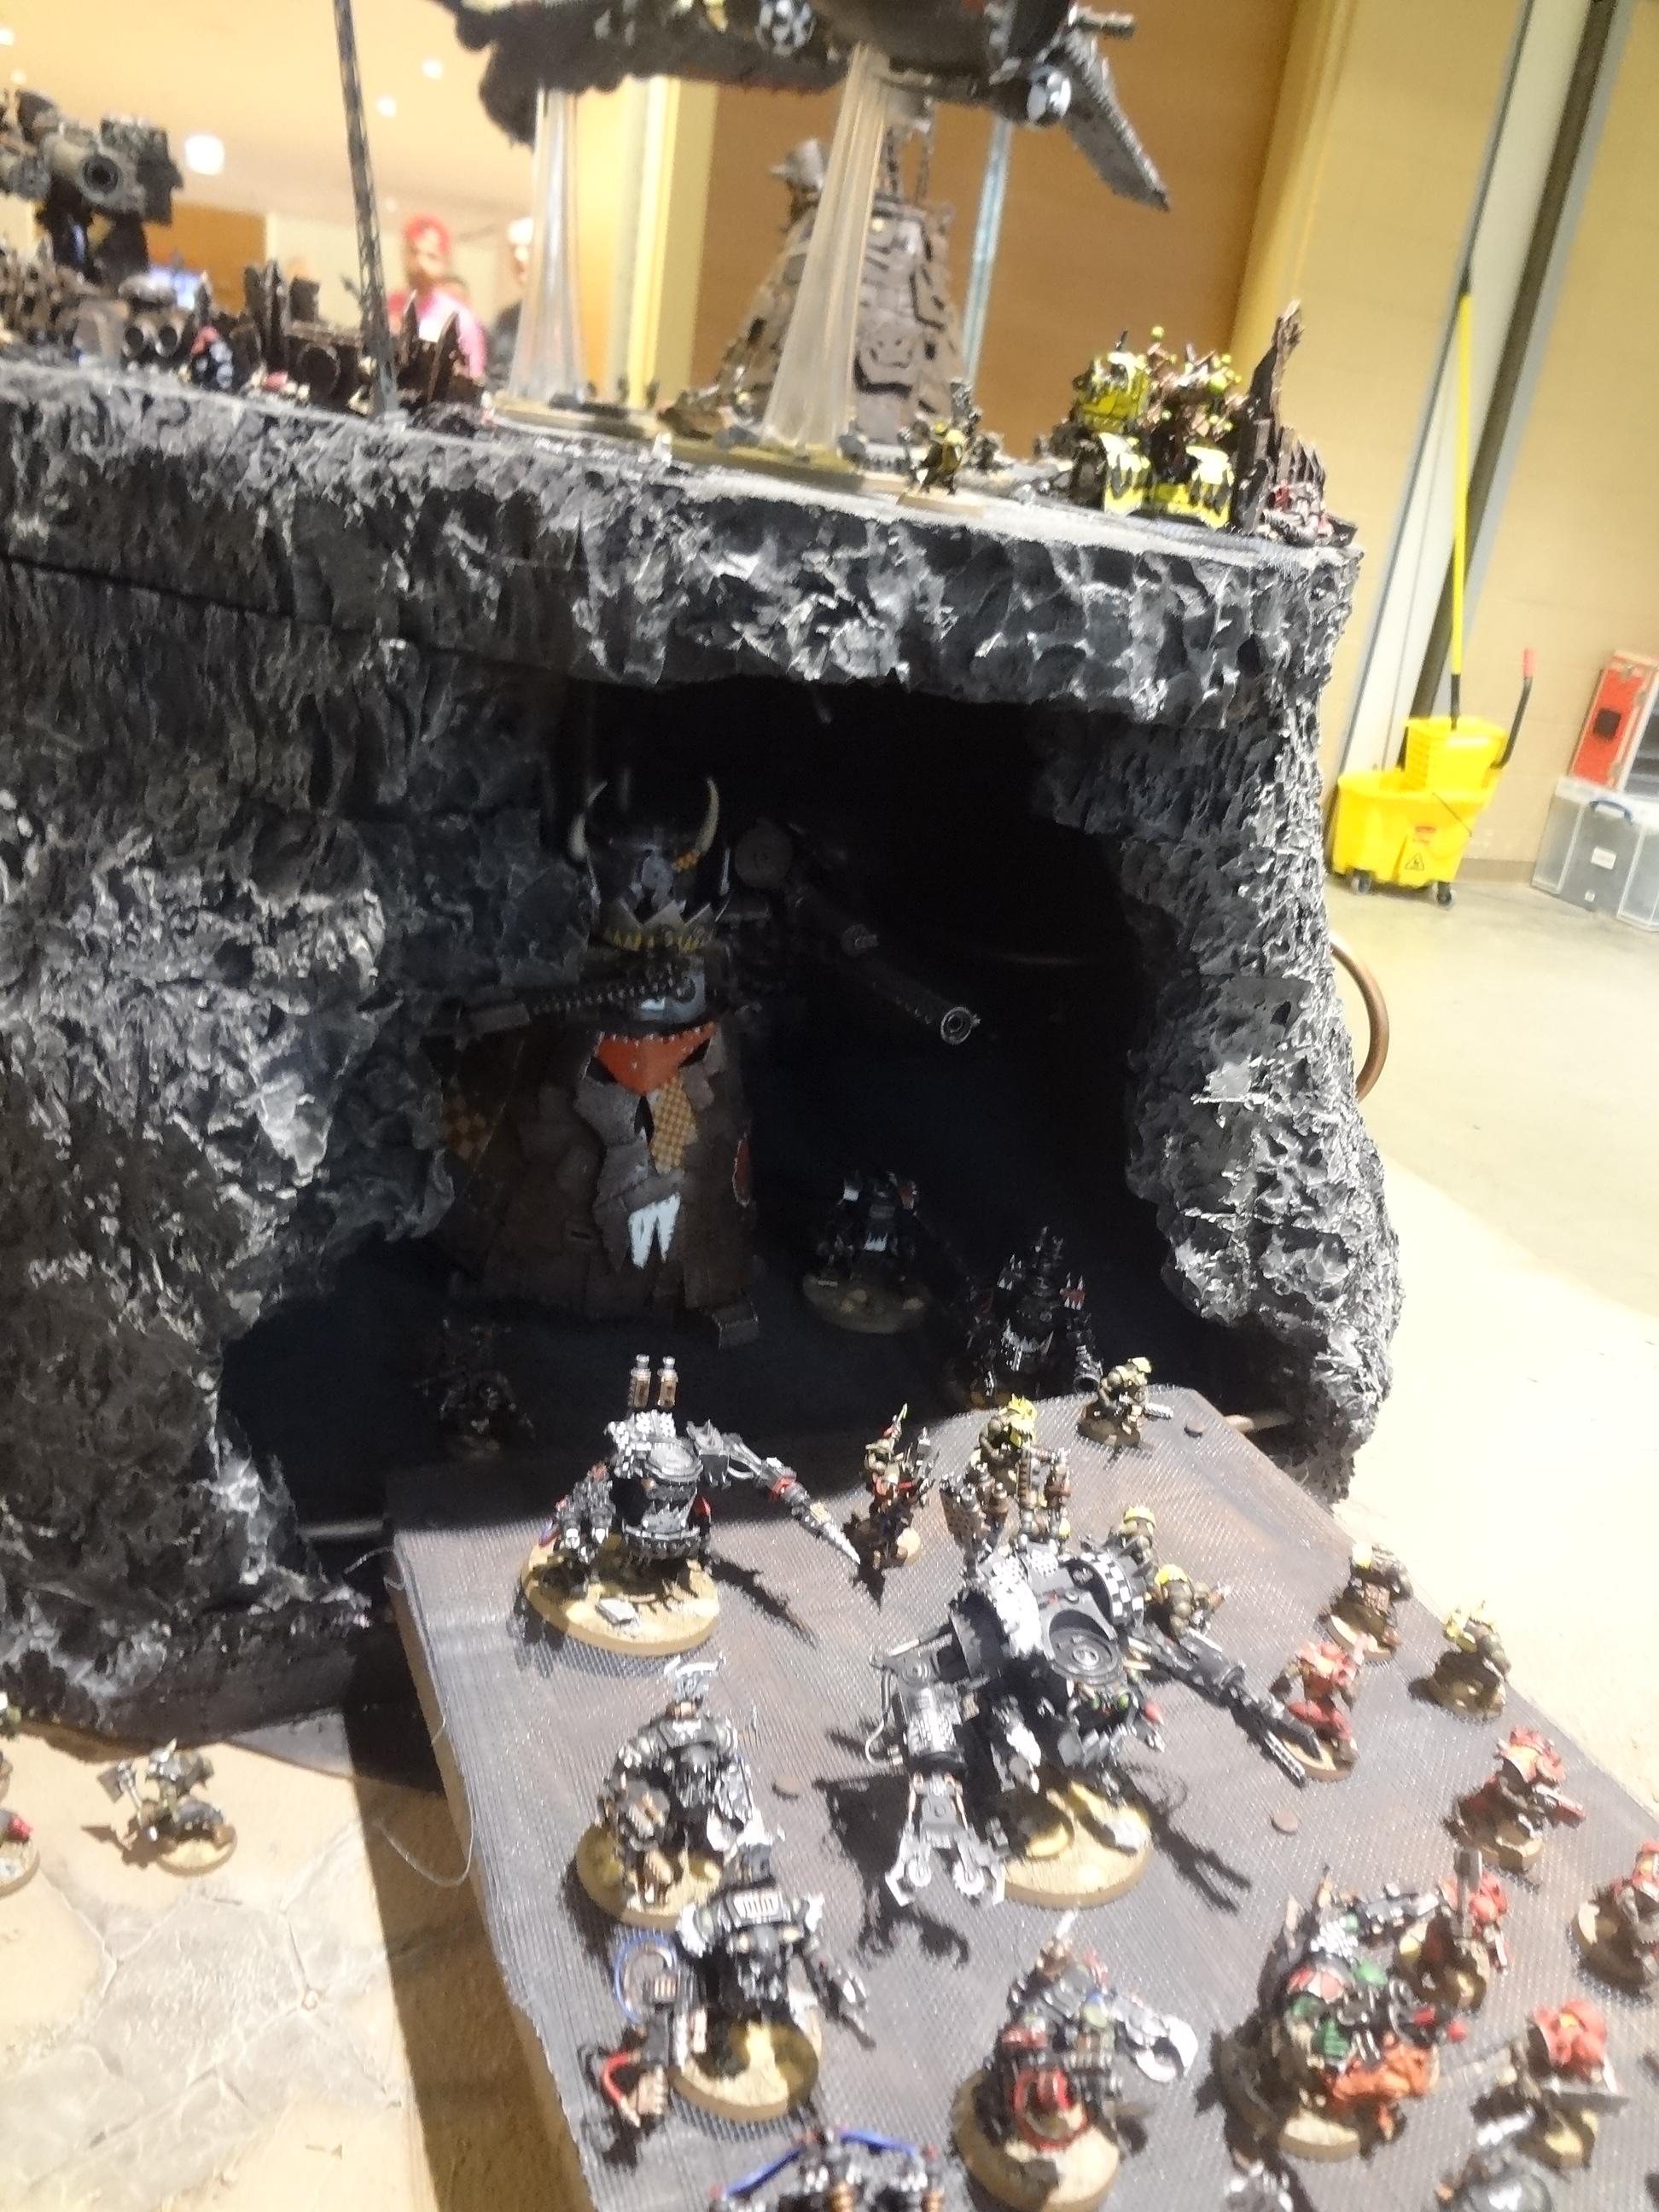
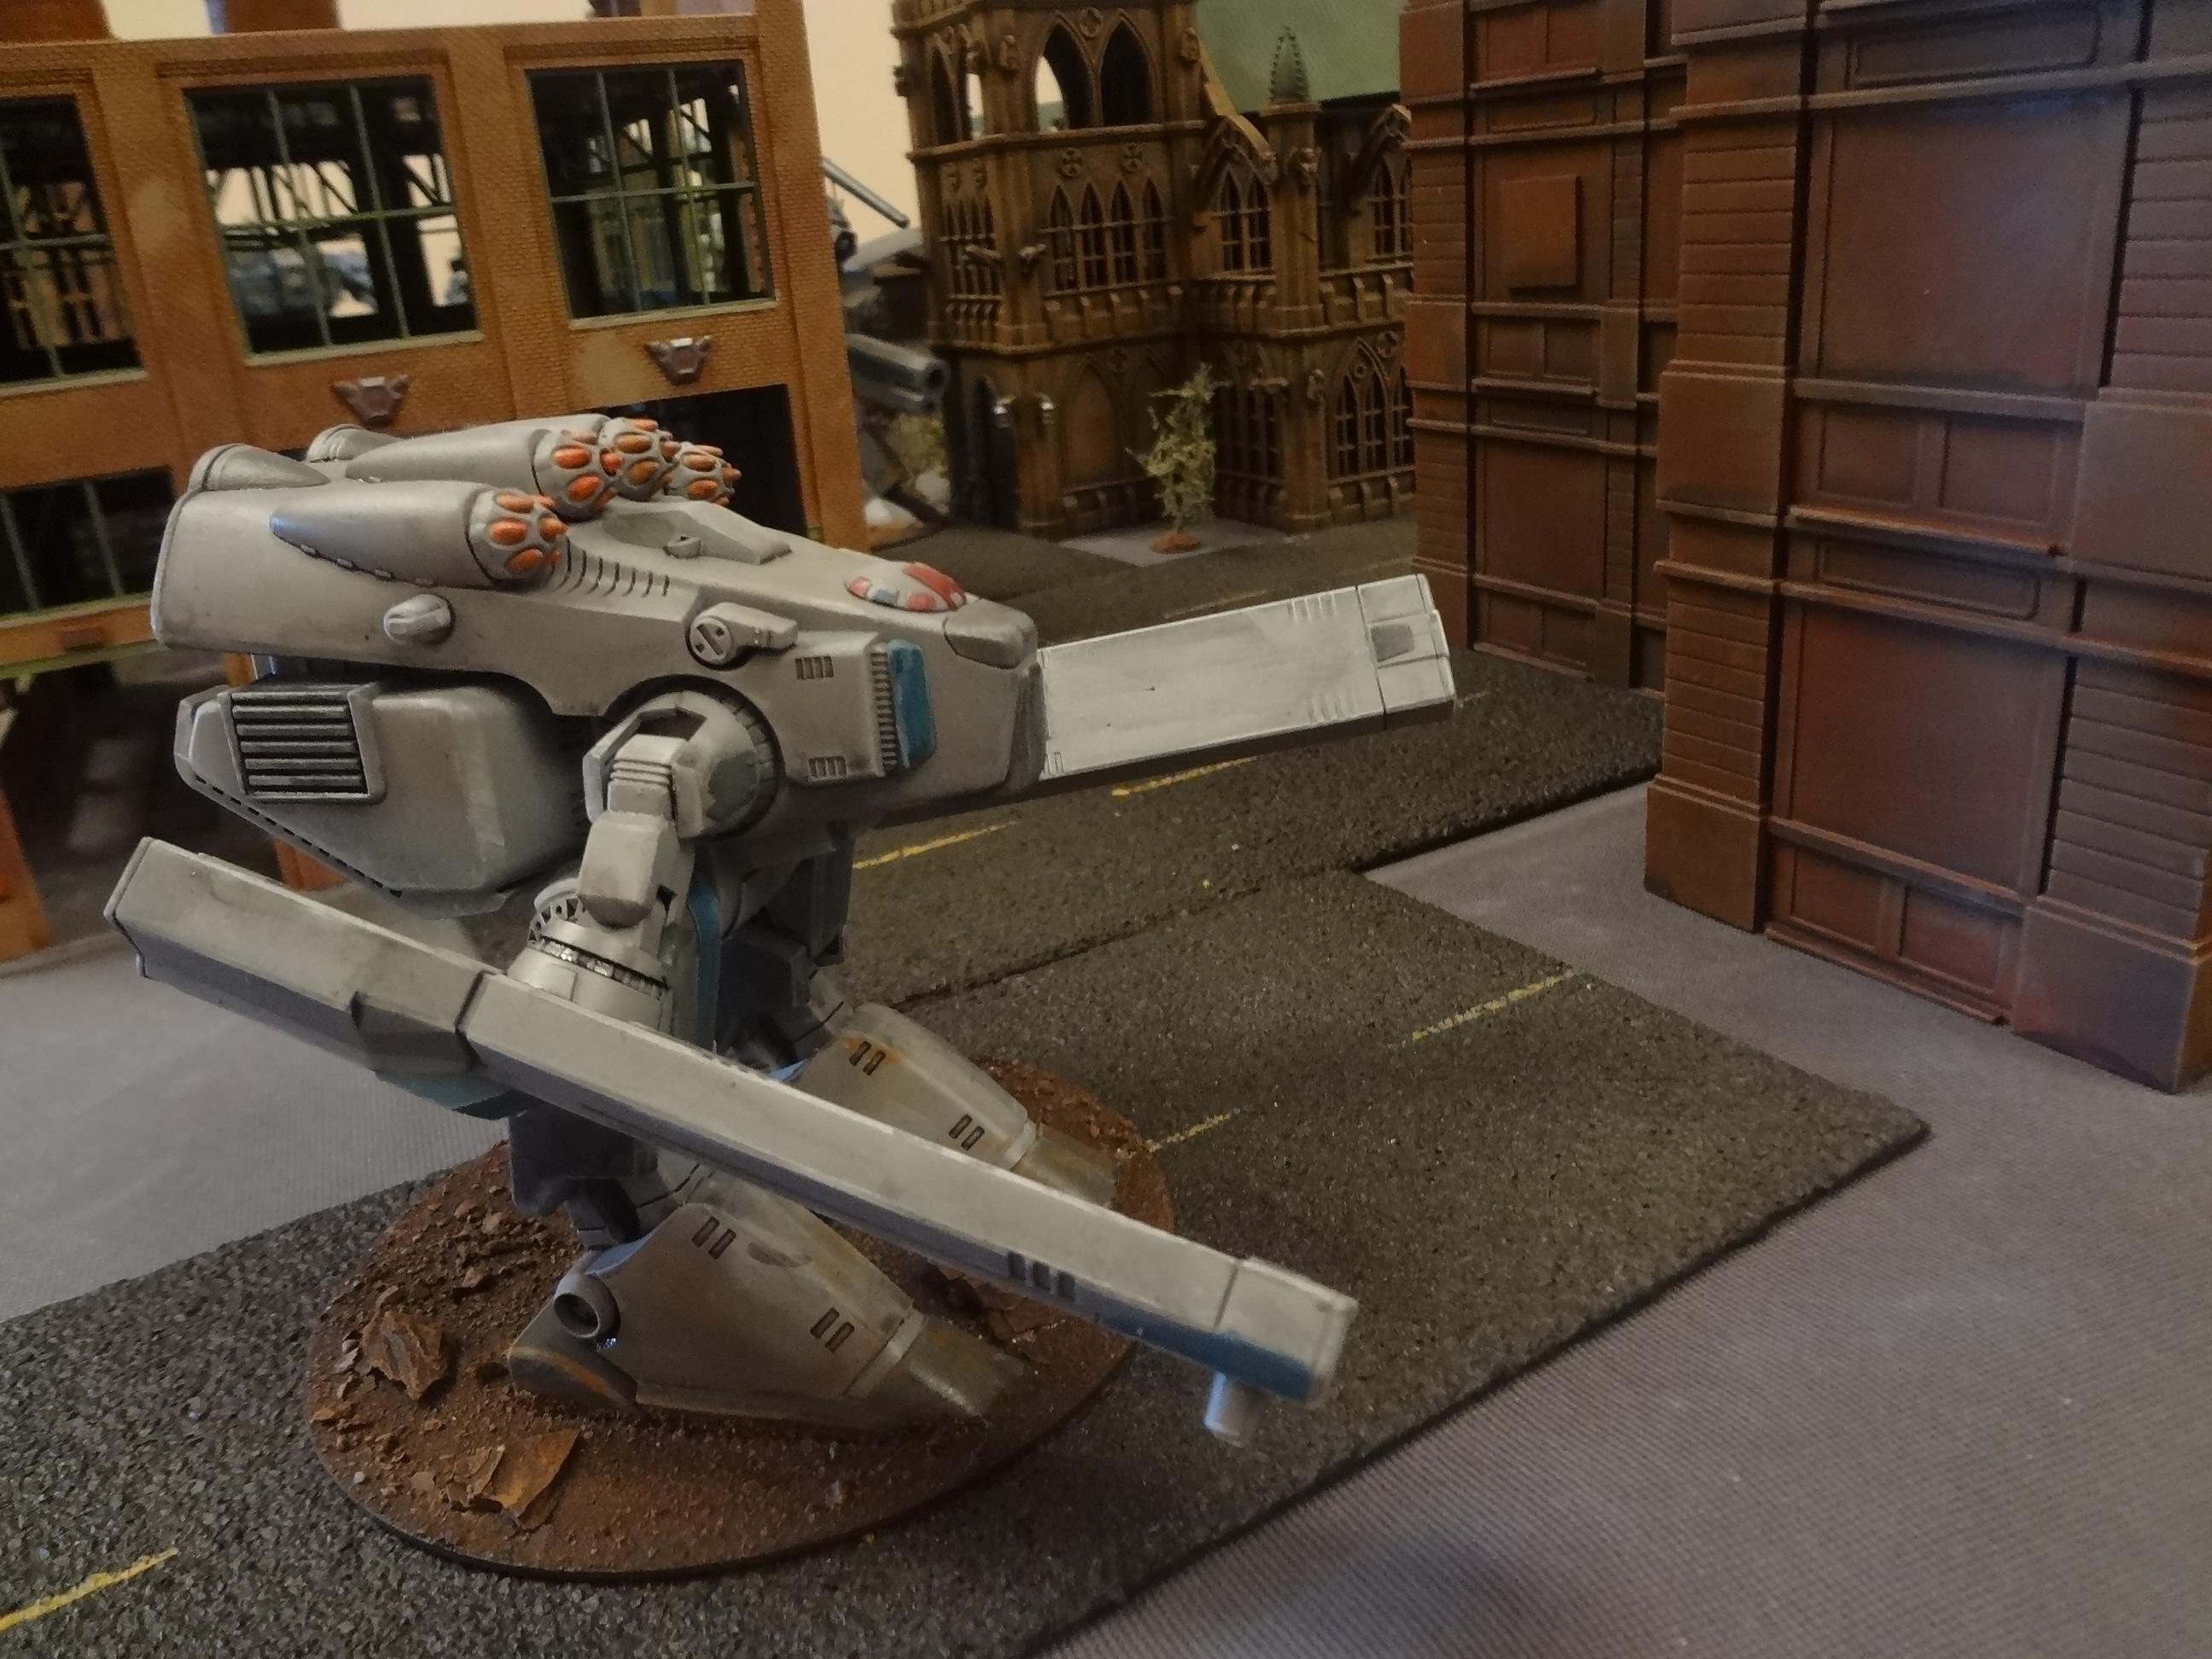
I won't be buying any Forge World terrain anytime soon, but there were a number of pieces that I photographed for future inspiration.


Thoughts as a Game Master
On Saturday morning Tim and I ran a game of Mech Attack. A full battle report will be coming soon. Here's a sneak peek...


As a judge, I was very pleased with my experience. The staff was very courteous and helpful. Tim and I were given free admission to the entire four-day event and each received one of full swag bags, which I will elaborate upon below.

Our room was off the beaten path, and we didn't have any sign-ups prior to the start of the game, but we had some good foot traffic and managed to rope in enough participants to have a good game.

The only downsides were the slightly out-of-the-way location, and the organizers forgot to make the mini-plaques for our game winner. However, the overall experience was very positive.

Mention must be made of the full swag bag, which is available to those who sign up relatively early. We submitted our event application before registration opened, so when it did, we were primed with our free admission voucher and were able to sign up in time to qualify for a full swag bag. Here's a peek at the contents:

  • Warmachine starter army
  • Mantic Mars Attacks Alien
  • Official Adepticon fantasy miniature
  • Special Edition Adepticon Victoria Miniatures Female Imperial Guard Officer
  • Aetherium Figure (actually a coupon to be redeemed for figure at their booth)
  • Issue of Wargames Illustrated
  • 2 Robogear Veritech Mecha on sprue
  • Reaper paint bottle, which just happens to be in a shade that I find very useful
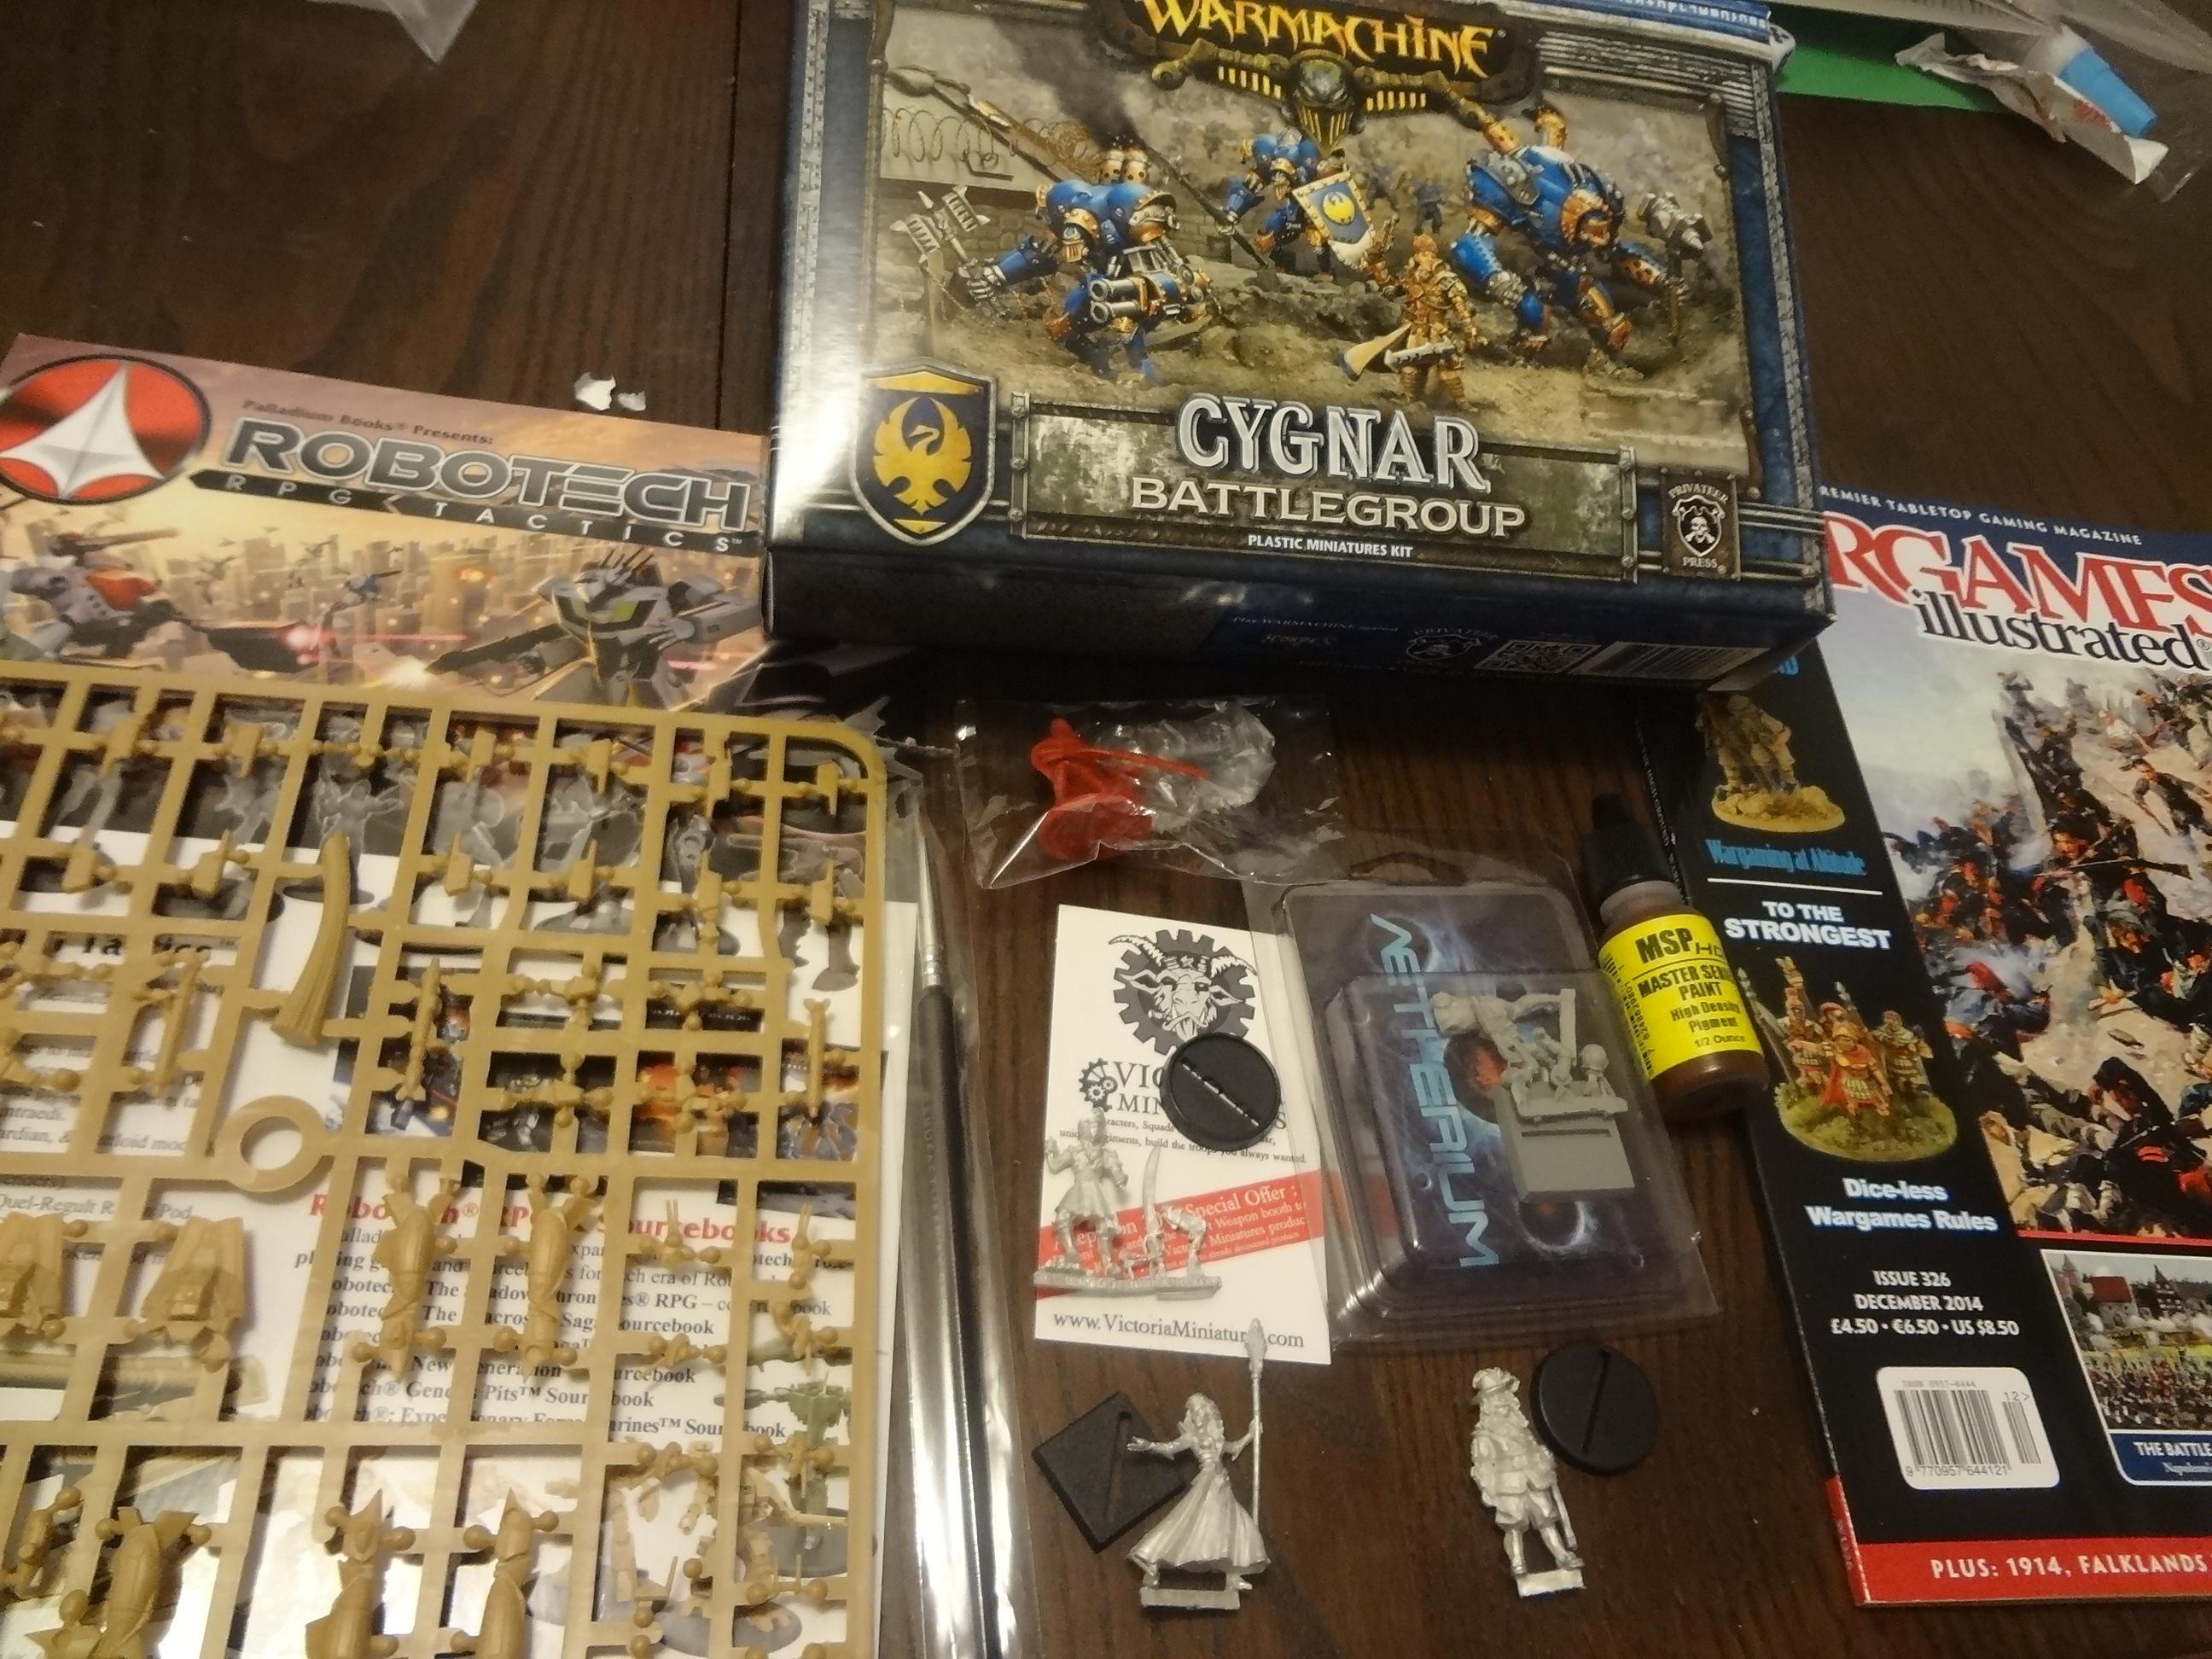


Not pictured is the drawstring bag it came in and a batch of coupons for various services and vendors. The pirate captain figure is a freebie for participating in the naval game (which will get its own blog post later).
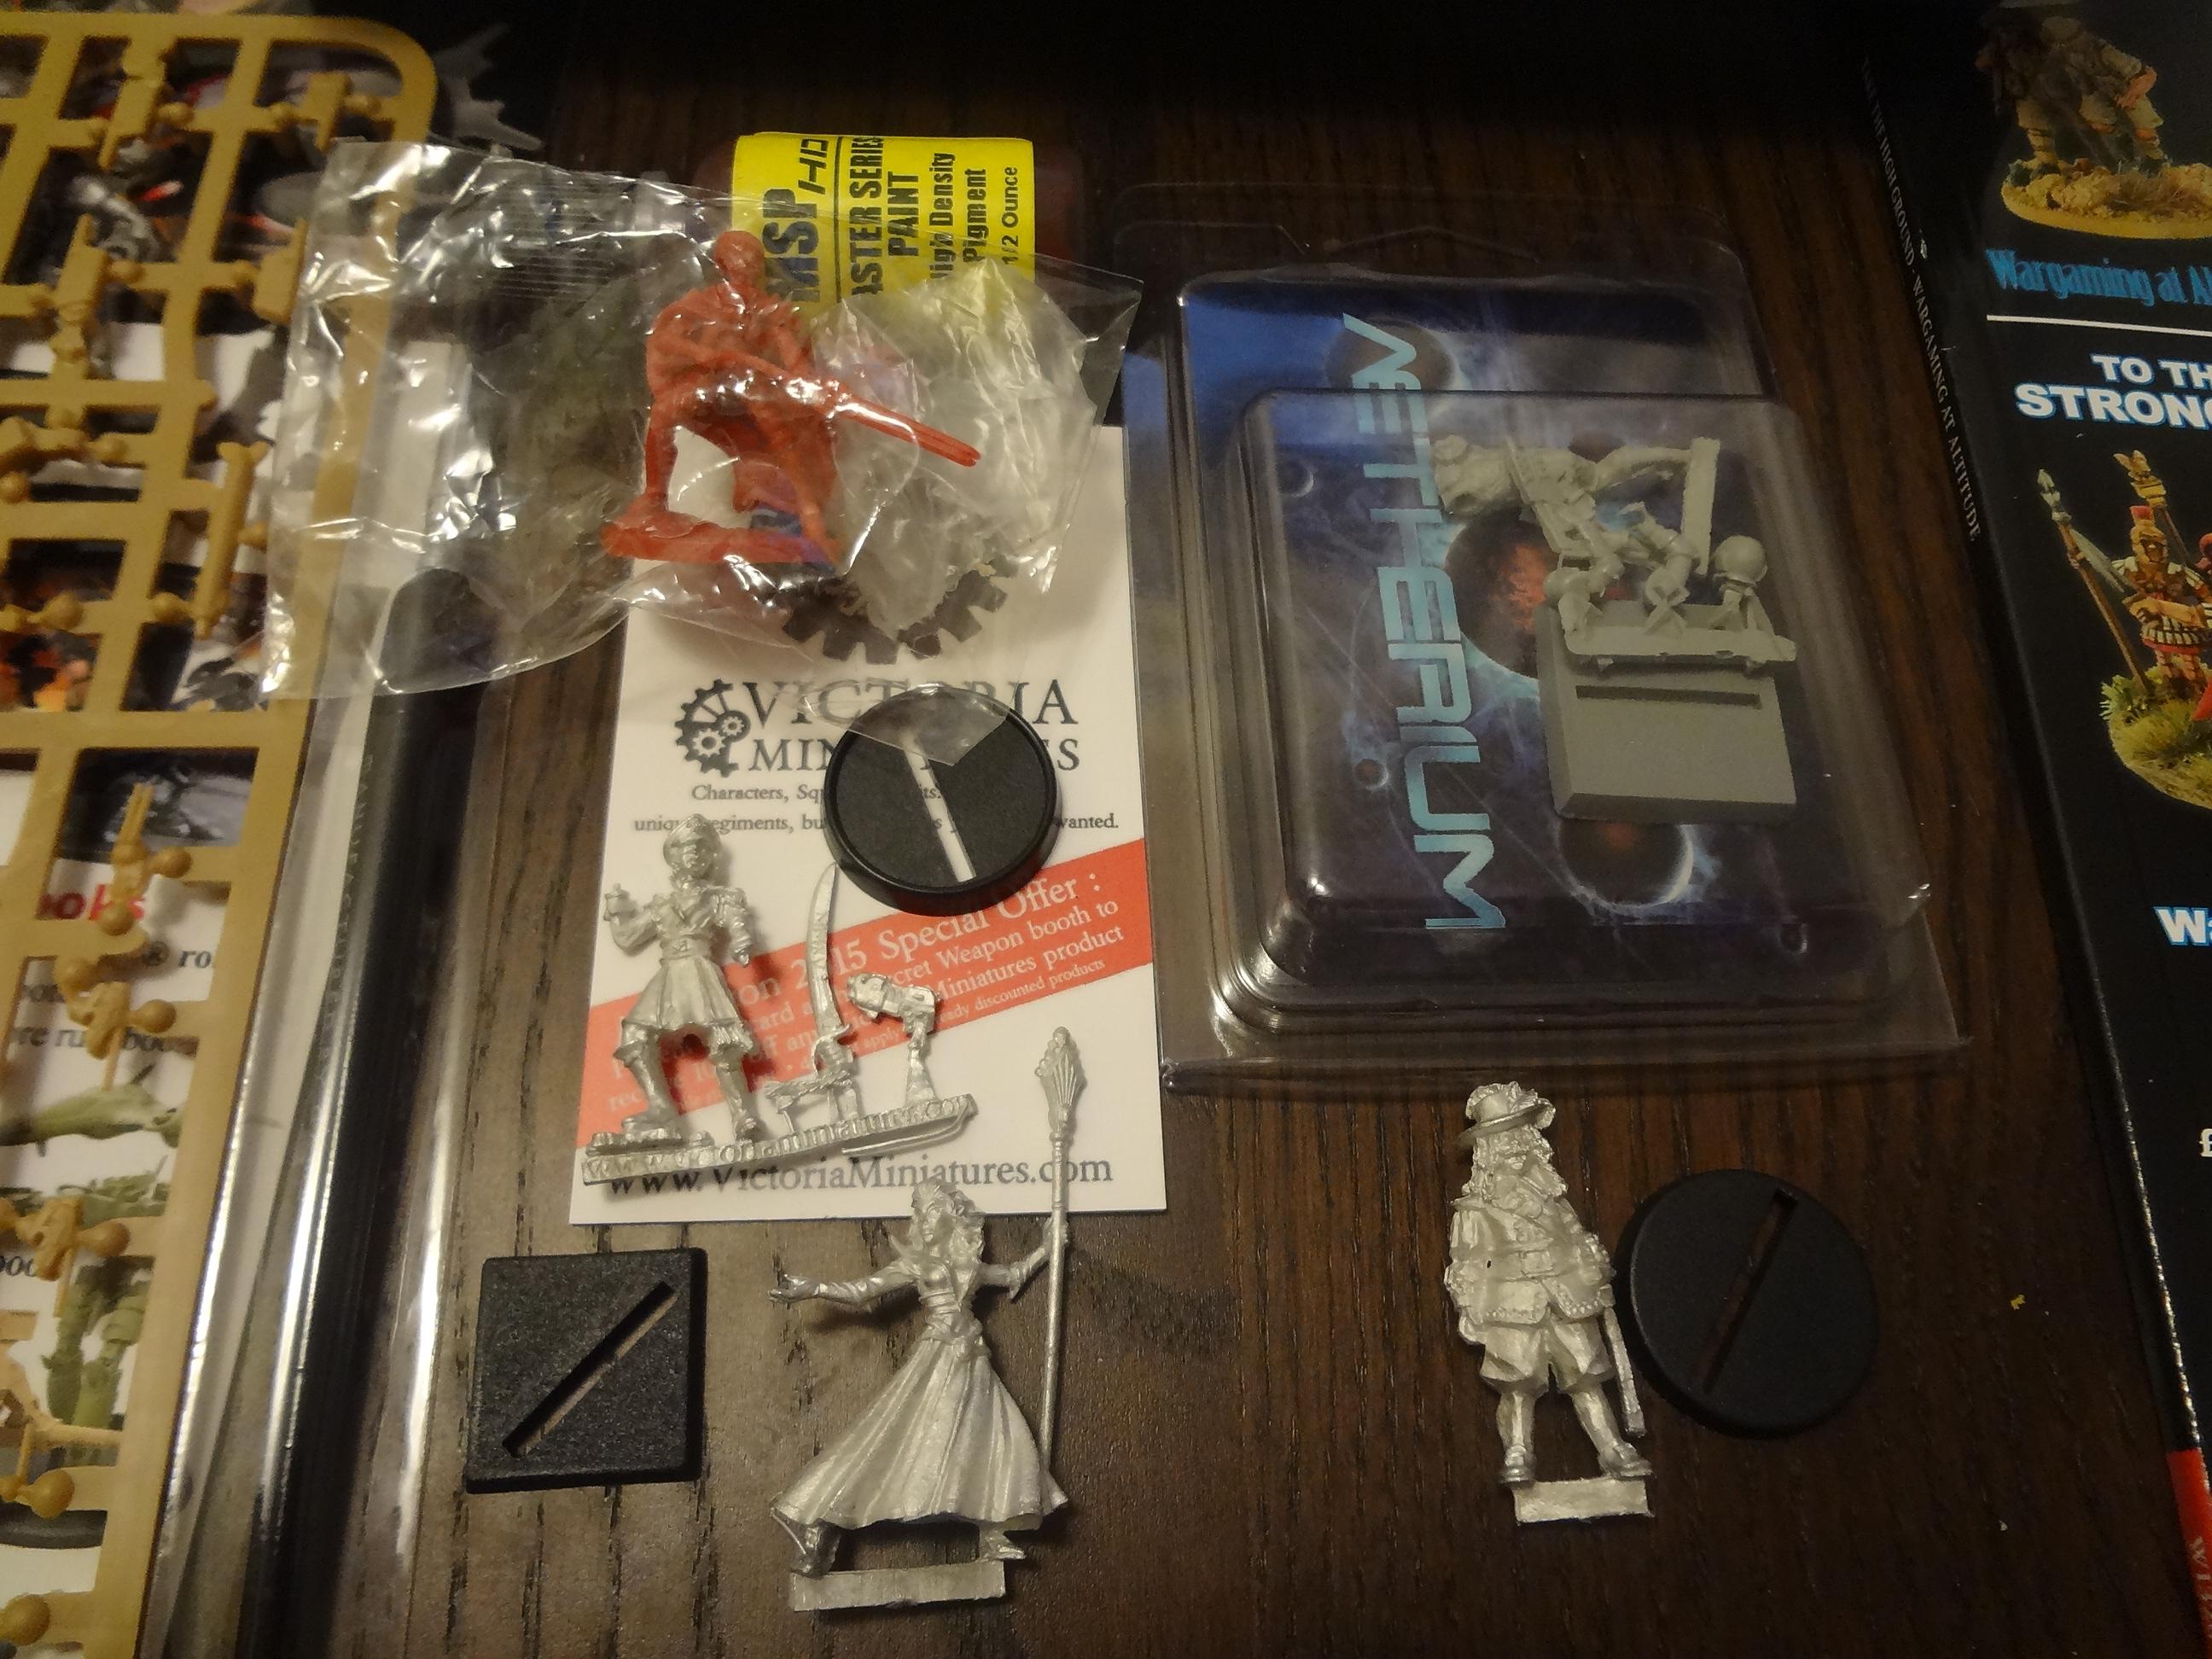


Conservatively measured (and not counting the pirate), that's well over $50 worth of stuff. Even though Adepticon offers free admission for those only looking to shop and look (but not play), I'd pay the $25 admission fee just for the loot!

Thoughts from the Bargain Hunter's Perspective 
Lastly, as any reader of this blog knows, when I go to conventions, I am always looking for real bargains. Most of the merchandise available was aimed at players of the "big games," and most of the discounts were only moderate. However, I still managed a few good scores at both the vendors and the after-hours open trading session. They call it "Bits Trading" but it's actually a free-for-all swap meet that takes place at 10 p.m. in the hallway.

Here's what I acquired at both venues. You can be the judge of how I did.
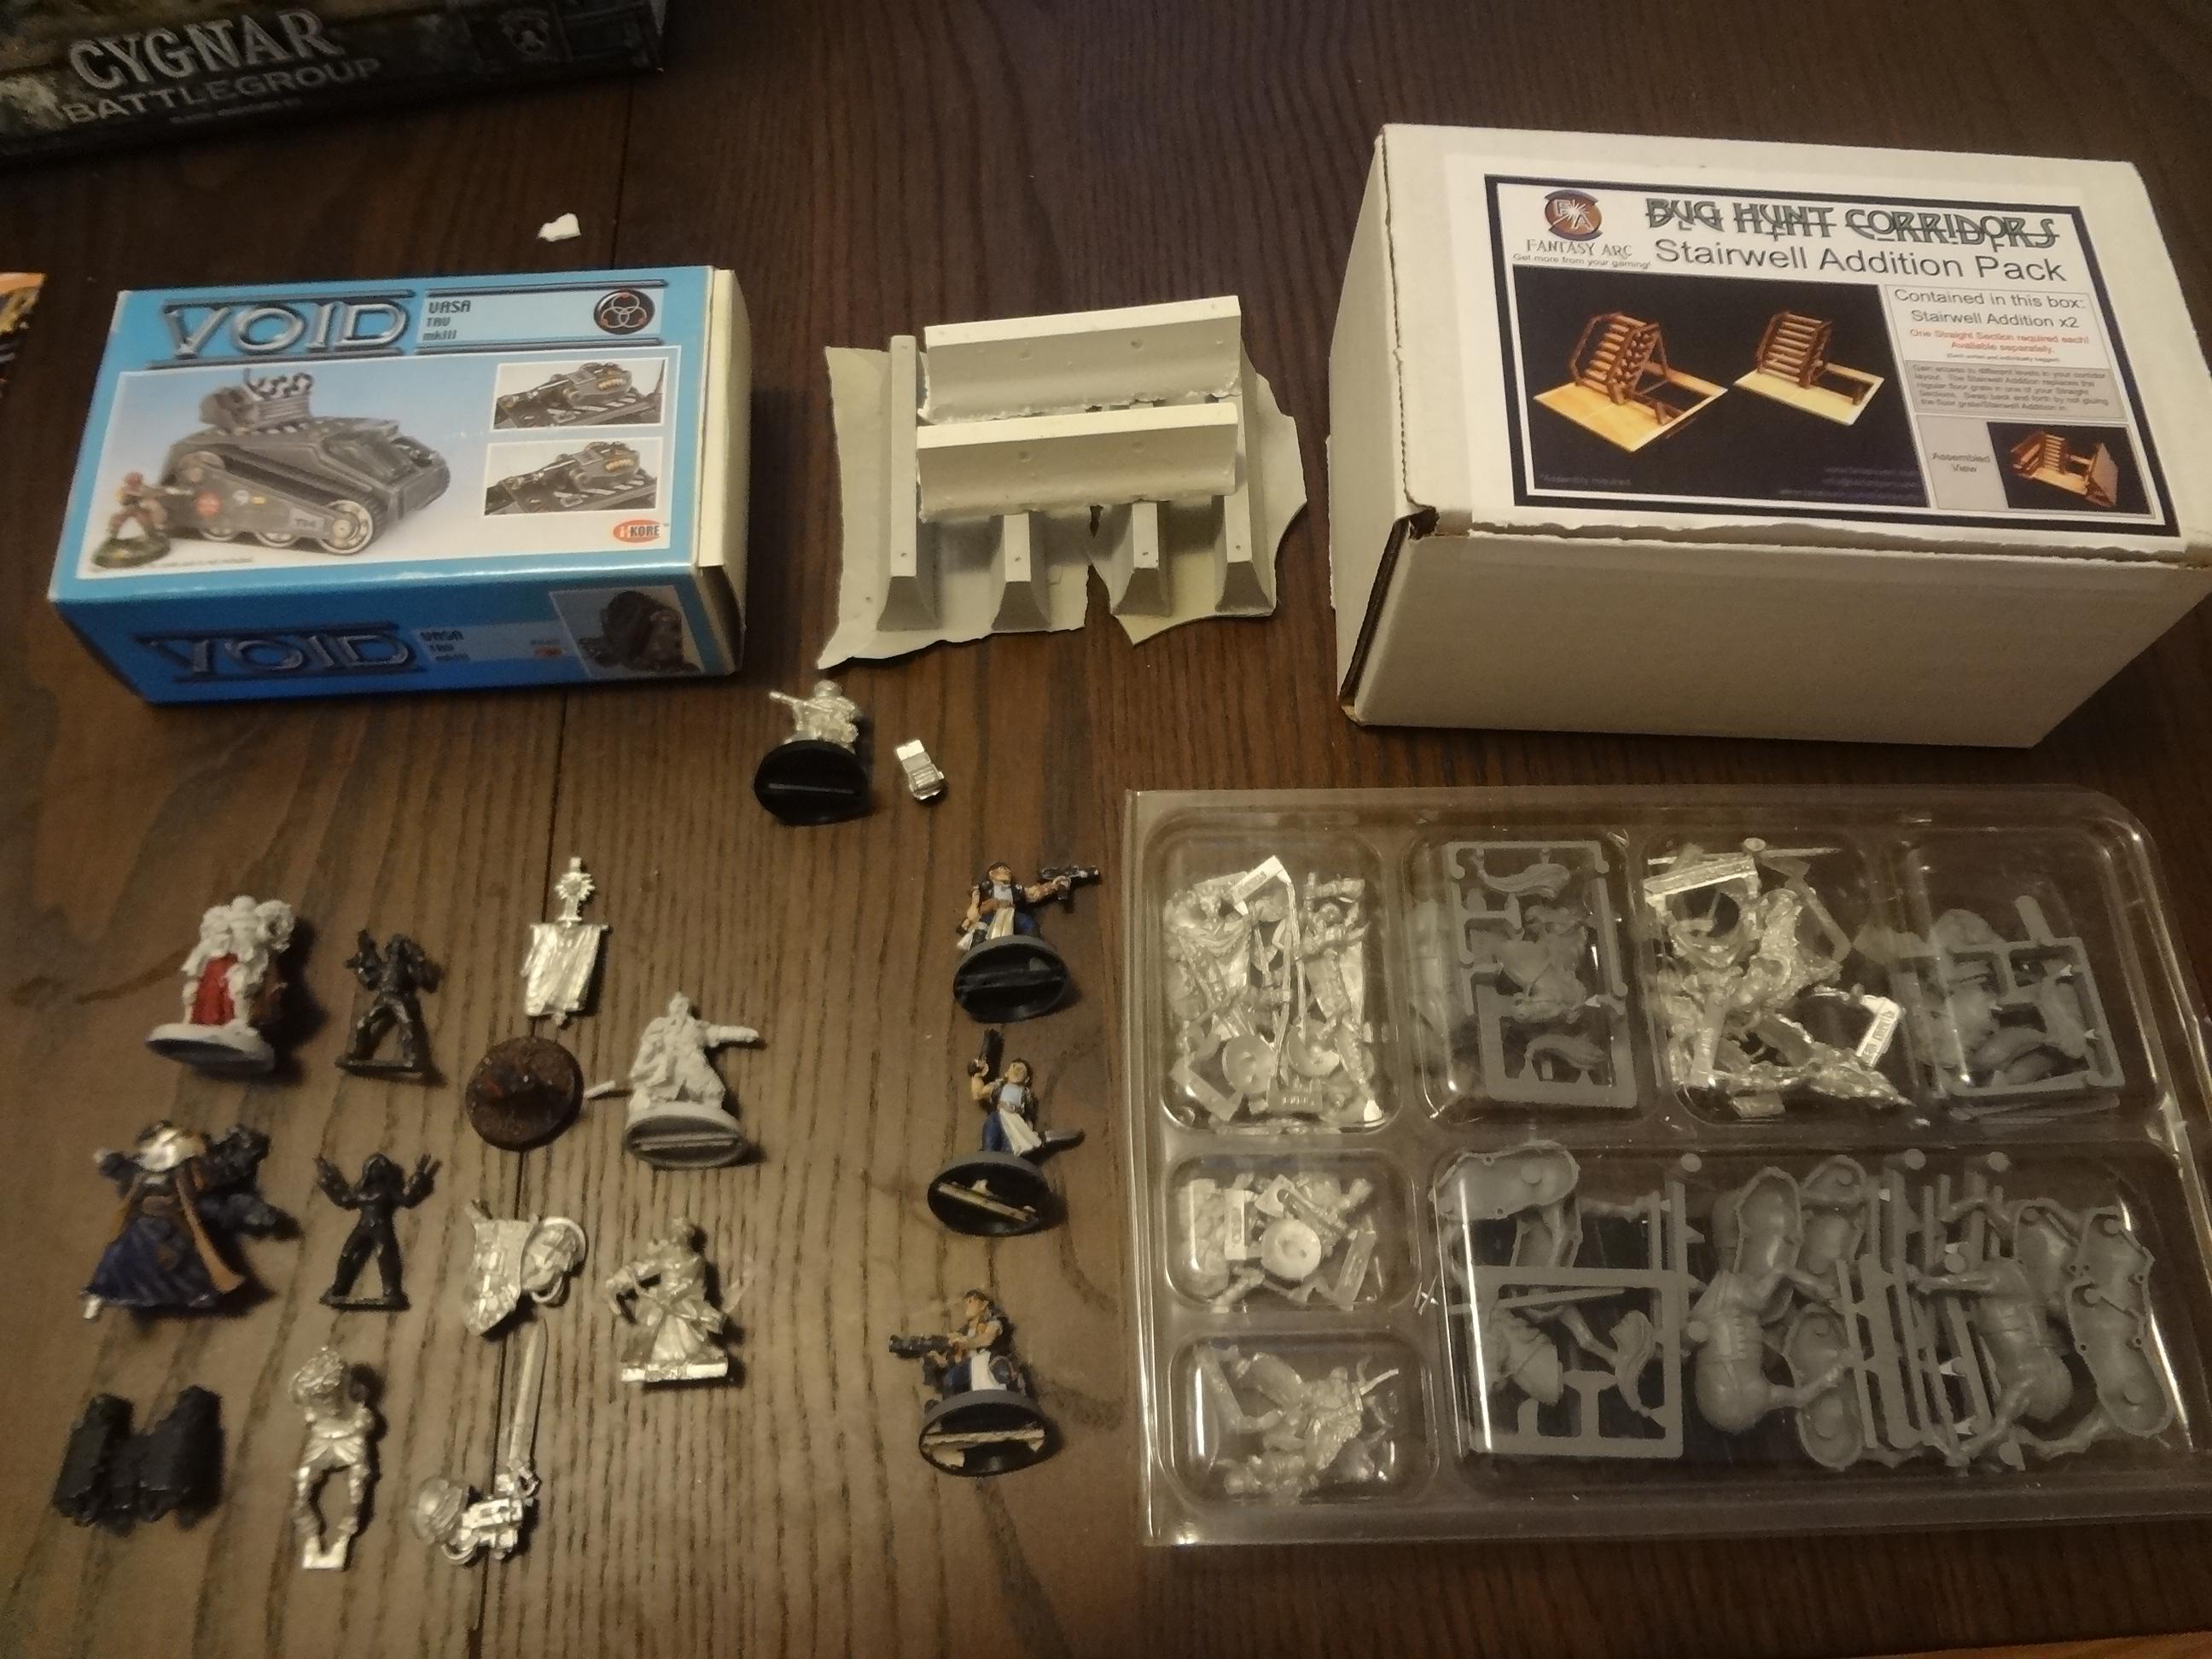


  • $7 for the Void VASA armored vehicle (1/3 of retail) 
  • 50 cents each for resin Hesco Barriers 
  • $8.50 for laser-cut plywood stairwells (2 big and 2 small sets... stairs are a pain to scratchbuild!)
  • $12 for the group of 40k figures and bits, 3 Lord off the Rings figures, 2 Copplestone musicians and a Void Junker
  • $10 for 3 Necromunda Orlock figures 
  • $20 for mounted Chaos Marauders on sprue. These are the previous edition figures without as many skulls. I've been looking for a deal on these exact figures for a long time. It would have been even better if it had contained the 11 figures the seller had said, but I'm not complaining. Anyone got two more to unload?


I'm sure someone with more interest in Games Workshop and Privateer Press would find a lot more deals especially at the after-hours swap meet, but I'm very happy with what I found and what I paid. I may even bring some things to sell next year.


Final Thoughts
Adepticon is most certainly worth a visit for gamers of all types. If you can register early, the swag bag is reason enough to pay the entry fee. However, at the very least it's worth the price of gas for all Chicago area gamers to go and feast their eyes on what I often refer to as the "Glorious Spectacle of Painted Armies Clashing on Evocative Terrain". After my very positive experiences, it's likely I will be a game-running attendee at Adepticon for years to come.

-- Karl, Chicago Skirmish Wargames club member


Thursday, March 12, 2015

Fantasy Warriors Tower, a Rockpile and a Mystery

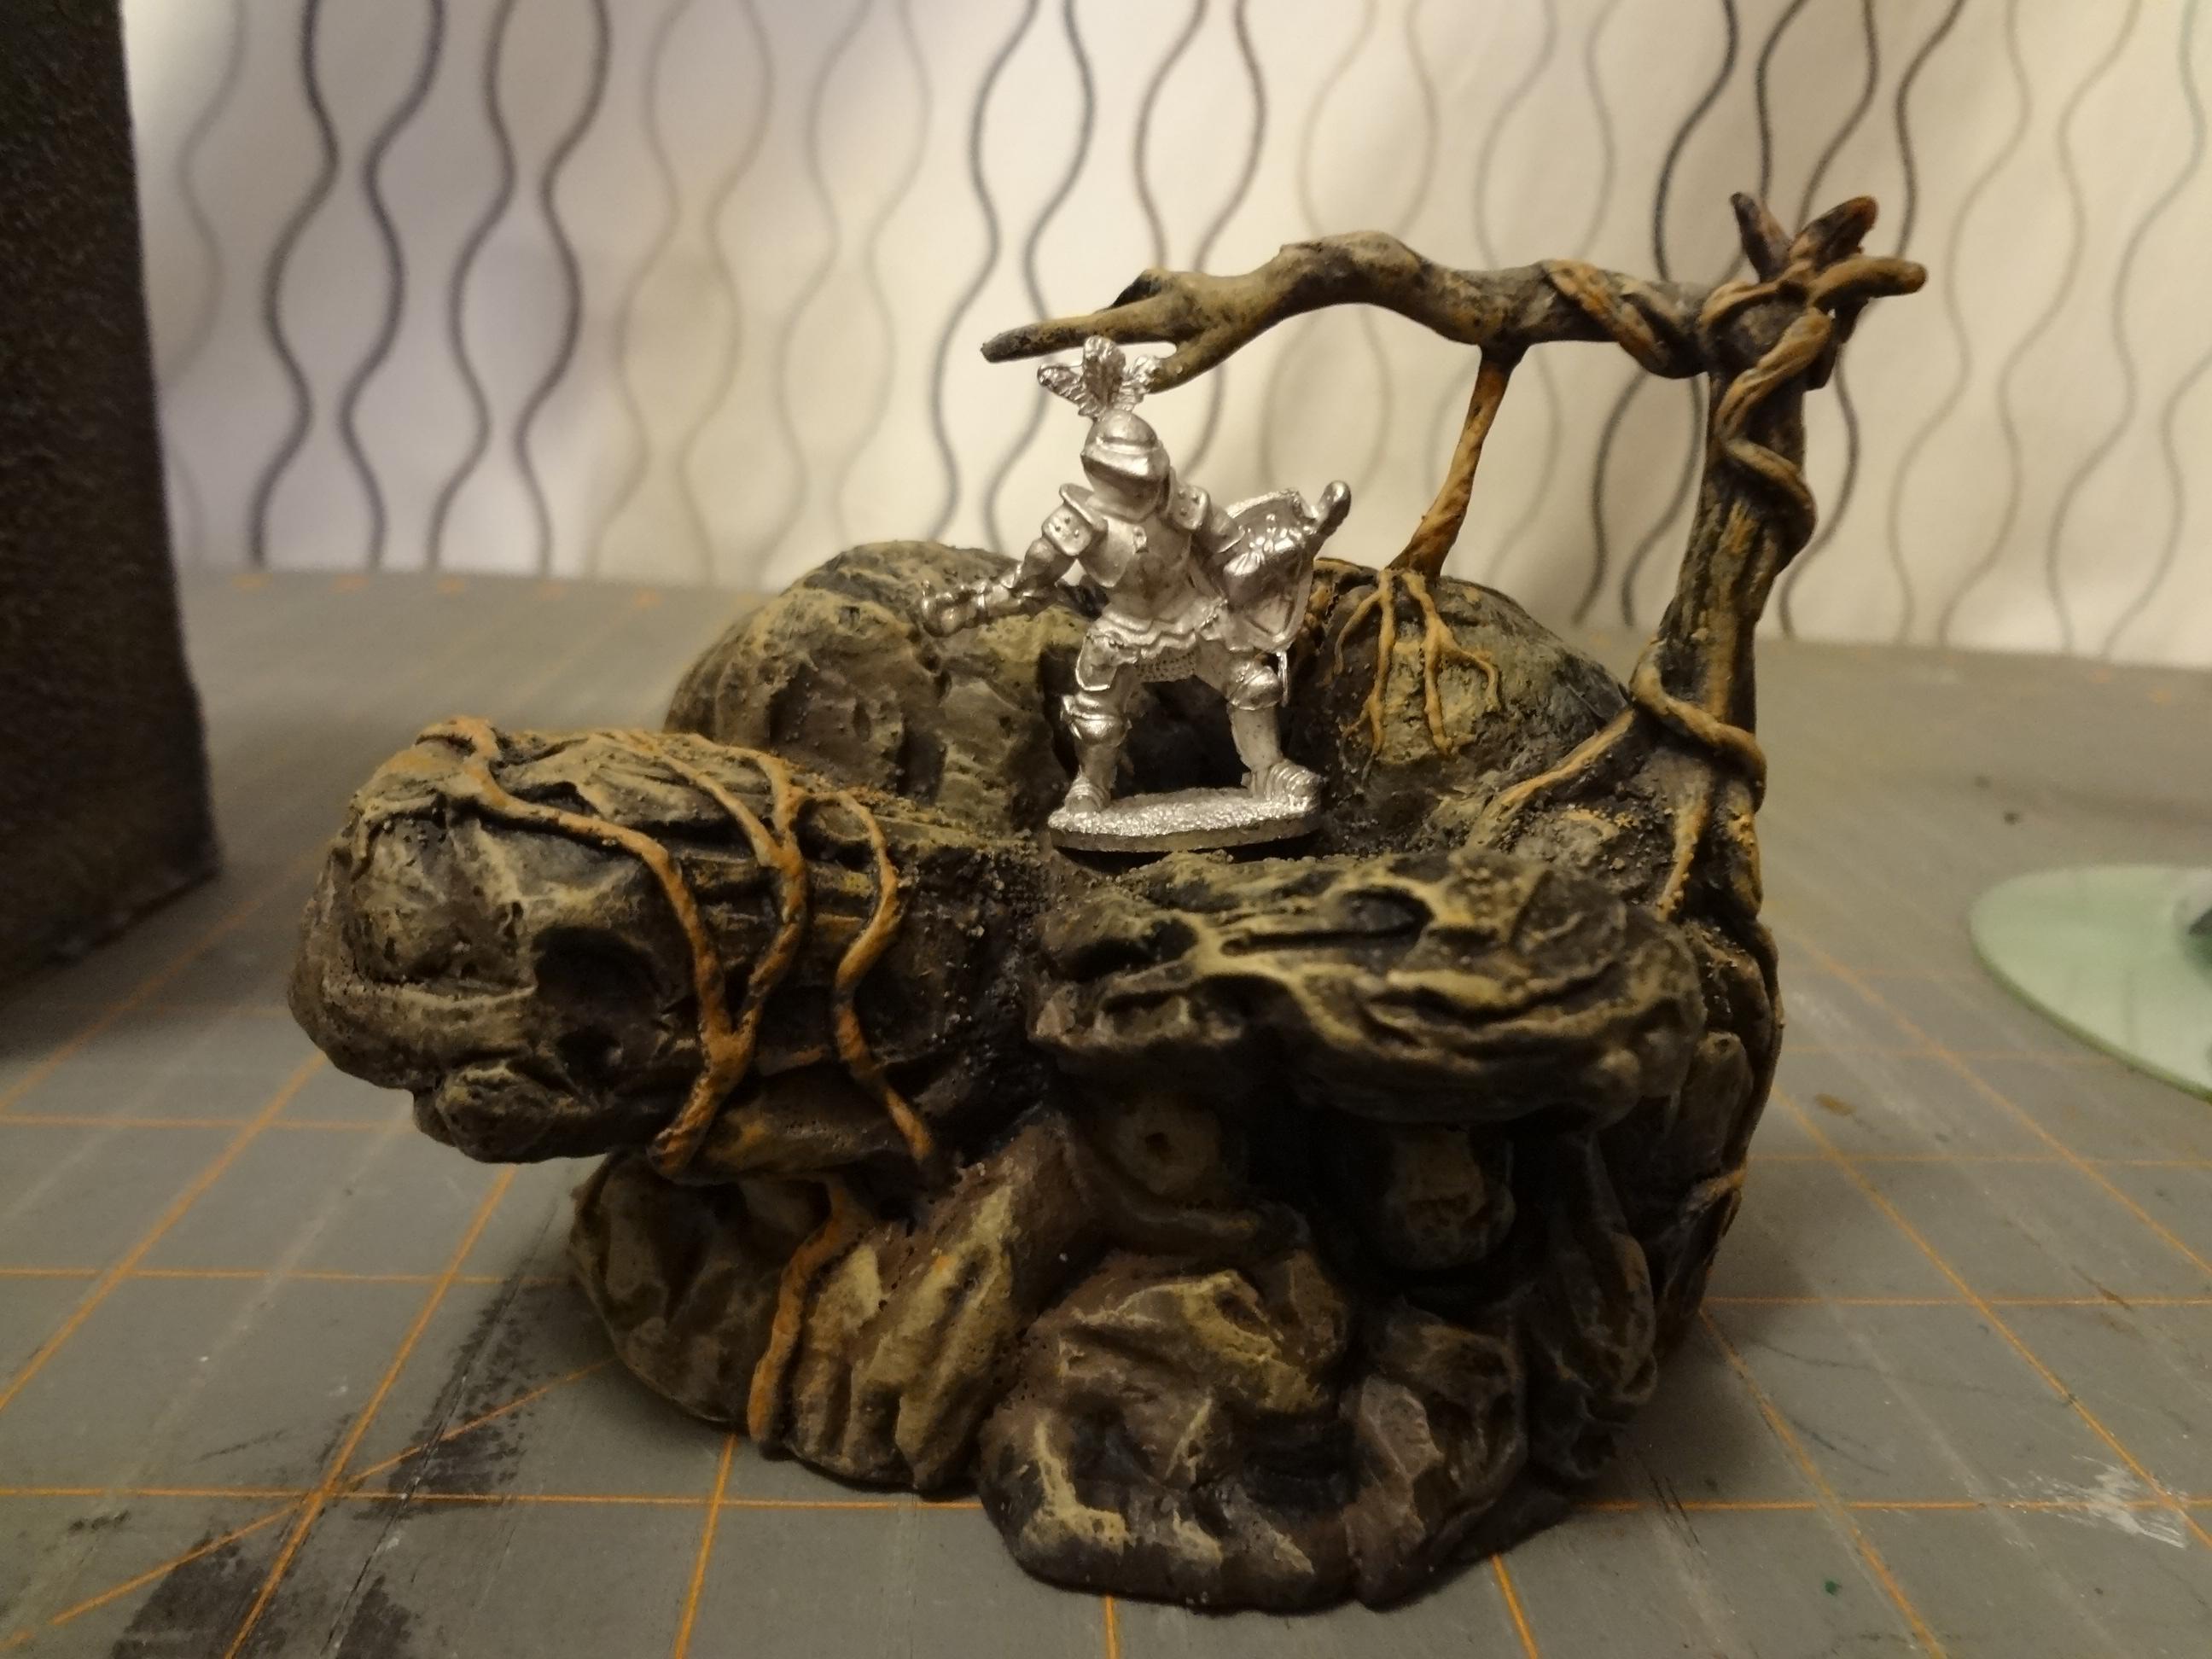
Despite the mechs that need to be finished before Adepticon, I procrastinated some more and made some medieval fantasy scenery.


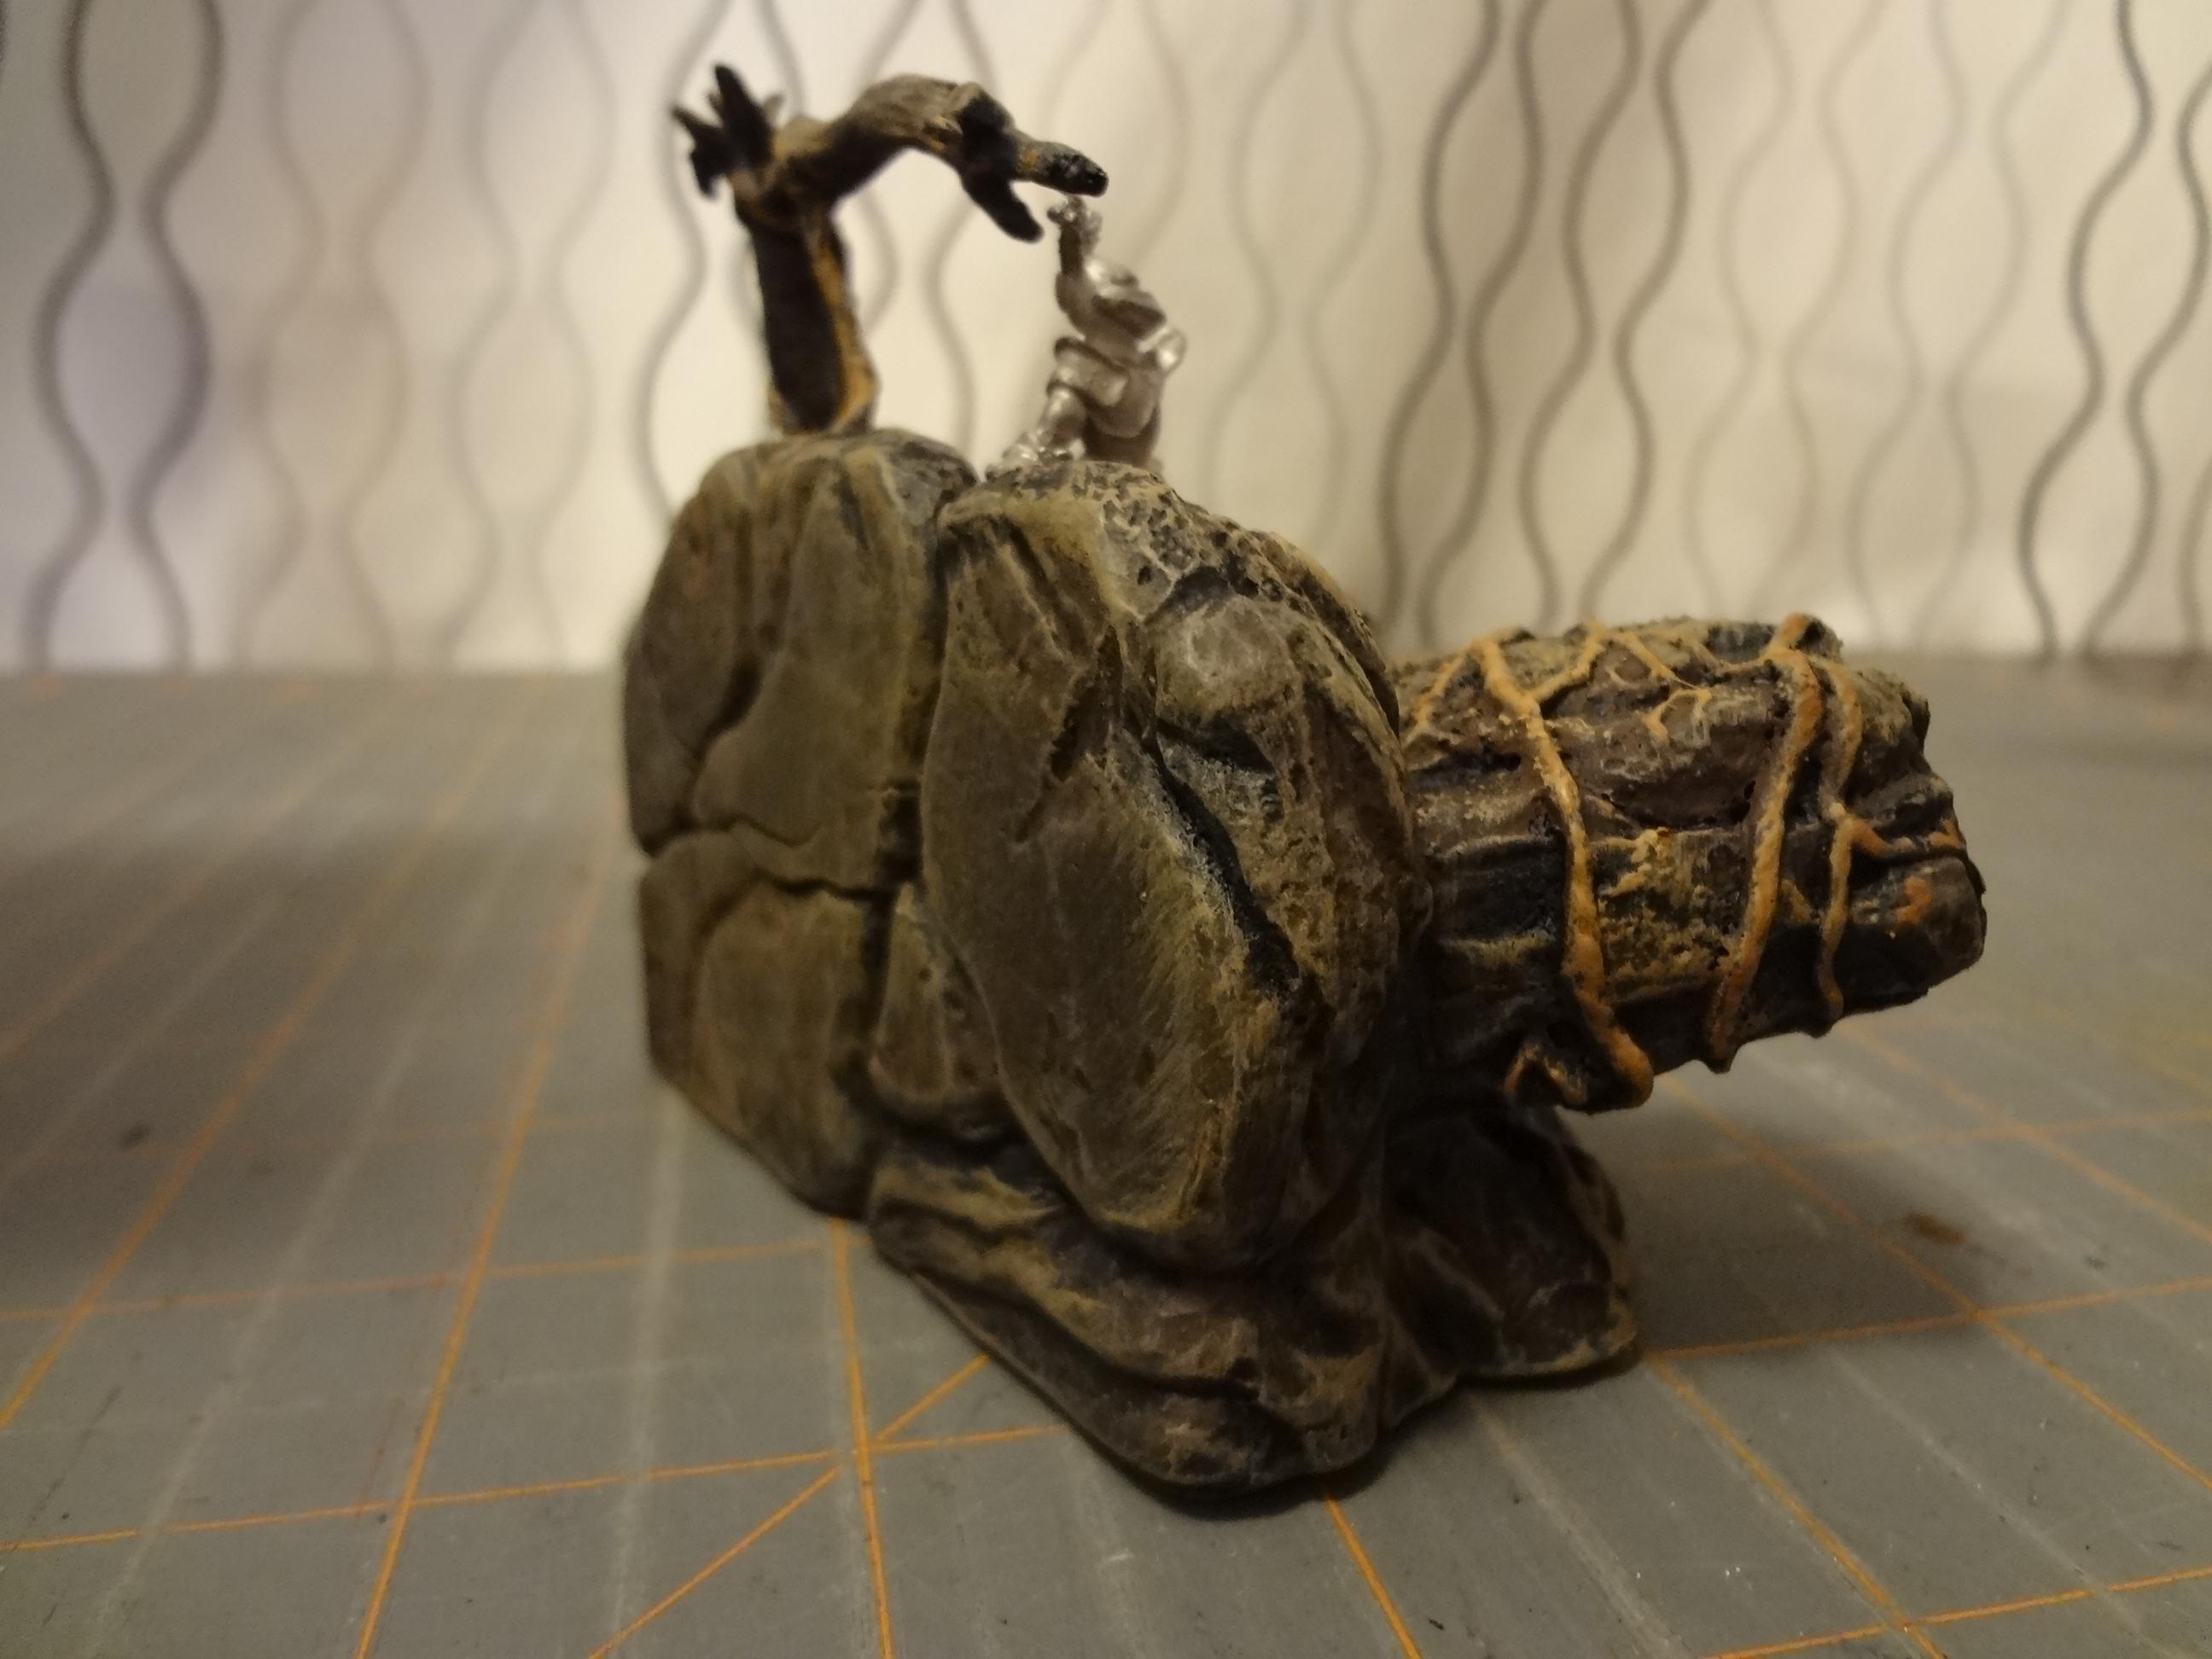
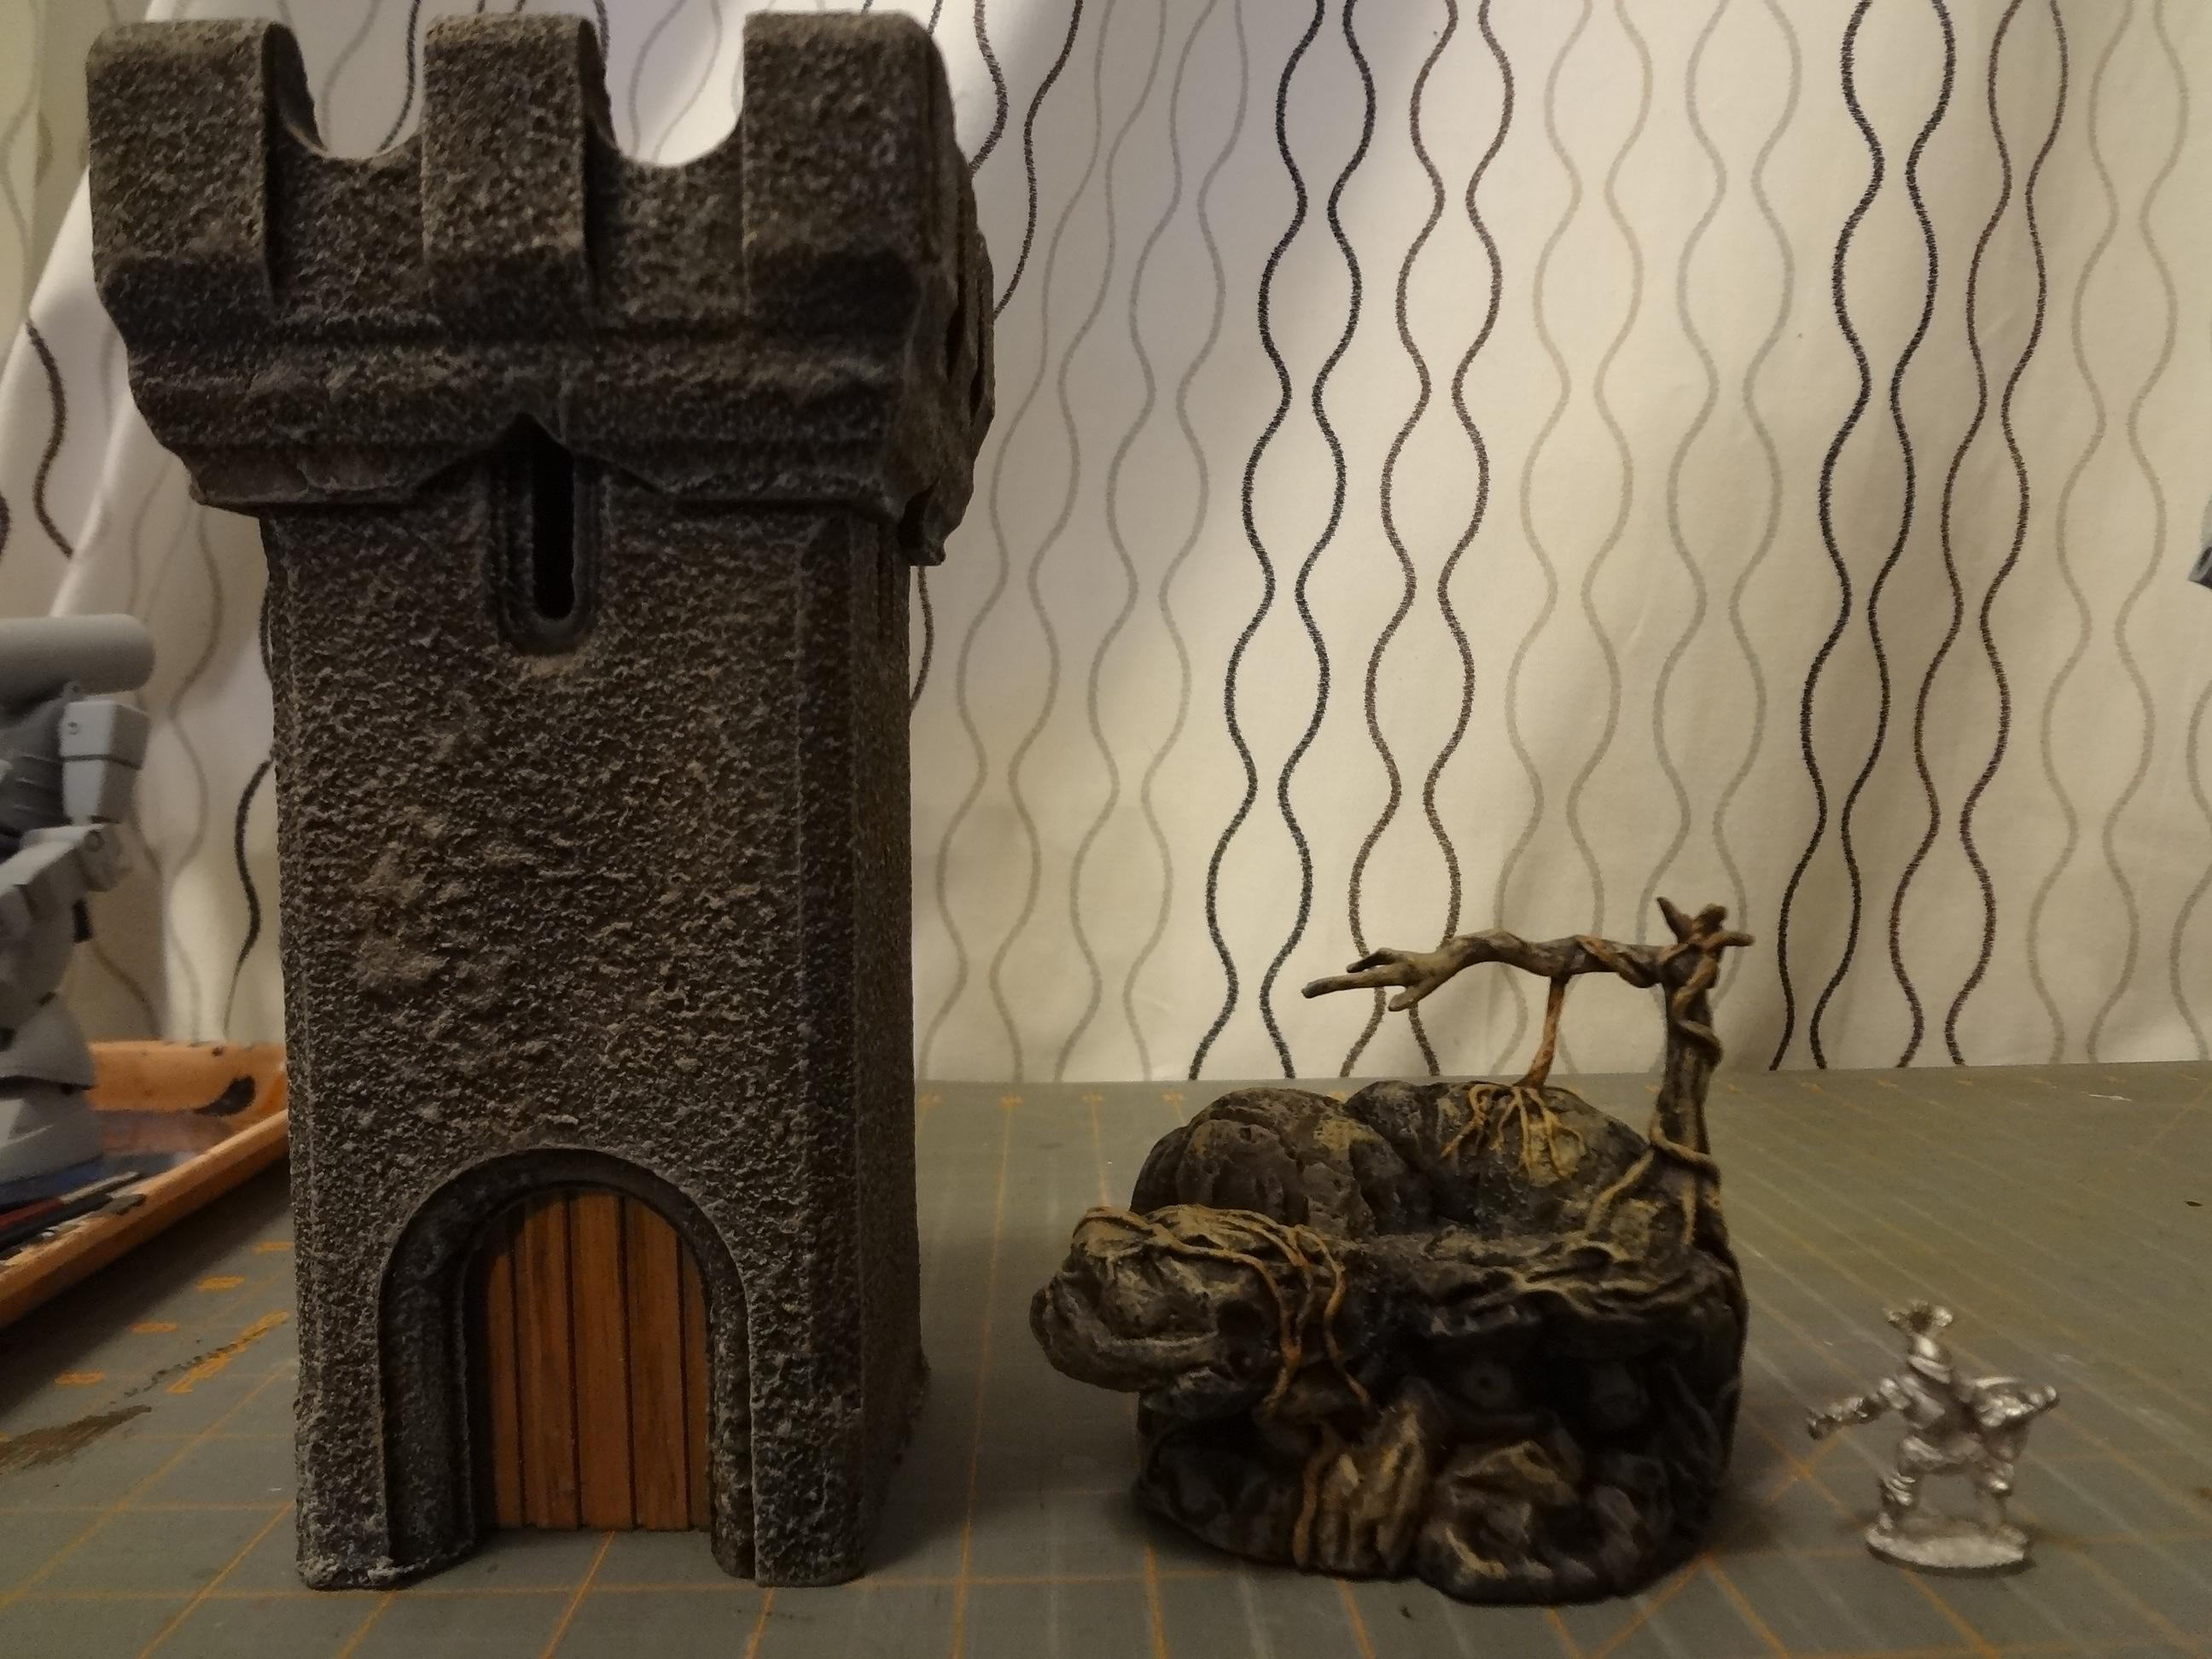
First, a dirty pile of rocks. It's just a repainted vinyl/plastic toy I found.


It's flat on the back, so you can place it right up against another piece of terrain. Looks slightly odd, but at least it's detailed.


I want to know where this is from. This was originally a toy of some sort, probably a display for some character, but it lacks pegs to hold up an action figure. On the bottom it says "2003 NLP Inc. Marvel Ent. Inc." It has a speaker and battery compartment on the bottom, and one of the rocks is a button. Unfortunately I've got no mini-batteries to try out the sound. If you know what it is, please let me know in the comments.

My second project was a tower that Pat gave me last week.


As it happens, this tower is a bit of gaming history. It was made in the 90s by the company Dragon Castles Inc., and was sold through Grenadier as part of the "Warlord Keep" set for their "Fantasy Warriors" game.


It was also likely sold separately through game stores, since I and others recall seeing it in game stores back in the day. Thanks to the crew on The Miniatures Page for helping discover the source of this tower.

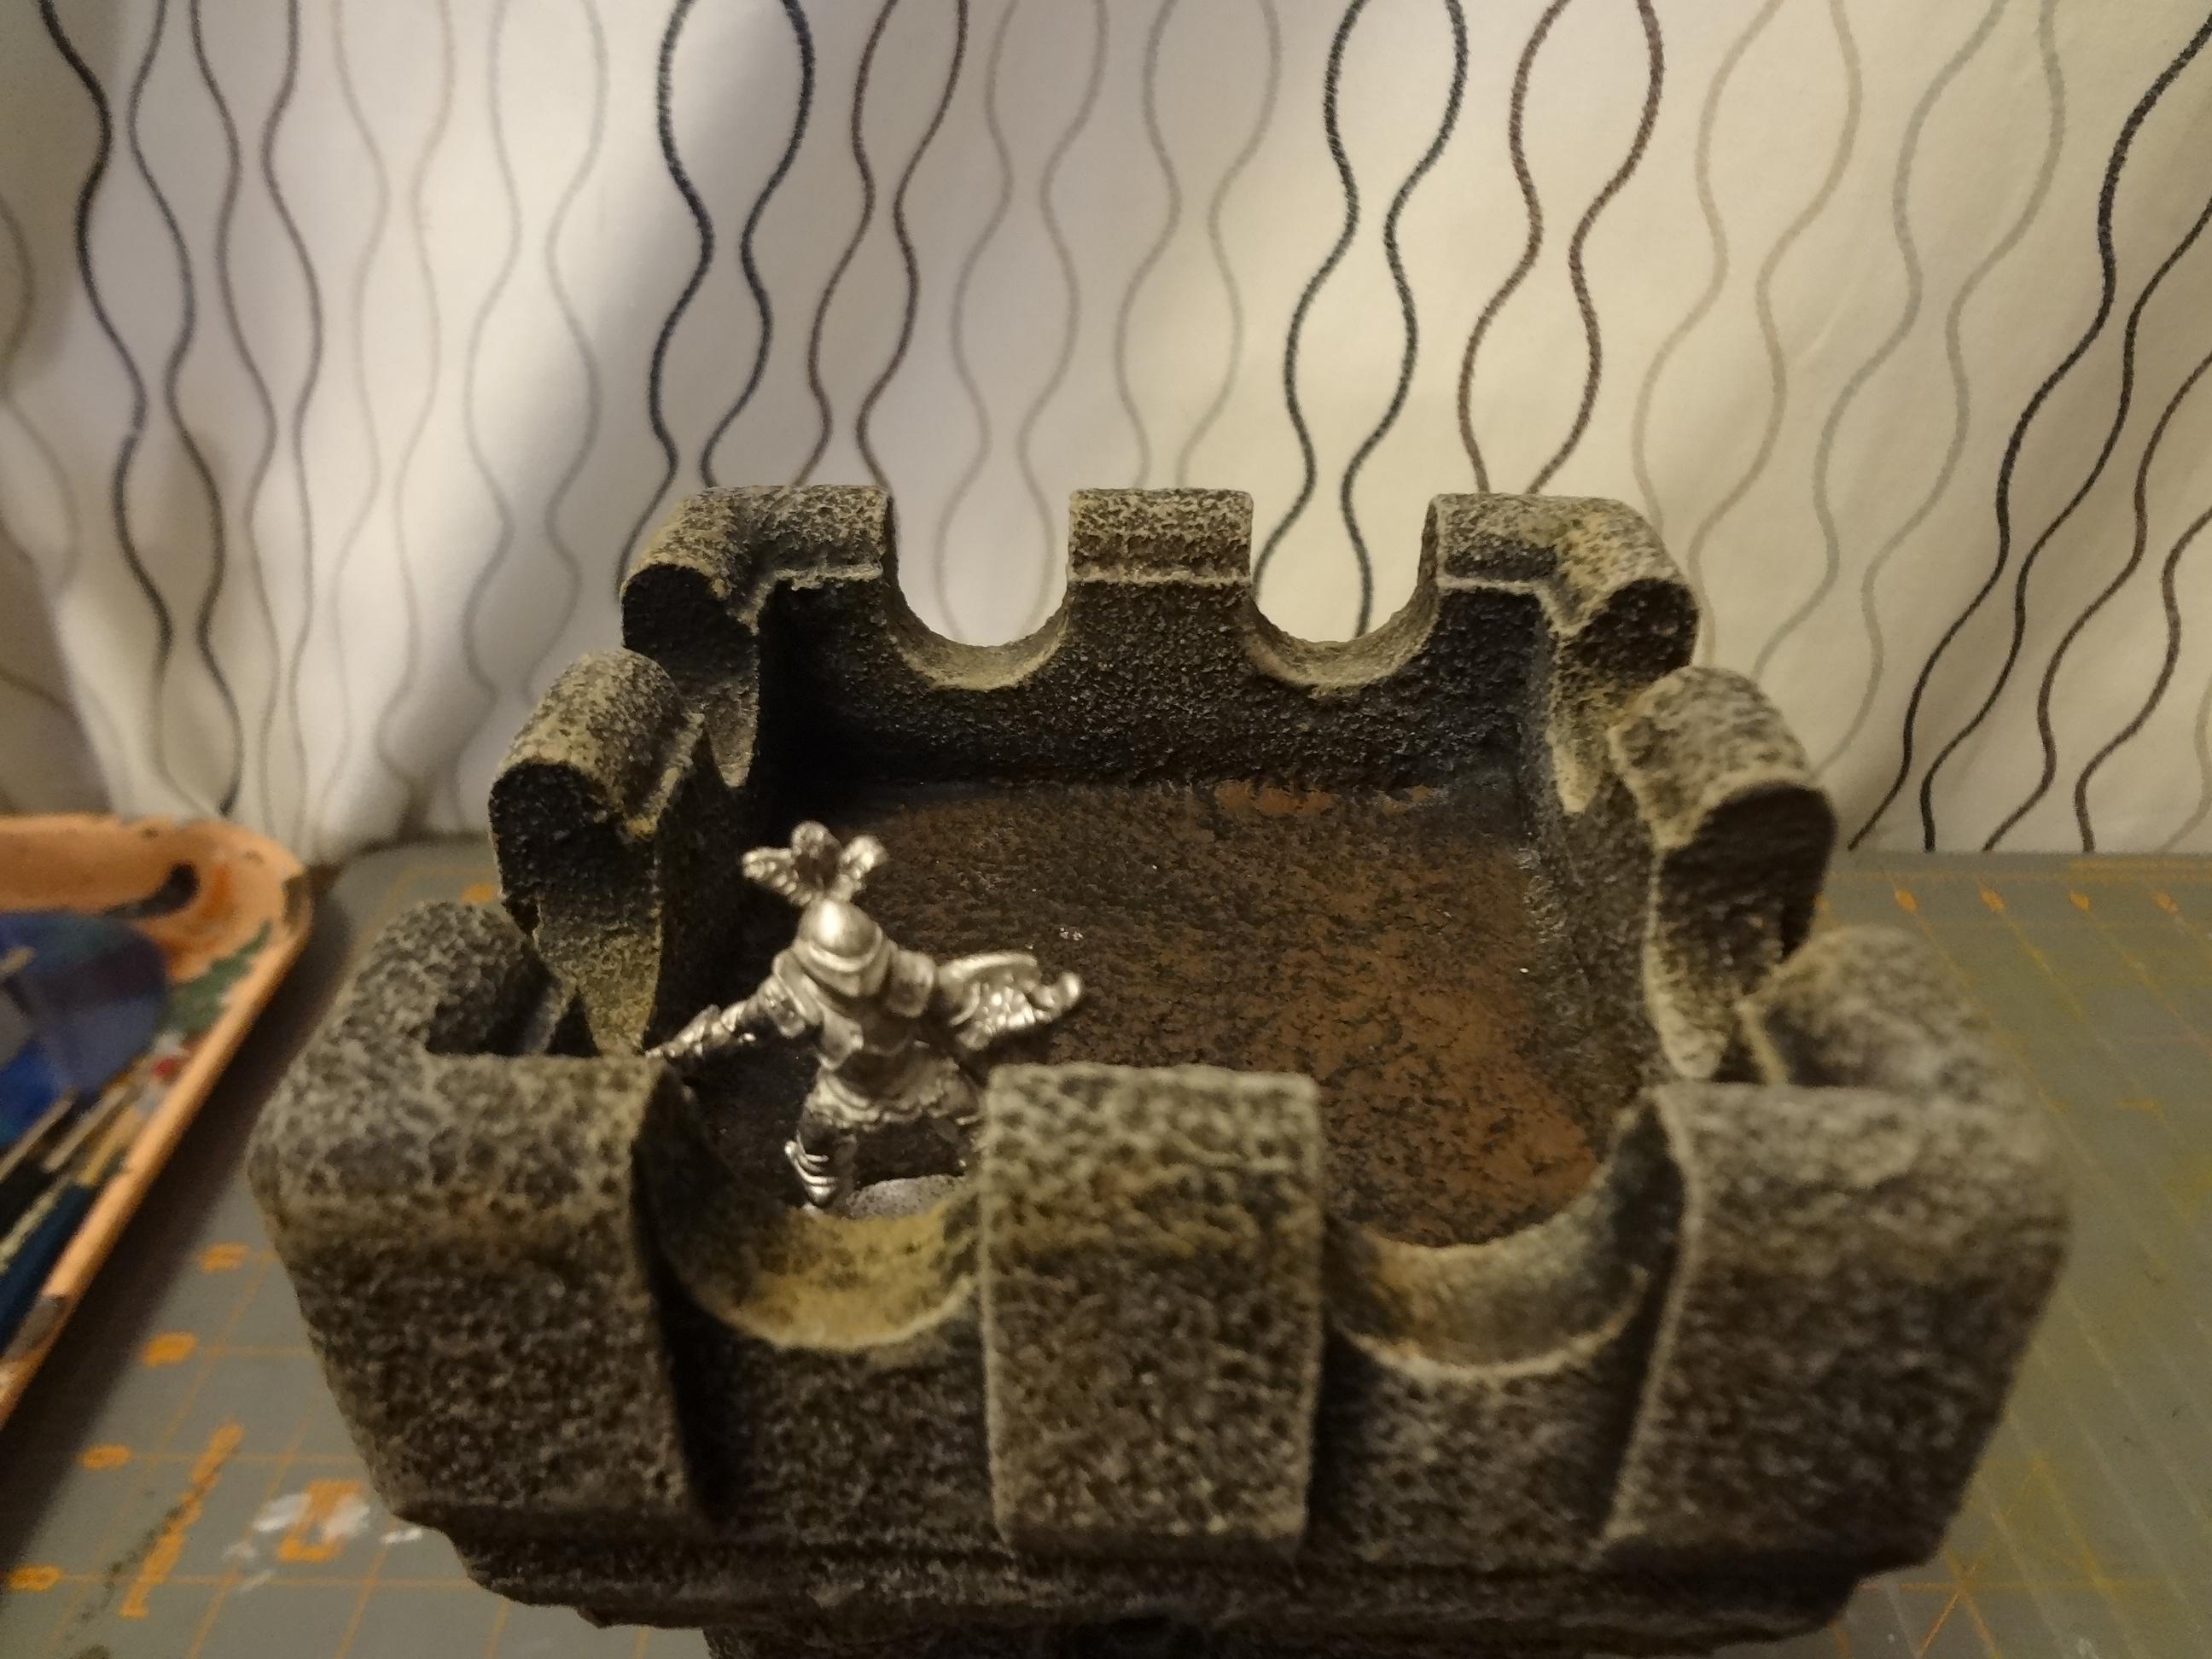
It's made of wood and was covered in that spray stone stuff that is textured and grey with black flecks. It looked more like a toy, but as it was already textured, I just gave it a black prime followed by brown, tan and bamboo colored drybrushes. I did the same on the roof, minus the second and third drybrush color.


The roof removes and there are two wood doors that can be slid out. You can see the original grey color inside the tower.


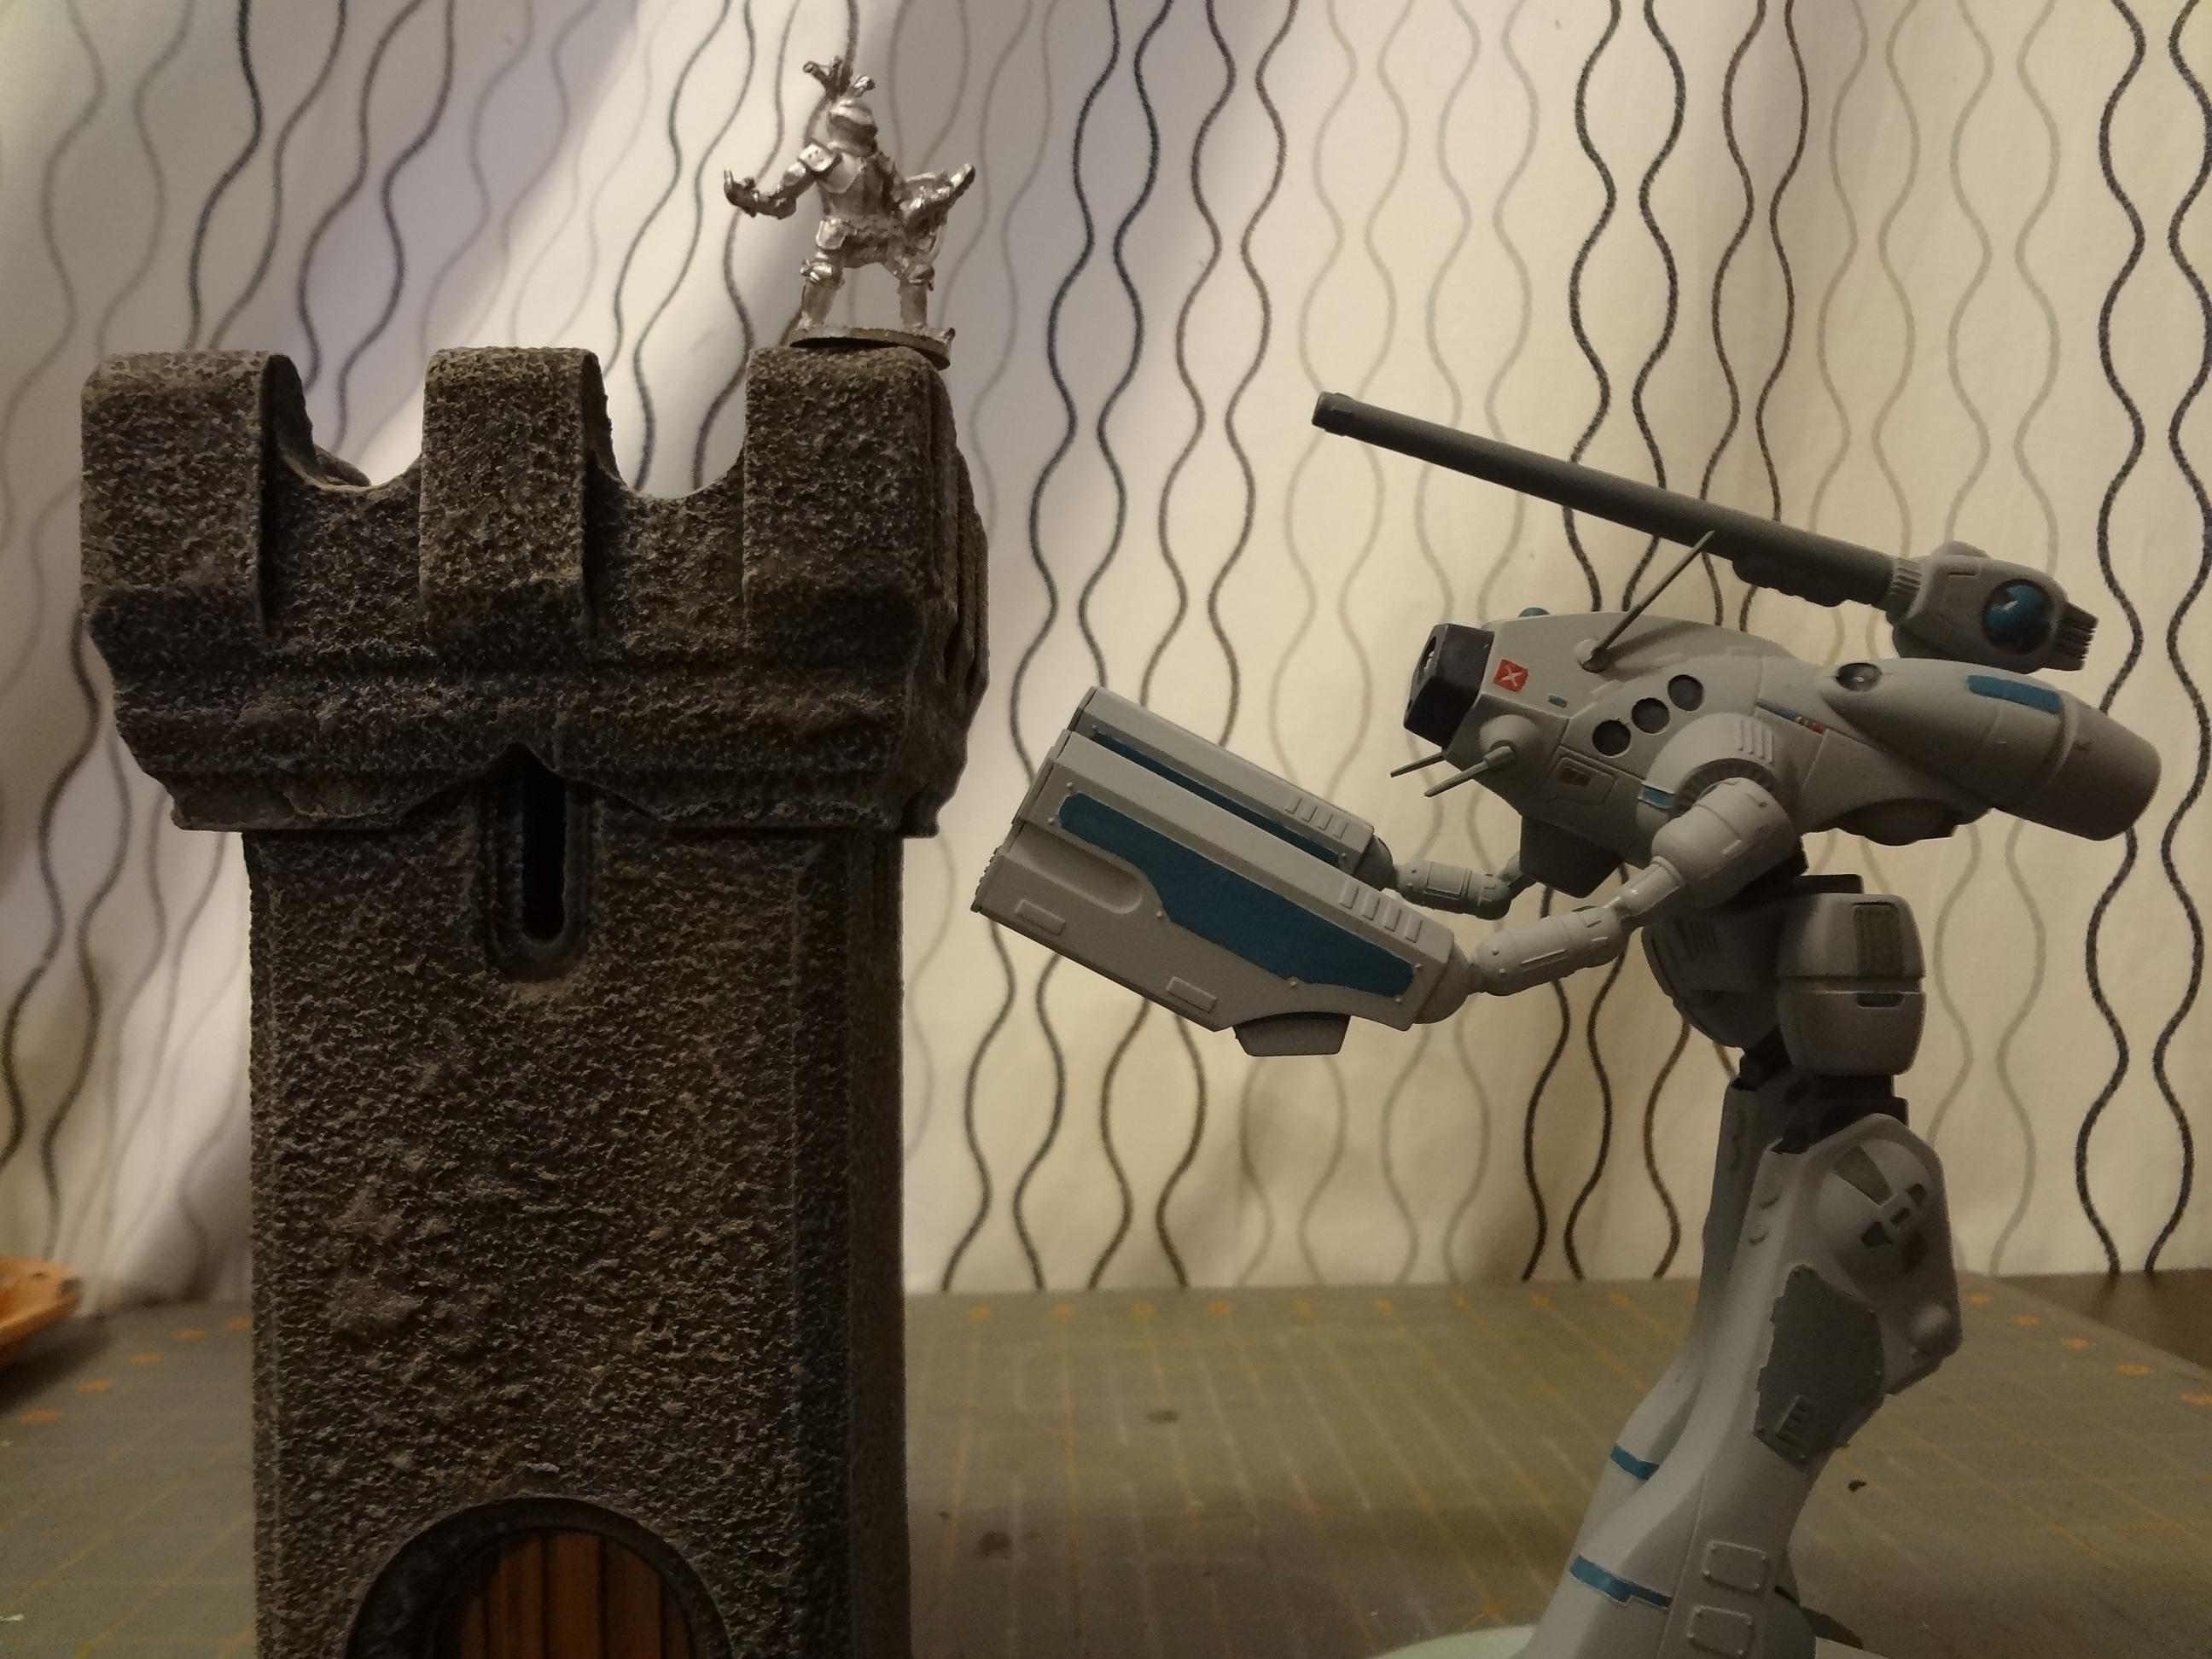
And to answer the question all fantasy gamers will have. Yes, it's even taller than a Marauder mech!


Well, the tower turned out pretty good, which leaves us with a tip for the budget gamer. I've passed up a fair amount of cheap second-hand terrain covered in this faux-rock finish, which to be honest looks a bit dated and not really up to par with current terrain techniques.

Now I know that it's a great surface texture that's easy to update with just a few layers of paint.

Don't forget to chime in if you have any ideas about the origin of my mysterious rock pile!

-- Karl, Chicago Skirmish Wargames club member
Friday, February 20, 2015

Six Dollar Sci-Fi Tanks from Russia


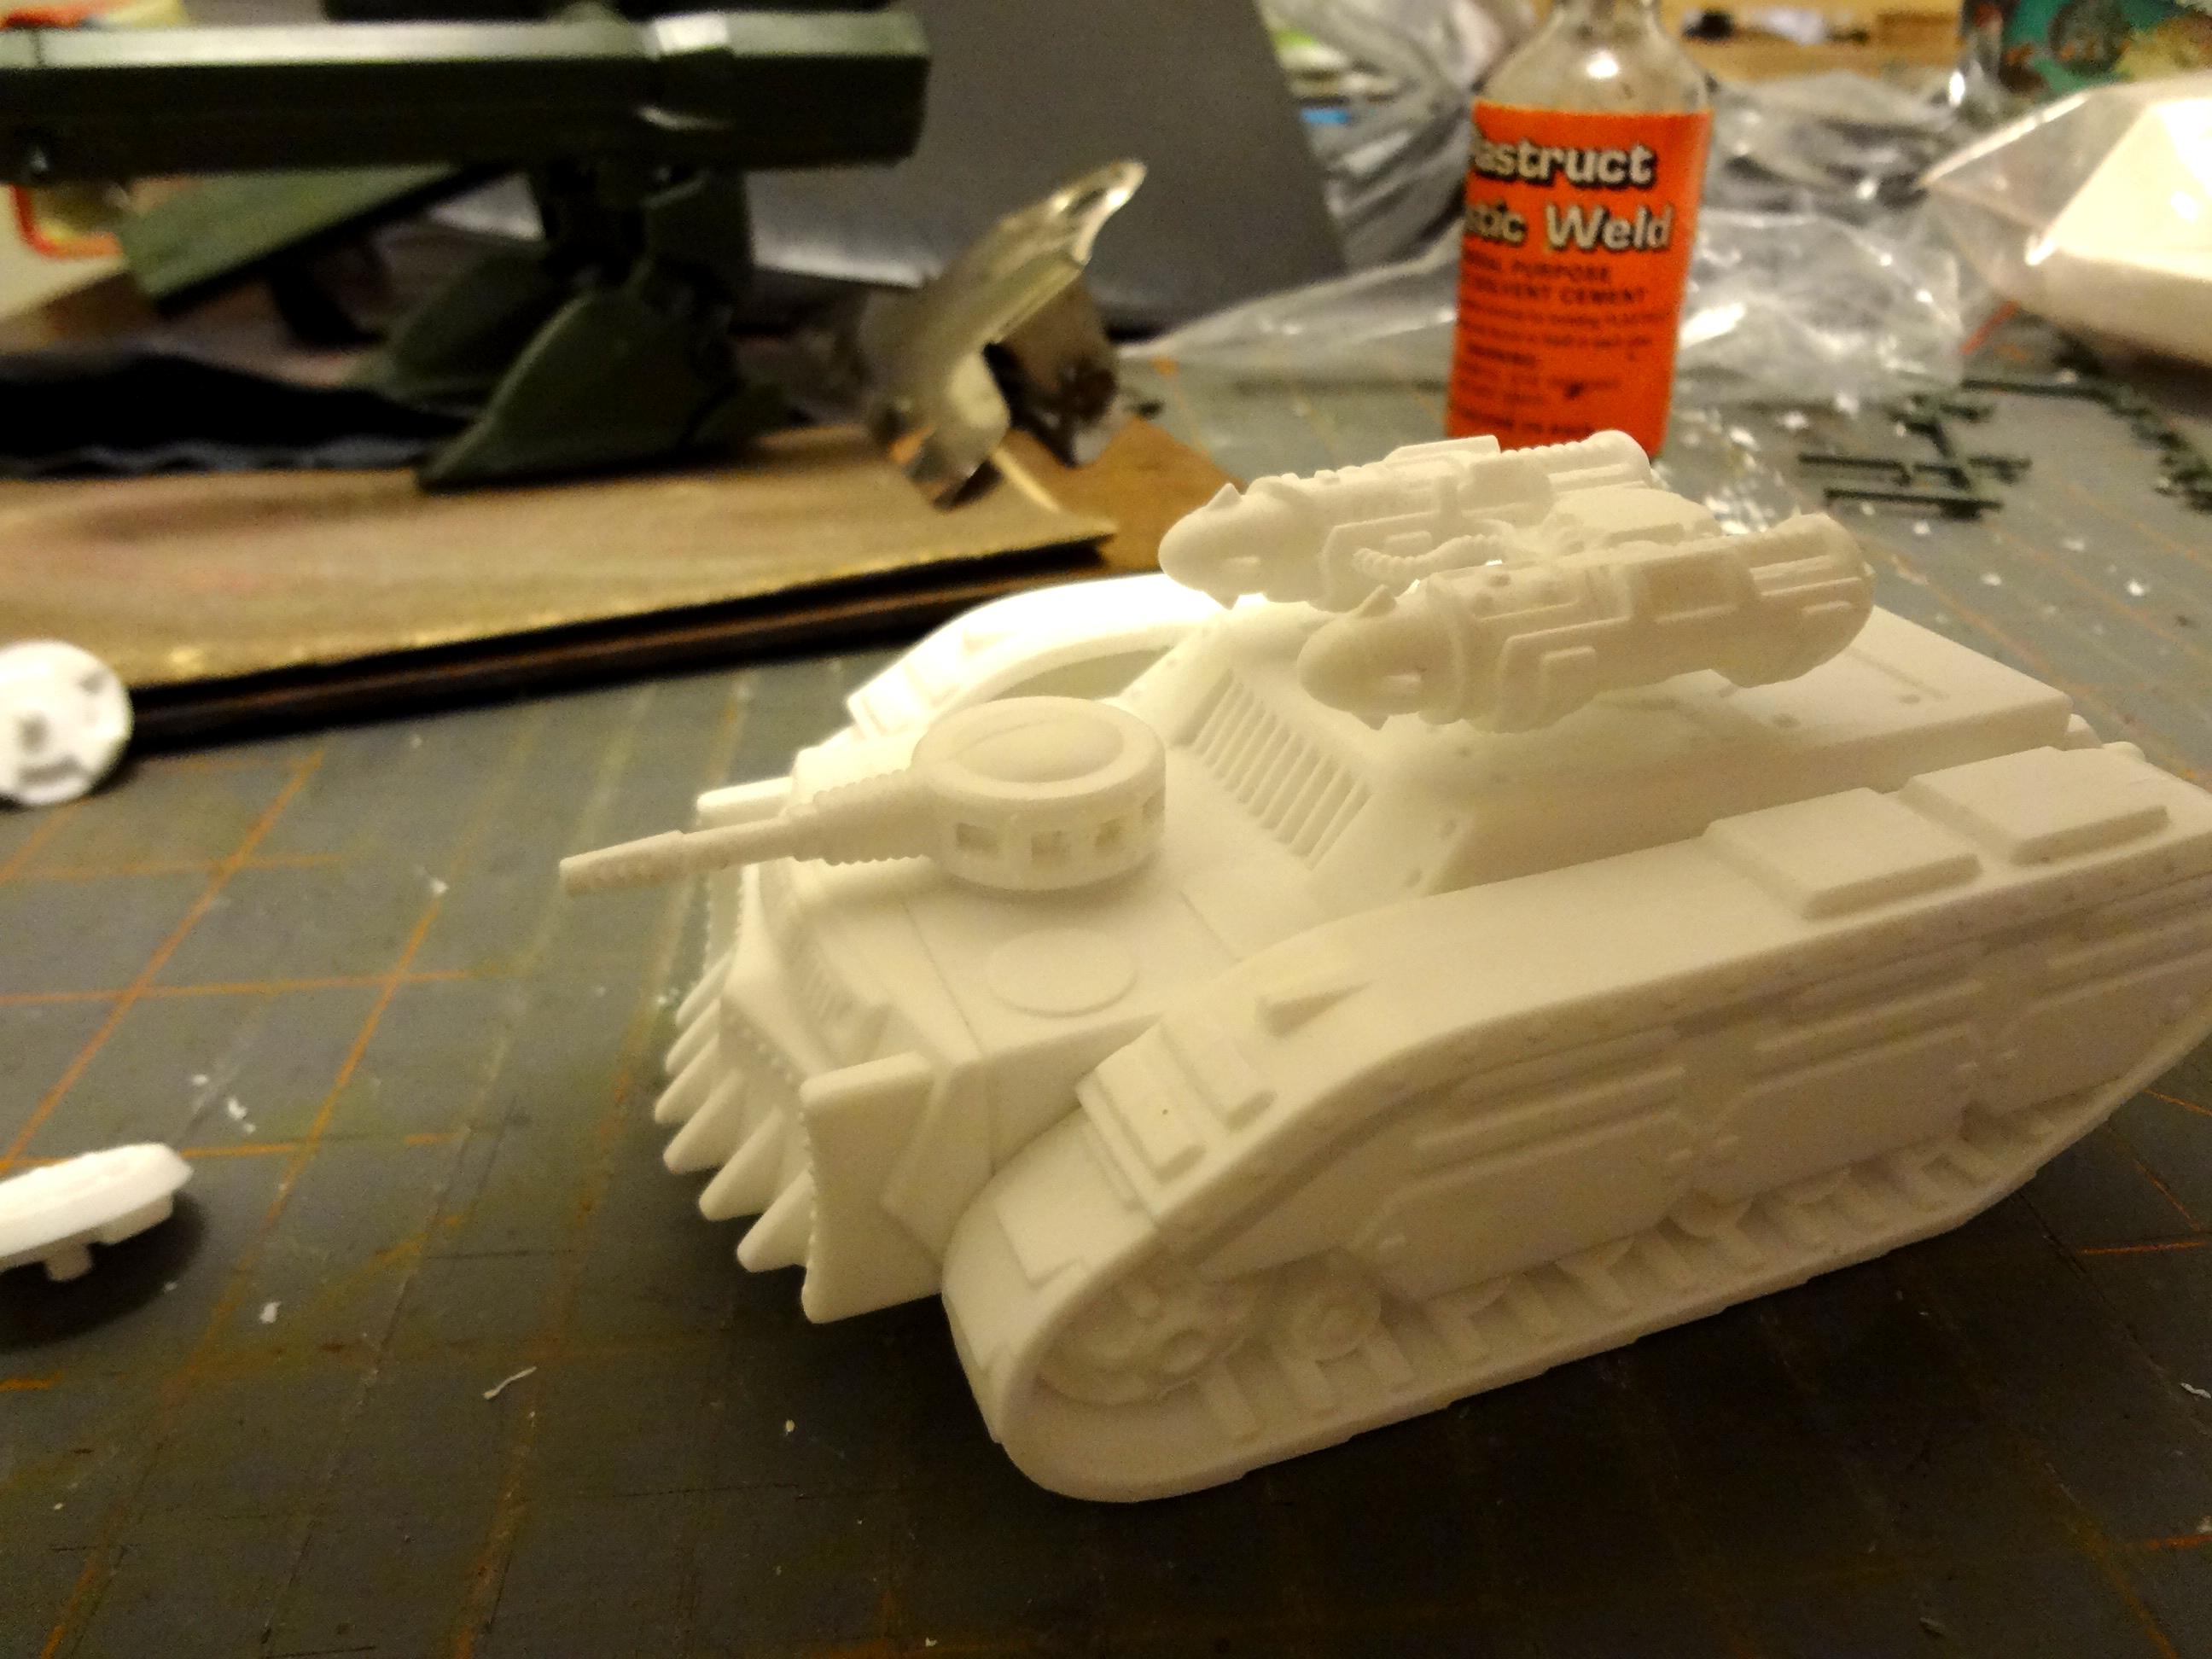
I've got a bargain on the desk today -- it's a 28mm "Bronekorpus" tank kit from Russia, made by Tehnnolog, the company best known for its Robogear line of mech kits.

Tim and I bought a pack of 10 of these kits on eBay. Shipping ranges from $1-$2 for each tank. As you'll see below, it's not a perfect product, but it's a solid model with a lot of options and a great bargain.

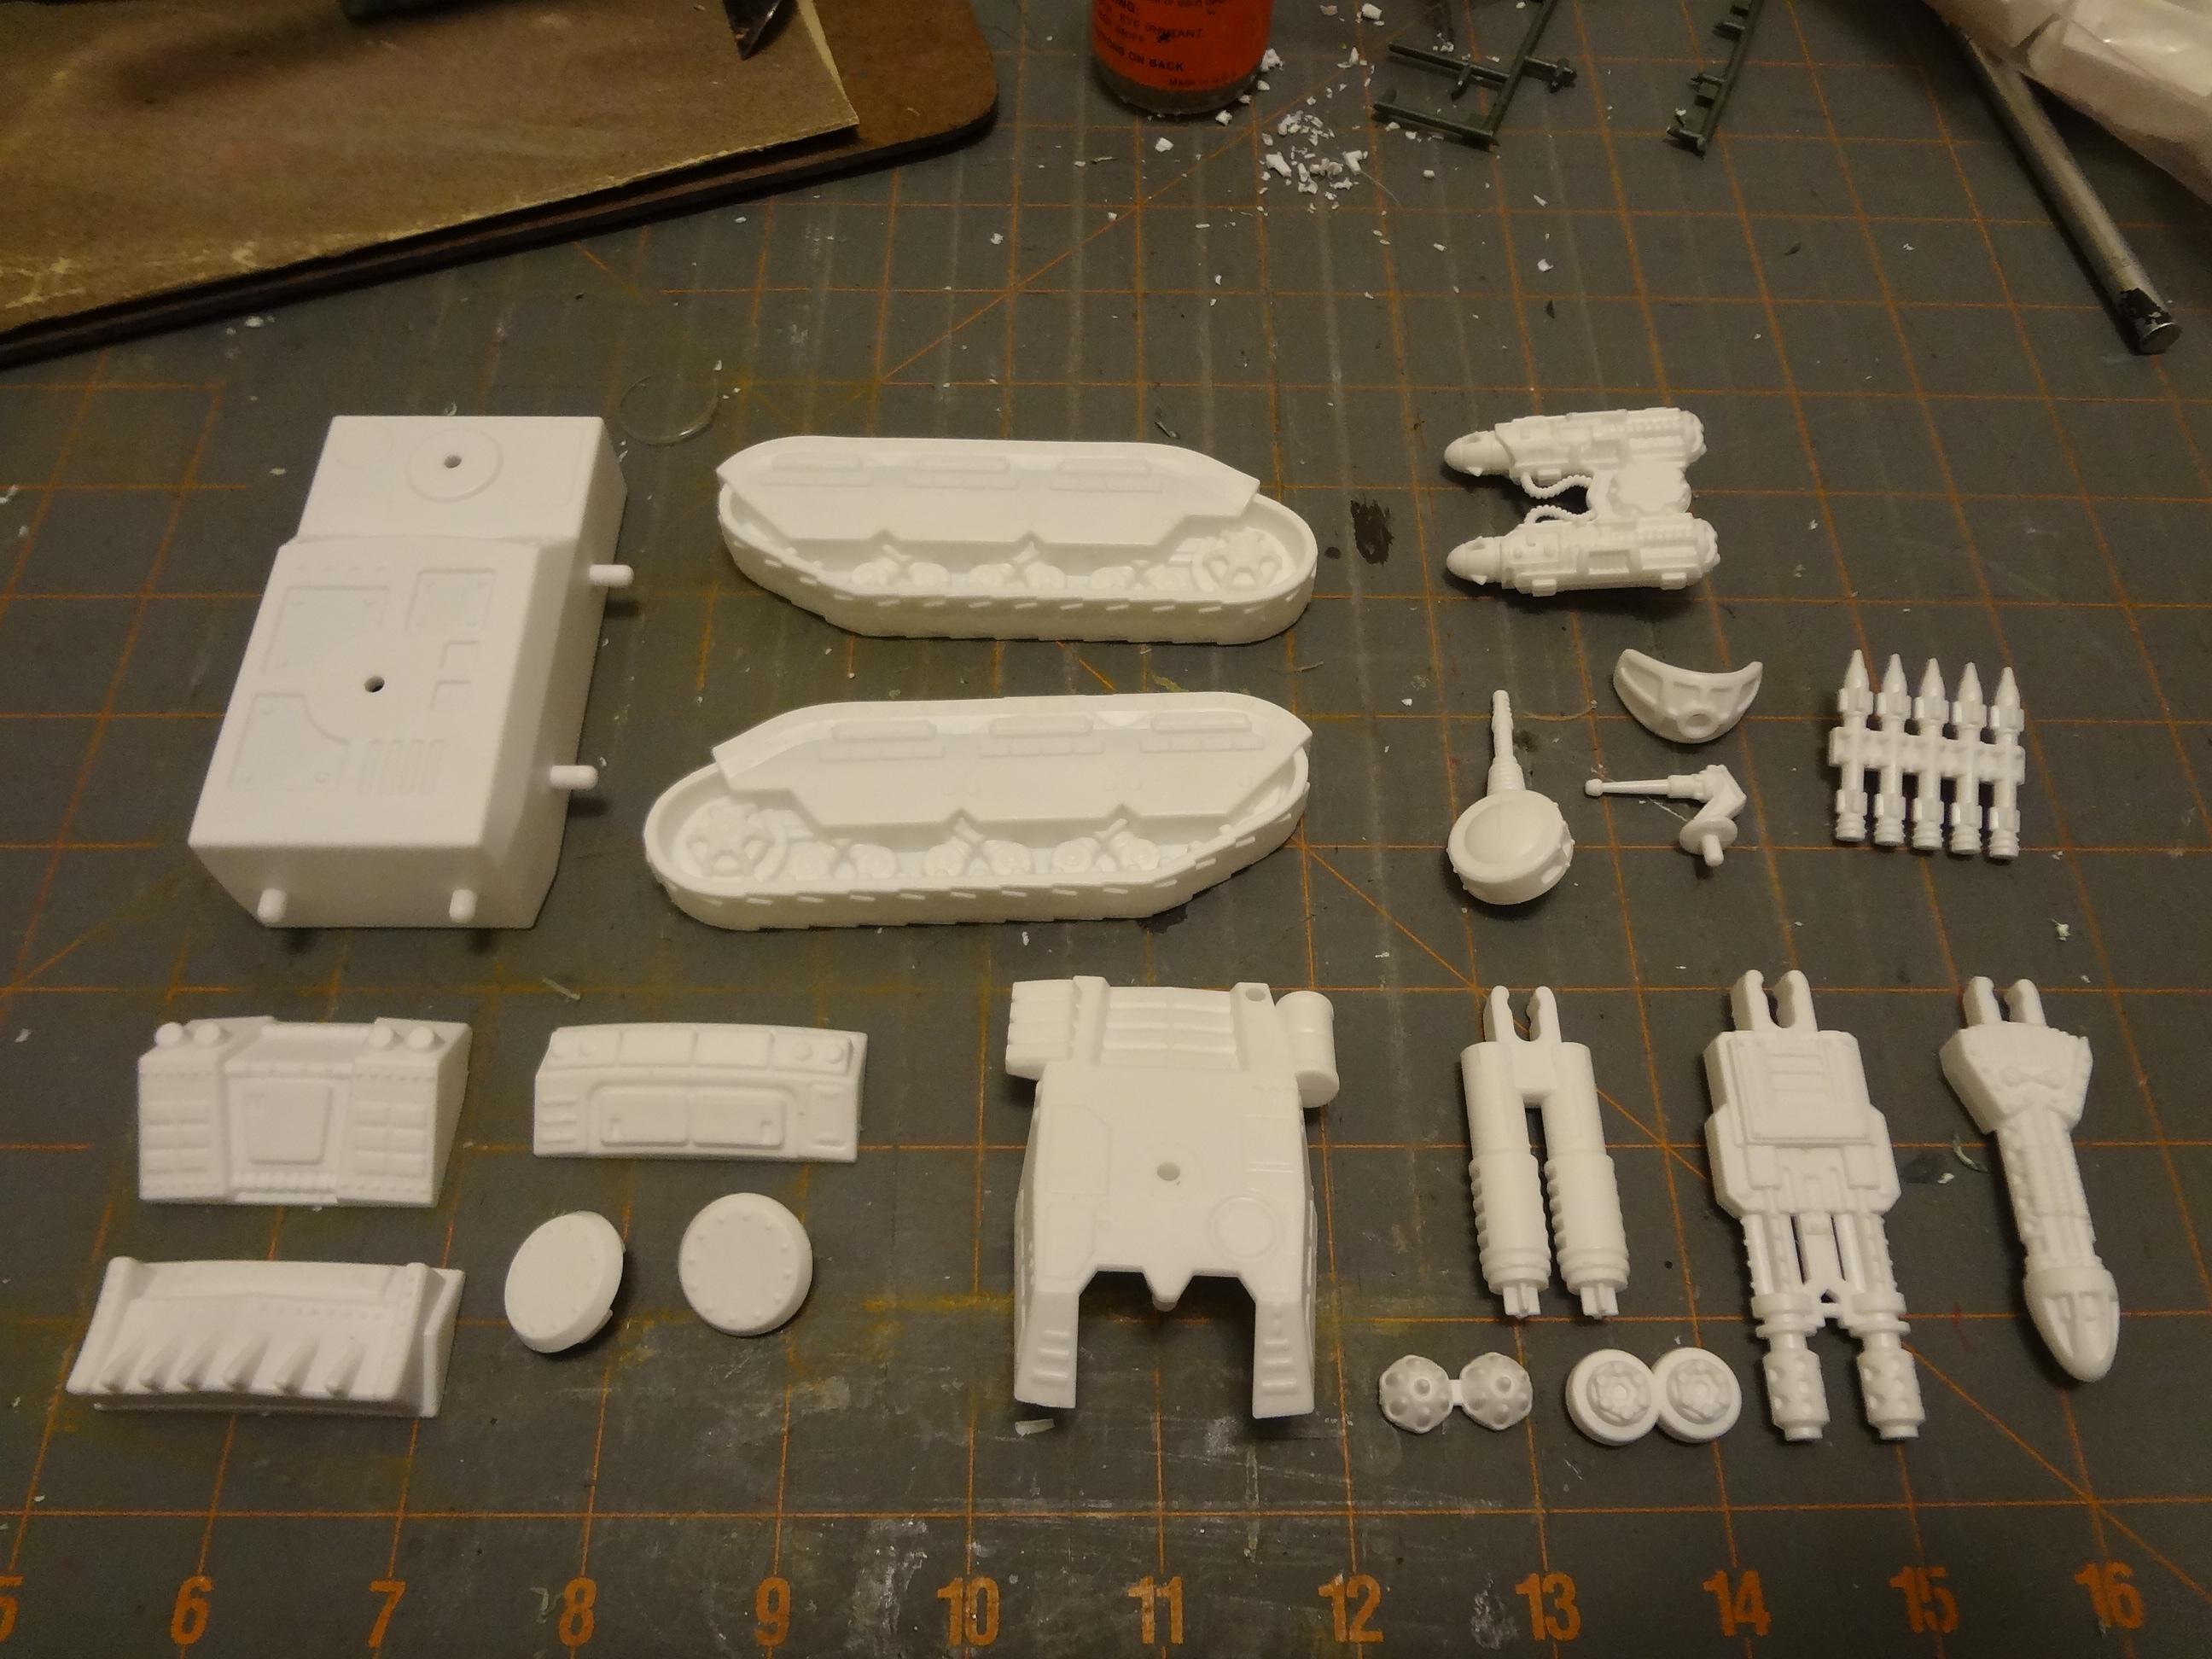
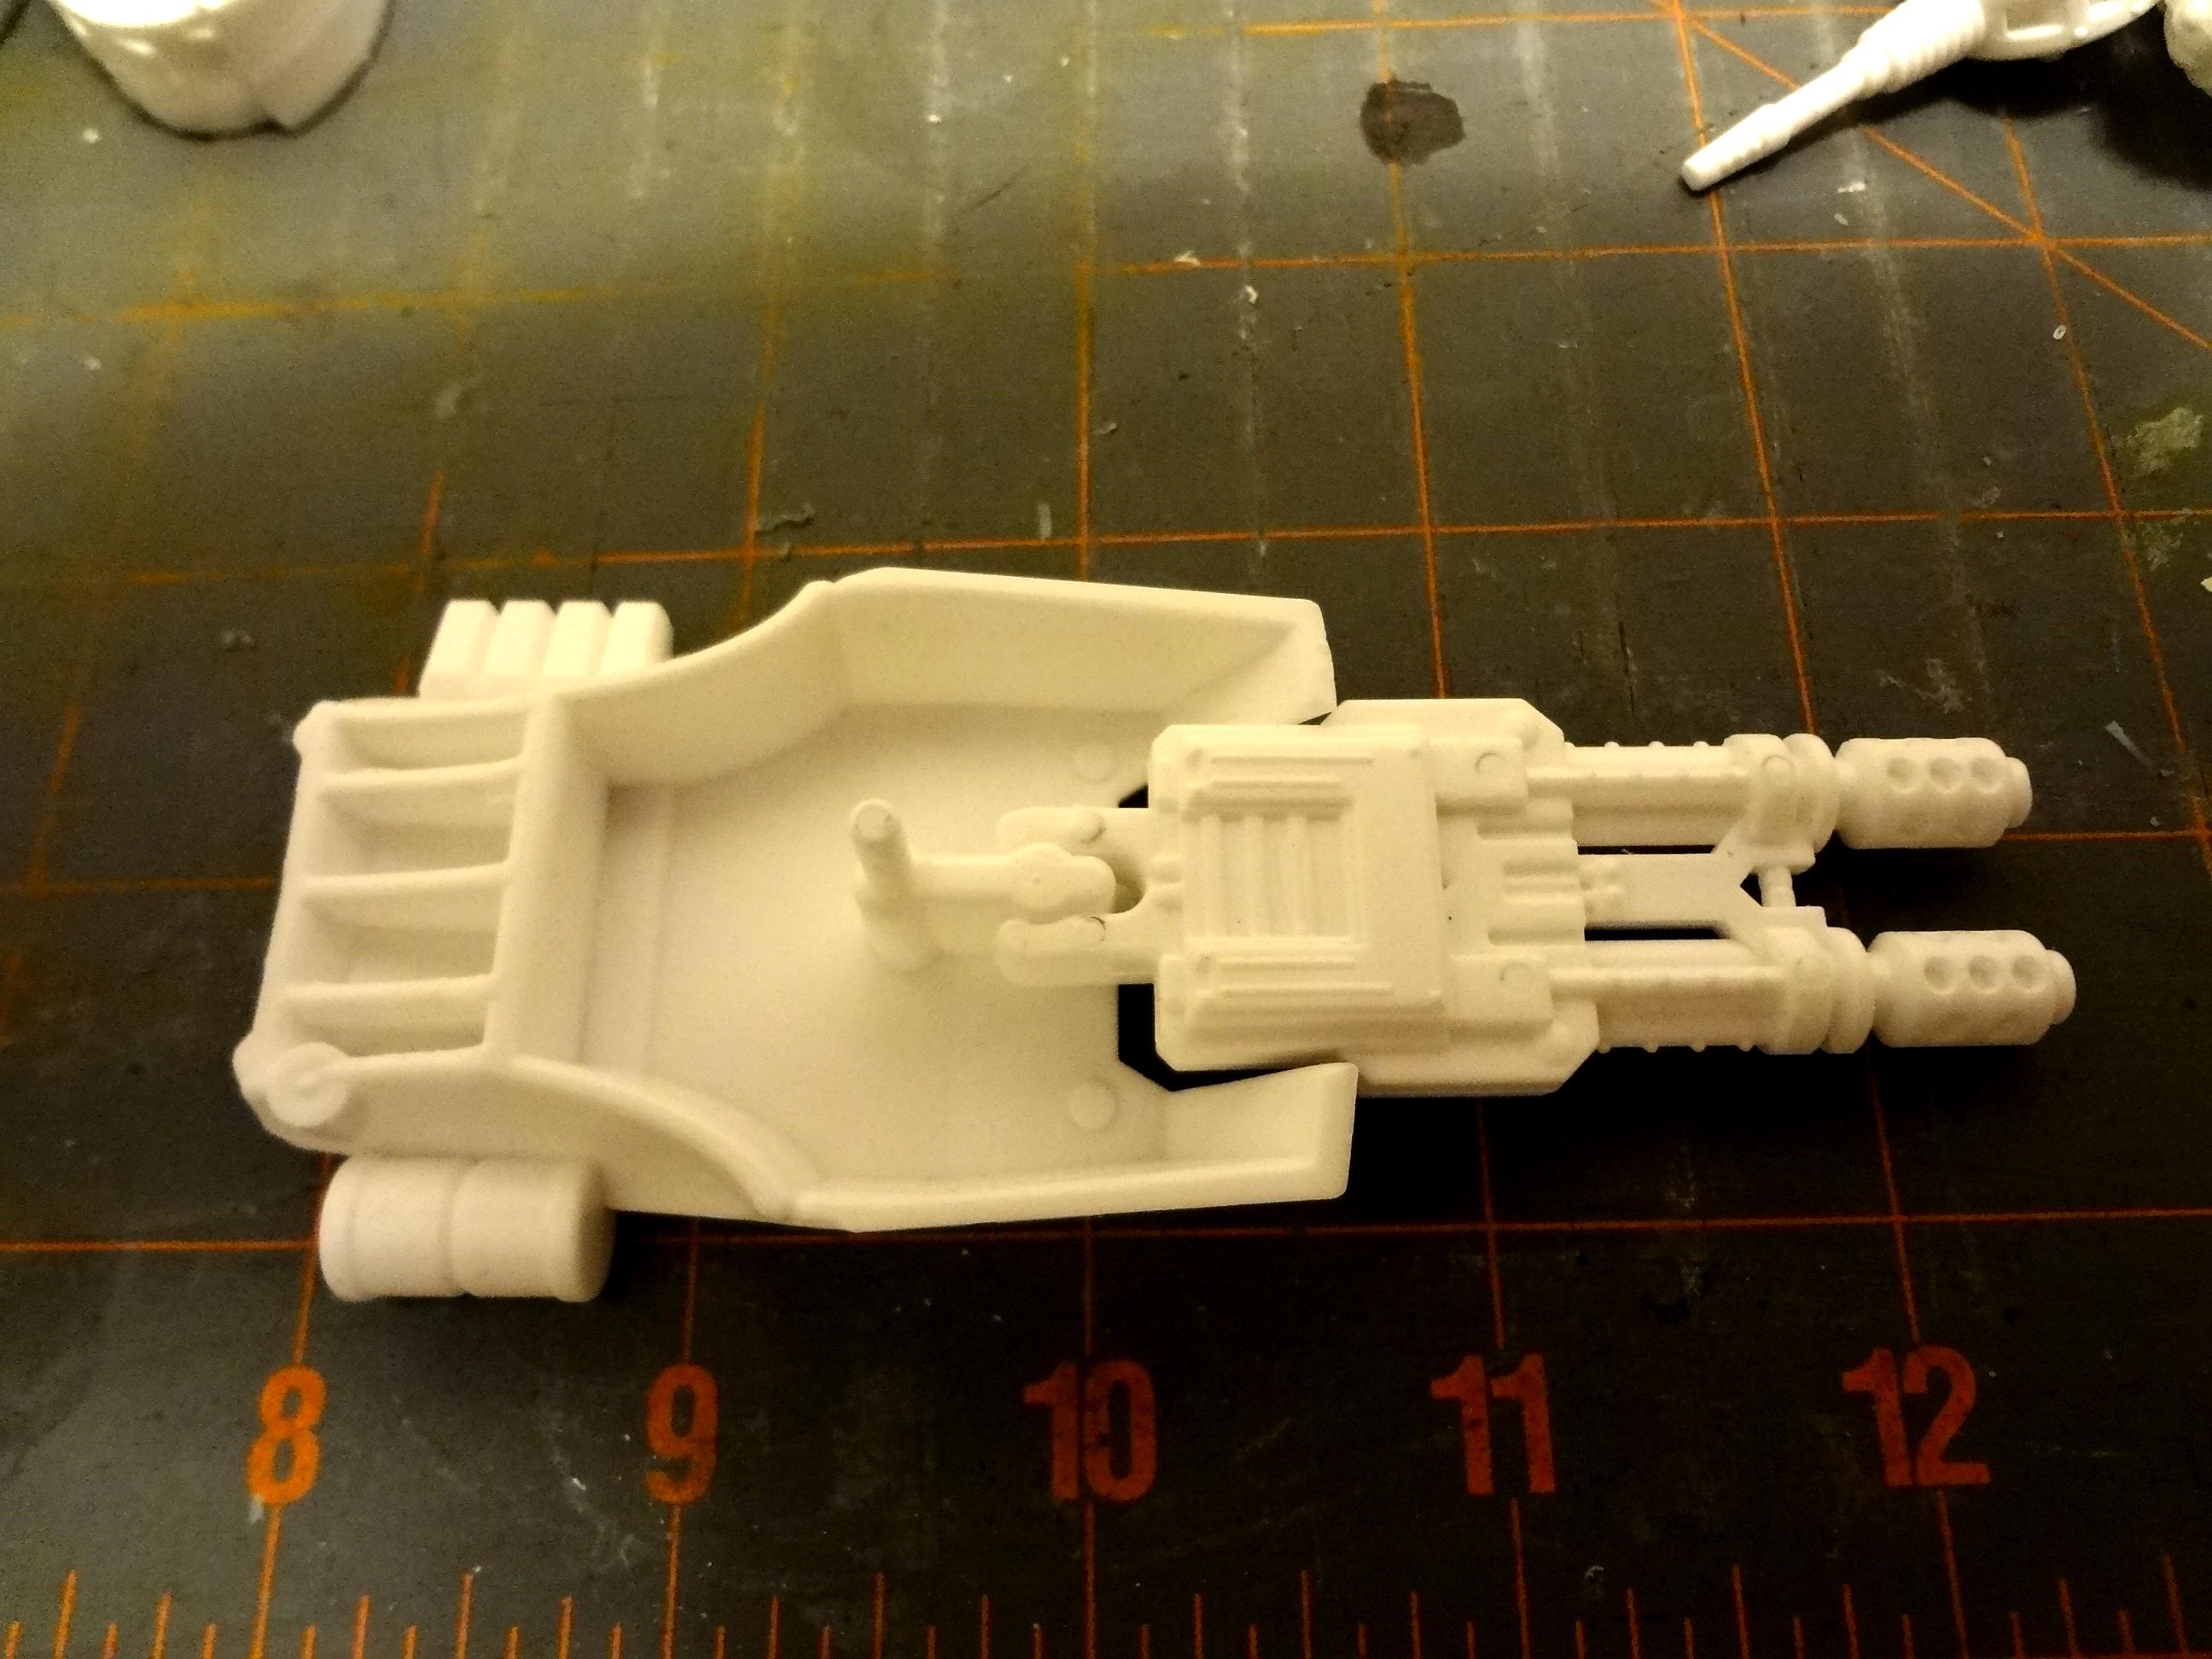
Here are the 19 parts that makeup the kit.


I don't know how they come from the factory, but mine arrived already off the sprue in a plastic bag. The casting is well done and the plastic is a polystyrene that feels very similar to that used by Games Workshop and other wargames companies. It's easy to clip, cut, scrape, file and glue.

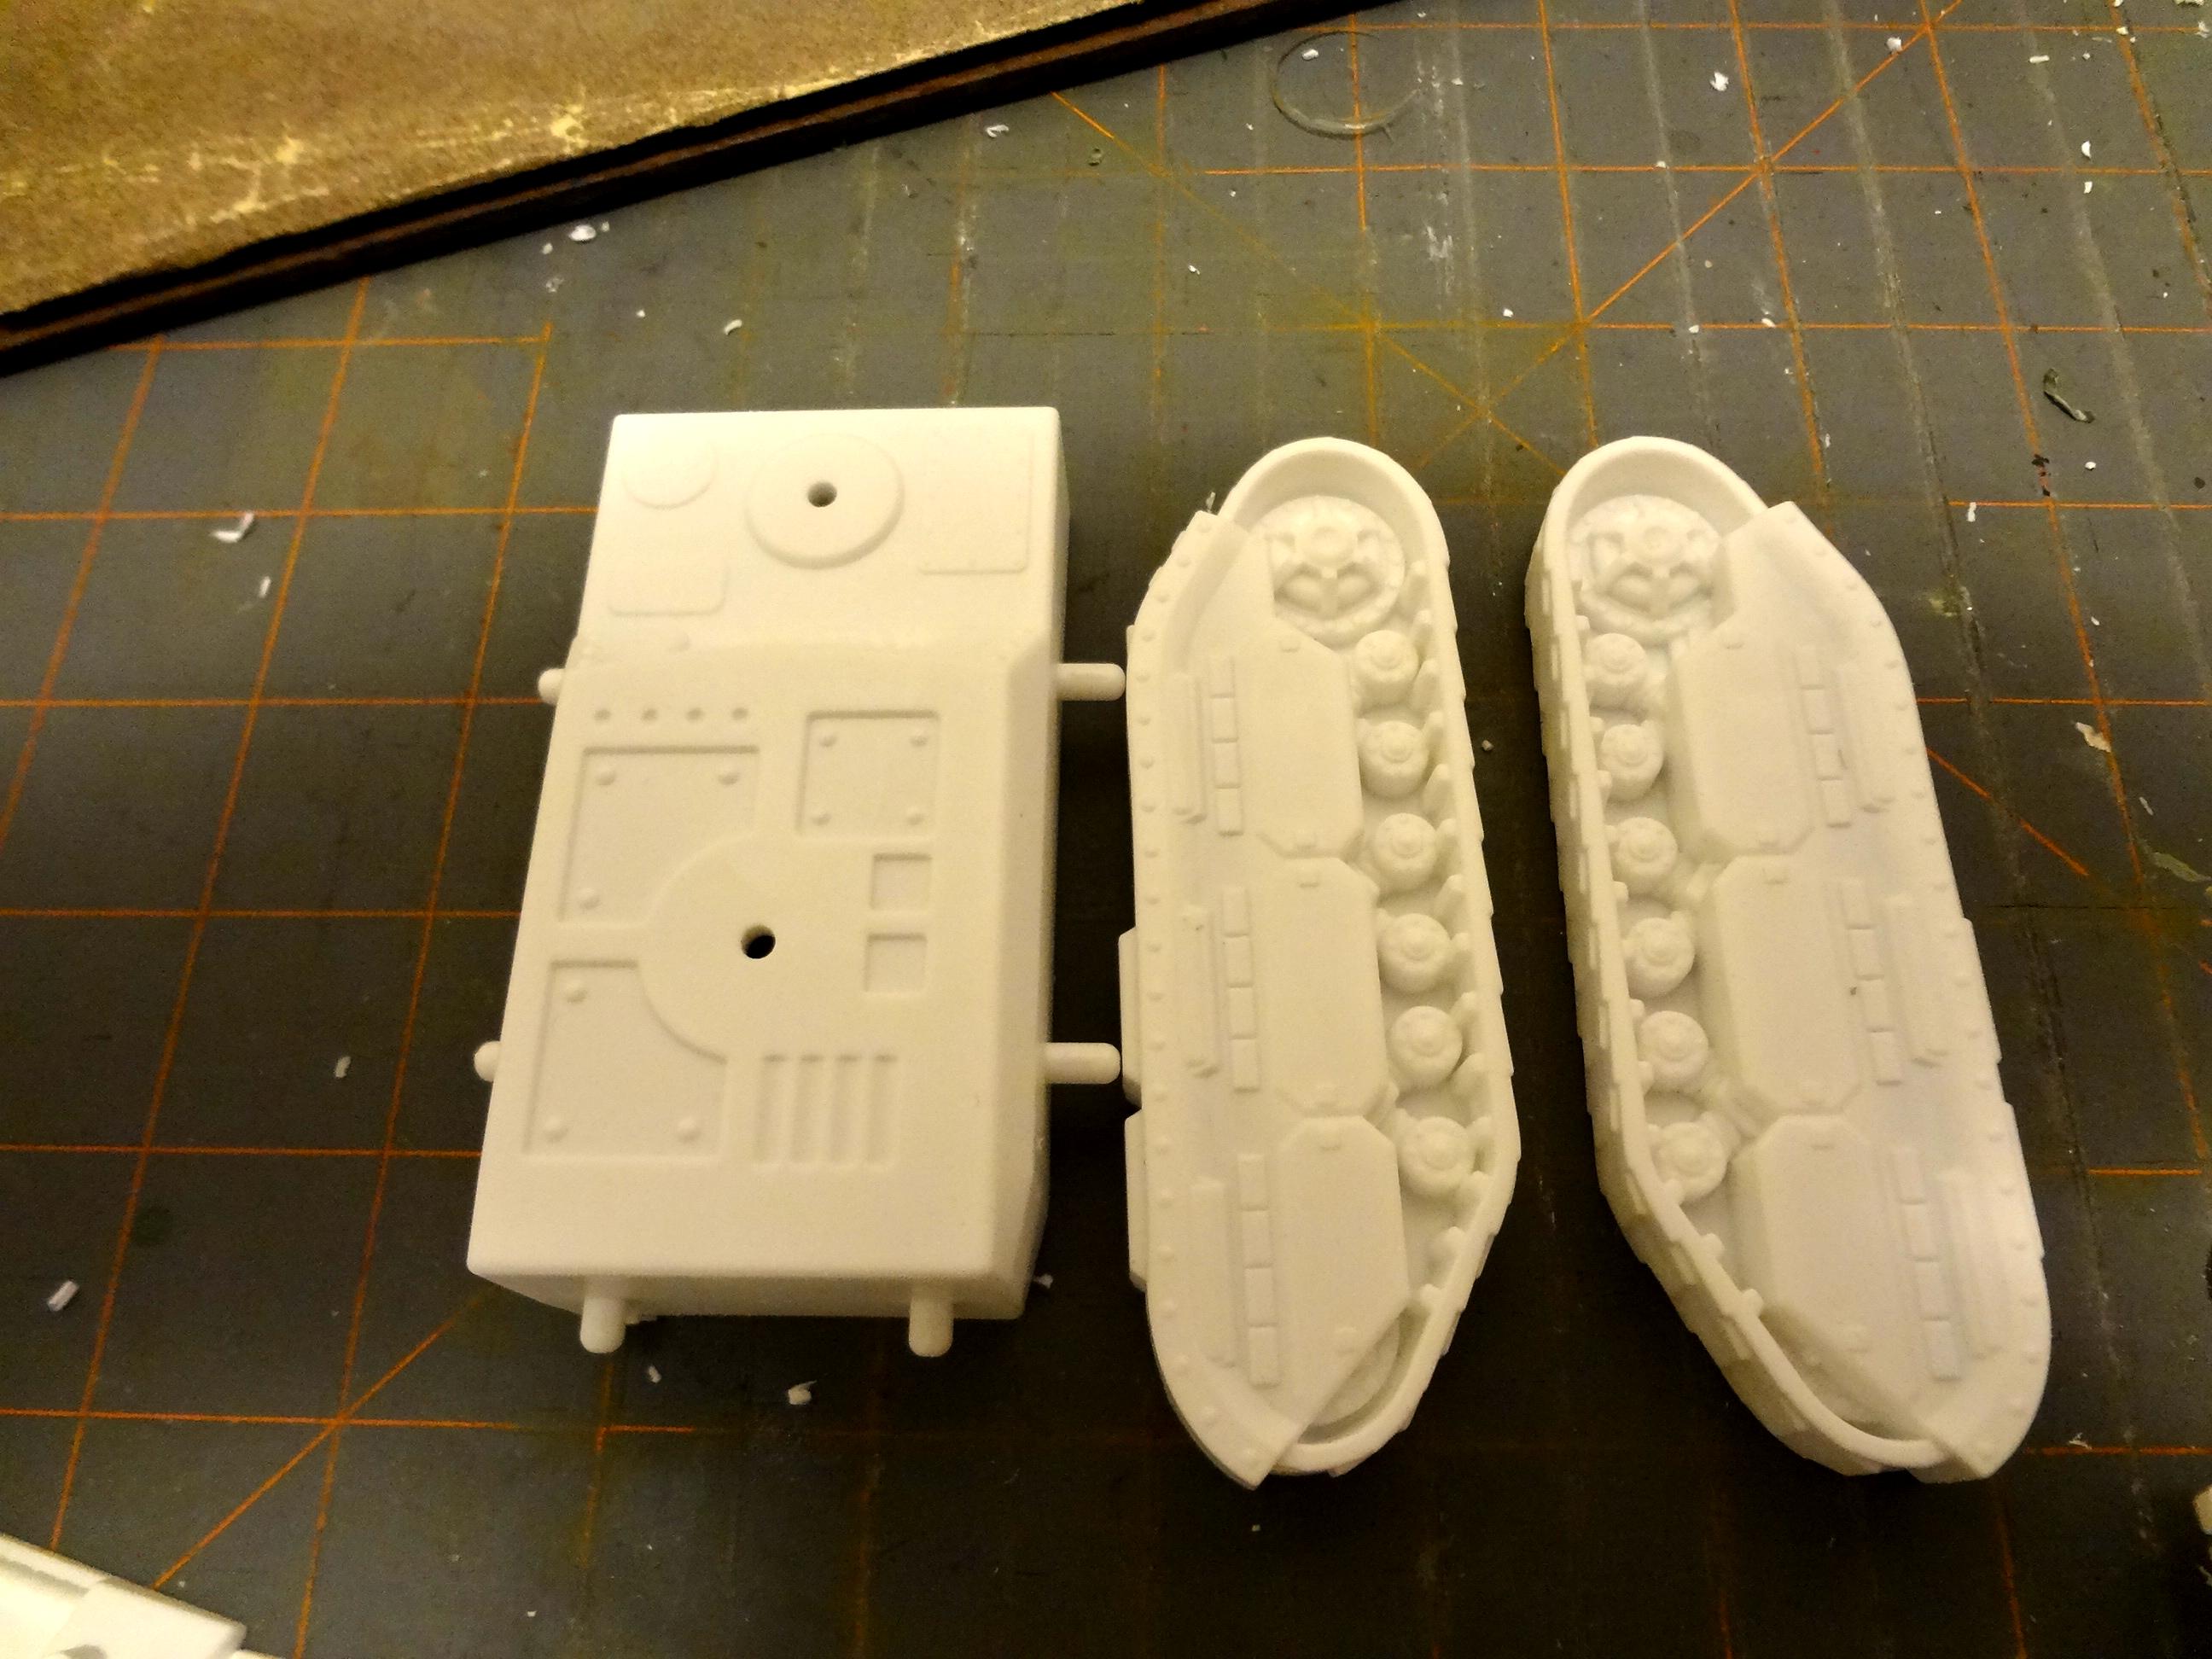
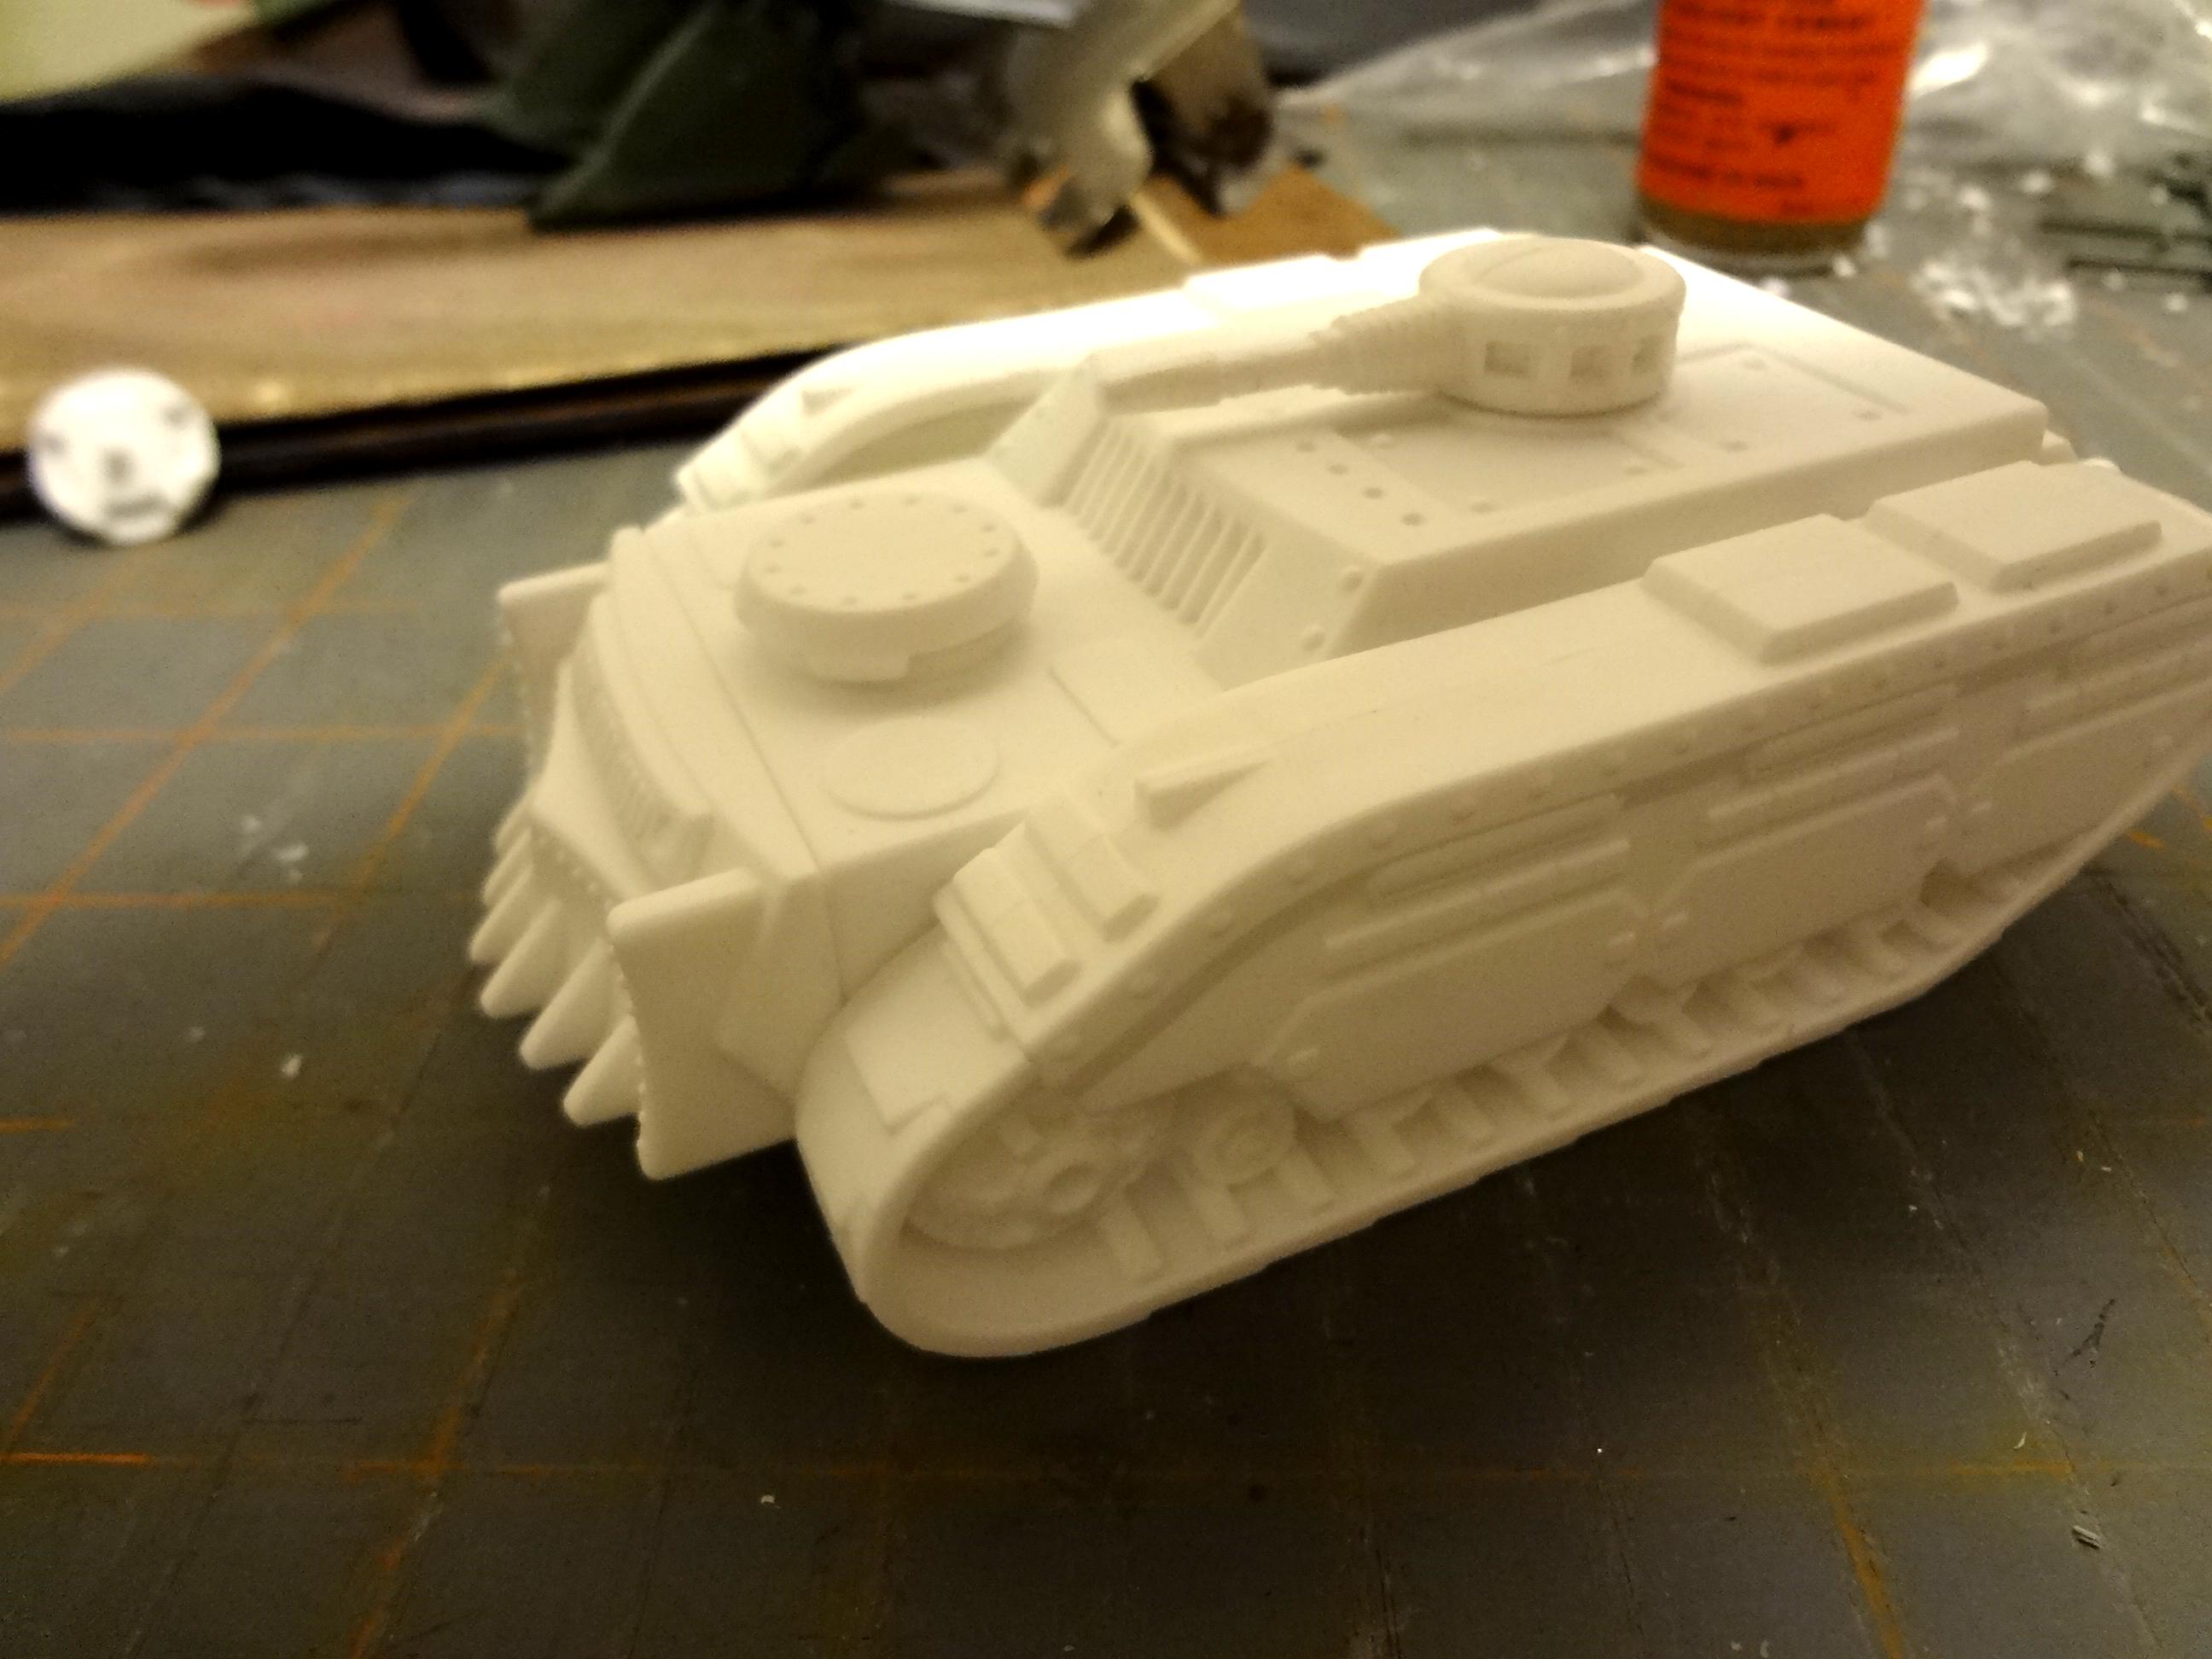
Here's the hull and treads:


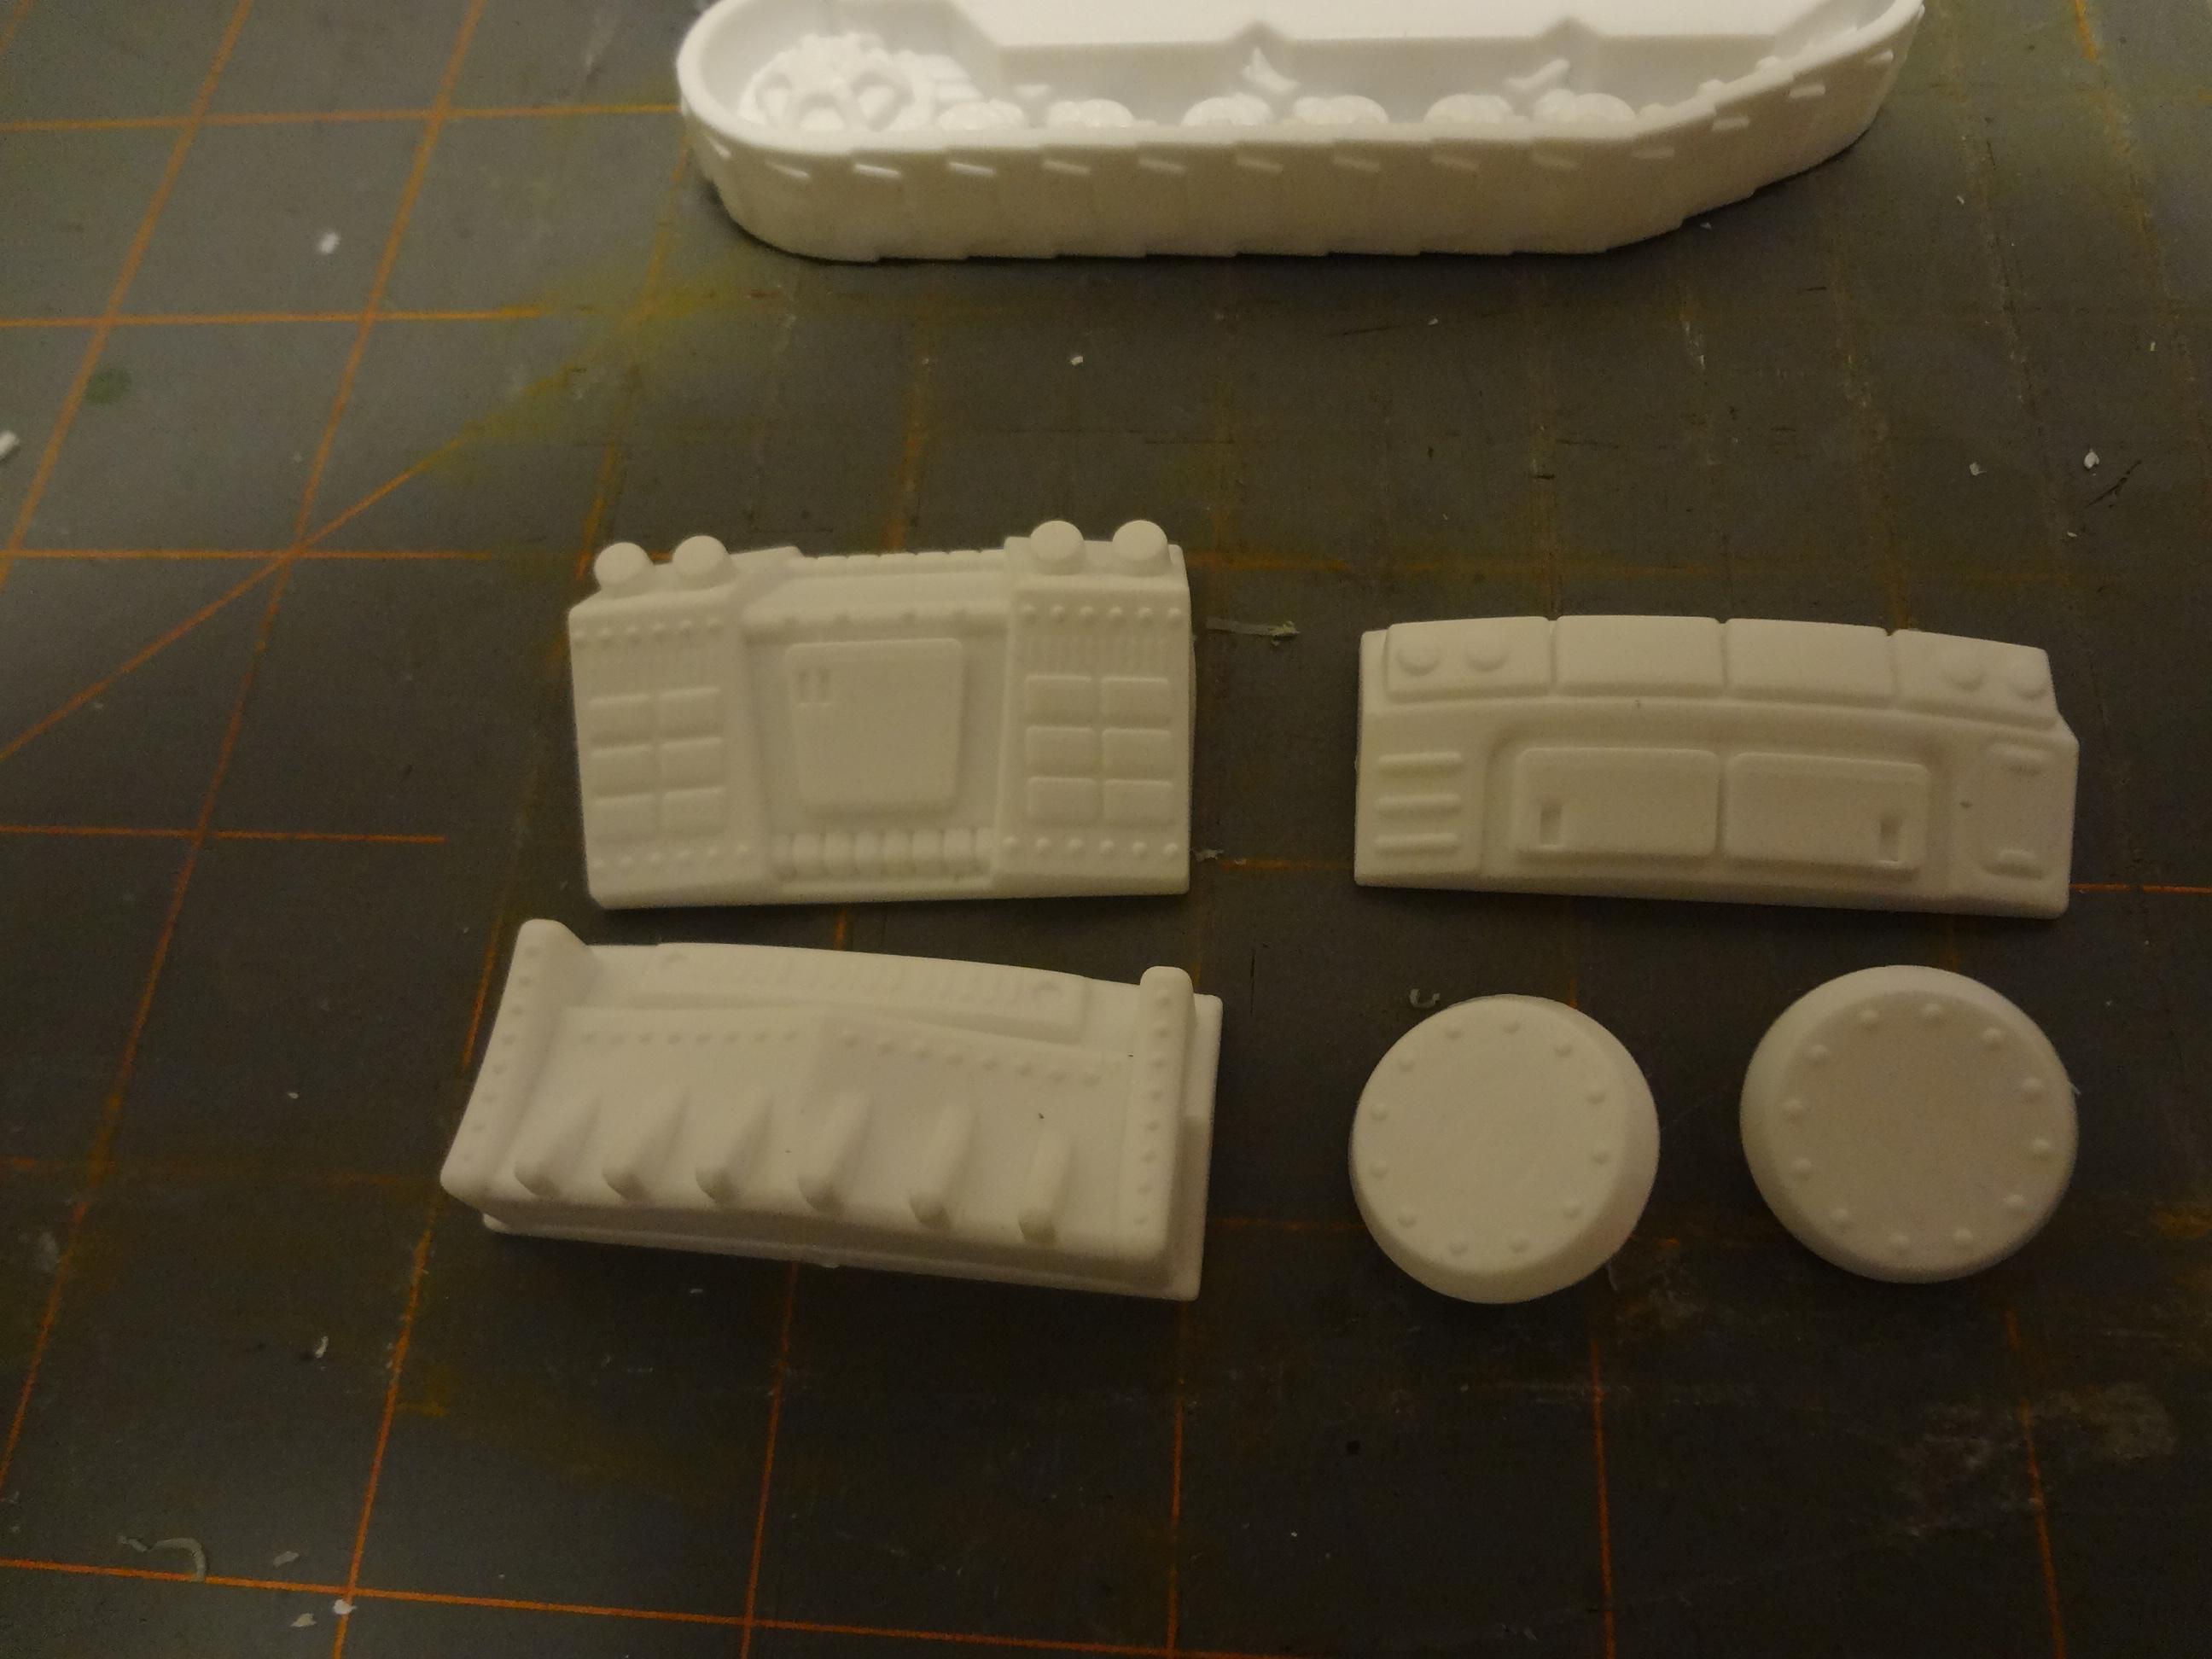
The front and back pieces and hatches:


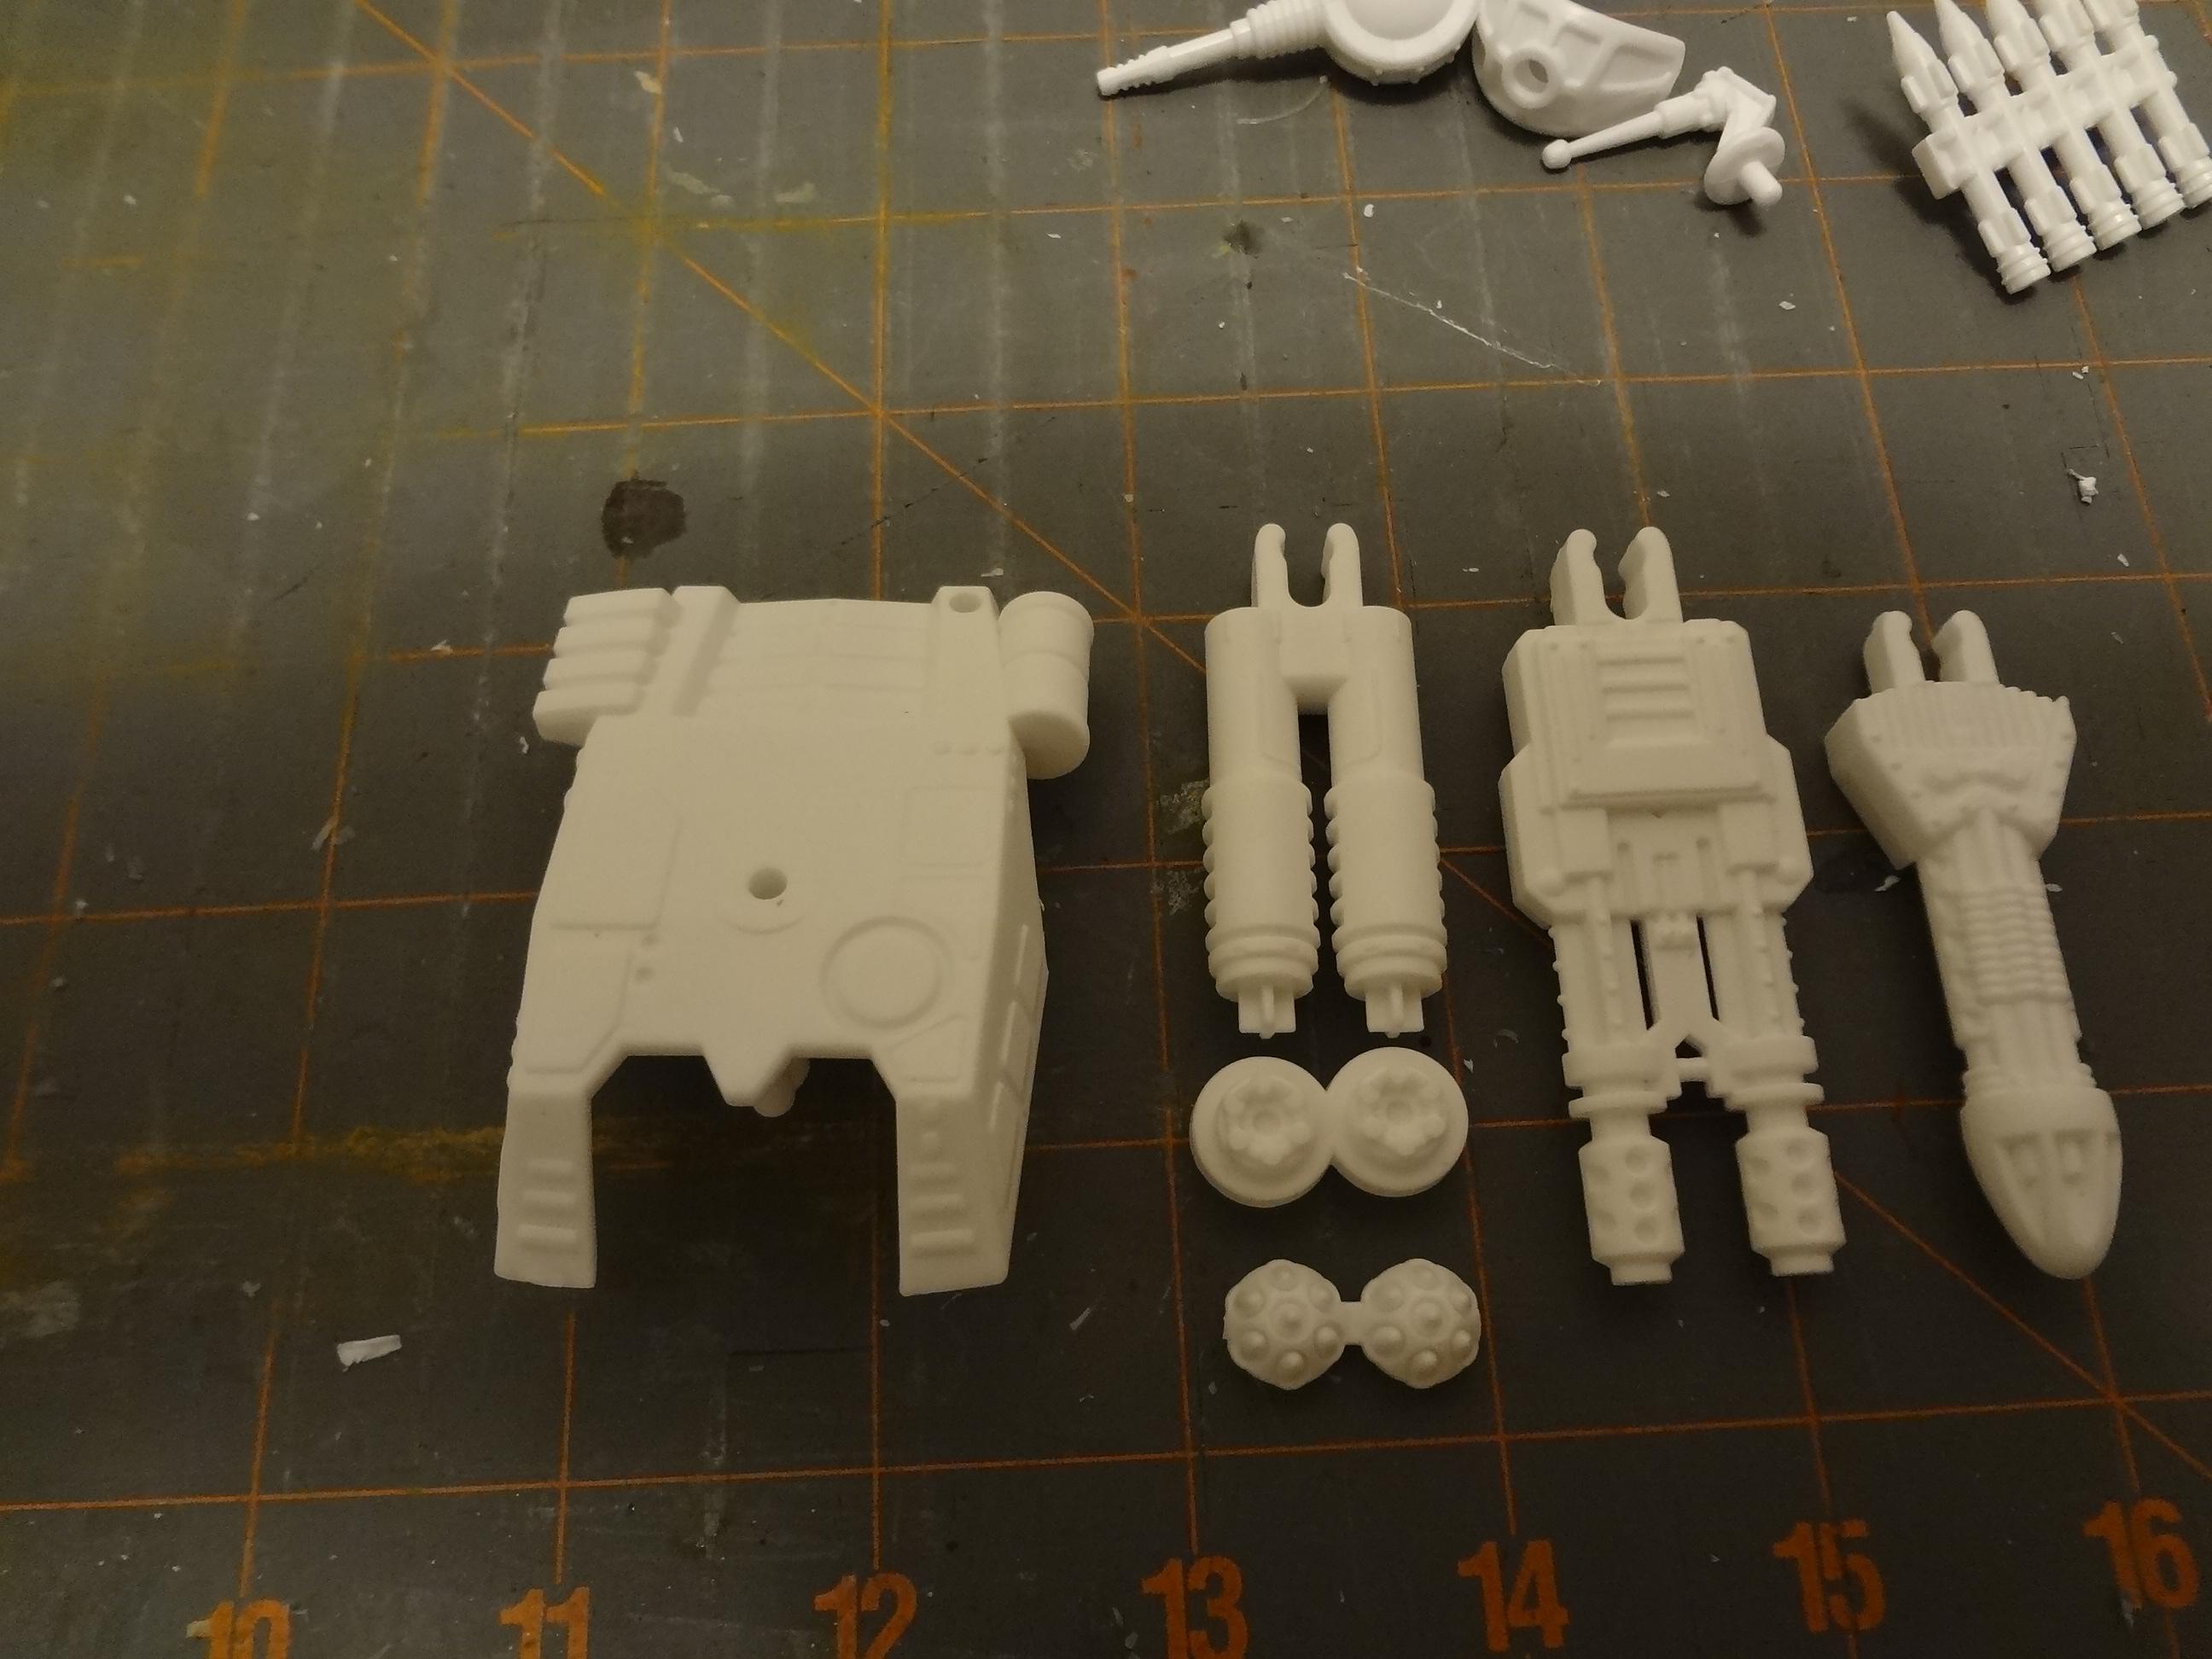
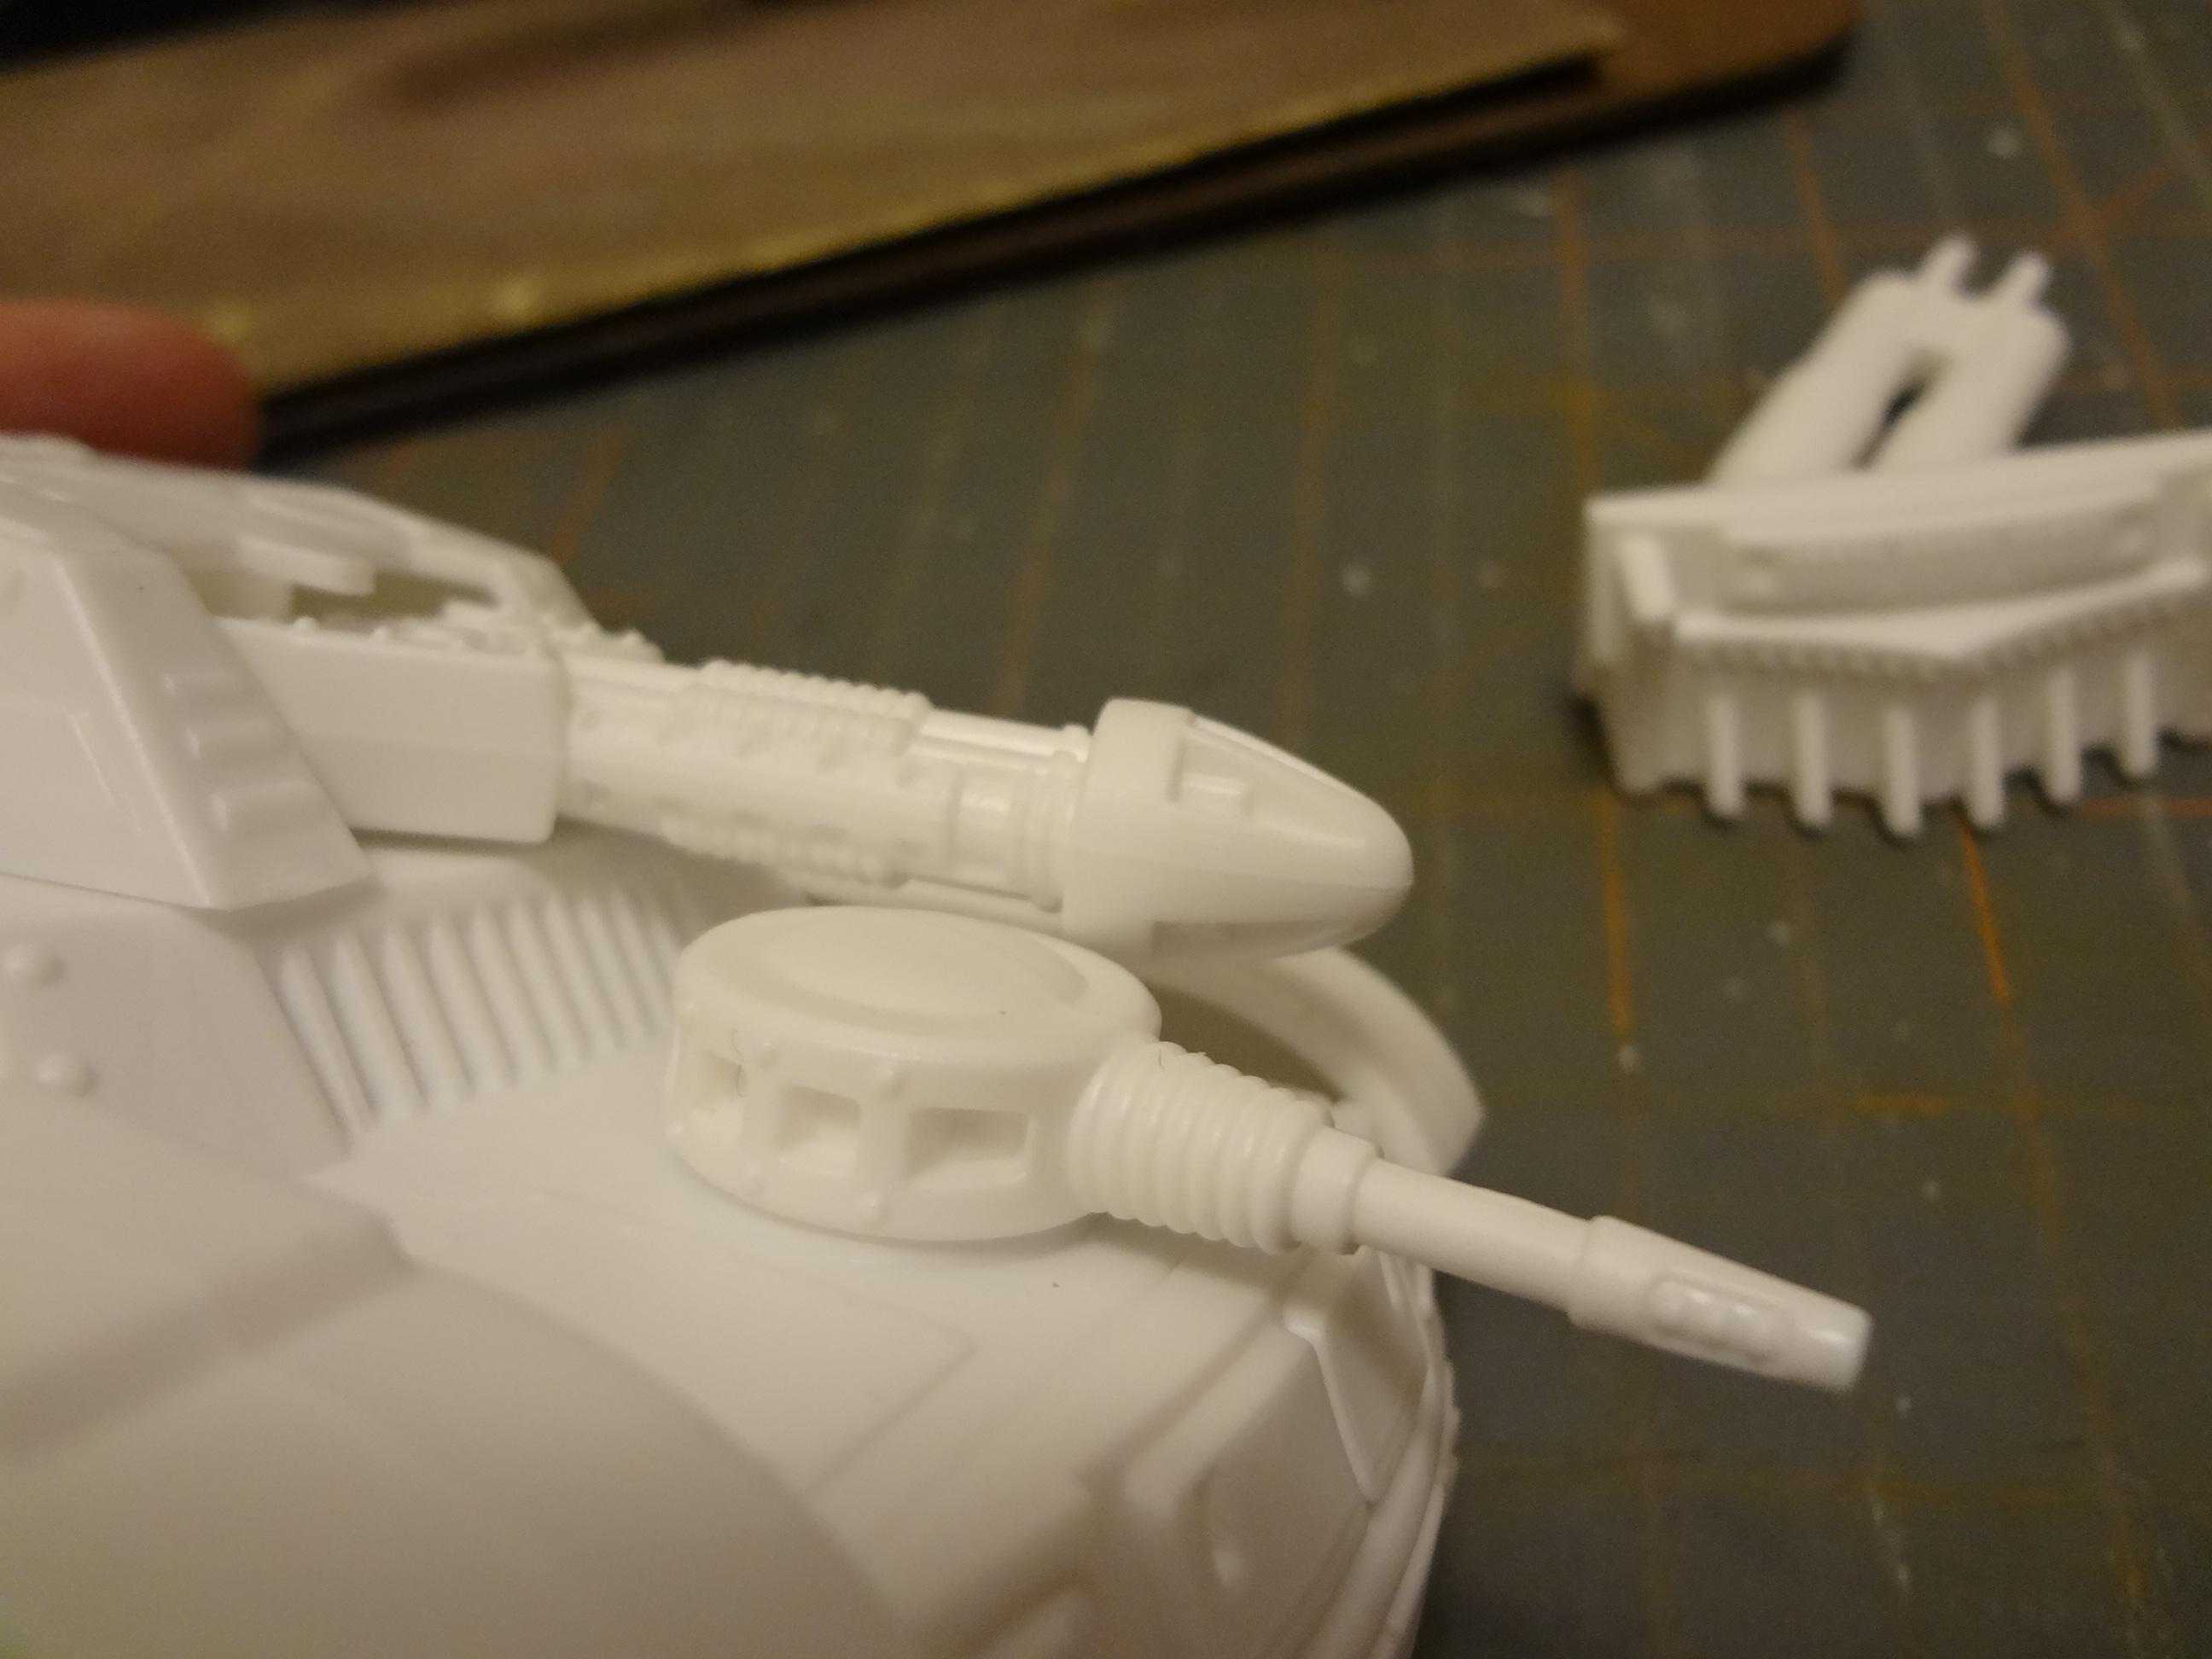
The turret and turret weapons options:


The first of the three weapons can either be left as is or given one of two muzzles. The third weapon is a plasma-type gun that will be familiar to those who have built Robogear kits.

Here is a selection of secondary weapons:


The dual missile launcher is a single cast piece of a Robogear weapon that was formerly 3 pieces (rack and two missiles).

The last item can be assembled as a small anti-personnel laser or as a radar array.

Construction Notes and the Flaws
Everything in this kit be pushed or snapped together. There's no reason to use glue if you don't want to, and some gamers might wish to leave the kit with as many options as possible. The turret weapons slide right on from the bottom when you take the turret off.


Rather clever, eh?

However there are a few design flaws, First, if you put the mini-turret on the lower hull surface, the main gun will hit it.


This can be remedied by shaving away the round rim on the lower hull and/or the rim on the mini-turret.

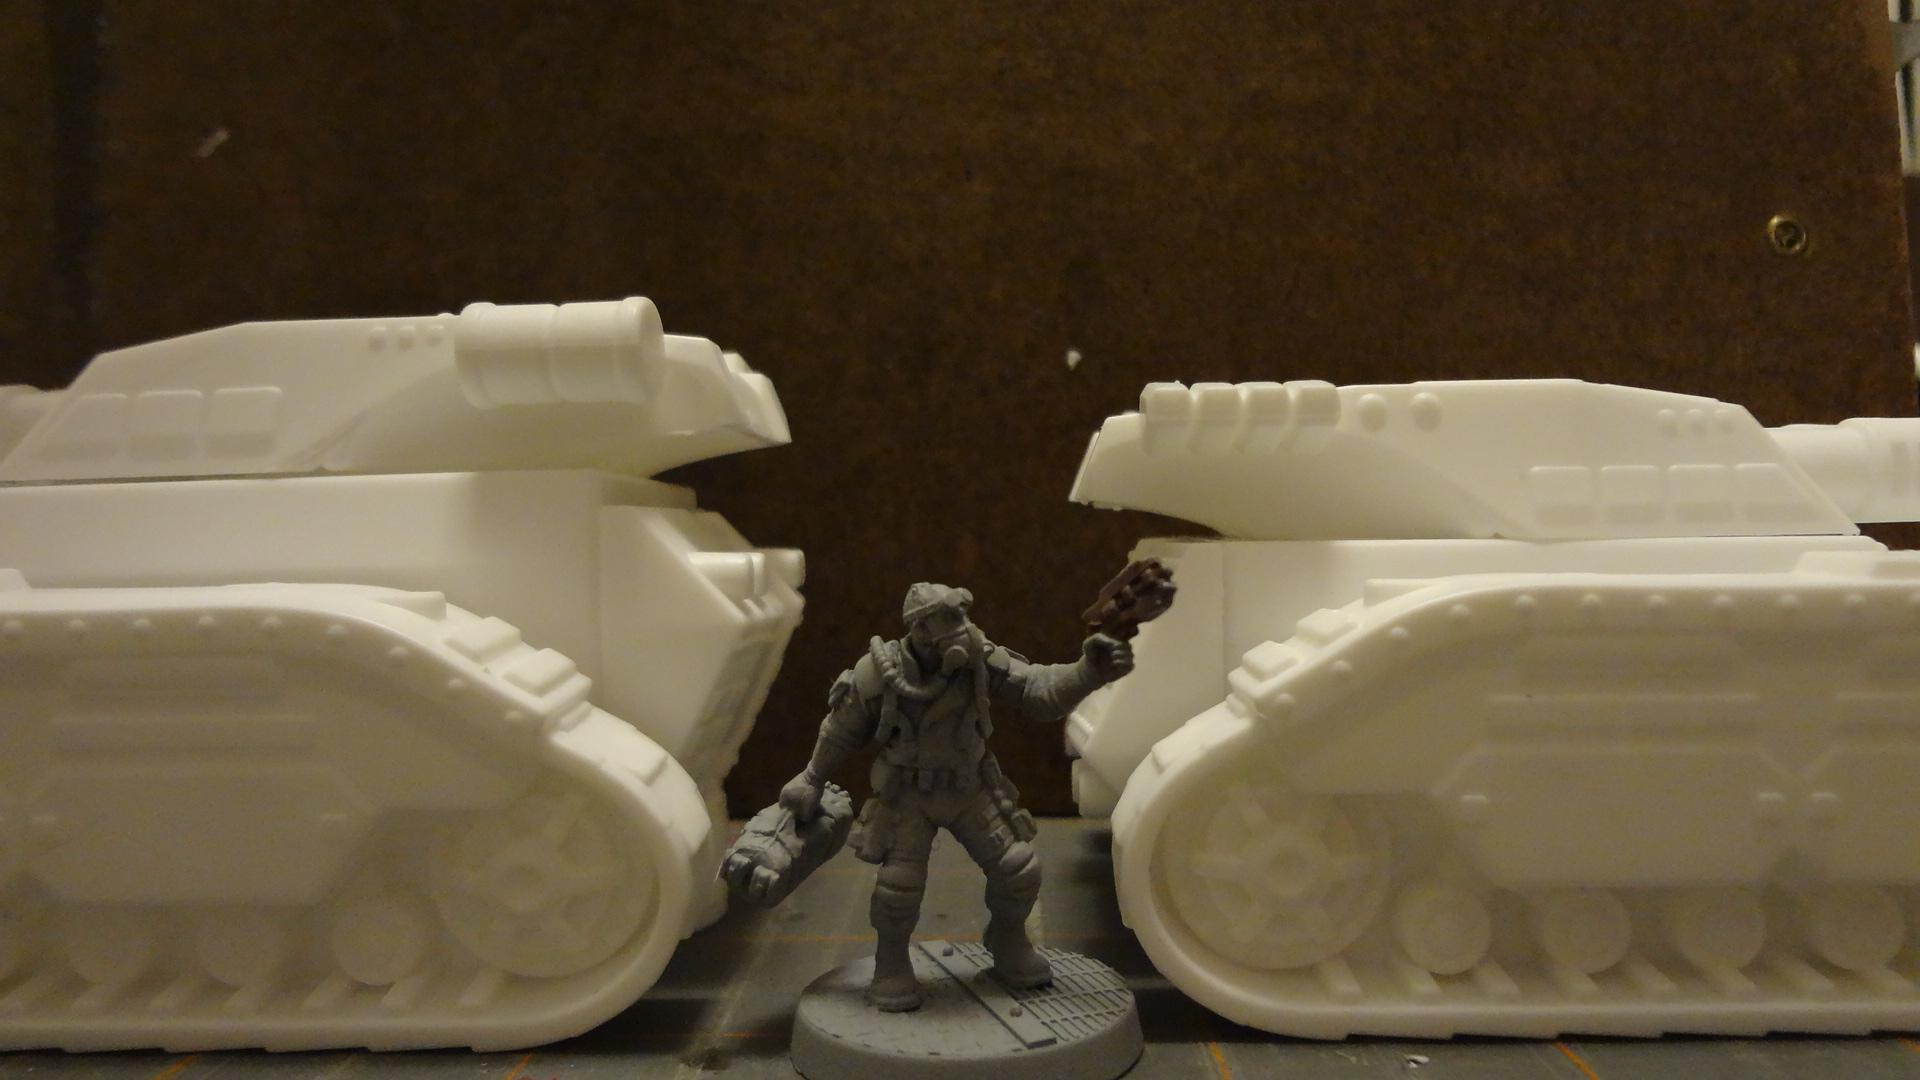
Secondly, and most annoyingly, no matter how you assemble the treads (they can slope forwards or backwards) you end up with a gap between the treads and the lower section of the hull.


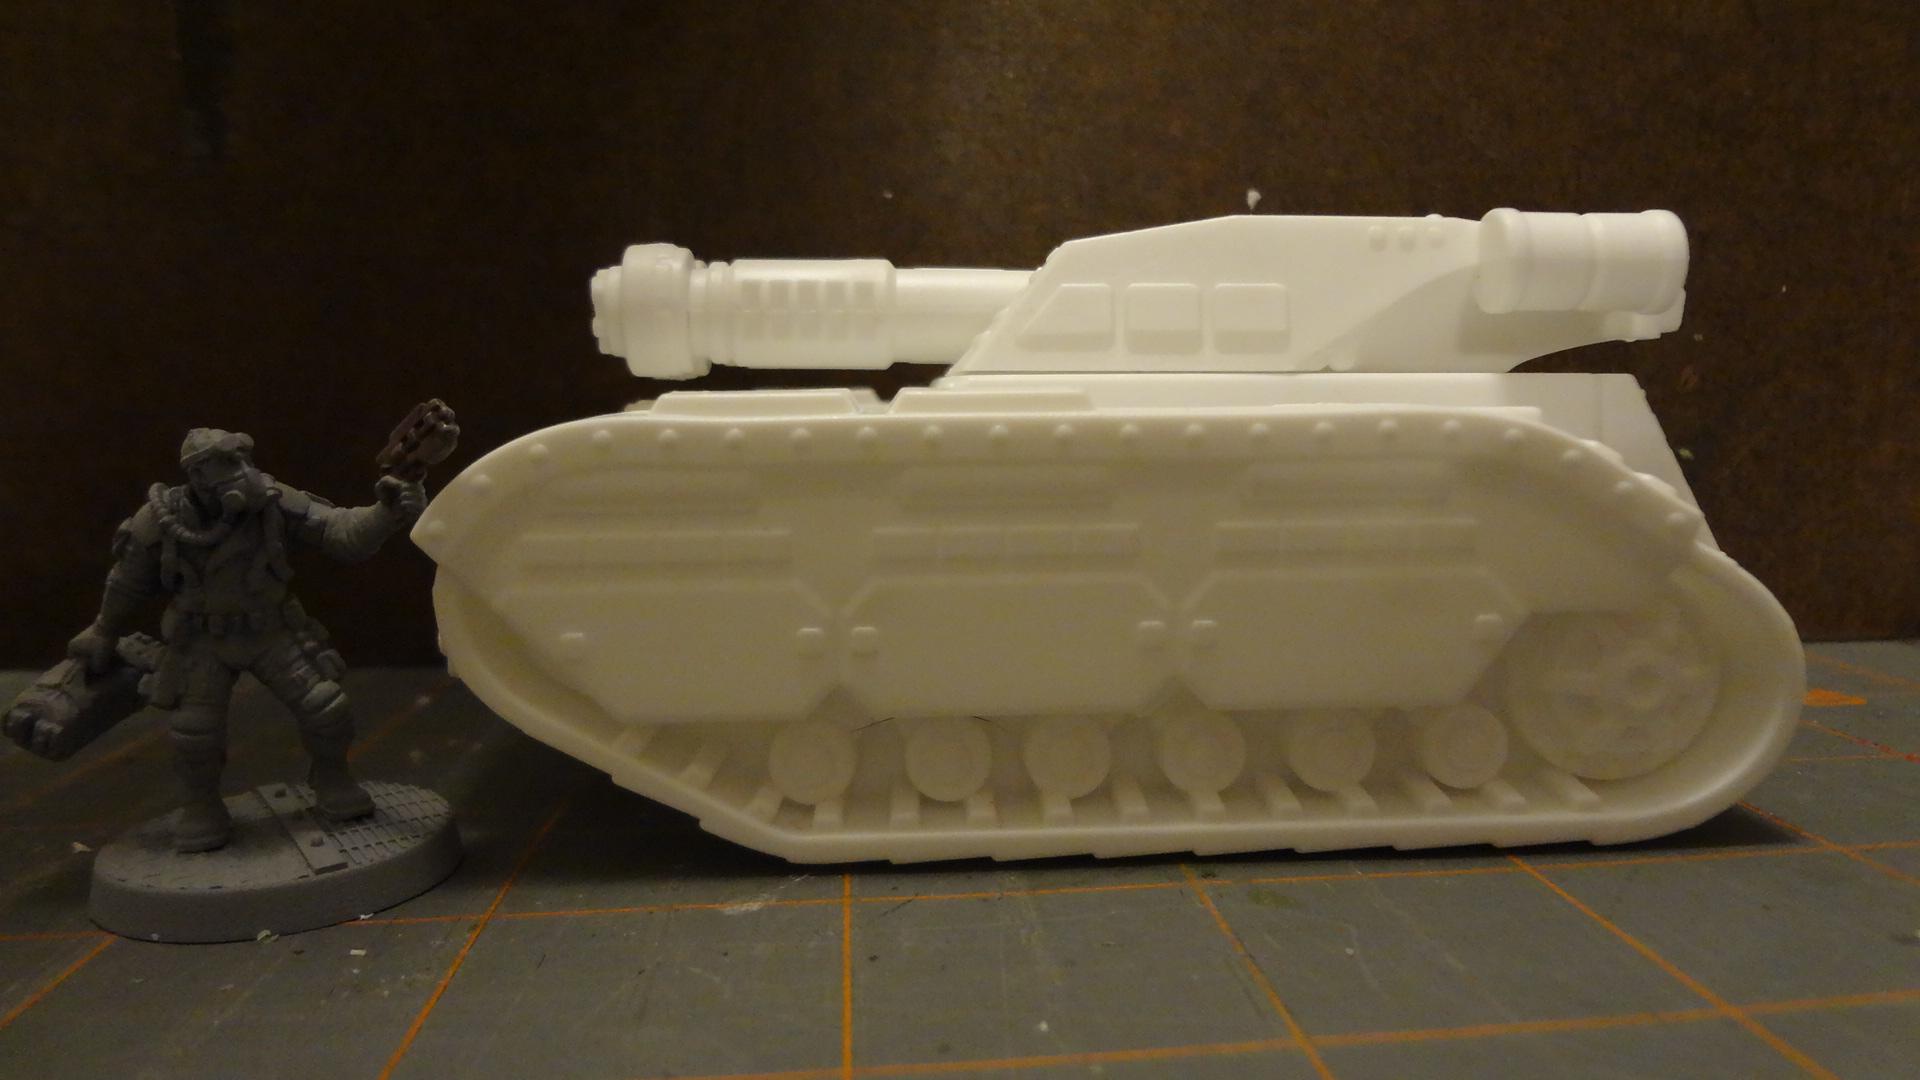
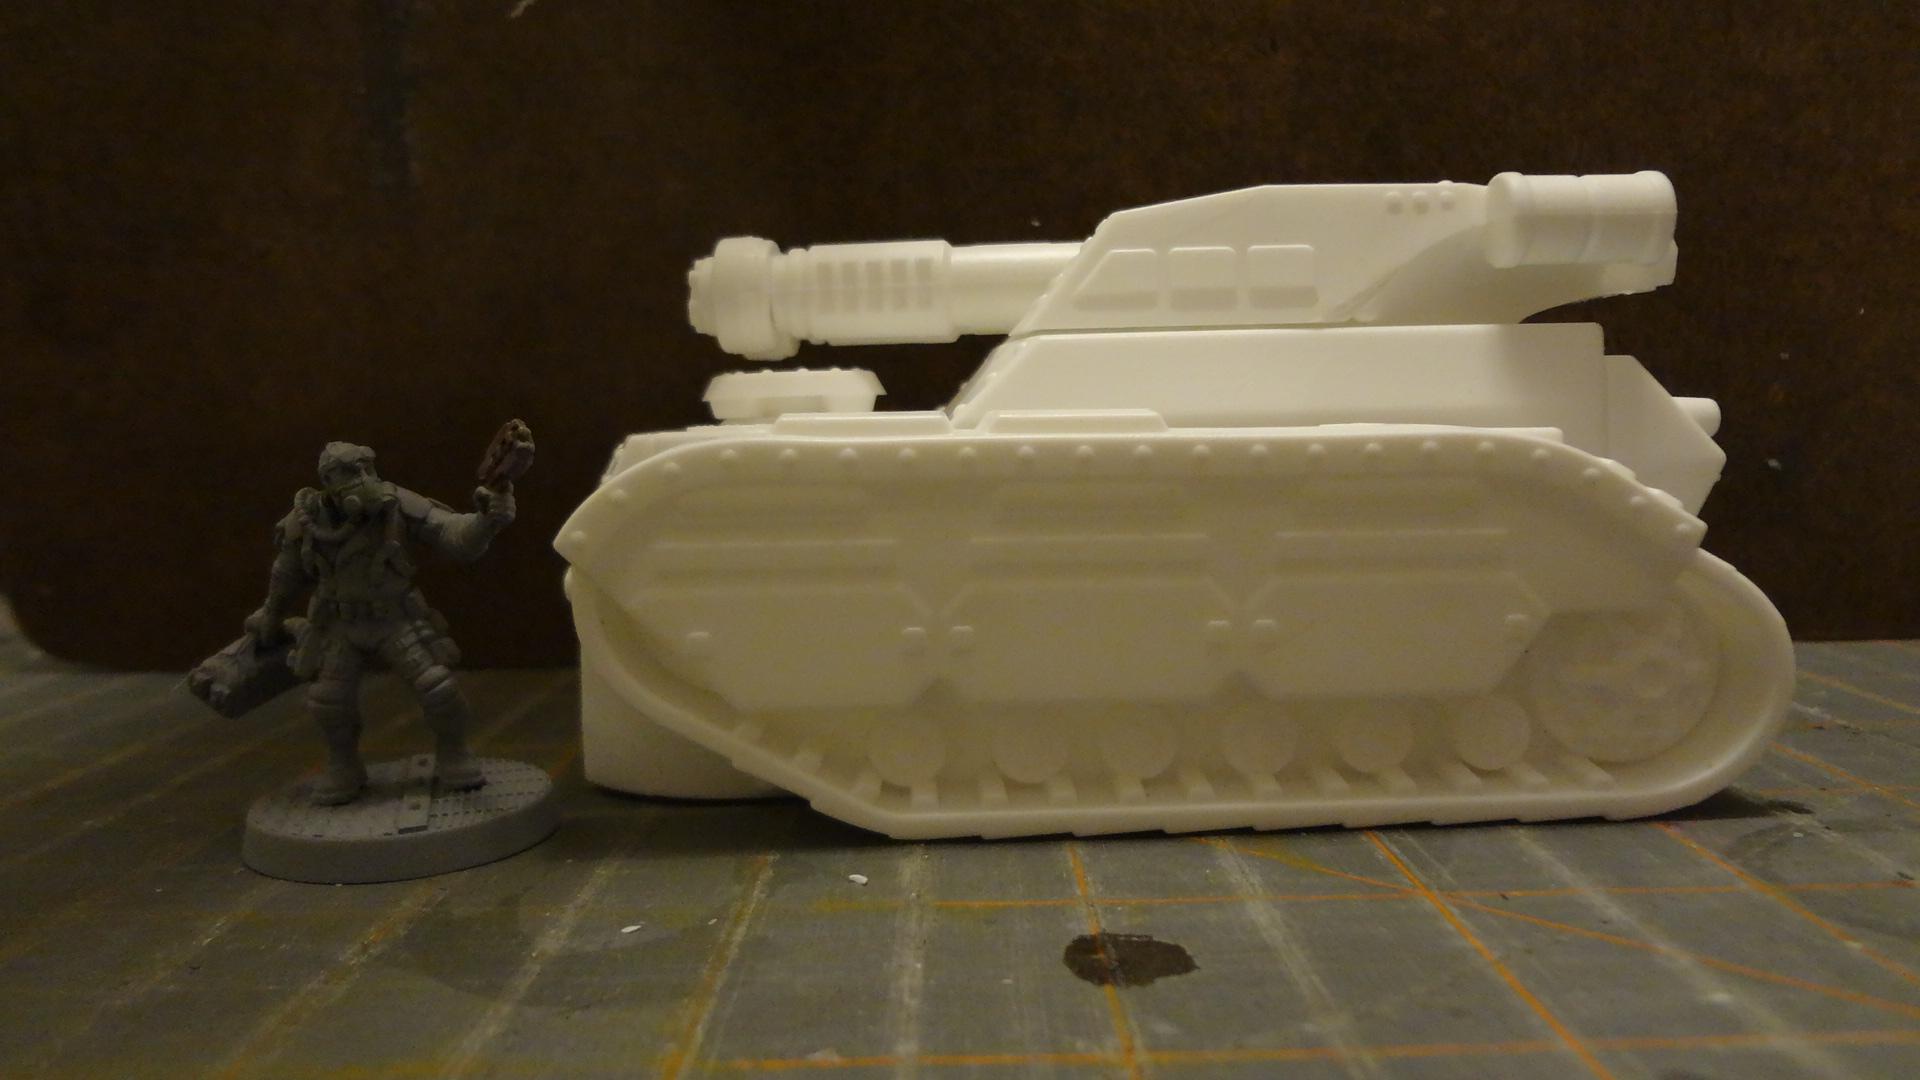
This can be remedied by filling the gap with putty or plastic card, or by raising the hull up. It's a small matter to clip away the mounting pegs on the side of the hull and just glue the treads a bit further down the body. Here's what the difference looks like between the raised hull and assembling the model as intended. The figure in the picture is exactly 29mm from sole to eyeline.


I think the raised hull looks better, though the top edge of the hull side has no detailing whatsoever as the model designers intended for it to be mostly obscured by the treads. Not a major problem, but worth noting.

Lastly, when assembled with the bottom of the front treads overhanging (like most modern tanks) the treads will face the wrong way.

Warhammer 40,000 Comparison
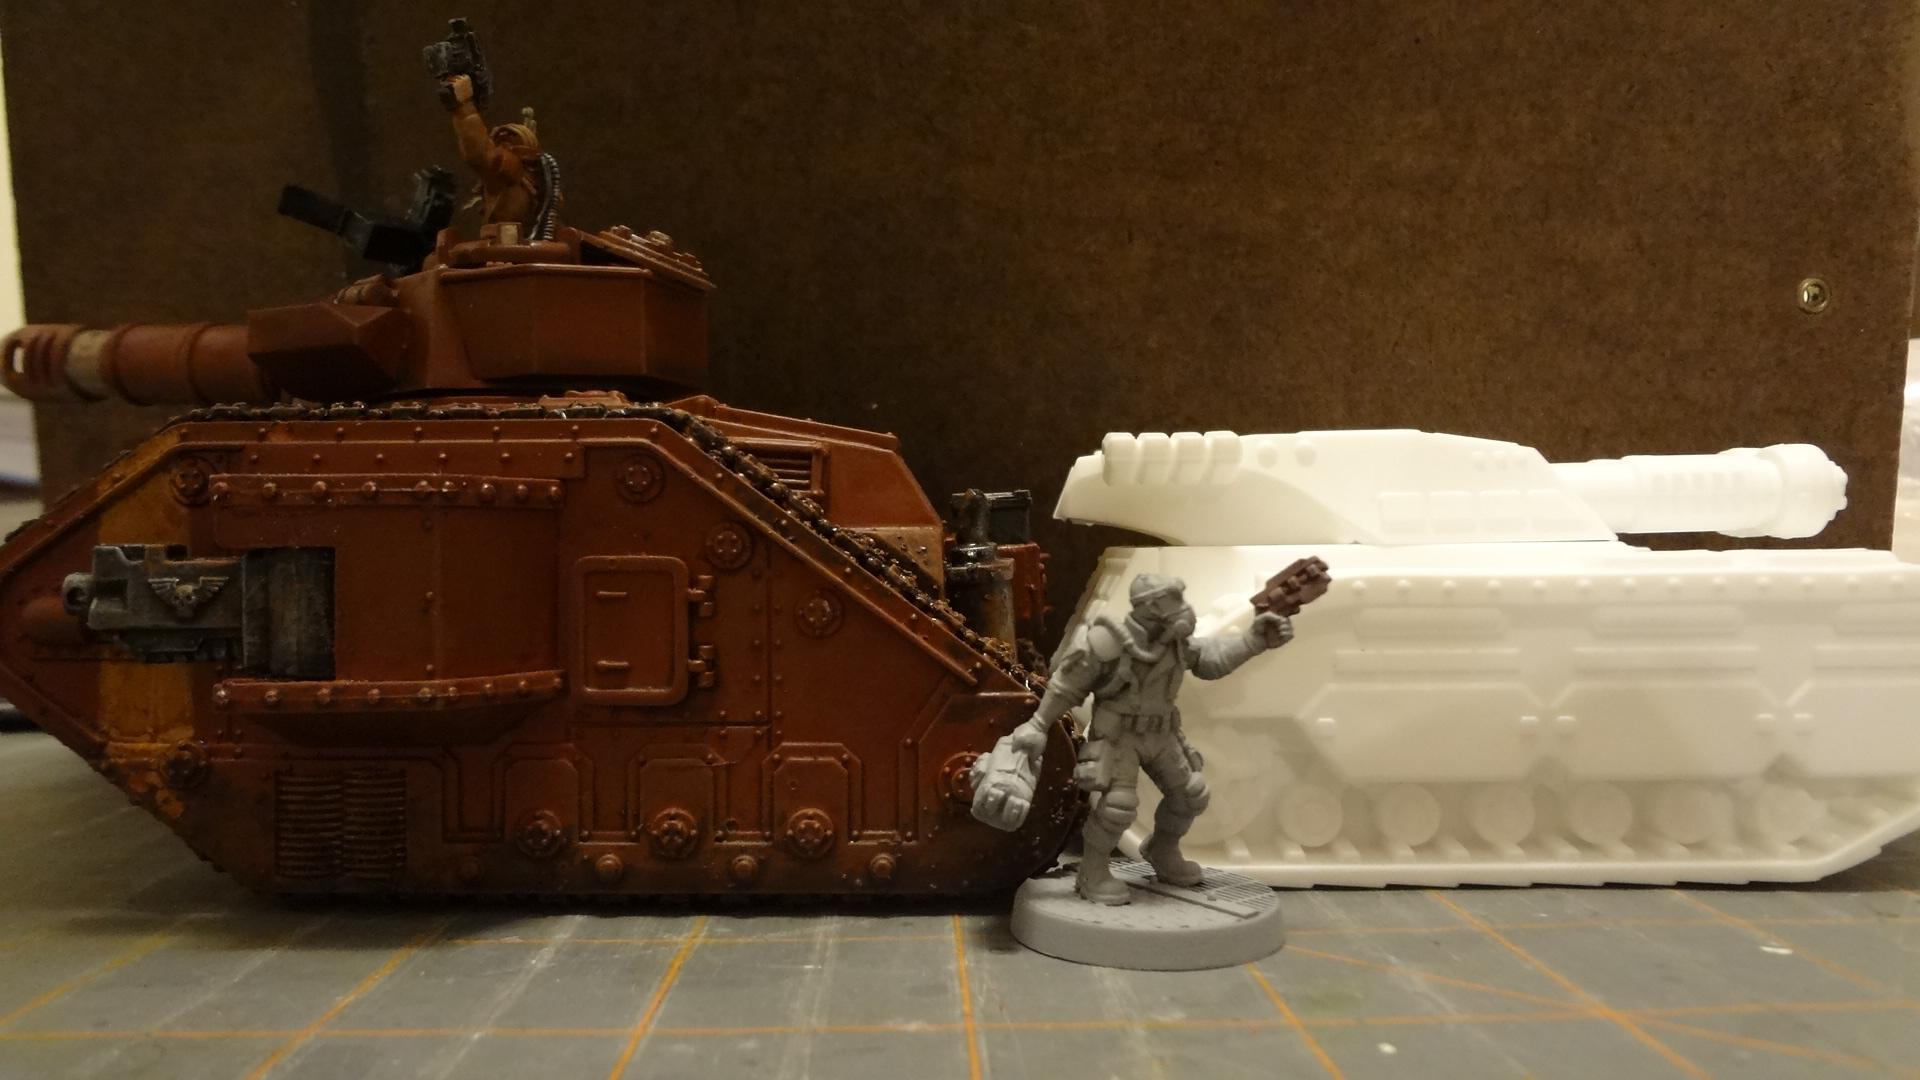
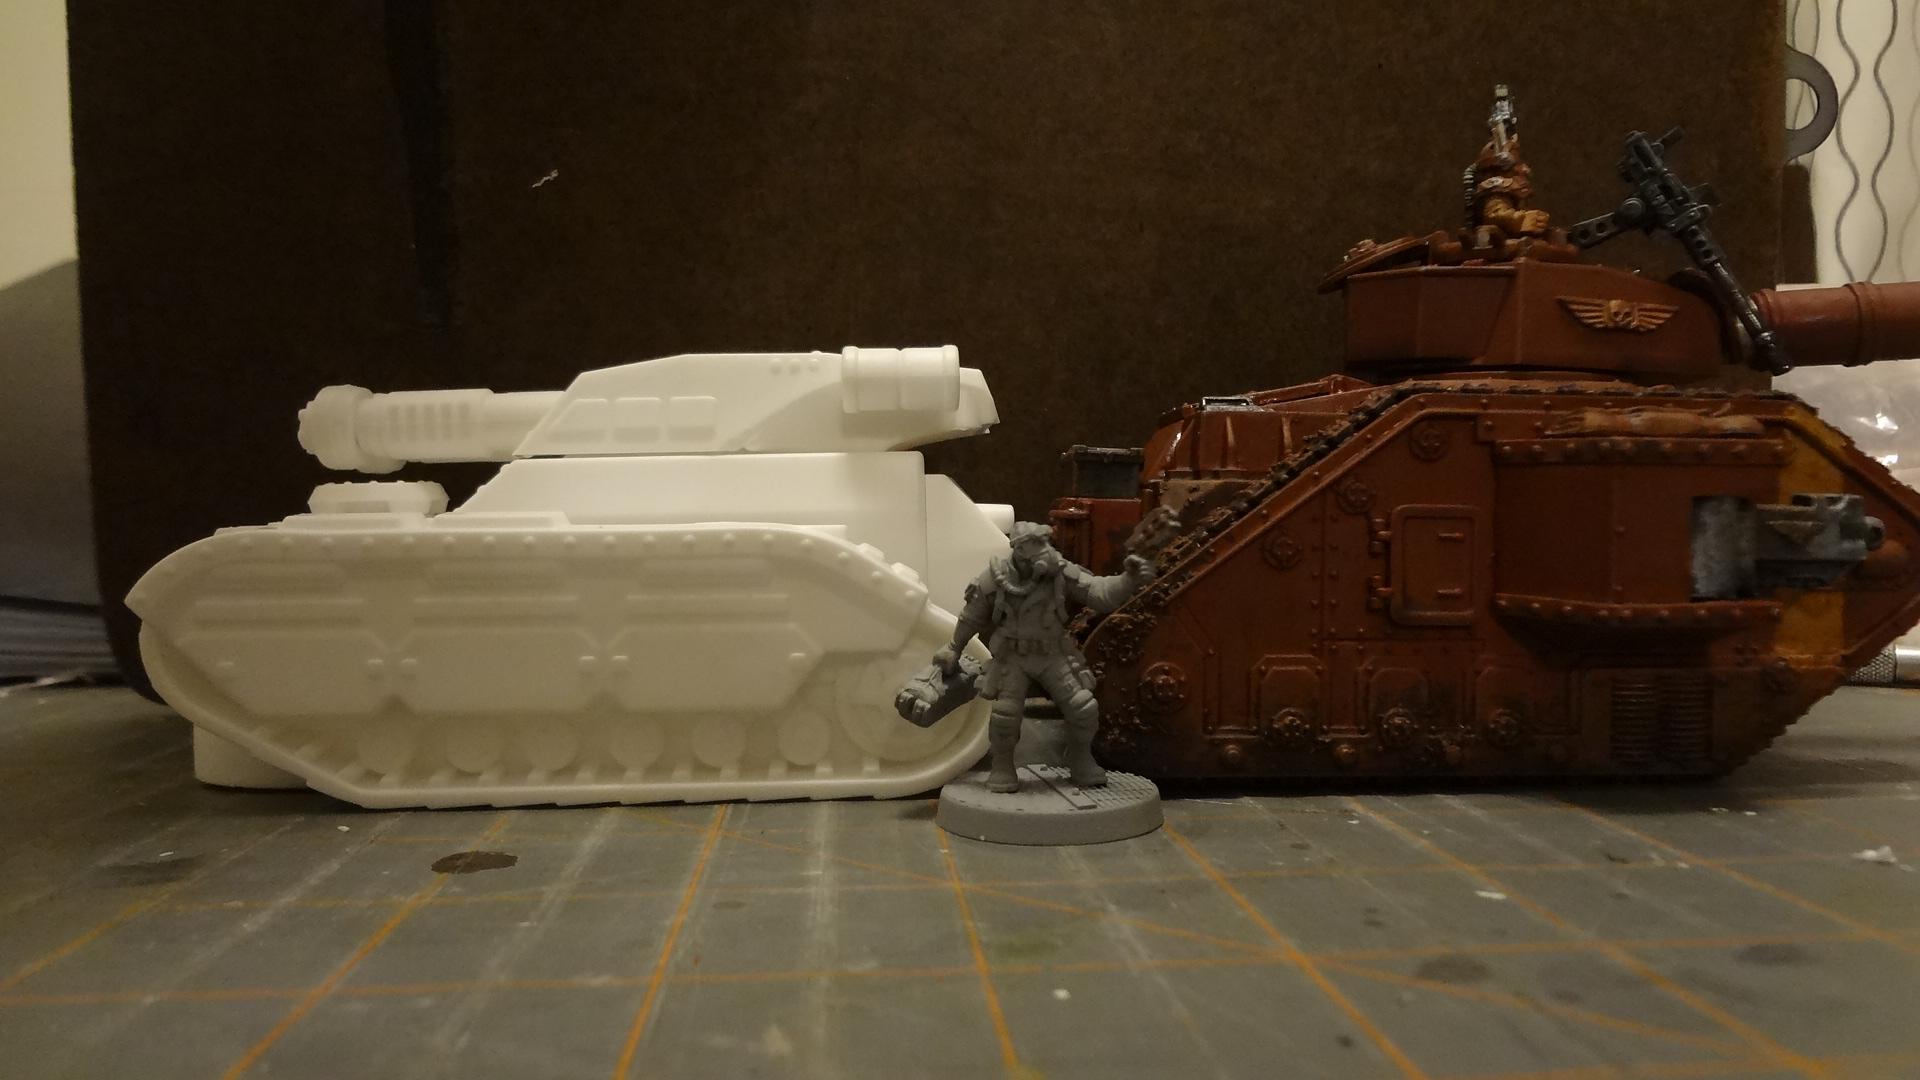
Here's how it compares to an Imperial Guard Leman Russ Battle Tank by Games Workshop. It's quite a bit shorter.


Even my raised version is stunty by comparison.


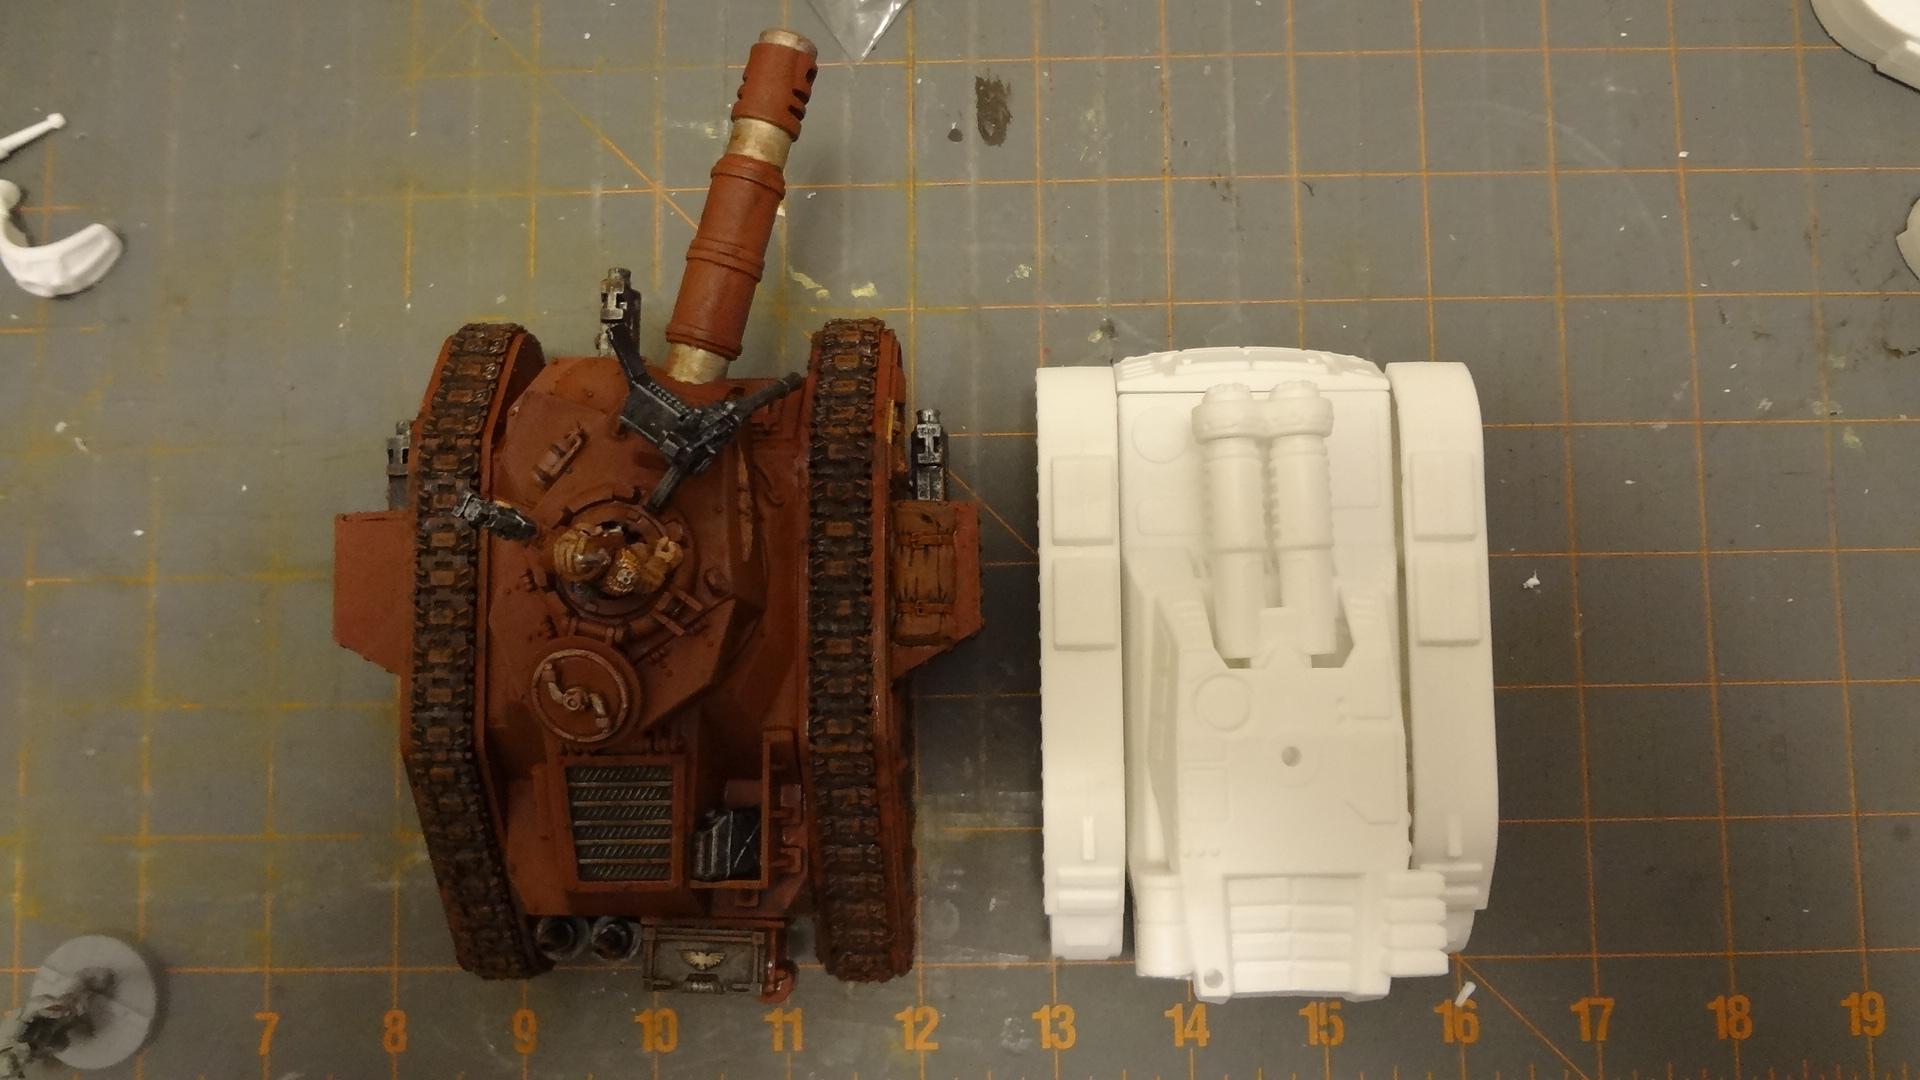
However, the footprint is actually quite close.


The BroneKorpus is about 1/8th inch shorter in length and 1/4 inch smaller in width, not counting the Leman Russ side sponsons.

Options, Options, Options
One of the best things about this kit is the many ways in which it can be assembled. Here are a few of them.

First up, a sleek, no-frills main battle tank.


And here's a similar version, but this time with a rack of missiles, some comms gear and the bulldozer front.


Reversing the hull to put the lower section in the rear and the dozer front gives it a bit more of a 40k look.


And don't think that main battle tanks are the only thing this kit does. Lose the main turret and you've got a nice little armored personnel carrier.


Though this isn't bad either.


Add the big missiles and you've got a missile carrier. 


Stacking two of these missile pairs on top of each other could cool too.

For use with my 28mm Mech Attack games, I'll probably go with this simple configuration: raised hull, single main gun.


Though not intended for 40k, I'll probably put a Space Marine tank hatch on top of the turret, as it has nice detailing (and I've got a bunch in the bits bin).

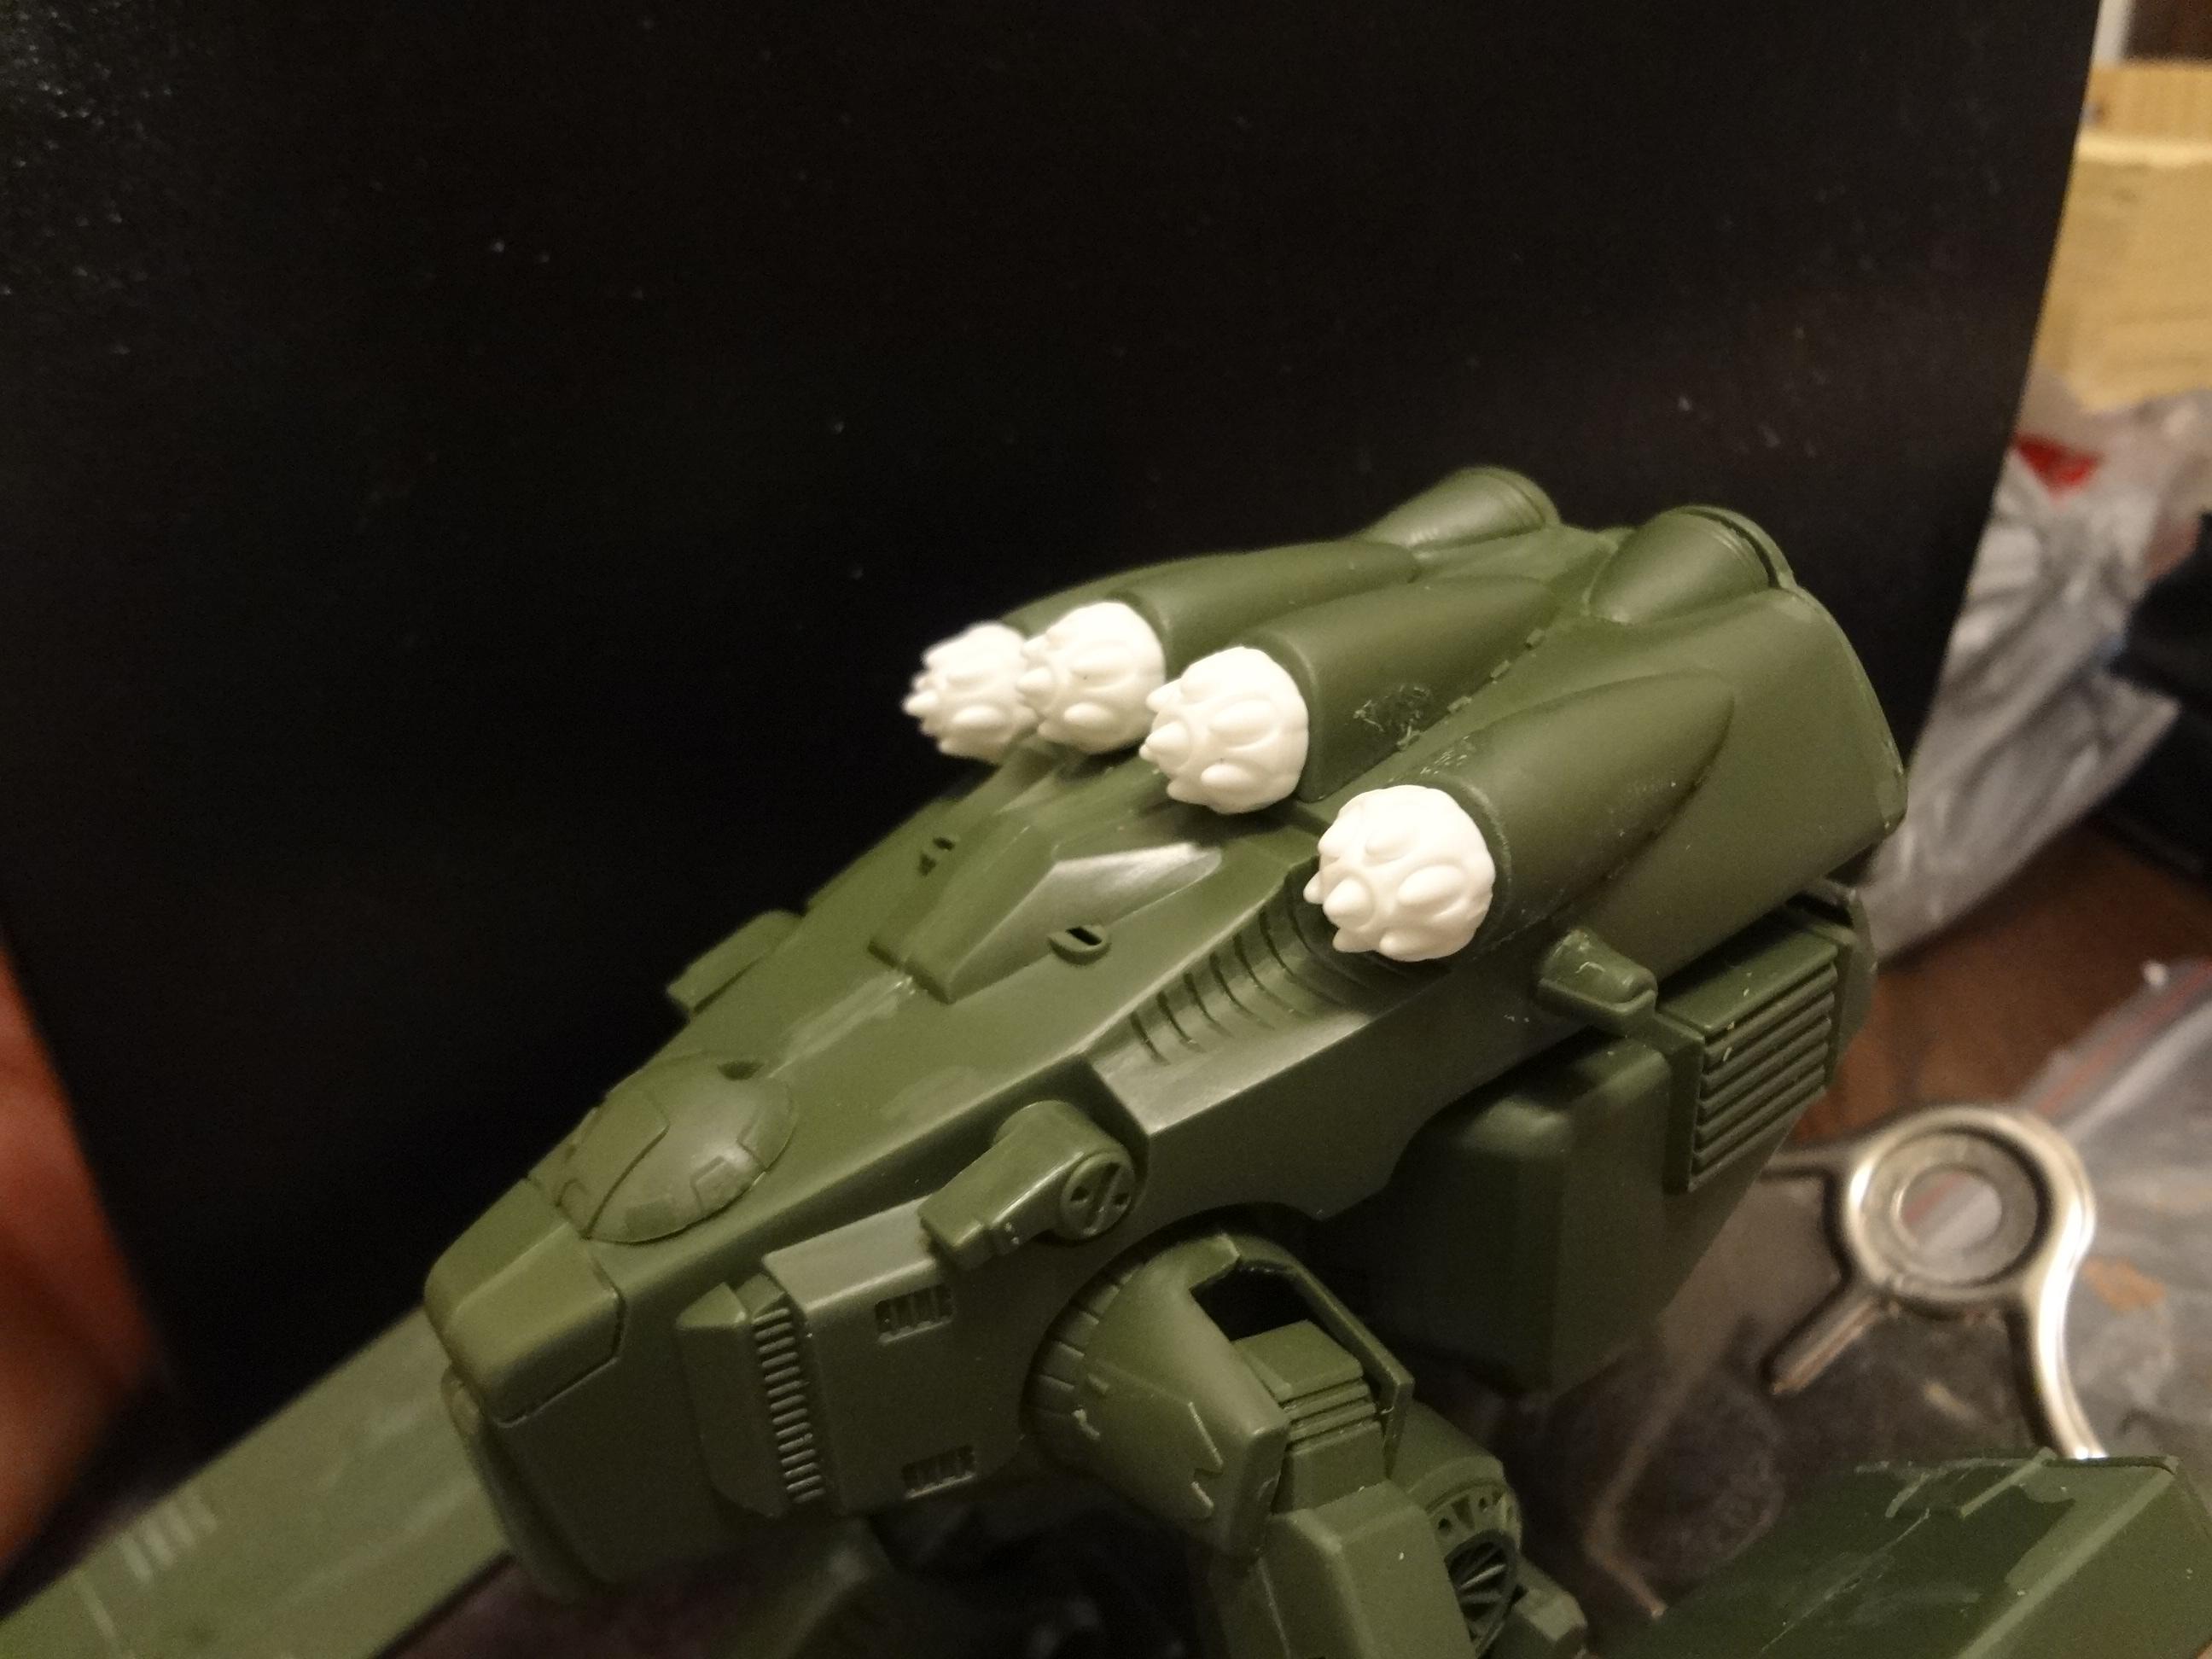
No matter how you assemble yours, you'll end up with a batch of great parts for converting other vehicles. Here's a use for the second set of muzzles. They look like rocket pods rather than gun muzzles so that's what I used them for.


This "Destroid Monster" kit had four ridiculously long cannons, but I removed them and glued the rocket pods in their place. Macross fans will likely disagree, but I think it's an improvement.

Final Assessment
There is no other sci-fi tank kit in this price range with this kind of quality and usefulness. It's not a perfect kit, but the few flaws are easy to remedy or ignore. The sheer number of options in the kit means that gamers of many stripes should be able to find a use for it on their battlefield.

The size of the model suggests a light or medium tank, but who can say how big a tank will have to be in the future? I heartily recommend this kit to anyone who wants some armor and doesn't want to spend a lot of money.

 Lastly, I also encourage you to check out this review on Dakka Dakka, which inspired me to write this post. Most notably, it also has comparisons with Space Marine tanks.

-- Karl, Chicago Skirmish Wargames club member
Tuesday, January 13, 2015

Getting the Most from Dust Tactics Tenement Buildings

 
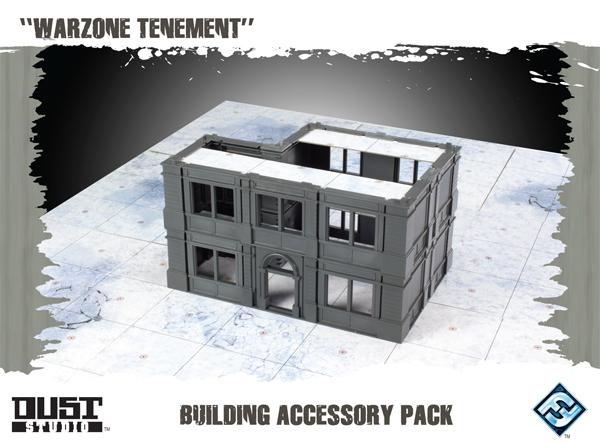
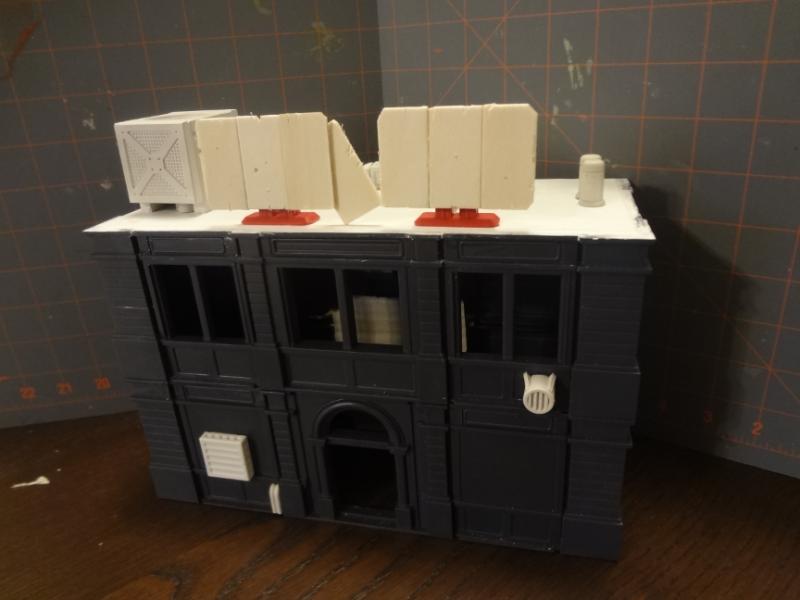
Last year I sold off a large medieval army, and I turned right around and sunk the proceeds into nine boxes of Dust Tactics Warzone Tenements from Fantasy Flight Games' year-end sale. There are already some fine reviews of the product out there, so this article will focus mainly on how to get the most out of these kits.

The kits themselves are very well made. The components arrive off the sprue and partially assembled (front and back wall sections). Cleanup isn't necessary, and you can start building immediately. It may take a bit to familiarize yourself with the metrics and proportions used for the various sizes of walls, but once you get the hang of it these buildings go together easily and somewhat intuitively.
In a future post I will display all the completed structures, but today I'll show a just a few.

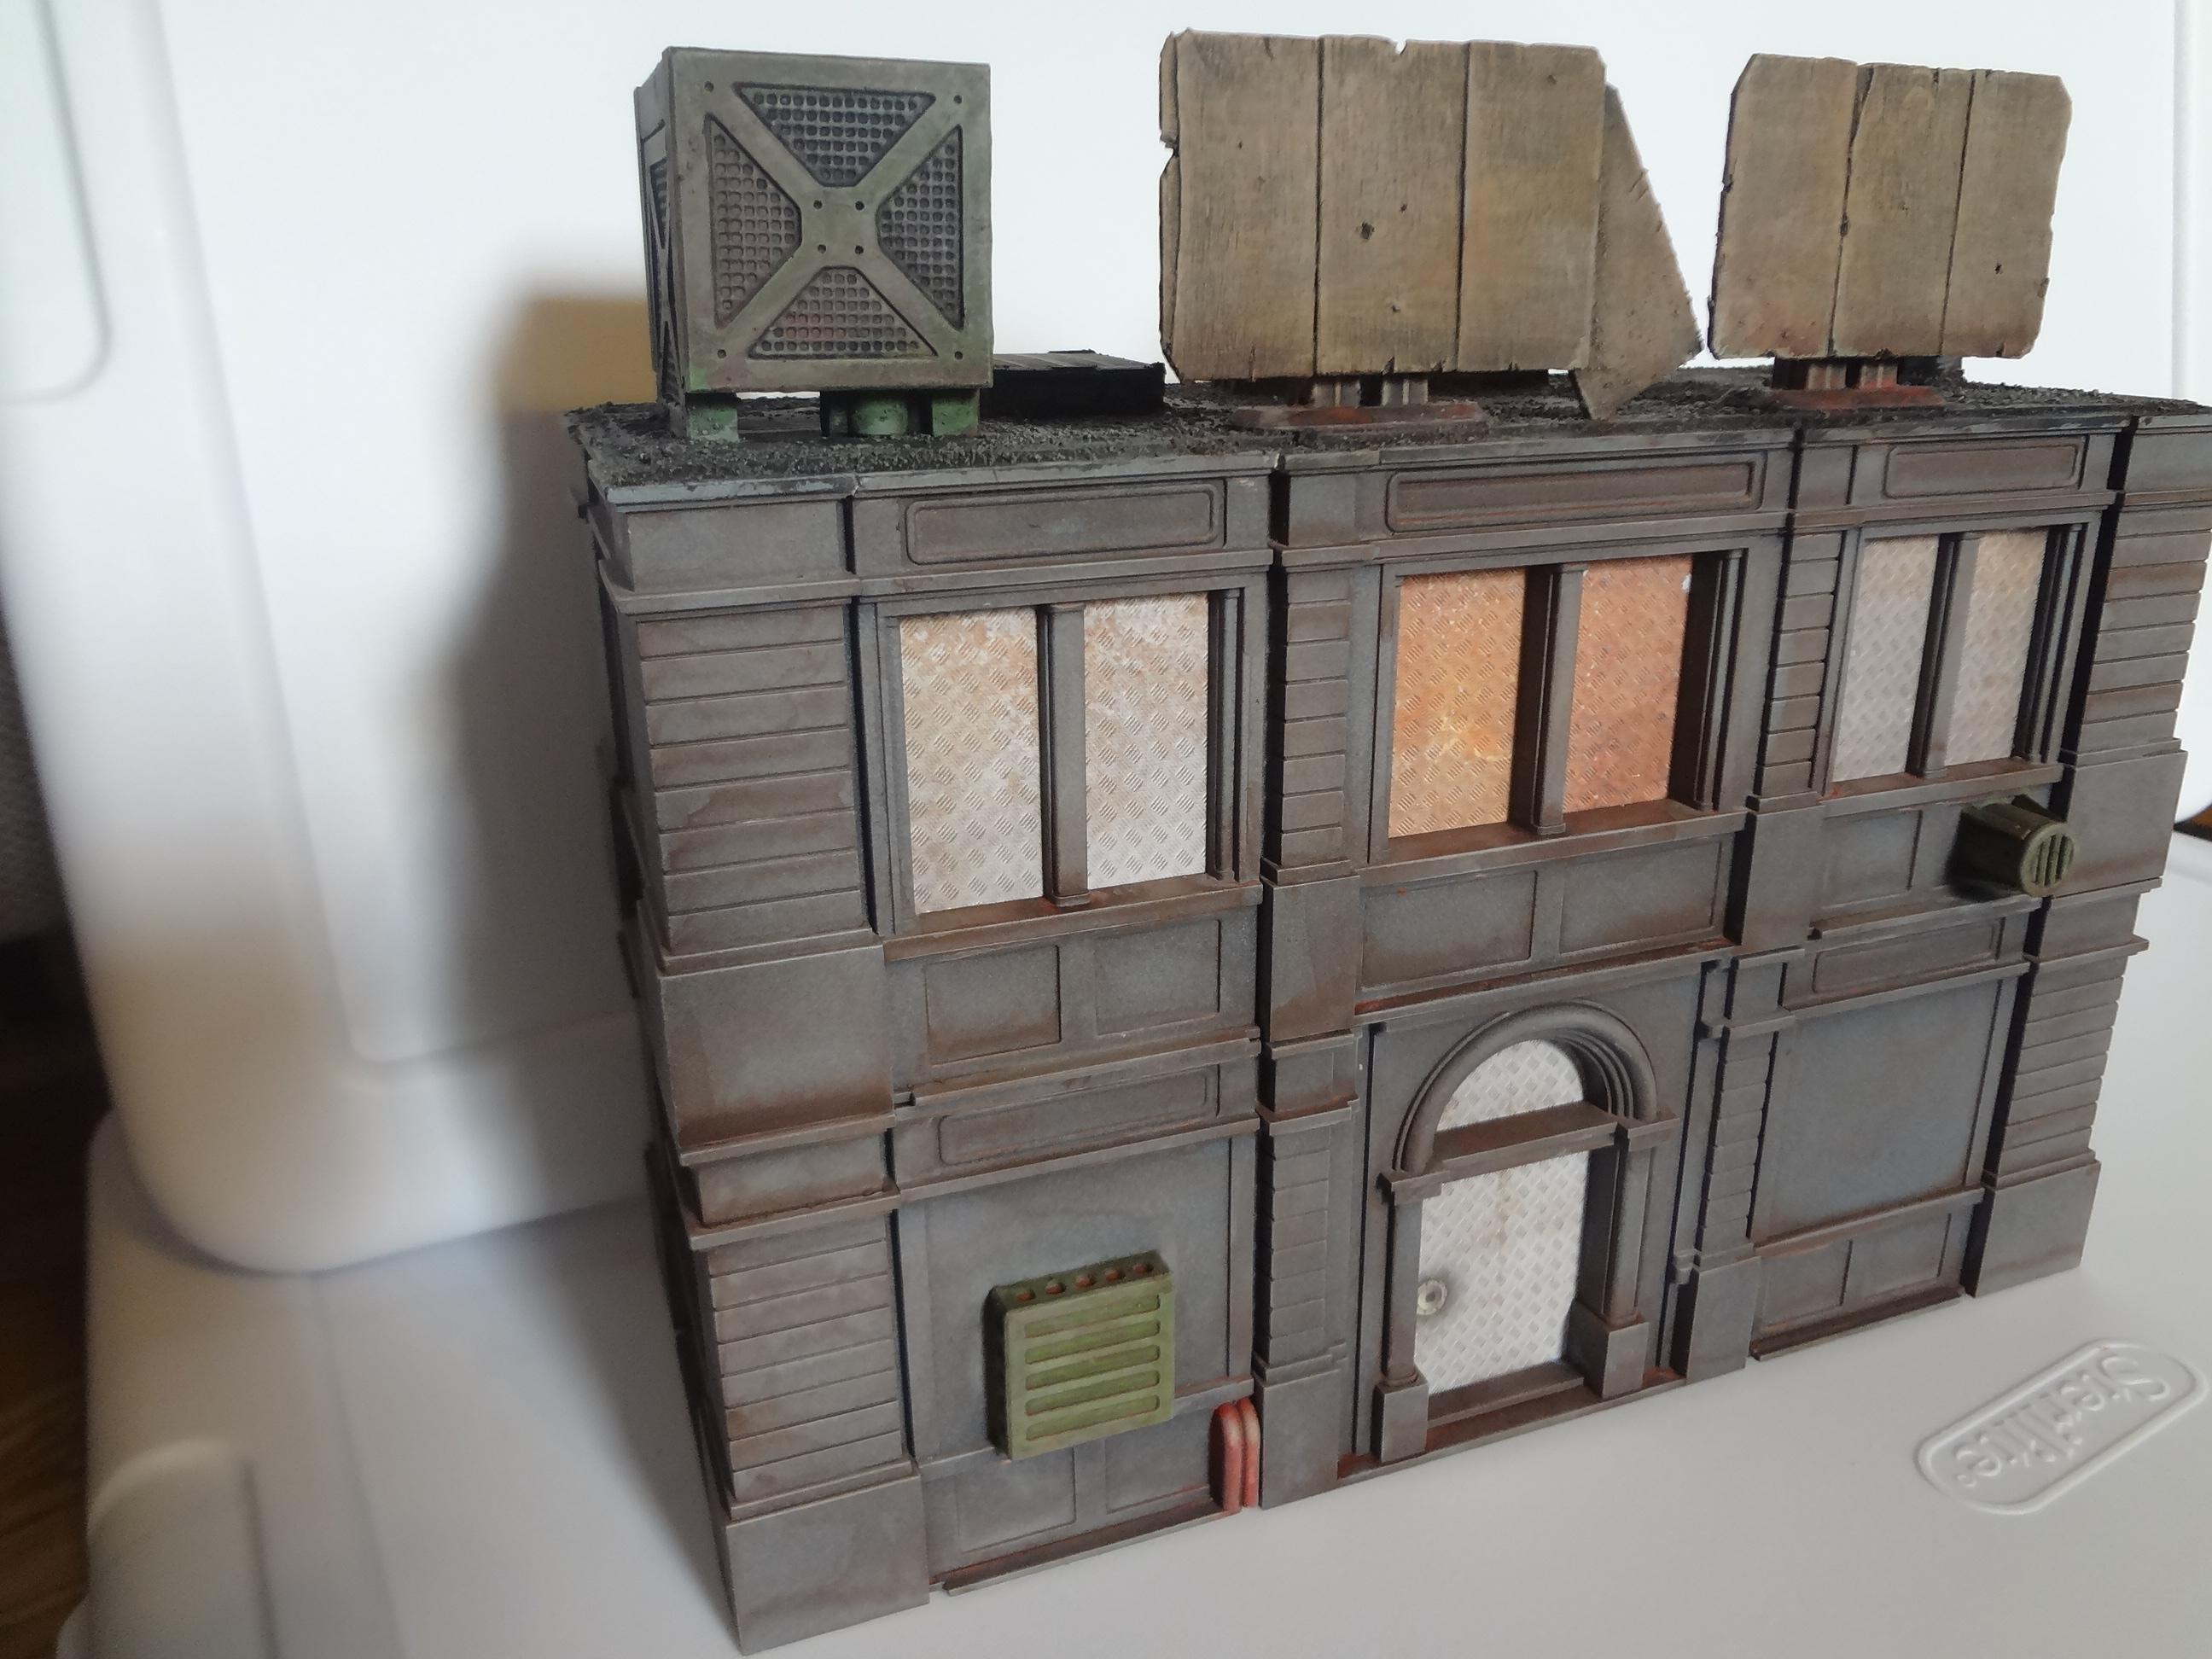
This first building is entirely closed, so there was no need to use the floor pieces or put on a removable roof.

I used cardboard floor sections to cover the windows and doors on the front. The wooden sign sections are from little bags of pre-cut wood that you can find at the craft store. I highly recommend these wood pieces for detail work on your buildings.


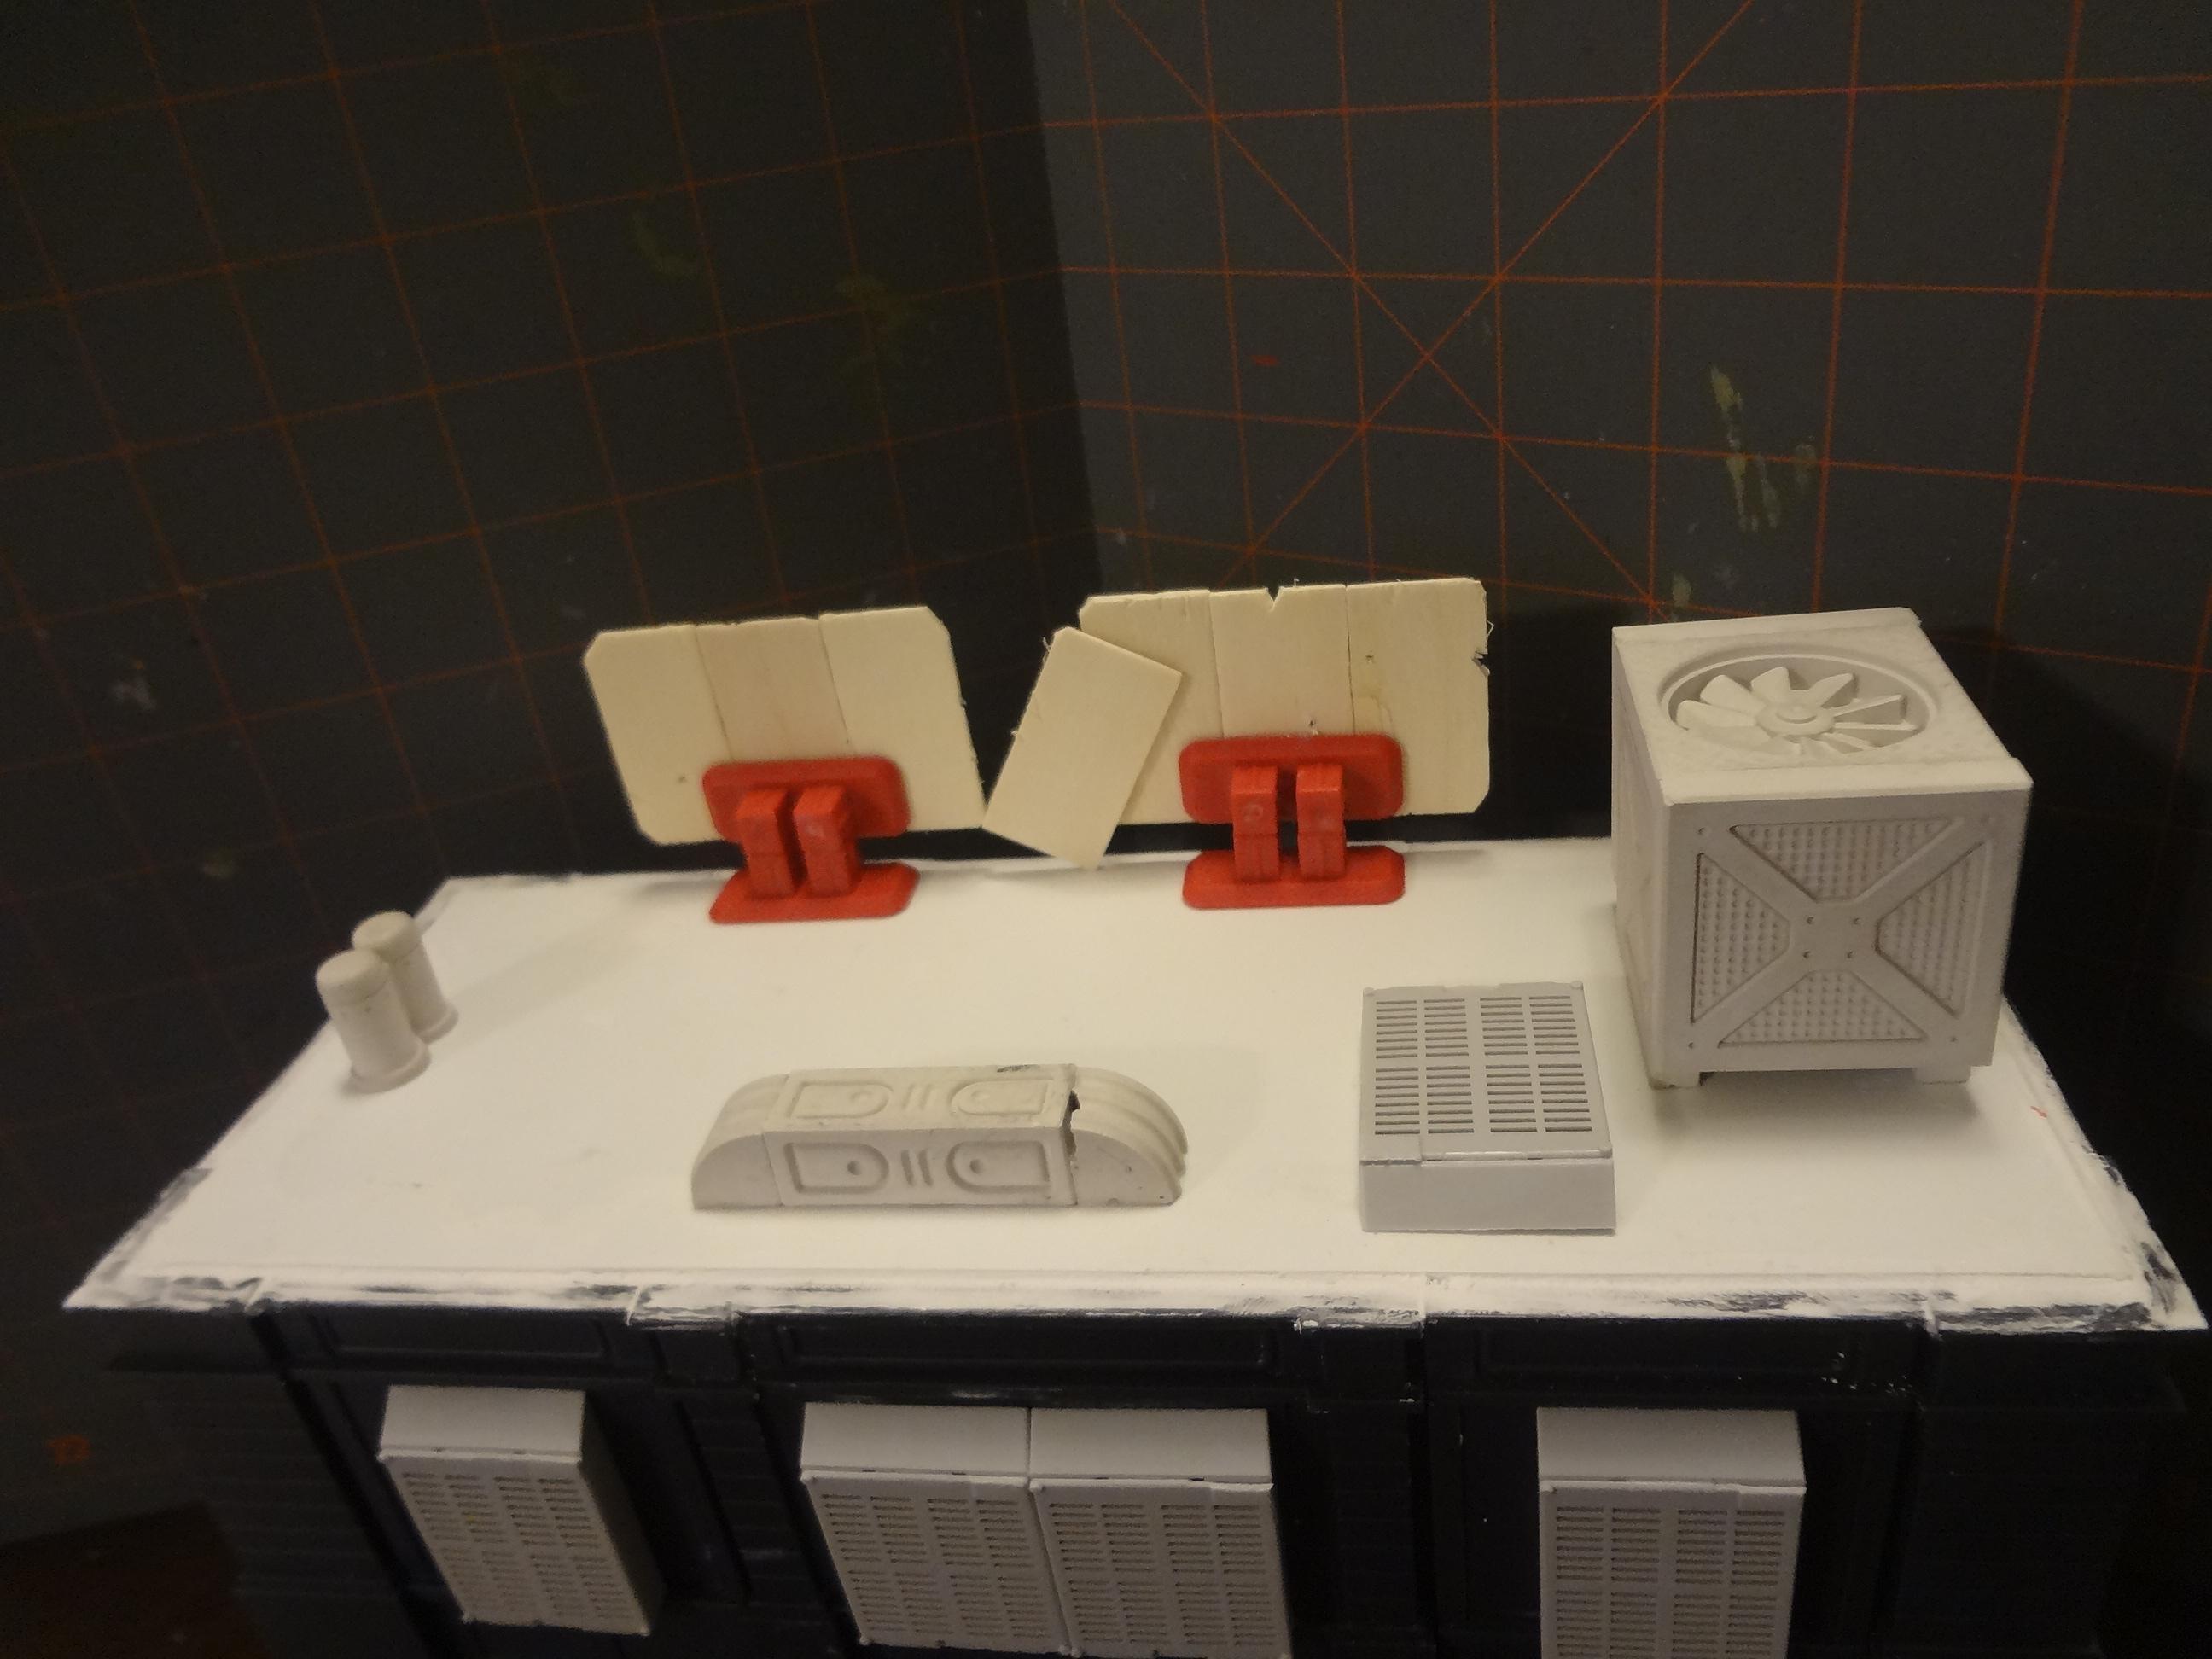
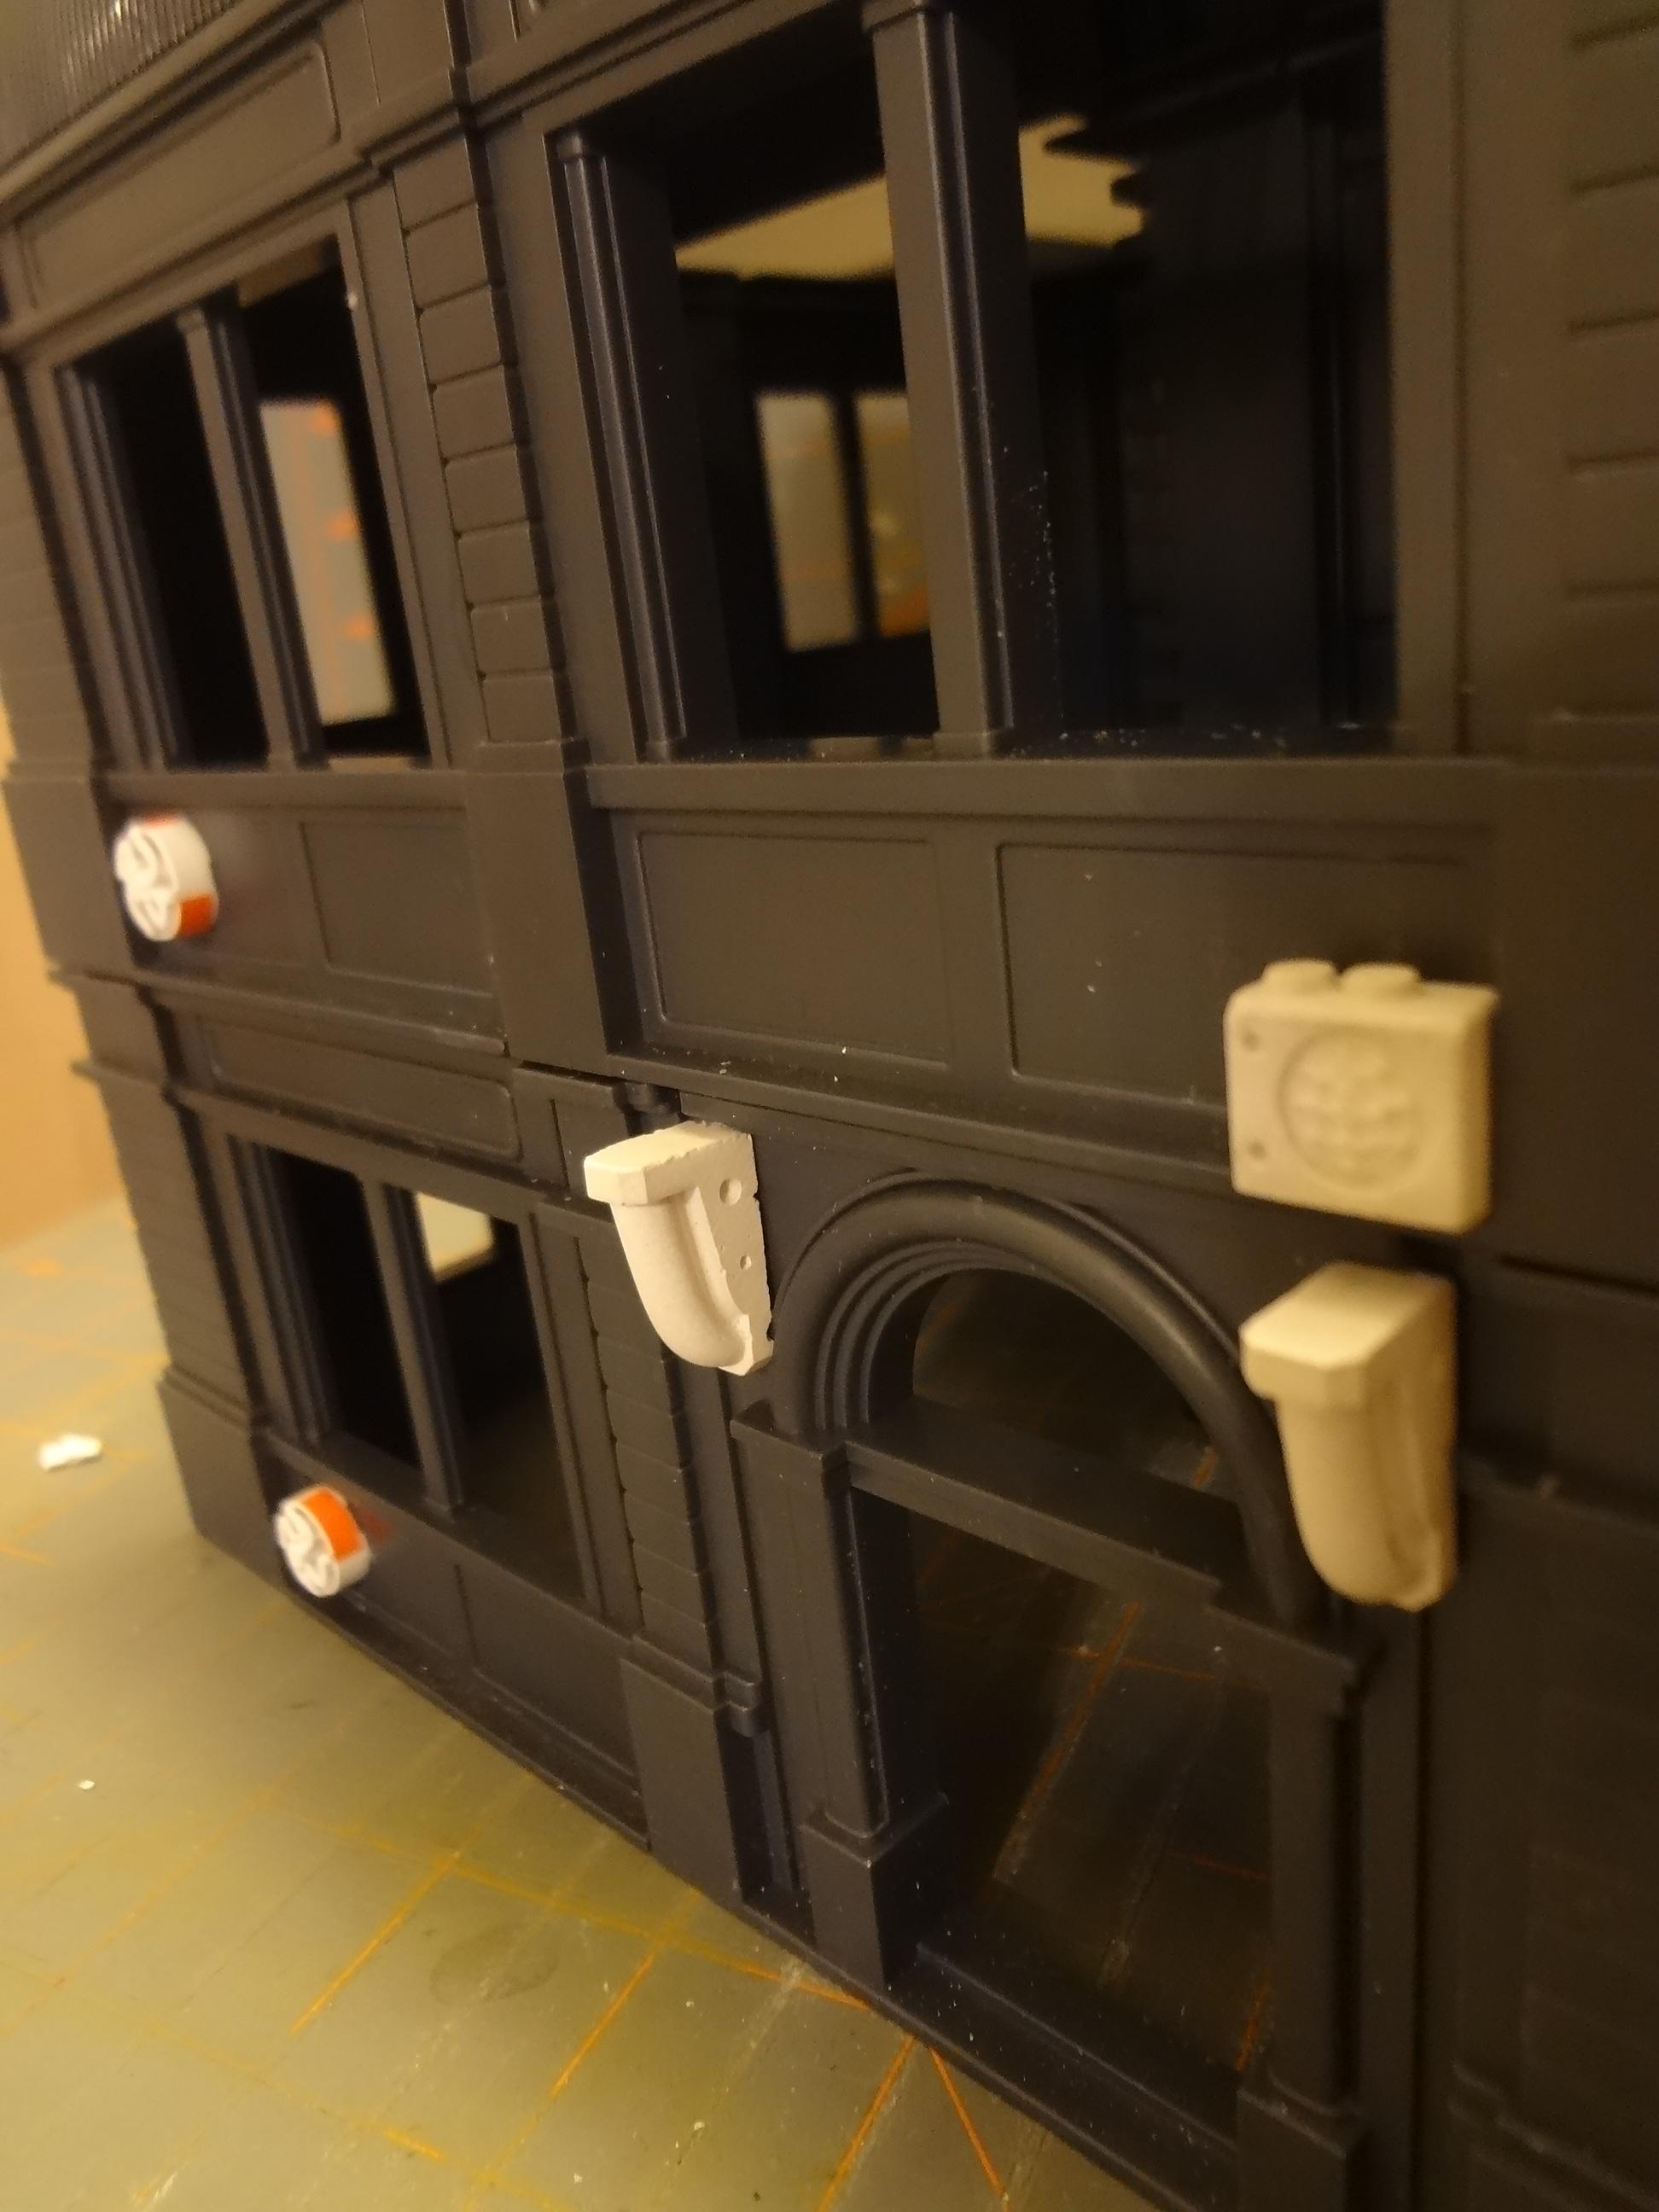
In this building, some Hirst Arts plaster bits provide tech details and the rooftop air conditioning unit. The Hirst pieces came from fellow blogger Lucky Joe, who sent me a bunch of extra bits a while back. They've sat in my collection unused for several years, but they were a godsend for this project.

If you know anyone who casts Hirst Arts, I highly recommend inquiring about leftovers. Most folks will have a lot of random, unused pieces after given project. 


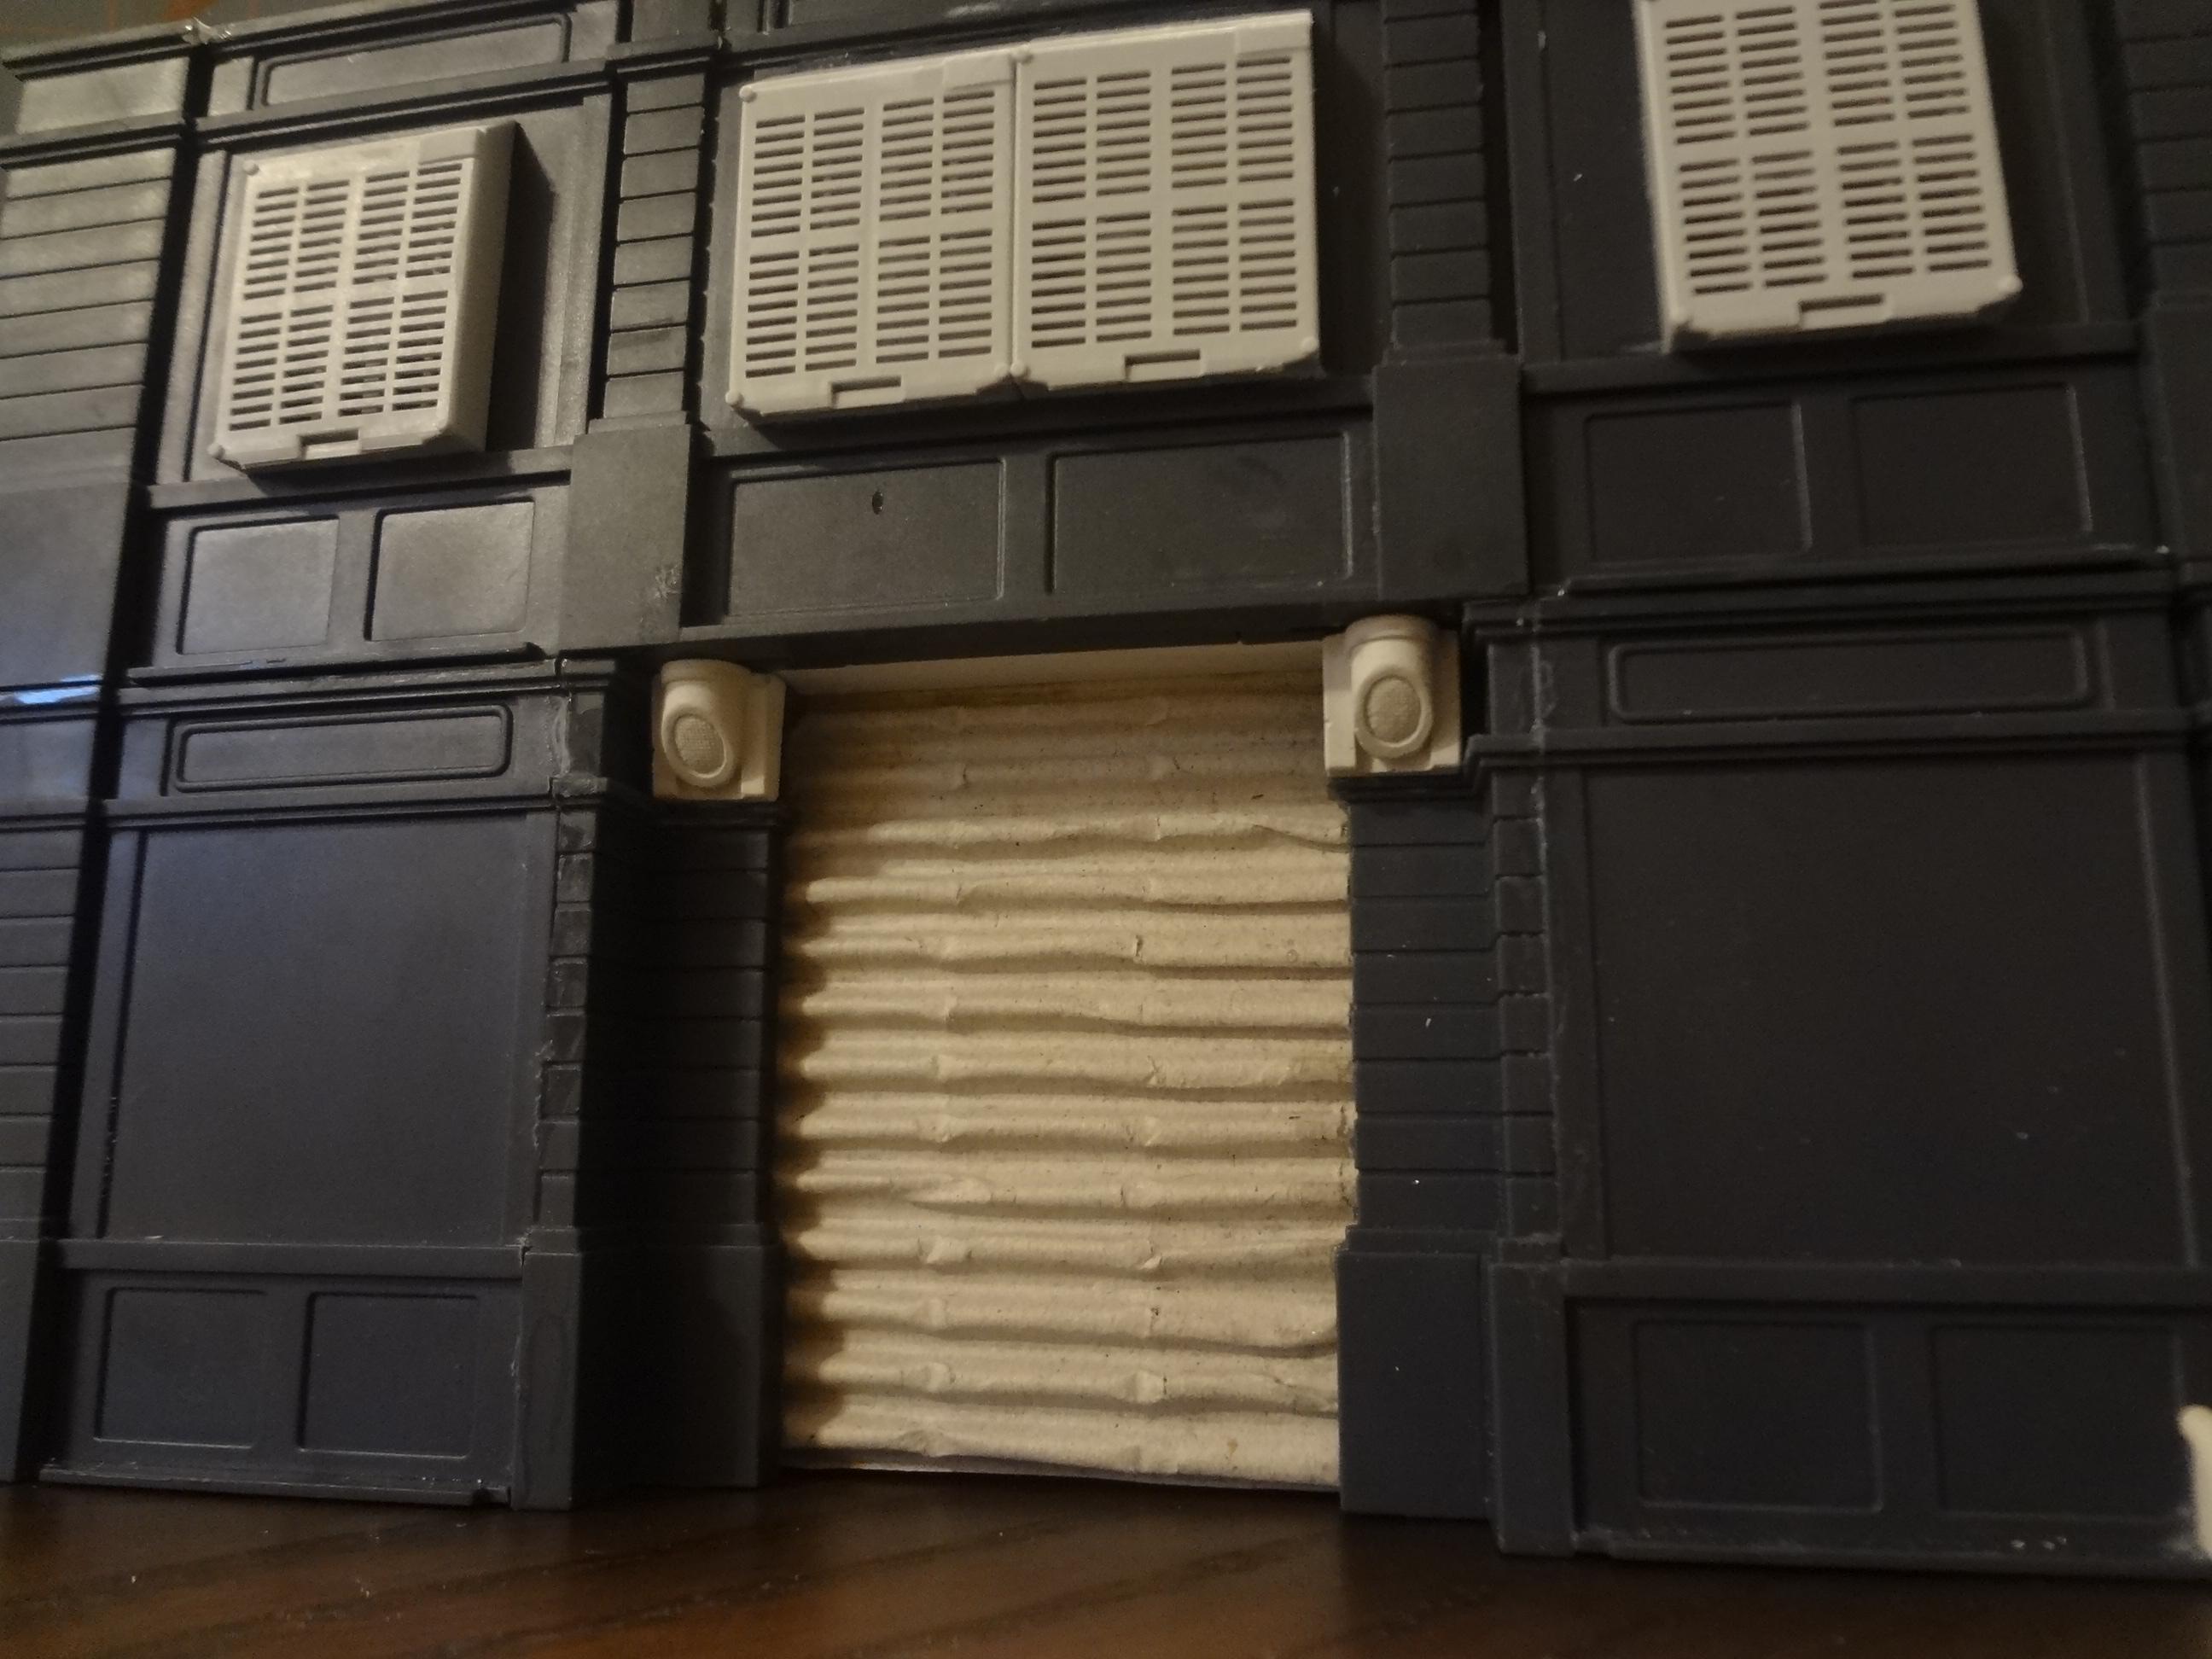
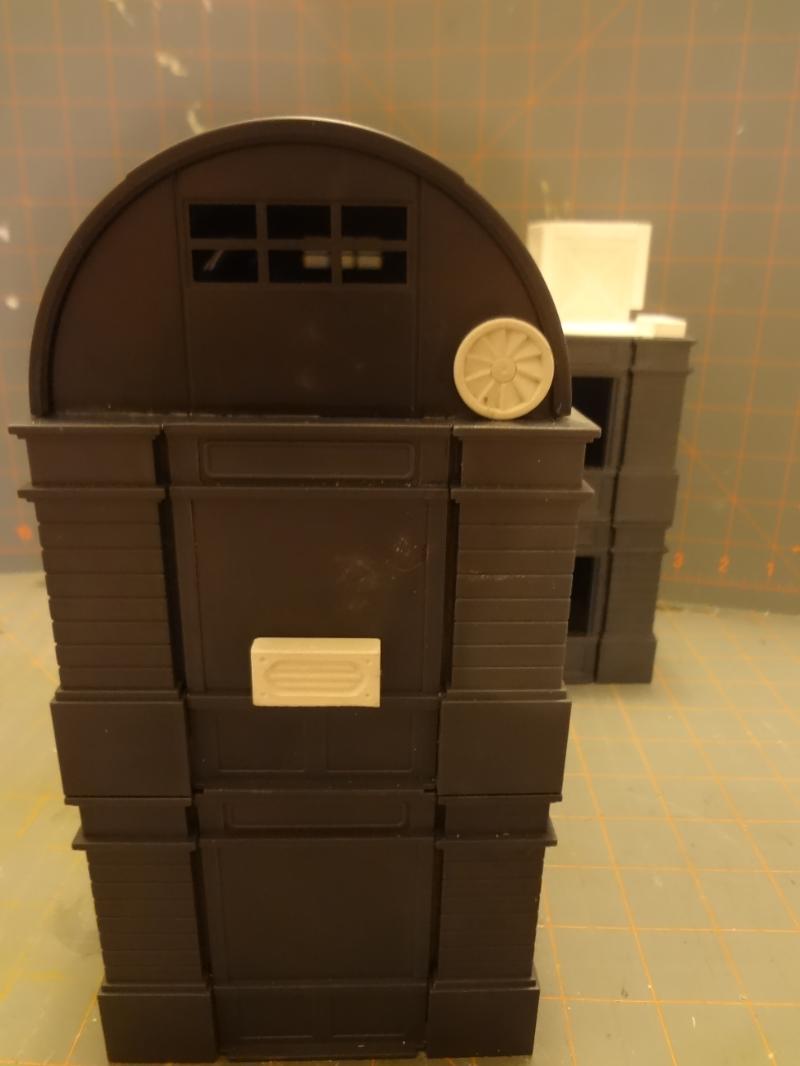
The rear side of the building has medical specimen cases as window coverings. They look a lot like metal board-up screens. The garage door is single-sided corrugated cardboard. The lights are Hirst Arts pipe ends pointed downward.

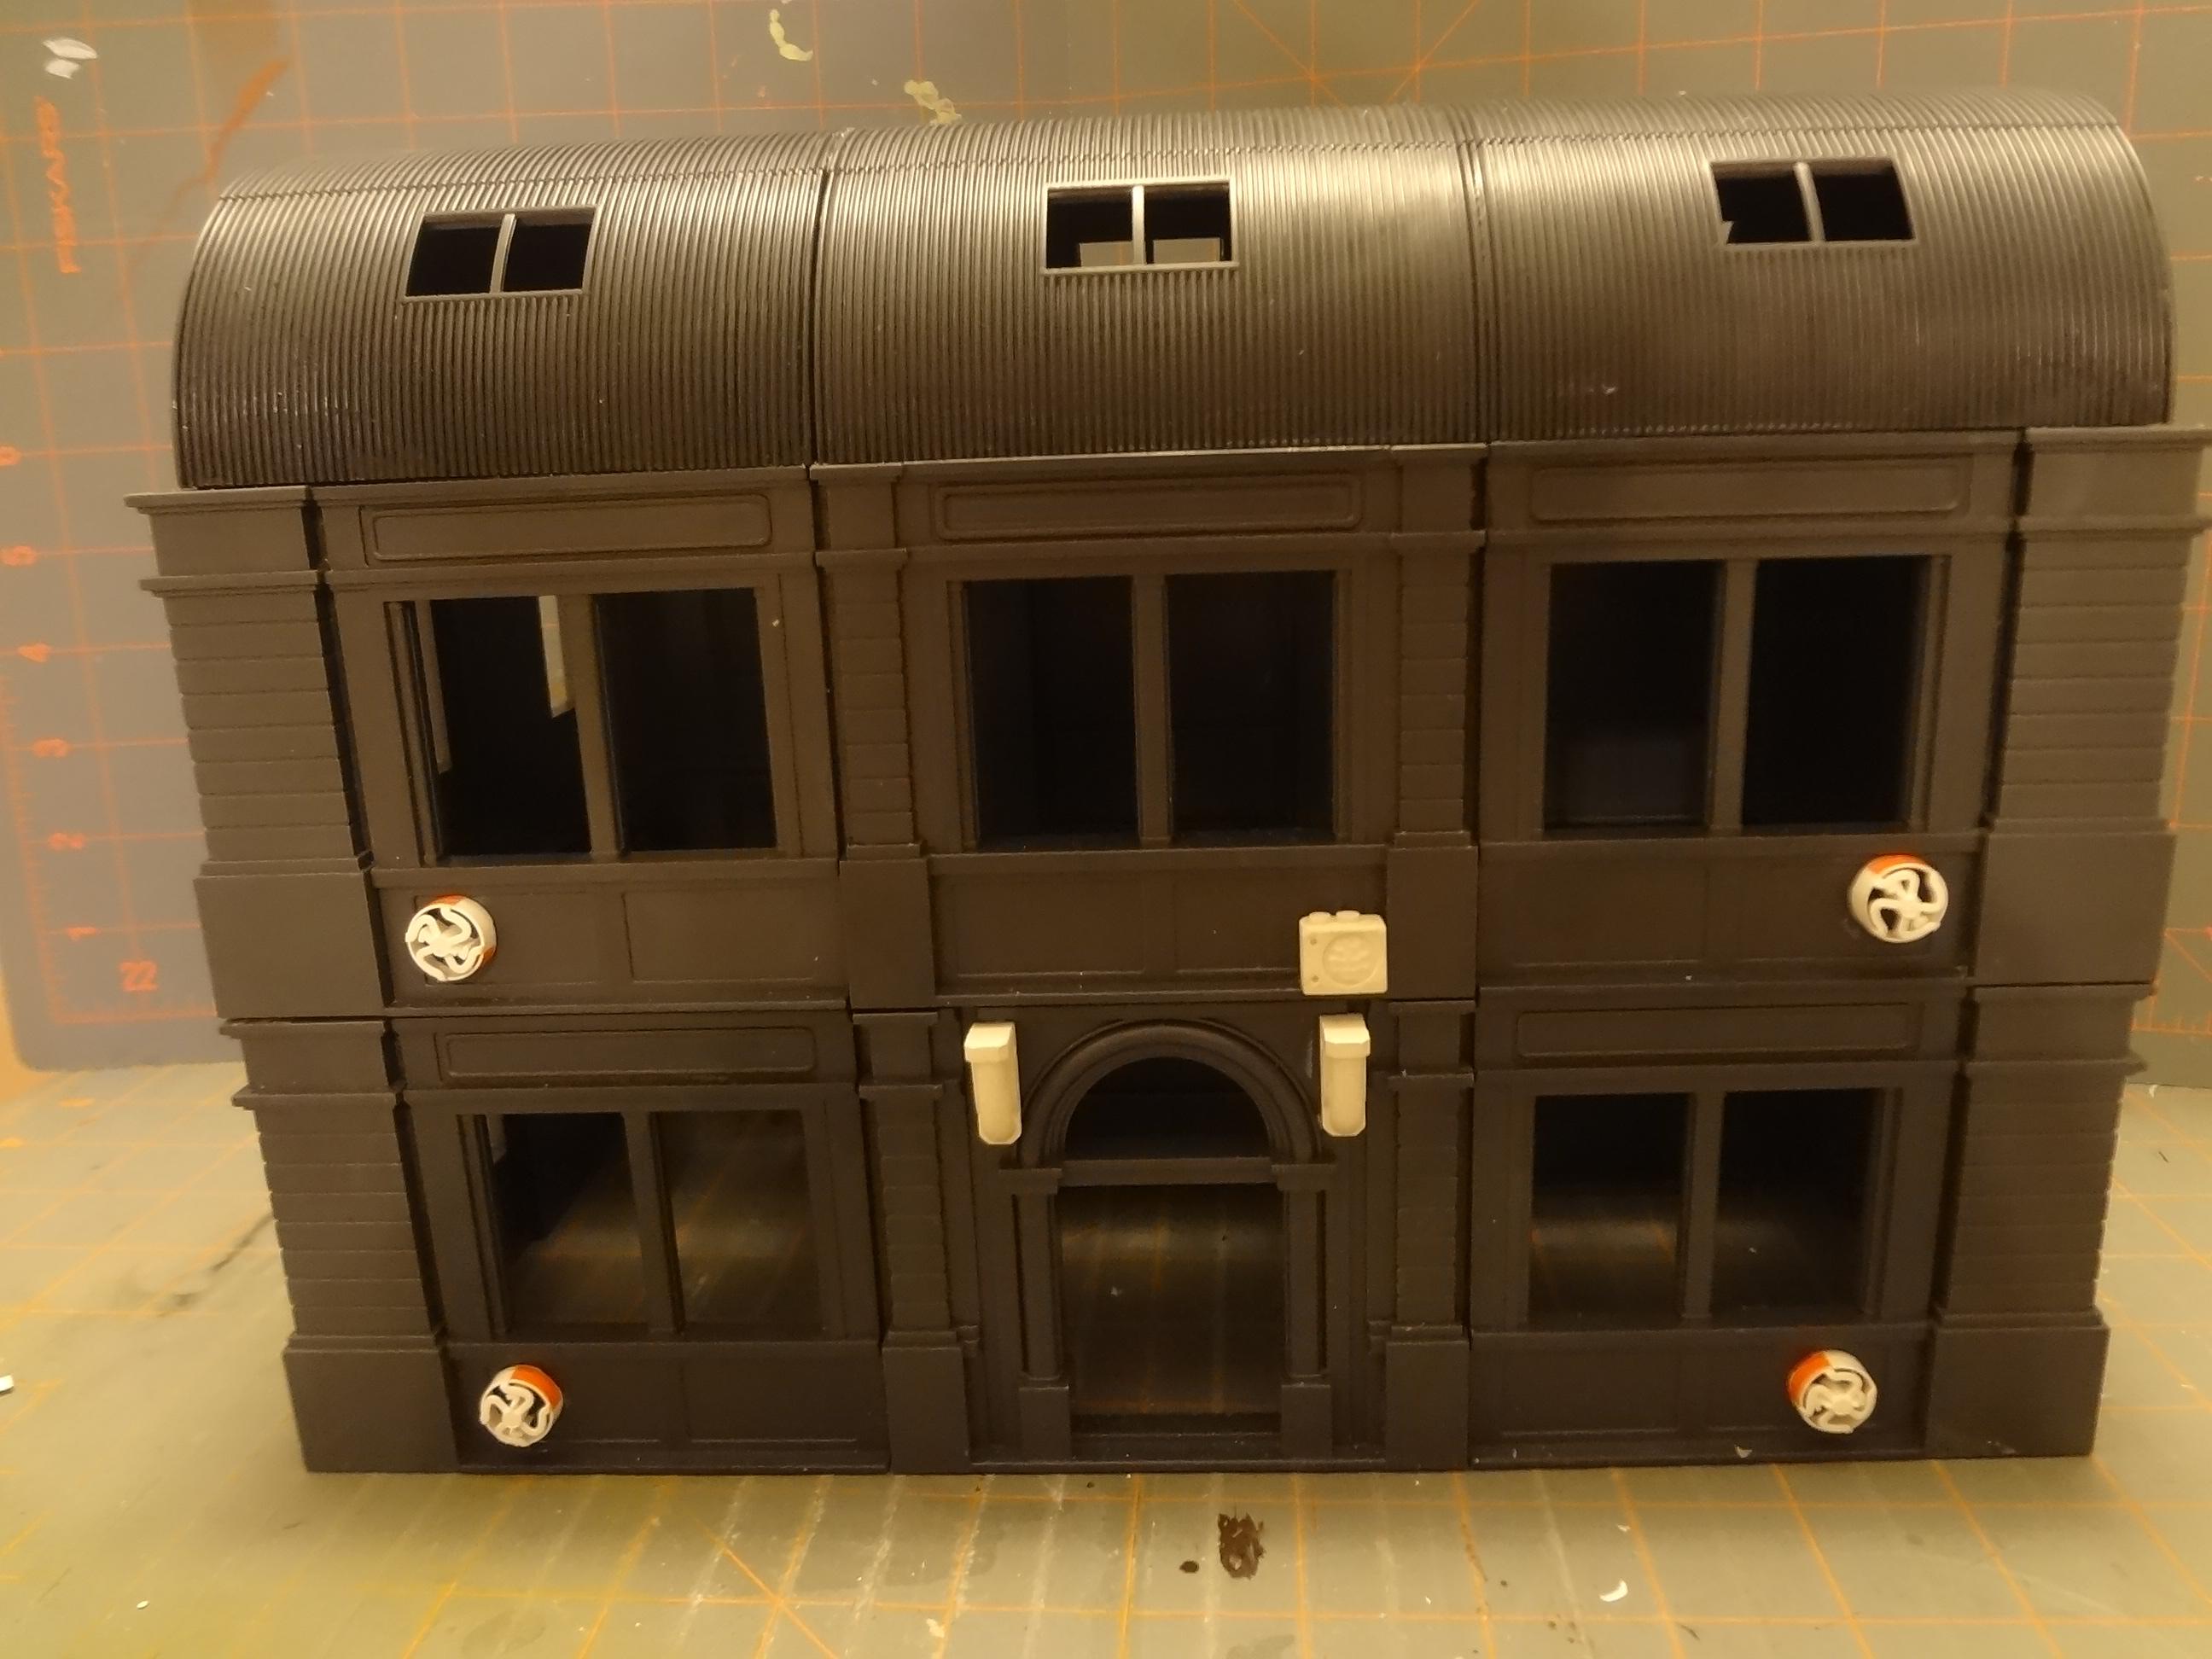
This next building uses the Dust Tactics Quonset Huts as roof sections.


The huts are almost exactly the same width as a building made with the short wall sections.


For this one, I had to cut some of the huts down, but the grooves on the roofs make for very easy cutting. More Hirst Arts bits -- sci-fi tube curves in this case -- made for great light fixtures.


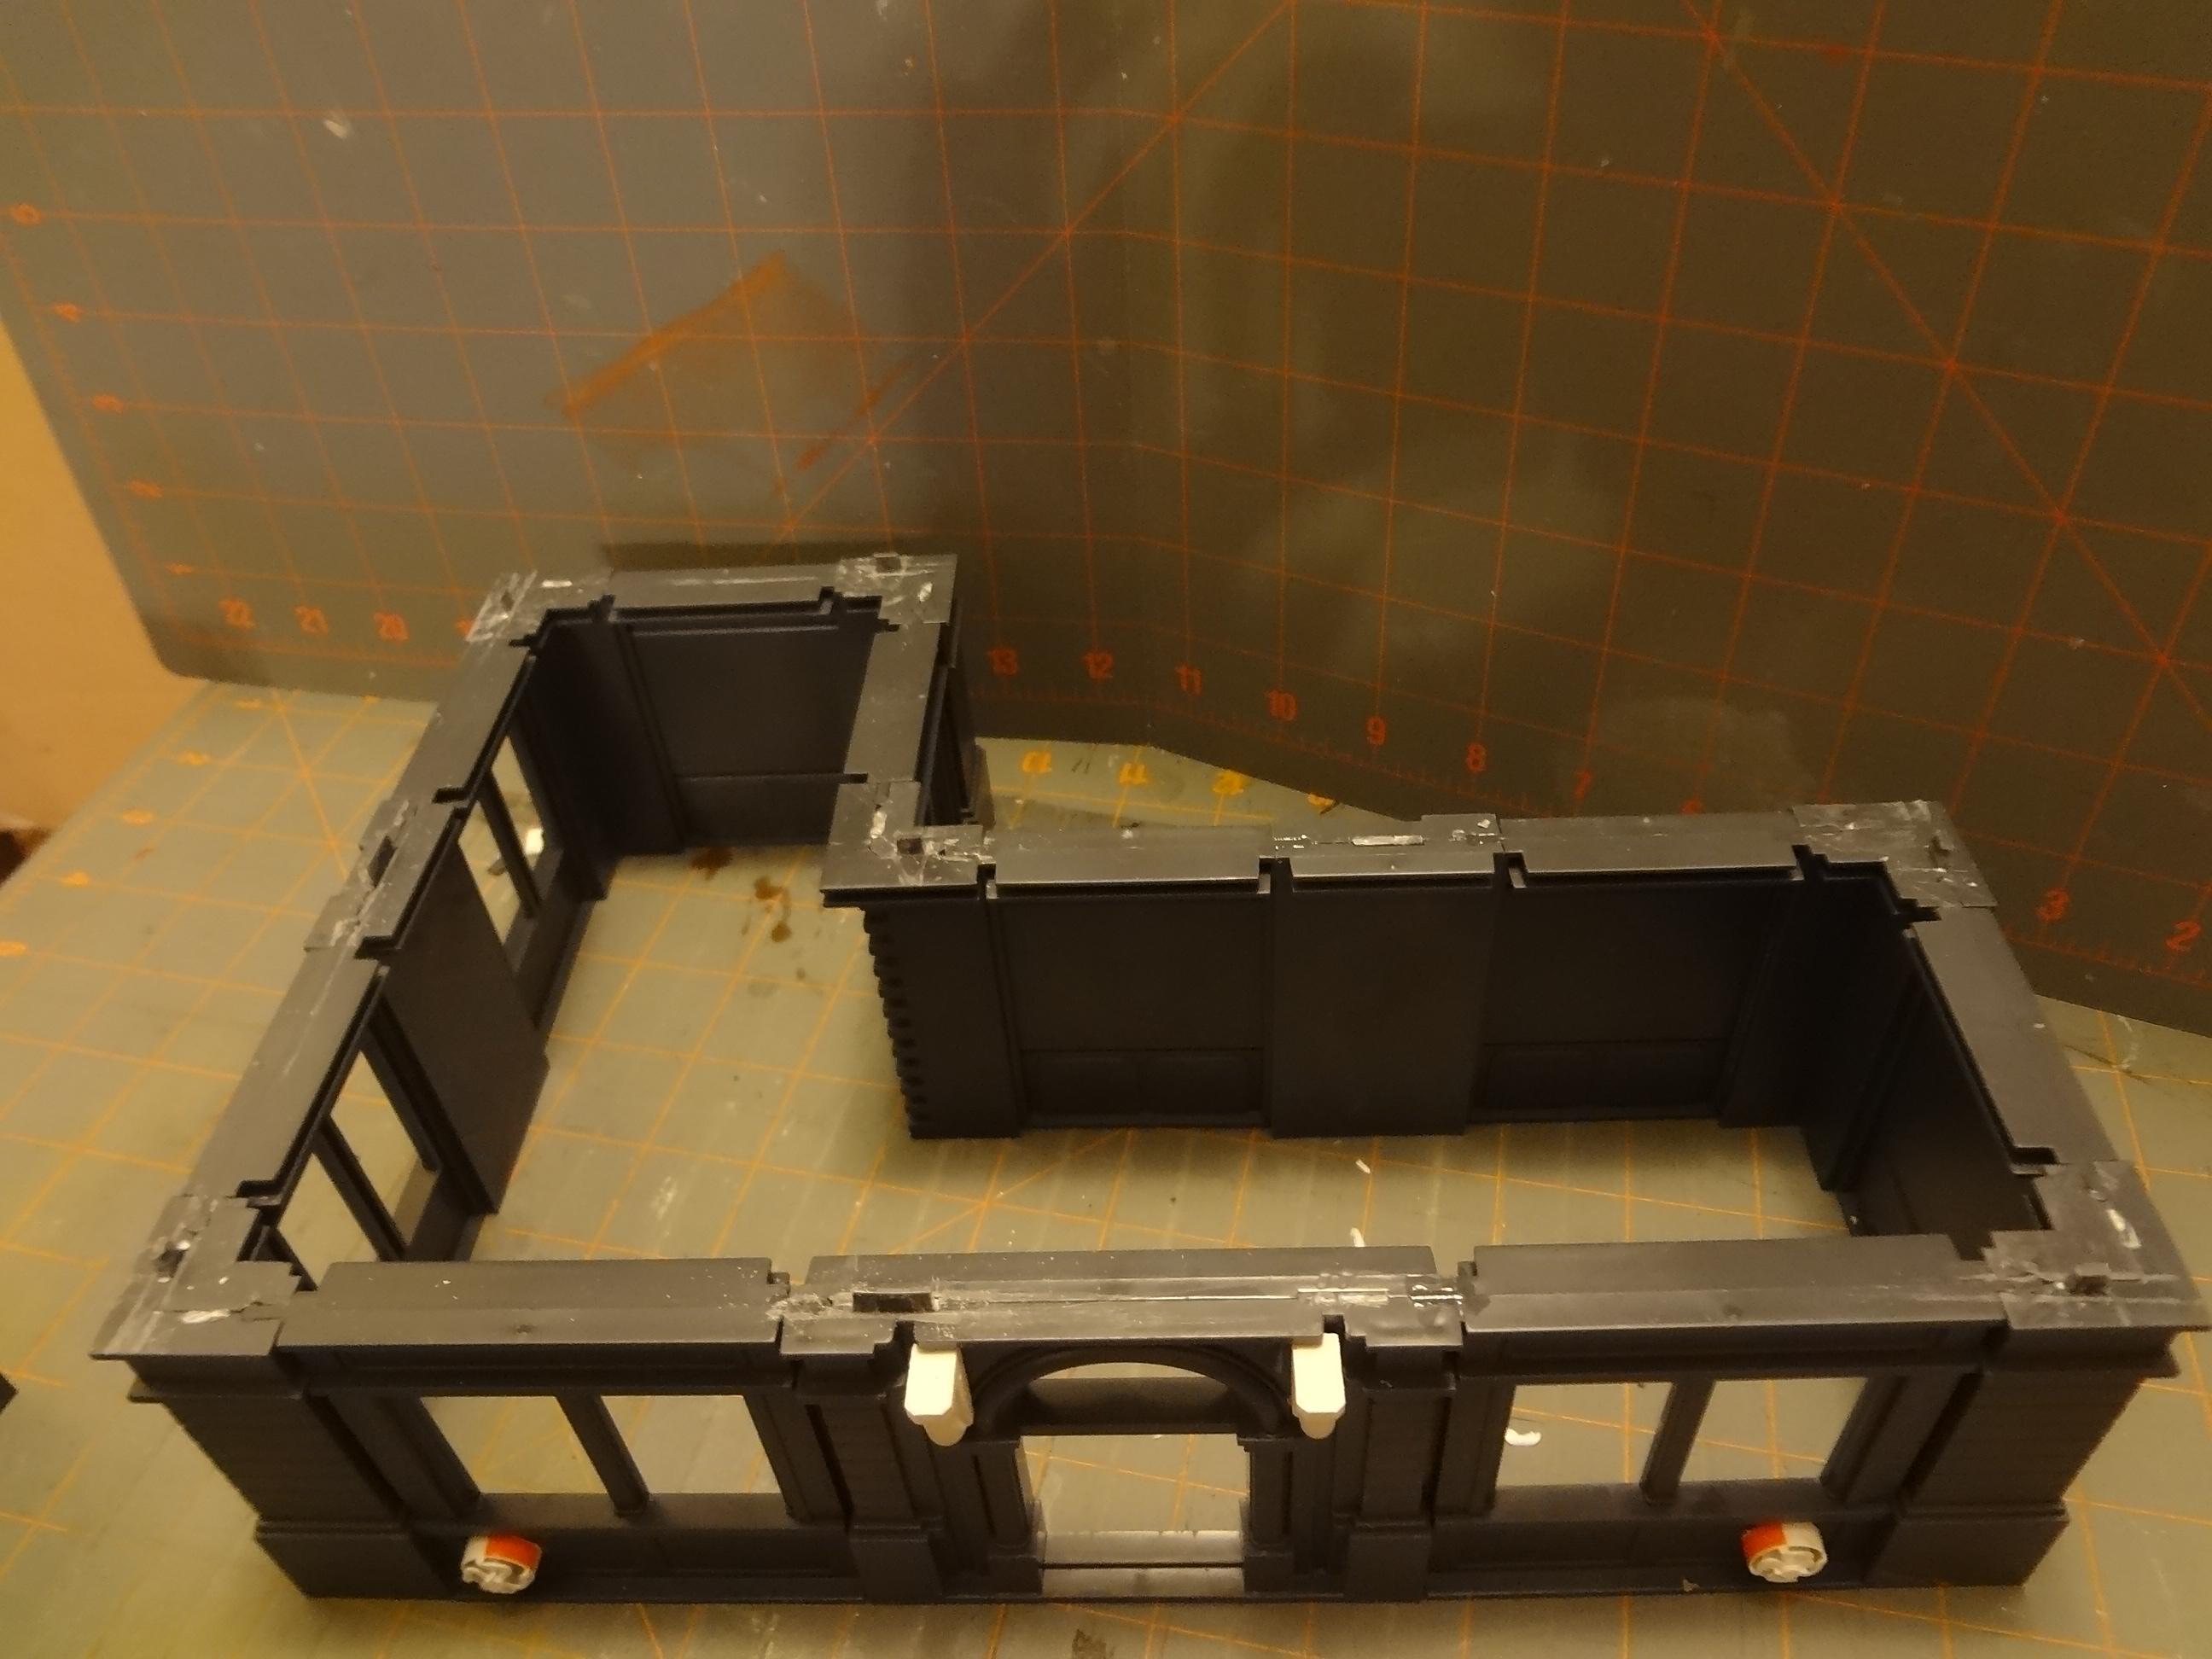
The little round vents are small medical bits of unknown origin. The second story of this building lifts away, which was made possible by removing almost all of the connecting tabs and trimming the remaining tabs down.


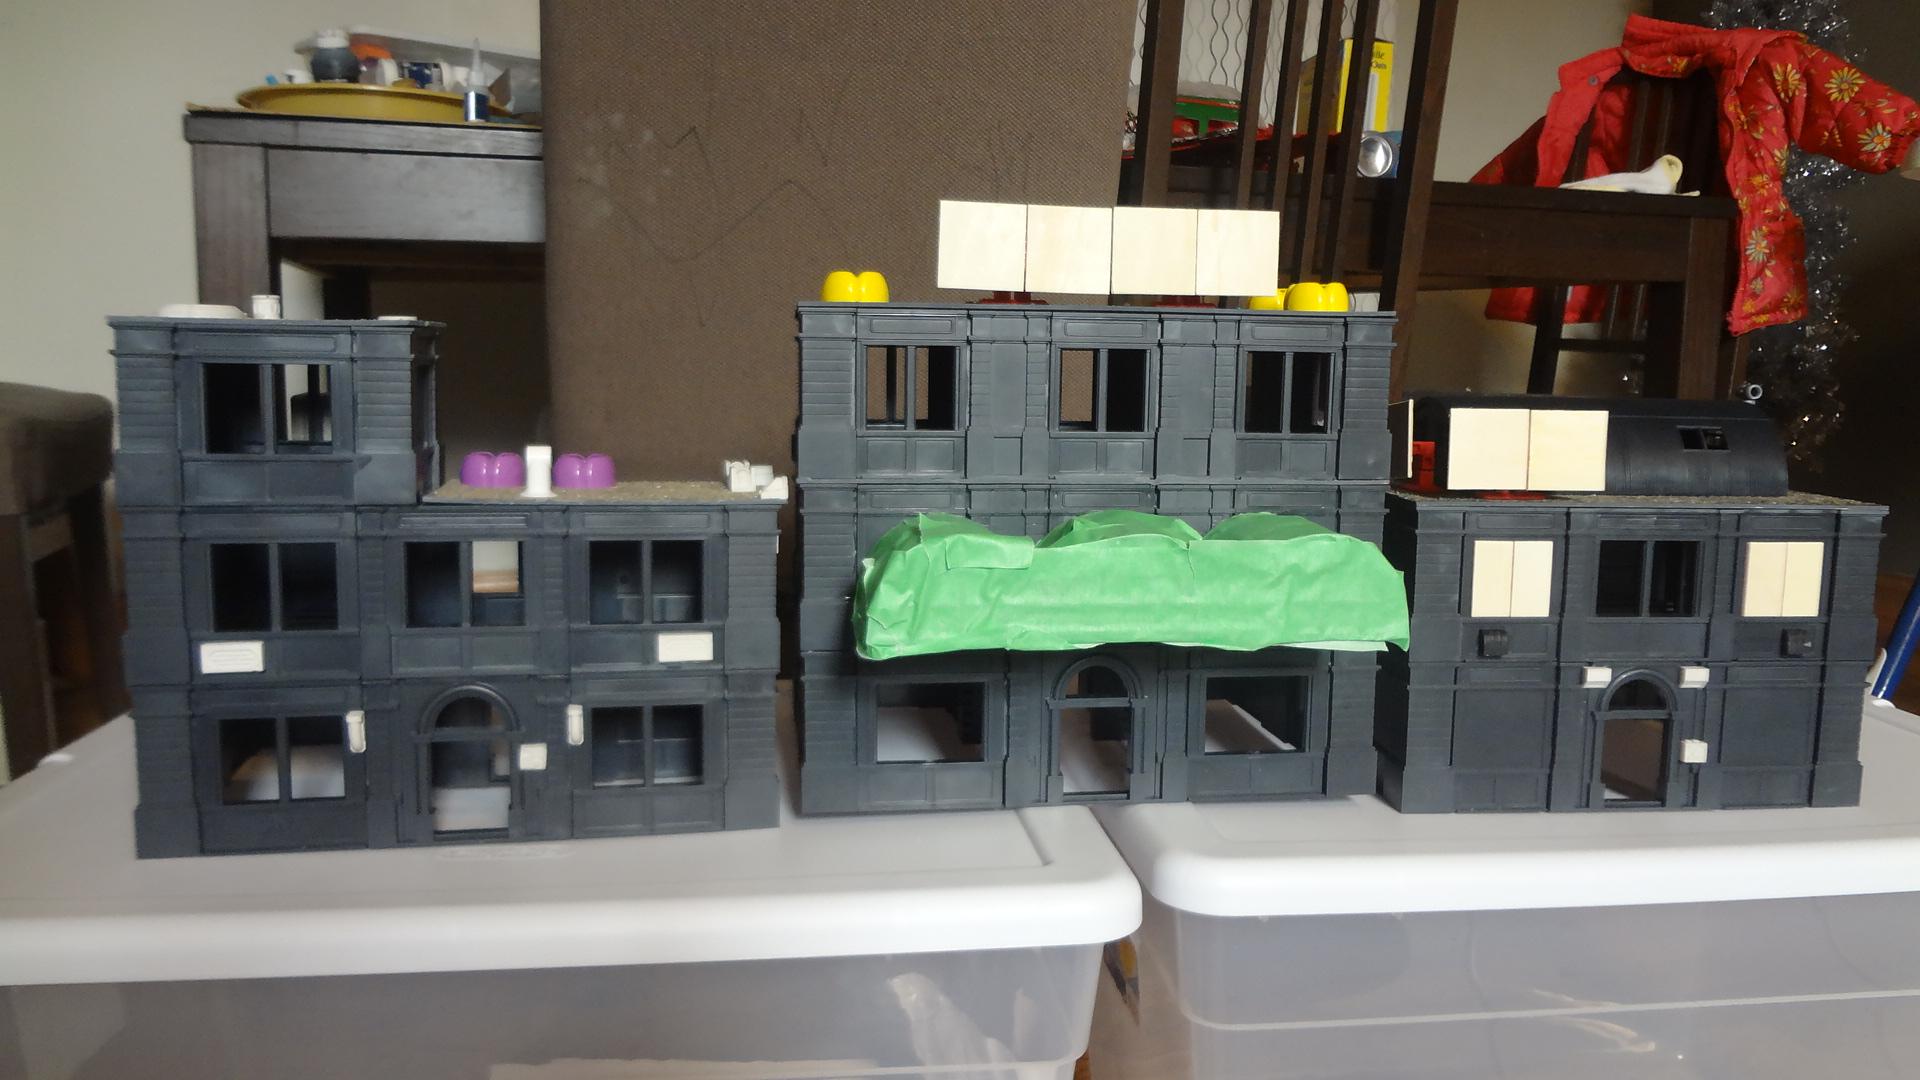
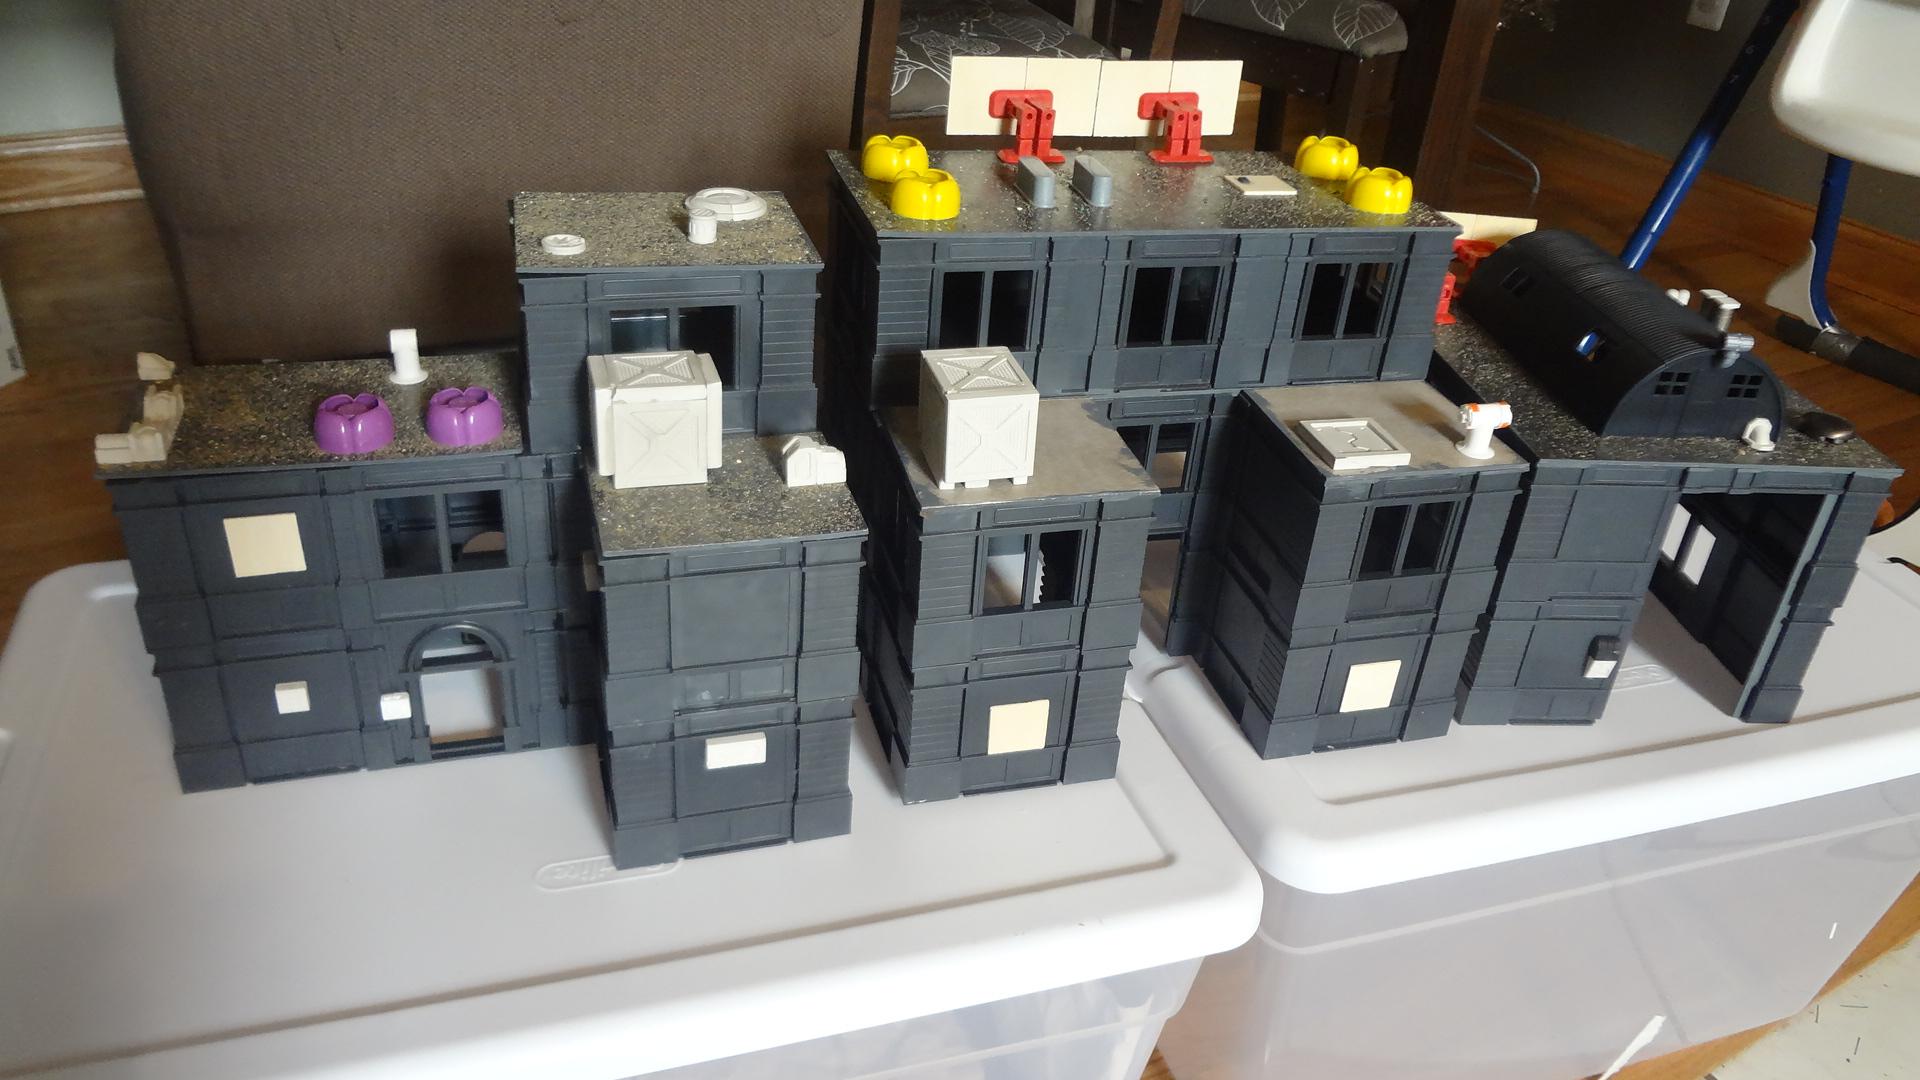
Here's a trio of buildings.


The masked-off awning is from a toy train station that I found at a resale shop. The purple and yellow vents are the caps from baby food pouches. For these roofs, I tried something different that worked really well. The roofs are self-adhesive vinyl composite tiles. At about $1 per square foot, these cheap tiles have adhesive on one side.


You can put them sticky side down as seen on the 2nd floor of the middle building, or (as with the rest) you can put them sticky side up. The glue is sticky enough that almost all the stuff on top of them required no glue. After I attached the various details, I sprinkled sand over the rest of the sticky surfaces to simulate the tar and gravel roofs that are so common in the city. Black gesso will nicely cover any remaining adhesive Almost all roofs lift off to access the interior of the buildings.

That's all for now! I'm working on two more buildings, but you'll have to wait for the next post to see them all. Here's a teaser of what's to come when I show off all seven finished buildings…


Stay tuned!

-- Karl, Chicago Skirmish Wargames club member