
Project 1 - Hot Wheels Launcher Power Station, Or, When Toy Designers Do All the Work For You
This hot wheels toy launcher was found in a bag of racing stuff for a couple bucks at Salvation Army. The rest of the bag went back to the resale shop, but I kept this part.
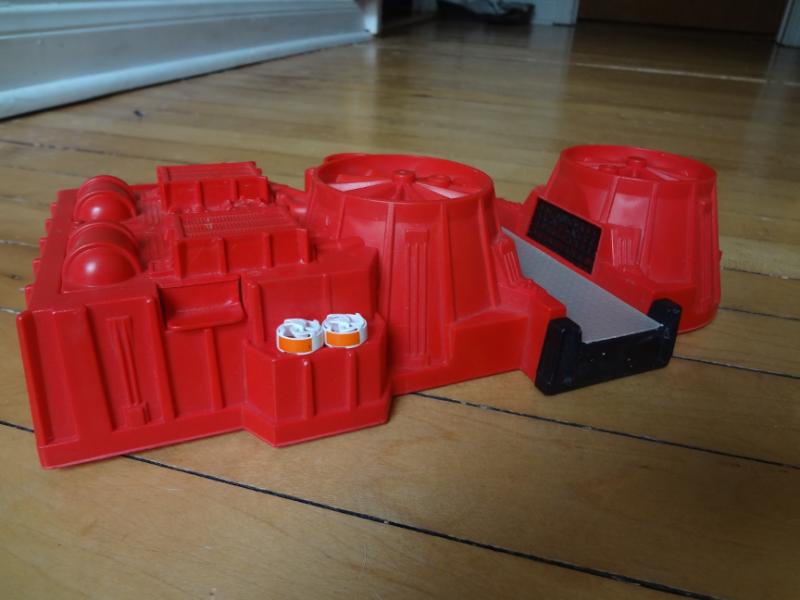
I gutted the interior and pulled out lots of nice big gears for future projects, then removed the foam car-propelling wheels. The holes they left behind were covered with cross-stitch mesh, aka "granny grating."
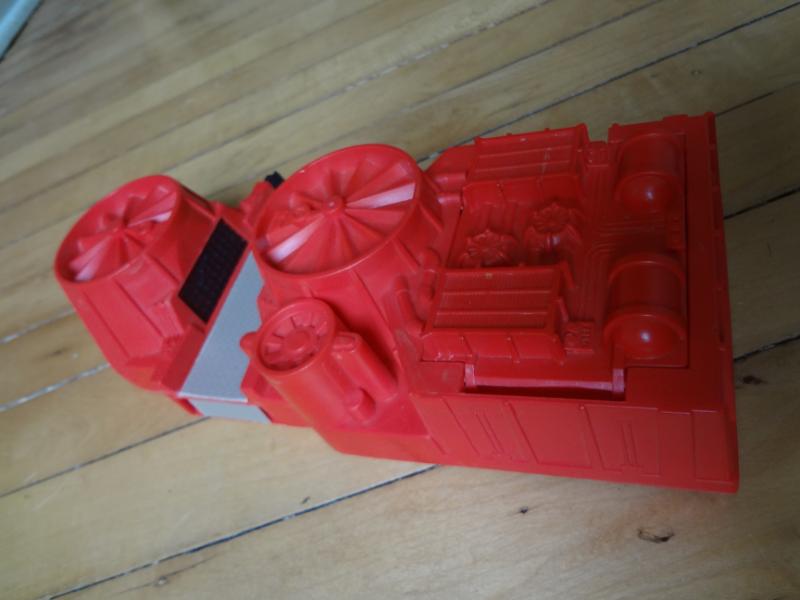
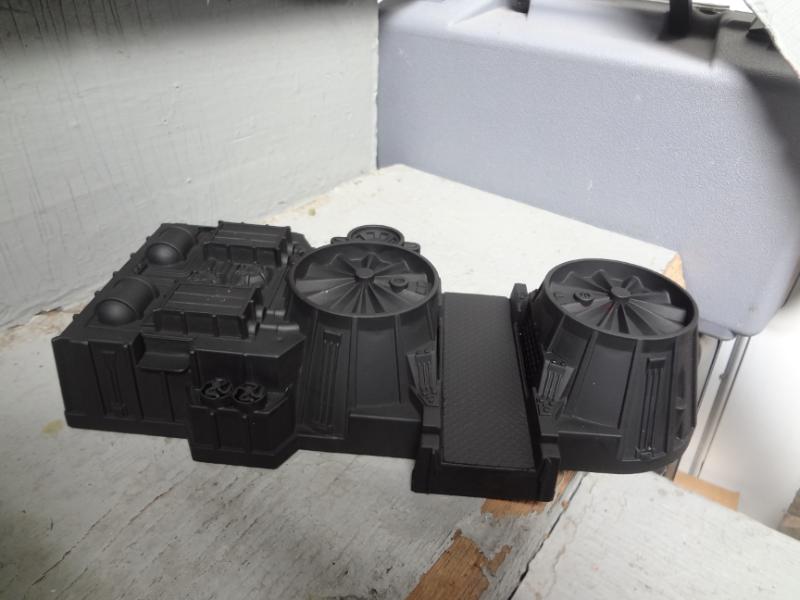
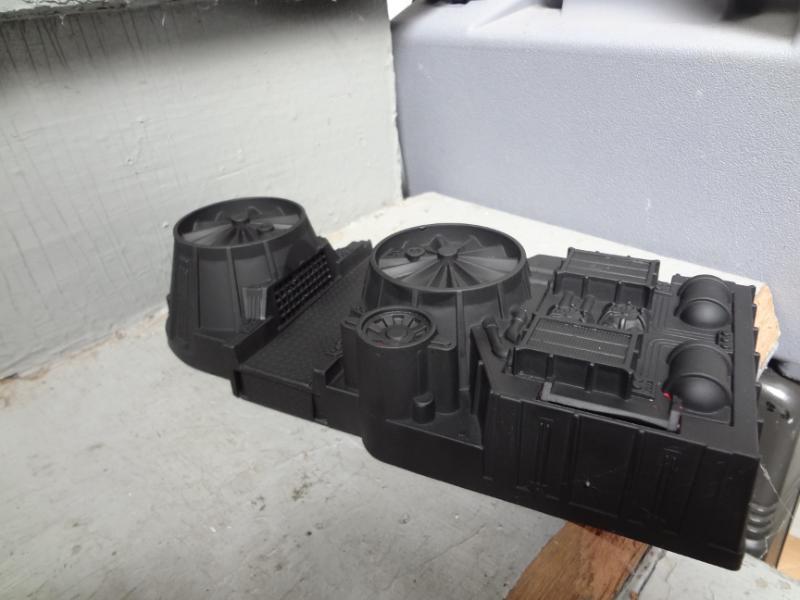
I used a piece of diamond plate plasticard (thanks Josh!) to cover the raceway section, and a couple of odd vent-like bits to conceal where the on/off switch used to be. And that's it -- maybe 30 minutes of effort expended in teardown and construction. Here's what it looks like with a coat of black spray paint.
Project 2 - Building Under Construction, Or, Why You Should Own a Dremel 543 Cutting/Shaping Wheel
This find from Goodwill began life as a toy car parking garage. I used my handy Dremel 543 Cutting/Shaping Wheel cut away the tabs for attaching track, the signs, edges of car pathways and handles.

I can't recommend this tool highly enough. The disposable cutting wheels included with most rotary tools are useful for fine cuts where you don't want to lose much material, but they aren't made for shaping, and they break easily. The 543, on the other hand, is a piece of steel with rough bits of tungsten embedded in it. Not only does it cut like a champ, but you can push and pull to shape, trim and grind things down to size. It's not cheap, but in the past two years I've cut more things with it than I can count, and even as the tungsten grit wears off it shows no sign of stopping.
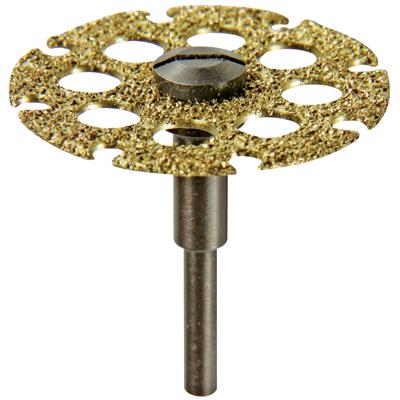
By pushing and pulling lightly across the plastic surface, you can nicely roughen up the surface and make it look more like cement or plaster without making gouges. I did this to almost all the smooth areas of the blue support structure. It was much faster than adding texture by smearing a thin layer of concrete patch all over the model.
I did two major operations on this project. The first was to hide the various ramps with bits of single sided corrugated cardboard. Bits of the cardboard were added elsewhere as well.
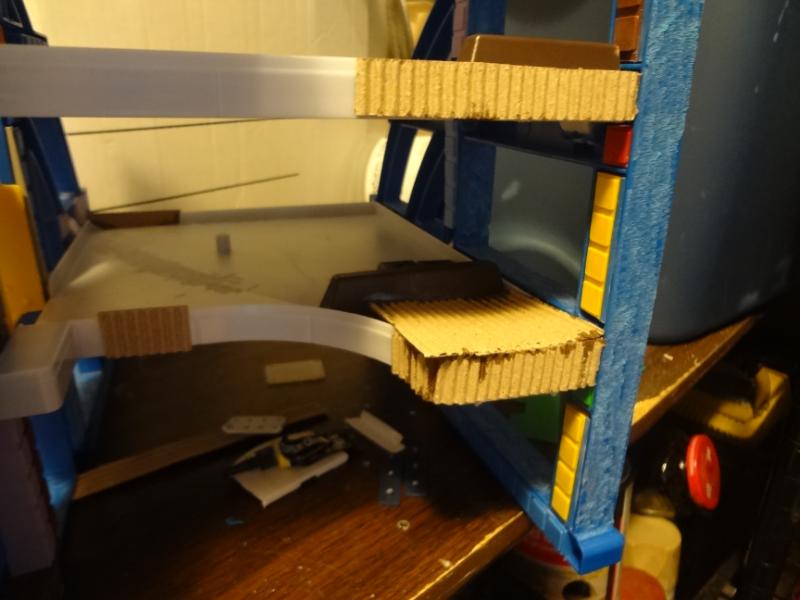
While doing this I wanted to hide most of the one-sided, hollow support pieces. I filed as much as I could with plastic counting bricks, of course found at a resale shop. I have two different styles of these and they are great for adding a bit of gridded texture. The hinges were hidden with pieces of grey plastic cut from some sort of packaging insert. The second step was to build four HVAC/elevator shaft sections from electrical junction boxes. Notable details include door-type shapes from a toy bumper cars playset, ventilation fans from baby food caps, and rectangular vents from the patriotic house decoration that became this building.
Most bits were superglued in place after sanding down both surfaces, but the baby food caps were epoxied. Epoxy or plumbers PVC solvent are really the best when you have two soft plastic pieces, especially when there isn't much shared surface area.
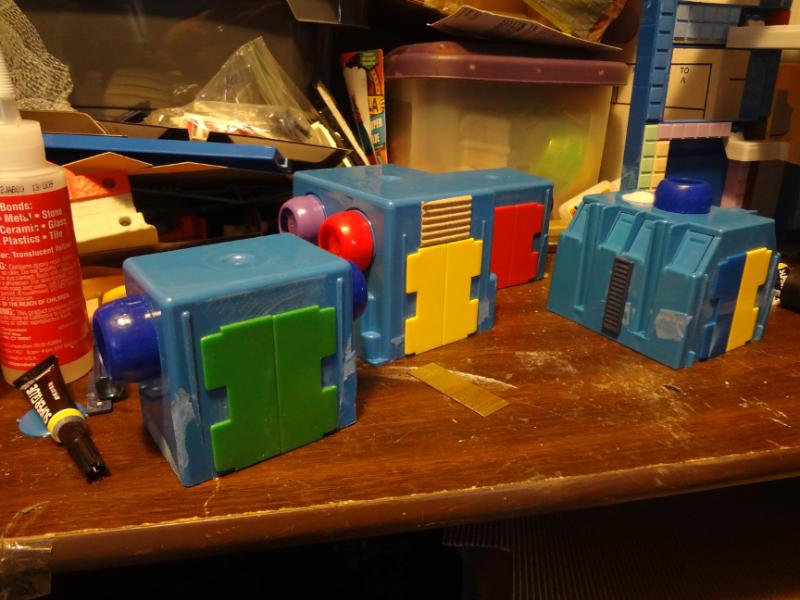
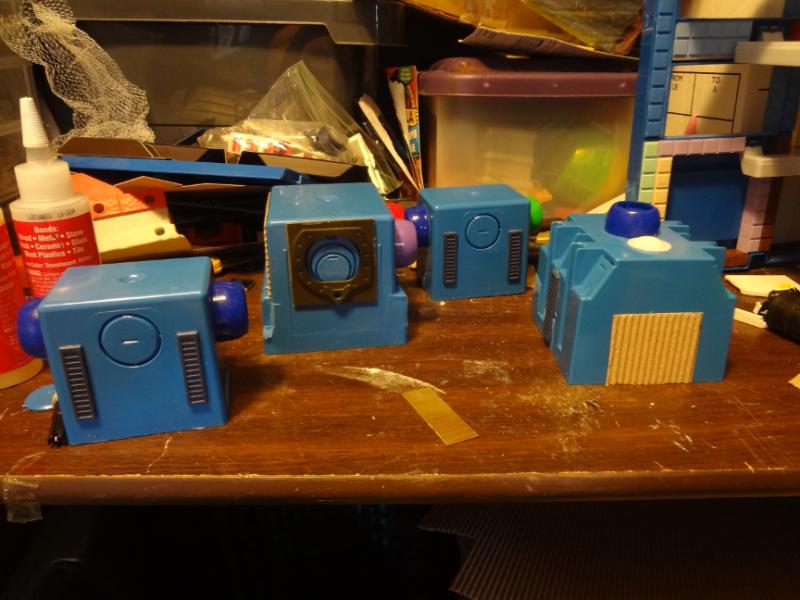
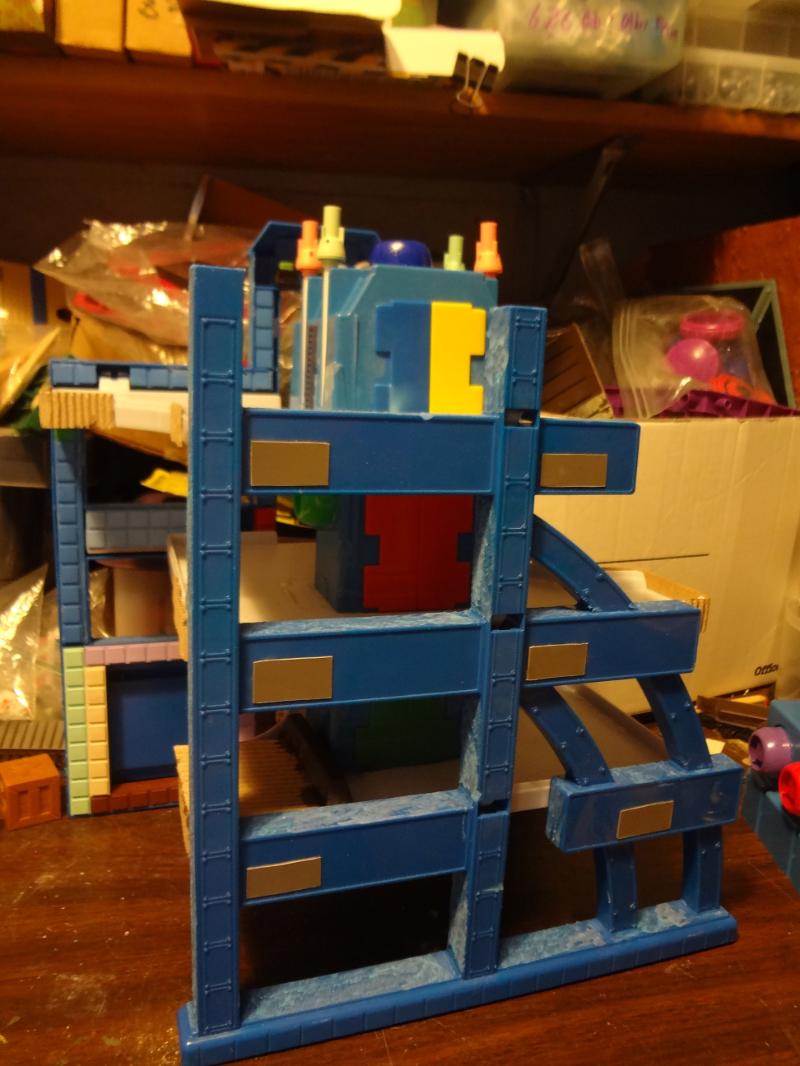
After gluing them in place, I added some plastic tube connection bits to the top unit.
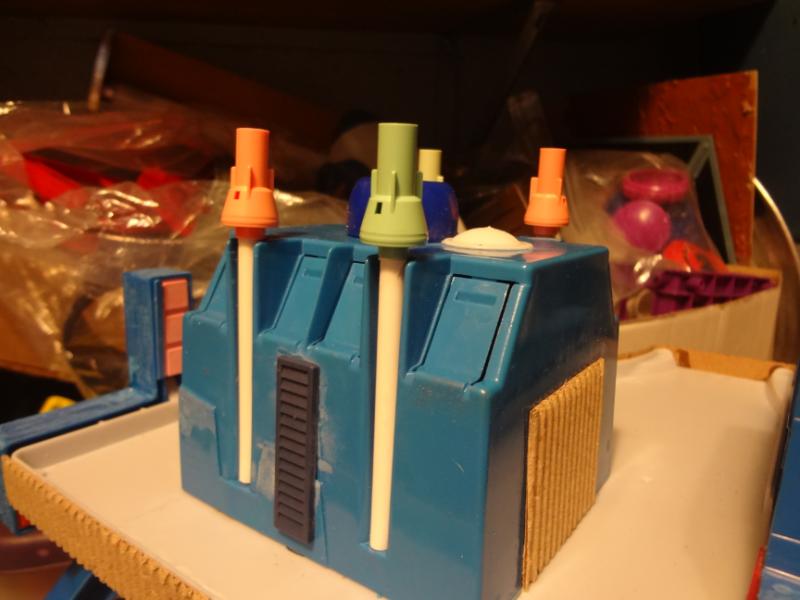
A bit of fencing and some plasticard rebuilds the car lift into a construction worker elevator.

Here's how it looks after a couple layers of Krylon Fusion flat black, which adheres better to soft plastic, followed by regular flat black spray.
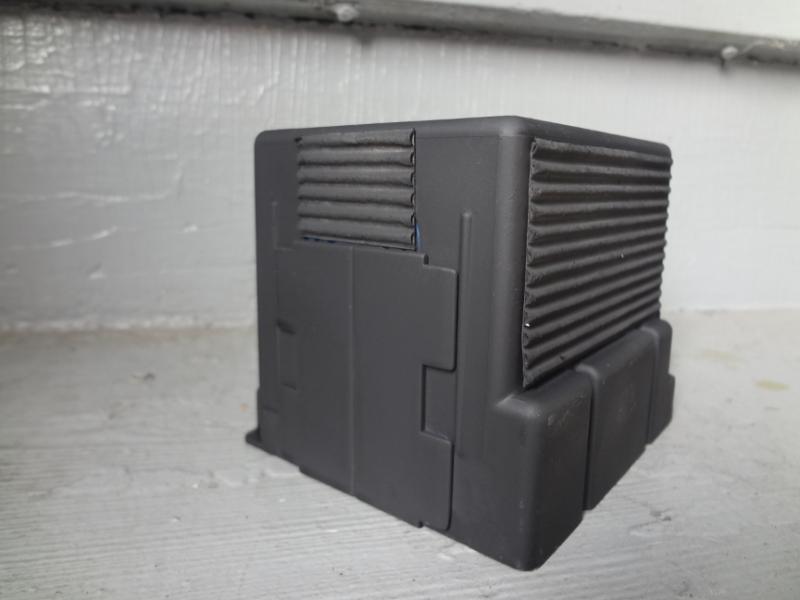
I will be adding a top edge of corrugated cardboard to the elevator shaft boxes to fill the space between the top of the boxes and the ceiling.
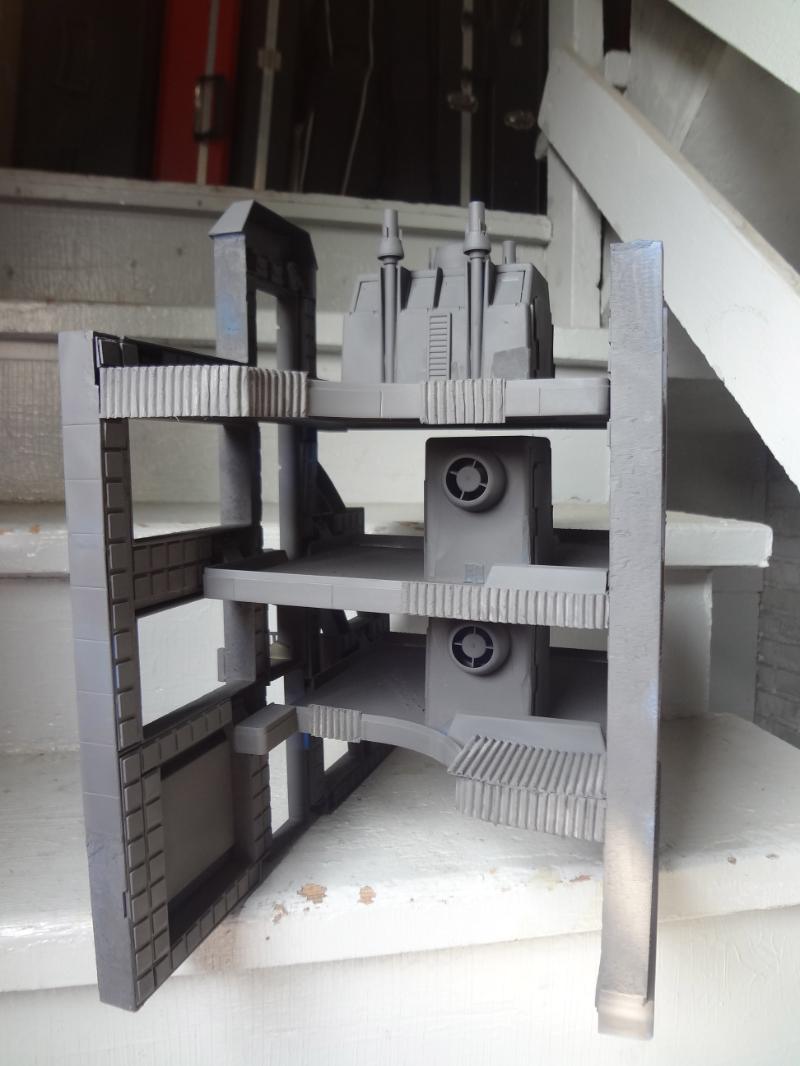
This last shot really reminds me of the Necromunda stacks that I used to admire in my early gaming days.
Project 3 - El Train Platform, Or, Fisher Price Rocks!
When I found this "Geo Trax" train station, it was missing a main support and a few other parts, but as soon as I saw it I knew I had to have it. The elevated train station is a common sight here in Chicago, so I hope to do well with my own rendition.
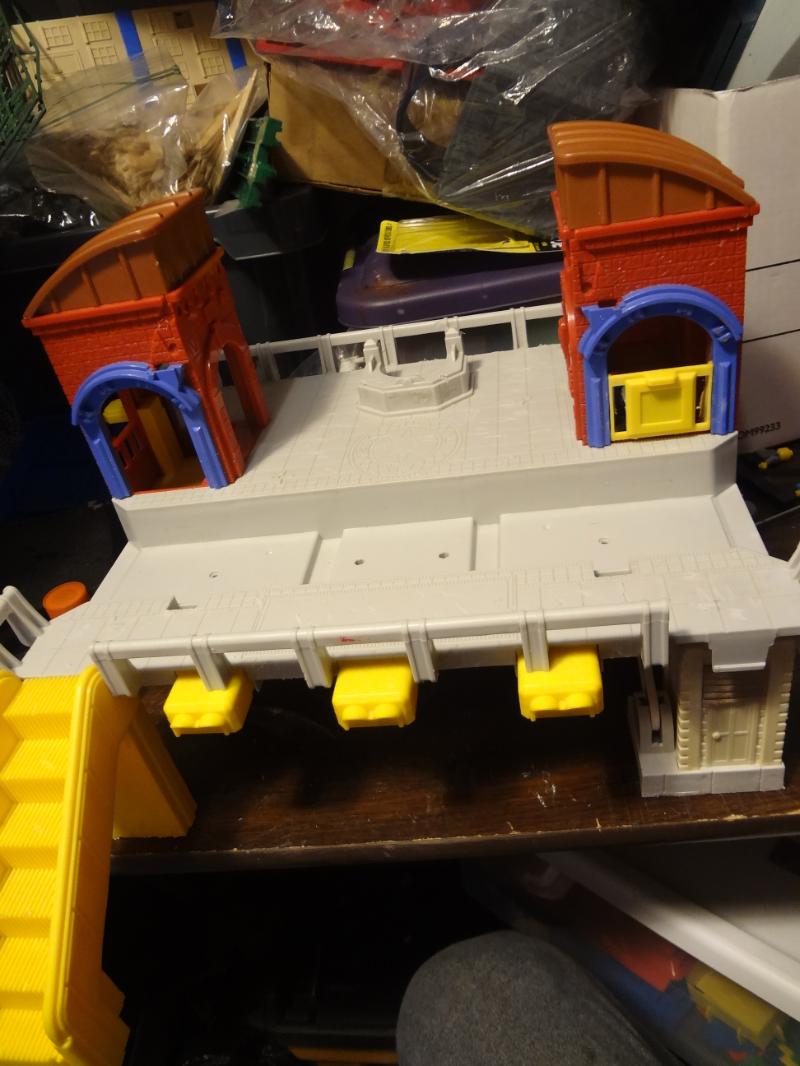
I started by adding a random white plastic crossing guard station to provide the missing support. For maximum strength, I superglued it in place and then flipped it over and poured a bunch of epoxy into the joints.
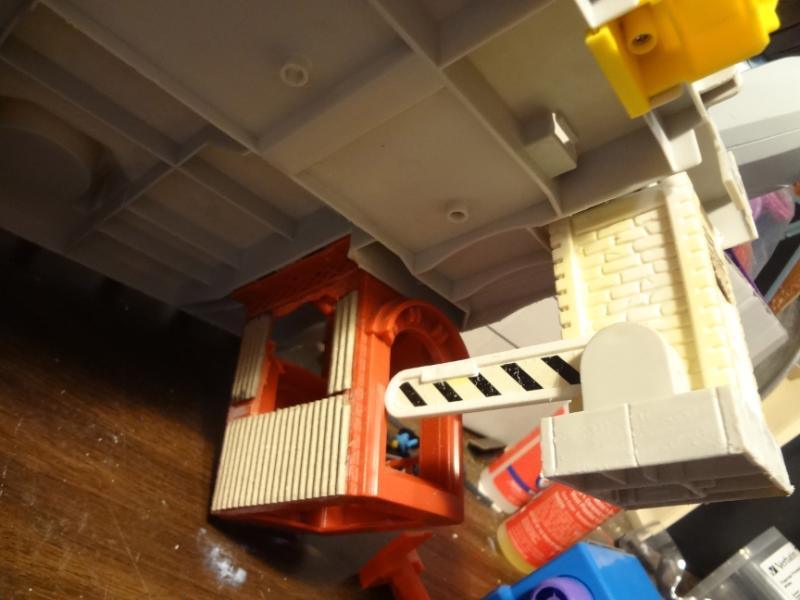
I then had to grind away entire walls of detail depicting a flower stand and candy shop on the bottom of the red tower. Fine for a kids toy, not a good fit for my world-weary cityscape. In their place is single-sided corrugated card and a hole. Here's how it looks primed.
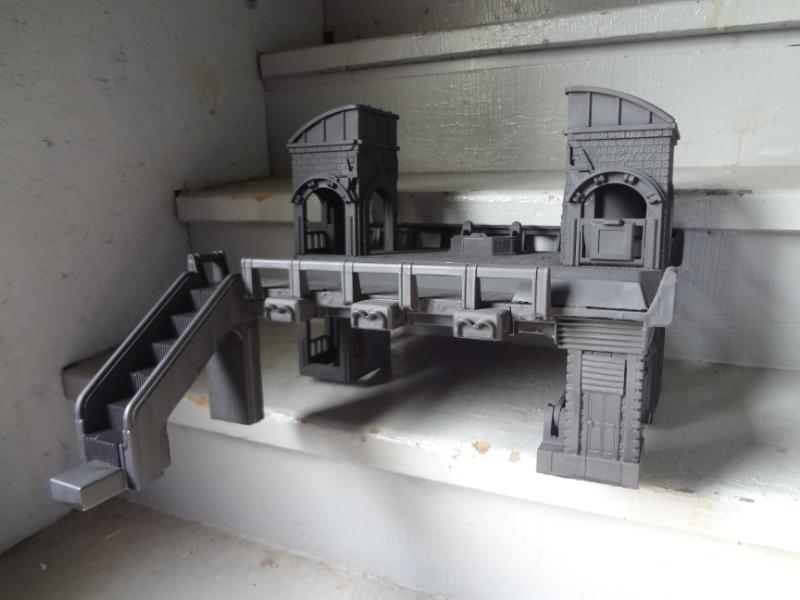
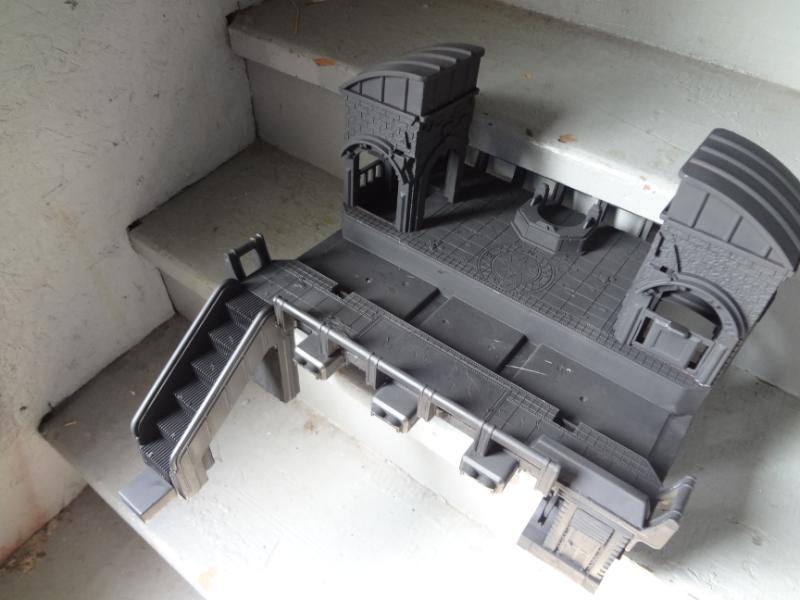
I removed just a bit of detail on the platform, but not much else. With the Dremel cutter still spinning, I tapped the surfaces to add chips and wear. Like Project 2 I used it to add concrete-like texture to the side edges of the platform.
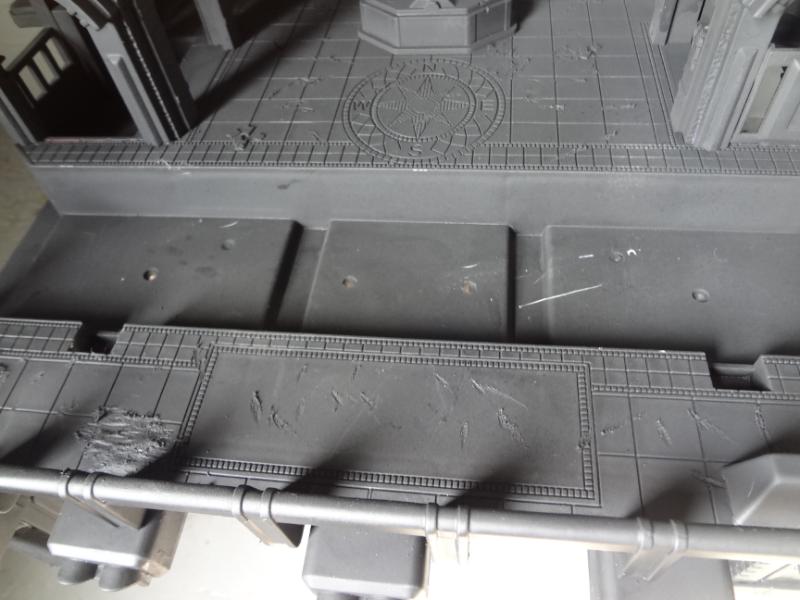
In the painting phase, I'll add more texture there. I don't want to give too much away, but this piece is just the start of a related series of complementary terrain pieces.
And there you have it, three more pieces of terrain ready for paint. The club is having a hobby day at my place on Friday, and painting these will be my project for the night. Hopefully I'll have finished versions to show soon. Feel free to ask any questions about construction and sourcing in the comments section, and I'll do my best to respond!
-- Karl, Chicago Skirmish Wargames club member

3 comments:
Masterful as ever, Karl. Wish I could be there Friday to see them in person.
These are amazing, I will definitely be checking my local charity shops for similar in future!
Posted on "Warhammer Proxies!".
Post a Comment
Note: Only a member of this blog may post a comment.