

A recent posting on The Miniatures Page showed some interesting ways folks had repainted or modified Nerf guns to look steampunk. While looking at them, I realized that some had quite a nice sci-fi look. Though I don't presently engage in any cosplay, I thought it would be fun to try my hand at making one myself. Who doesn't want their own laspistol?
Supplies needed
- Nerf Nitefinder pistol
- Sheet polystyrene or other plastic card for covering over the cutaway sections
- Two round pieces for covering the nerf emblems. I recommend the inside pieces of Heroclix bases
- Plastic bits for adding detail and covering up the rear plunger opening
Tools needed
- Dremel or other motor tool with cutting and sanding bits
- Superglue or plastic glue if using all plastic
- Hot glue gun and PVA glue
- Black spray paint
- Rub 'N Buff
- Small Phillips screwdriver
- Sandpaper
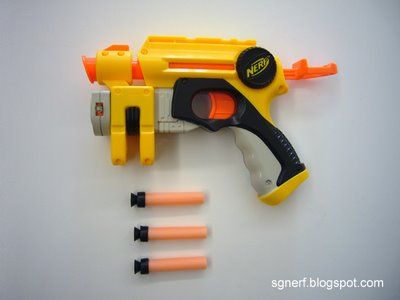
I started with the Nerf Nitefinder as seen above. This is one of the cheapest of the Nerf guns and can be had for less than $10 at most toy stores. Though I don't play much anymore, I'm a longtime fan of the Warhammer 40,000 universe, and this pistol looked like it could have a 40k look with some modifications.
My goals were as follows:
- Remove the laser targeter and ammo holder under the barrel.
- Move the laser targeter into the main barrel and retain its functionality.
- Achieve a look similar to a Warhammer 40k autopistol or laspistol.
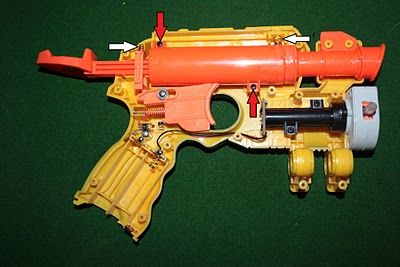
The plunger, spring and rear of the barrel would be removed (save the black o-ring gasket), and the black targeting mechanism would be moved into the barrel. A Dremel or drill is necessary to clear the air vent and other plastic bits from inside the barrel so that you can see all the way though it. The positioning of the targeter is as below, except that it will be inside the orange barrel.
If you are careful, you don't have to do any soldering as the targeter is wired to the trigger mechanism and can be simply moved.
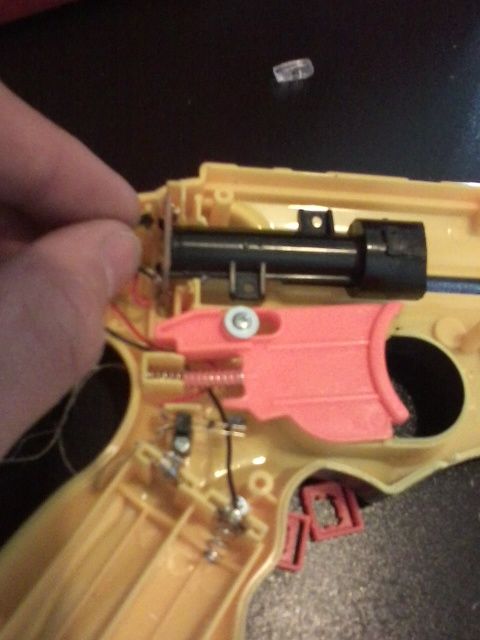
A bit of plastic has to be cut away to make room for the circuit board of the targeter. The body of the targeter has 4 screw connection points. Remove the two on the right and left (located near the opening) and keep the top and bottom. Put the black gasket around the end of the targeter and it and the top and bottom screw points will keep the targeter firmly in place in the center of the barrel.
The lens for the targeter can be glued to the front of the targeter. Remove it from the grey plastic casing and cut away the rods on the side of the lens until it looks like this:
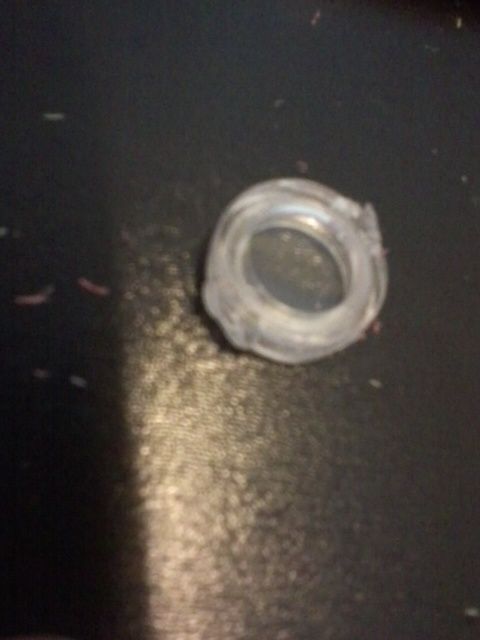
Do not use plastic or superglue as they can fog up the lens. I used a bit of PVA glue to get the position just right, followed by a hot glue gun. At this point, test the targeter to make sure that it is shooting as close to straight as possible. If it's way off, simply peel off the hot glue and try again. The end result will never shoot completely straight, but if you get this step right, it will at least be close.
However, first the body had to be modified. I removed every bit of the targeter casing with a Dremel, and the end result looked like this:
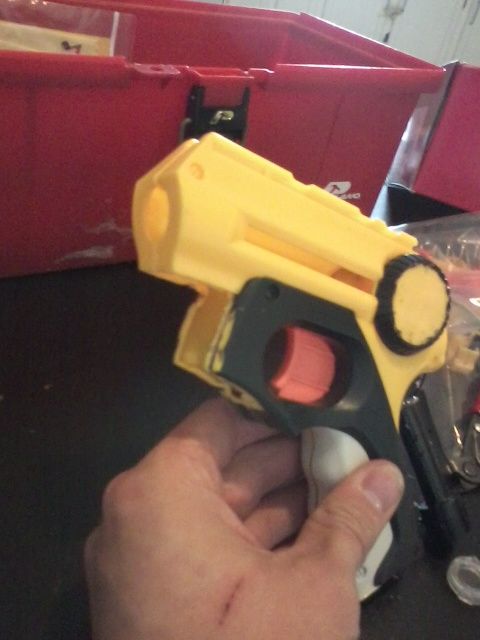

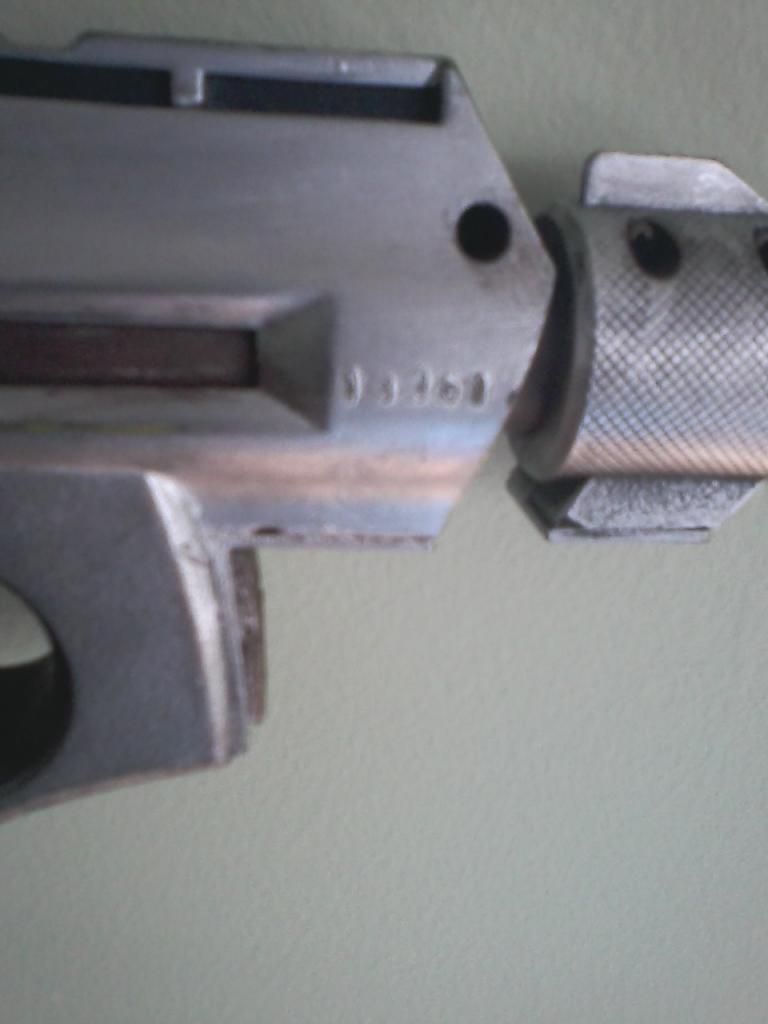
At this time I also sanded away all writing and emblems on the sides of the barrel and under the butt of the pistol. I found find sandpaper to be better for removing writing and warning printing as it gives a bit smoother surface with less effort. I did leave in place the serial number on the right side of the barrel as it looks very much like the serial number on real firearms.
The inside parts of Heroclix bases were glued over the round areas where nerf emblems were. You can use other round details to cover them up, but the Heroclix bases were the perfect size and were very cheap. I then reassembled the interior and set to covering up the cut-away sections.
Note that once you start the next step you will not be able to open up body of the gun again, though the battery compartment in the handle will still be accessible. I used pieces of sheet magnet (plasticard would work great also) to cover up the parts I had cut off. I simply glued them in place, but I highly recommend using a bit of plastic putty to smooth the edges into the body of the gun.
Plastic detail bits were glued in front of the trigger (small vents) and over the hole where the plunger was located (bits of megablocks to look like a switch).
Then the entire model got a coat of black spray paint. I used cheap $1 hardware store paint, but I probably should have used Krylon Camo Black as it is designed to bond strongly to plastic.
Here are the magnet pieces hiding the cutaways.
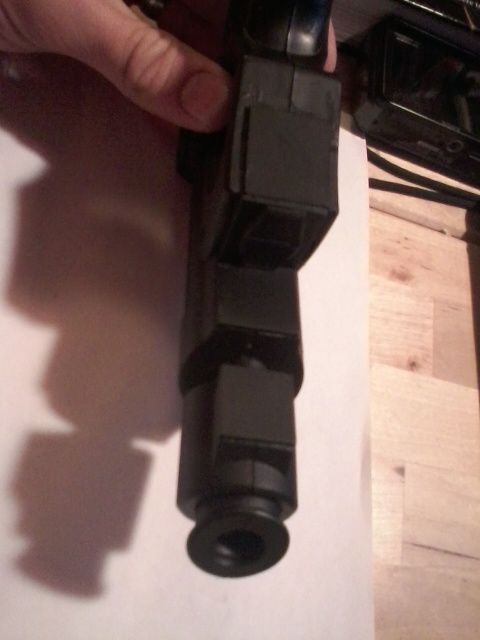
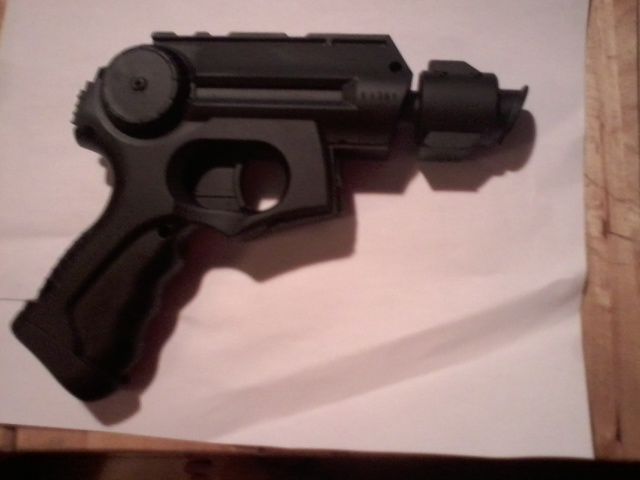
When all was dry, it was time to color this thing.
The only two finishes I used were Rub 'N Buff metallic finish in the Sliver Leaf and Spanish Copper colors. Rub 'N' Buff comes in a squeeze tube and is ideally applied with a finger with a circular motion. I used a brush for some of the harder to reach areas, especially barrel areas.
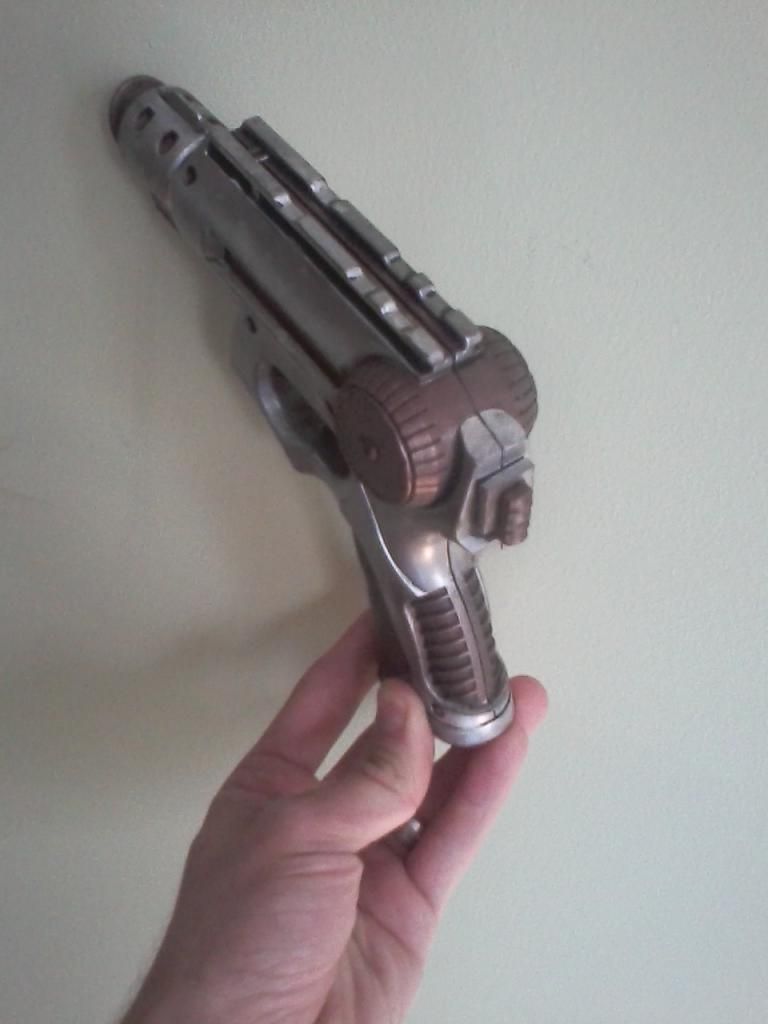
After application, the surface is buffed with a soft cloth to bring out the metallic shine. If it doesn't look good to you after one application you can always apply another. I went for a fairly shiny look, but some folks apply it irregularly for a more worn appearance. Here are the final results.
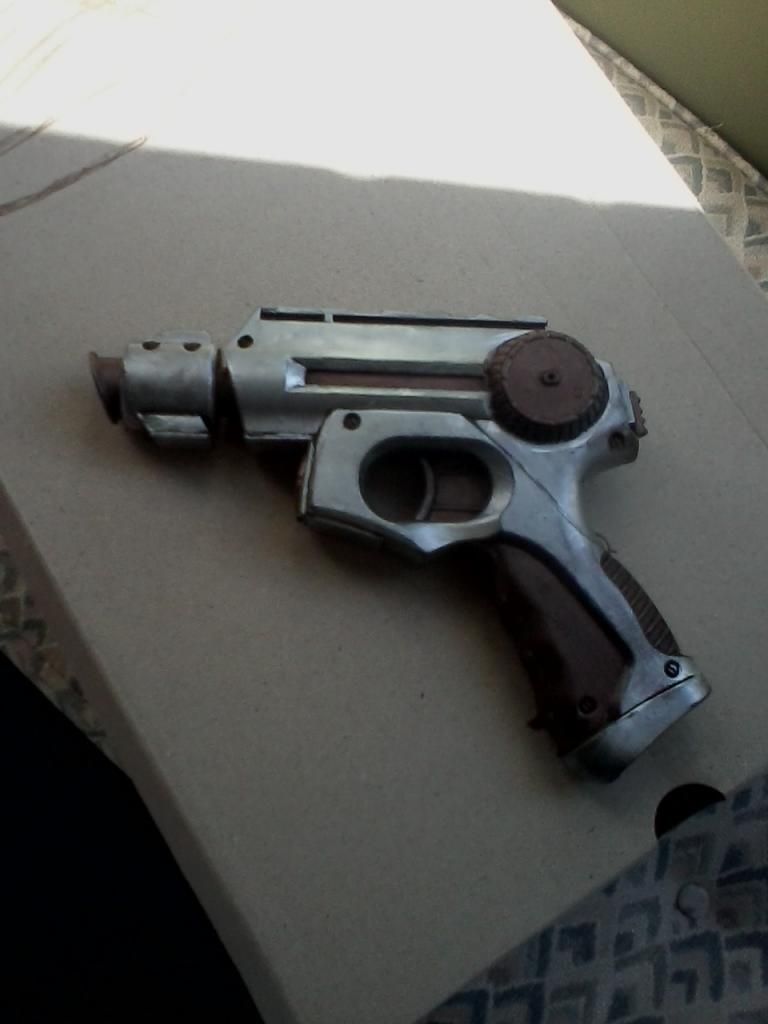
Intensity adjustment cylinder and fire selector switch
Serial number and the somewhat rough join between magnetic sheet and gun body
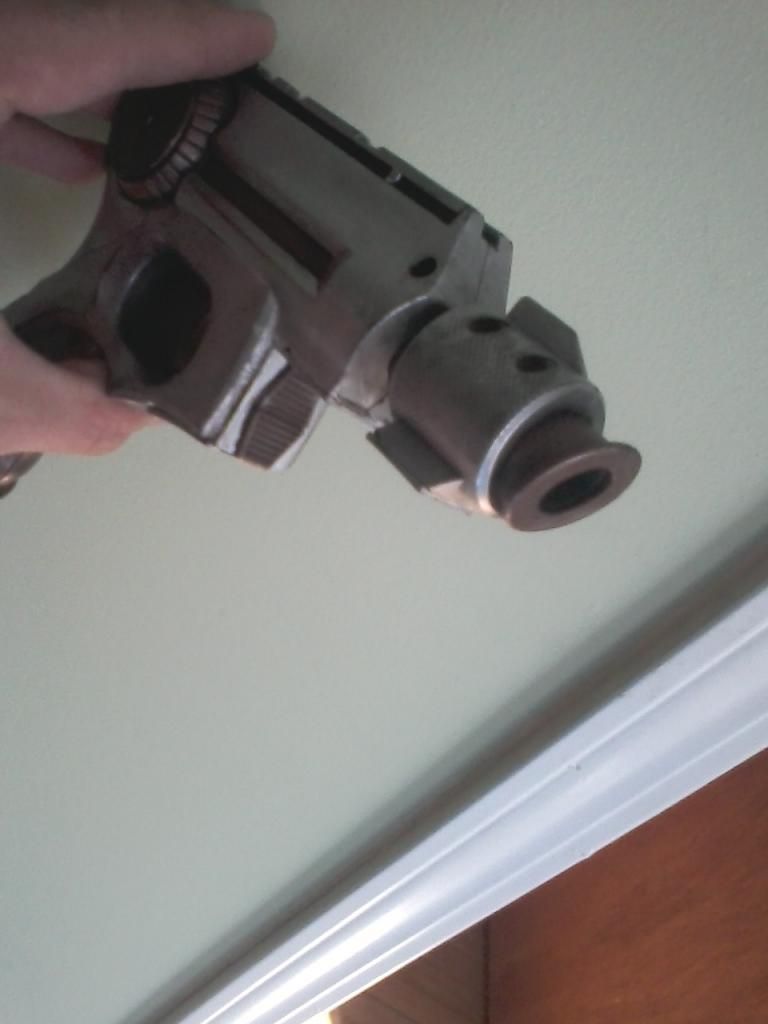
Vent bits glued on near trigger
In the end I'm quite happy with the results. It's a good-looking gun that with an appearance somewhere between a Warhammer 40k lasgun and autogun. The laser targeter function actually works (though it shoots a degree or two southeast), and the metallic finish is convincing.
If I were going to do the project again, I'd smooth out the joins where I covered the cutaways with plastic putty, and I'd paint using Krylon Camo Black instead of cheap hardware store spray paint.
It's holding up well now, but if used as a prop I don't know how the primer will hold up. If the Rub 'N Buff rubs off and reveals a bit of black, it looks like grit and wear. But if the color rubs off and reveals yellow plastic, that just looks just bad.
I'd also use a bit of masking taping to apply the Rub 'N Buff, and I'd put the color on the barrel before final assembly. Have a question about this tutorial? Leave a comment and I'll respond!
-- Karl, Chicago Skirmish Wargames club member

1 comment:
i think you should add video tutorial in it...
Post a Comment
Note: Only a member of this blog may post a comment.