Sunday, July 21, 2013

Dark Days of Qaarra, Session 3: Defense of Dustcrag Oasis


We played the third session of our fantasy campaign this past week, and the evening was dominated by one big 4-player game for Karl, Tim, Josh and me. The scenario was a continuation of the narrative established during Josh's ill-fated attempt at raiding the desert caravan in our last session. His battered warband retreated into the ancient, sand-pitted hulk of Dustcrag Oasis, located on the western edge of the great Agamin desert, to rest and heal his wounds.

Josh’s position, though, is threatened by the Black Crown’s servants (Karl's warband) and the Peak’s Top kobolds (Tim's warband), which have made temporary alliance. Only a desperate missive to Brynwulf’s dwarves (Pat's warband), encamped a few short leagues away, may stave off the impending slaughter at Dustcrag Oasis. As the cold-hearted raiders close in on the fortress, the dwarves rush aid the brave defenders...

So that lays it all out -- we played a fortress siege featuring two 700-point attacking warbands versus two 500-point defending warbands. Both of the attackers started in the rocky canyon in the center of the table, while Josh's resolute defenders took up positions in the fortress. I included a scenario handout detailing victory conditions and a handful of special rules, including rules for ladders, boiling oil, and two mountain passes that just might offer a back door to the besieged fortress.

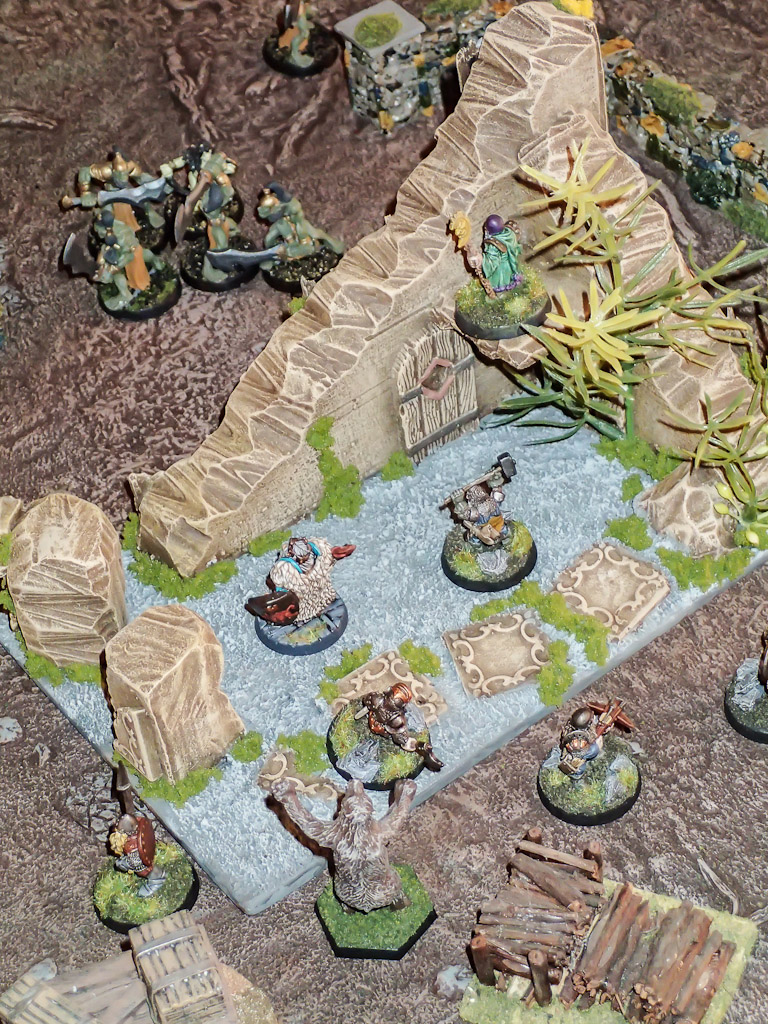
Here's how the game looked at the outset, with Karl's chaos raiders and Tim's sneaky kobolds mustering in the canyon. My dwarves are arrayed atop the rocky cliffs in the foreground, while Josh's forces peer over the battlements of the fortress in the background.


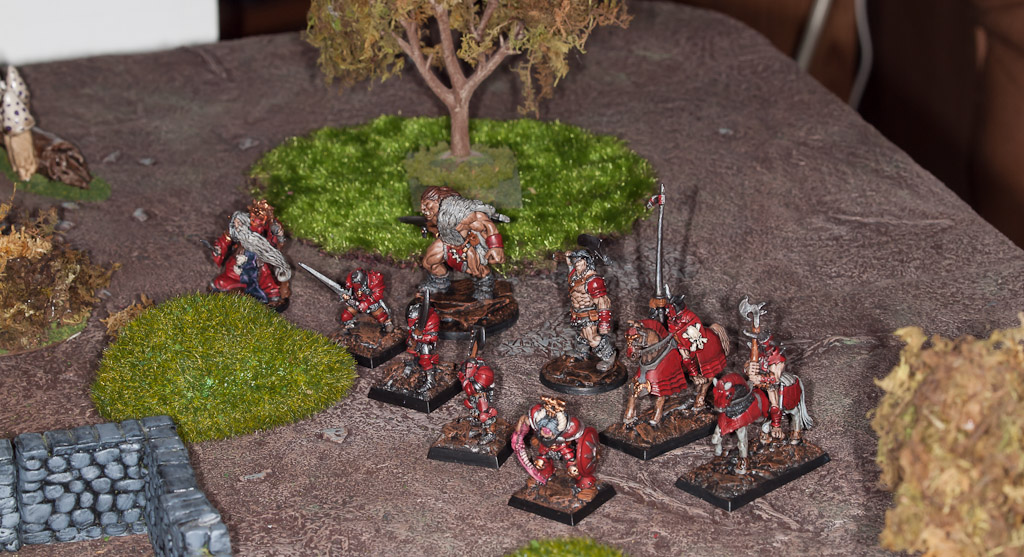
Here's a closer look at the left flank, featuring Karl's chaos knights and warriors.


And here's the right flank, currently swarming with kobolds. That huge thing on the right is an undead samurai giant. Yes, it's part of Tim's warband. Yes, it can see over the fortress walls.


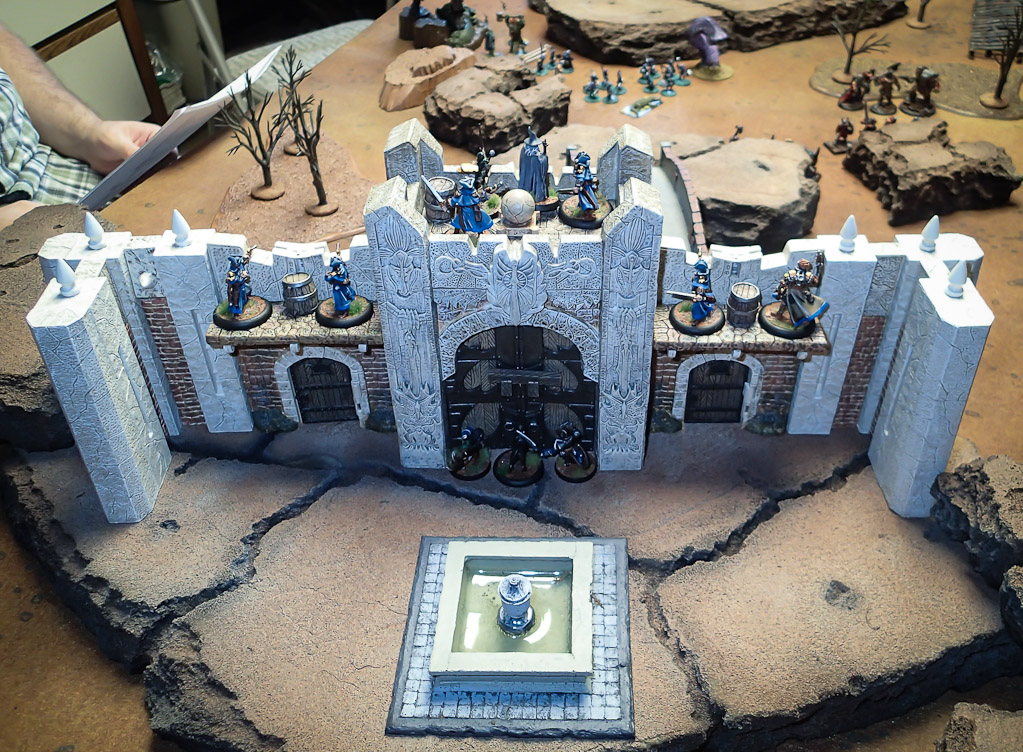
And here's what Josh saw from his position on the parapets of the fortress. The fountain in the foreground is the eponymous oasis from which this locale draws its name. Over the years, travelers erected stout stone walls to protect this vital water supply from raiders and brigands.

After a few minutes' discussion of the rules, we got underway! As attackers, Karl and Tim took the first turn, and they wasted little time sending their warriors surging toward the fortress. Karl's chaos warriors sought a path across the bridge toward the main gate, and Tim's kobolds made a beeline for one of the potential canyon passes that we had identified in the scenario rules.

My dwarves weren't technically on the battlefield at this point, but they arrived en masse on turn one. Here is the scene that greeted them as they appeared on the bluffs overlooking the valley.


So much evil contained in one valley! How can the forces of Good hope to stand against such a display of savagery? Grimly hefting their axes, the dwarves prepared to march down into the valley and meet the invaders in single combat. In fact, due to the vagaries of single-figure activation in SBH, combat was joined quite a bit sooner than I had anticipated, because one of my dwarves was caught out in the open, unsupported by his comrades, when my turn unexpectedly ended. Tim's kobolds, supported by a retinue of crocodile-men, fell upon this hapless dwarf.


Thankfully, the stout fighter beat back this assault and was soon joined by his comrades. By this point, Tim's kobolds were advancing through the valley toward the canyon pass, hoping to sneak around behind the defenders.

On the left flank, Karl's chaos warriors were making good progress toward the walls. Here are a couple photos showing how his men leapfrogged one another in their haste to get to the walls. His figures are carrying ladders, which will figure heavily into the remainder of the game.


Hoist the ladder! In fact, look closely and you can see that one warrior has already gained the battlements and is engaged in hand-to-hand combat atop the walls. That's so metal!


Up on the parapets, Josh's warband watched the attack unfold with a sense of grim fatalism. His team was extremely good at shooting, and he put these skills to good use throughout the first half of the game. Here's what he saw.


Gandarf the wizard directed the defense from the fortified gatehouse.


Back in the canyon, my dwarves were harrying the flanks of the attackers. Karl and Tim had both left behind a rearguard force that was making life quite difficult for the dwarves, though. It was about this time that Tim began a string of bad-luck dice rolls that effectively put him out of the game for three consecutive turns. It took the pressure off my dwarves and allowed them to advance into Karl's backfield, threatening his advancing chaos warriors.


Upon the walls, the fighting was savage and bloodthirsty. Chaos warriors clambered up the ladders and met the blackpowder pistols of Josh's warband, not to mention the fearsome magic of Gandarf the wizard.


Near the base of the castle walls, chaos knights mustered alongside Tim's great purple worm in an attempt to batter down the gates. The scenario rules allowed both attackers and defenders to "stack" figures against the main gate by pooling their Combat scores. If at any point the attackers' collective Combat score exceeded the defenders', then the gate would come crashing down. It took some careful maneuvering, but within a few turns the attackers managed to smash open the gates and jeopardize Josh's entire strategy.


By the time the gates gave way, however, the game was nearing its turn limit. Tim's kobolds had successfully exploited the hidden canyon pass and were racing around behind the fortress. Karl's chaos knights, bloodied and reeling from their headlong charge, rallied for another assault on the thinly defended gatehouse. My dwarves reached the edges of the main battle and began to carve through the kobold rearguard. The last few turns were tense indeed!


In the end, the defenders were able to hold out for a full 10 turns against the overwhelming onslaught, so Josh and I achieved victory! Given slightly more favorable dice rolls for Tim and Karl, the game could have easily gone against the defenders. As it was, Karl quipped that this was the most fun he's had getting his butt kicked in quite a long time! The game was fun and we agreed that the scenario was pretty good, with just a few tweaks needed if we decide to play it again.

From a narrative point of view, it was neat to create some flavor and backstory for the Dustcrag Oasis, which up until now had just been an icon on our campaign map. Now it will be remembered as the site of a great battle between the forces of Good and the tides of Evil!

-- Patrick, Chicago Skirmish Wargames club member

Thursday, July 18, 2013

Third Time's a Charm for CSW's 40k Gaming


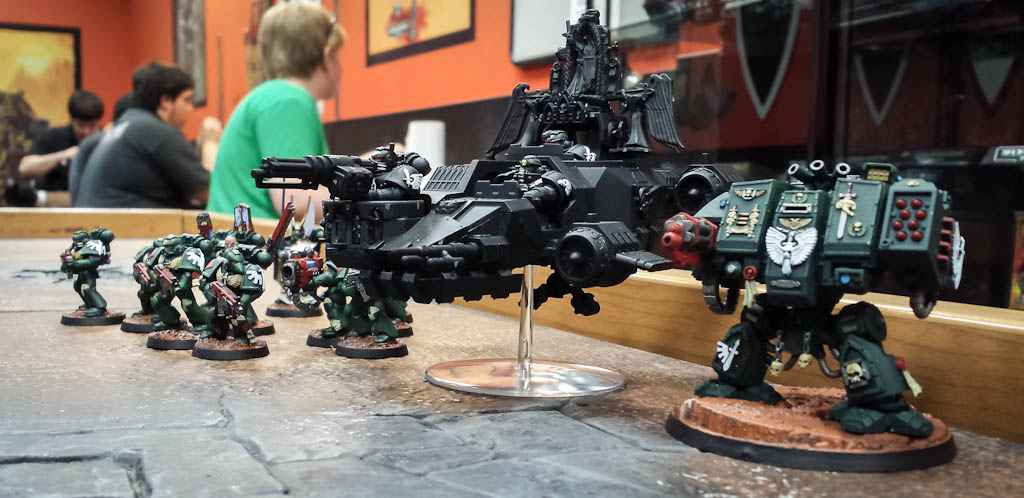
Mike and I met at the local Games Workshop store south of Chicago for a small (yet epic) clash in the world of Warhammer 40,000. Mike's Imperial Guard force met my Dark Angels army in a 530-point skirmish game.


Dark Angels Forces 
  • Company Master Balthazar 
  • 10-man tactical squad with plasma gun and plasma cannon 
  • Dreadnought with assault cannon and missile launcher 
  • Ravenwing Darkshroud with assault cannon


Imperial Guard Forces 
  • Tons of mans with lasguns and grenade launchers! 
  • 2 HQ squads with medics 
  • 1 heavy weapons squad with autocannon 

Since we were just playing a small game, and were limited to a table with one gigantic piece of terrain, we decided to start on the corners and have an all-out battle. Here's how things looked at the outset of the battle.


Turn 1 
The Imperial Guard split their forces, sending one group around each side of main building in a flanking attempt. This turned out to be a very good move! The Dark Angels advanced, though they were less concerned with getting into cover, since the Darkshroud vehicle confers a cover save to all squads within 6 inches.


Turn 2 
The Imperial Guard started shooting through the building at the Dark Angel forces, taking down one space marine. The flanking group moved further around the building even as the Dark Angels returned fire. The dreadnought's frag missile blast templates took out a handful of guardsmen.


Turn 3 
The Imperial Guard main force moved up into the building for cover, while the flanking force maneuvered to opend fire on the advancing marines. The Dark Angels turned to face the flanking heavy weapons team.


The Guardsmen managed to destroy the Darkshroud with a single penetrating hit, blowing it up and taking out a number of nearby marines. Enraged, the Dark Angels returned fire, destroying the heavy weapons team and slaughtering handfuls of guardsmen.


Turn 4
The remaining guardsmen sneaked around behind the dreadnought and destroyed it with their grenade launchers!


The four remaining space marines and their fearless leader continued to butcher the seemingly endless hordes of guardsmen.

Endgame 
At this point, we ran out of time. From a victory points perspective, we were tied, and we decided to call it a draw. I am fairly certain that given another turn or two, the Dark Angels would have fallen to the guardsmens' numbers. I think my list choice was fun, but maybe not the most effective army. The points I spent on the Darkshroud might have been better spent on another tactical squad. I probably also should have tried to move into close combat, where I would have both dominated and been protected from further shooting.

Mike's thoughts: I got a better idea of what my force can and can't do. I know I need a few more weapons that penetrate better, but I can rely on lasguns to put some pain on standard marines. I think a few more autocannons and plasma guns might have helped more, especially if I could have gotten the plasma guns into the fight earlier. But the big winner for me were the grenade launchers. Expect to see a bunch of them in the future! I don't know if the medics did a lot to help, but I think standards would have been a good idea, along with some commissars. It was a fast (surprisingly) and fun game of 40k!

-- Josh, Chicago Skirmish Wargames club member

Monday, July 15, 2013

Dark Days of Qaarra, Session 2: Reinforcements and Dark Rituals


Last week saw the second session of our fantasy campaign, Dark Days of Qaarra. We gathered at Josh's house this time, and the first half of the evening was taken up by one of our favorite activities: miniatures commerce. Every few weeks someone will place an order with an online retailer, or do a big group trade, so we regularly arrive at club games to find someone with an armload of miniatures, terrain or supplies that just arrived in the mail for three or four other guys.

This game night was no exception! This time we were distributing Reaper Bones (a couple guys ordered Vampire-level sets for themselves, and a couple other guys split a Vampire pledge) as well as a big order from an online shop. Because of that, we had a rather truncated game night, with three games played among six players. No big deal -- the pregame table-talk and banter is what makes CSW such a fun game club to begin with.

Game 1 - Expedition to Hearthspire (Pat) vs. Fomorian Orcs (Jon)


In this scenario, the dwarves of the expedition were camped out in a ruined village in the hinterlands surrounding Vildeburg, the capital city of Qaarra. After their fierce battle near the village of Tallenwood last session, the dwarves had received a pledge of support from Hurskegr, a thane of Vildeburg, who promised to join up with them with one of his household knights.


As the dwarves awaited the arrival of Hurskegr the thane and Erland the knight, a band of vicious Fomorian Orcs gathered in the predawn gloom to assault their position.


What followed was a vicious battle in the ruins of the village. Only the timely arrival of Hurskegr and Erland -- and the death of an orcish champion -- helped the brave dwarves prevail. Honorable mention goes to Rolf the bear, a wise guardian of the wilderness who fought fiercely for the dwarves yet again in this skirmish.

Game 2 - Servants of the Black Crown (Karl) vs. Brotherhood of Three Primes (Tyler)

The servants of the Black Crown explored deep into the fertile farmlands of Brionbock Dale, but their purpose was nefarious -- they intended to draw upon the powers of chaos by performing a ritualistic sacrifice in the bucolic woodland. Here is the only photo we got from that game.


Only the timely arrival of the Brotherhood of Three Primes, and their contingent of fearless homonculi, prevented the Black Crown warriors from completing their dark ritual. Afterward, Karl's defeated chaos worshipers found an abandoned alehouse, which they were able to get up and running again.

Game 3 - Prince Roland's Company Raids the Desert Caravan


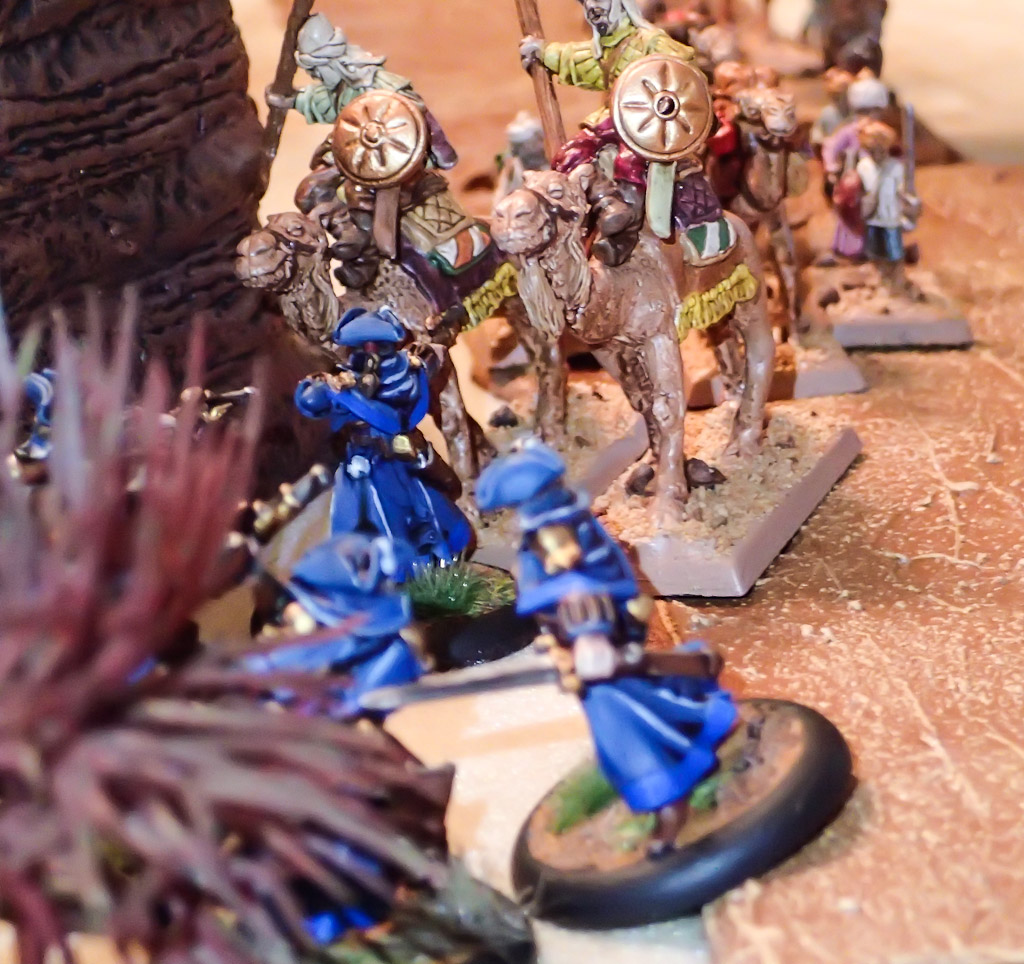
This last scenario was a special one that Karl had been prepping for several weeks. He painted up an entire Middle Eastern-themed desert caravan complete with pack camels and lizard riders, then set up a scenario set in the Agamin Boneyard (the big southern desert) that pitted player warbands against this third-party caravan. The objective was to steal the pack animals while fending off the guards -- before the caravan could reach the safety of the Dustcrag Oasis, near the western edge of the desert.


As this was our first play-through and no one knew what to expect, it was a little rough. Despite getting mauled on the highway, Josh's warband got a few lucky rolls on the casualty charts and didn't suffer very much long-term damage. It definitely taught him a thing or two about how to use his warband! It also taught the rest of us one very important lesson: when Karl gives you a scenario handout, read it!


It was an abbreviated game night, but still plenty fun. There were a handful of casualties, some permanent, but as with our previous campaign, many players embraced the idea of the noble retreat, to let their surviving warband members live and fight another day.

We hope to keep the narrative threads going in this campaign. How will the Black Crown warriors react now that their ritual has been disrupted? Can Prince Roland's company keep soldiering on even after its defeat in the Agamin desert? Stay tuned as we play out these storylines and more!

-- Patrick, Chicago Skirmish Wargames club member
Tuesday, July 9, 2013

Expedition to Hearthspire: A Dwarven Warband


At Little Wars this year, I stumbled across an old-school miniatures treasure trove: a bag of 50+ Ral Partha dwarves sculptured by Bob Olley and Tom Meier, carefully primed and based, clearly somebody's long-abandoned fantasy army project. The sculpts are old but full of charm ... and they're remarkably well proportioned. I mean, these dwarves have knees, ferchrissakes! I got the bag for $20 and immediately set about painting up a skirmish squad for our fantasy campaign.

Here's a bit of fluff, which helps situate my little group in Qaarra, our campaign world. They're based in Stonehill, a dwarven city on the west coast of Qaarra. I rather like the idea of a dwarven city that's not a subterranean labyrinth.
As chaos grips the lands of Qaarra, the fallen king of Stonehill has returned to the ancient dwarven fastness. Brynwulf, exiled lo these long years for a tragedy suffered in the past, once again strides the echoing halls of Stonehill -- but not for long. The fallen king, who still wields the shattered sword Khafnzel, has returned to muster a band of warriors to seek out the fabled mountain bastion known as Hearthspire. 

In this redoubt, sealed by arcane runes for thousands of years, rumors persist of a source of magic that might ward off the coming doom. Brynwulf and his mage Rykker, together with a band of brave dwarven warriors, have set off across the wilderlands on an expedition to find Hearthspire -- and salvation for Stonehill and all of Qaarra itself.


Brynwulf, Hurskegr and Rykker
Brynwulf himself is actually the "Fallen King" model from the Stonehaven Dwarven Adventurers Kickstarter, which I backed last year. You can see him in the center of the photo above. He is joined on his quest by Hurskegr, a human thane from the city-state of Vildeburg (the largest city in Qaarra). Hurskegr was always gripped by wanderlust, and his duties as third son of a prominent prince of Vildeburg have left him with few duties and fewer opportunities for the future. As such, he is left to win fame and fortune with sword and shield. The third leader of the expedition is Rykker, a journeyman wizard who has convinced the leaders of Stonehill that Hearthspire may hold the clues to the doom that threatens Qaarra. (Hurskegr is a "mounted thane" from Alternative Armies.)


Sigismund Breakspear, Derico the Anvil, and Odric Hammerfall
These three warriors form the core of the expedition's fighting force. Armed and equipped in the traditional dwarven manner, Sigismund, Derico and Odric can be expected to hold the line in combat.


Rolf the Bear, Skolling the Forge-Captain, and Bjorn Thunderstone
As captain of the expedition, Skolling is responsible for overseeing the dwarven warriors in battle. He also commands Rolf, the great mountain bear that has pledged his support to the dwarves' cause. Rolf is a fearsome fighter and will defend his dwarven friends with savage brutality. Finally, Bjorn Thunderstone has proven himself an able archer and scout. (Rolf is a repainted Heroclix figure.)

Even though I'm just getting around to posting about this warband, they've already hit the battlefield -- and suffered a tragedy. A dwarven warrior named Vylmar fell in combat, but the leaders in Stonehill sent his brother Derico to take his place in the expedition. So, Derico is a relative newcomer to this warband.

We're playing our campaign again this week -- stay tuned for a battle report!

-- Patrick, Chicago Skirmish Wargames club member

Friday, July 5, 2013

CSW's Western Chapter Demos SBH


(Editor's note: The following post is from Ryan, founding member of CSW and current president of CSW's Kansas City chapter. His fantastic orc carrying the City of Chicago flag, pictured above, inspired our current club logo.)

I had the pleasure of introducing some friends to Song of Blades & Heroes recently. I prepared a simple one-on-one battle-royale scenario between a band of vicious lizardmen and bloodthirsty orcs fighting over a remote hamlet.

Since both players were new to the game, we chose to ignore the special abilities, except for ranged attacks. Overall I think the game went well and the rules, as can be expected with Song of Blades & Heroes, were pretty easily picked up. I even think that ignoring the special abilities didn’t detract much from the game. What follows is the tale of that battle...

Sure, I’ll tell you what happened here… if you buy me a drink and a meal. Things seem less fuzzy when a man has a full belly and a satisfied thirst. Otherwise I might accidentally leave out some of the details. 


Ah, that’s better. So, you see, my boy and me were putting in an honest day’s work in the smithy when the church bells start to ringing, which around here is never a good sign. Usually it means someone’s died, someone’s married or something bad is coming. Turns out in this case it was the latter. We set out running for the church with the hope of some protection from what was coming. Some of the shepherds, and most of their sheep, had met an unfortunate end when they was set upon by a band of filthy, stinking orcs. What? They really don’t smell that good, and I ain’t never even been close to one! 

Anyway, we made it just in time, because a group of them orcs and one of their ogre fiends started marching into view. 


Of course, before they could get to reaving and marauding, they was set upon by a group of walking lizardmen. I guess those shepherds didn’t get a chance to warn us they was coming... 


Well, we had a right nice view of all the action from inside the church tower. Didn’t want to be getting too close now, did we? They wasted no time closing on each other with arrows flying, axes grinding and steel ringing. 


At first the lizardmen seemed outmatched, especially with that ogre lumbering up from the rear of the battle, but those quick little orange lizards musta been awful lucky, as they took a couple good shots at that giant and got him right between the eyes, all four of ‘em I guess. 

Well, he came down with a mighty crash and things went from bad to worse for the orcs from there on out. The lizards ganged up on the remaining orcs until all that was left was the big bloke with horns sticking out of his helmet. 


He put up a pretty ferocious defense and was able to take down one of two of the lizards but they eventually swarmed him, and well, that was that. Luckily those lizards were preoccupied with their, ahem, spoils to care about sniffing us out and left dragging their prizes behind them. Here’s hoping we don’t see them anytime soon, eh? 

Well there you have it. Told you it’d be a pretty gruesome tale. Hope it don’t give you nightmares. Oh and safe travels. You’re gonna need it. 

--Ryan, Chicago Skirmish Wargames member

Sunday, June 23, 2013

Dark Days of Qaarra, Session 1: Searching for Clues

The sun dims in the skies over Qaarra. Across the land, bands of adventurers, ruffians, villains and scavengers gear up and take to the high roads, determined to make their own destiny amid the tumult of the coming chaos.

We played the first session of our summer fantasy campaign, Dark Days of Qaarra, at Jon's house last week.  Six of us showed up. We're using Song of Blades & Heroes as our primary ruleset, so we were able to get in 6 different games on the three tabletop layouts that we set up. As with last summer's campaign, we used the warband advancement system from Song of Deeds & Glory.

Here's a brief writeup of the games, along with photography by Josh. You'll notice that both the photos and the battle report details get a little thin as the night goes on. What can we say -- we were so engrossed in the games that we forgot to take notes and pictures!

Round 1 - Servants of the Black Crown (Karl) vs. Fomorian Orcs (Jon)


Rolling randomly for scenario and battlefield, Karl and Jon played out an attack on an inn near the borders of the Moaning Marsh. Karl's forward group of chaos knights (scouts for the main bulk of his Black Crown marauders) crumbled before an onslaught by Jon's orcs. With Karl's leader in jeopardy, he wisely fled the battlefield before seizing the inn.


After the game, Karl's warband found a roadside shrine that unfortunately yielded no booty, and Jon's orcs sacked a caravan of refugees moving through the wilderness, making off with a small pile of gold.

Round 1 - Prince Roland's Company (Josh) vs. Expedition to Hearthspire (Pat)


At our desert-themed table, Josh and Pat set up a scenario in the Sunderstone Badlands. Both warbands were exploring a destroyed village, attempting to gather information on what evil befell the town by questioning the terrified survivors. This was one of those weird scenarios where we could have (and almost did) complete the whole game without ever coming into conflict with each other.


Josh's adventurers managed to gather more information by the end of the scenario, making him the winner. Afterward, Josh's warband stumbled across an empty cave, and Pat's dwarves found a corpse stuffed with gold.

Round 1 - Brotherhood of Three Primes (Tyler) vs. Peak's Top Kobolds (Tim)


In the steaming jungles of Drakespear Grove, Tyler's homonculi warband, led by a potent elementalist, tried to stop the advance of a horde of chittering kobolds, which were escorting a huge undead giant through the jungle. Check out therse photos -- the undead giant is an action figure, of course, but it looks great with all those kobolds swarming around its feet.


Tyler's warriors met the kobolds on the bridge and stymied the advance, winning the game. Afterward Tyler's warband encountered a group of refugees fleeing Drakespear Grove and "relieved" them of their gold and belongings. Tim's exploration roll resulted in him acquiring an alehouse! In game terms, owning an alehouse means he can generate ale each game to either use for his warband or sell for gold. Not bad!

After Round 1, we did all the post-game campaign paperwork (roll for casualties, income and exploration), then we switched up the players and rolled new scenarios for the next batch of games.

Round 2 - Servants of the Black Crown (Karl) vs. Peak's Top Kobolds (Tim)


Tim and Karl played out a surprise-attack scenario in the Agamin Boneyard, the huge desert that dominates the southern portion of our campaign map. As the game opened, Tim's kobolds advanced toward Karl's chaos guys, who were scattered in some ruins. However, before the kobolds could liquidate their enemies, some surprise reinforcements appeared to their rear. After the kobolds' standard was captured, the diminutive little scavengers were quickly driven off -- but not before they encountered a group of refugees on the high road and did a little more thieving.

Round 2 - Fomorian Orcs (Jon) vs. Prince Roland's Company (Josh)


In the Woodlands of Vitu-Daru, Prince Roland's adventuring company had stumbled across a valuable cache of treasure and supplies amid some mossy ruins. They were tasked with defending this find from the marauding orcs. After an abbreviated game, Josh emerged victorious.

Round 2 - Expedition to Hearthspire (Pat) vs. Brotherhood of the Three Primes (Tyler)


In the final game of the night, Tyler and Pat squared off in a scenario featuring a bridge spanning a swampy morass in the Village of Tallenwood. The bridge was guarded, however, by a savage winged ape-troll, who wanted nothing to do with these invaders! In game terms, the ape would randomly attack characters that got too close to his bridge lair. It was a lot of fun and made for some careful maneuvering for Pat and Tyler as they tried to close with each other while avoiding the foul beast that lurked under the bridge. We called this game a draw, as it was getting late and we needed to pack up and give Jon his basement back.

All in all, it was a great kick-off session for our campaign. Karl did a bang-up job as campaign scribe, taking notes on each game played so that we could craft a proper blog post. Josh delivered fantastic photography as always.

Stay tuned for more games soon!