Showing posts with label ganesha games. Show all posts

Sunday, June 8, 2014

Grind Them to Dust: An OGAM Battle Report


Last month Karl and I got together at our regular club night for another game of Of Gods and Mortals, the game of mythological battles based on our favorite fantasy skirmish rules engine. It was my second game and Karl's first, but he was very excited to try out the game after hearing about the high marks Tim and I gave the game after our initial outing.

I only ended up with a handful of photos from the game, but we had a good time. As we did with our initial game earlier this month, we eschewed the mythological flavor and instead just built some fantasy warbands using the stock army lists in the book. We found in our first game that the game plays perfectly well as a straight-up fantasy skirmish as long as you stick to the army lists provided in the book and don't bend the rules too much.

Karl brought a warband composed of chaos warriors and cavalry led by a dragon, built using the mythological Japanese army list. I brought a dwarven warband led by a big ol' frost giant, built using the Norse pantheon in the OGAM rulebook.

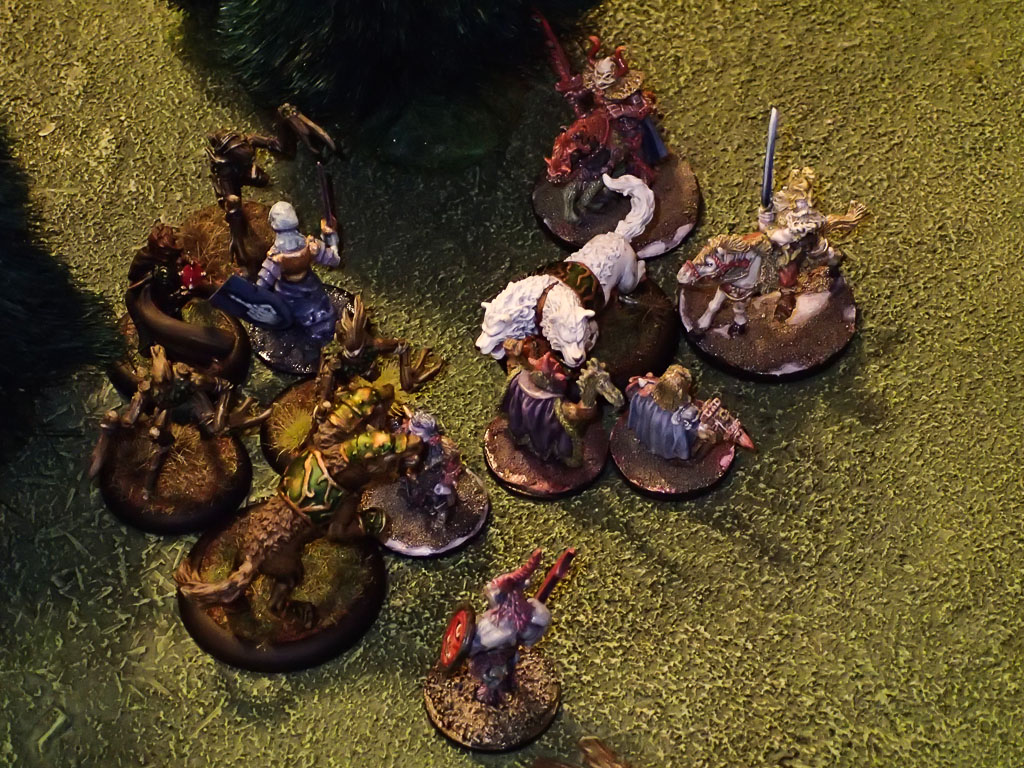
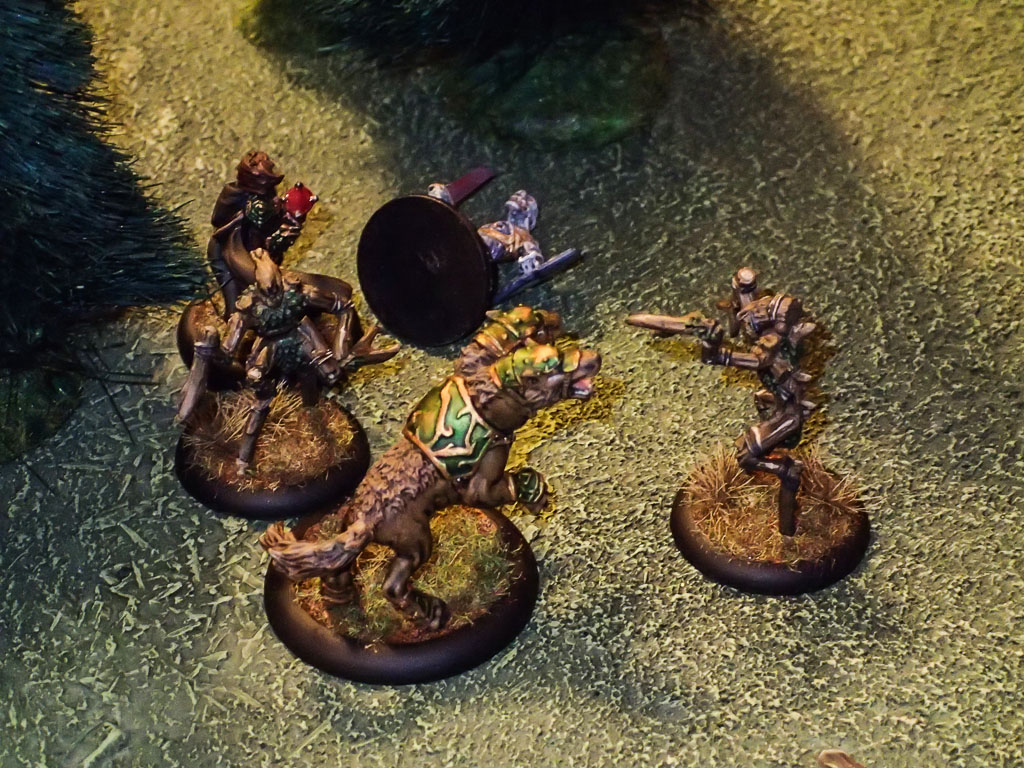
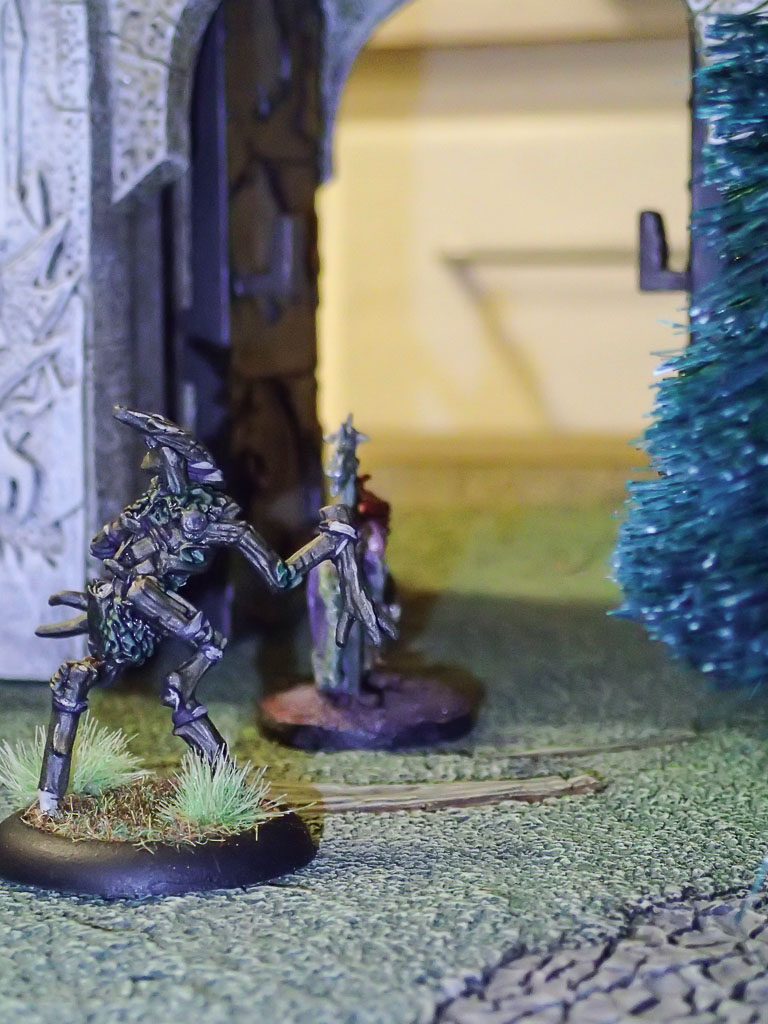
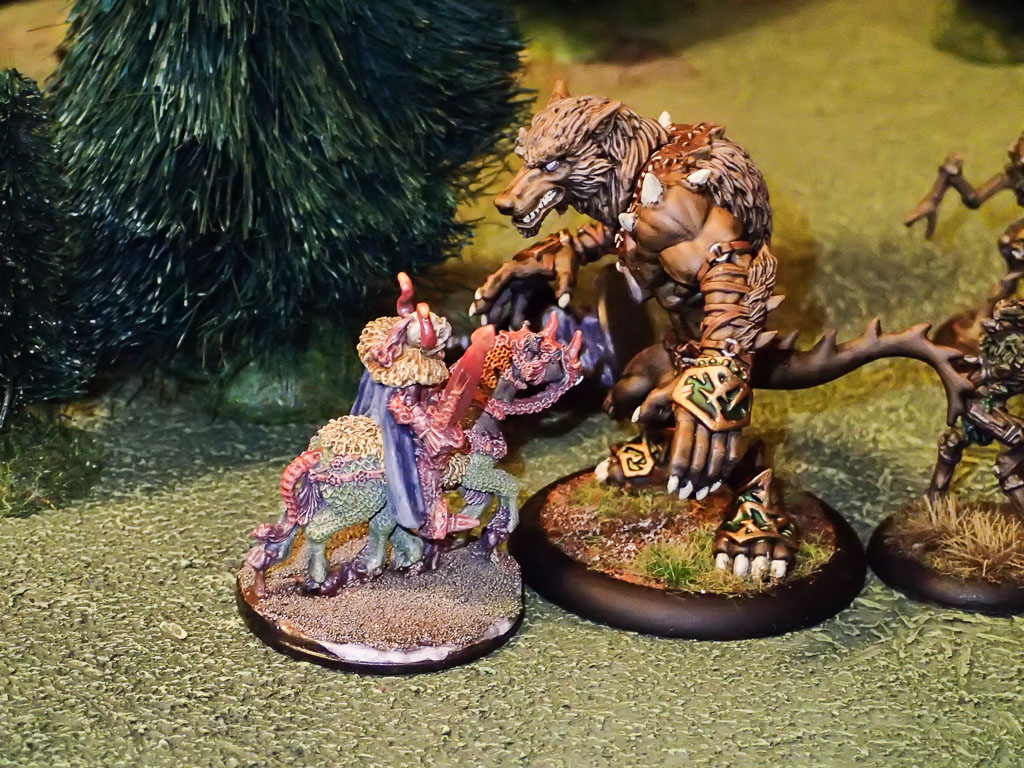
Here are a few pics of our game. In the first turn, I used my giant's frost breath (or thunderbolt, depending on how you'd like to interpret the ability) to kill Karl's dragon. Since that dragon was Karl's god, he was able to summon it back to the battlefield again on his turn, using the summoning rules in the OGAM rulebook.


That was probably my last tactical victory on the battlefield that day. Karl pressed his advantage, slaughtering my infantry and legends until I had just a handful of figures left on the field.


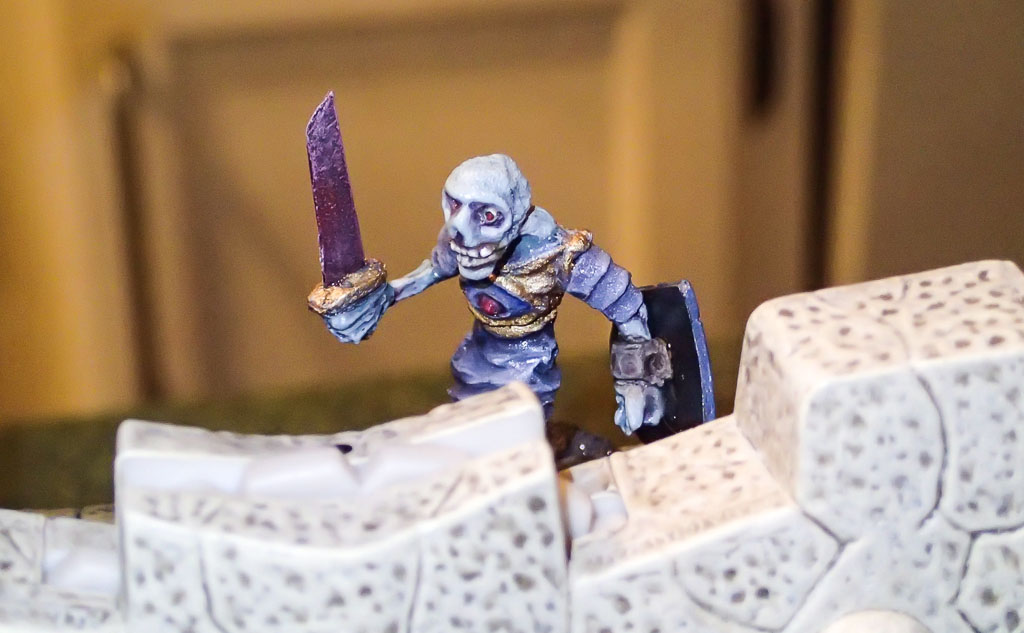
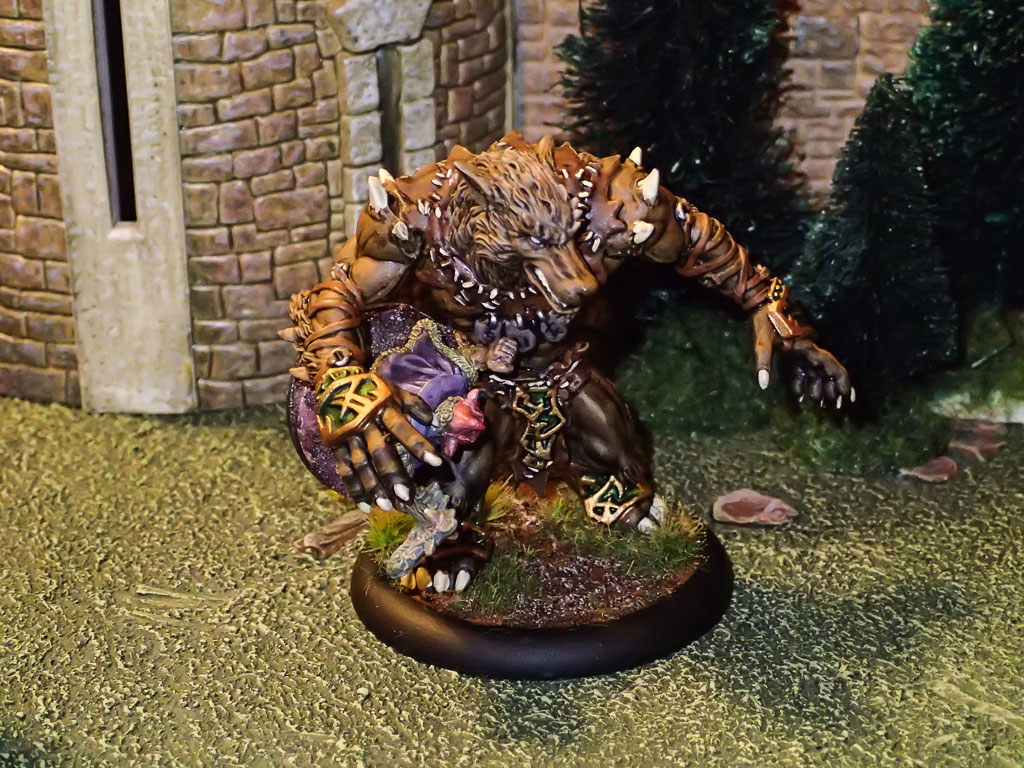
My frost giant gave as good as he got (his lightning strike ability was particularly useful) but ultimately my depleted dwarves were routed from the battlefield. Here is their final stand.


We discussed the game afterward and agreed that gives a very playable "big skirmish" experience that really bridges the gap between Song of Blades & Heroes (designed for 6-12 figures) and Kings of War (designed for 40+ figures). We're very keen on using OGAM to play out some larger-scale battles in our upcoming summer fantasy campaign, so stay tuned!

-- Pat, Chicago Skirmish Wargames club member

Monday, May 12, 2014

Of Gods & Mortals Game Report


Song of Blades & Heroes holds a special place in the heart of many Chicago Skirmish Wargames members. It was the game that brought us together way back in 2010, and since then we've become experienced (some might say veteran) SBH players.

So you can imagine how excited we were to read about Of Gods & Mortals, written by Andrea Sfiligoi and released last year by Osprey. The game might be best described as large-scale skirmish featuring gods, mortals and legends drawn from history and mythology clashing on the battlefield. Based on our reading of the rulebook, OGAM games are quite a bit larger than the typical SBH game, with maybe 20-25 figures per side in OGAM compared to 6-12 figures for SBH.

Both games share the same basic rules engine, which means we already knew 75% of the rules before we even opened the rulebook. We've been looking for a good framework for doing large-scale SBH games, so Tim and I carved out some table space at last week's club night to try out OGAM.

We built two 900-point armies: Norse/Celt-inspired undead guys for Tim, and Egyptian-themed undead guys for me. Undead vs. undead -- what could go wrong?!

Here are my guys, led by Hesperax, the undead dragon.


And here are Tim's guys, led by his undead giant along with a werewolf and Celtic chariot.


We decided to play the "Sacred Grove" scenario, in which both sides fight to control an enchanted copse of trees in the center of the table. Here's the battlefield at the start of our game.


We deployed our guys in a rough arc around the sacred grove. In the base rules for OGAM, units can deploy anywhere on the battlefield as long as they're a minimum distance away from any other enemy unit. That's fairly cool! No more lining up on the table edge and spending the first three turns moving forward!

Tim took the first turn and advanced his undead giant, chariot and a squad of skeleton warriors toward the sacred grove.


I did the same on my side of the table, taking care to keep Hesperax (my leader) near her troops for support.


OGAM has three different unit types: gods, legends and mortals. Mortals move around the battlefield in formations, and the game has just enough crunch in this respect to satisfy gamers who might be familiar with ranked unit movement from games like Warhammer Fantasy or Kings of War. But units are capped at 8 figures, so you won't find yourself struggling with ungainly blocks of individual troops.

Legends are basically heroes or champions with better stats and a few special rules. They can roam around the battlefield, and they stand a decent chance of threatening a small unit of mortals.

Here, Tim's werewolf encounters my lich lord on a flanking maneuver. Both are legends and both will shortly be joined by their comrades as the battle develops.


Closer to the sacred grove, my unit of skeleton archers had invested a ruined building and were taking potshots on Tim's advancing guys. As in SBH, shooting is not all that effective unless you really dedicate some points to it. My archers didn't do a whole lot in this game.


Here's another look at the scene above. You can see I've got an 8-man unit of skeletons moving into contact with Tim's undead guys. In the second pic below, he's bringing another smaller unit up around the rear of my skeletons.


We ran into an interesting rules situation at this point. In OGAM, a unit that loses a combat always recoils away from the opposing unit -- but it doesn't always suffer casualties. In the photo above, my skeleton unit in the center got pinched between Tim's two mortal units and basically bounced back and forth for several turns like a pinball, constantly recoiling into another enemy unit, losing 1 figure at a time but never quite falling apart.

Eventually Tim destroyed the unit but he had to commit two units of mortals and his undead giant. It was a real grindfest and we were wondering if we were playing the combat correctly. We kept flipping through the rulebook looking for a rule about how units that recoil into larger enemy units are automatically destroyed, but such a rule didn't exist, so we just kept playing out the combat in little spurts each turn.

On the other flank, the battle between the werewolf and lich lord was heating up. Tim committed another unit of mortals and I brought up my undead abomination to support the lich.


We smashed on each other for a few turns, but ultimately the lich lord prevailed, slaughtering the mortals and prompting the werewolf to fall back toward the sacred grove.

Oh yeah! About that sacred grove. I didn't take very many photos of it, but the grove saw some fierce fighting. Tim seized it early in the game with his chariot, but then I moved up a unit of 8 skeletons, destroyed the chariot, and promptly seized the sacred grove for myself. Here they are, taking up defensive positions as Tim pivots his troops to focus on the objective.


In the end, Tim couldn't quite seize the objective before the end of the game (it was capped at six turns). So although I definitely lost on the battlefield, I was able to hold onto the scenario objective and score a victory.


We hashed out some thoughts on OGAM after the game. Short version: Tim and I both enjoyed it and feel it could be a great "next step" for our club. We've been looking at slightly larger games for a while now, and OGAM offers that while still maintaining a lot of the skirmish aspect that we like about SBH.

The combat rules have been cleaned up a lot compared to SBH. Almost all of the combat modifiers are bonuses, rather than penalties, which makes them a bit easier to track. Units still have only two stats, just like in SBH, plus a few special rules which will look familiar to any SBH player.

One minor quibble has to do with some of the combat math. Outnumbering counts every factor of 4 when determining bonuses, but casualties count every factor of 3. It seems like it wouldn't have been too hard to bring these two areas into harmony so that you could say something like "This game uses the rule of 4s...." which is quite elegant. But again, Tim and I had no real problems handling the separate rule elements.

The flavor of OGAM (gods and mortals clashing on a battlefield) doesn't resonate particularly well with me, so I don't see myself playing out the games described in the rulebook (Heracles + Greeks vs. Anubis + Egyptians). But it's perfectly serviceable for more typical fantasy games, which is how I expect we'll end up using it. Really, I see OGAM as more of a "stopgap" solution until the official large-scale SBH game (Song of Armies & Hordes I think?) is released, hopefully in the next 18 months or so.

The verdict: OGAM is a great game for our club! We've got quite a nice collection of fantasy miniatures now, and this game gives us a chance to get them all on the table using our favorite rules engine. I look forward to introducing everyone to OGAM in the future. Stay tuned!

-- Patrick, Chicago Skirmish Wargames club member

Friday, March 28, 2014

The Laird and the Druid: A Song of Blades & Heroes Game Report


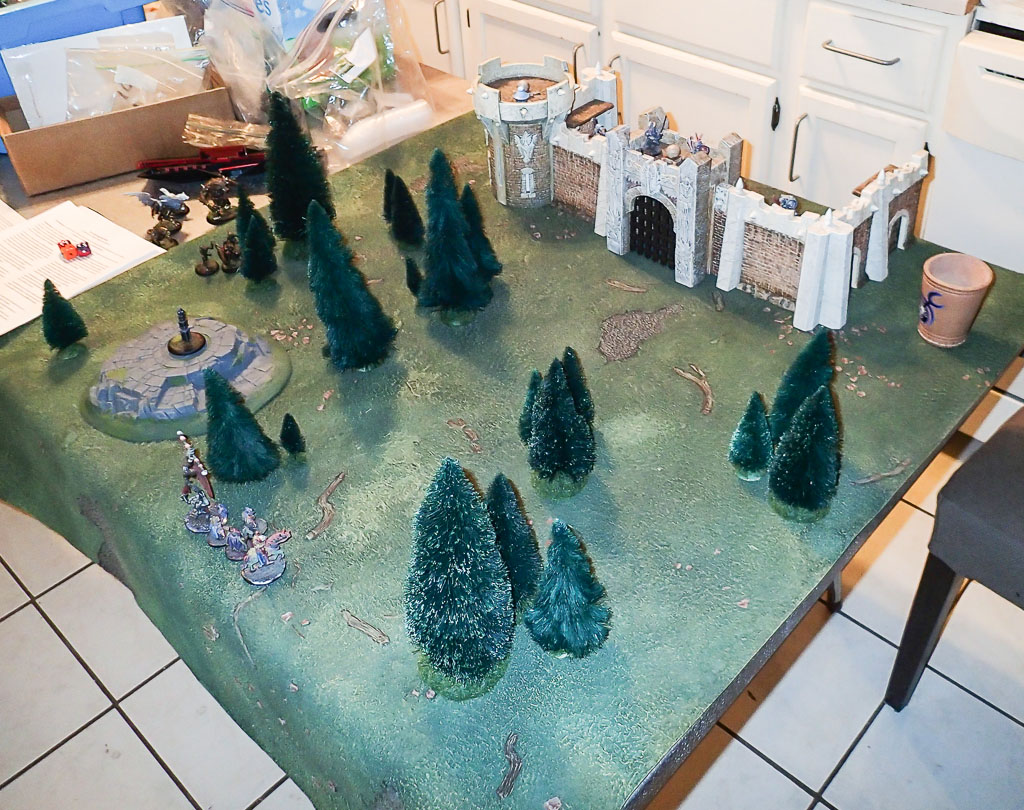
Mattias and I played a fantastic, fluff-driven Song of Blades and Heroes scenario last night. I supplied some terrain, and Mattias wrote an amazing scenario around it. Here's a shot of the table.


And here's a bit of background, courtesy of Mattias. The game is set in the Wyrdwold, a darkly enchanting fantasy setting that Mattias has been developing lately.

The Fell Glendywr carries in his lungs the wisp of a Fay-o’-the-Swale. His intention, and that of Laird Bilebroke, is to feed the spirit to the Stone All-Knowing in exchange for powers of blight and ruin. Bilebroke plans to use that power to re-enter the Fulgent Desmesnes, reclaim his seat, and wage war upon the Magnifex. 

However, in capturing the wisp, Bilebroke the Dread intruded upon sacred and unspoiled tracts of the Weald Aboriginal. He captured the guardians. He had them slain. But worst of all, he commanded the Fell Glendywr to defile the heart of the woods with his Vile Majicks. He had the magician capture the fay spirit that was the life of the place, and he put the heart of the woods to the torch. 

For this crime, Florifera the Wild has sworn vengeance and now lies in wait for Bilebroke to return to his hidden stronghold. She plans to make Glendywr kneel and spill his blood, releasing the Fay-o’-the wisp to wreak its vengeance upon Bilebroke and his minions. 

In the scenario, Mattias's nasty raiders were tasked with defending their magician -- the Fell Glendywr -- while he attempted to complete the ritual on the Stone All-Knowing (itself located atop the highest tower of the crumbling fortress. The attackers -- the wrathful druid Florifera and her cadre -- were seeking to capture the Glendywr and prevent the foul ceremony from reaching its apex.

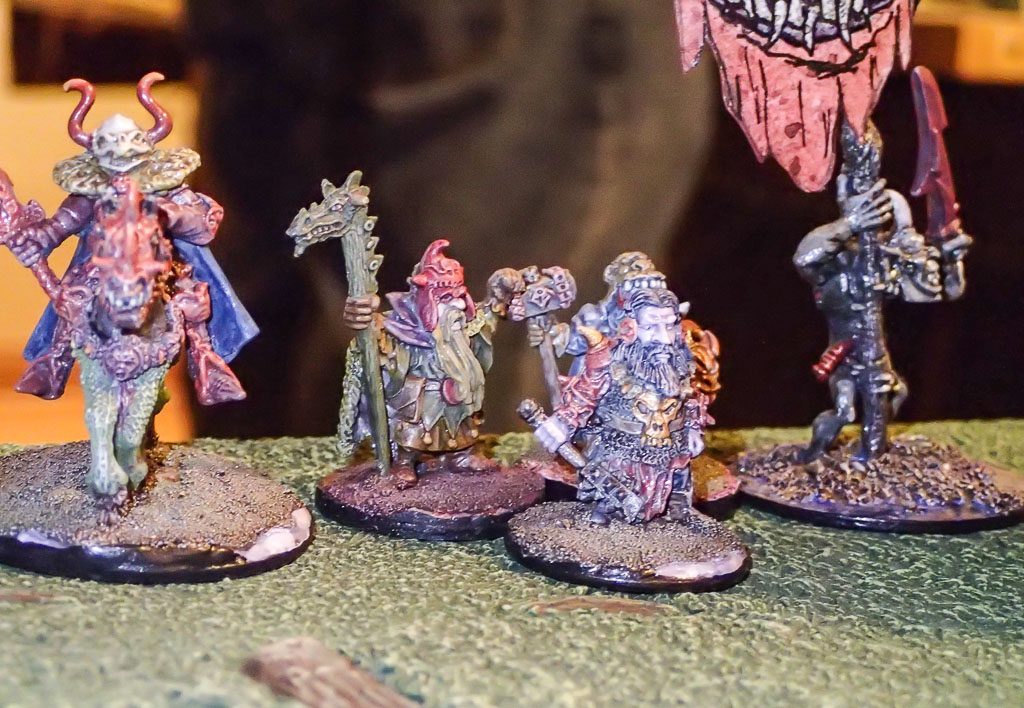
Here are the defenders: Laird Bilebroke and his Banditry


And the attackers: Florifera the Wild and her Coven of Weald-Dwellers


We actually played this scenario two times, because the first was an utter failure. I did an awful job of deploying my druid warband at the start, and was quickly overcome by Mattias's bandits. For the second game, we adjusted the terrain and starting points a bit, and it worked out much better.

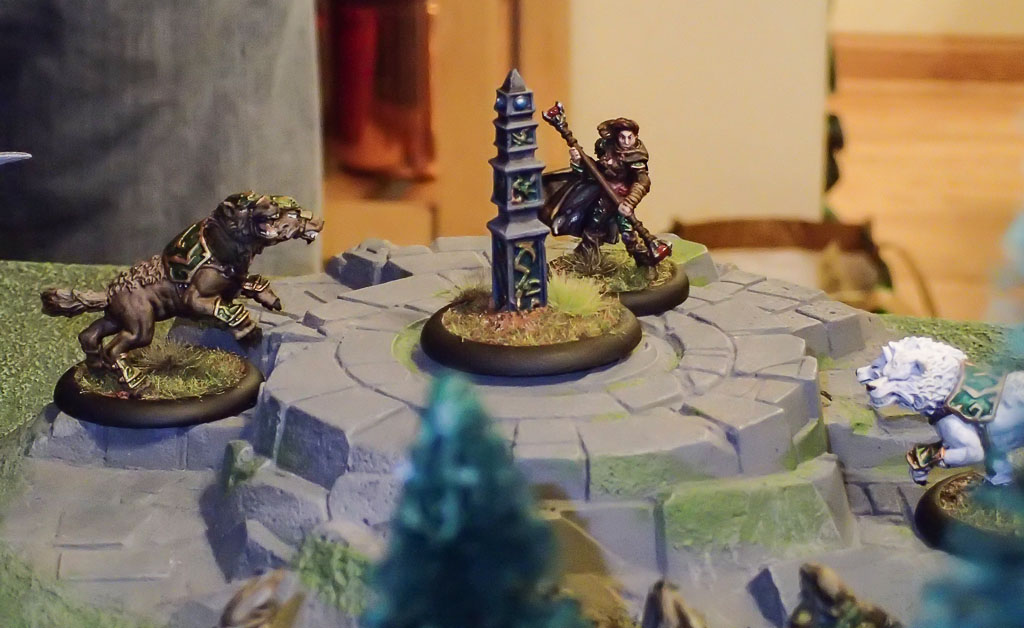
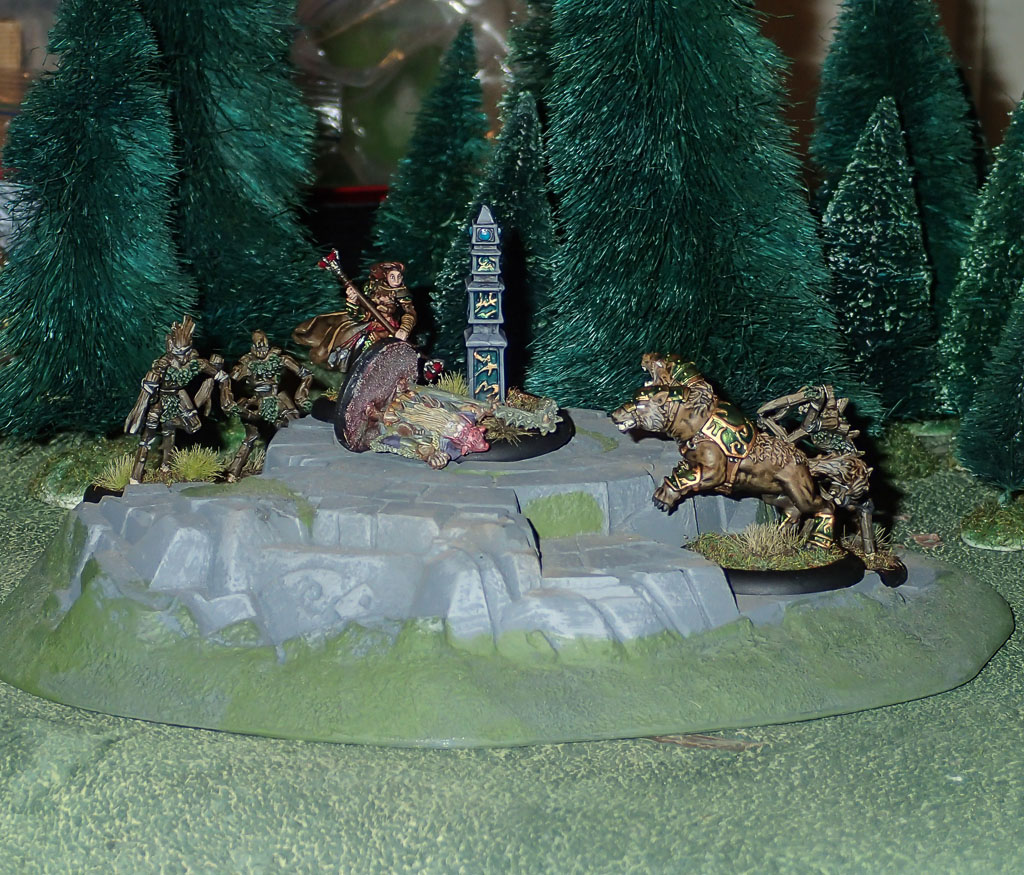
Florifera and her tree constructs deployed in the woods near the Spinney Shrine. The wolves and the avian bird-man waited off board, ready to ambush.

Across the table, the castle was well defended by Bilebroke's grim crew.


On the first turn, Florifera and the constructs moved forward. Laird Bilbroke and his followers moved forward along the road, unaware of what was in store. The avian materialized on the path, ready to attack -- but he failed his activation rolls, ending my turn and giving Mattias the initiative.

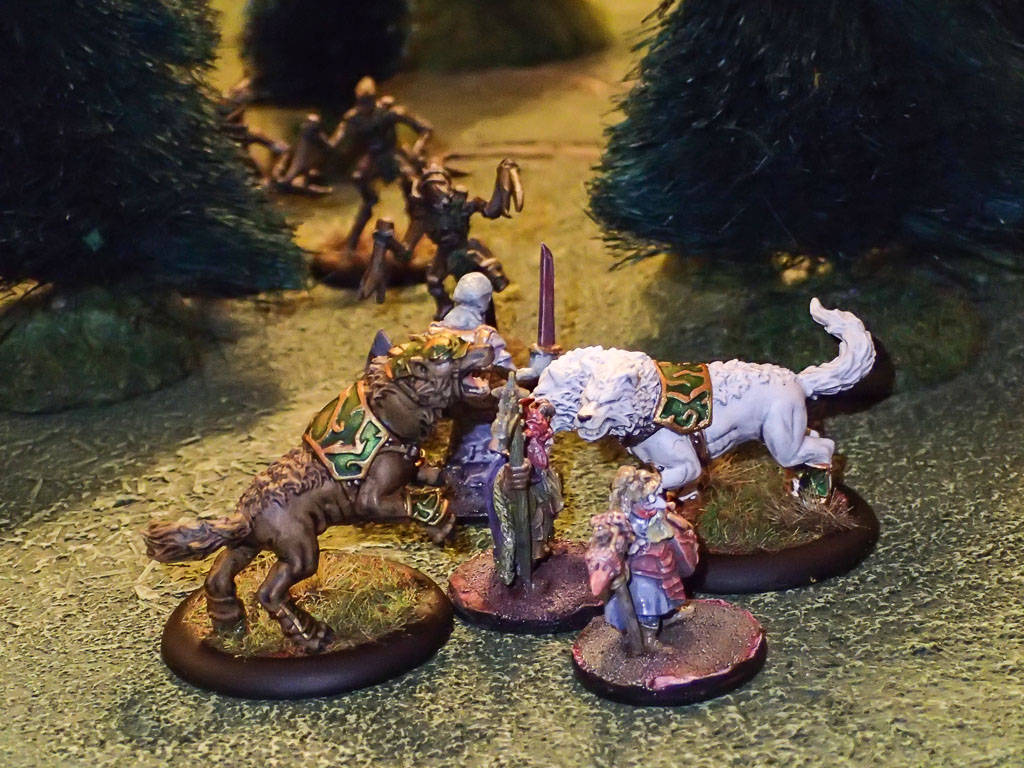
Bilbroke's followers destroyed the avian on their next activation. It was so gruesome that we can't show the pictures. Summer and Winter, the druid's two huge wolves, bounded out of the woods to avenge their fallen comrade. They surrounded the Fell Glendywr, hoping to end the battle quickly:


This quickly escalated into a huge brawl!


Winter fell in combat, but one of the tree constructs entangled Laird Bilbroke in vines, giving Summer a chance to exact her revenge. This triggered a number of unsuccessful morale rolls, sending Bilbroke's forces fleeing in every direction. Many of them were cut down while running. Some of them ran off the table!


The Fell Glendywr fled toward the castle, a construct hot on his heels.


At last the Shivering King recovered, and spurred his mount to speed him into combat with Florifera. He cut her down in single combat -- or did he just make her angry?


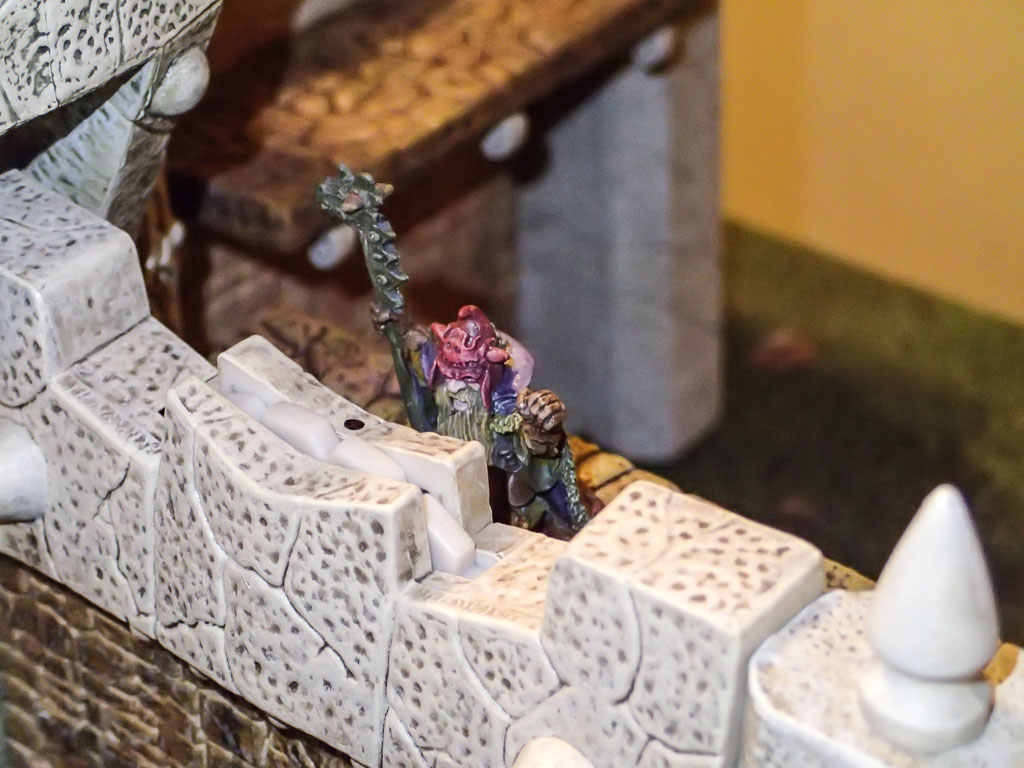
The Fell Glendwyr watched nervously from the castle walls, hoping to find time to complete the ritual.


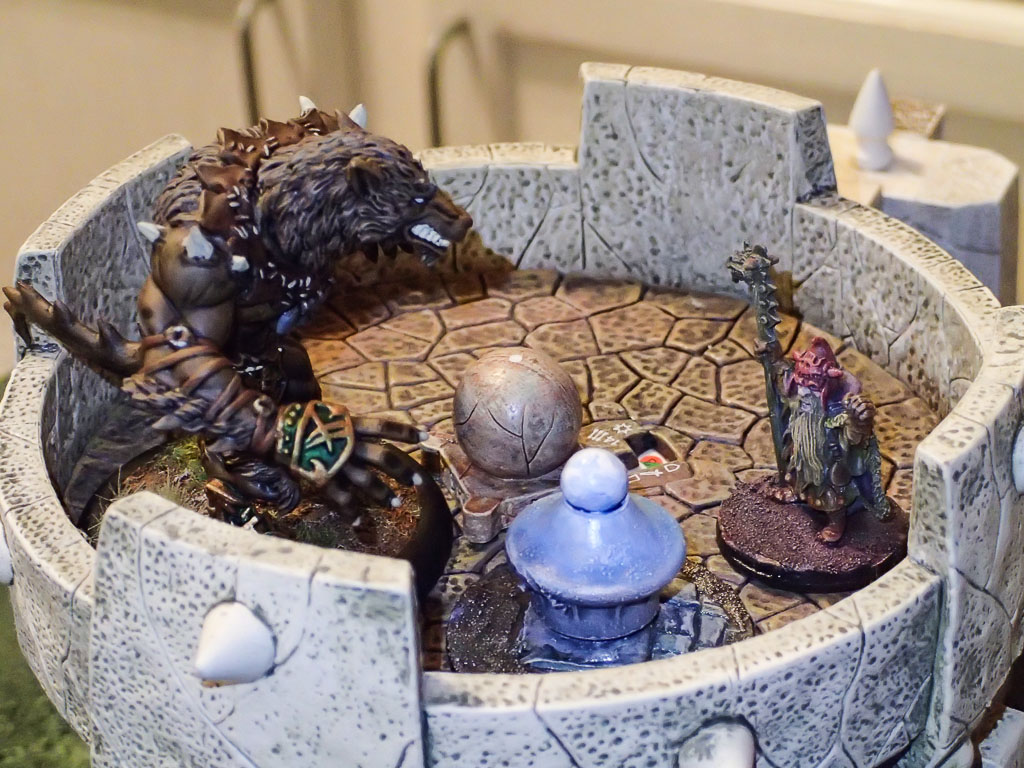
He ascended the tower and cast himself before the Stone All-Knowing, but Florifera in her wolf form scaled the tower to meet him in single combat.


The druid Florifera knocked unconscious, slung his body under her arm and carried him back to the Spinney Stone.


Their wroth thus sated, the Druid and her companions sacrificed the Fell Glendwyr, restoring the Fey Spirit, and returning order to this small part of the Wyrdwold.


We had a great game, made all the better by the setting and flavorful scenario from Mattias. Look for more games in the Wyrdwold in the future!

-- Josh, Chicago Skirmish Wargames club member

Sunday, July 21, 2013

Dark Days of Qaarra, Session 3: Defense of Dustcrag Oasis


We played the third session of our fantasy campaign this past week, and the evening was dominated by one big 4-player game for Karl, Tim, Josh and me. The scenario was a continuation of the narrative established during Josh's ill-fated attempt at raiding the desert caravan in our last session. His battered warband retreated into the ancient, sand-pitted hulk of Dustcrag Oasis, located on the western edge of the great Agamin desert, to rest and heal his wounds.
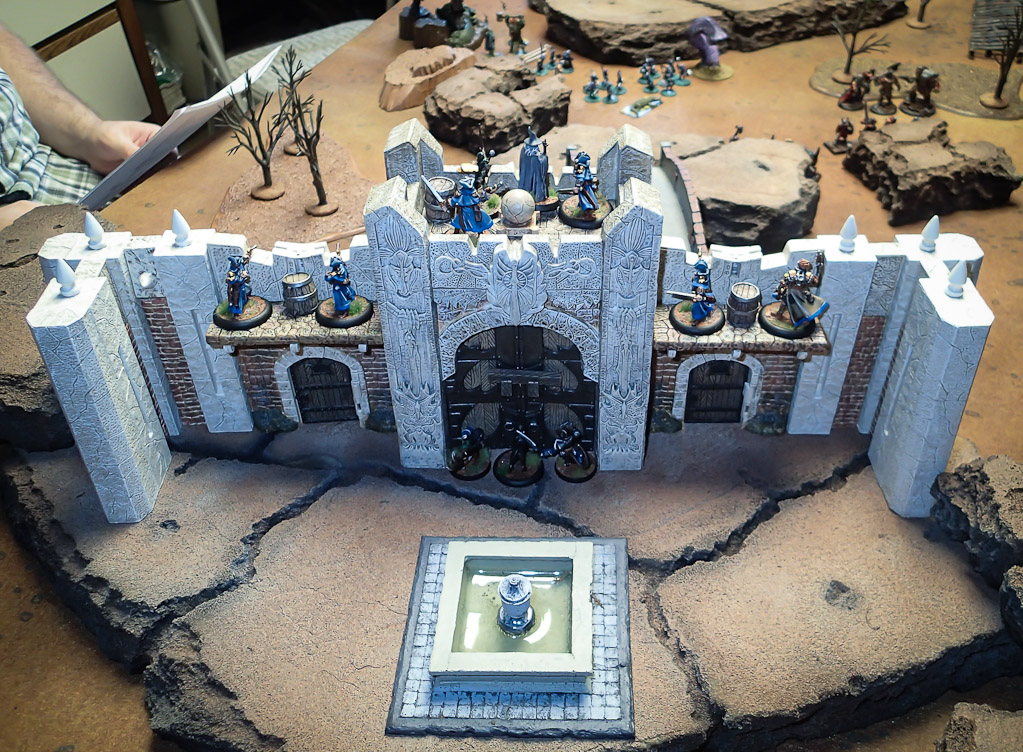
Josh’s position, though, is threatened by the Black Crown’s servants (Karl's warband) and the Peak’s Top kobolds (Tim's warband), which have made temporary alliance. Only a desperate missive to Brynwulf’s dwarves (Pat's warband), encamped a few short leagues away, may stave off the impending slaughter at Dustcrag Oasis. As the cold-hearted raiders close in on the fortress, the dwarves rush aid the brave defenders...

So that lays it all out -- we played a fortress siege featuring two 700-point attacking warbands versus two 500-point defending warbands. Both of the attackers started in the rocky canyon in the center of the table, while Josh's resolute defenders took up positions in the fortress. I included a scenario handout detailing victory conditions and a handful of special rules, including rules for ladders, boiling oil, and two mountain passes that just might offer a back door to the besieged fortress.

Here's how the game looked at the outset, with Karl's chaos raiders and Tim's sneaky kobolds mustering in the canyon. My dwarves are arrayed atop the rocky cliffs in the foreground, while Josh's forces peer over the battlements of the fortress in the background.


Here's a closer look at the left flank, featuring Karl's chaos knights and warriors.


And here's the right flank, currently swarming with kobolds. That huge thing on the right is an undead samurai giant. Yes, it's part of Tim's warband. Yes, it can see over the fortress walls.


And here's what Josh saw from his position on the parapets of the fortress. The fountain in the foreground is the eponymous oasis from which this locale draws its name. Over the years, travelers erected stout stone walls to protect this vital water supply from raiders and brigands.


After a few minutes' discussion of the rules, we got underway! As attackers, Karl and Tim took the first turn, and they wasted little time sending their warriors surging toward the fortress. Karl's chaos warriors sought a path across the bridge toward the main gate, and Tim's kobolds made a beeline for one of the potential canyon passes that we had identified in the scenario rules.

My dwarves weren't technically on the battlefield at this point, but they arrived en masse on turn one. Here is the scene that greeted them as they appeared on the bluffs overlooking the valley.


So much evil contained in one valley! How can the forces of Good hope to stand against such a display of savagery? Grimly hefting their axes, the dwarves prepared to march down into the valley and meet the invaders in single combat. In fact, due to the vagaries of single-figure activation in SBH, combat was joined quite a bit sooner than I had anticipated, because one of my dwarves was caught out in the open, unsupported by his comrades, when my turn unexpectedly ended. Tim's kobolds, supported by a retinue of crocodile-men, fell upon this hapless dwarf.


Thankfully, the stout fighter beat back this assault and was soon joined by his comrades. By this point, Tim's kobolds were advancing through the valley toward the canyon pass, hoping to sneak around behind the defenders.

On the left flank, Karl's chaos warriors were making good progress toward the walls. Here are a couple photos showing how his men leapfrogged one another in their haste to get to the walls. His figures are carrying ladders, which will figure heavily into the remainder of the game.


Hoist the ladder! In fact, look closely and you can see that one warrior has already gained the battlements and is engaged in hand-to-hand combat atop the walls. That's so metal!


Up on the parapets, Josh's warband watched the attack unfold with a sense of grim fatalism. His team was extremely good at shooting, and he put these skills to good use throughout the first half of the game. Here's what he saw.


Gandarf the wizard directed the defense from the fortified gatehouse.


Back in the canyon, my dwarves were harrying the flanks of the attackers. Karl and Tim had both left behind a rearguard force that was making life quite difficult for the dwarves, though. It was about this time that Tim began a string of bad-luck dice rolls that effectively put him out of the game for three consecutive turns. It took the pressure off my dwarves and allowed them to advance into Karl's backfield, threatening his advancing chaos warriors.


Upon the walls, the fighting was savage and bloodthirsty. Chaos warriors clambered up the ladders and met the blackpowder pistols of Josh's warband, not to mention the fearsome magic of Gandarf the wizard.


Near the base of the castle walls, chaos knights mustered alongside Tim's great purple worm in an attempt to batter down the gates. The scenario rules allowed both attackers and defenders to "stack" figures against the main gate by pooling their Combat scores. If at any point the attackers' collective Combat score exceeded the defenders', then the gate would come crashing down. It took some careful maneuvering, but within a few turns the attackers managed to smash open the gates and jeopardize Josh's entire strategy.


By the time the gates gave way, however, the game was nearing its turn limit. Tim's kobolds had successfully exploited the hidden canyon pass and were racing around behind the fortress. Karl's chaos knights, bloodied and reeling from their headlong charge, rallied for another assault on the thinly defended gatehouse. My dwarves reached the edges of the main battle and began to carve through the kobold rearguard. The last few turns were tense indeed!


In the end, the defenders were able to hold out for a full 10 turns against the overwhelming onslaught, so Josh and I achieved victory! Given slightly more favorable dice rolls for Tim and Karl, the game could have easily gone against the defenders. As it was, Karl quipped that this was the most fun he's had getting his butt kicked in quite a long time! The game was fun and we agreed that the scenario was pretty good, with just a few tweaks needed if we decide to play it again.

From a narrative point of view, it was neat to create some flavor and backstory for the Dustcrag Oasis, which up until now had just been an icon on our campaign map. Now it will be remembered as the site of a great battle between the forces of Good and the tides of Evil!

-- Patrick, Chicago Skirmish Wargames club member