Monday, September 15, 2014

More Terrain: Small Chem Plant


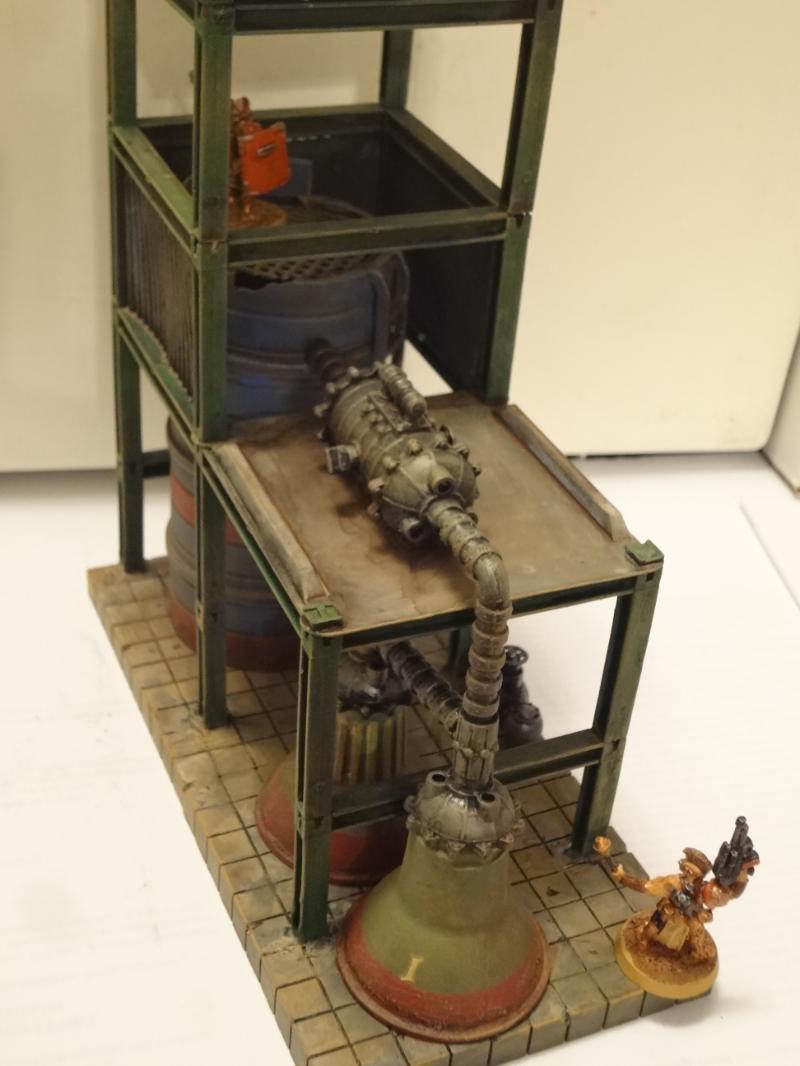
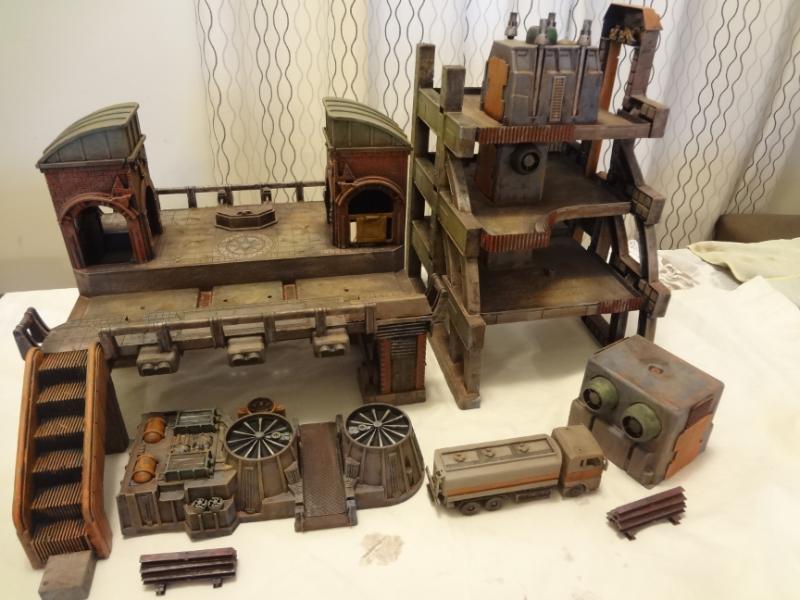
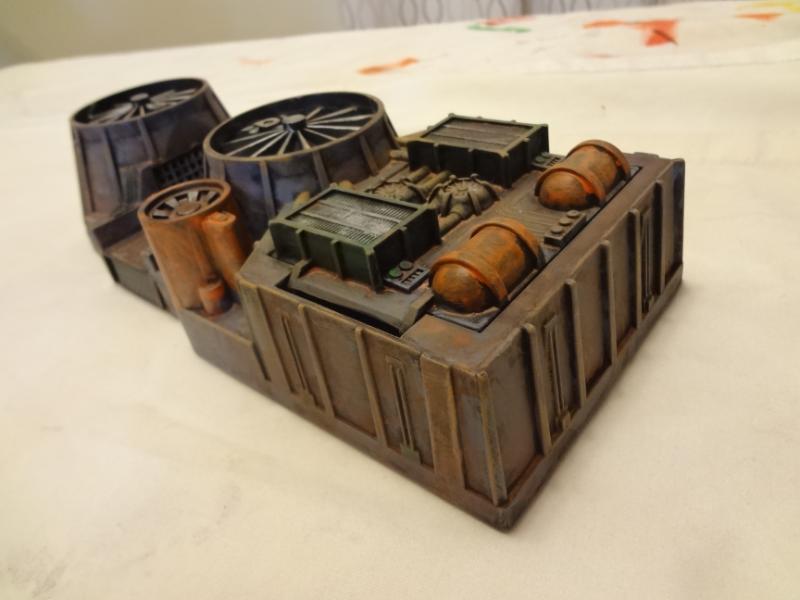
The recently completed "Terrain Triptych" series wasn't enough for me, so I've been pushing out even more urban terrain projects using my vast collection of bits, scraps and toys. In this blog post, I'll unveil a small chem station I rebuilt for fellow club member Pat. The original version is visible in the far right background of this classic CSW battle (our first go at Tomorrow's War back in 2011, and the second post ever on this blog!). Oh the memories…


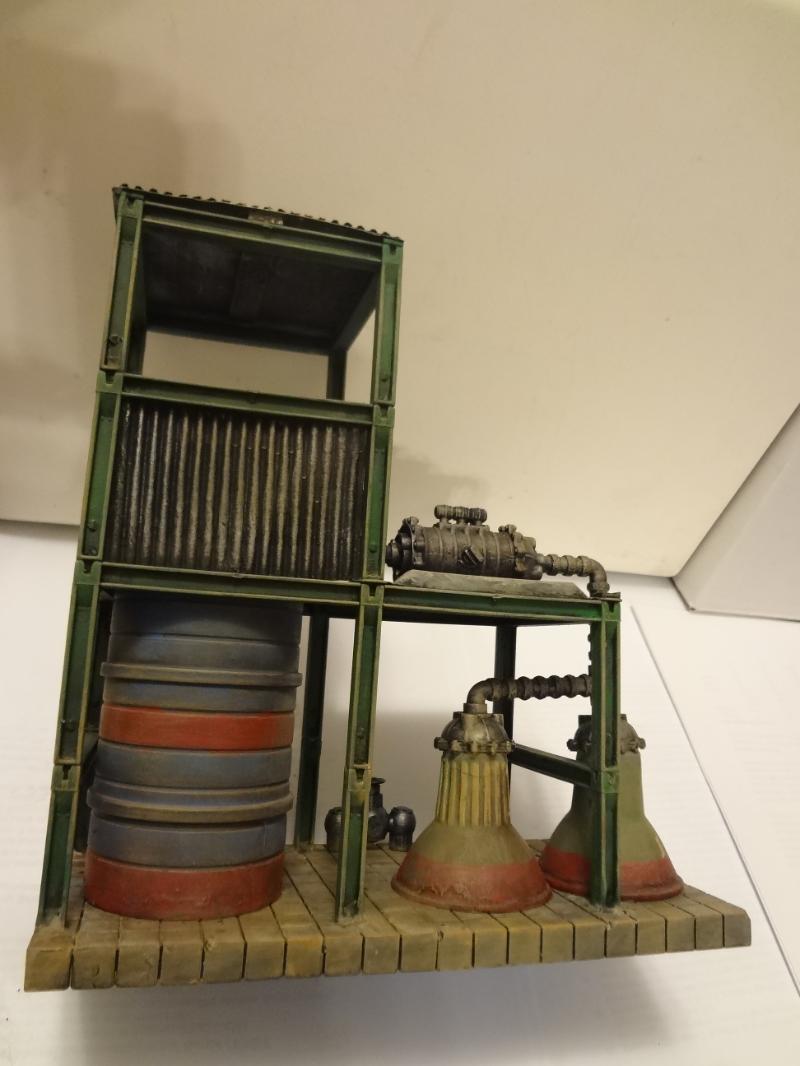
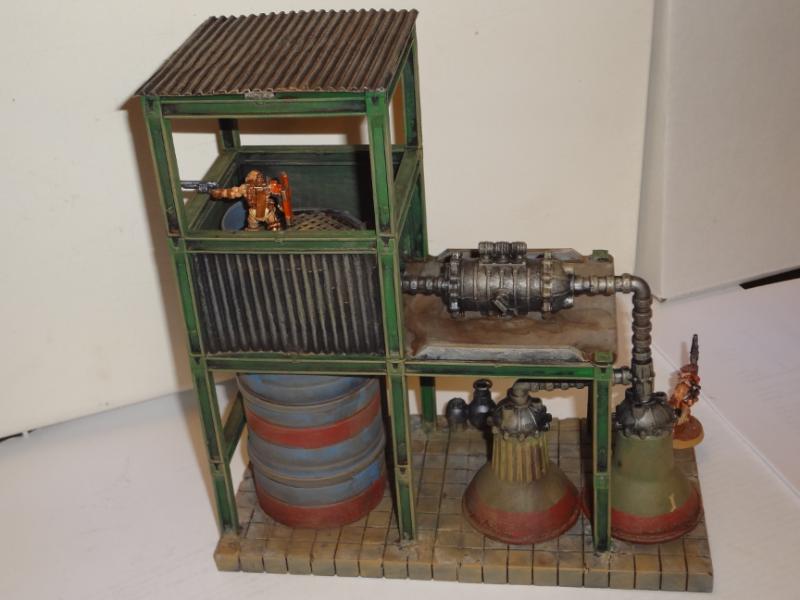
Pat gave me free reign to "give it the treatment" and in exchange, he's painting some figures for me, so I decided to do it up right, which necessitated doing away with the old base and starting fresh with a lot of new elements, as revealed below. This was my first attempt at using the girder and panel elements from the "Power City" toy building kits that I purchased recently, and I've got to say, they're great!


Being made of polypropylene, you have to use superglue at the joints, epoxy for the connection to the base and plastic specific spray paint (I used Kylon Camo Black) for priming, but the girders go together easily. I'll definitely be using this stuff again, which is good since I am now the owner of a rather large batch.

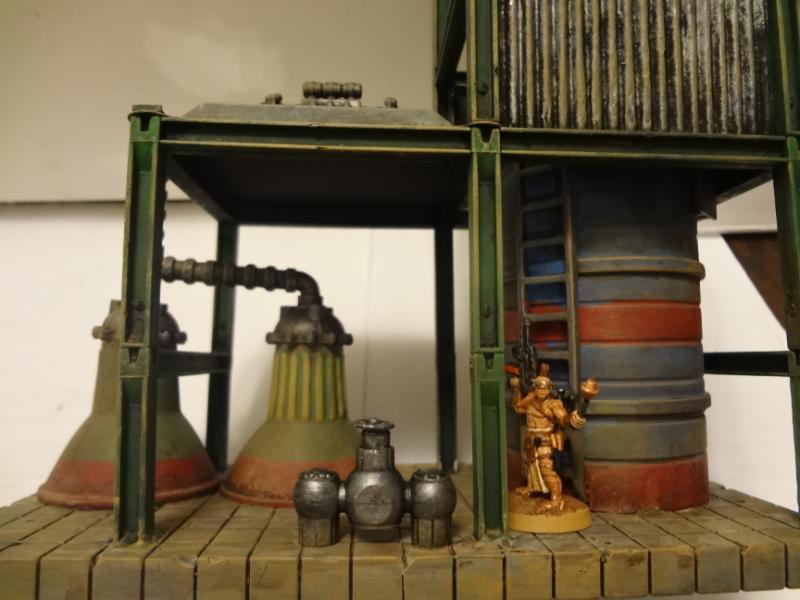
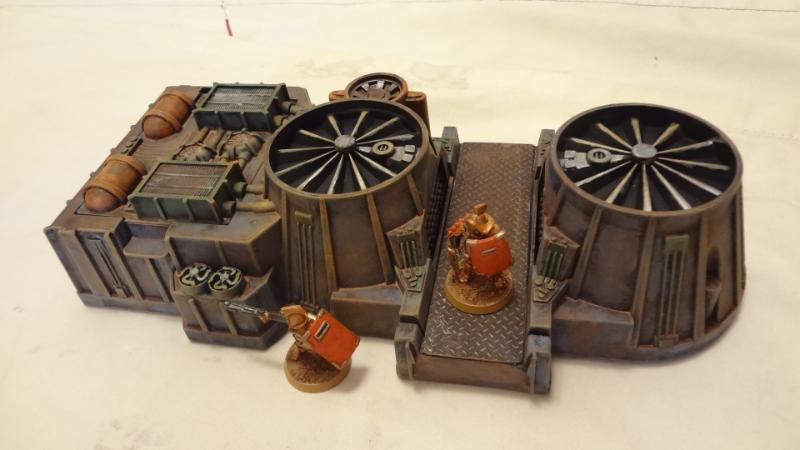
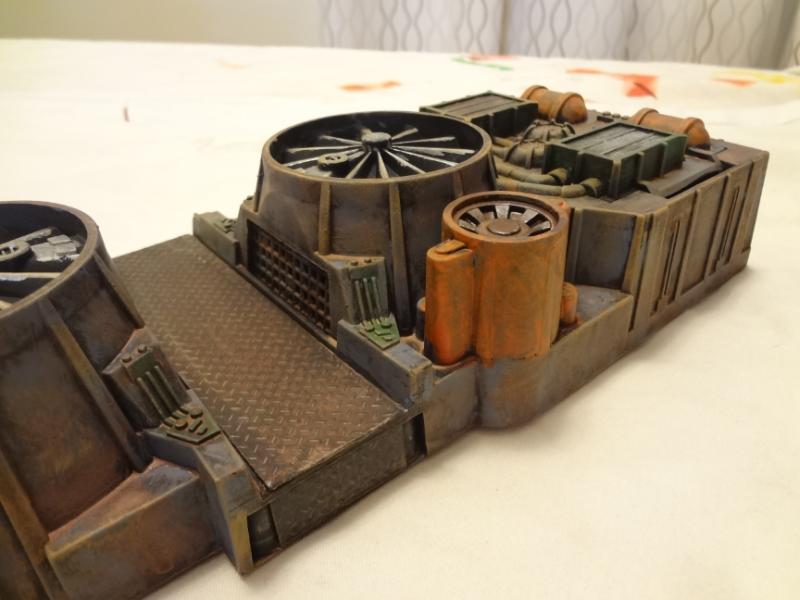
The elements connecting the tanks are from the Pegasus Hobbies "Chemical Plant" kit, one of my favorites and a great source for industrial bits. I use the kit as a toolbox for adding pipe detail where necessary to larger terrain constructions. It takes a bit of fiddling to make them work with the other elements of terrain that aren't built on the same metrics, but the results are worth it.


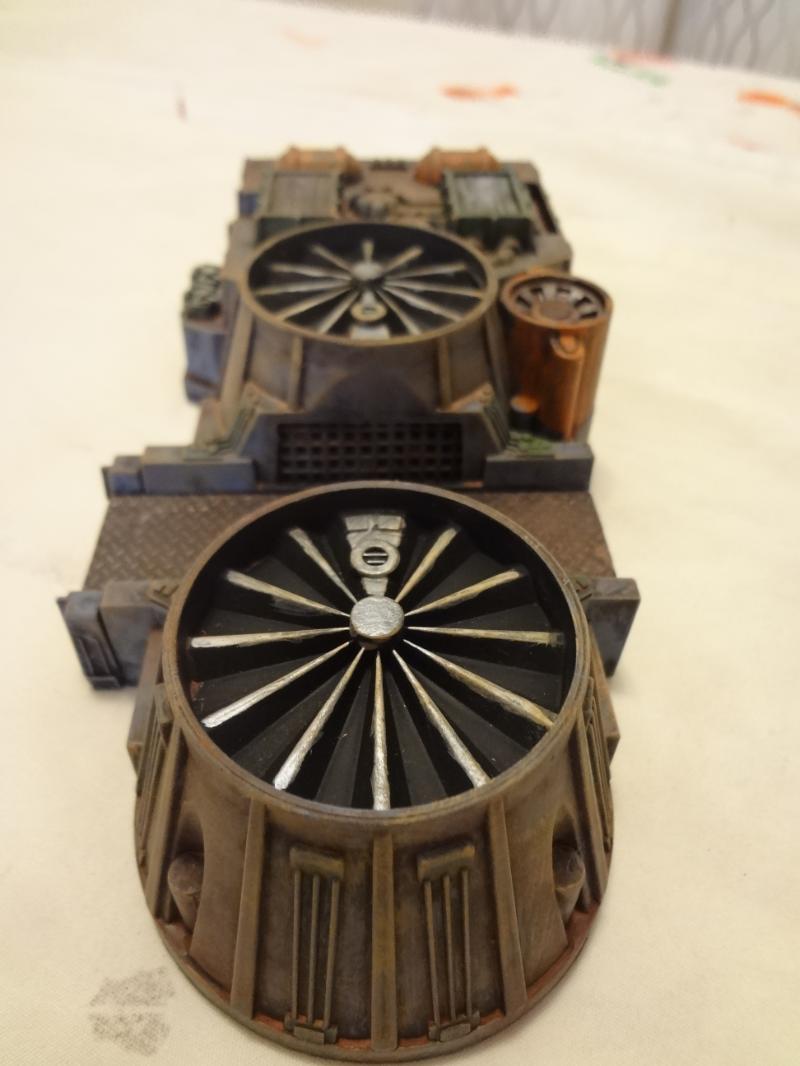
The small tanks are halogen light bulbs. The big one was a toy silo with the top cut off.


The base is made from "Base Ten Blocks", specifically two of the 100-count blocks epoxied together. You might remember them from grade school and learning about number places. I found a big batch at my local resale shop of single bricks, ten brick columns and 100 brick squares. They are incredibly useful for terrain building!


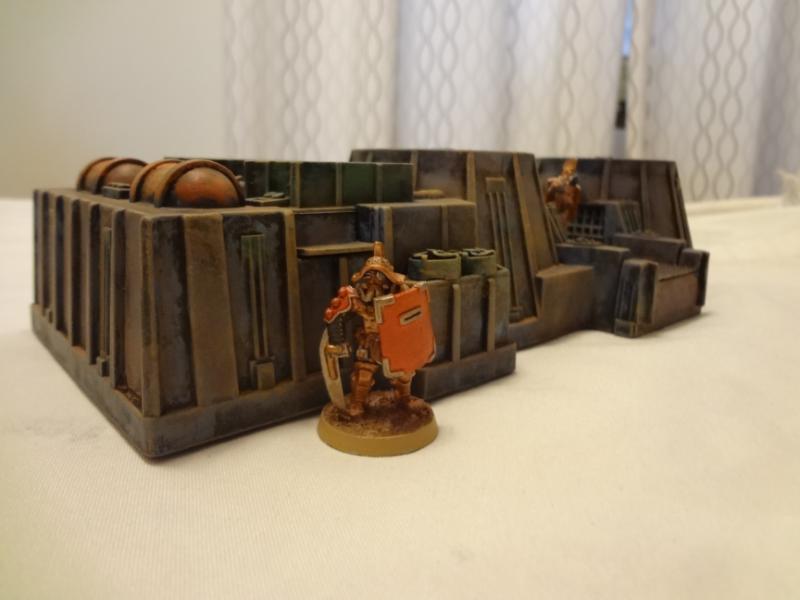
I gouged up the base a bit before painting, but I now wish I'd distressed it a bit more.


There you have it, a finished small chem plant! Though intended mostly for skirmish games, you can fit about seven figures on the upper floor, so it's got quite a bit of utility for squad-based games as well. Feel free to put any comments or questions regarding construction below.

-- Karl, Chicago Skirmish Wargames club member

Thursday, September 11, 2014

Painting Nethyrmaul, the Undying


Last fall, when several club members were gleefully pawing through the treasure trove of Reaper Bones figures from their first Kickstarter campaign, I was twiddling my thumbs in anticipation, hoping for a chance to trade or buy a few choice figures from various club members. I got my chance when Jon hooked me up with Nethyrmaul the Undying, a colossal undead dragon. Here he is in unpainted PVC.


I've got a fairly large undead army at this point, so Nethyrmaul will make for a gloriously gruesome centerpiece if I ever get it on the field at the same time (maybe for a Kings of War mega-game?).

This figure was by far the largest individual miniature (can I even use that word? This thing is bigger than a Barbie doll!) that I've ever assembled and painted. As with many multi-part kits from the Bones line, the various pieces didn't quite line up perfectly, so I had to do some trimming, sanding and clamping during assembly.

Once I primed it with gesso, I was suddenly paralyzed with indecision -- confronted with a blank canvas, how would I decide on a neat-o paint scheme to truly leave my mark on this epic miniature? I finally opted for deep green scales drybrushed up through yellow and white, alongside mottled purple and magenta for the exposed rotting fleshy bits. The figure had a pretty impressive integral base, so I glued the whole thing onto a CD and added gravel, wood bark chips, flocking and grass tufts to finish off the base. Here's a look at the finished product.


Visually speaking, Nethyrmaul is going to absolutely dominate the battlefield whenever he shows up. Now I've just go to convince the club to play some more Kings of War, and soon!

-- Patrick, Chicago Skirmish Wargames club member

Wednesday, September 10, 2014

Scatter Terrain for Sci-Fi and Post-Apocalyptic Wargaming

While digging through my bits boxes recently, I found myself staring at a bag full of windows and window frames leftover from a Walthers building I built years ago.

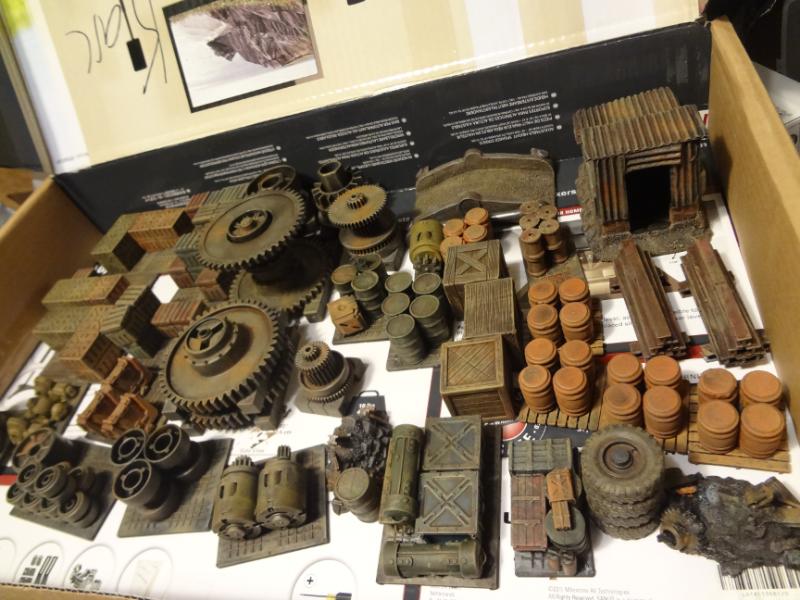
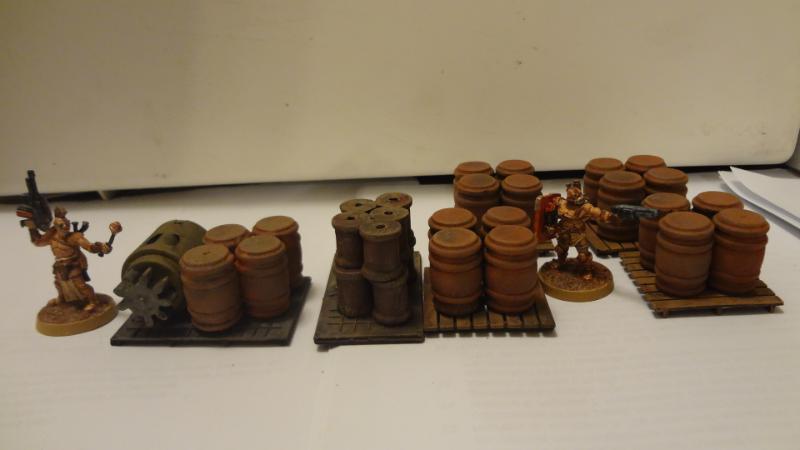
I suddenly realized that by clipping out the bottoms of the frames and gluing them to the windows in reverse, I could make pallets. But what could I put on my pallets? I started pulling out crates, barrels and miscellaneous sci-fi freight items to put on the pallets -- I'll admit I got a bit carried away and had to stop building terrain, or else I'd never get around to painting this stuff. The result was this box of 30-plus scatter terrain pieces, perfect for sci-fi or post-apocalpytic skirmish gaming


I'll go through them briefly and point out the most interesting bits to give you an idea of what you should keep an eye out for.

Barrels and Spools
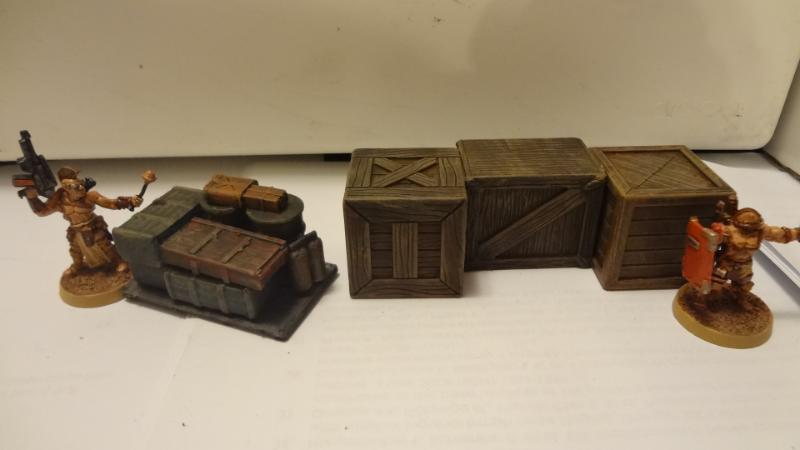
I think these originated in the craft shop as little wood doodads. If you paint them thick enough, they'll lose their wooden texture. The barrels on the left are glued to plastic pallets from Lionel that I had bought as a kid in the 90s.


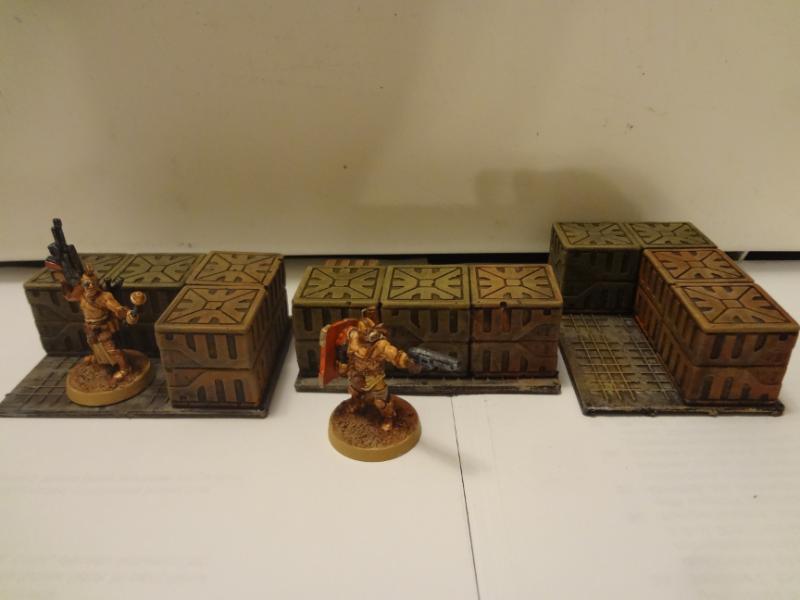
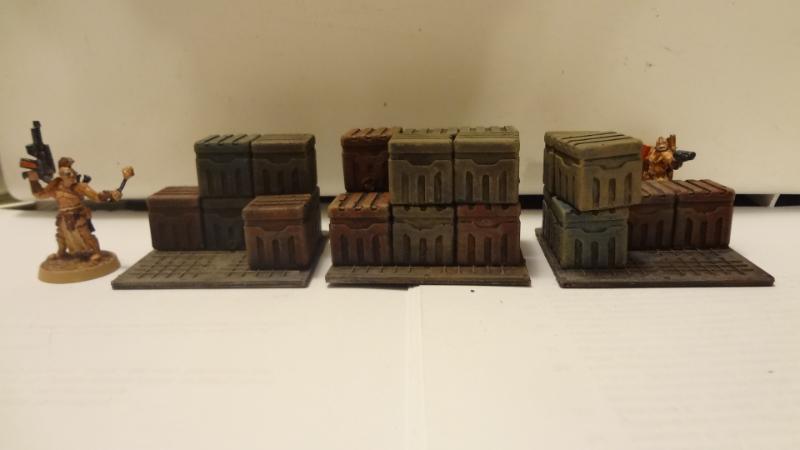
Hist Arts Sci-Fi Bricks
These were a generous donation from fellow club member Tim. They are a bunch of leftovers he had from a round of casting with Hirst Arts latex molds. They're cast in dental plaster, are fairly sturdy and have a great sci-fi look to them. The large boxes are two part, the top and bottom being identical halves.


The small boxes are single piece castings, and I particularly like their look


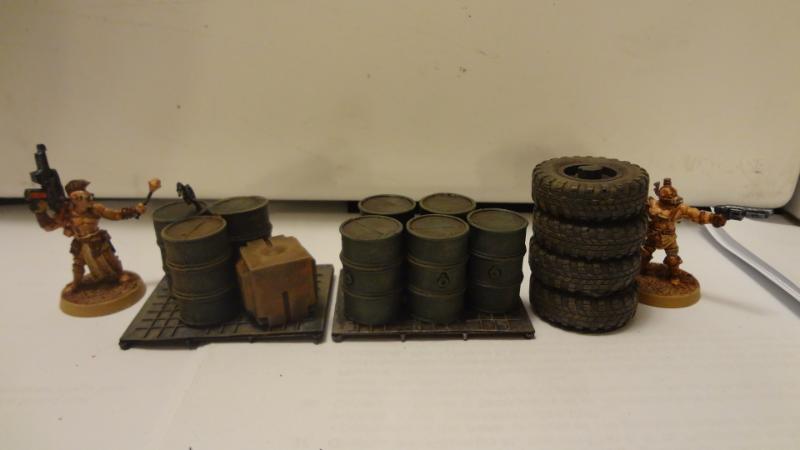
Oil Drums
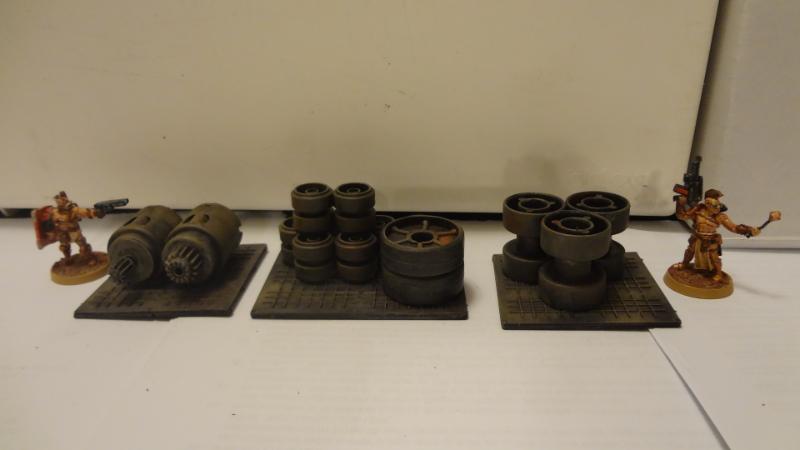
A classic standby, these are mostly from old-style Games Workshop terrain sprues, combined with a box from Mantic's Deadzone accessory sprue. The wheel stack is from Sea Dog Game Studios, better known for their large, homemade resin mech models for the game Tech Commander. It was a rough casting with a ton of flash all the way up, but it nonetheless looks fine when completed. It comes in a grey resin, so all I had to do was give it a heavy brown wash and drybrush it!


More Mantic and Games Workshop bits
Most of these came as part of a donation from fellow club member Josh. (Sidenote: As you've probably noticed after reading this blog, our club is great about sharing useful bits for terrain projects. By now each of us is well stocked with bits from any number of Kickstarter campaigns, so we're always quick to offer up donations for somebody's latest project.)

Anyway, the Mantic Deadzone rubble piles begin their life as pretty sad-looking blobs with a few blocky bits and beams sticking out of them. However, some sand, additional beam bits, and other details like a chair, gear, barrel and piece of a pen and suddenly they're no longer identical or boring. Even though I'm not going for a ruined future for my tabletop, you've got to have a few junk piles. These pre-made Mantic pieces are a great starting point. As for the GW crates and cases (also from a vintage terrain sprue), it's a nostalgic reminder of the years past, when everything in 40k wasn't covered in skulls. Looks much better, don't you think?!


Toybashed Terrain
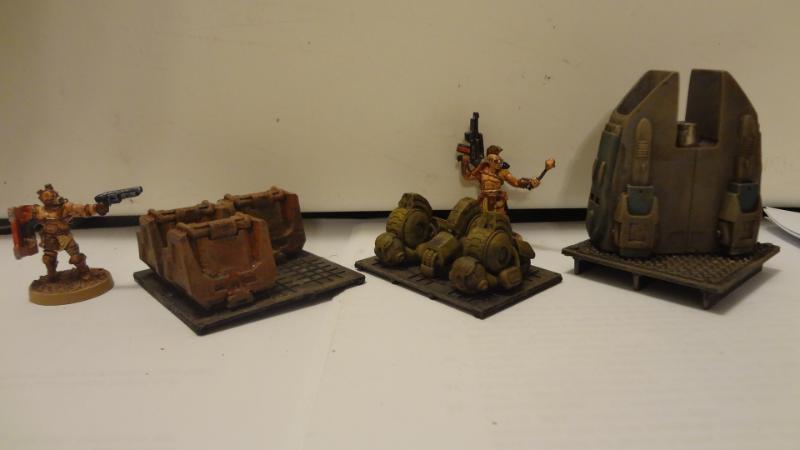
Except for the red ammo box and little bits on top, this pallet is all soft plastic toy soldier bits with LEGO air tanks. This particular combination of bits has been bouncing around in my bits boxes for almost 20 years now! The big crates were more recently picked up in the random toy bins of various resale shops. Like the tires above, they were just washed and drybrushed.


Micro Arts Studios Terrain Bits
This next batch is from Micro Art Studios and was designed for Infinity. I don't normally buy little bits like this, but they were a bargain at the Games Plus auction. They come with little acrylic printed viewscreens, but they didn't fit my gritty dirty aesthetic, so I left them off. The larger piece on the right is another gift from Josh ... it's a really neat unit made for Deadzone by Atenociti's Workshop. Wash the heck out of it with soapy water or else you'll be applying three coats of gesso like I had to.


More Toybashed Terrain
Take apart many toys and you'll end up with lots of small electric motors, wheels, gears and other industrial-looking bits. Some of the bits below are nylon pulleys, which really need a good cleaning (I soak them in Purple Power) and either Krylon Fusion paint or a couple coats of gesso to prime correctly.


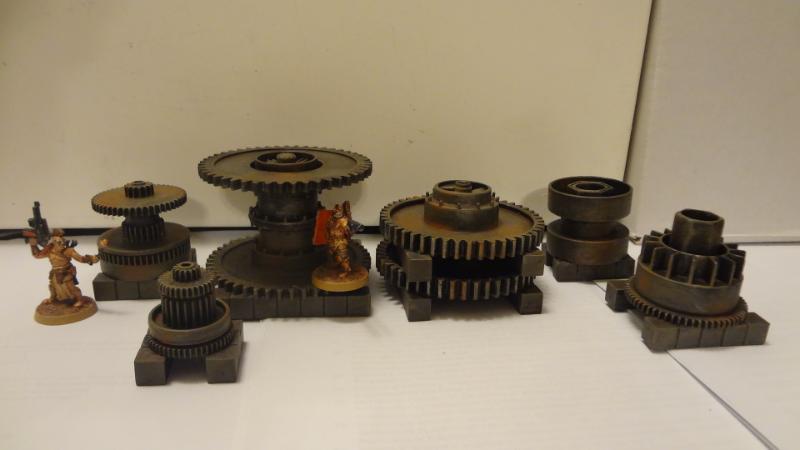
Here's another set of nylon gears from the inside of toys. We've also found a local store, American Science and Surplus, that sells loose bulk gears for cheap. With superglue or epoxy, they can be glued together into some really interesting arrangements. Rather than pallets, I mounted them on piles of "Base 10 bricks" I mentioned in an earlier article. The 10 long bricks can be broken into smaller lengths with pliers.


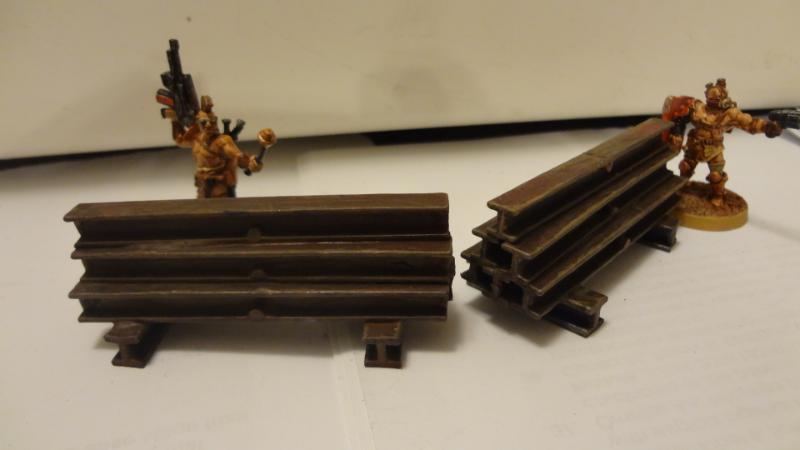
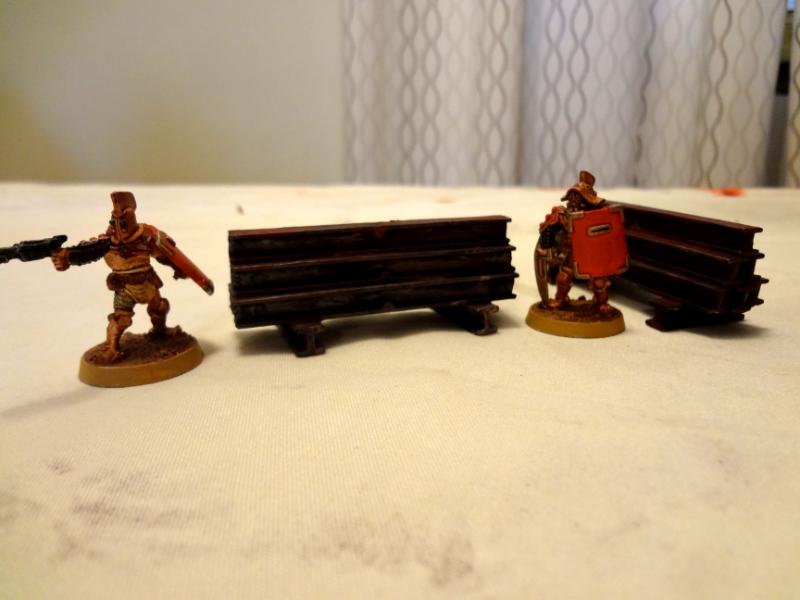
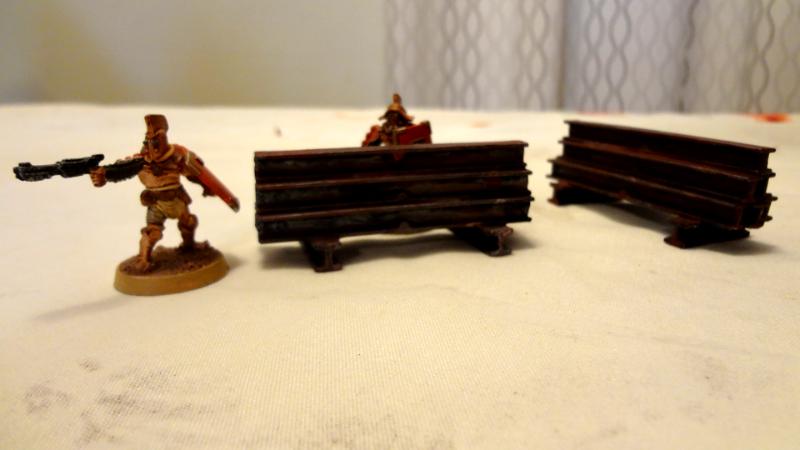
And here's a quick look at the I-beam stacks I built in an earlier post, now with a nice tan drybrush.


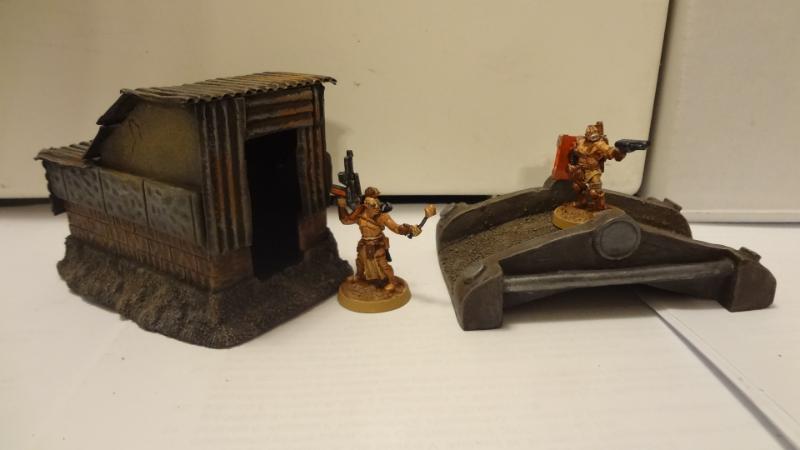
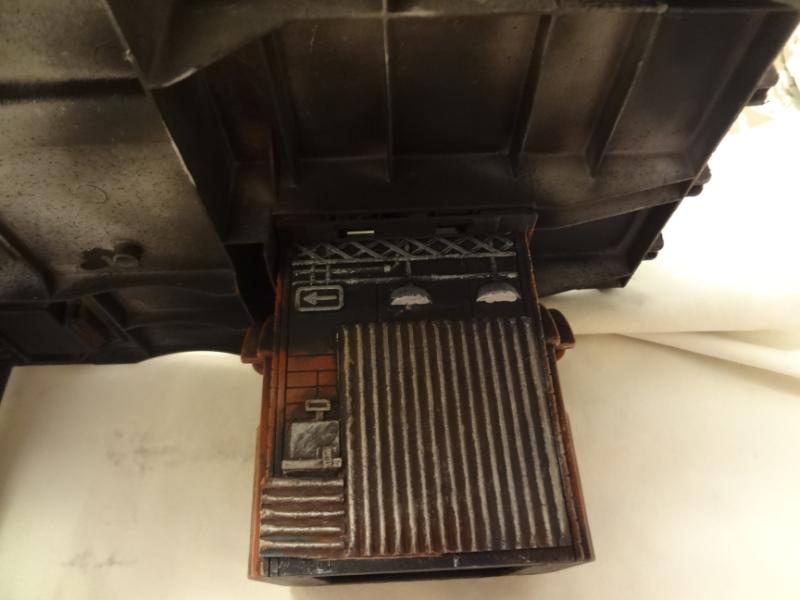
Here are a couple larger items that I completed alongside the batch of scatter terrain. The underground entrance is the base of an old matchbox car escalator. All I had to do was add the corrugated cardboard and put some sand on the bottom. Who knows where it leads? Maybe to a vault, or underground laboratory?

The foot bridge is a 1/300 scale industrial bridge from JR Miniatures. I wasn't impressed with it at that scale (bridge walls as thick as a car?) but it makes a very nice 28mm or 15mm foot bridge.


But that's not all!
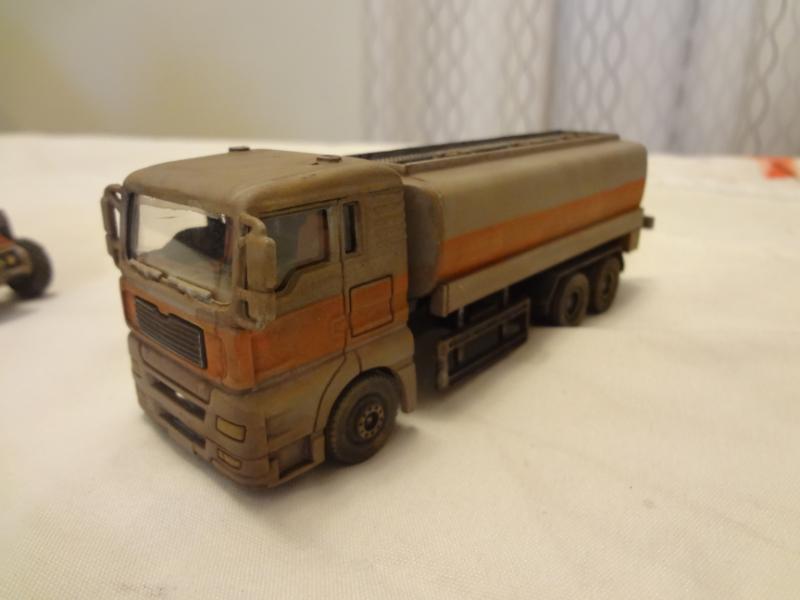
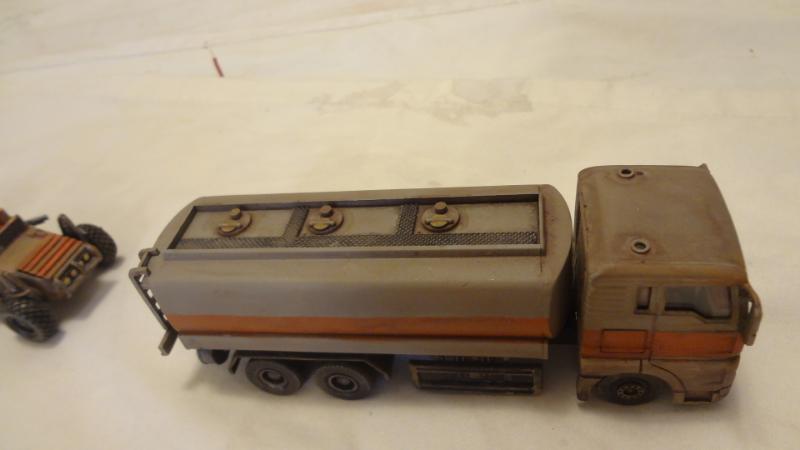
On the weekend before this painting marathon, I happened to stop at a resale shop and picked up this little beauty, so I painted it up along with the rest. It looks to be spot on for 1/56 (28mm) scale. It's a bit smaller scale than the 1/43 cars that I use, but it's a truck so it should size up pretty good. It'll probably be mostly used as scatter terrain anyway.


I inadvertently painted it up in the colors of my Junkers army, and it looks great alongside those guys!


It's a nice little vehicle that's could just as easily be running gas across the post-apocalypse outback or delivering coolant to a battlemech in the year 3025.


So the terrain insanity continues. My workbench is clear of terrain projects for the time being, but we all know that won't last. Up next is my long-awaited Necromunda Van Saar project, and I also have an elevated train station that's missing a train...

-- Karl, Chicago Skirmish Wargames club member

Tuesday, September 2, 2014

Terrain Triptych, Part 3: Elevated Train Station


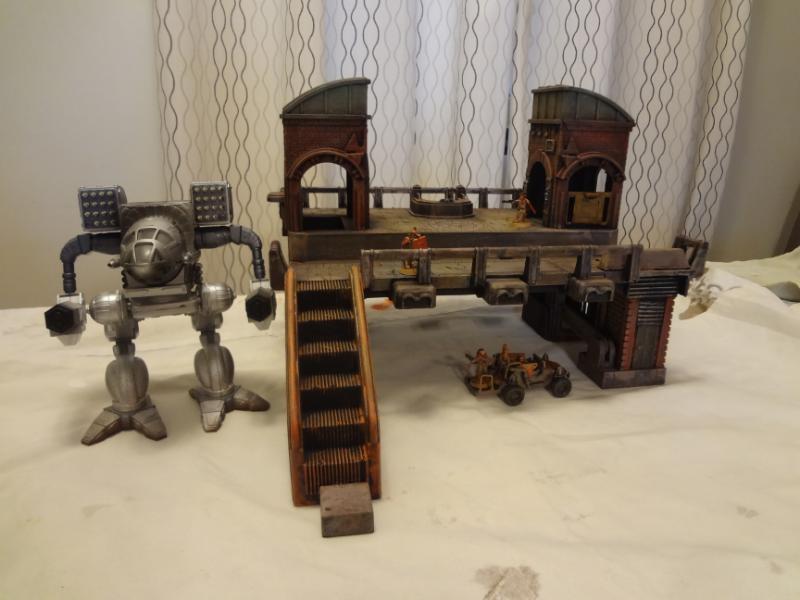
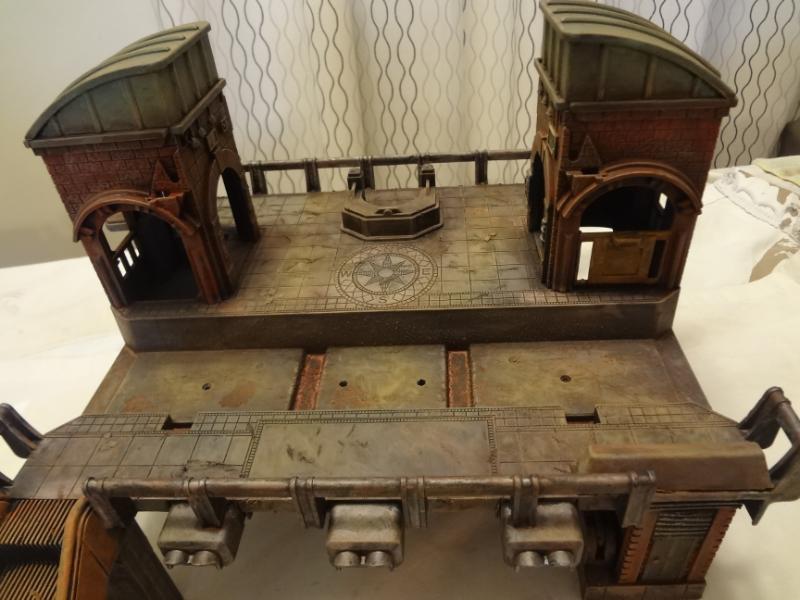
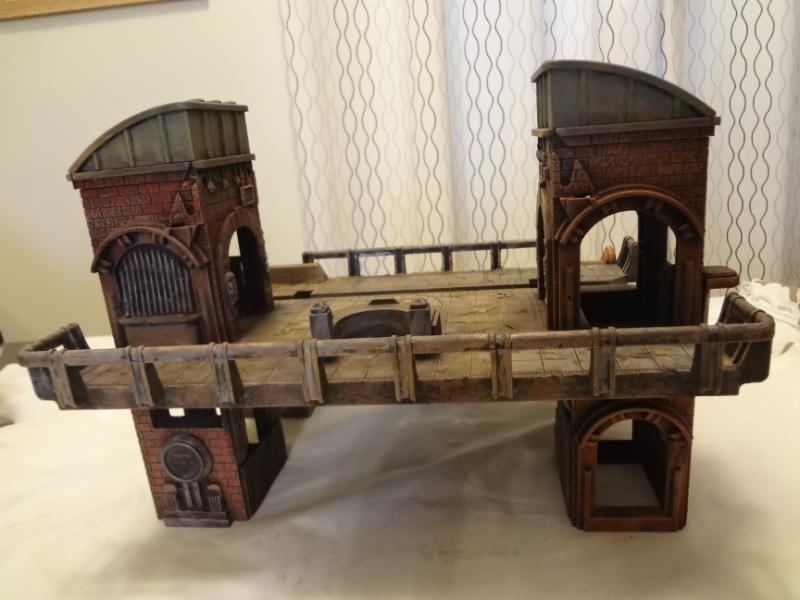
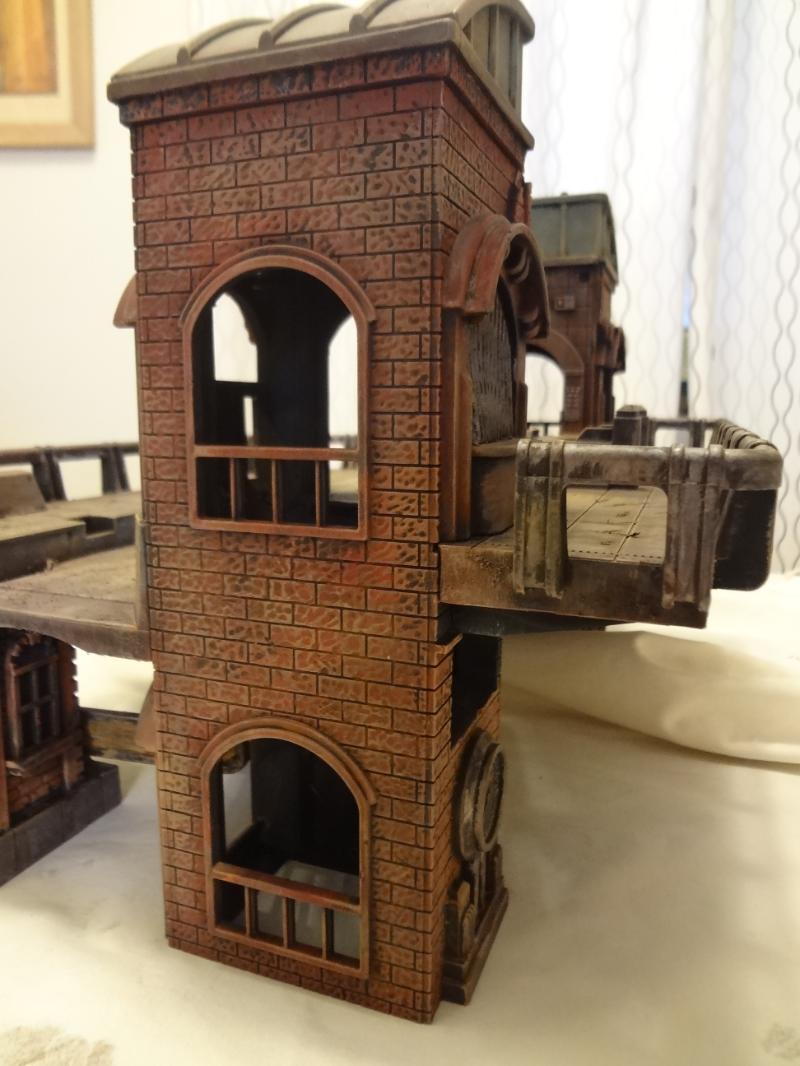
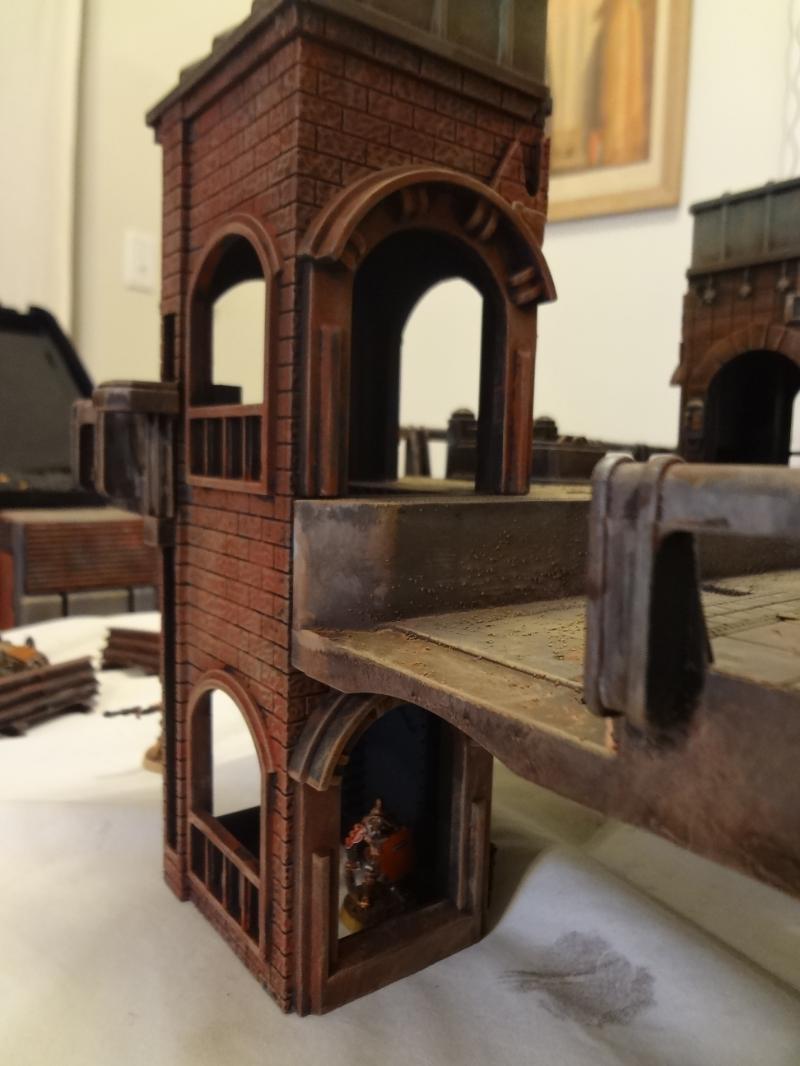
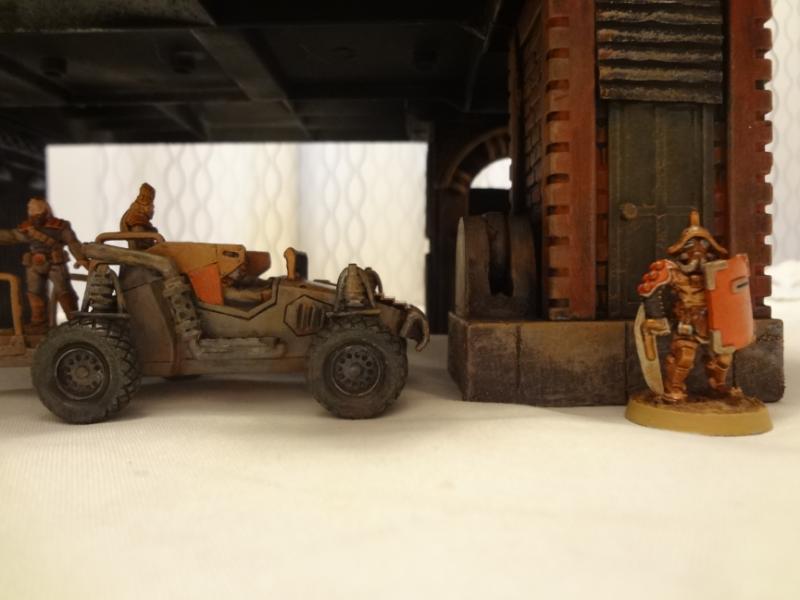
Elevated train stations are a common sight here in Chicago, so I'm extra happy to add this terrain piece to my collection. As with the other items in the Terrain Triptych series, this one started life as a toy playset.

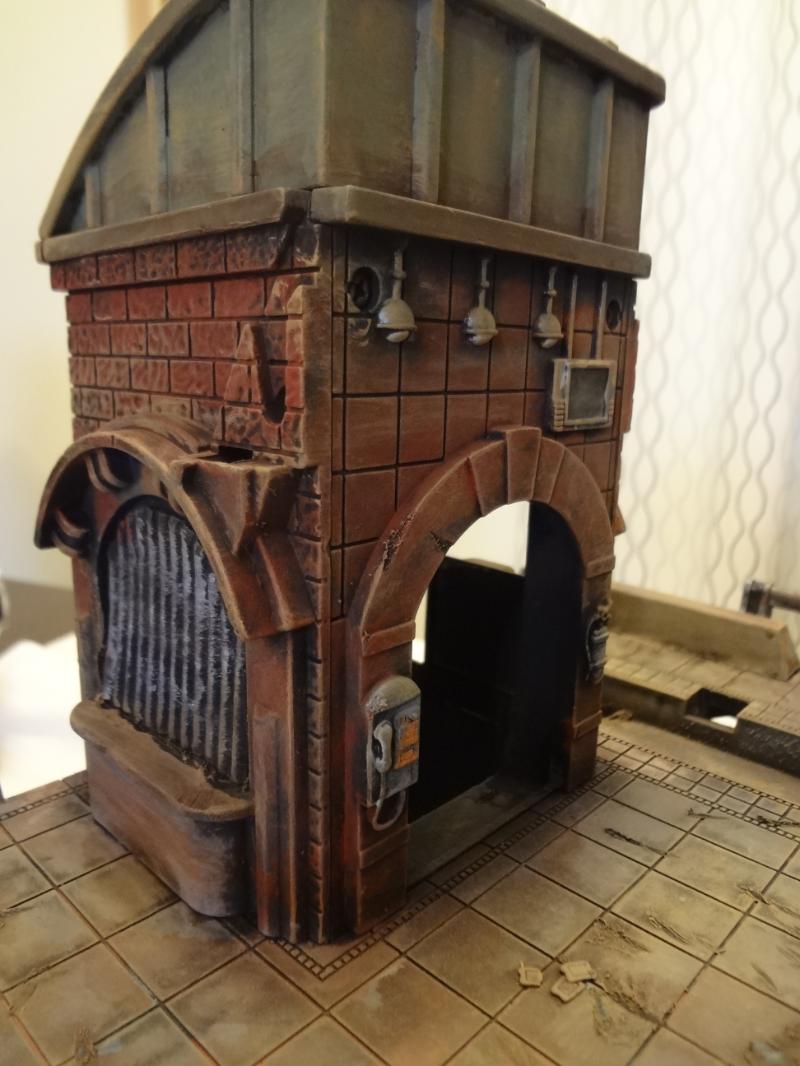
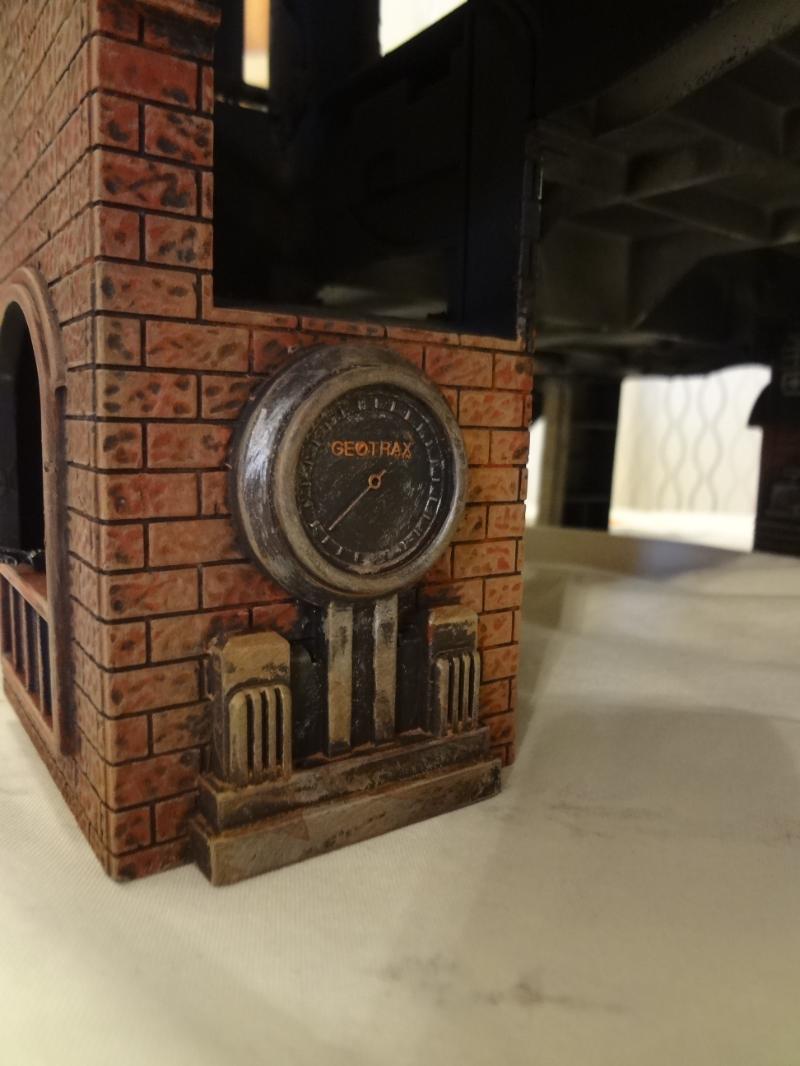
The original toy is a Fisher Price Geo-Trax Train Station. It's an outstanding example of a toy that has loads of built-in detail and texture, which saves the builder lots of time and effort. I simply don't have the ability or time to scratch build something like this, and I certainly couldn't afford to purchase a model kit of this size very often.


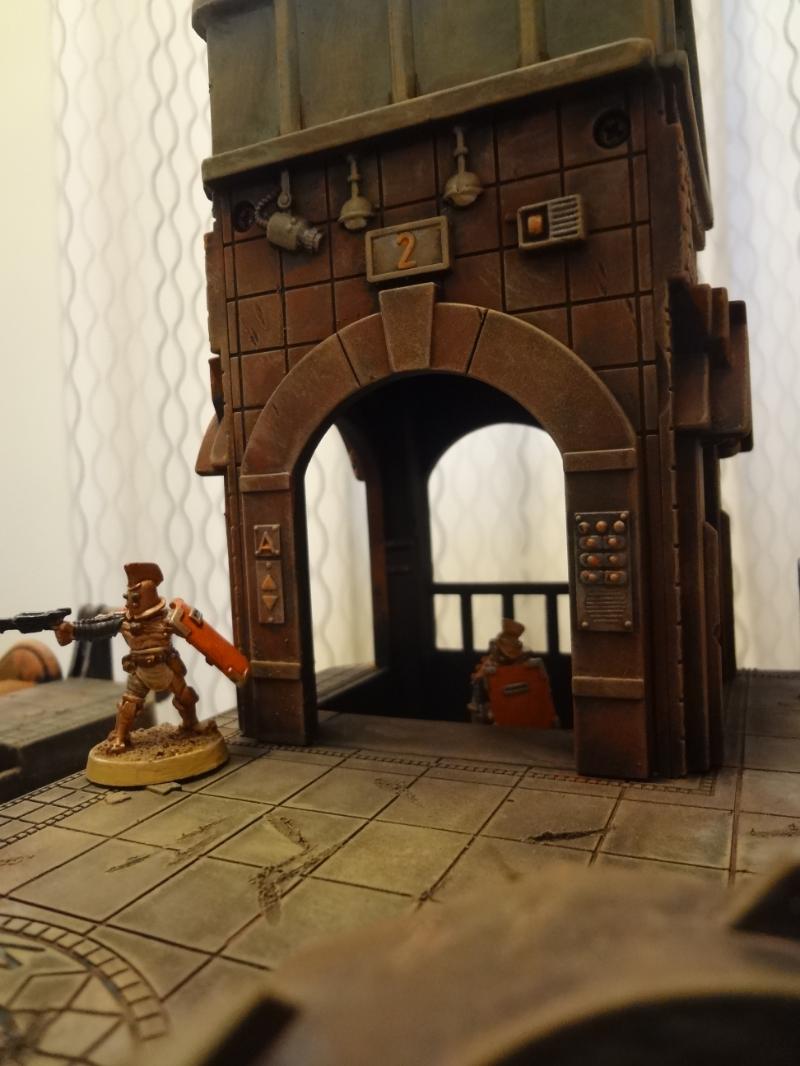
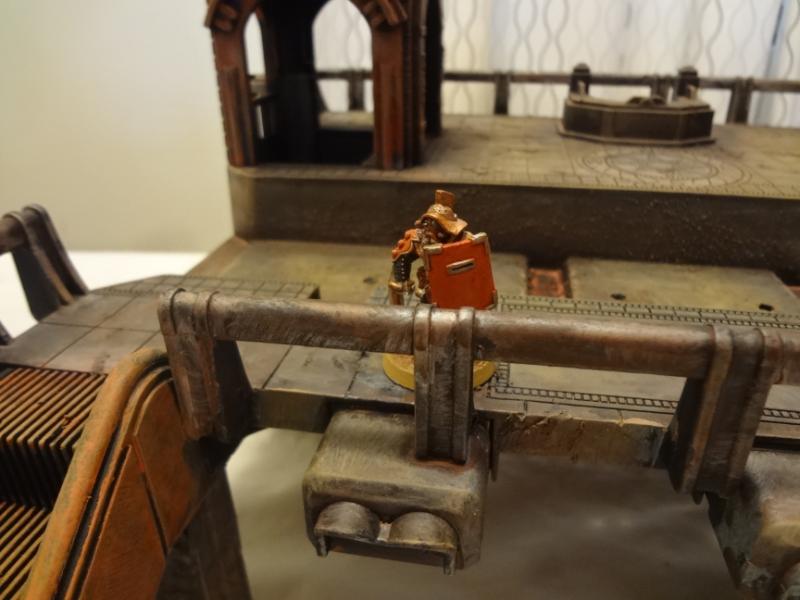
Though I had to Dremel away some detail panels, including a candy and flower shop, there's still a lot of neat detail that is easy to pick out.


Even the pavement has some great details. That lowered track trench is wide enough to accommodate an O-scale train. (Can you guess what my next terrain project is?)


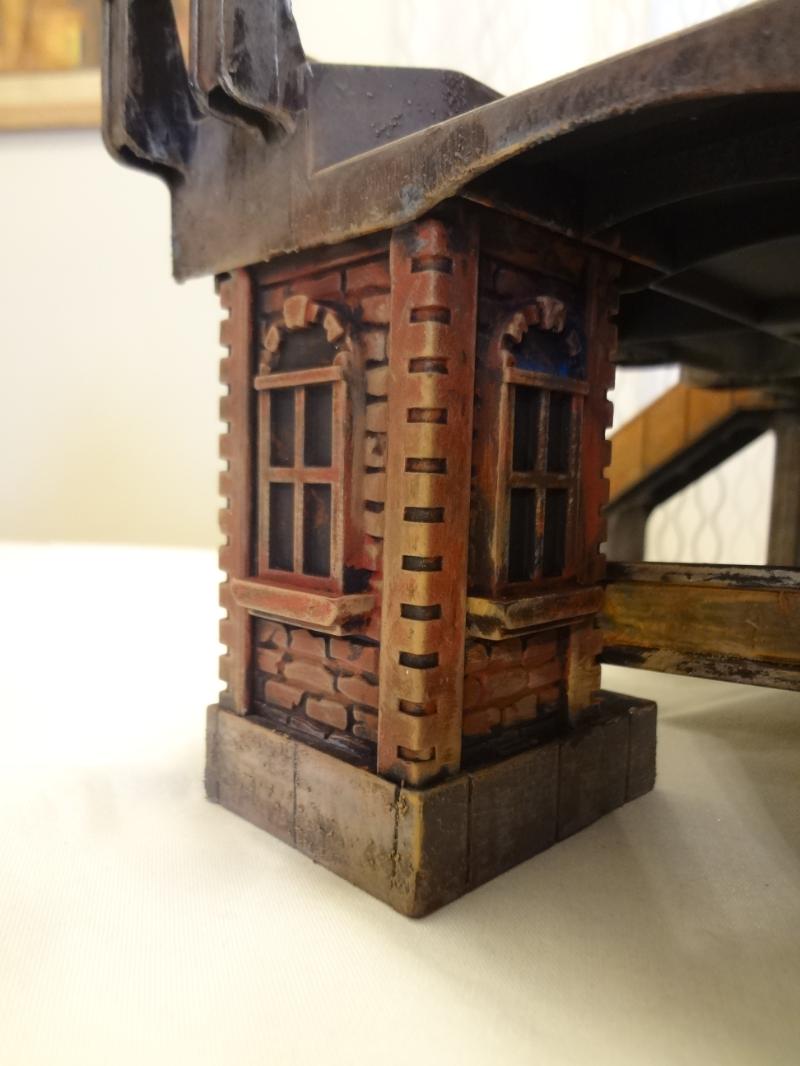
The towers had some great worn brick texture that practically painted itself.


The first tower has an elevator, which I've glued it in place, just low enough to provide cover.


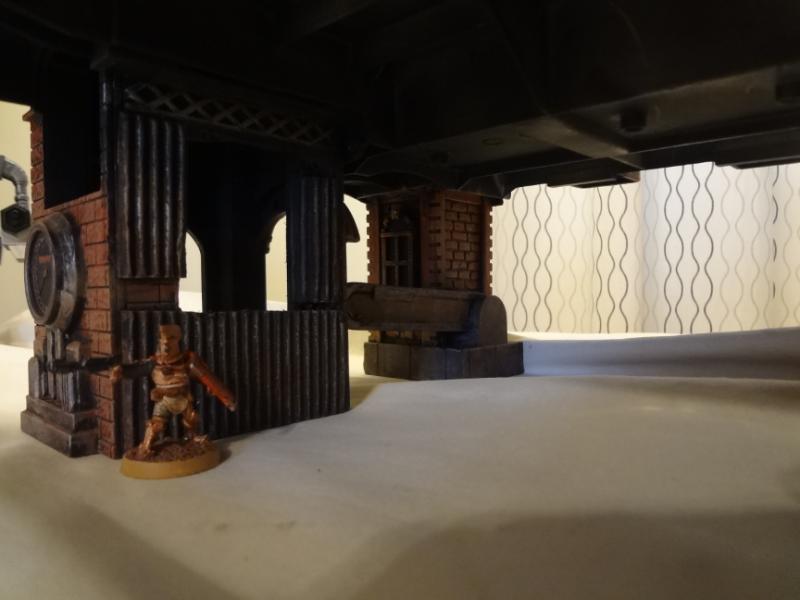
The second tower has an empty shaft, and at some point I'll build a removable floor for it. I probably should have just glued one in -- oops. There's a fair amount happening under the station as well.


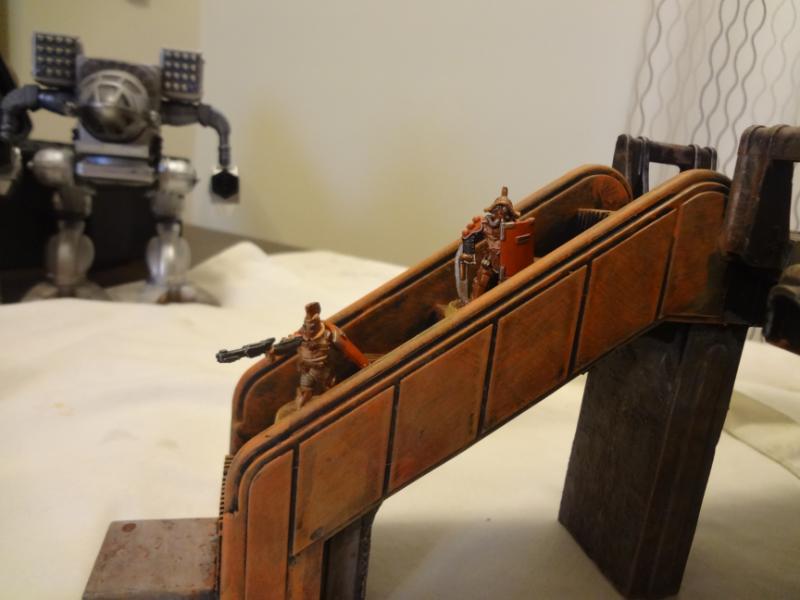
The stairs are a bit big, and I'm still not happy with the piece I used for the missing bottom step, but that's not so bad since they are deep enough to support a miniature on a base! It's not often you see a functional staircase that can both provide cover and allow miniatures to safely perch on each step.


So that's it! Here are all of the items from the Terrain Triptych series together in one shot. Can you believe these started life as cast-off toys scavenged from resale shops?


These will be some of the flagship pieces of my Urban Industrial Corridor terrain set, designed for near-future post-apocalyptic and sci-fi gaming in an urban environment that is aged, dirty and perhaps abandoned, but not bombed out or ruined. Of course, there's lots more in store.

Coming soon: a small chemical installation and post-apoc vehicle for Pat, a classic Necromunda gang that I've been wanting to paint up for quite some time. Then I'll be building some companion pieces for the Elevated Train Station. Stay tuned, we're on a roll!

-- Karl, Chicago Skirmish Wargames club member
Saturday, August 30, 2014

Terrain Triptych, Part 2: Power Station and I-Beams
I'm back with the latest installment in my "Terrain Triptych" series, where I kitbash urban terrain using toys found at resale shops. Click here to read the first post, about a multi-level construction site. Here I'll show you how I took this Hot Wheels car launcher and transformed it into a power station.


Though not terribly tall, it's a great line of sight blocker for infantry and small vehicles and is short enough to fit under the other two large buildings you'll read about in the Terrain Triptych series.


Where would science fiction be without giant fans?

 
Along with the power station, I also had a lot of fun with a toy construction set I found at Target. It's called "Power City Construction Extension Pack," and I used pieces from the set to create I-beam bits to use as scatter terrain.


Turns out it's the old Kenner Girder and Panel system from the 1950s, which is still in production, but is also licensed to the "Power City" line of toys. It's made of polypropylene, so you've got to use Krylon Fusion spray paints, but it's a great set for wargaming even at the full price of $8 (I paid about a third of that).

Here's the contents of the pack and how it compares in size to a 28mm miniature.


For those interested in measurements, the vertical columns are 50mm, the horizontal beams are 70mm, all the beams are 5mm thick. Clearance under a beam that had been clicked into vertical columns is 45mm.


One box could make about a dozen of these and I've got half a dozen boxes, so expect to see more I-beams in future projects.

I hope you like these terrain pieces made from toy kits and resale shop finds. The piece de resistance is coming up in the third installment!

-- Karl, Chicago Skirmish Wargames club member