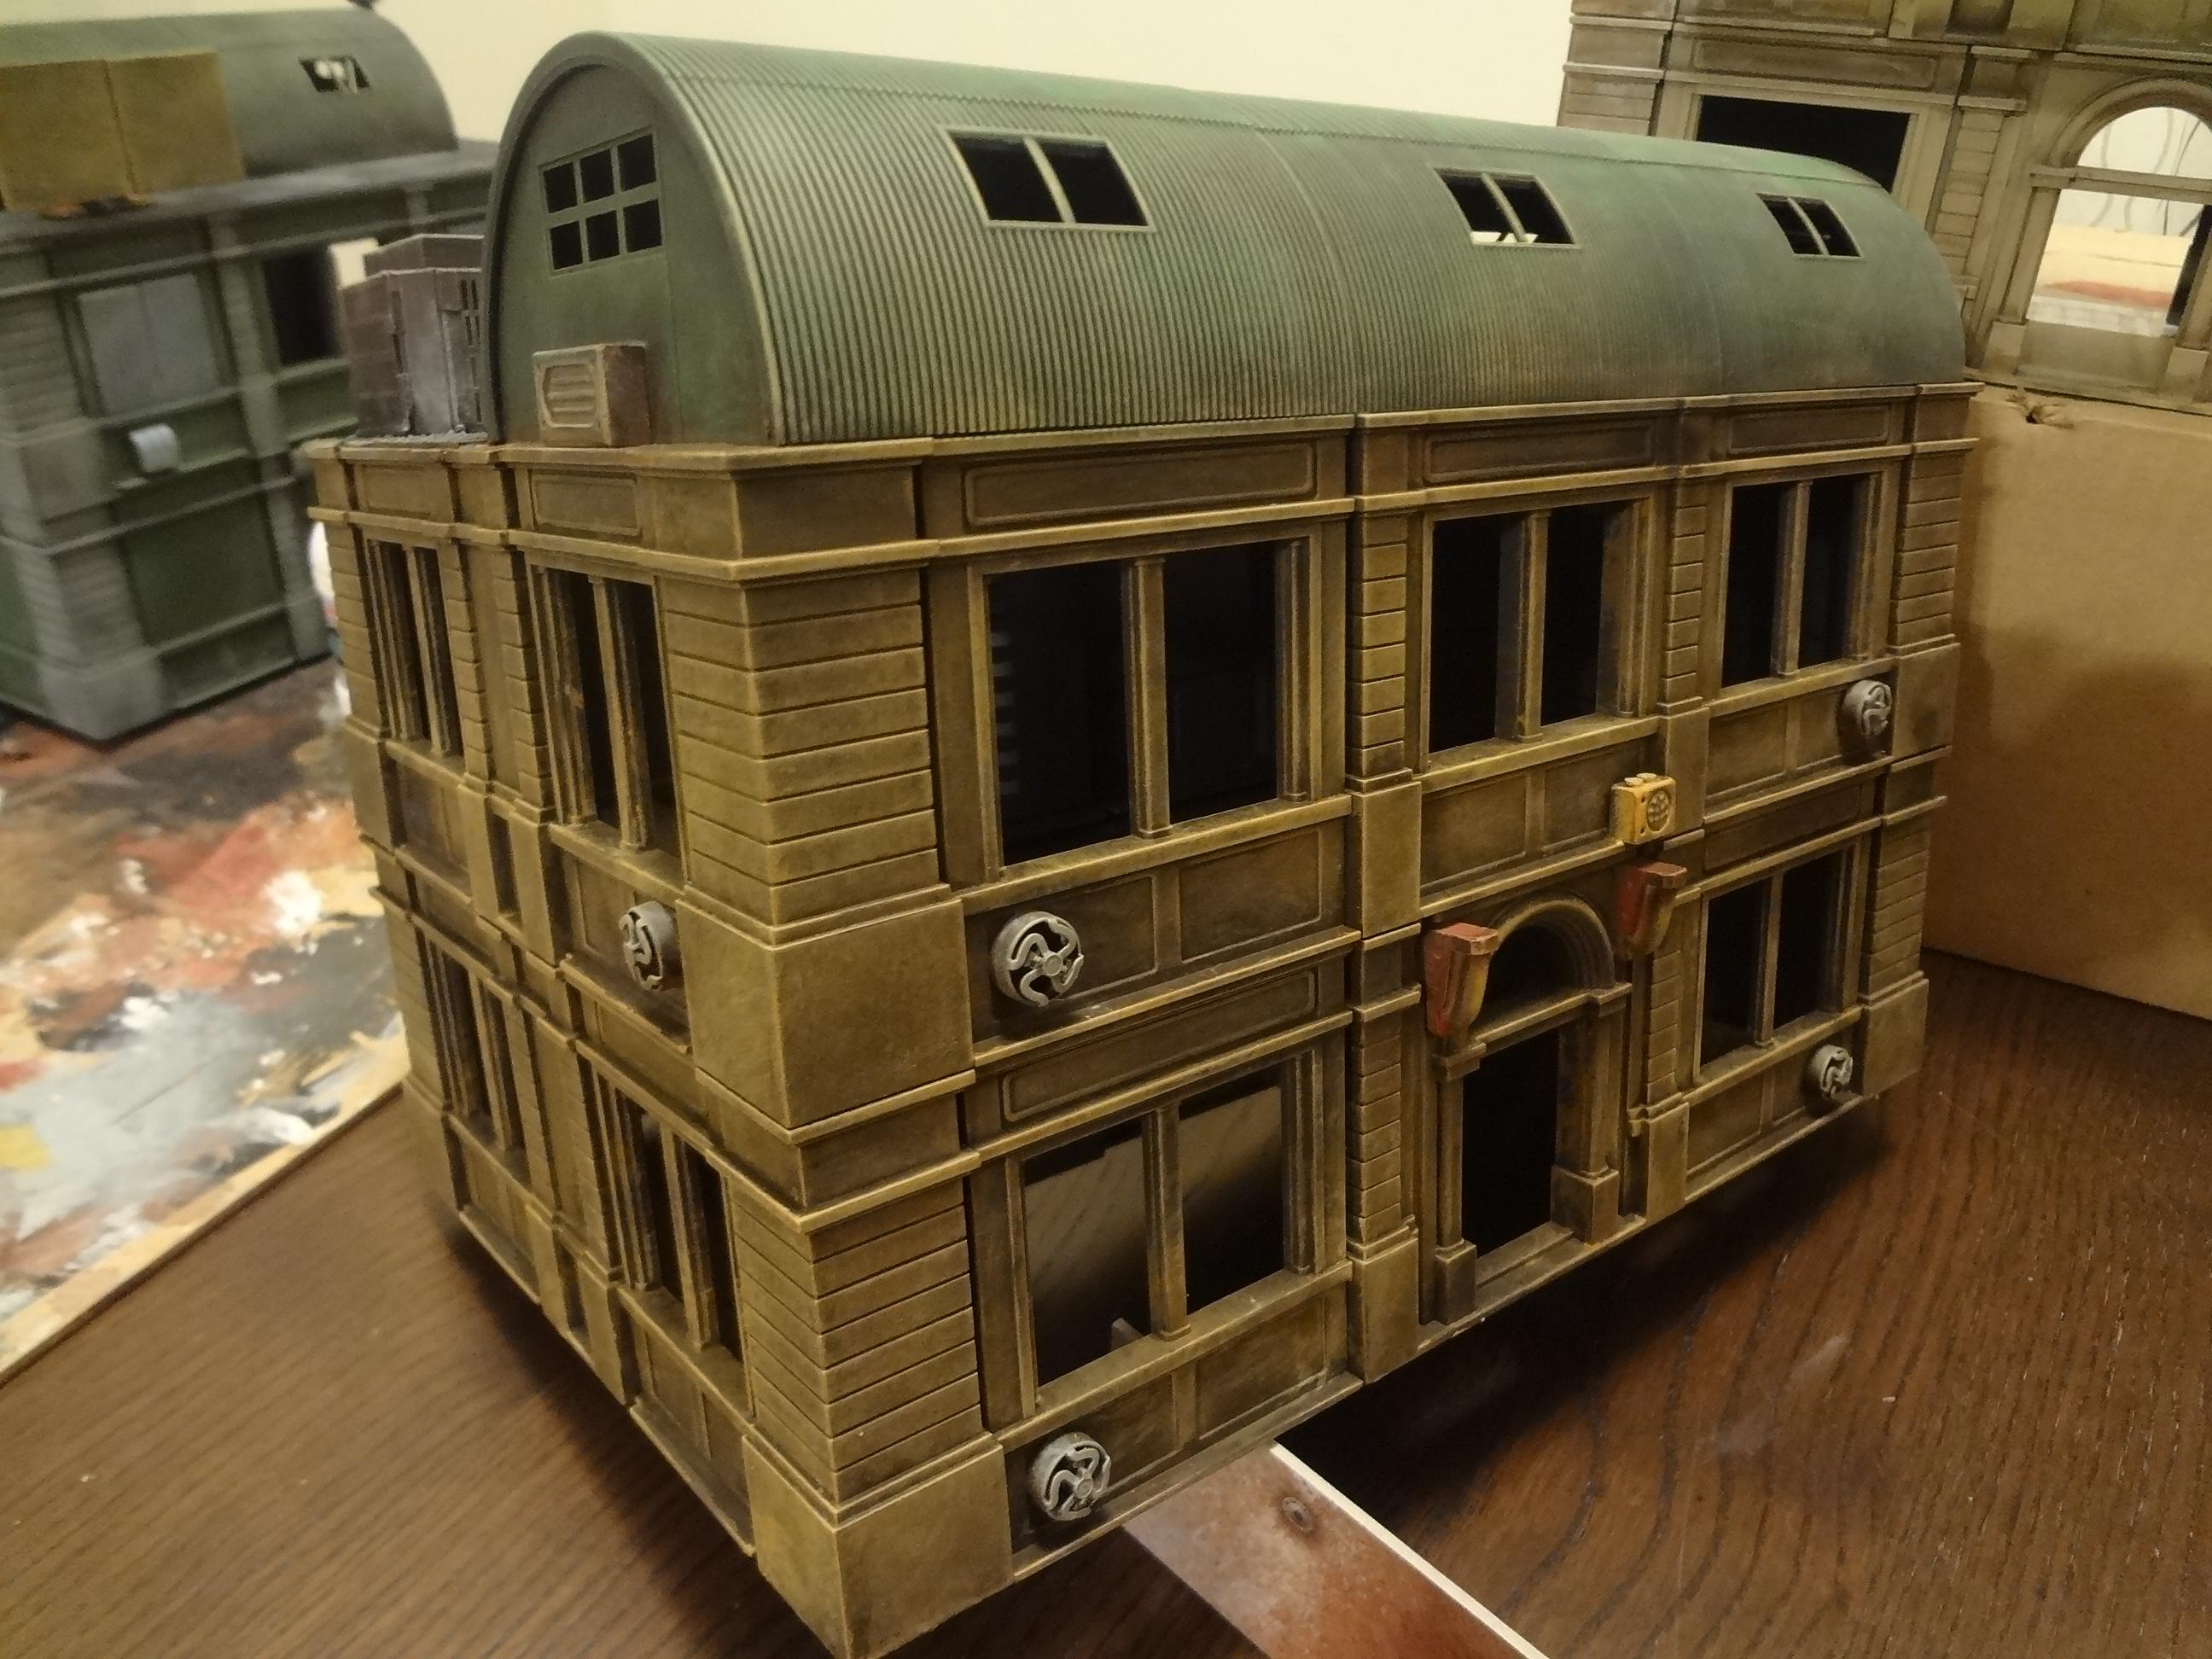
I've completed the seven buildings made from modified Dust Tactics Warzone Tenement kits that I showcased in a previous post. I tried a number of different painting ideas with these, so be sure to let me know what you think in the comments section below.
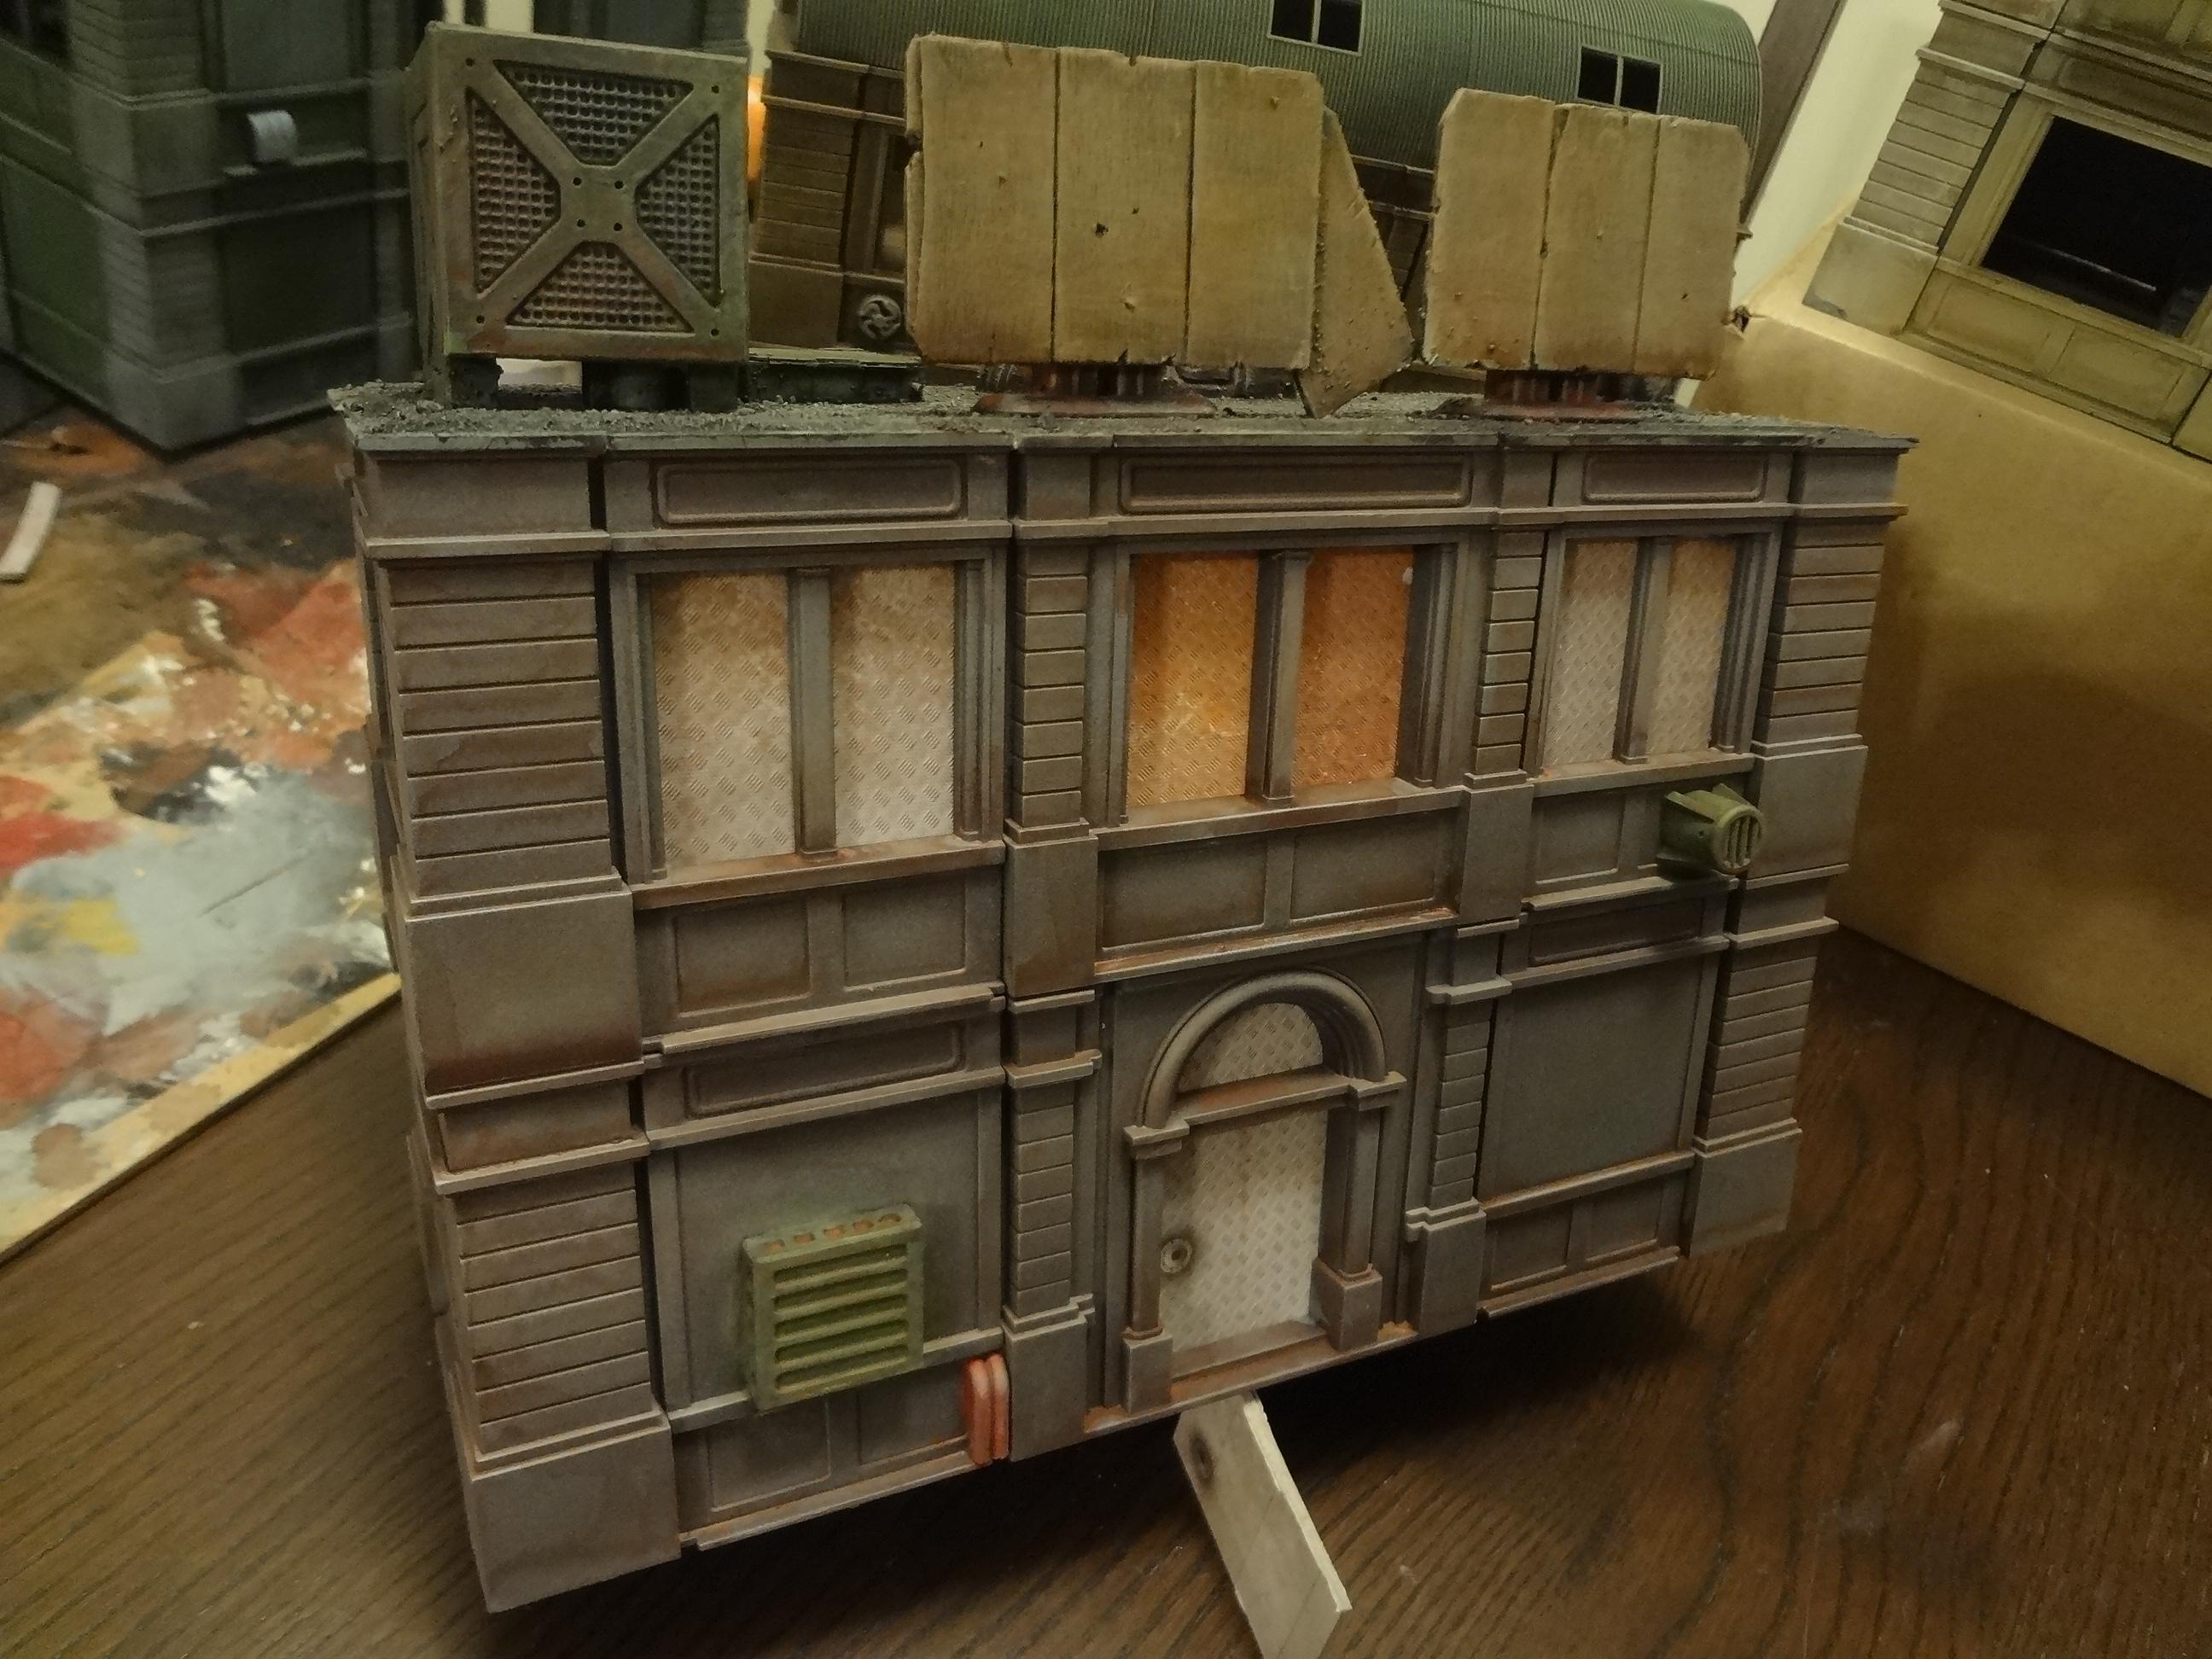
Building 1 - Boarded-Up Building
I built this one with no interior access. The printed card flooring pieces that are included in each kit were used to cover the windows and doors.
The recessed rear entrance was made by cutting apart the interior brick corner pieces.
I added various greebles and used my typical gravel-and-tar-style roofing texture. The a/c unit is built from Hirst Arts blocks.
Building 2 - Small Apartment Block
Here's a similiar building. On this one, however, I experimented with brush-dipping the building using Minwax Polyshades Tudor. It's the only one painted this way, and the results are fine, but this method increased the drying time, which is annoying, and the difference isn't enough to replace my usual washes.
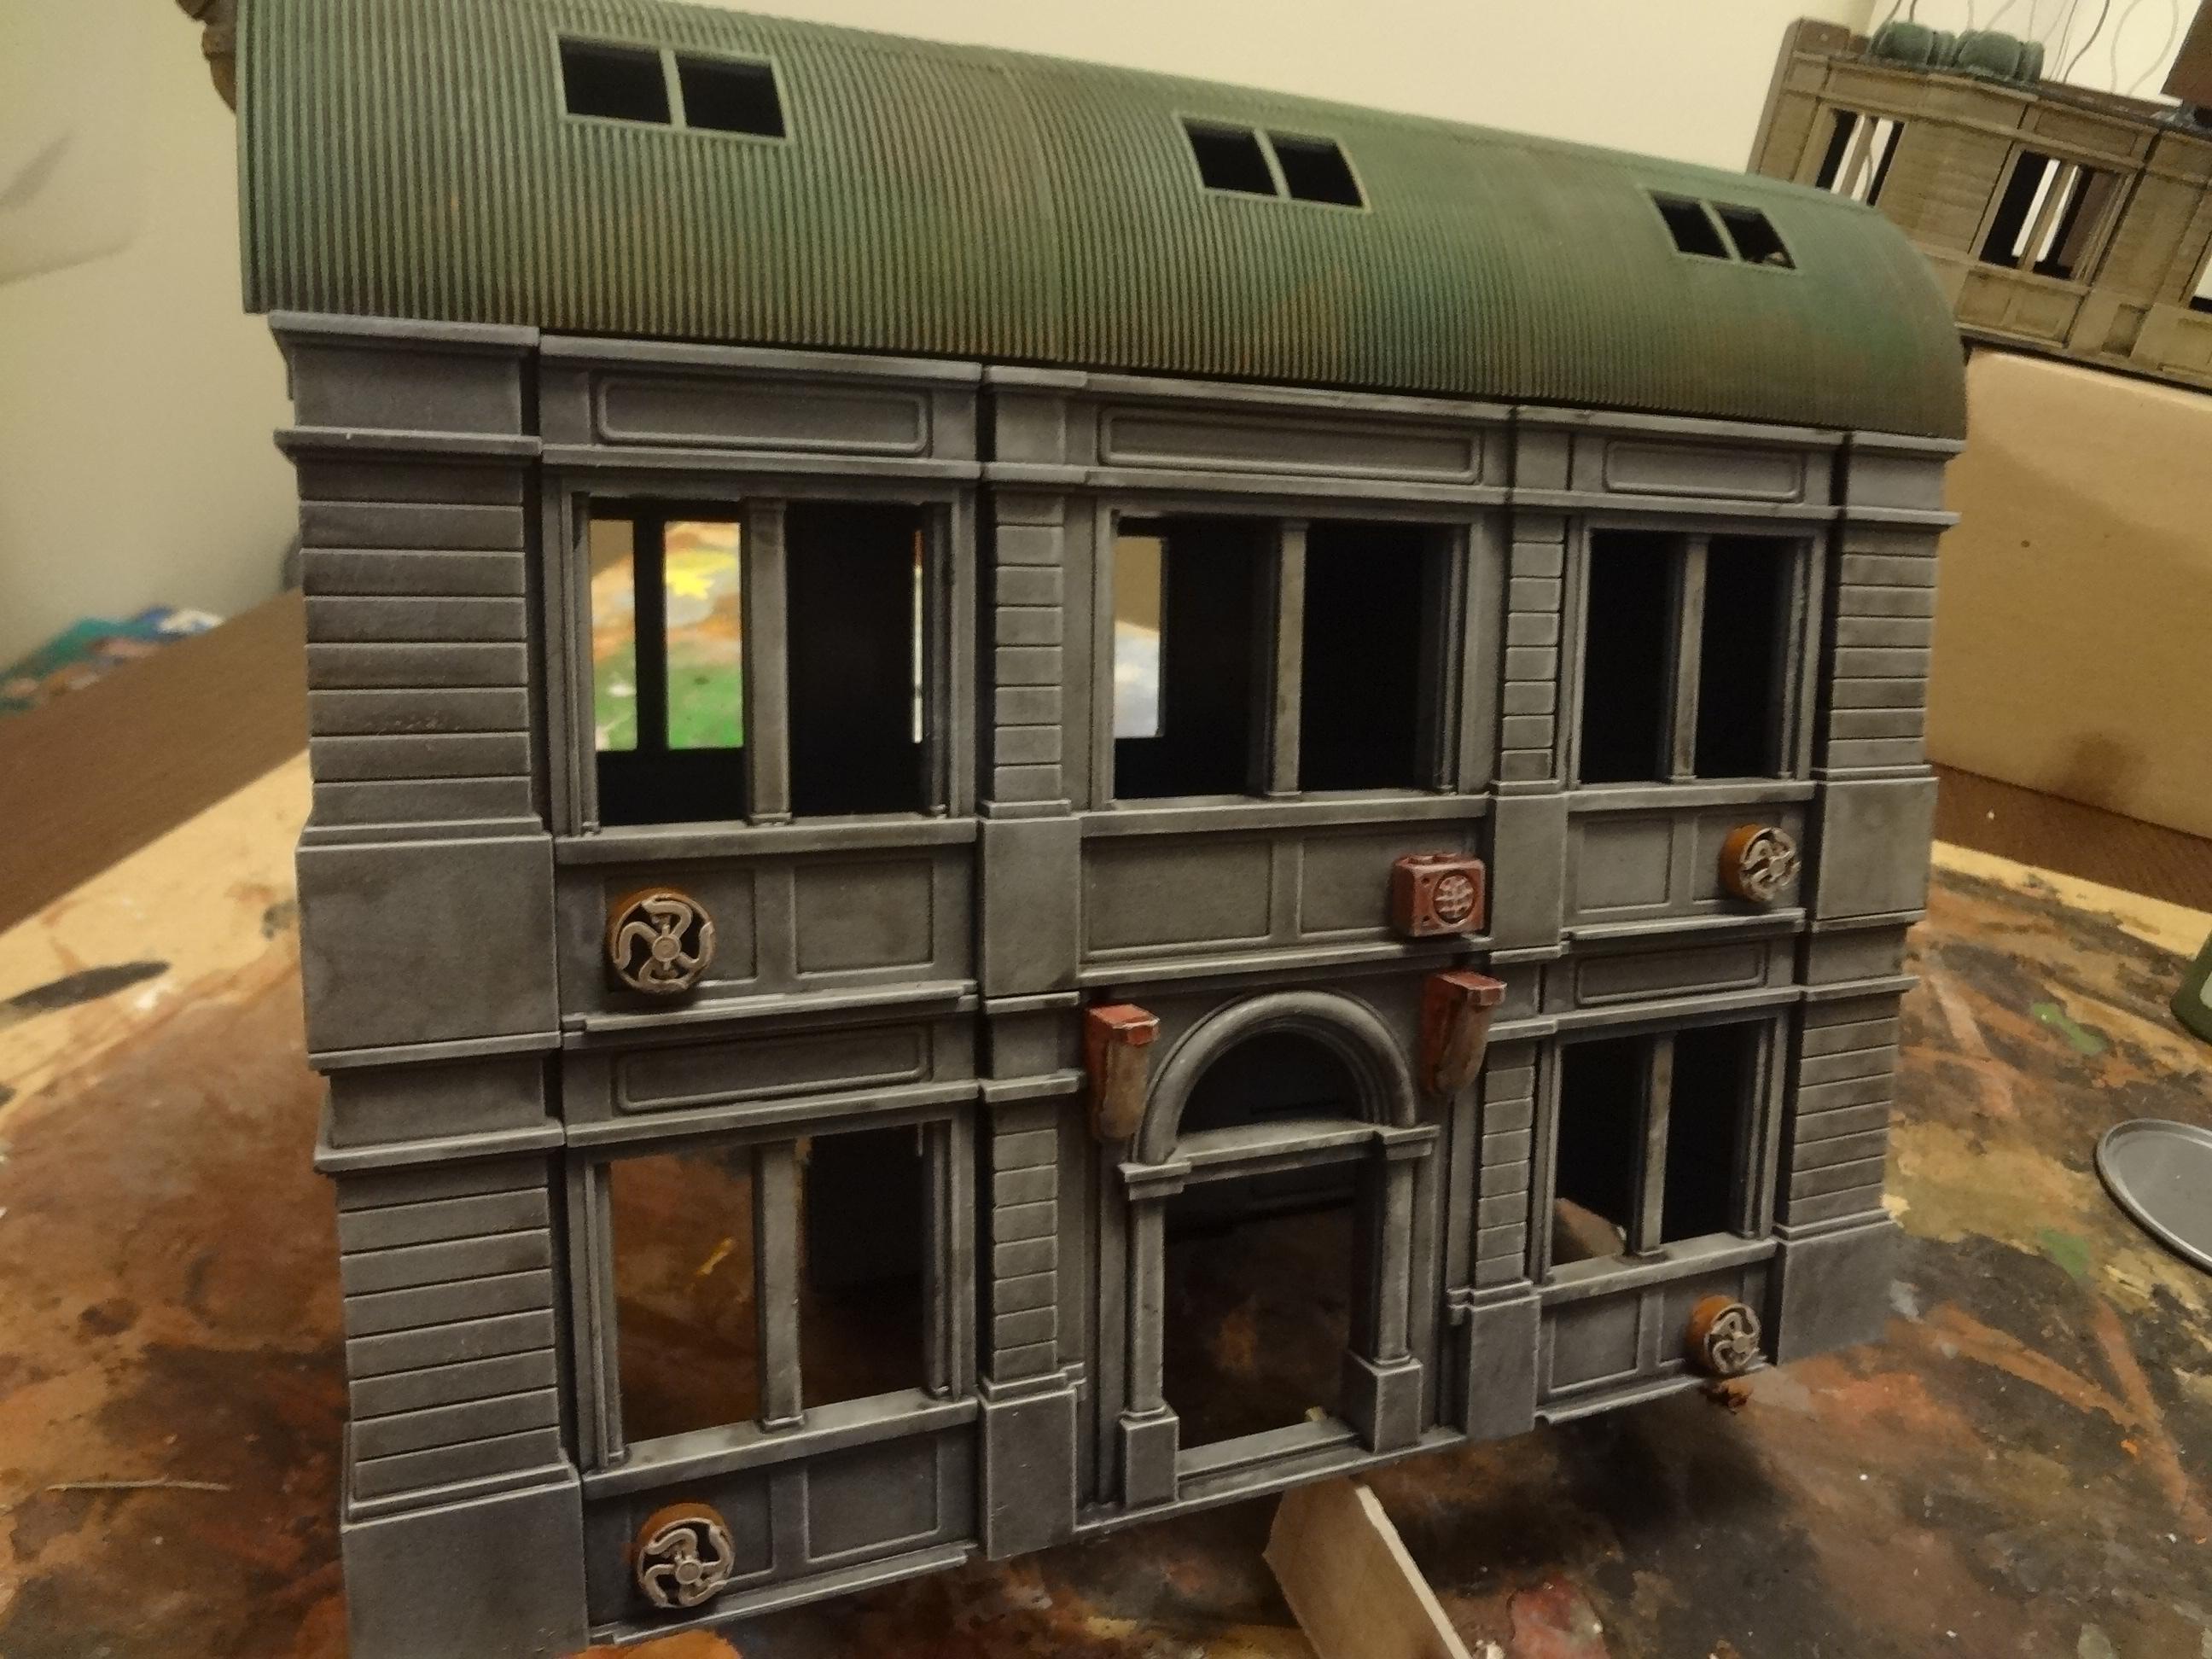
The roof is made from Dust Tactics Quonset Huts and removes for interior access.
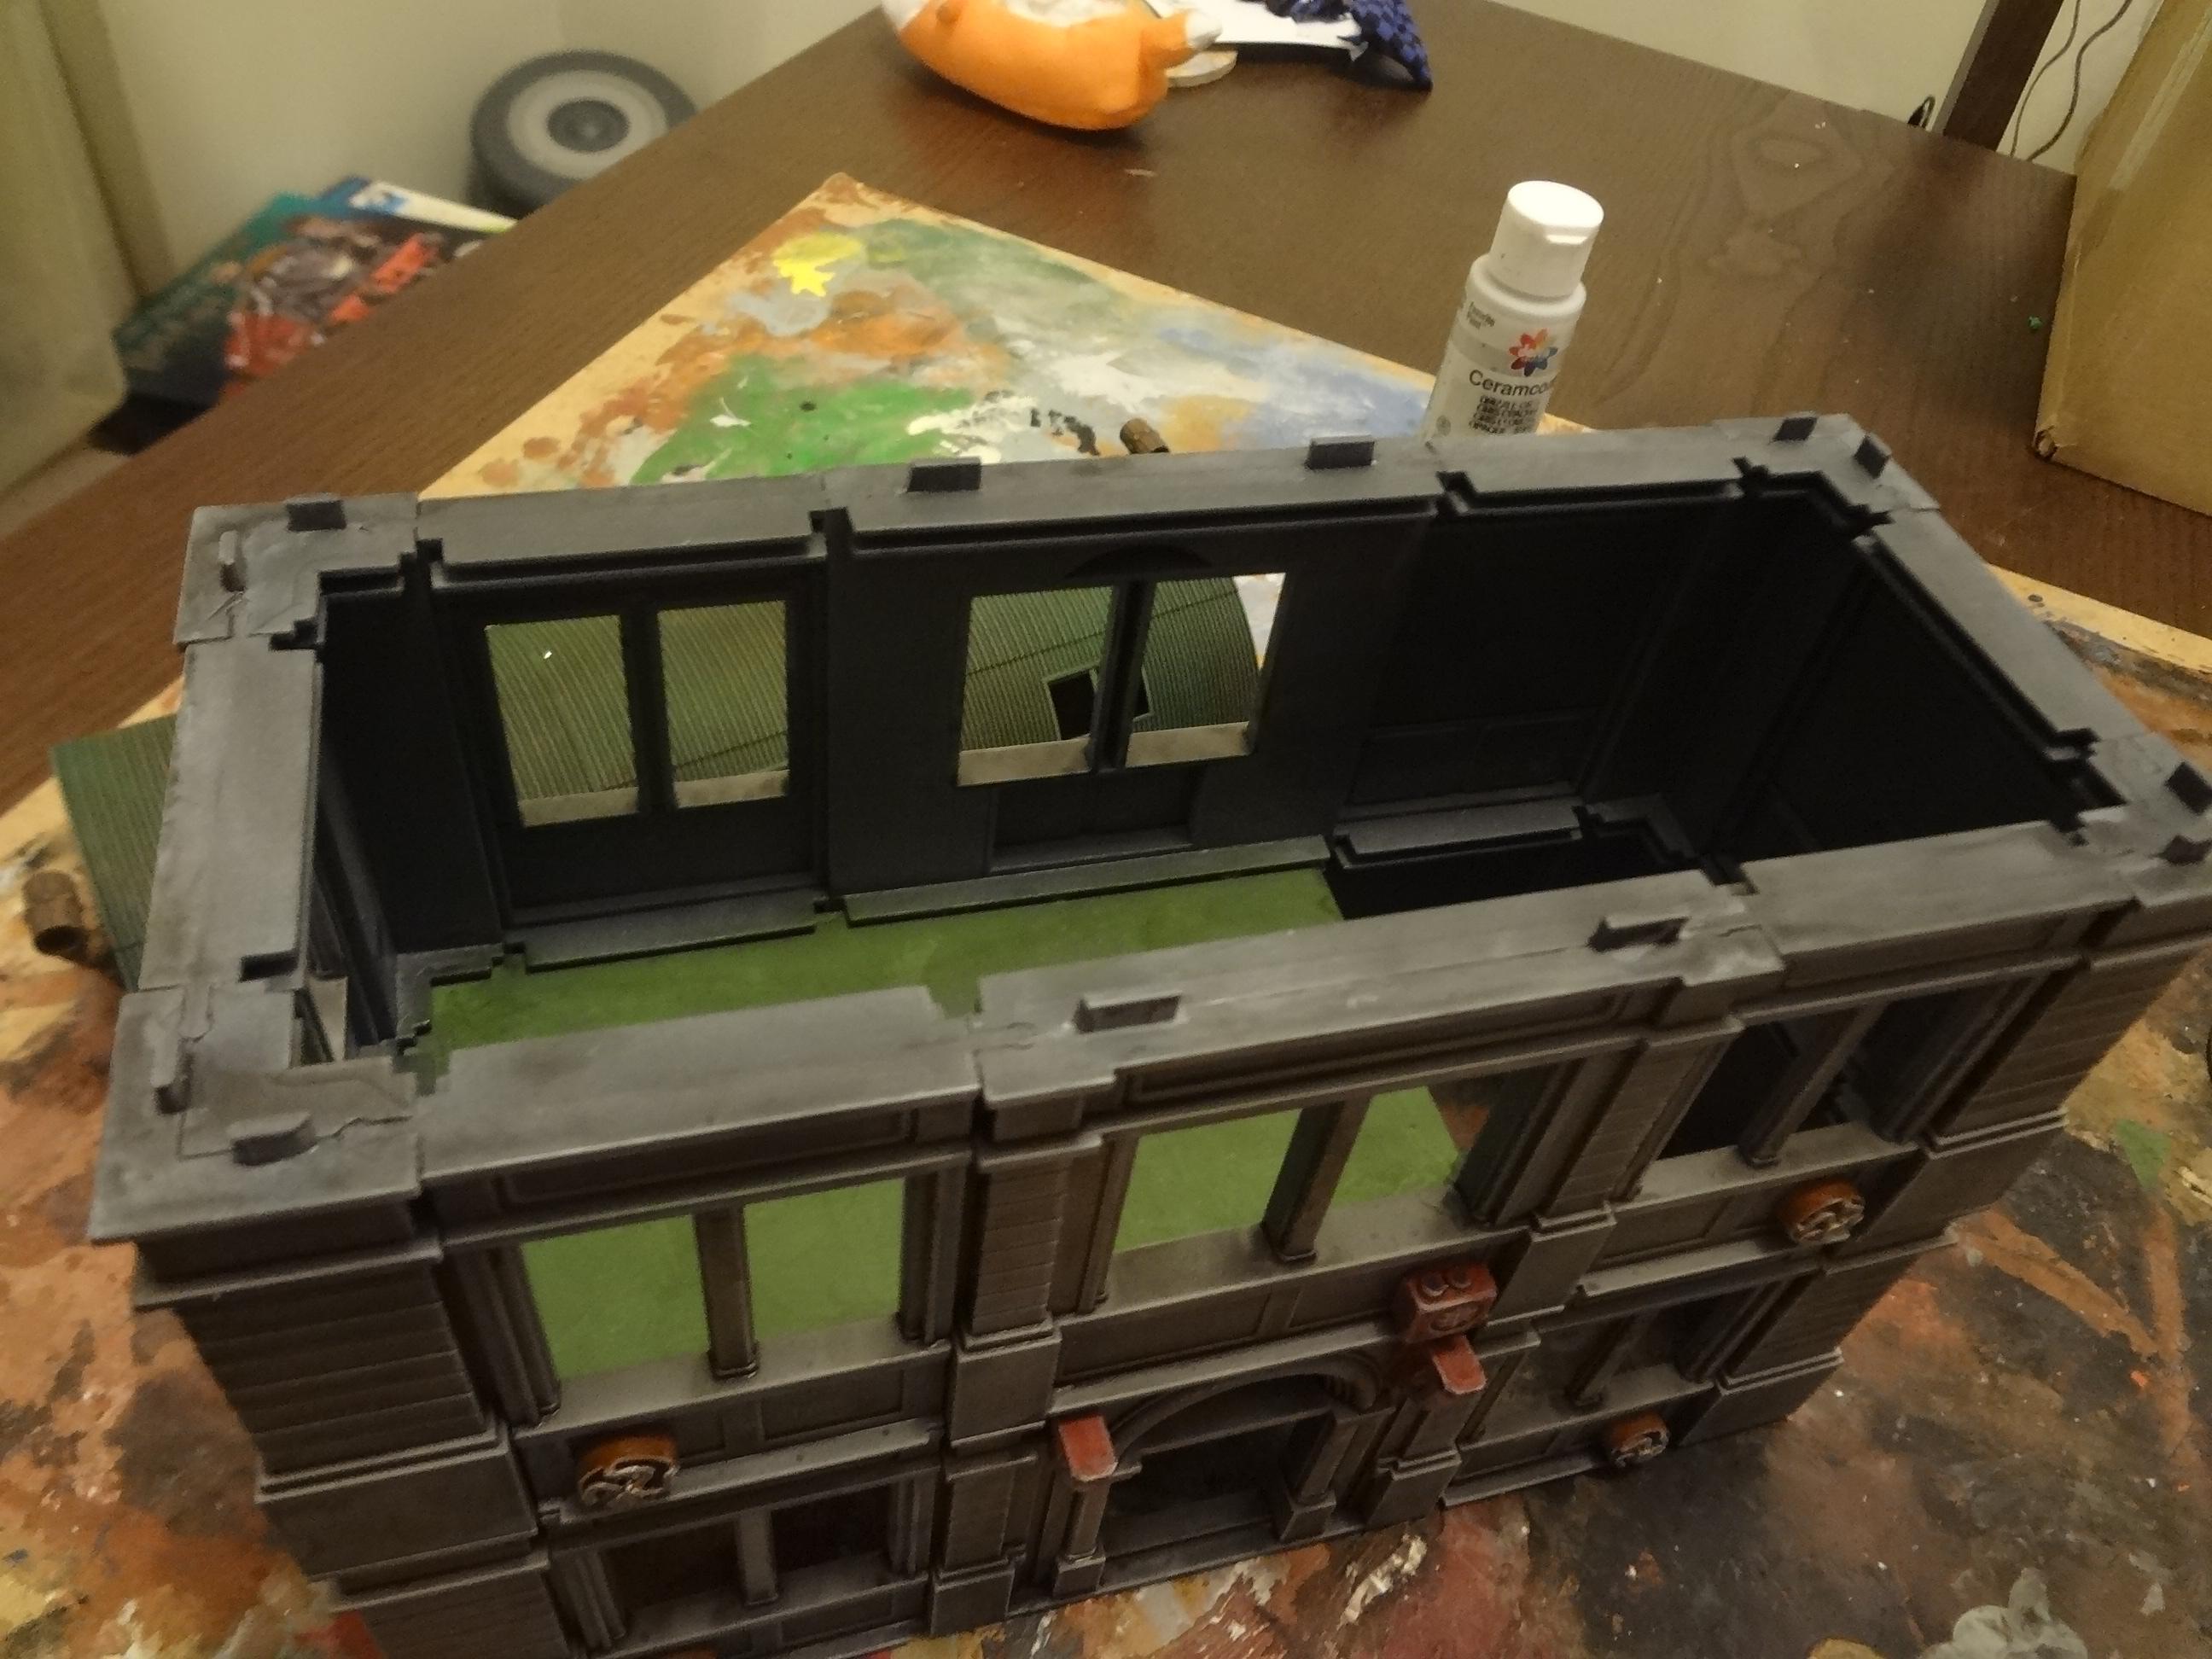
Here's the rear view.
Building 3 - Medium Apartment Block
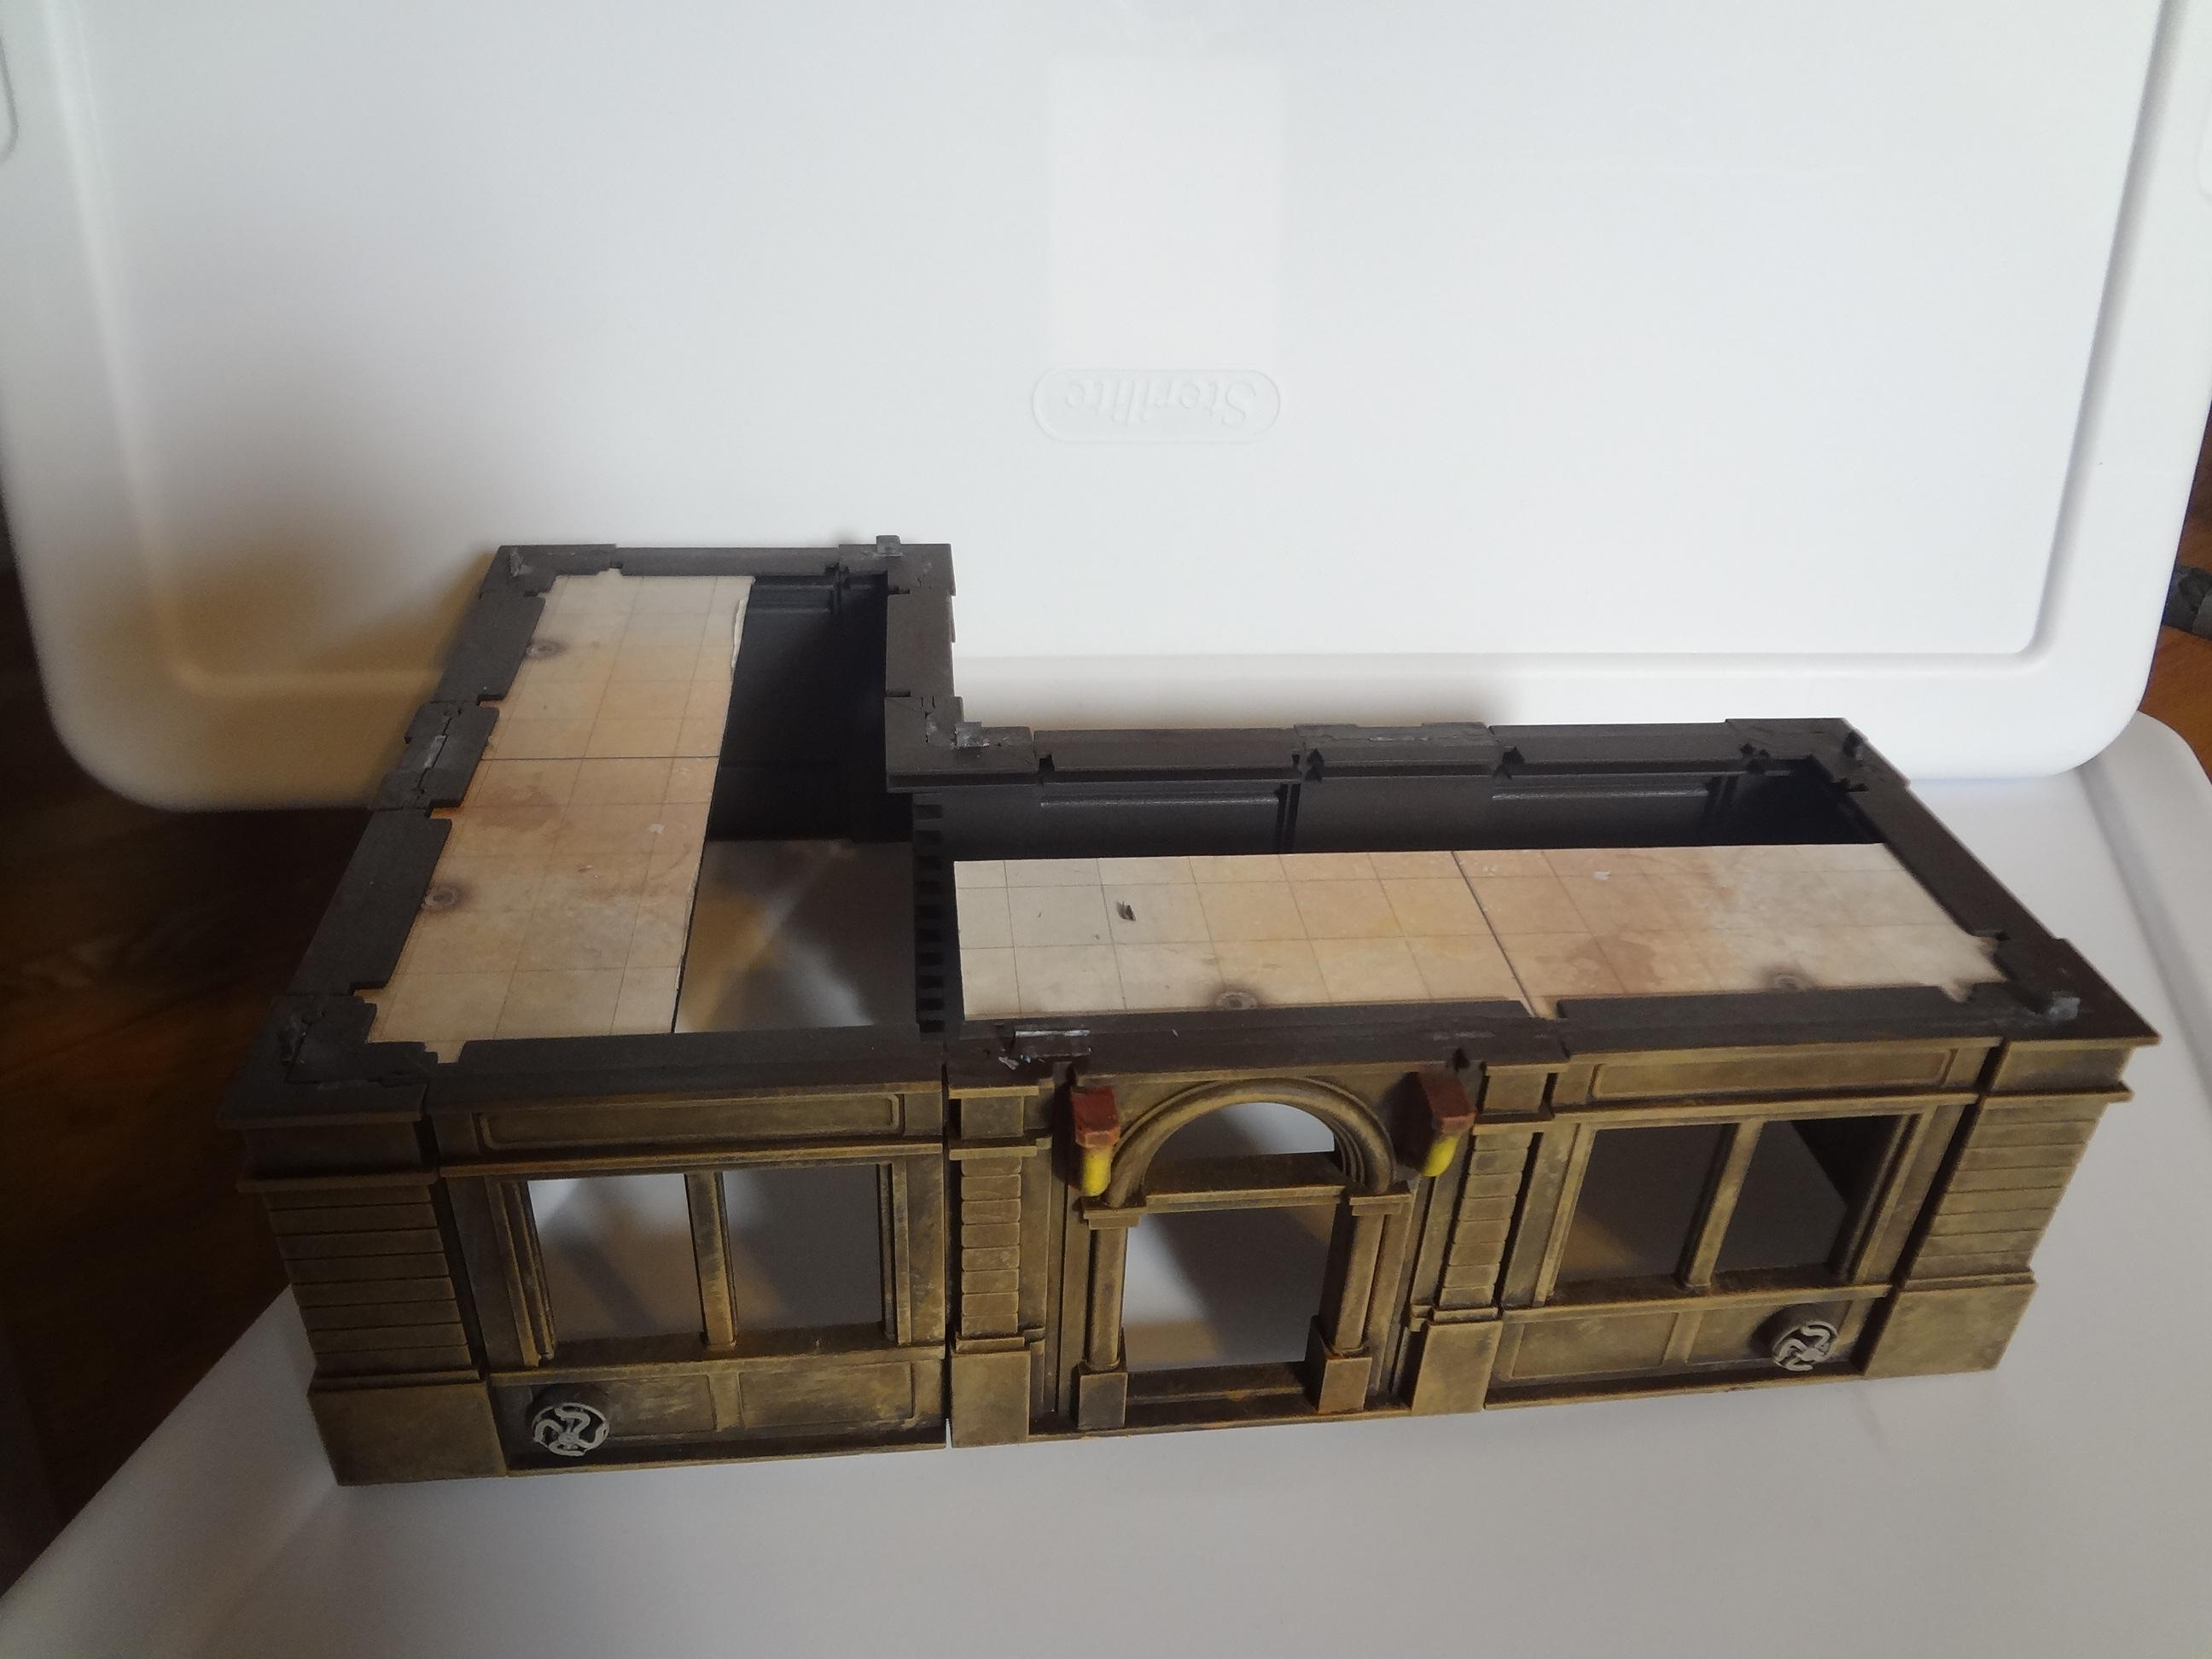
L-shaped buildings are a great way to increase the amount and direction of cover that a building offers.
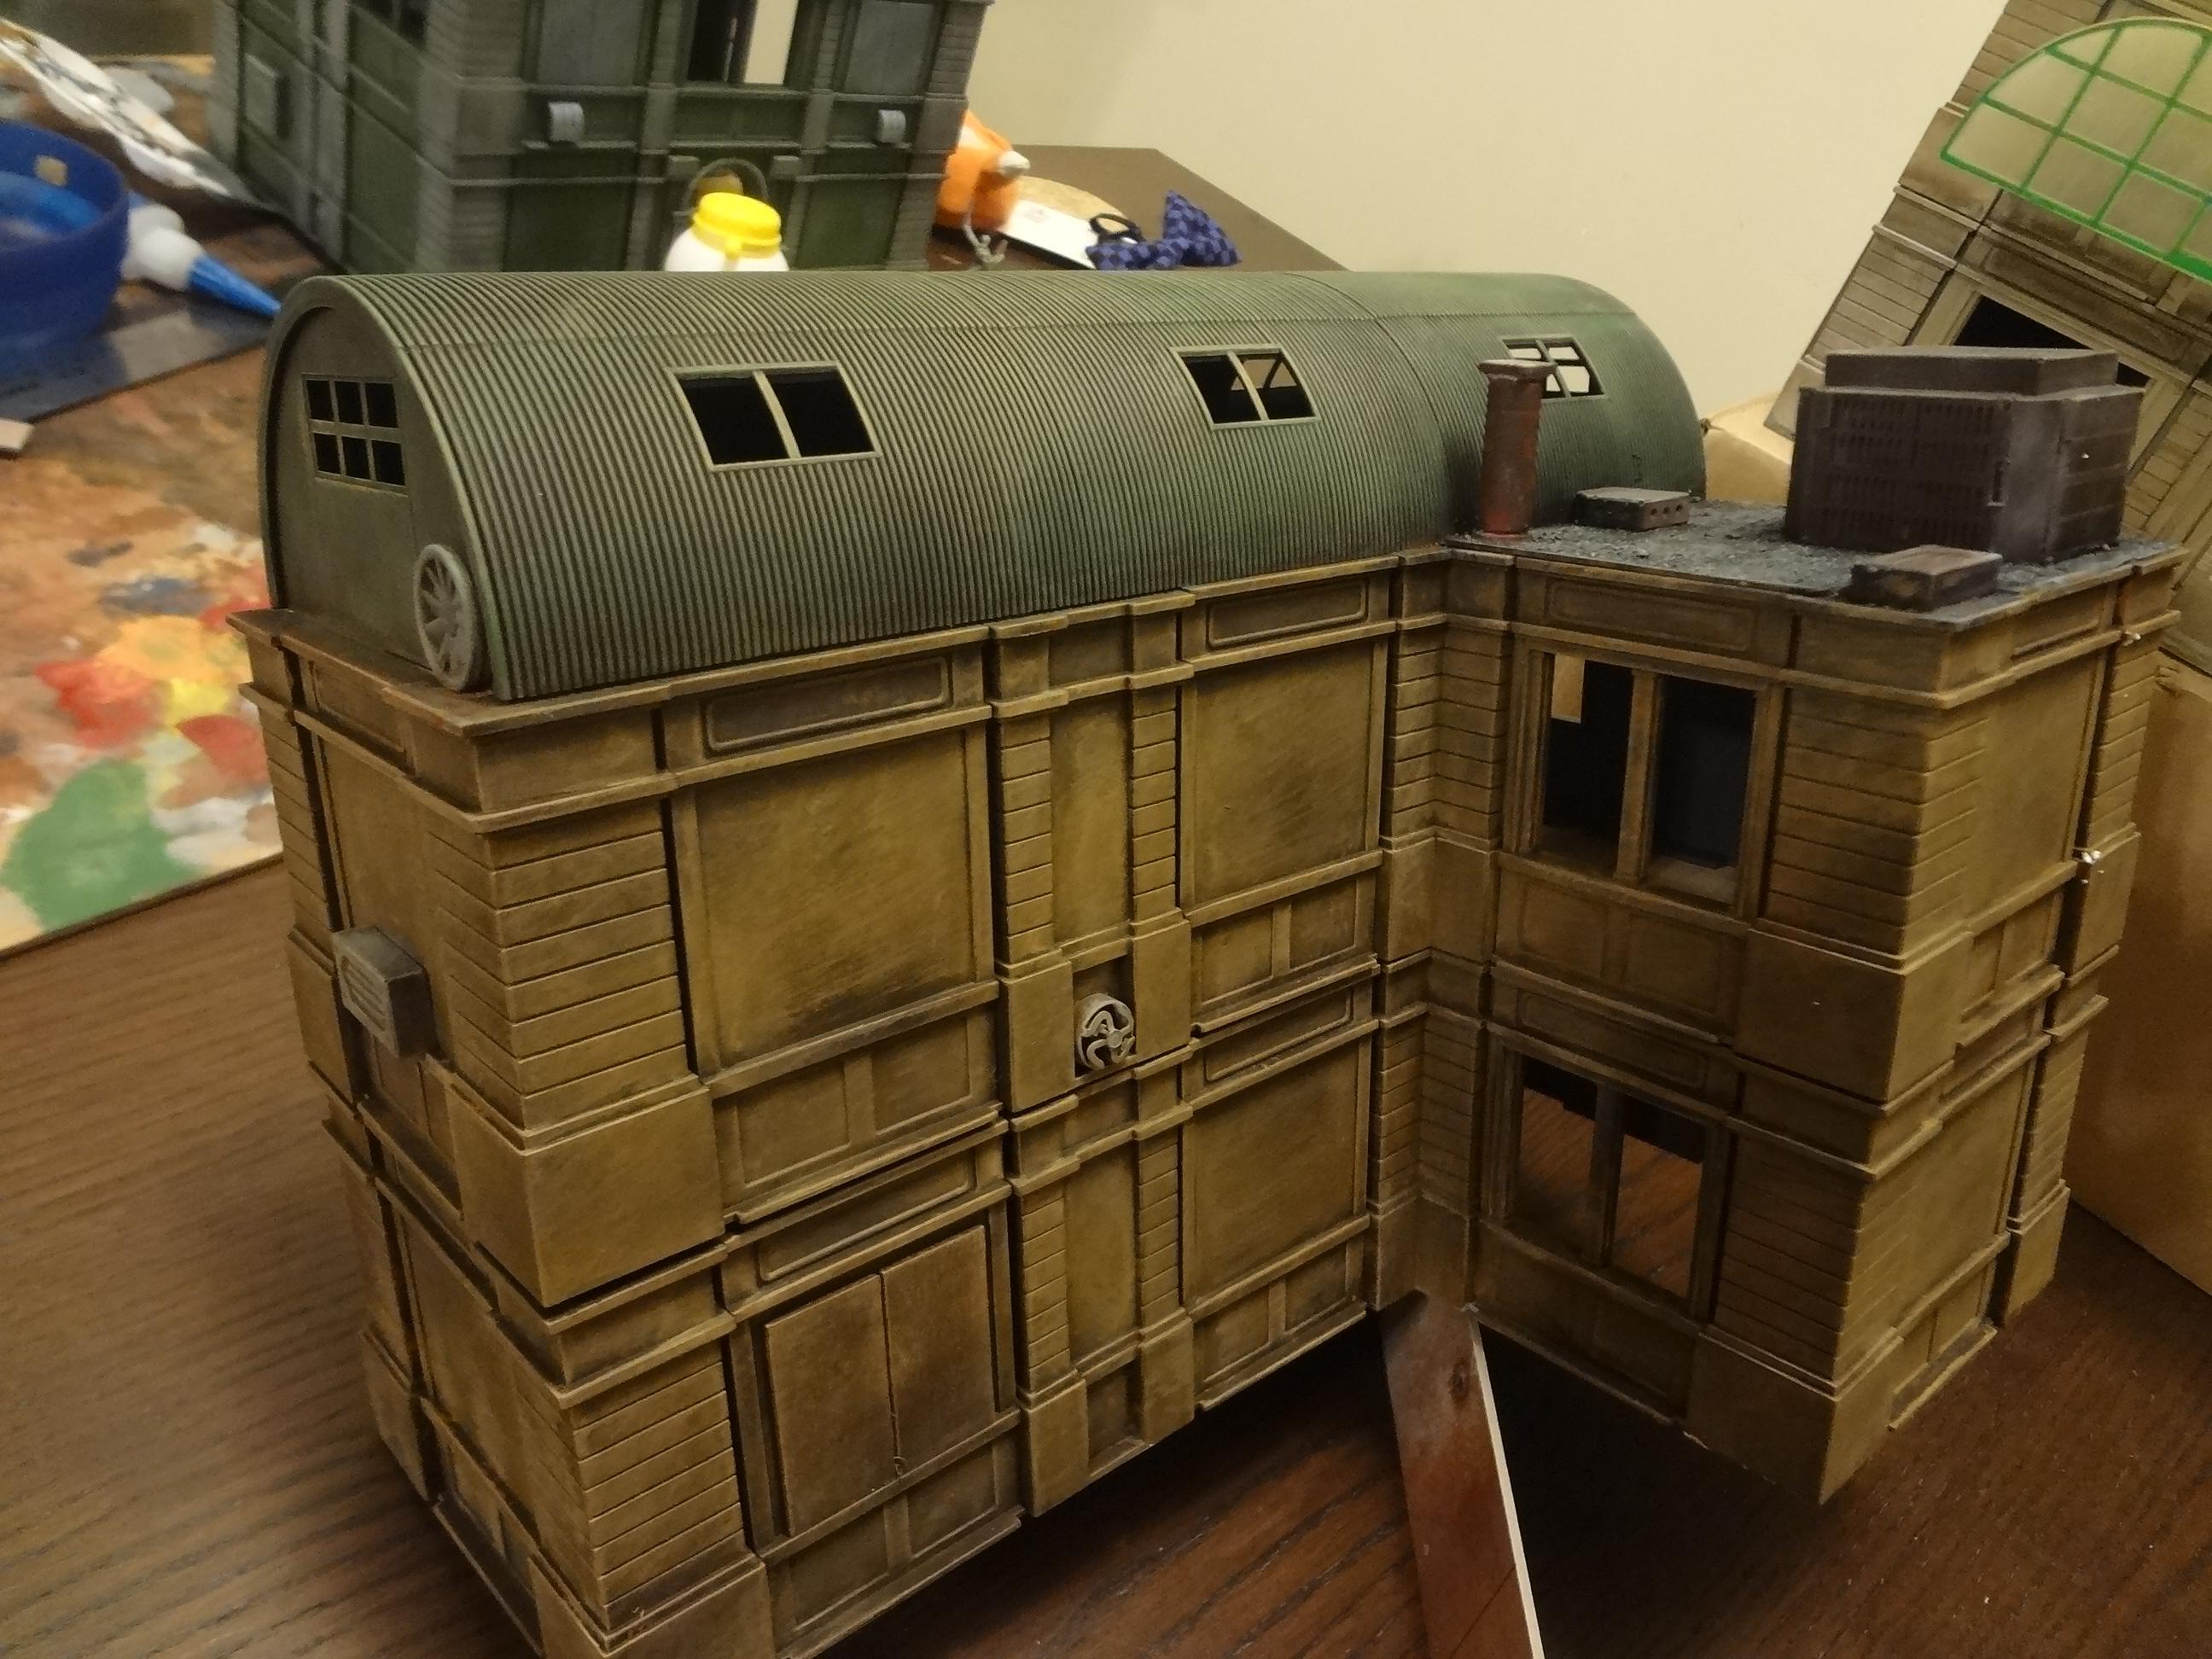
This a/c unit is built from five medical specimen cases.
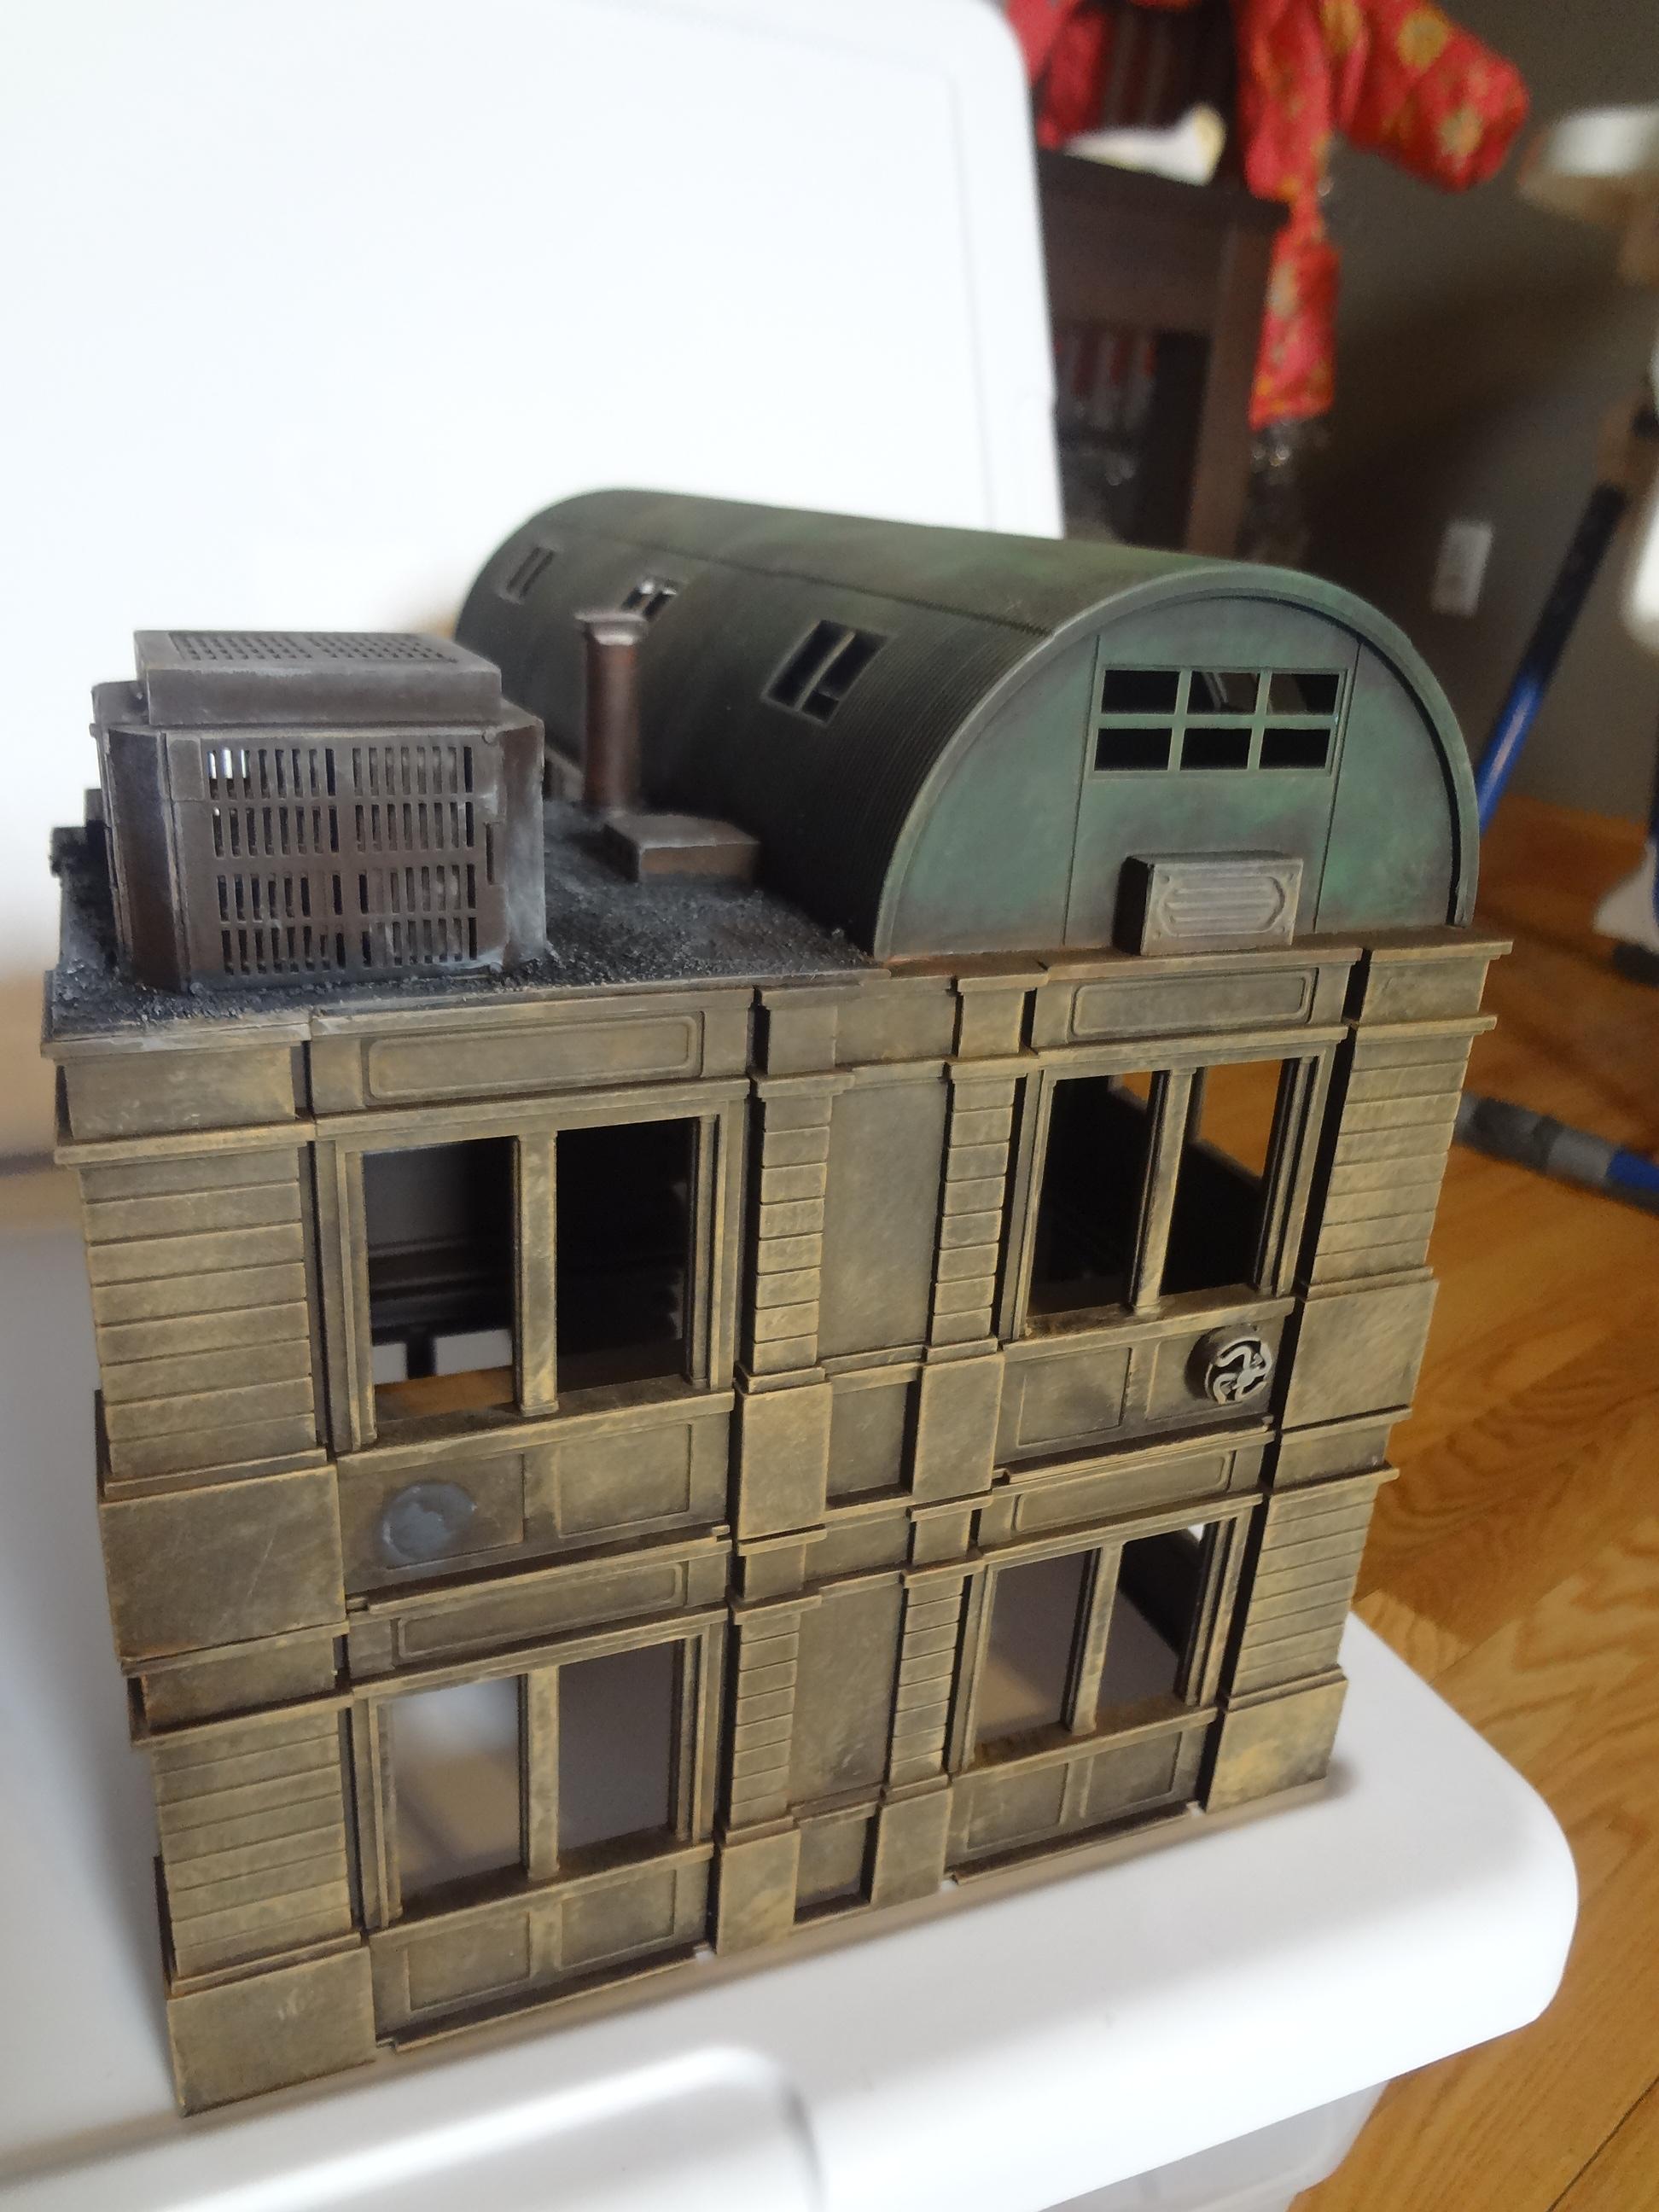
By removing most attachment tabs, I made the second floor removable for access. It works OK but sticks sometimes, so I probably should have just made the roof removable.
Building 4 - Repair Shop
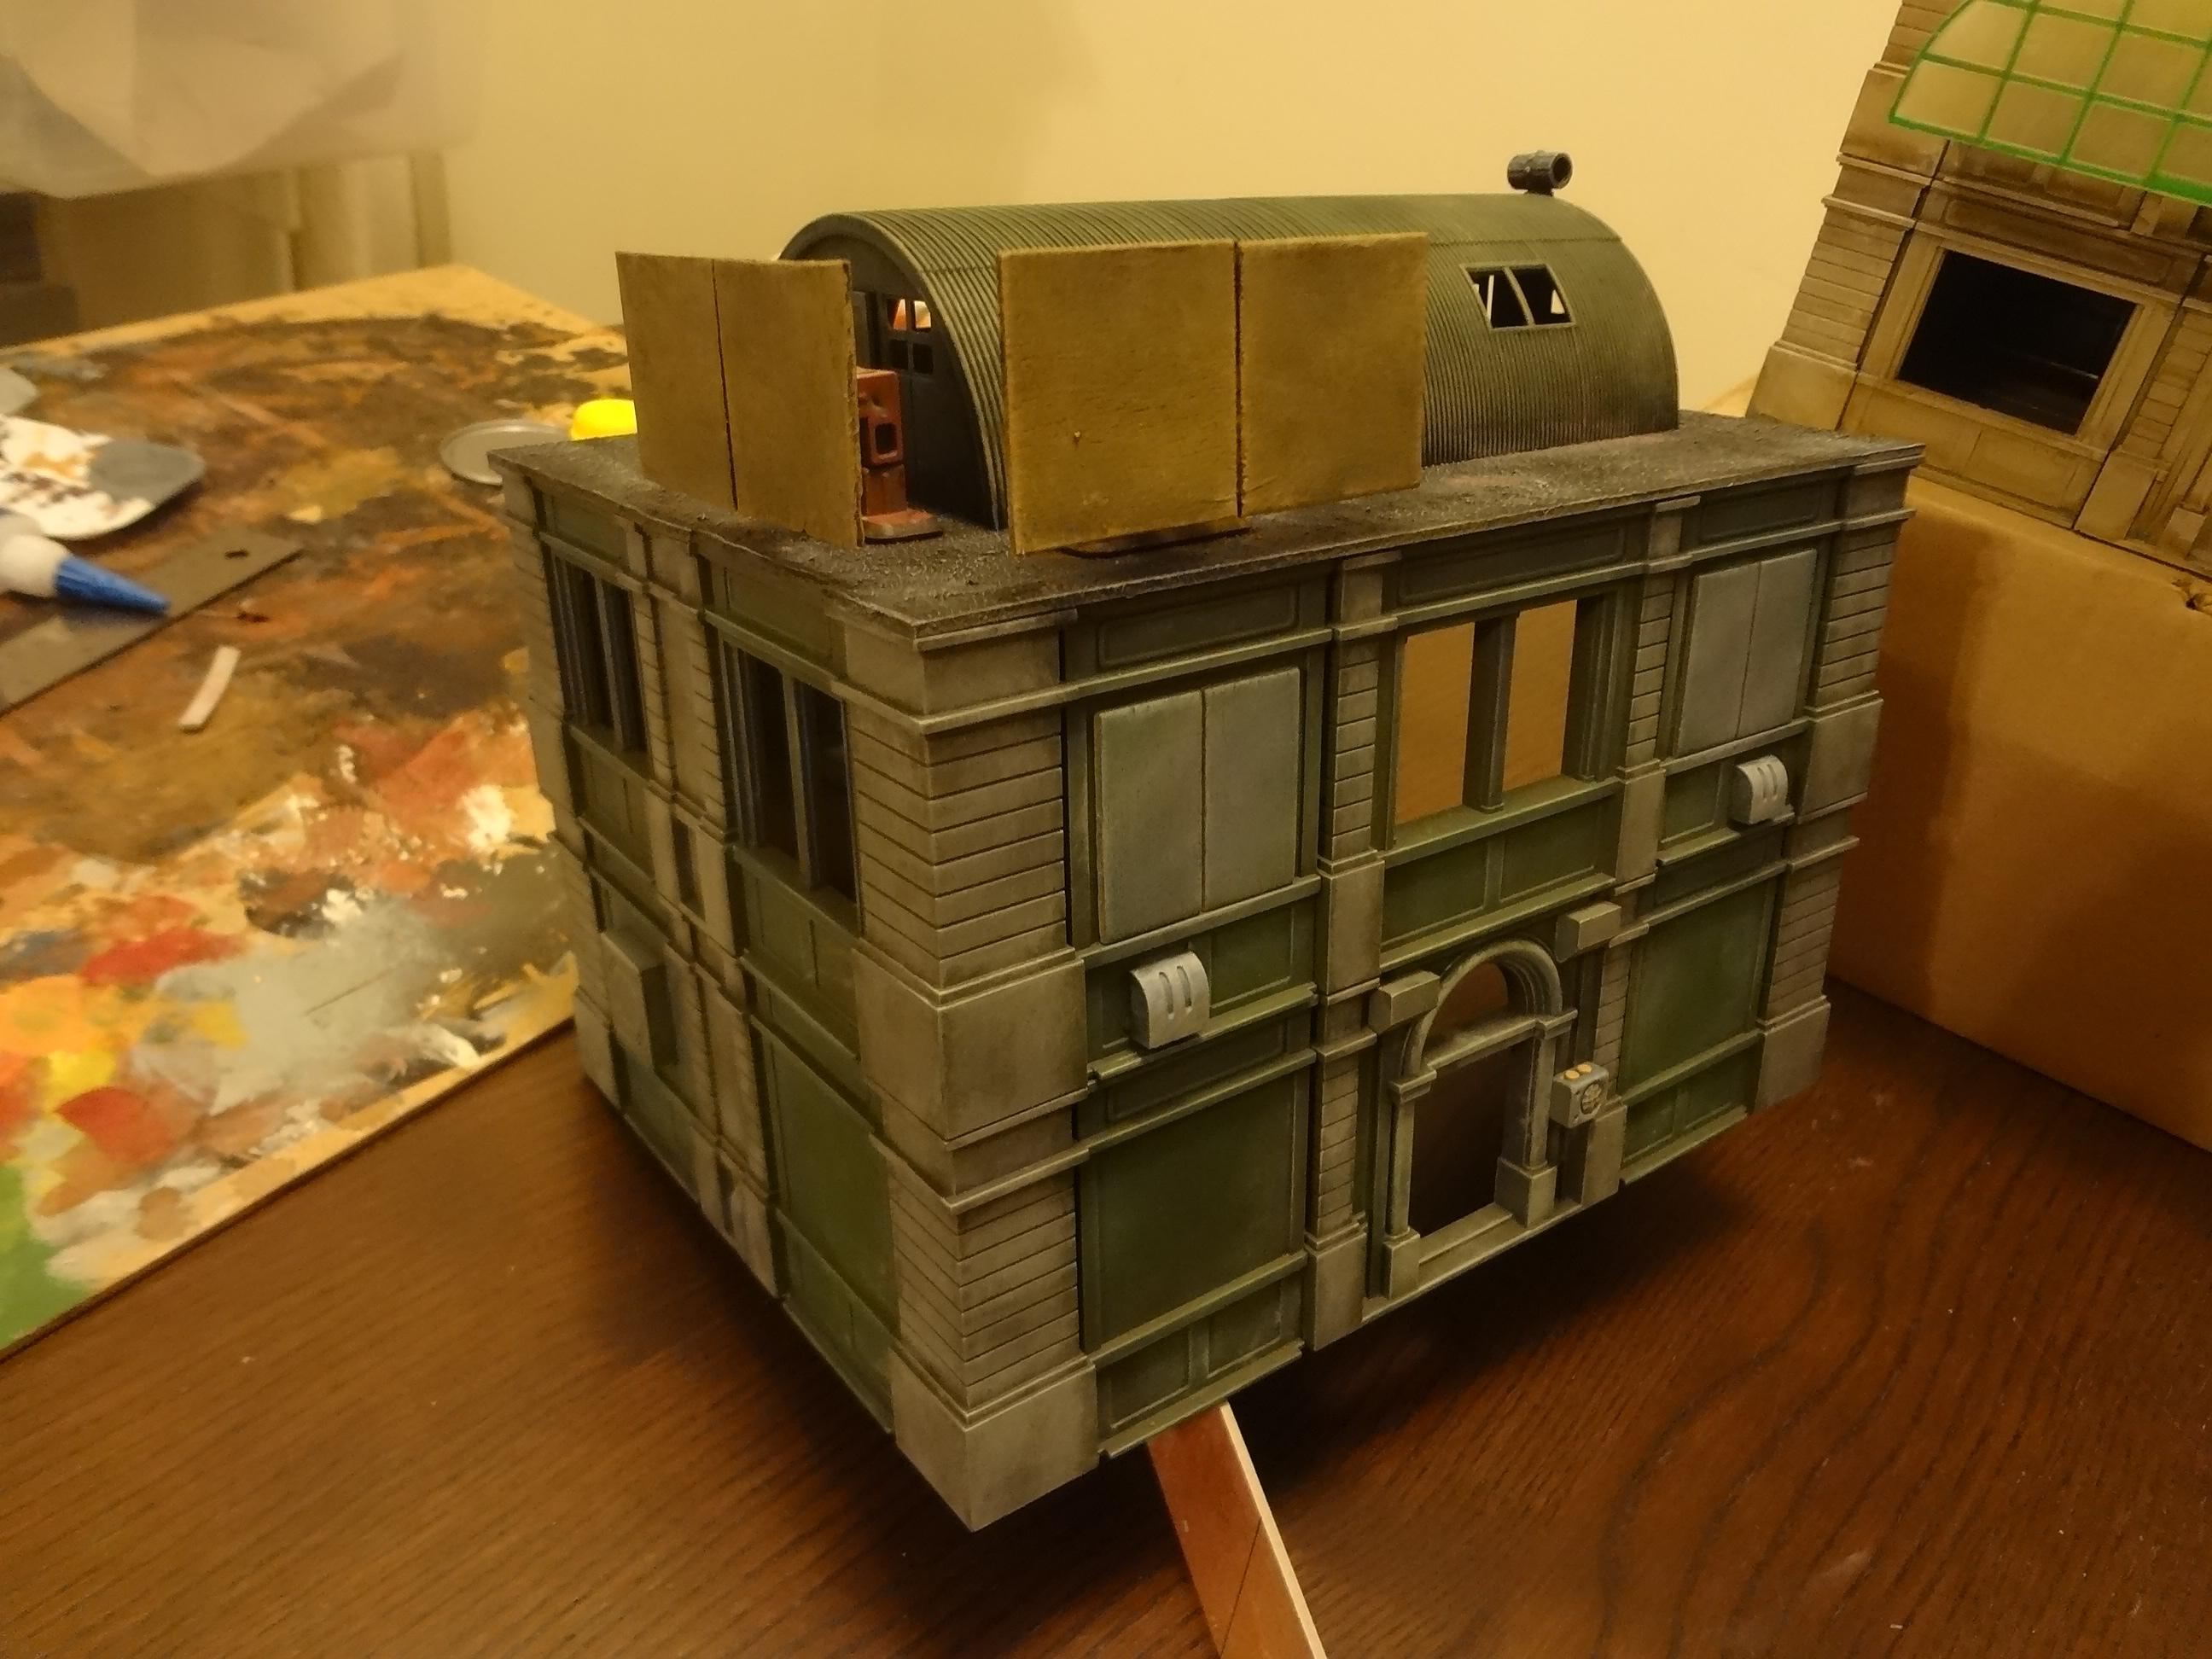
This represents my only attempt at a two-tone building, and I kind of wish I'd painted more like this.
It has a piece of self-adhesive vinyl composite tile (VCT) glued to the top. The signs, Quonset hut, bits and gravel on the roof were simply pressed onto the sticky side of the tile with no additional glue needed.
VCT is really easy to score and break, though I recommend sanding the slick top side if you're going to glue or paint it.
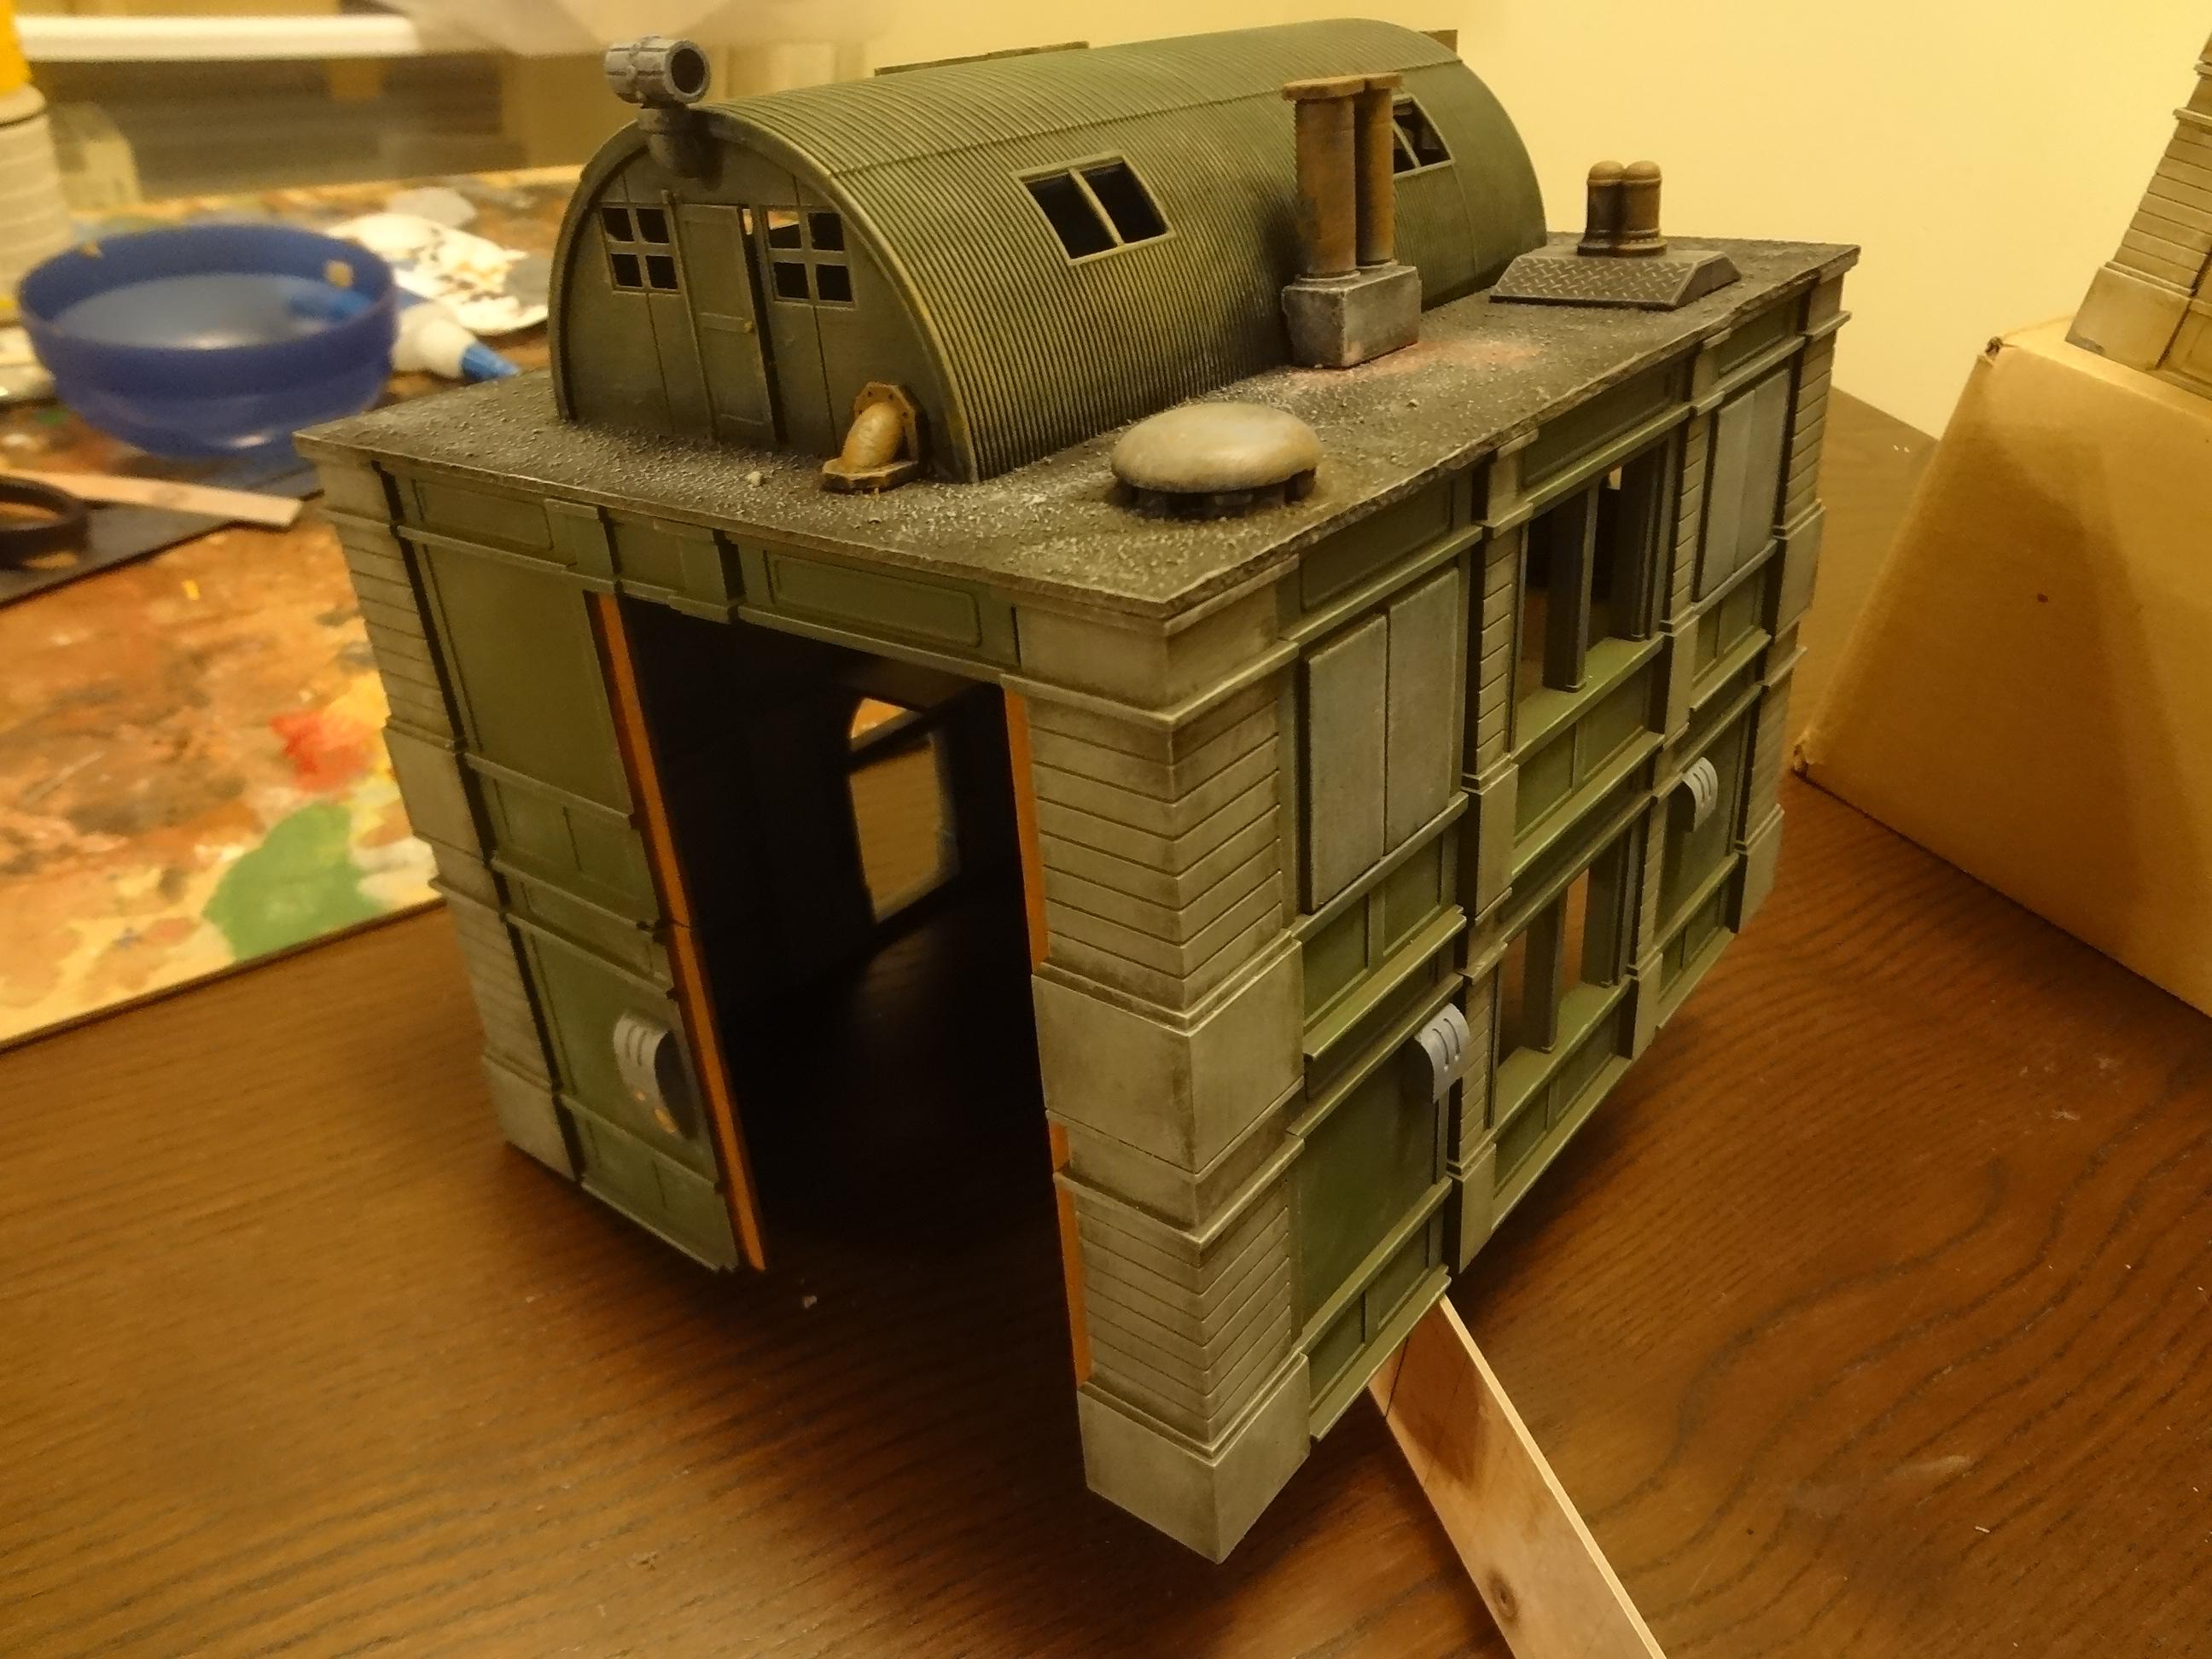
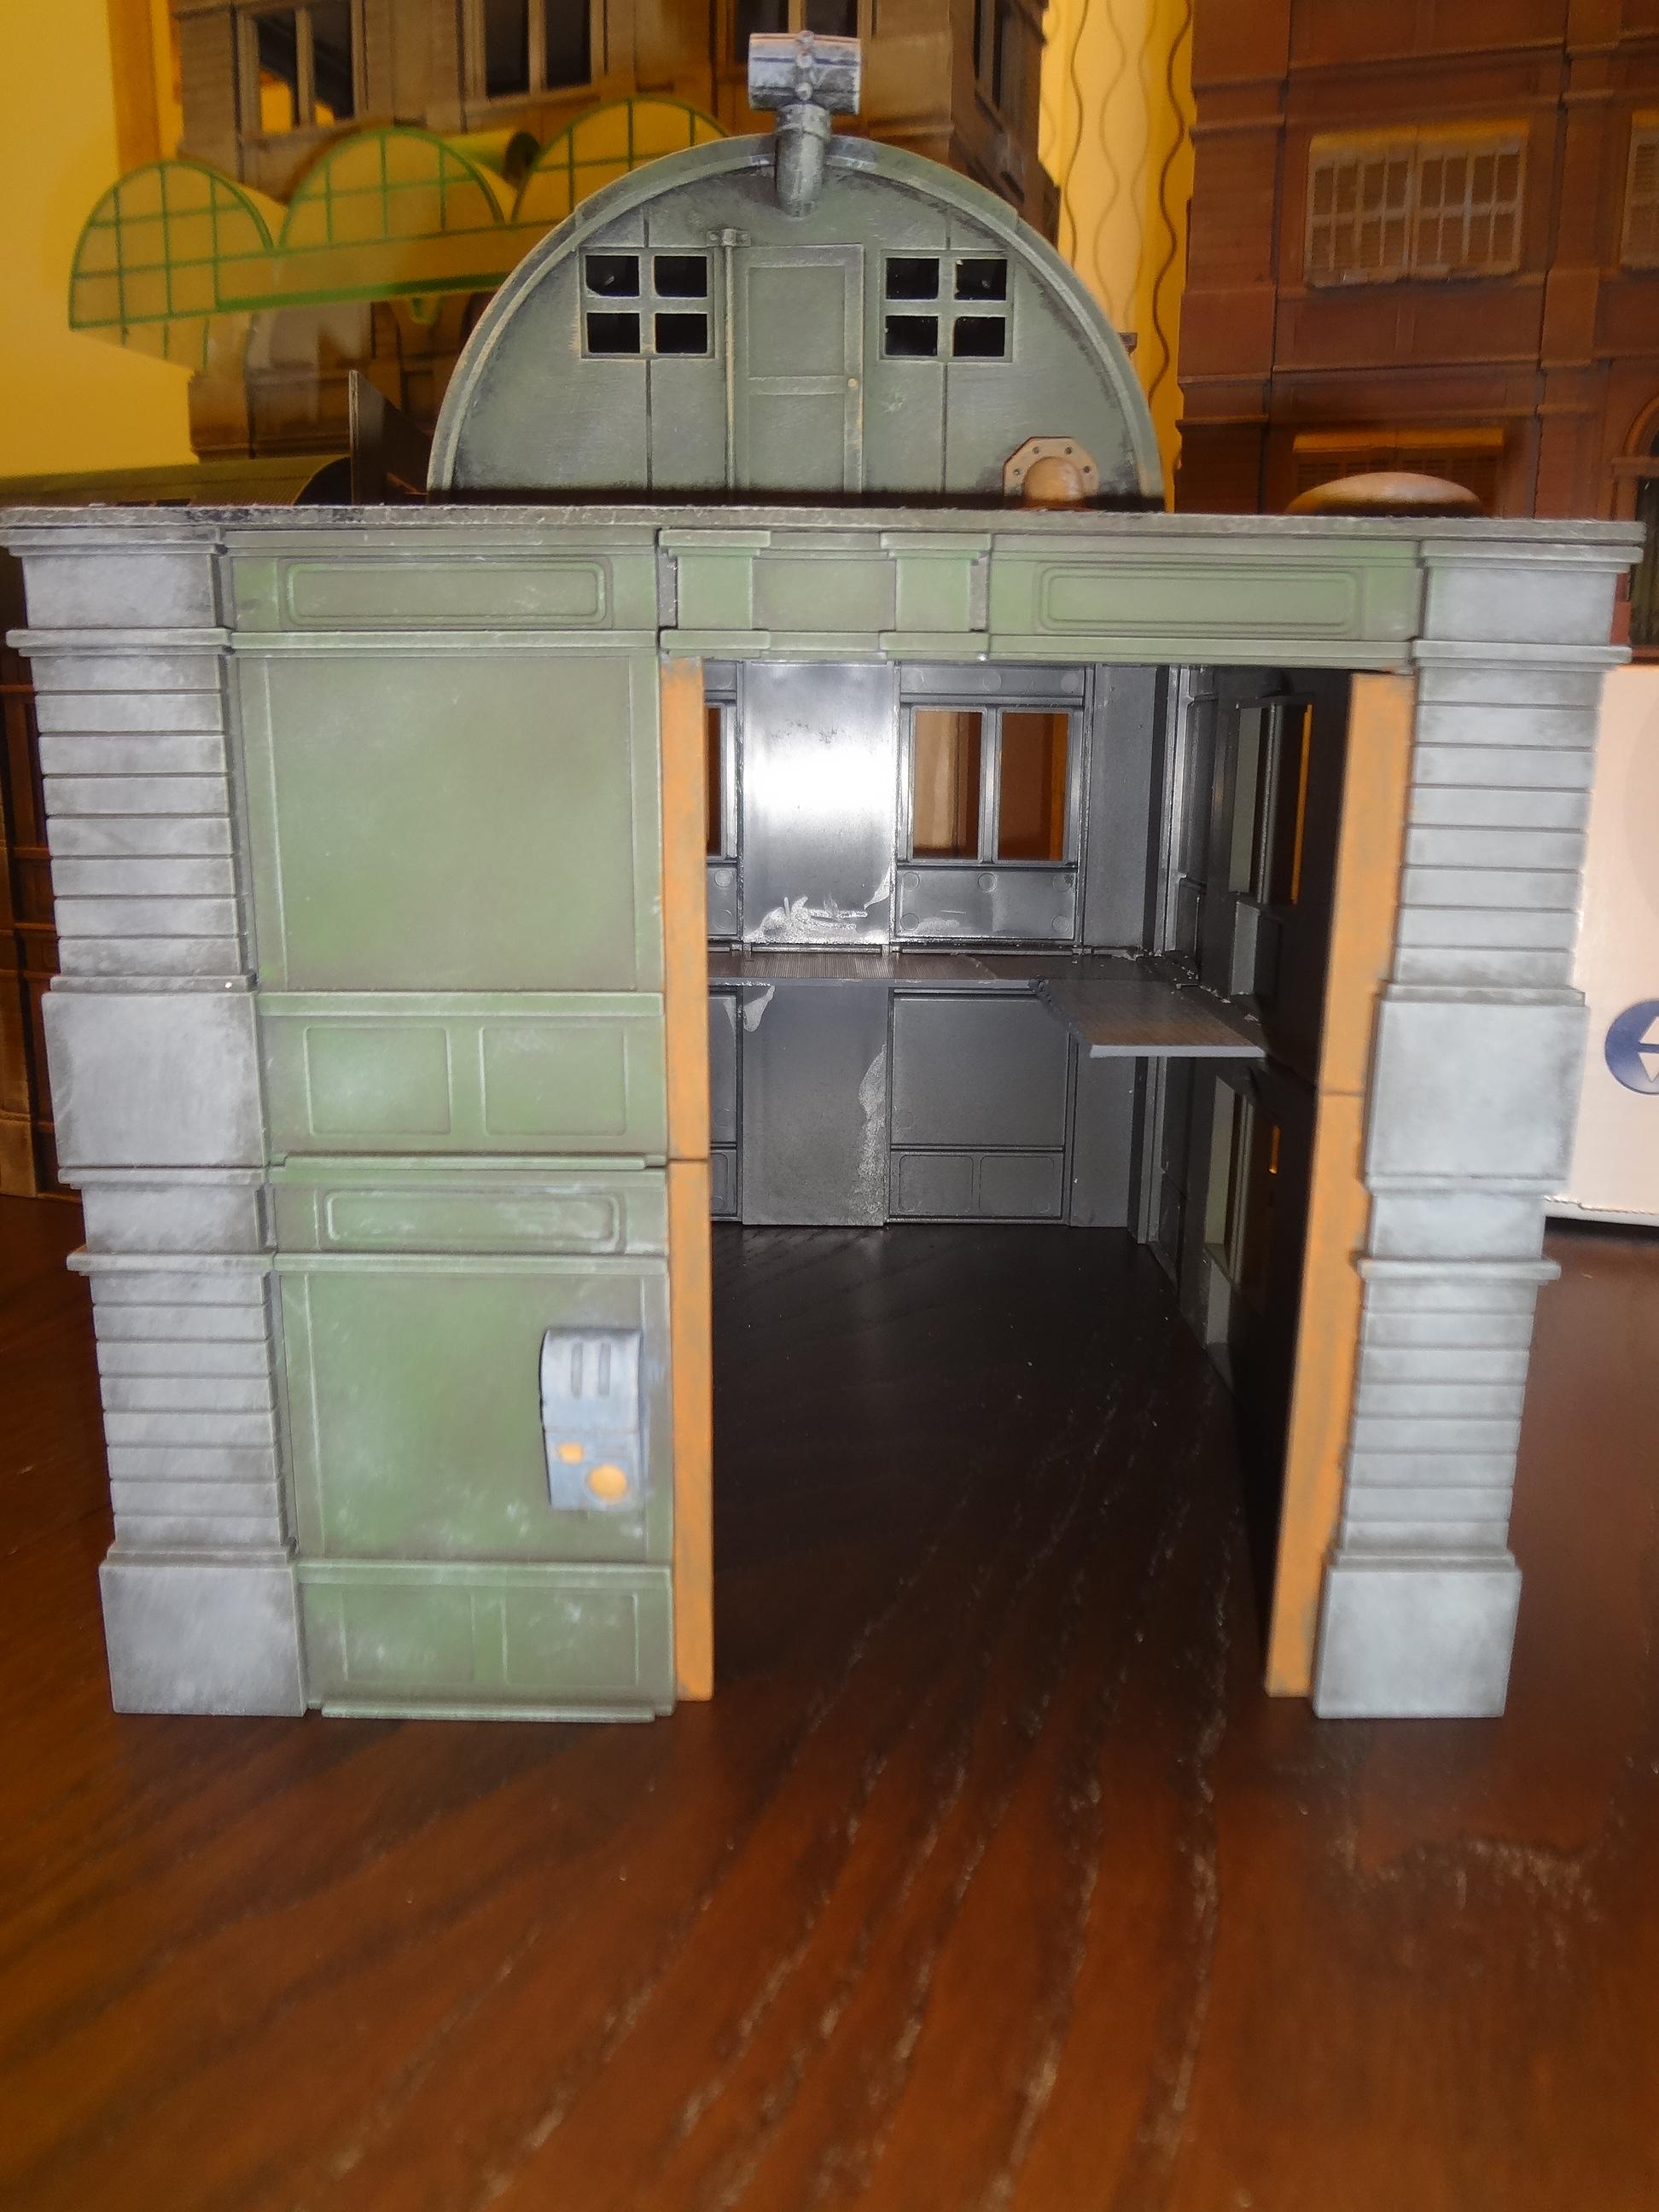
The large rear opening allows for interior access without a removable roof and is big enough to accommodate many vehicles and mechs. The retracted doors are just pieces of cardboard stuck into the side grooves of the wall pieces.
Note the header over the doorway. This is made from the top parts of wall sections, which were relatively easy to cut away. I think it looks much better than simply leaving an empty space.
Here's a look at a few more interesting Hirst Arts bits. I've no idea what they were intended to be, but they make great vents, lights and intercoms.
Building 5 - Large Boarded-Up Warehouse
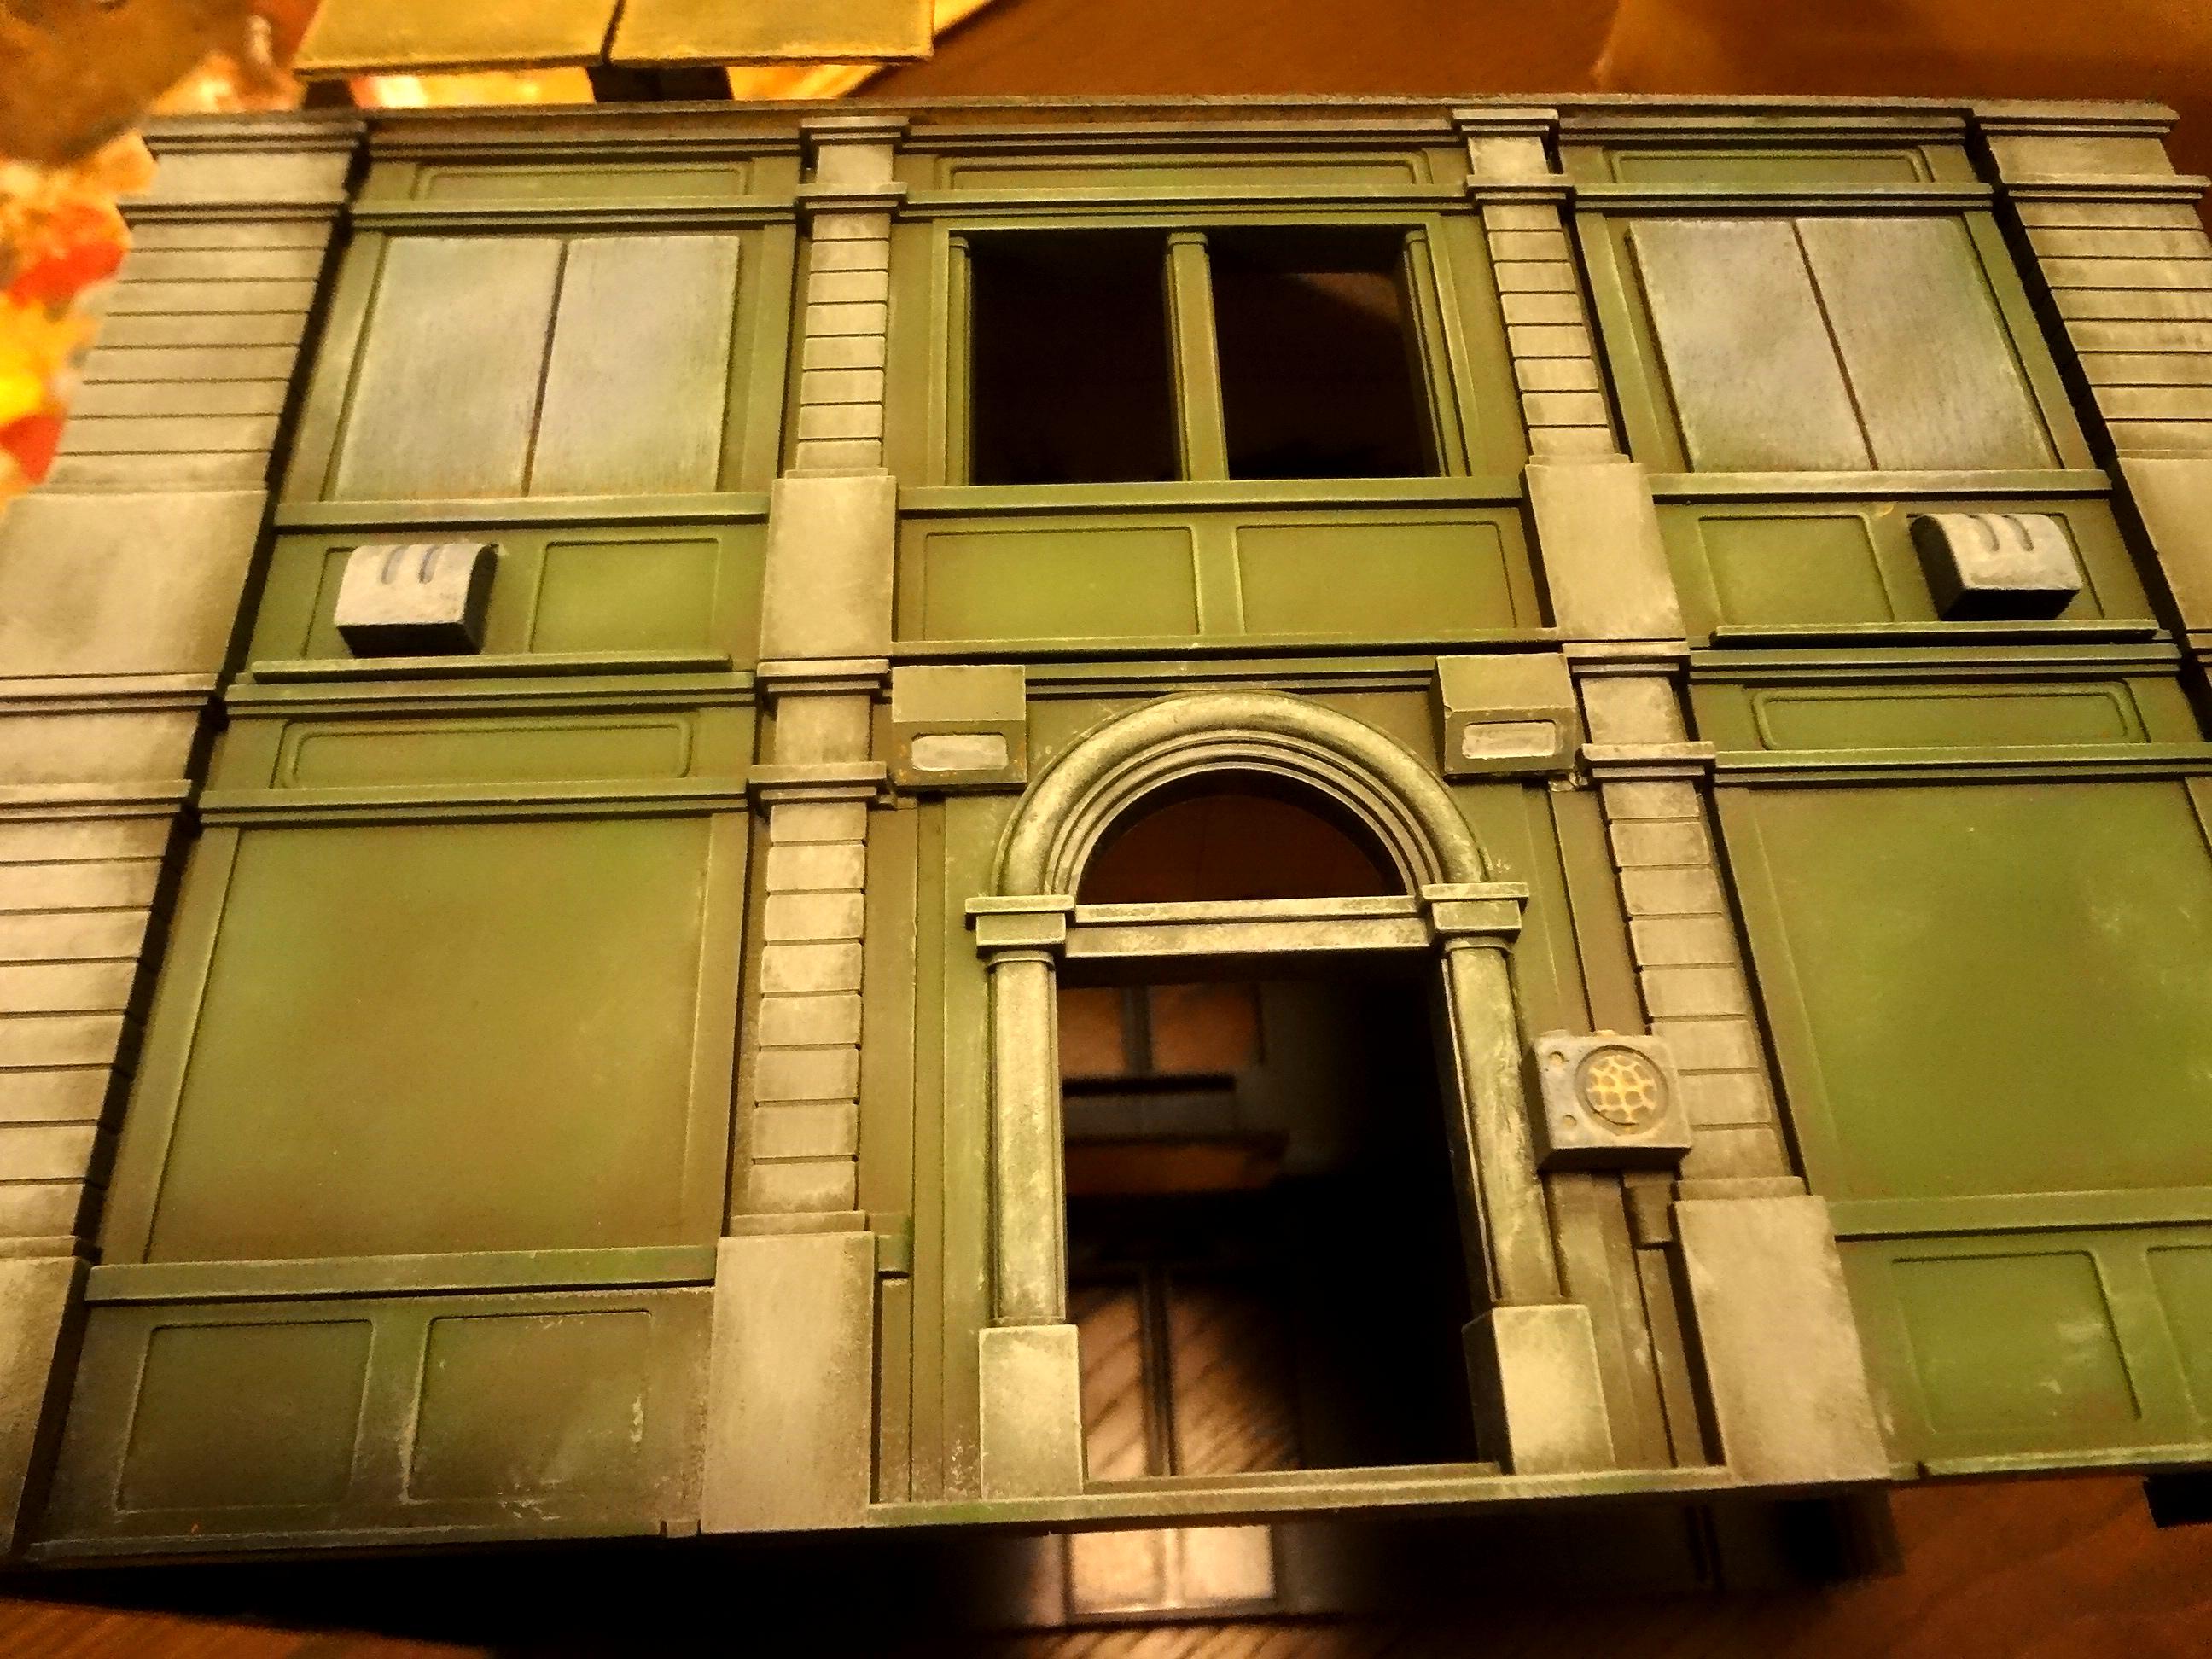
This is the only other building made with no interior access. I've covered all windows with medical specimen cases. I think these bits look equally good as sci-fi window grates or as the metal screens used to secure vacant buildings throughout Chicago.
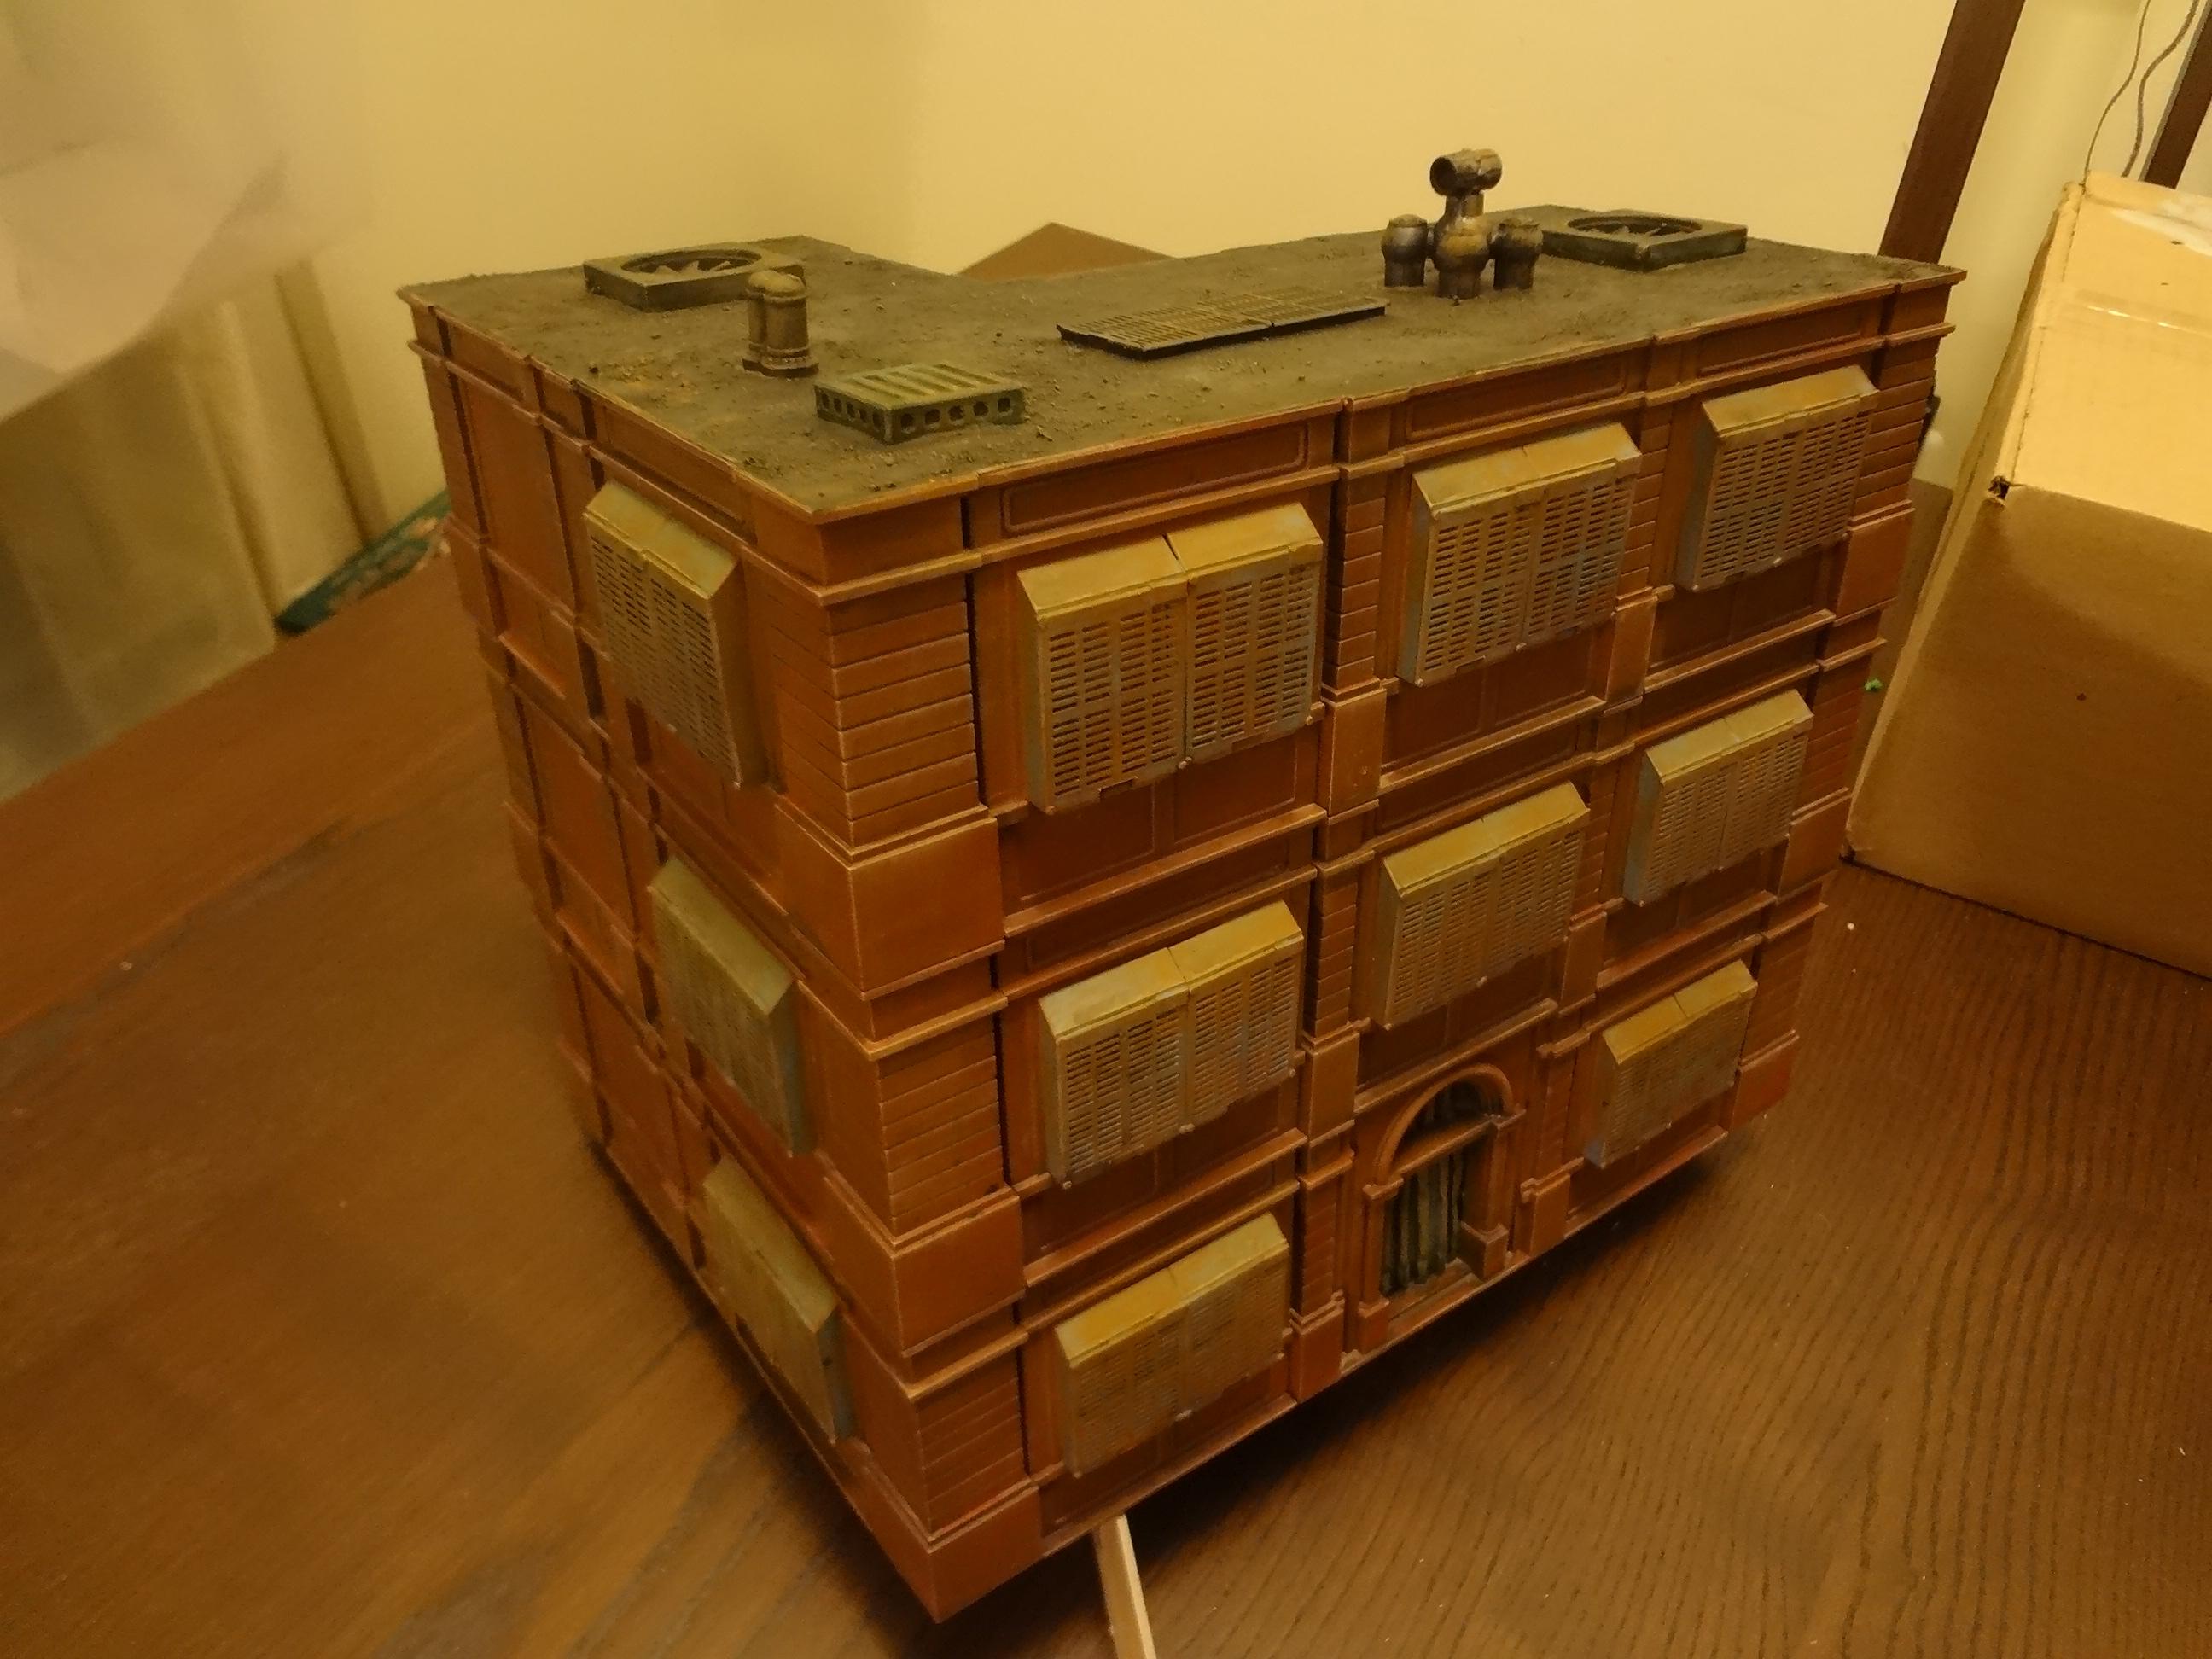
Another header over the rear garage entrance was made by cutting apart a wall section.
Building 6 - Large Apartment Block
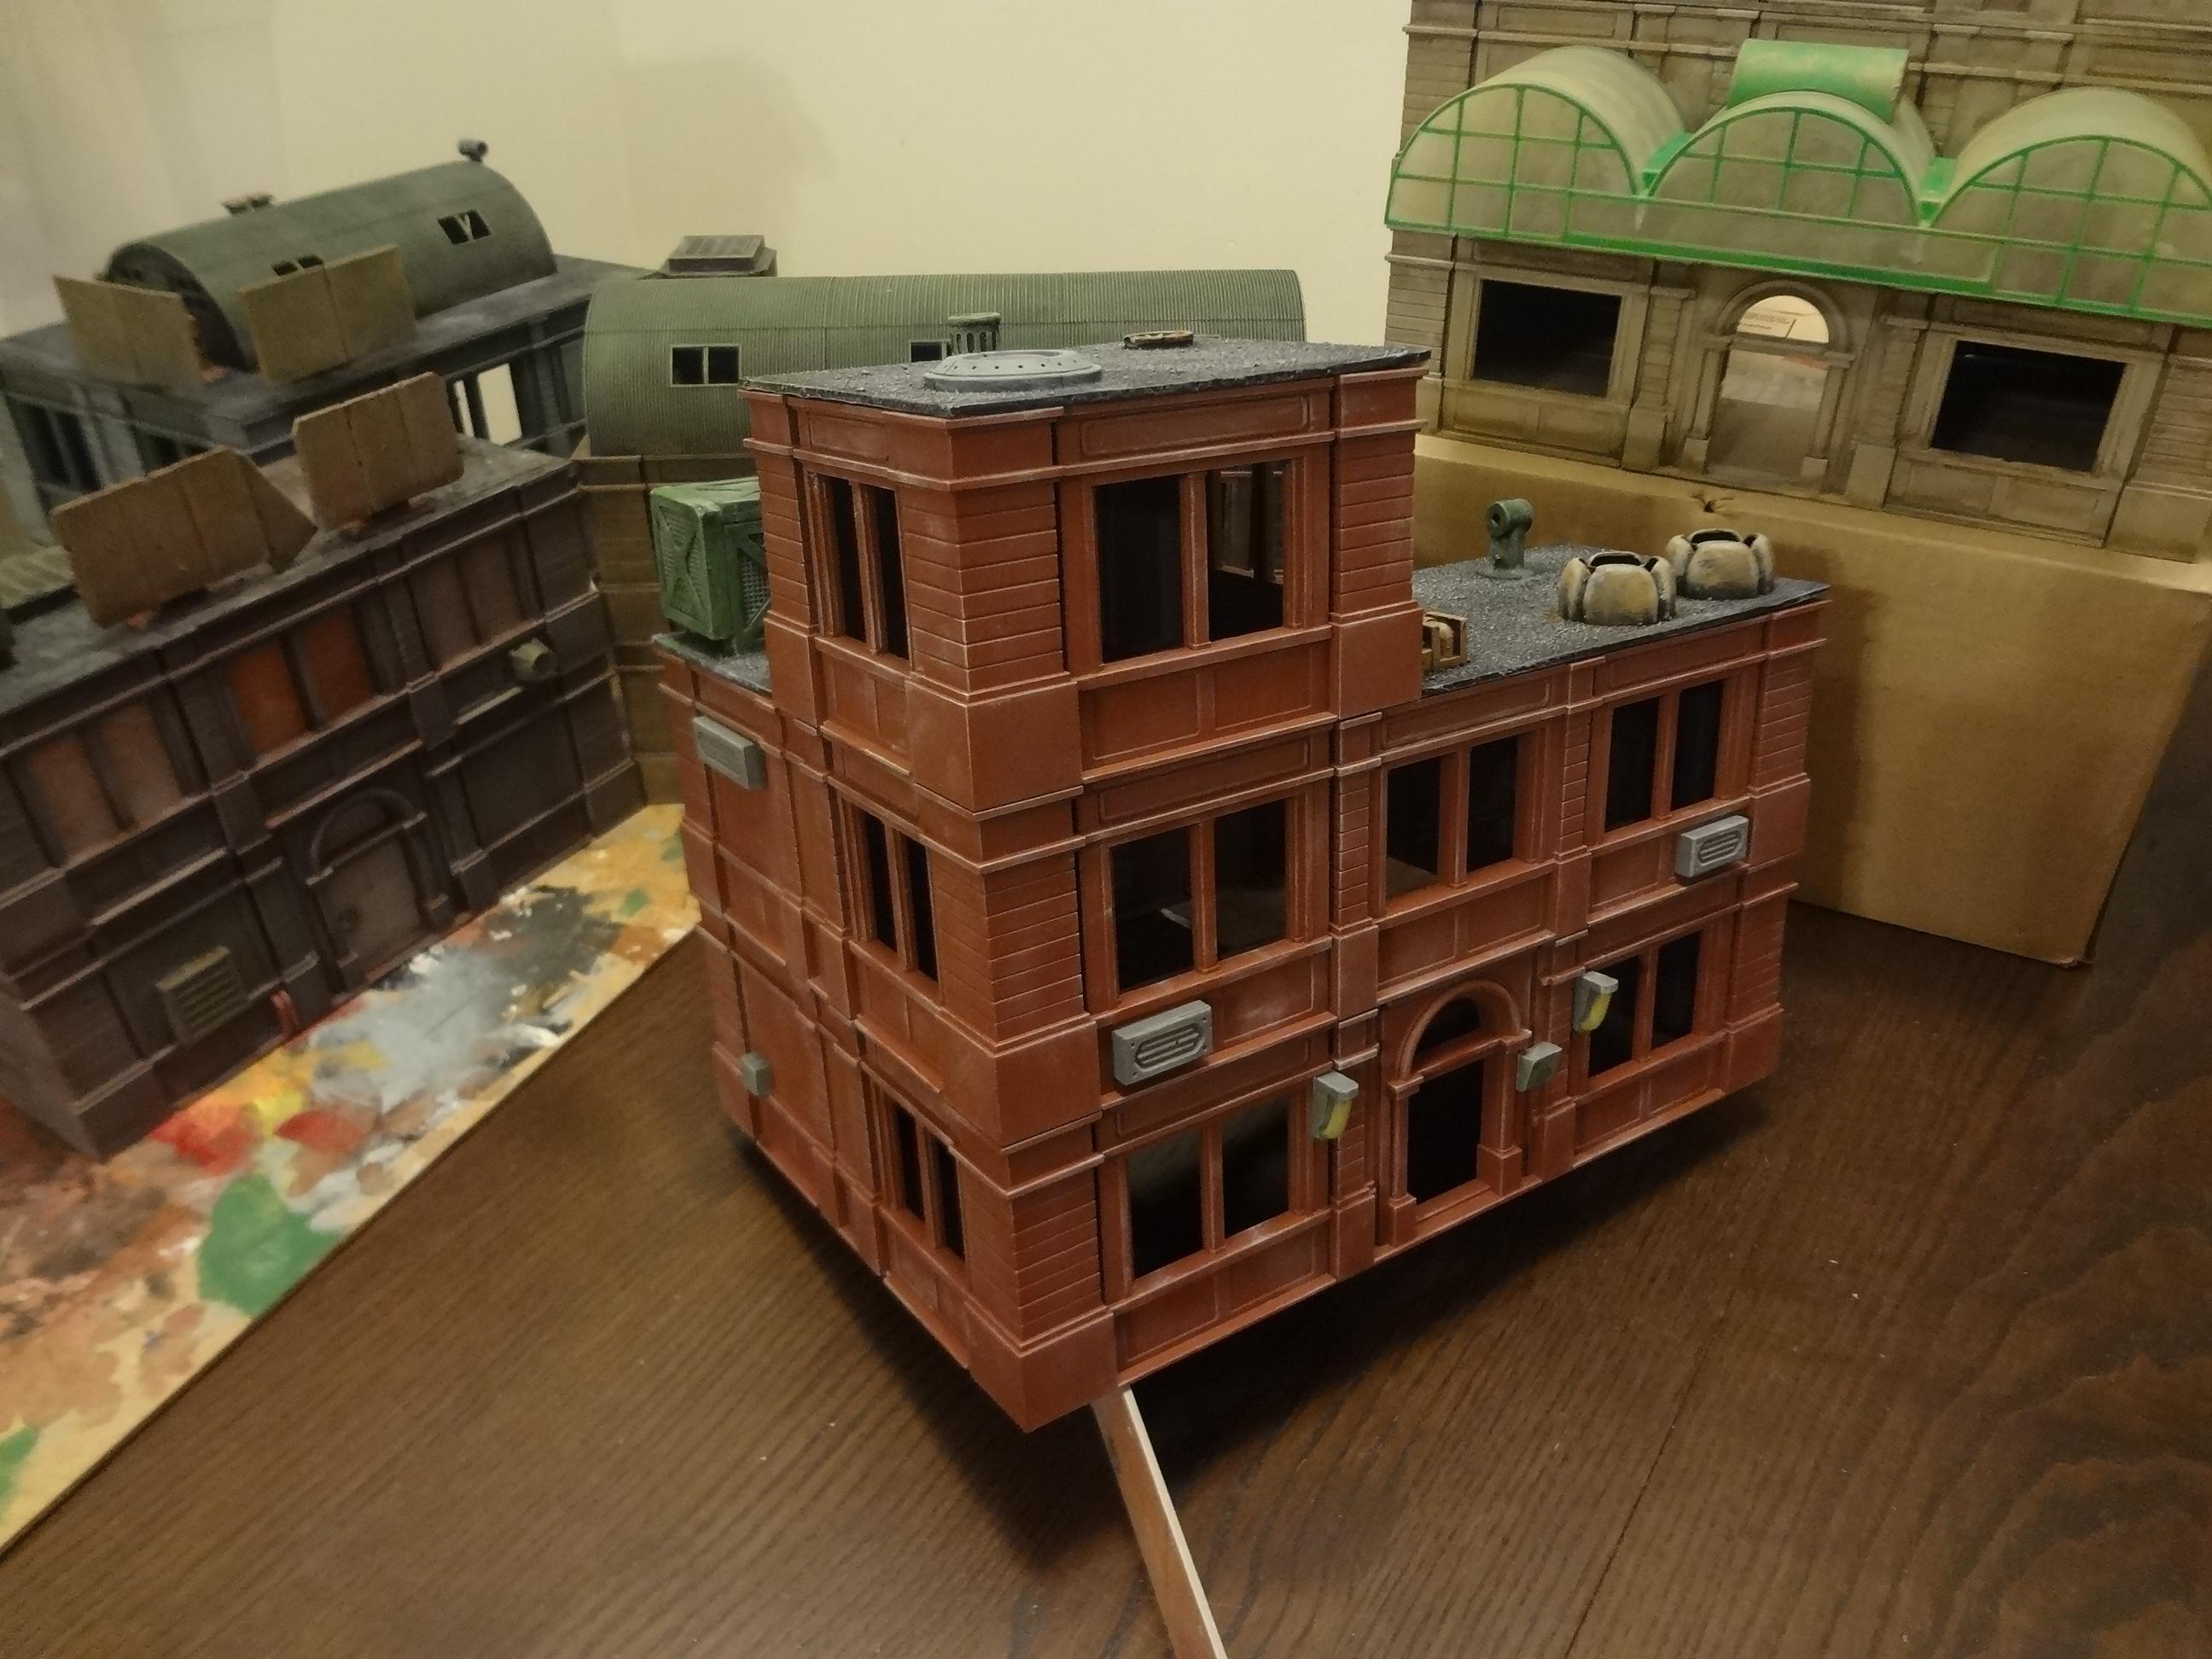
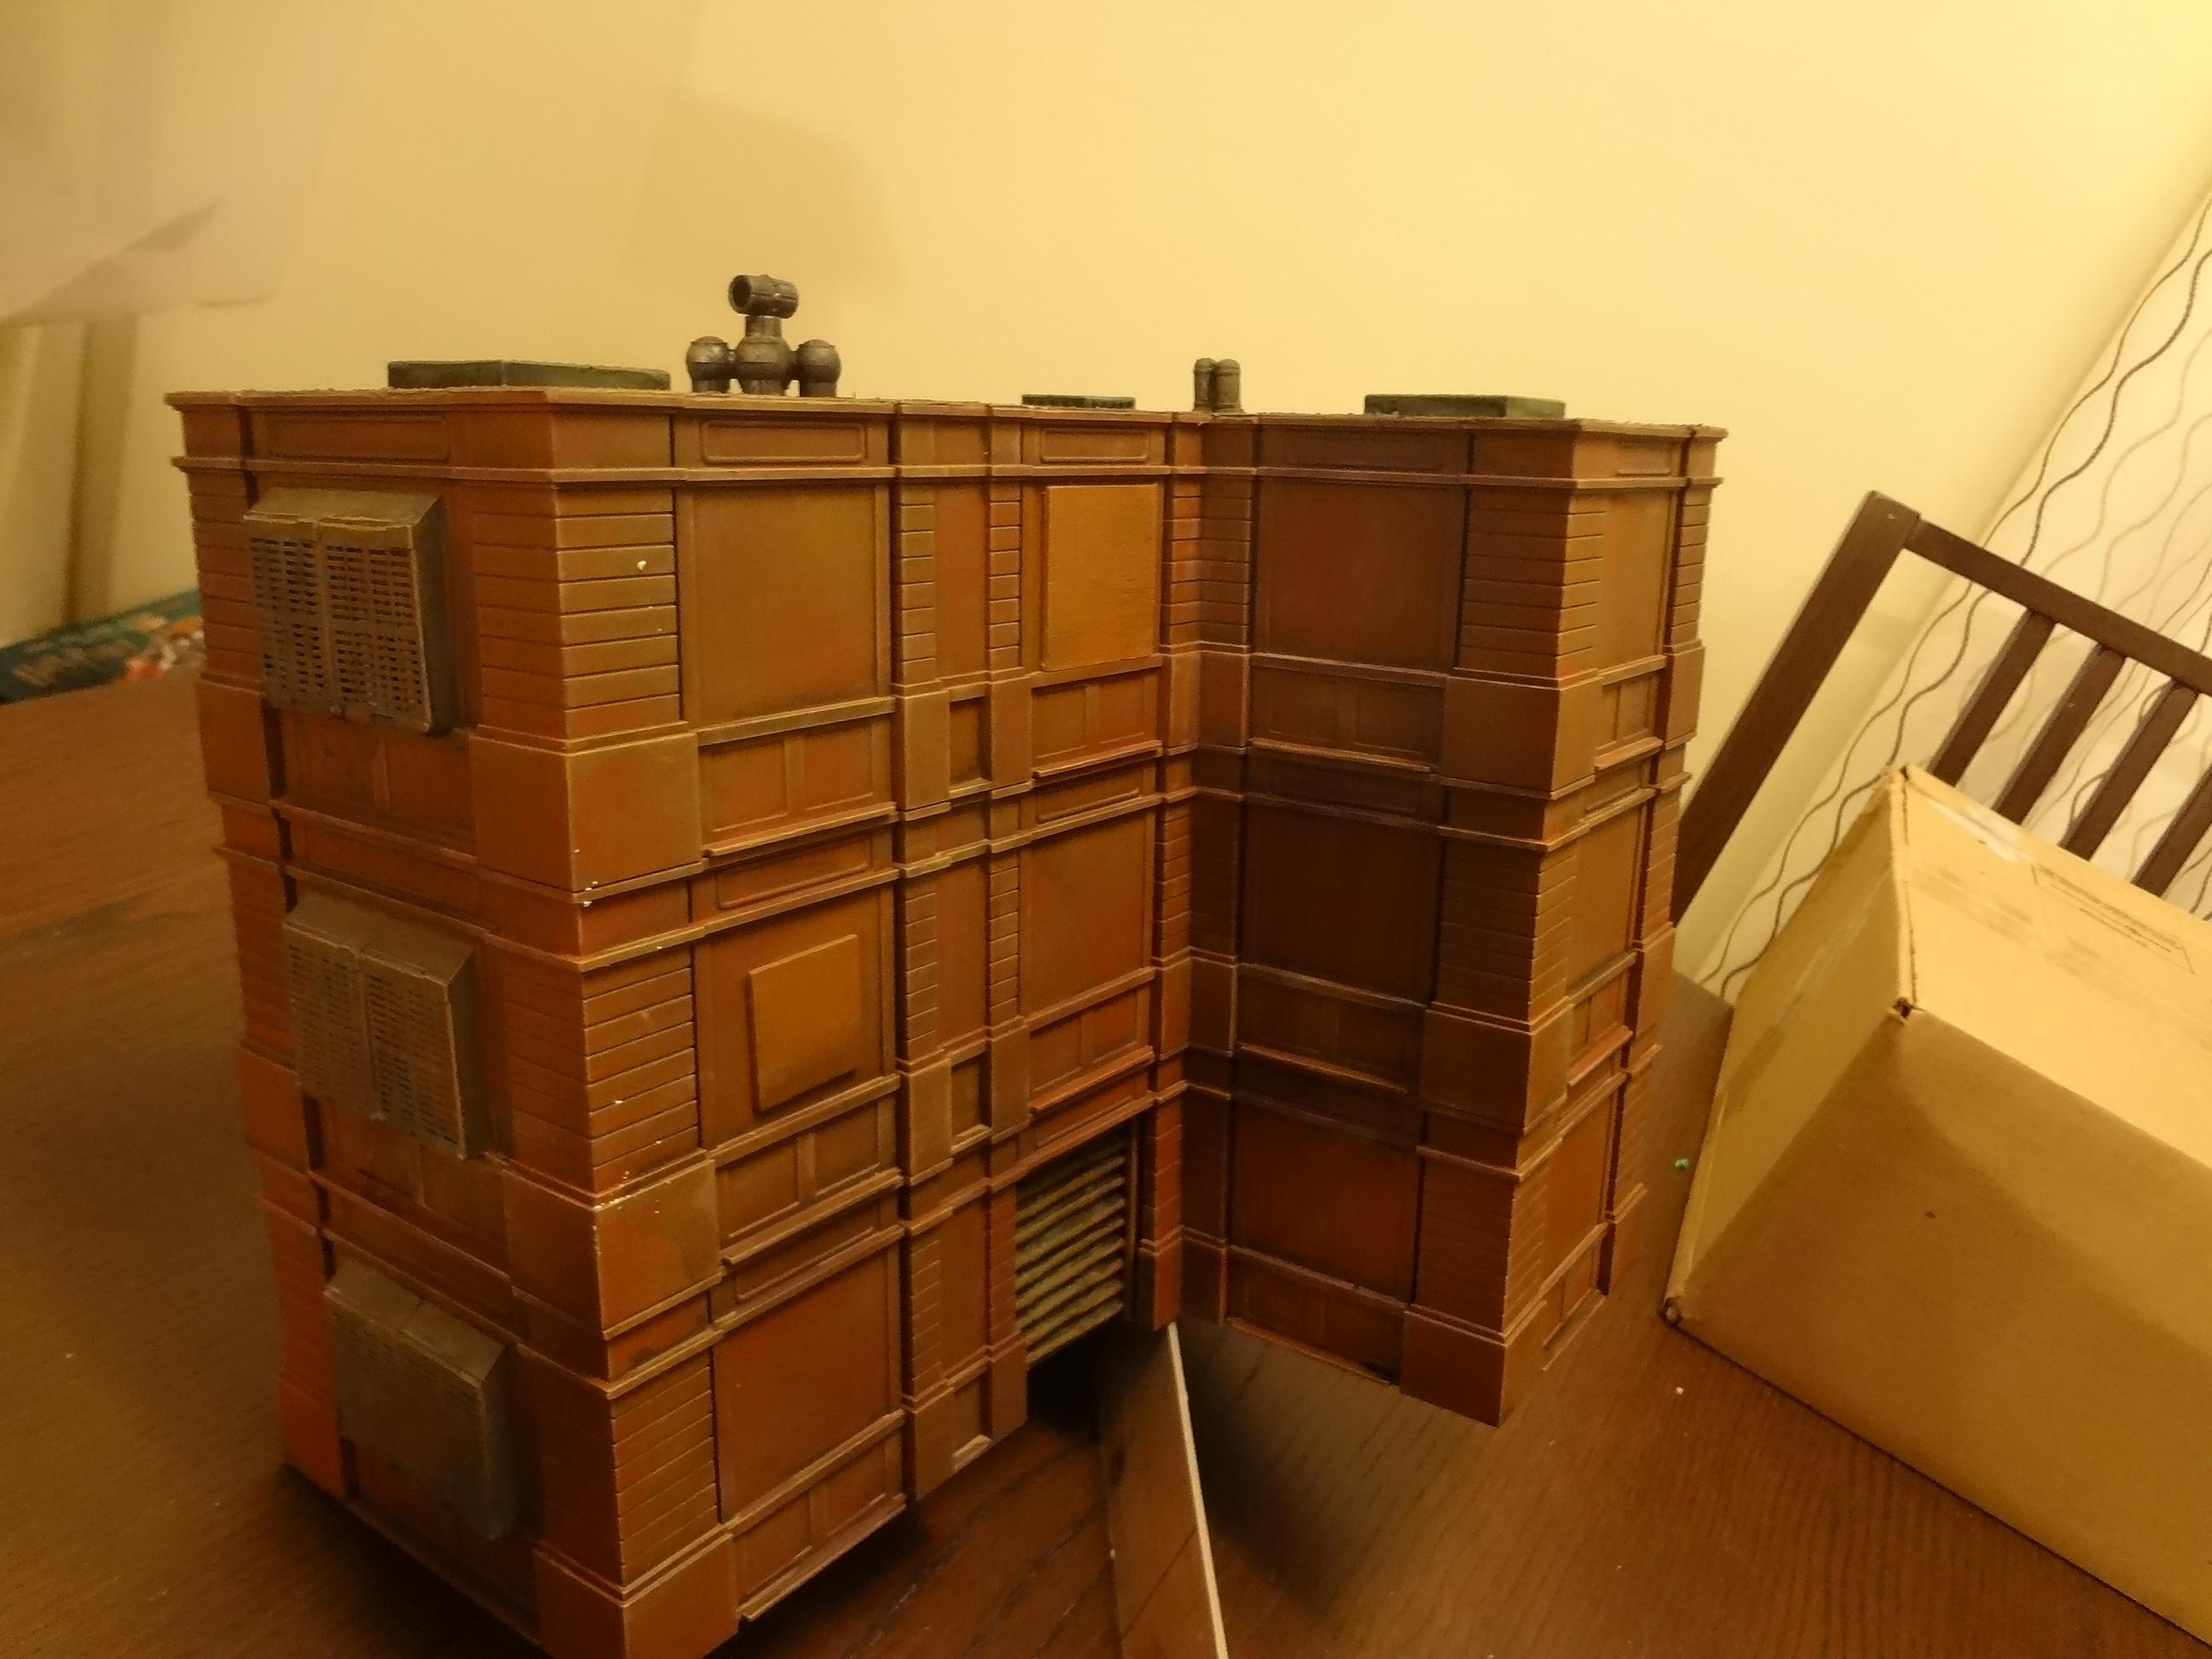
Here's another standard building, though I rather like the tower corner.
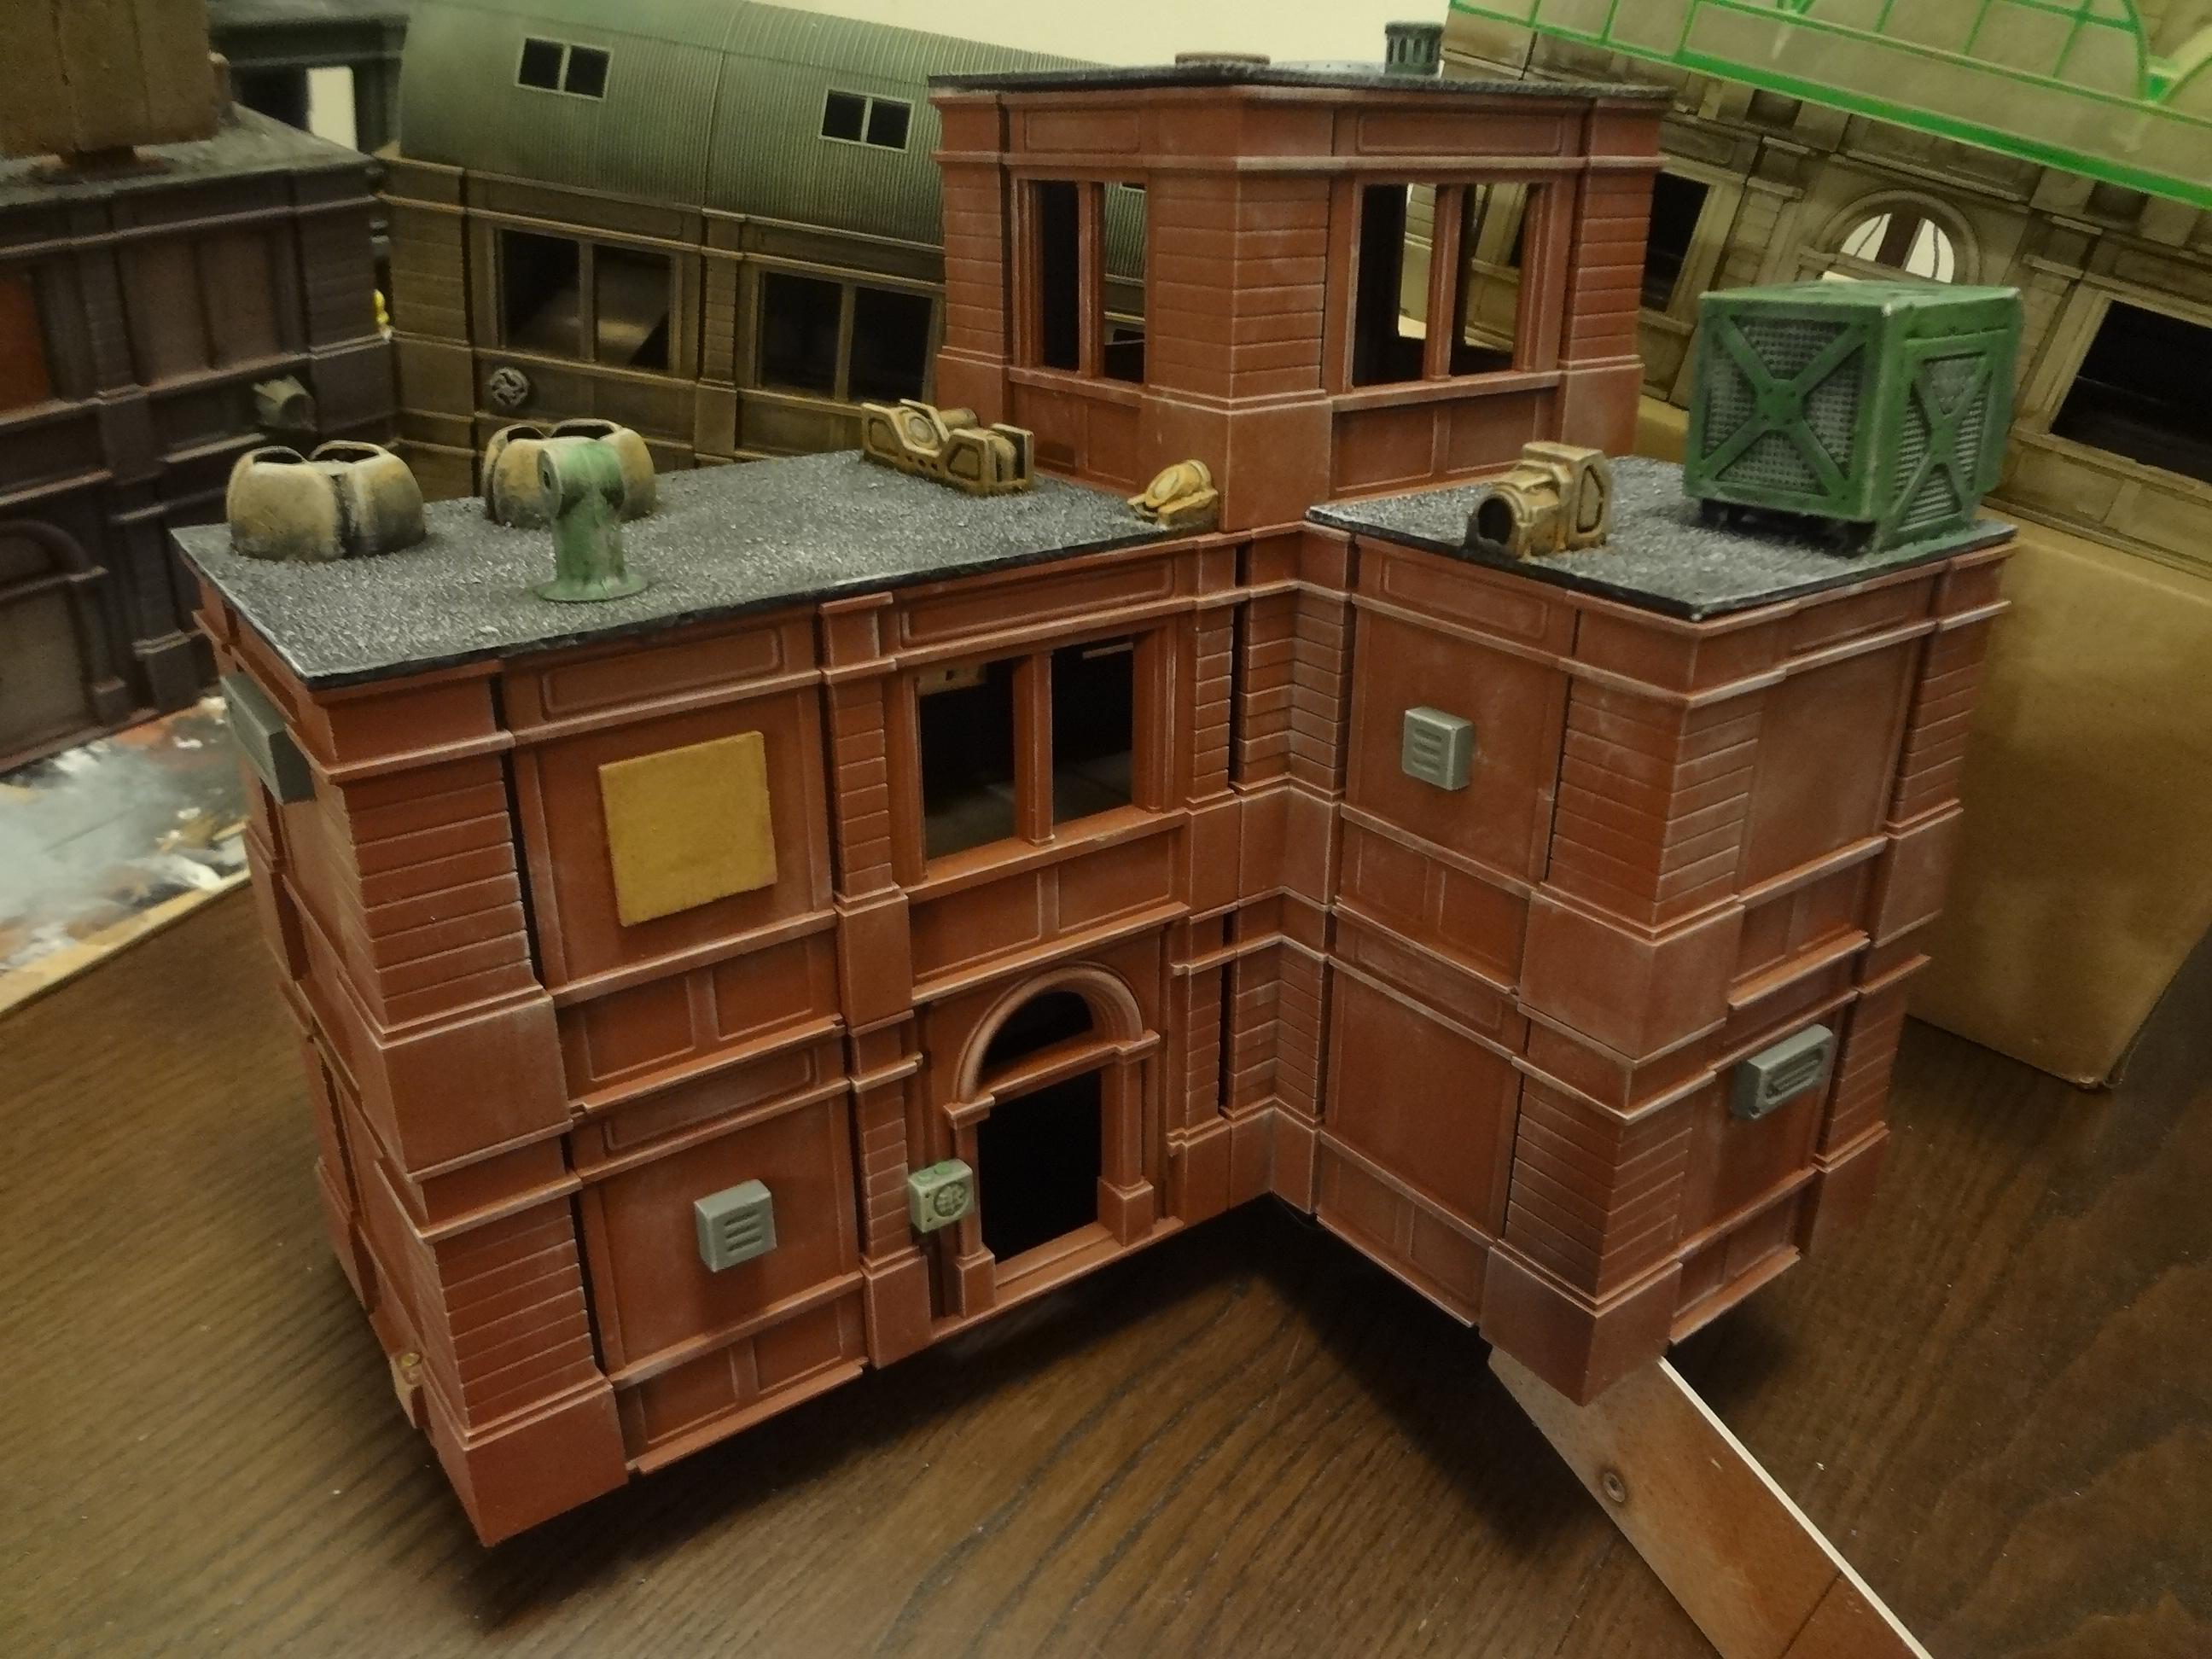
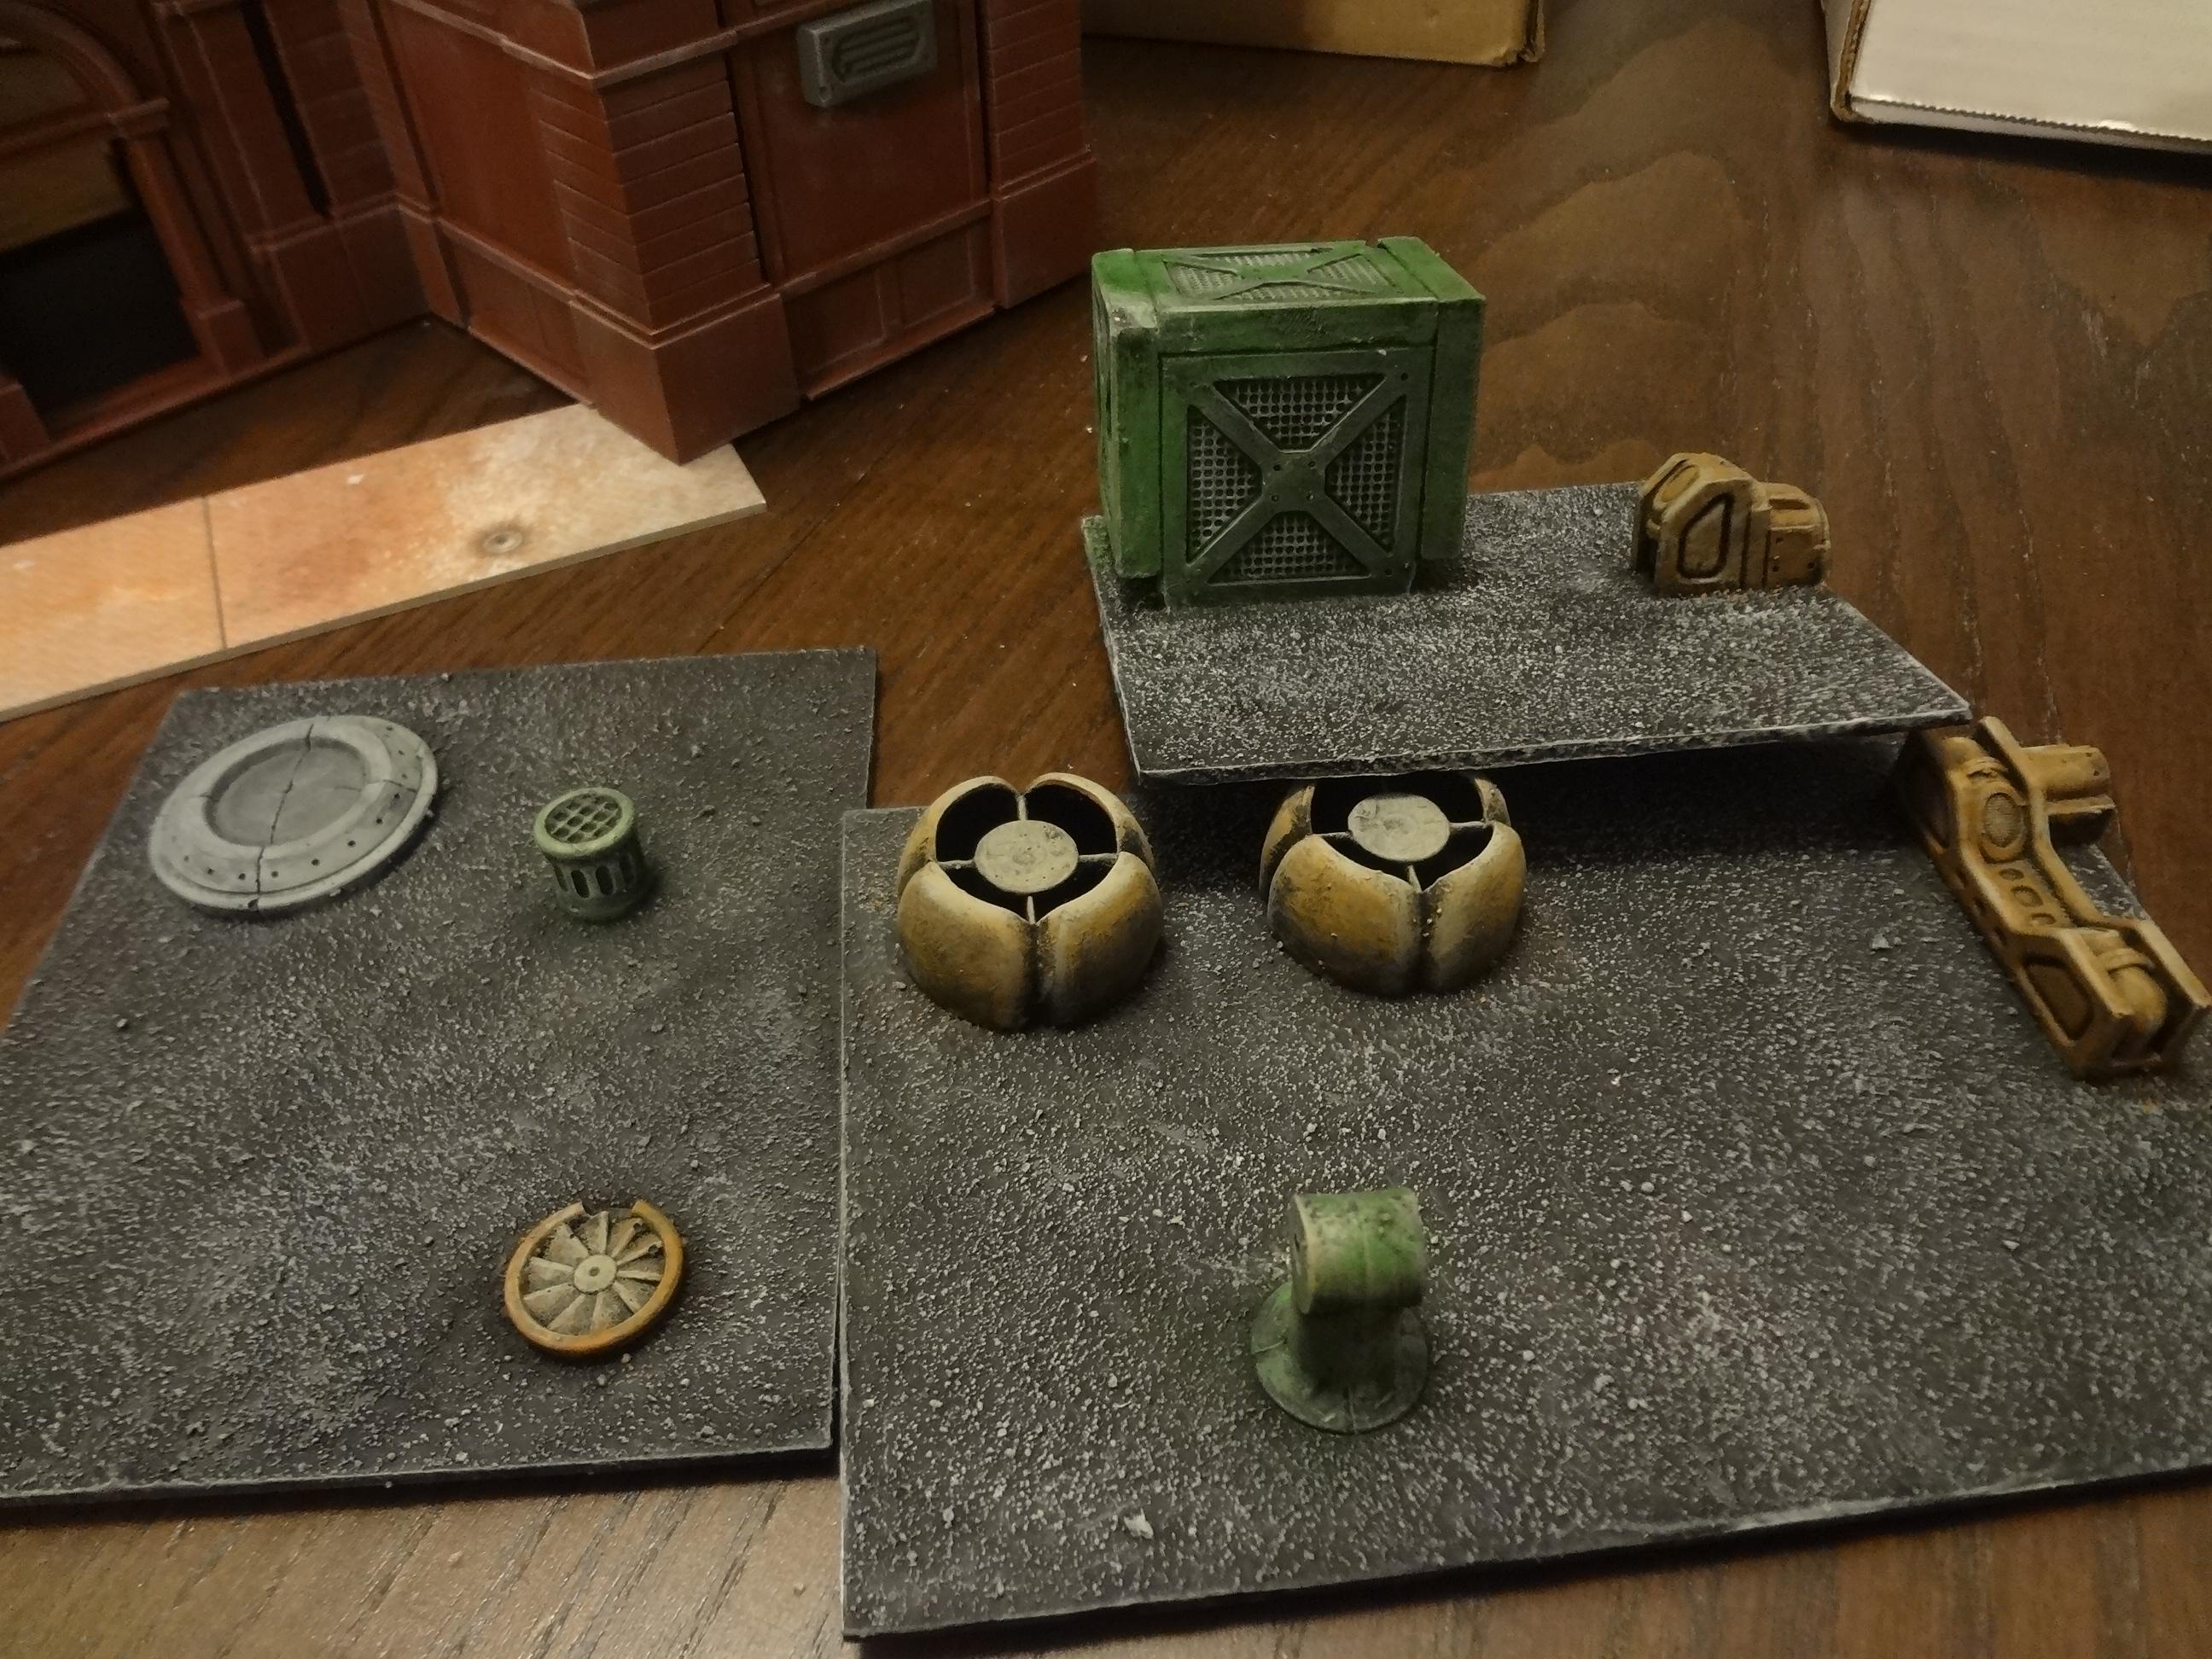
This one has the VCT roofs, and this time they are removable.
Building 7 - The Grand Hotel
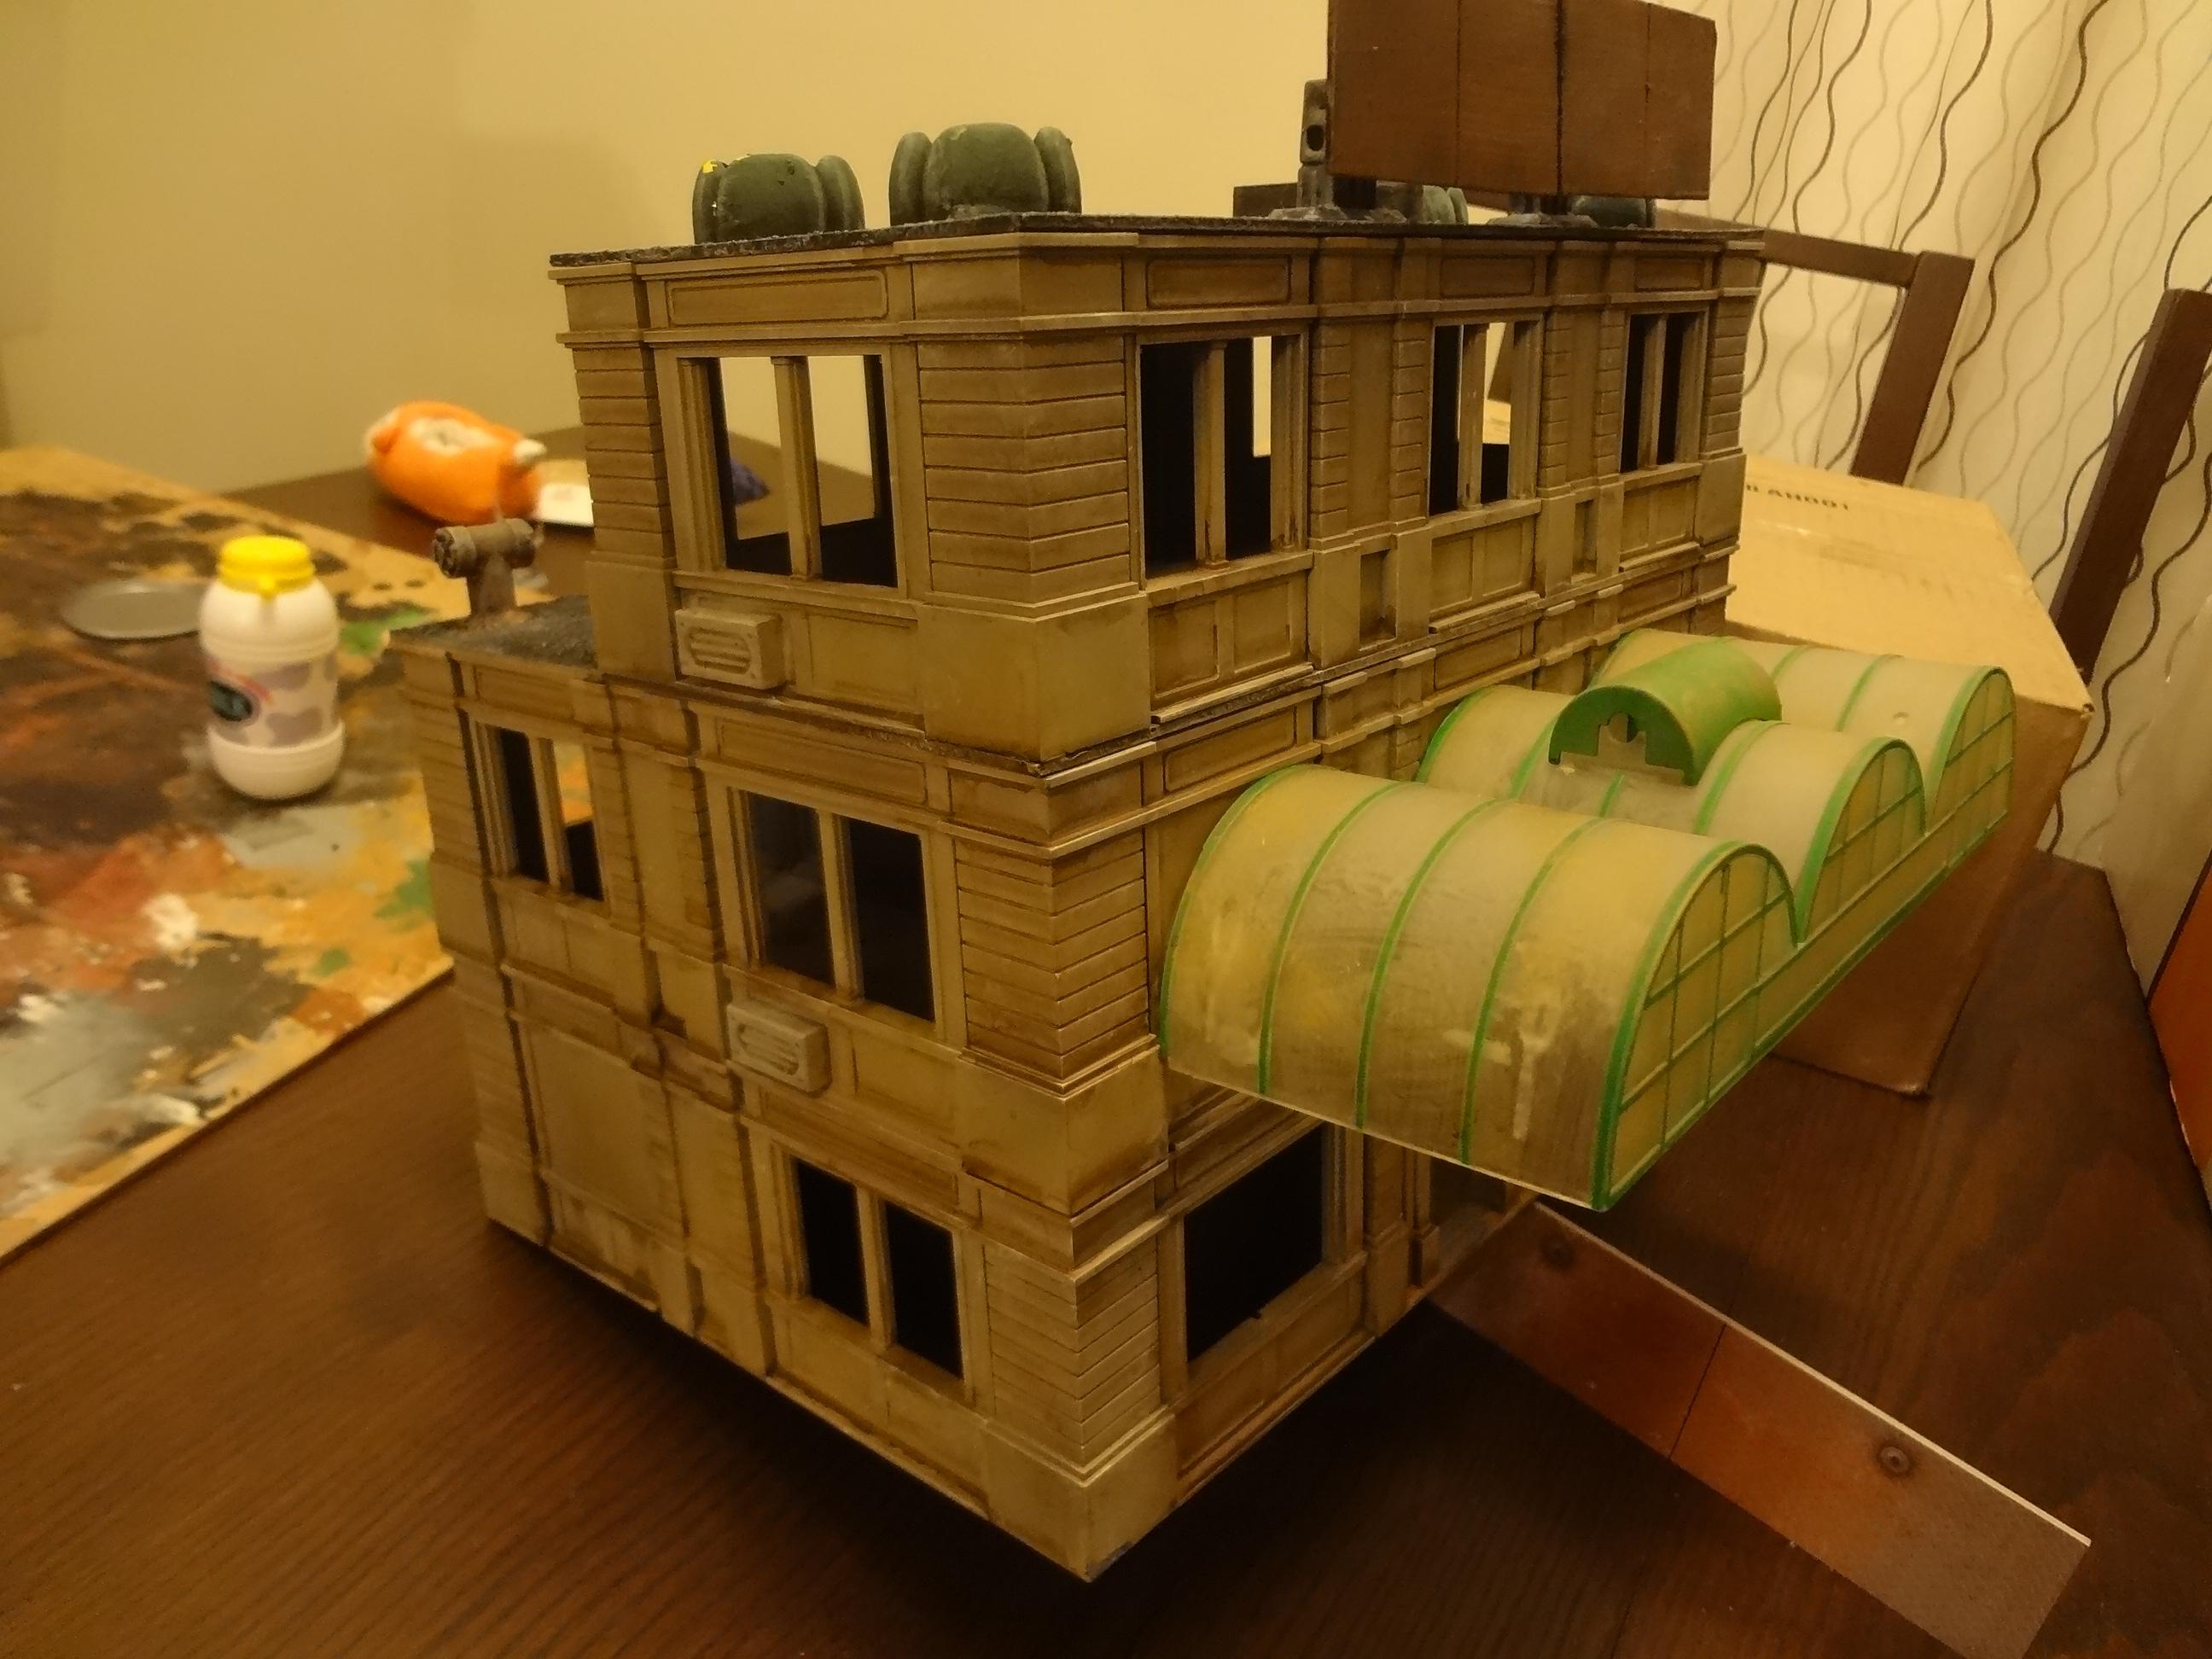
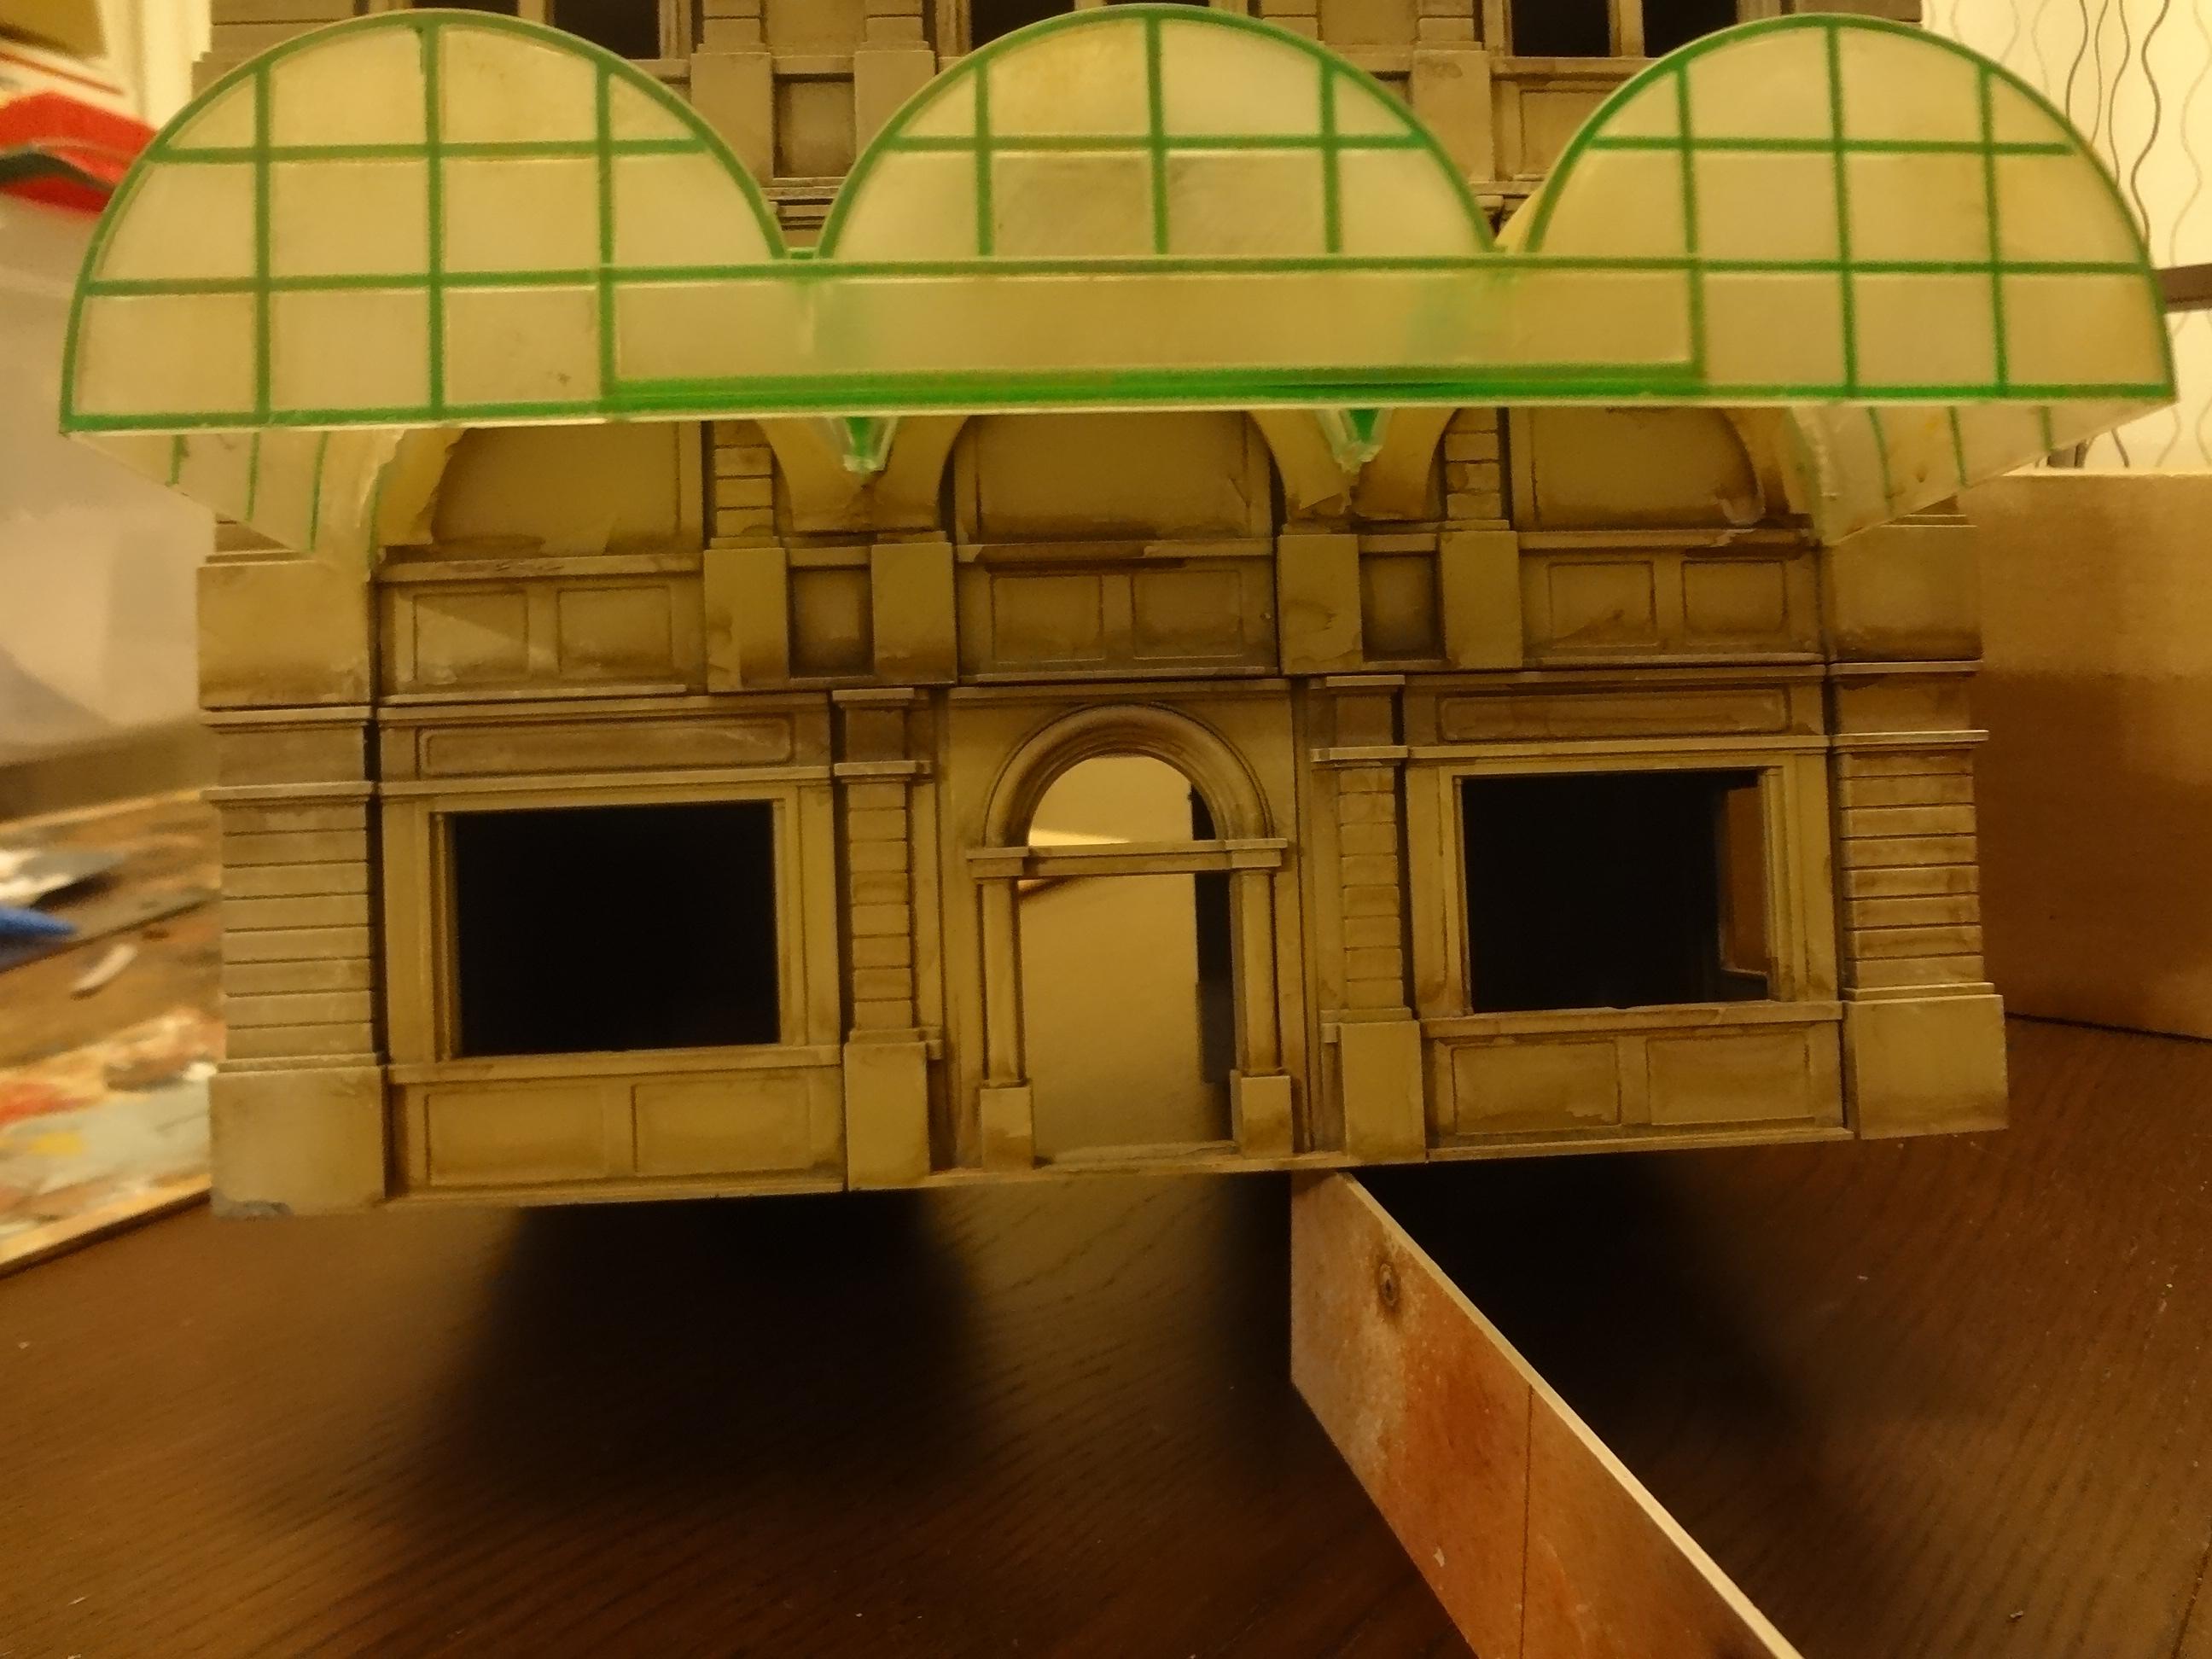
I'm particularly proud of how this one came out. The awning came from a Thomas and Friends Knapford Station toy playset I found at Goodwill, though lots of matte varnish and drybrushing was needed to muck it up. I kept the stock green framing rather than risk screwing it up with a repaint.
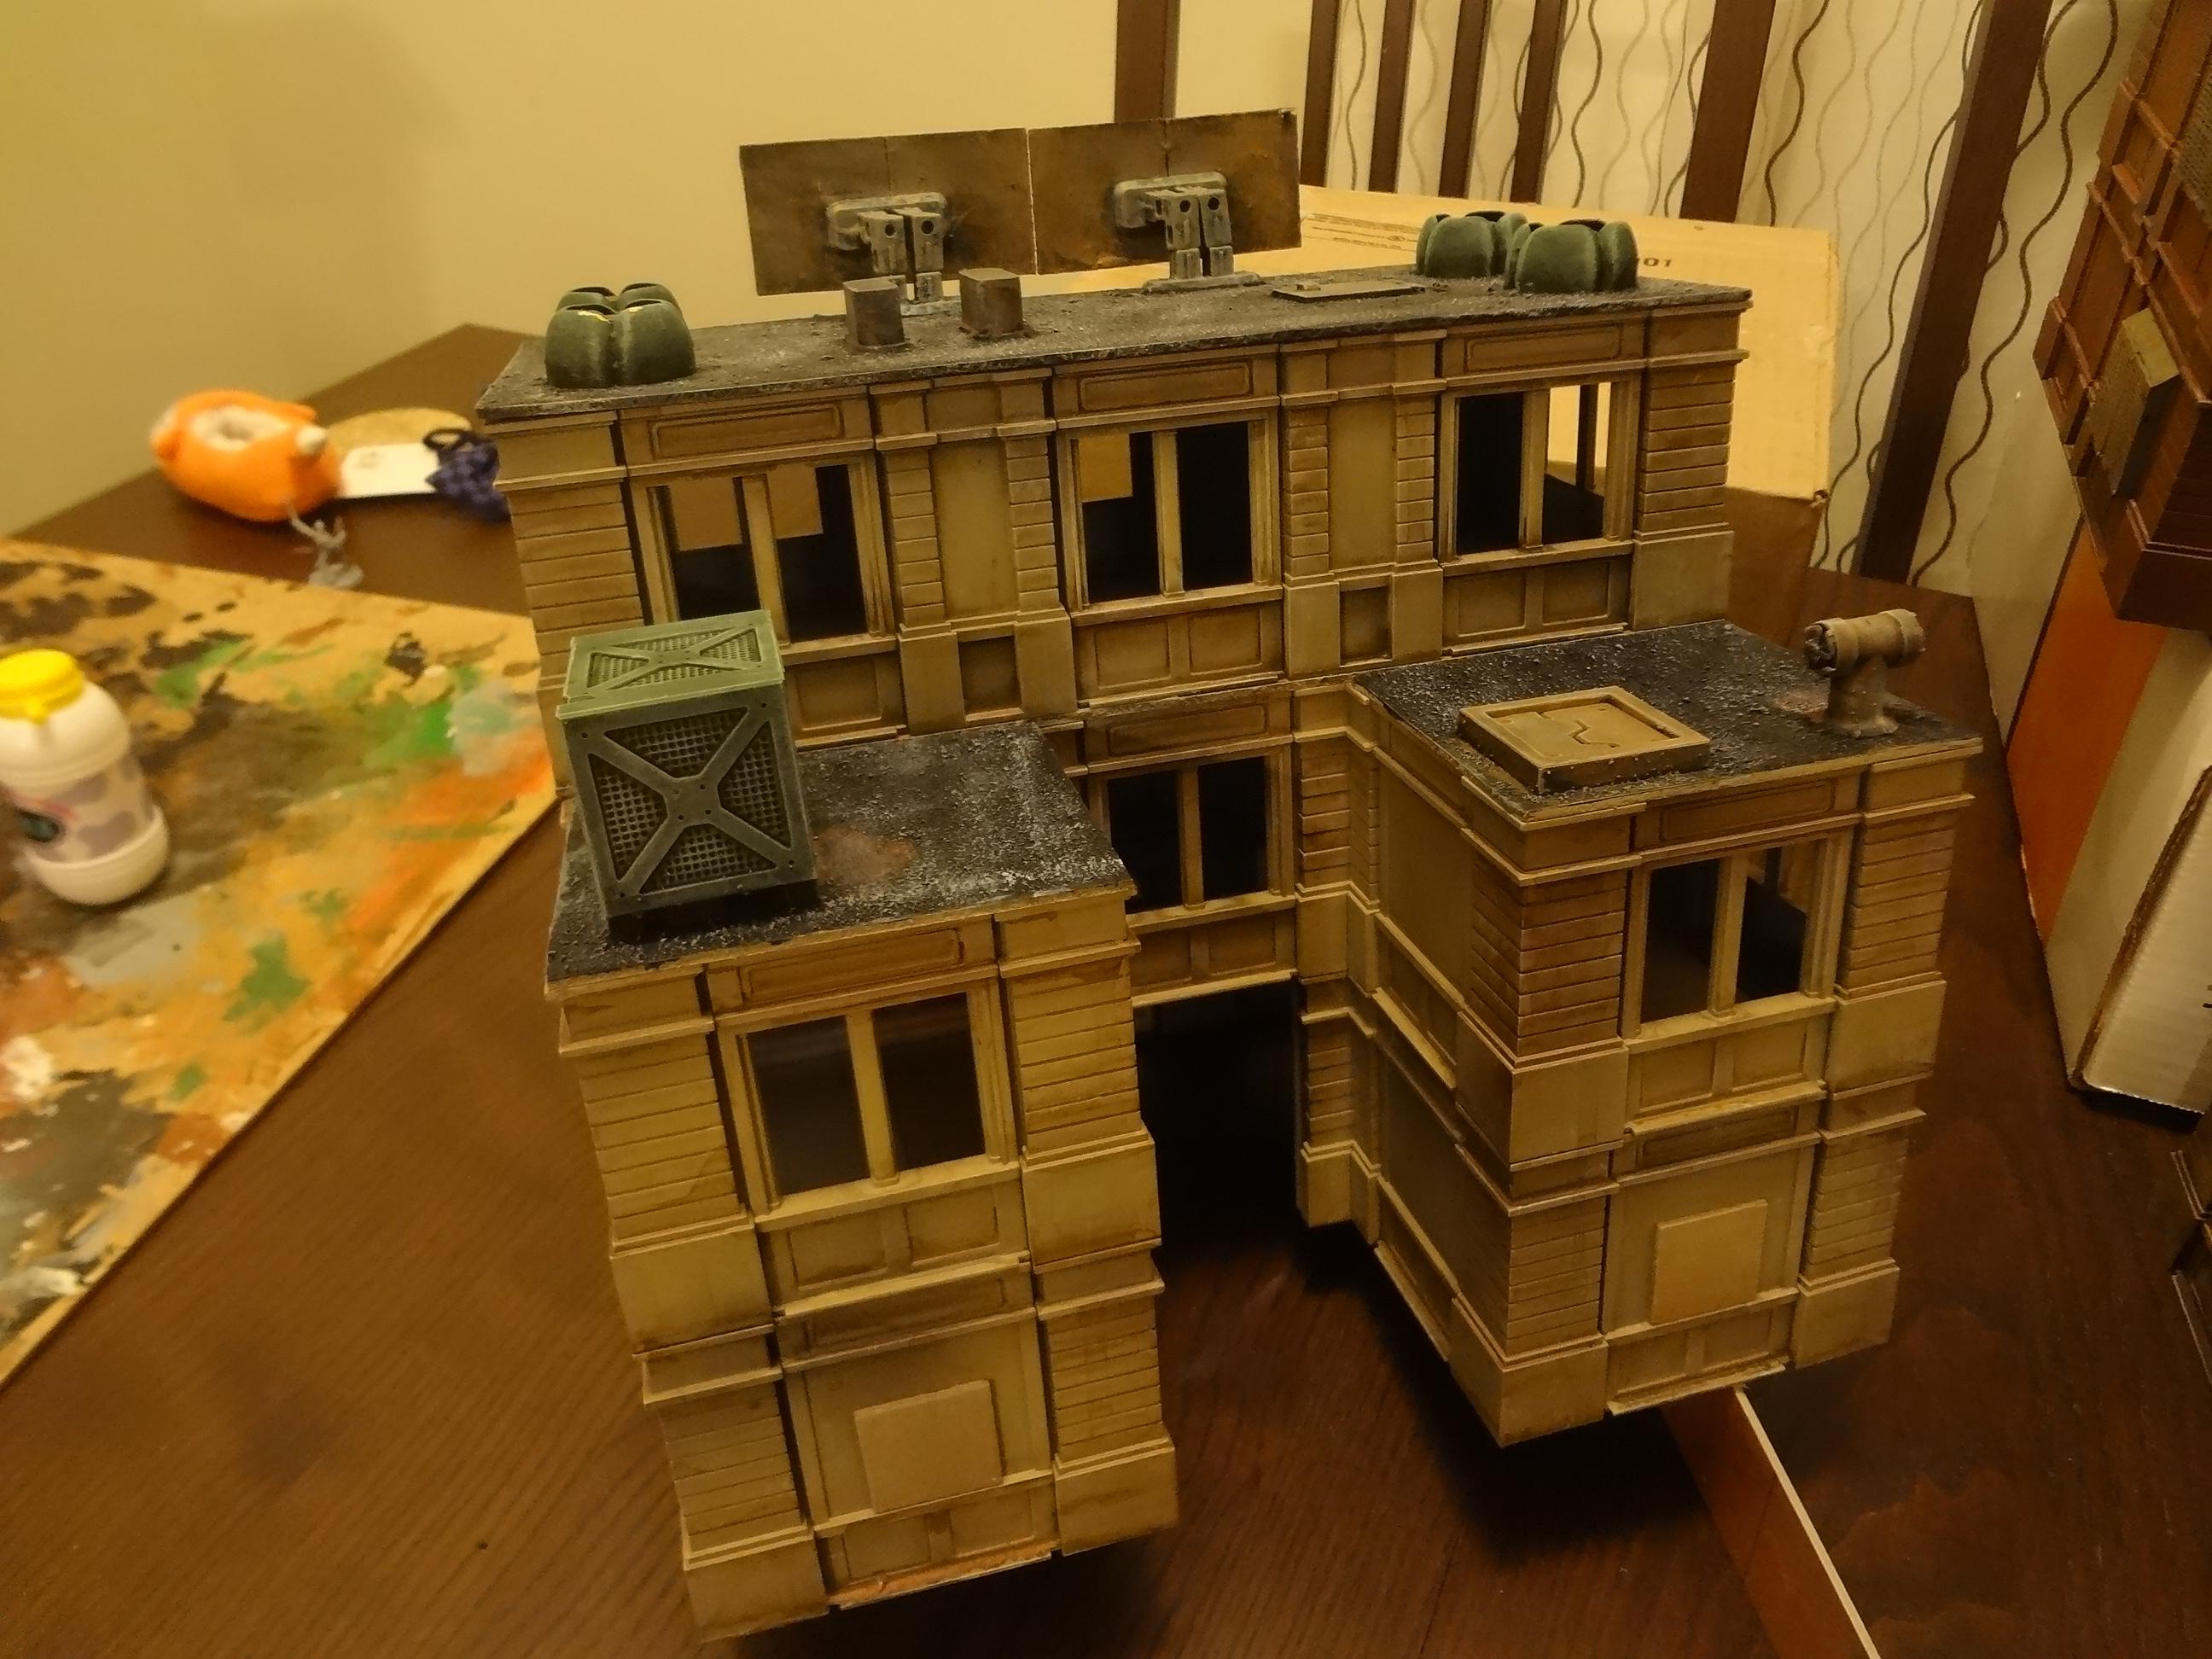
The u-shape in the back makes a great place for concealment.
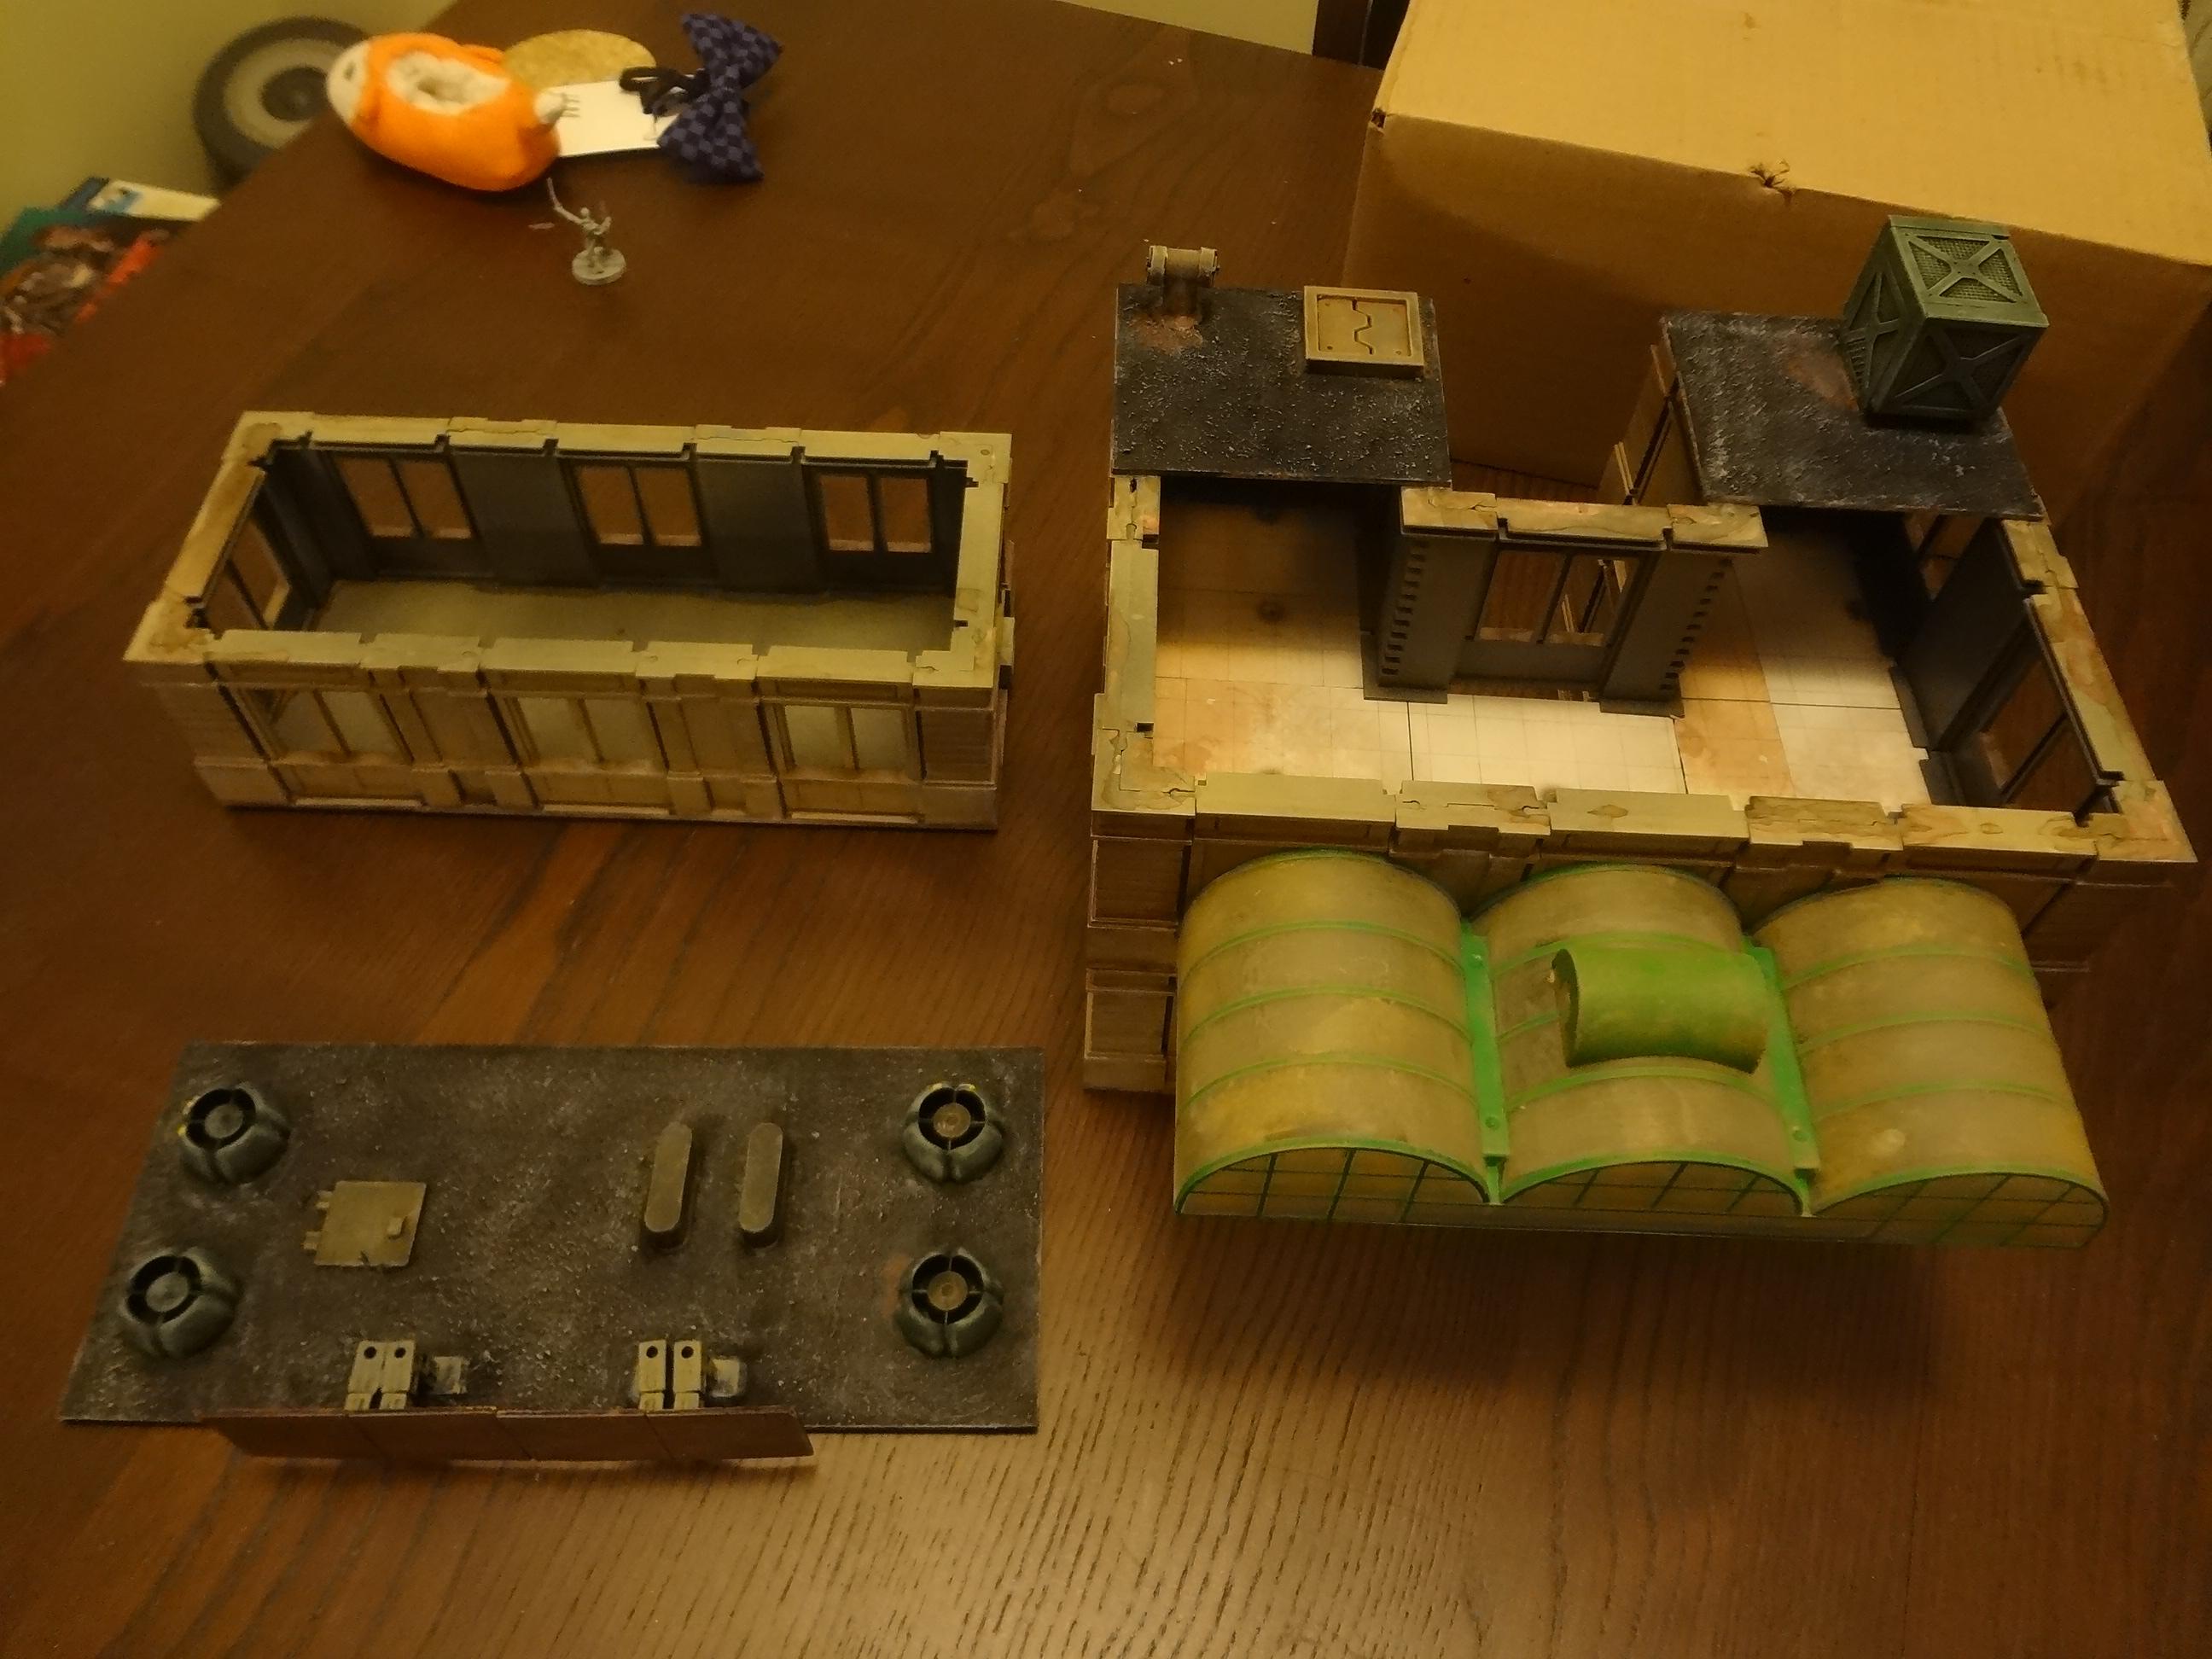
More fun with VCTs! This building has a removable top floor and roofs.
All together now!
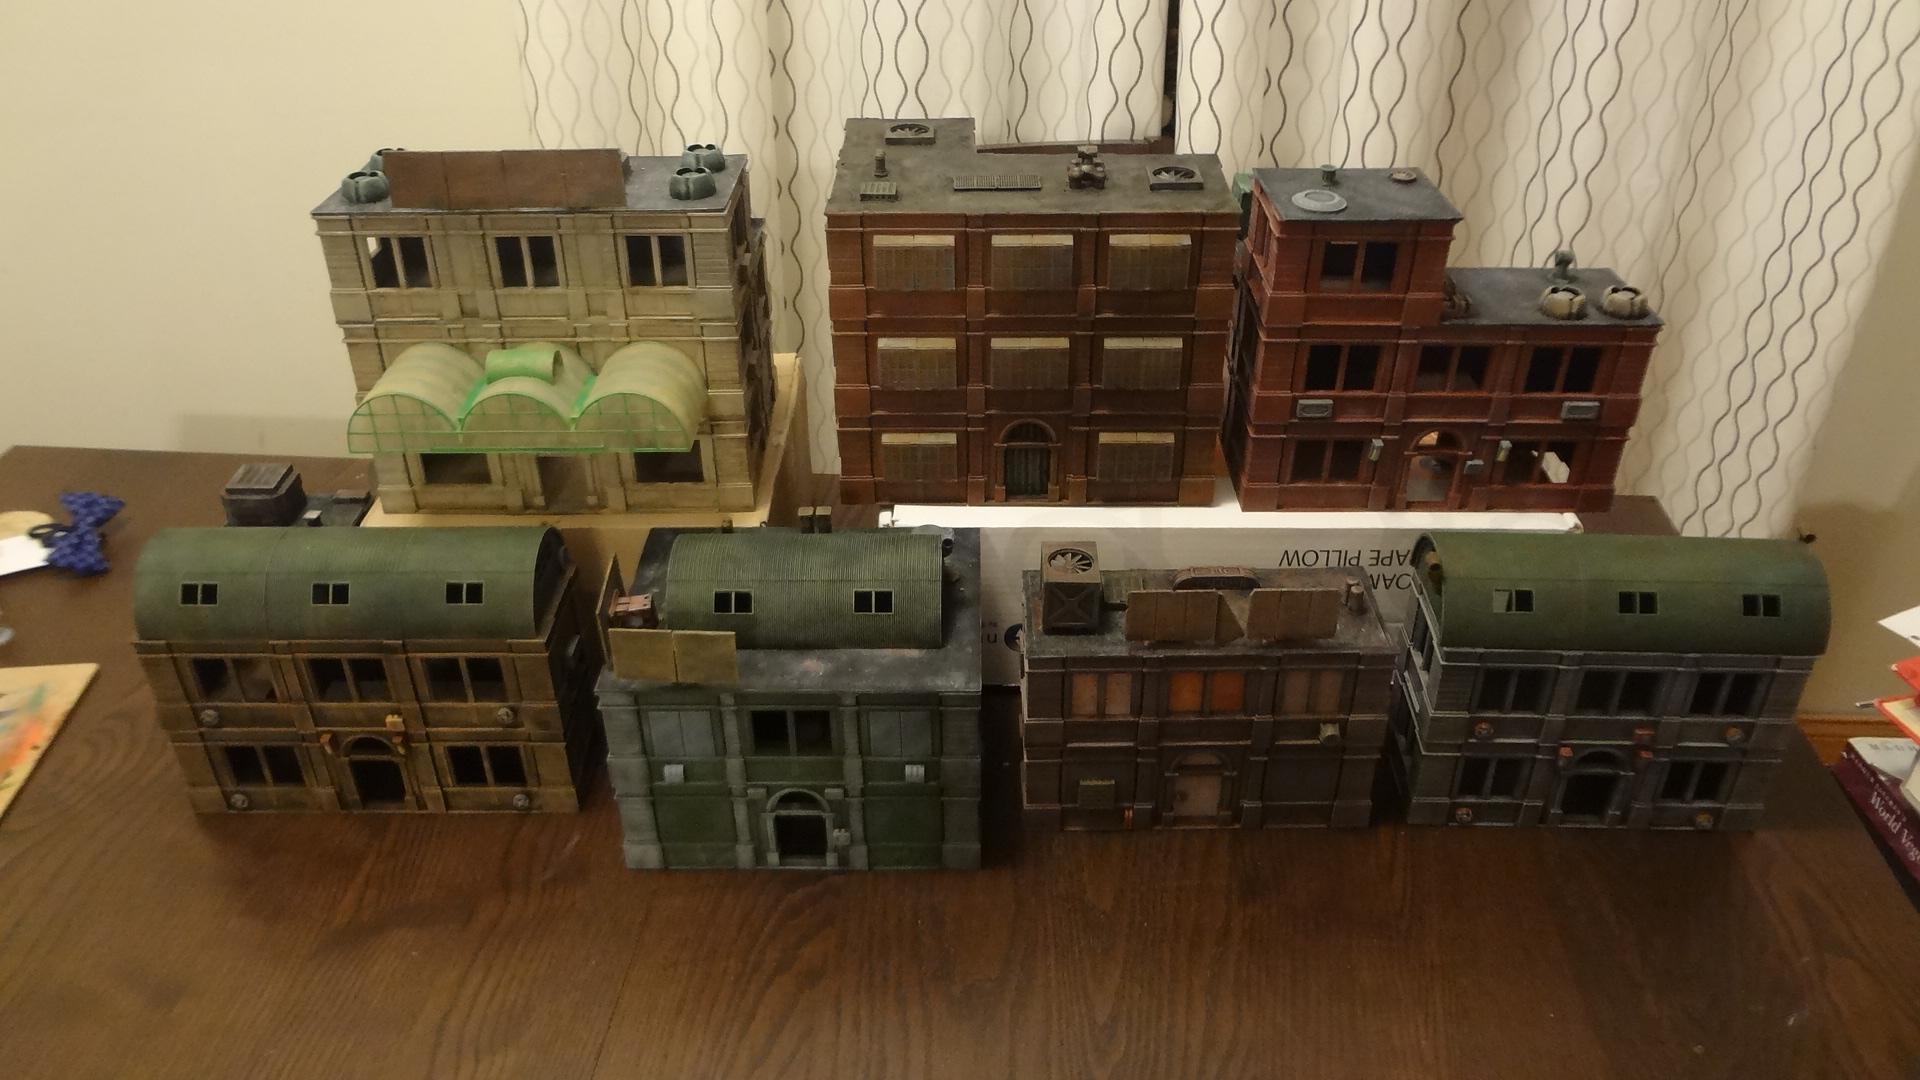
All of these were basecoated with various colored spray paints, mostly Krylon camo sprays along with gray and ruddy brown colored primers.
After that, all but one were drybrushed with a lighter shade, washed with dark brown, and most got a final dusty tan drybrush. The dark grey color of the plastic is an excellent base for this paint scheme, and it speeds up the painting process immensely.
The interior floors are mostly the cardboard floor sections included in the kits, though some have VCT pieces or plastic card floors.
I think the final buildings could have been improved with some signage and graffiti, but it was a higher priority to keep them genre and era neutral.
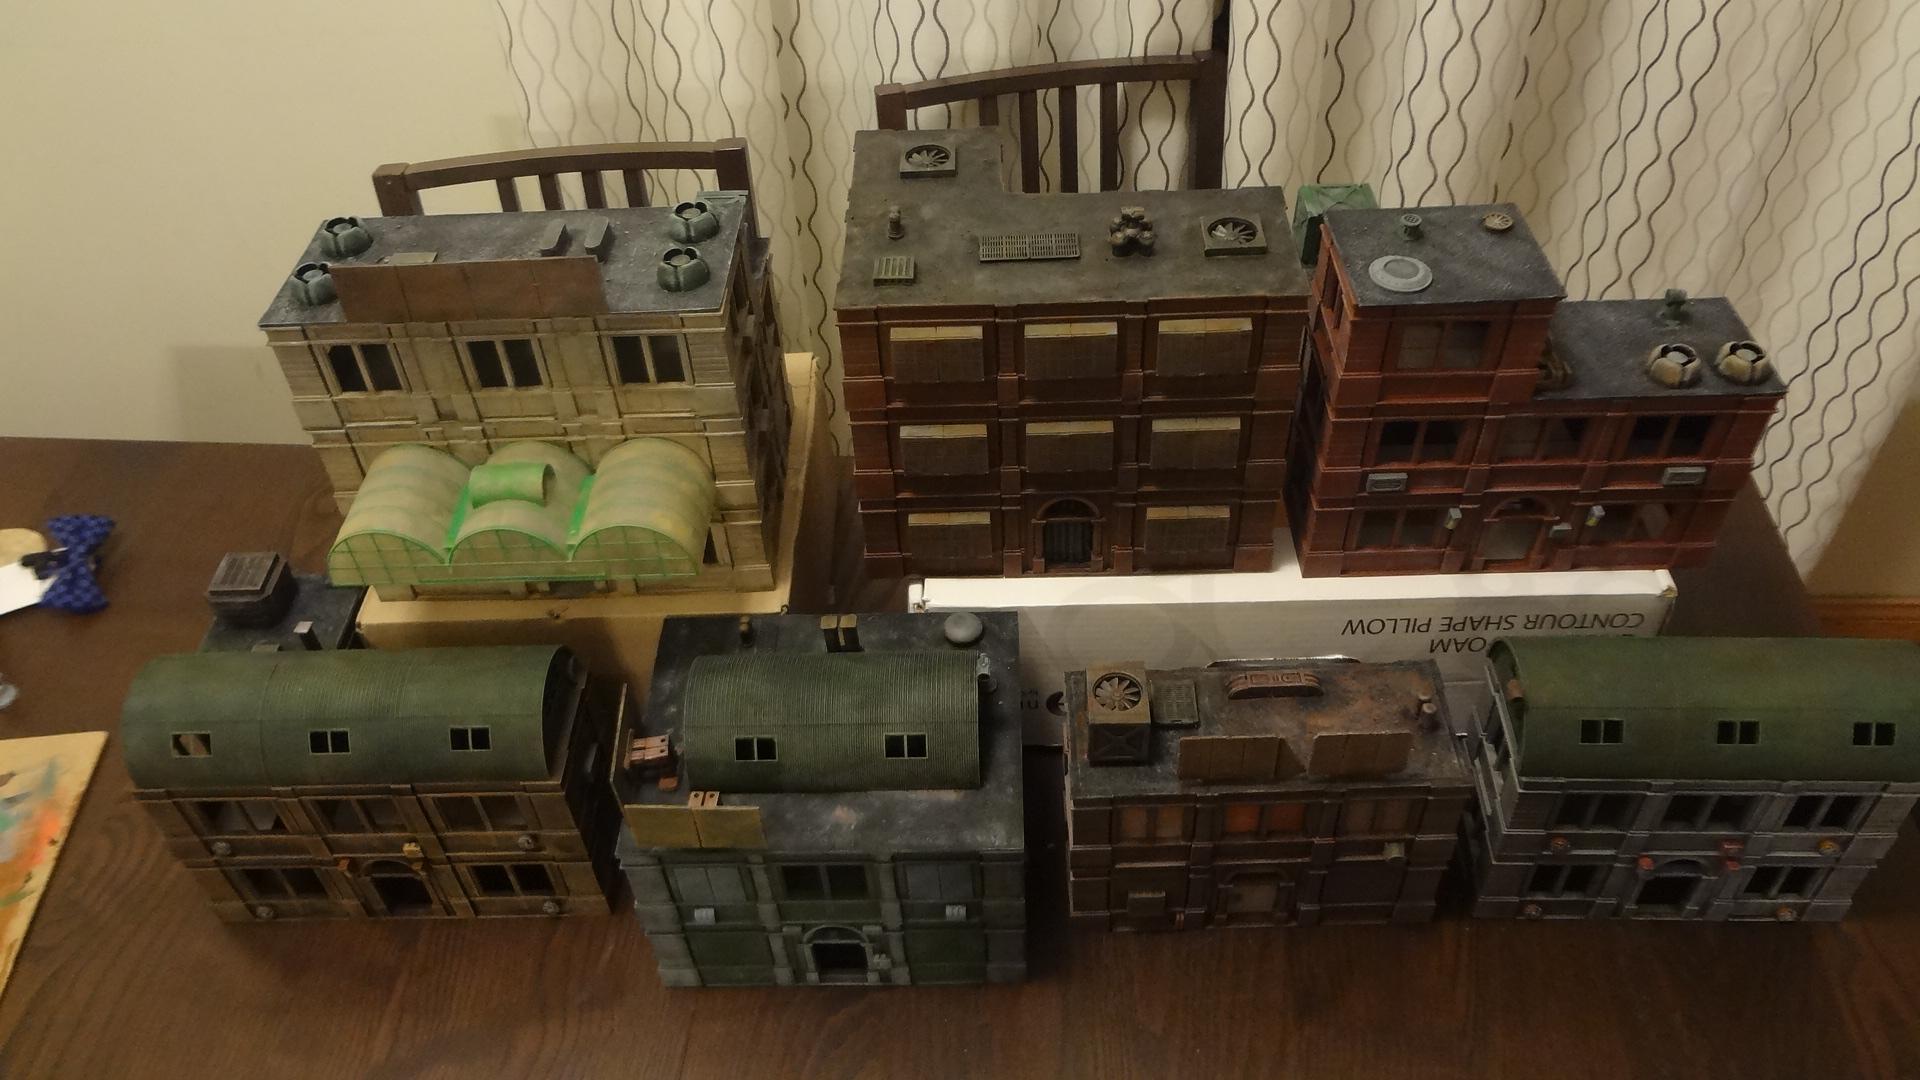
All in all, this is a very pleasing set of buildings. They should have no problem fitting into modern day, near future, cyberpunk or even sci-fi settings. I'm sure they'll see use in many games!
The main impetus for this project was that, for the first time, CSW will be hosting a game at Adepticon! We plan to run a game of Mech Attack on a glorious 28mm scale urban battlefield. It will be similar to our past games at Little Wars (which we also plan to attend) but this time the table will be expanded to 8x8 feet and will have lots of new terrain and a new gaming surface. Adepticon is known for having really good looking games and excellent terrain and I want our showing to be just as impressive.
If you're in town for Adepticon in March, look us up!
-- Karl, Chicago Skirmish Wargames club member
Showing posts with label dipping. Show all posts
Tuesday, January 20, 2015
Thursday, January 8, 2015
Sedition Wars: A Good Deal for the Patient Modeler
I recently stumbled across one of the biggest bargains in miniatures today: Sedition Wars, Battle for Alabaster. The boxed game can regularly be found for 60% to 70% off, making it a fantastic deal for a box full of Studio McVey miniatures, and oh yeah -- the box also happens to come with a game.
However, as you'll see, I had to overcome a few hurdles to get the most out of these models.
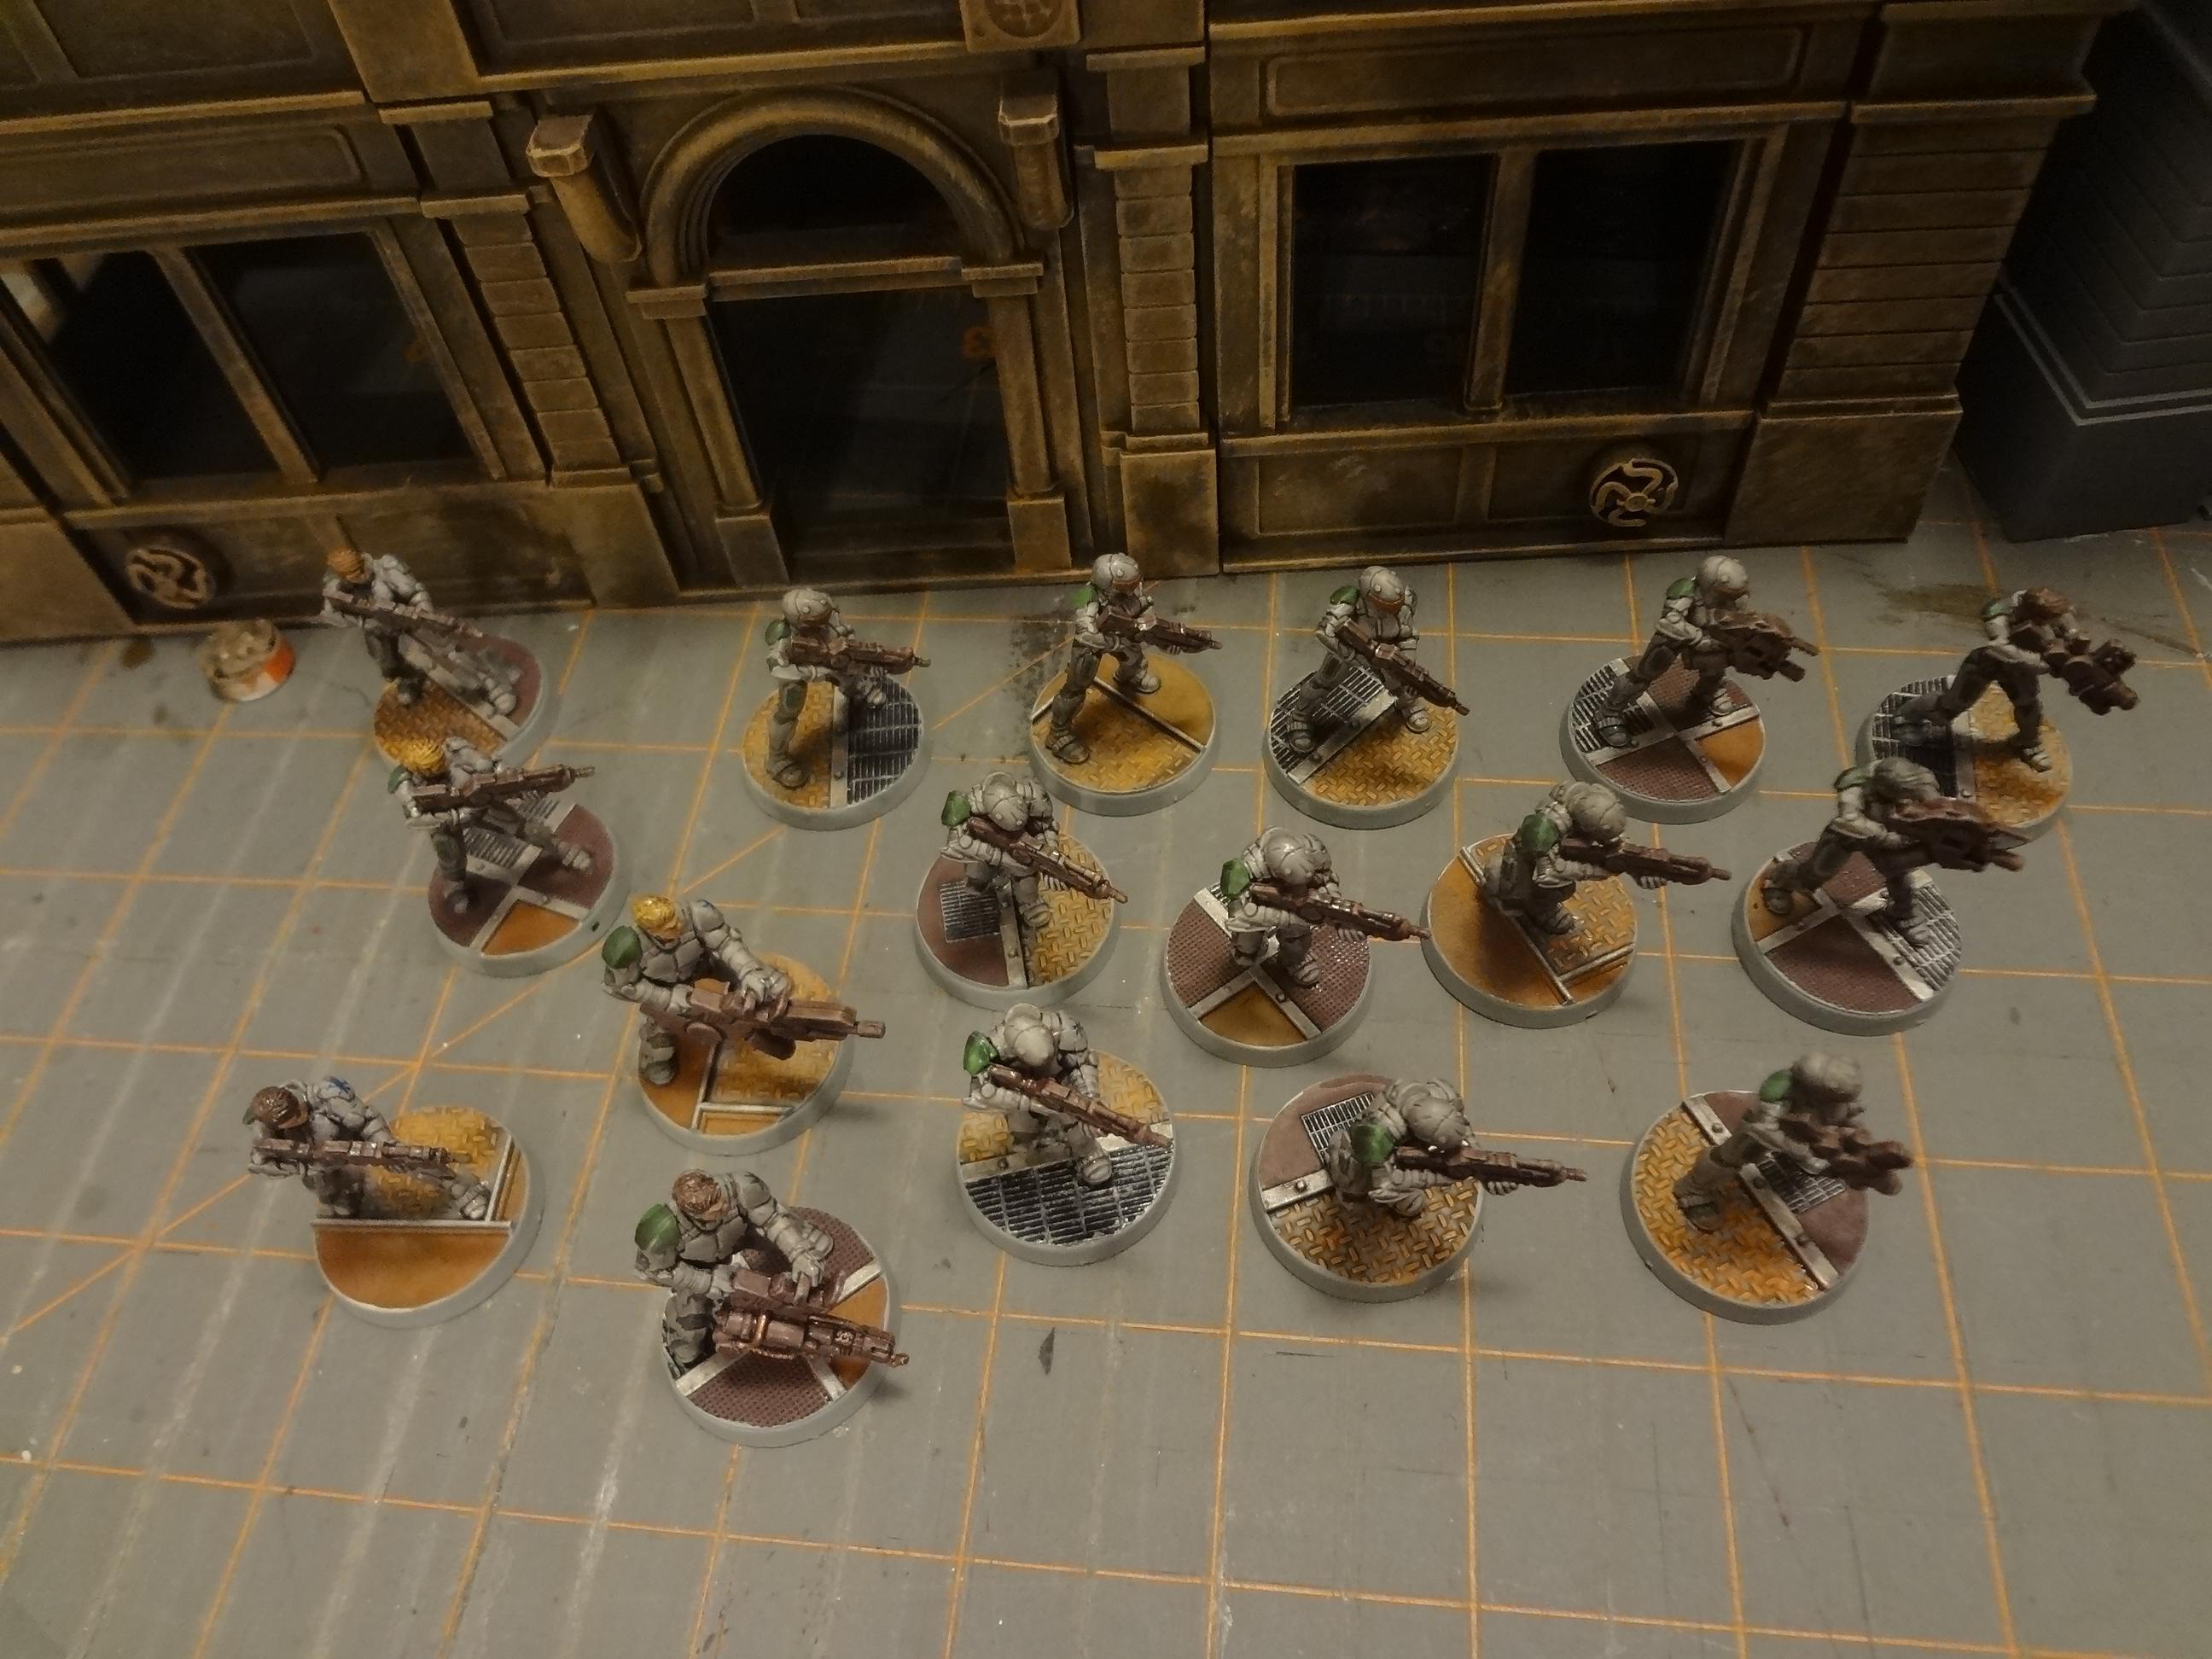
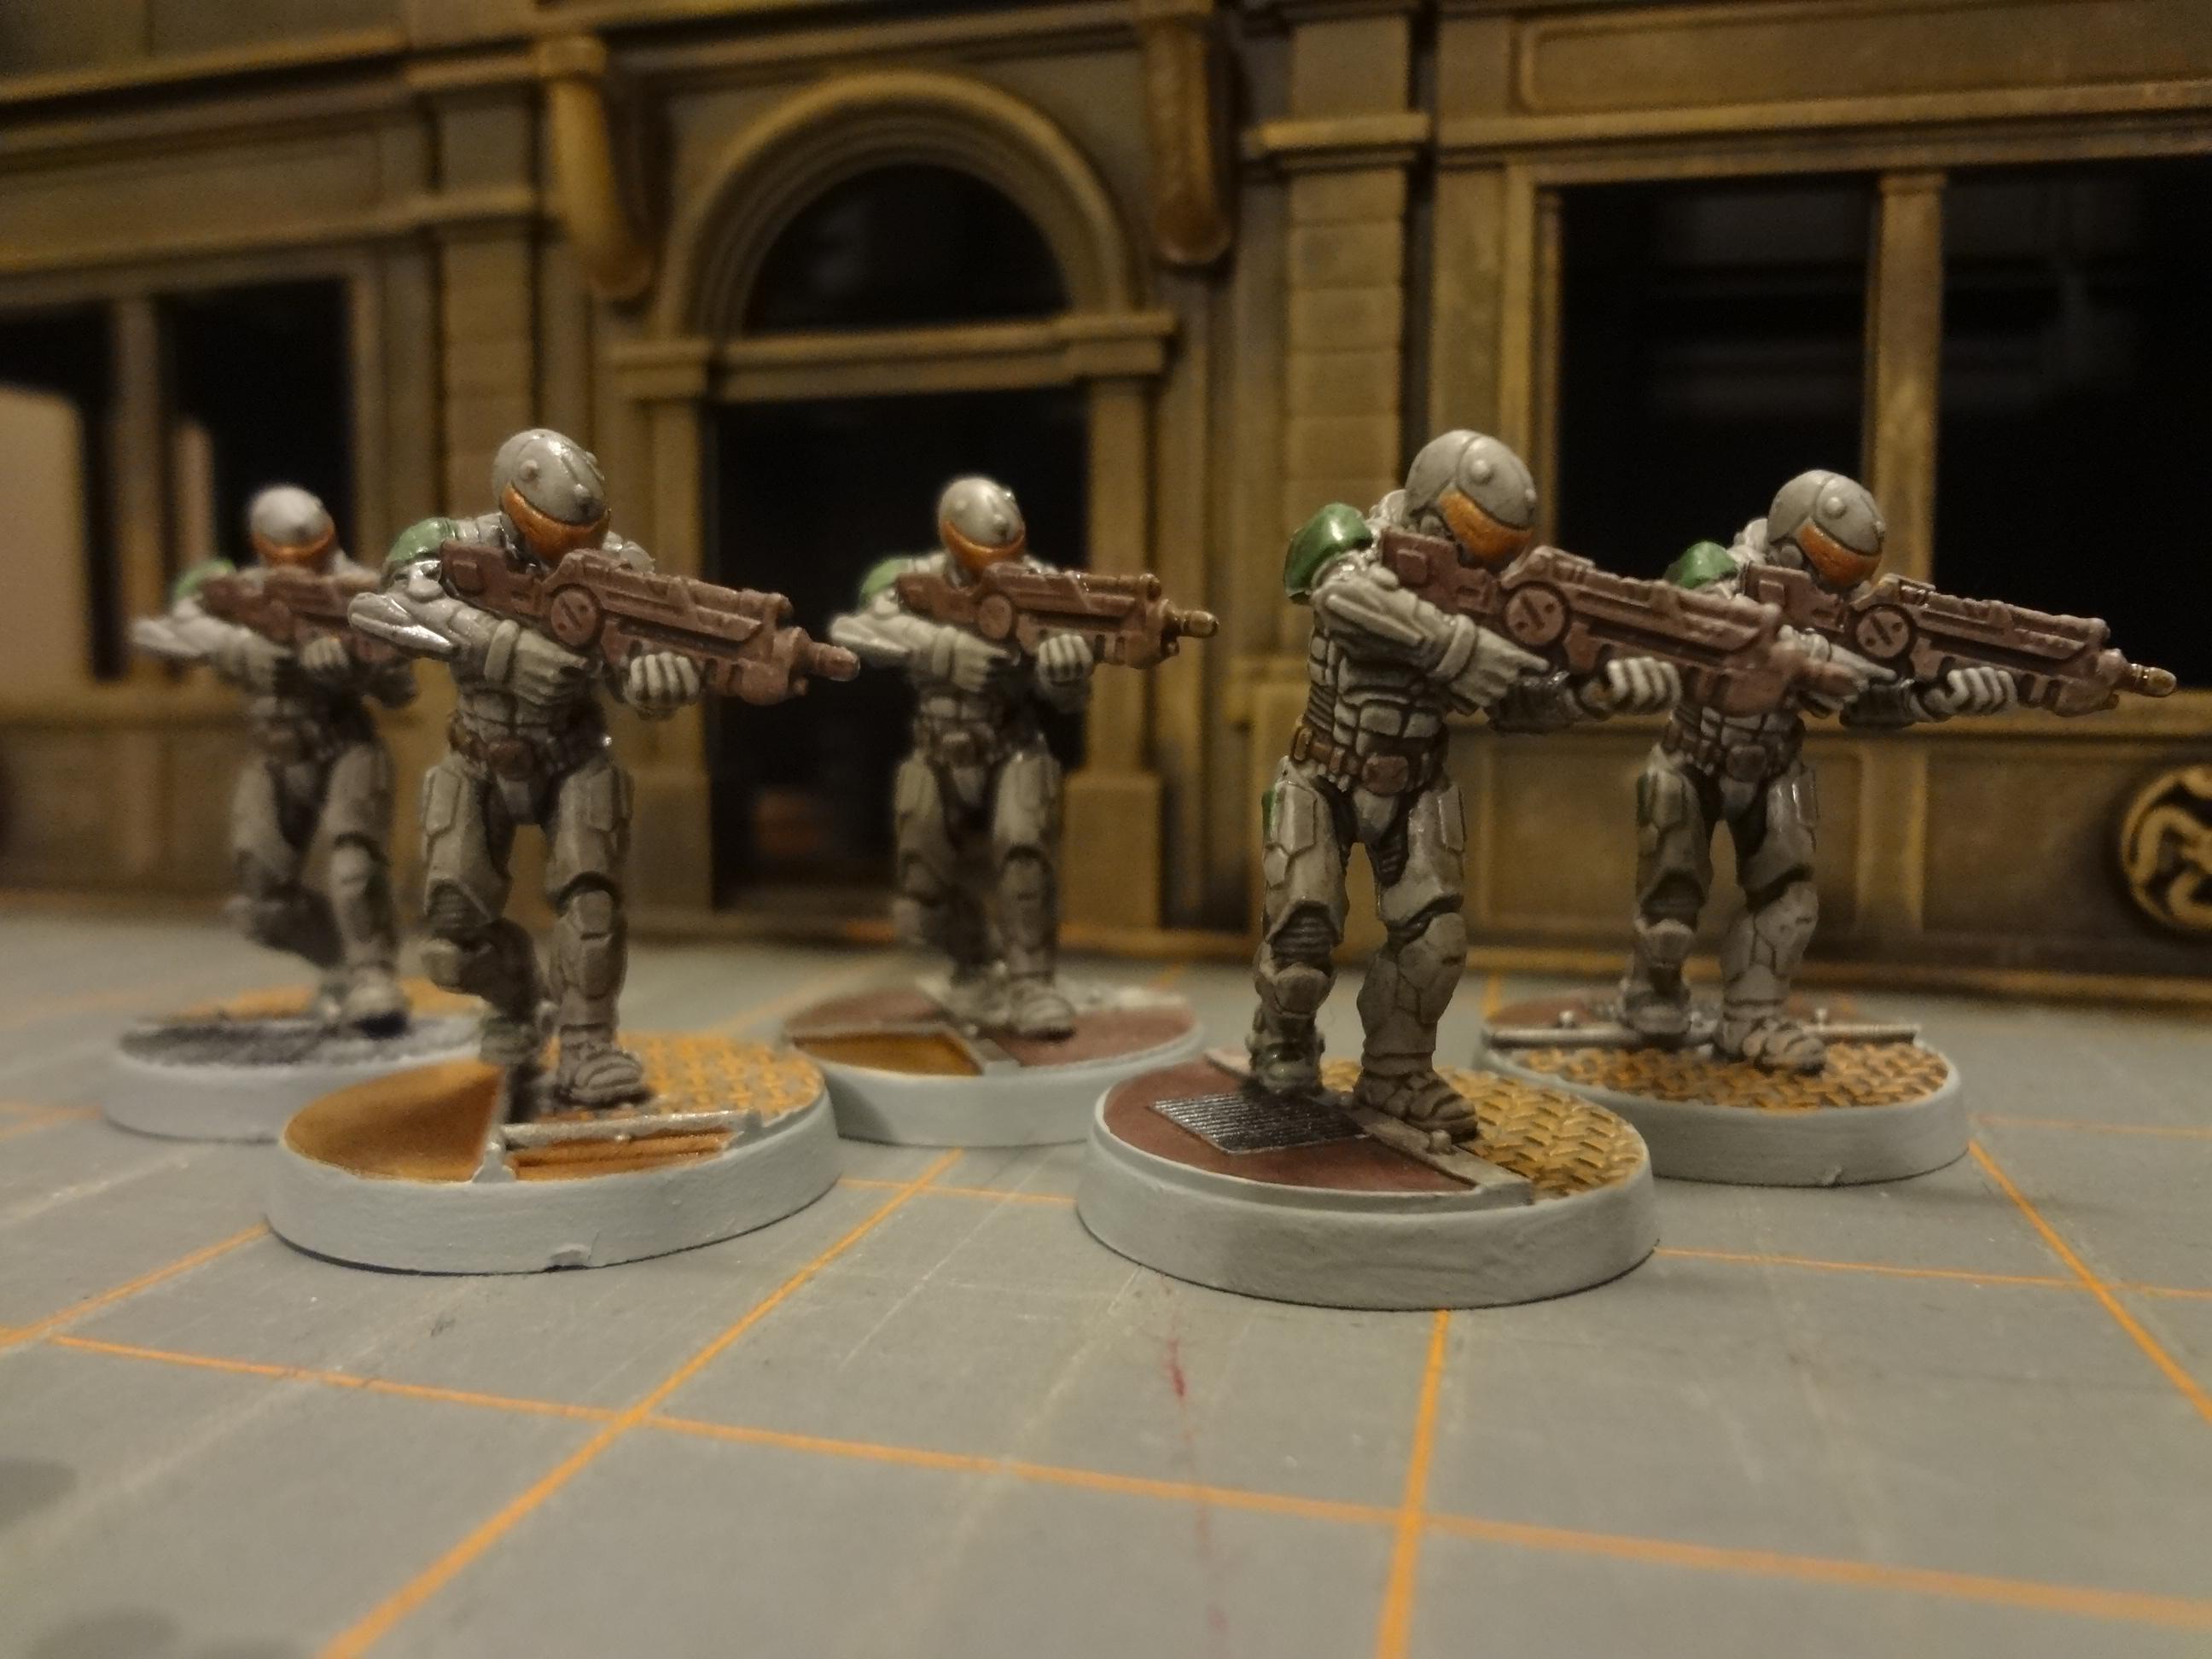
In this review, I'll focus on the Vanguard troopers (the human faction), as I split the box with fellow club member Tim, and he got the other figures.
I have little interest in the game itself, and I plan to use the miniatures as the military forces of the Maersk-Tesla Corporation, a faction in our club's Galactic Frontier homebrew sci-fi setting.
To that end, they have been painted in a scheme similar to my Necromunda Van Saar gang, which also serves double duty as a Maersk-Tesla survey team. I ended up with a number of scenic bases from the Sedition Wars box set, but I set those aside and based up the Vanguard troopers on the same Champ Industries plastic bases as the Van Saar.
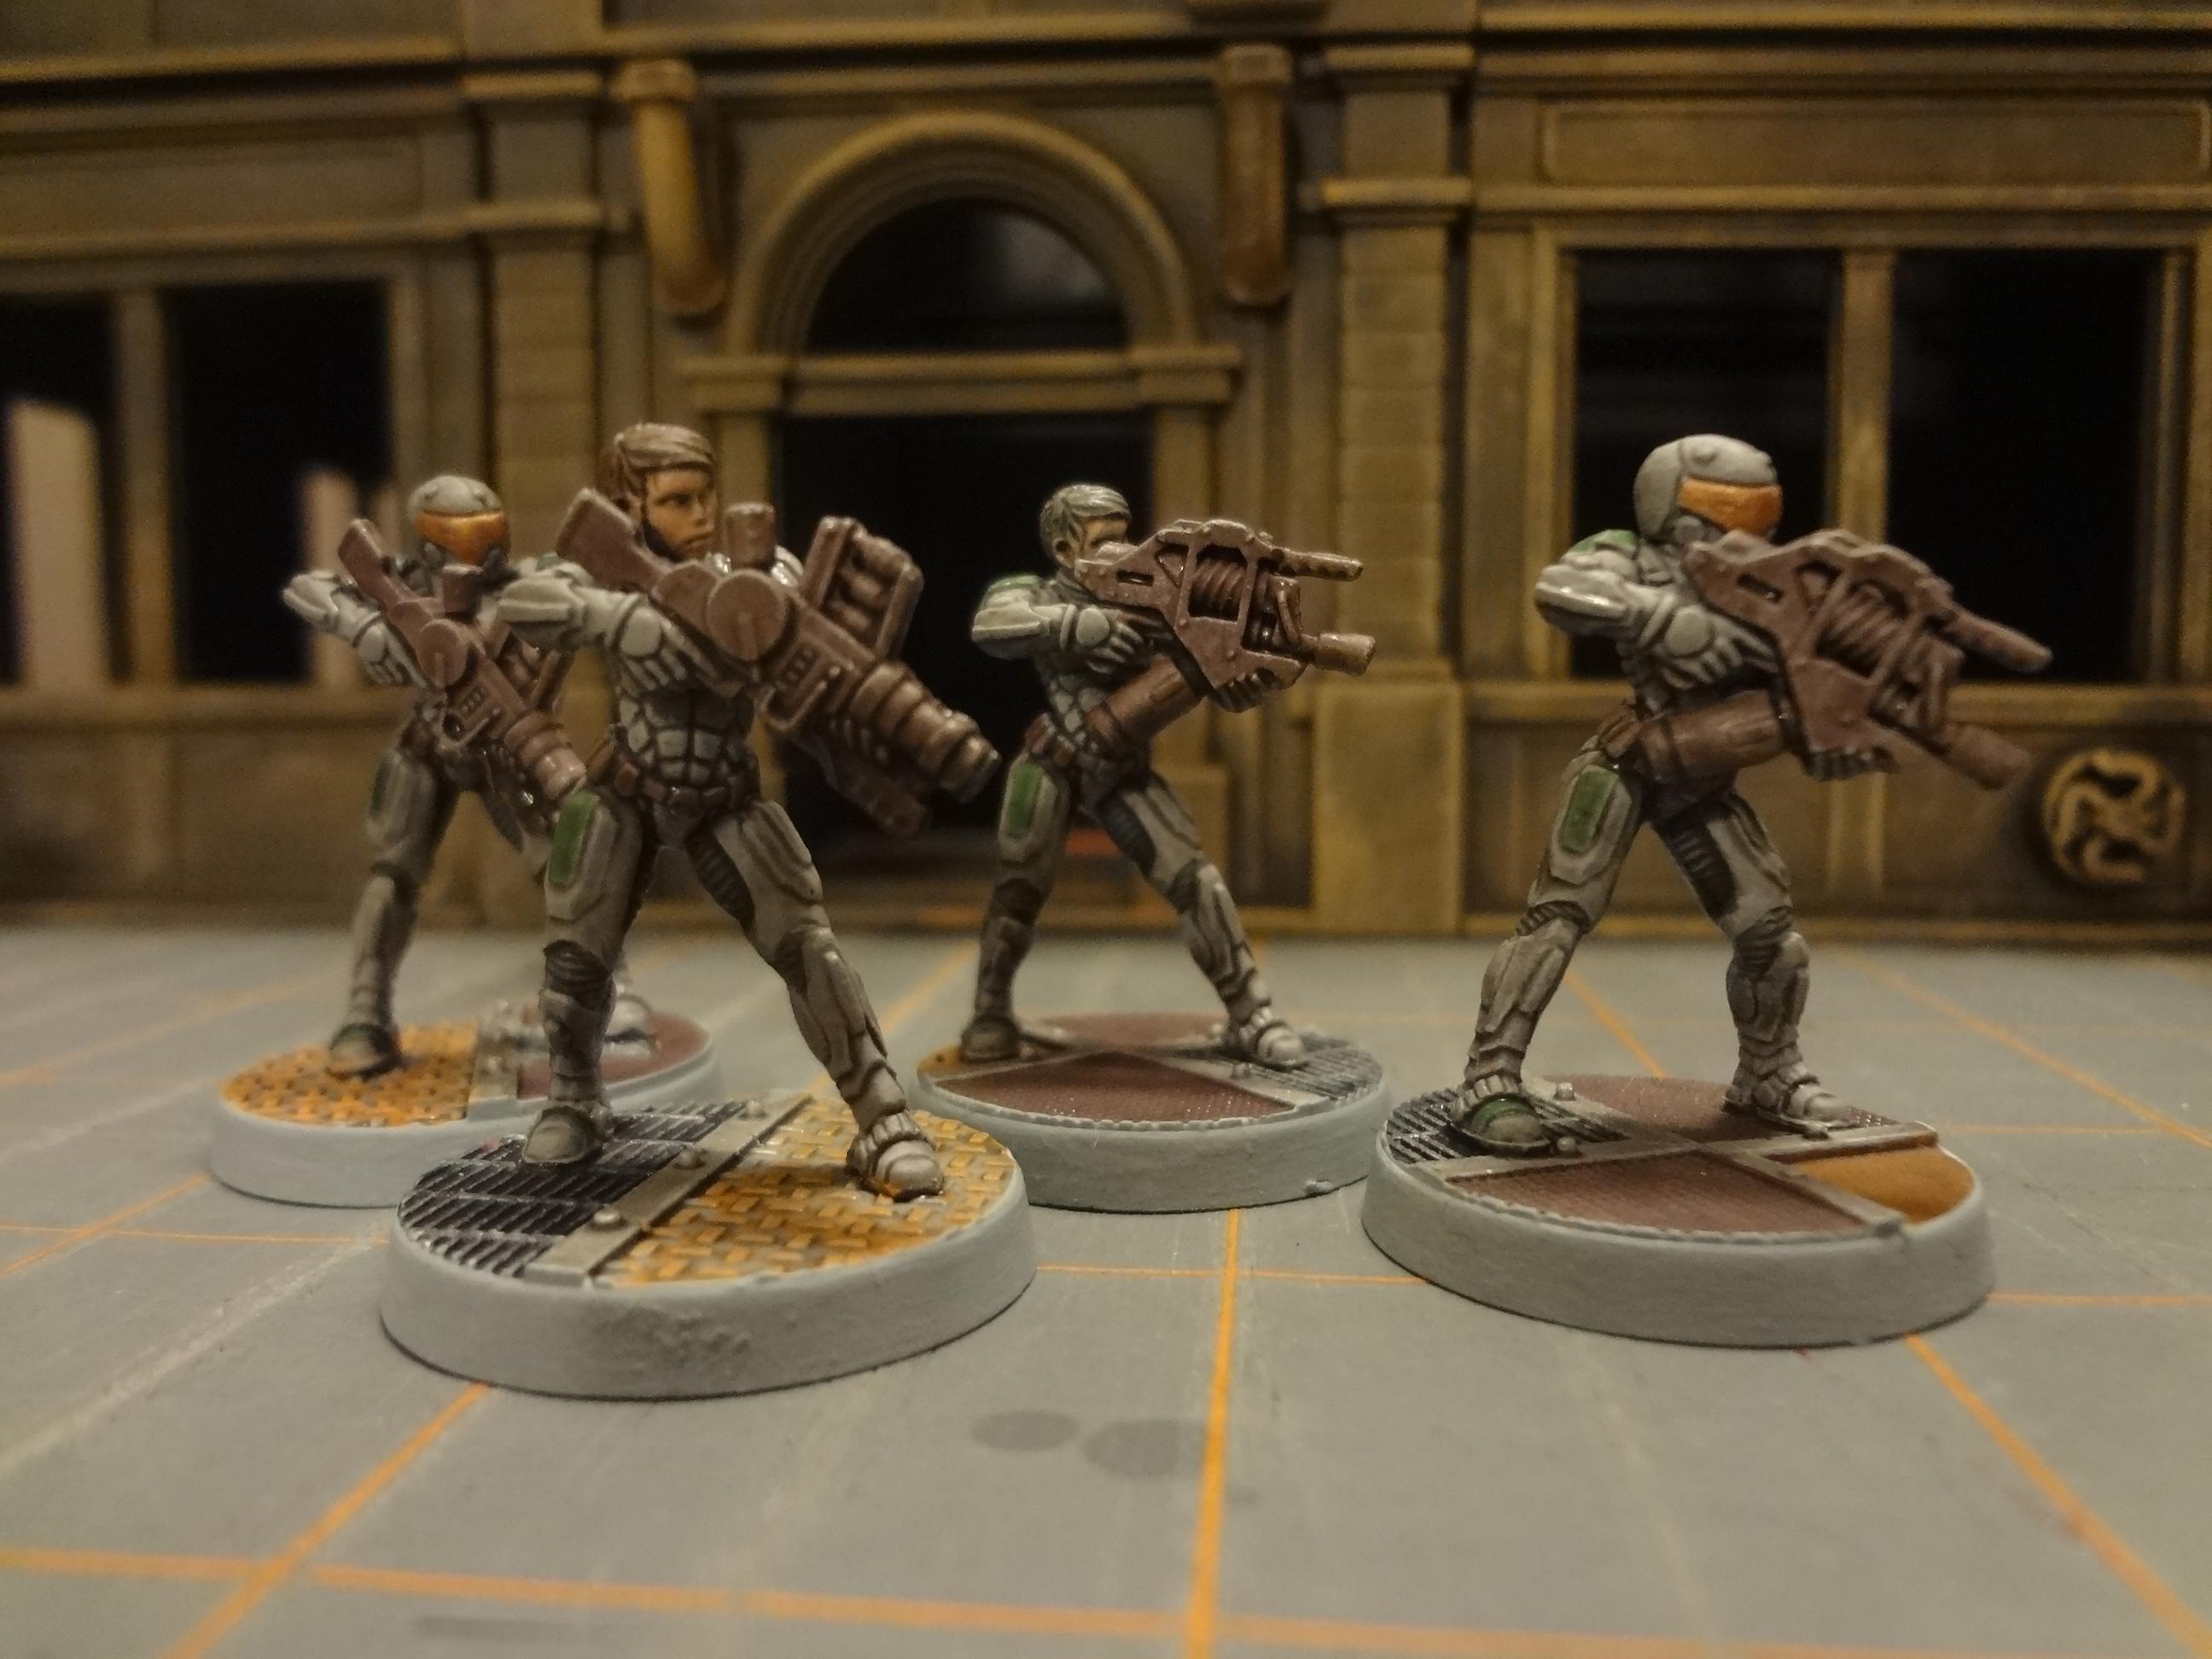
The Vangaurd Faction includes 22 models, 17 of which are variations on the basic trooper in four different sculpts.
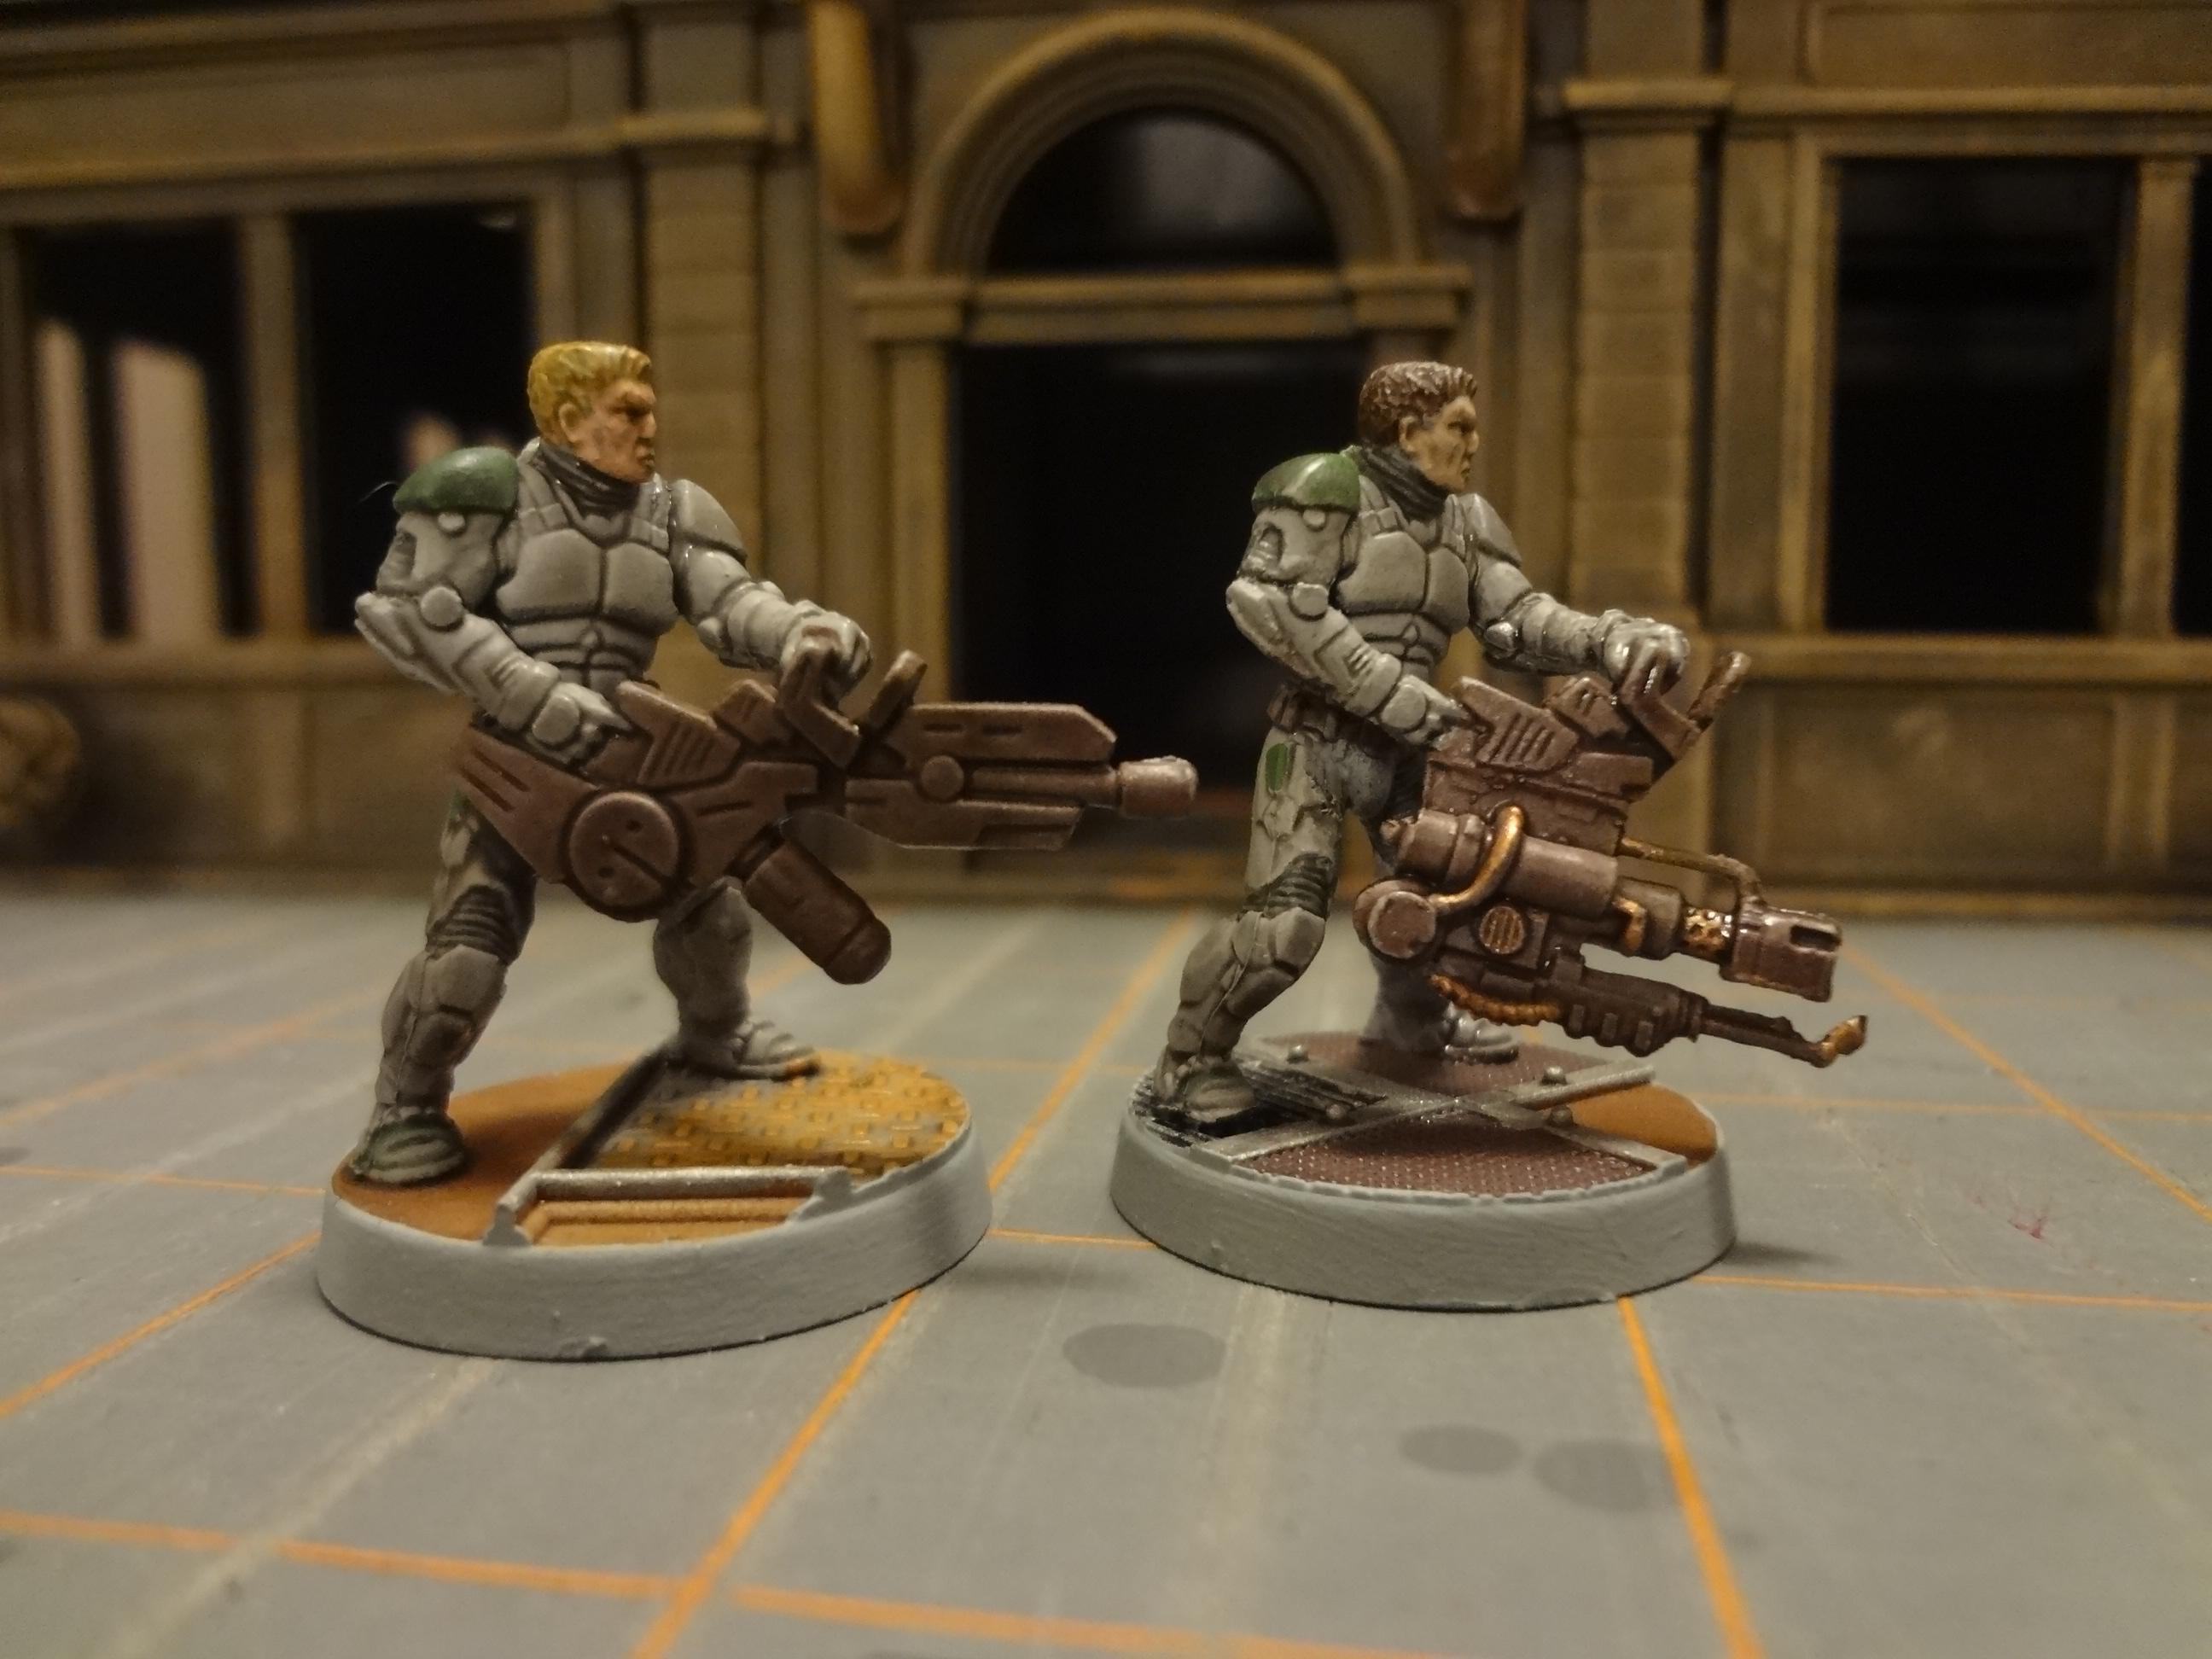
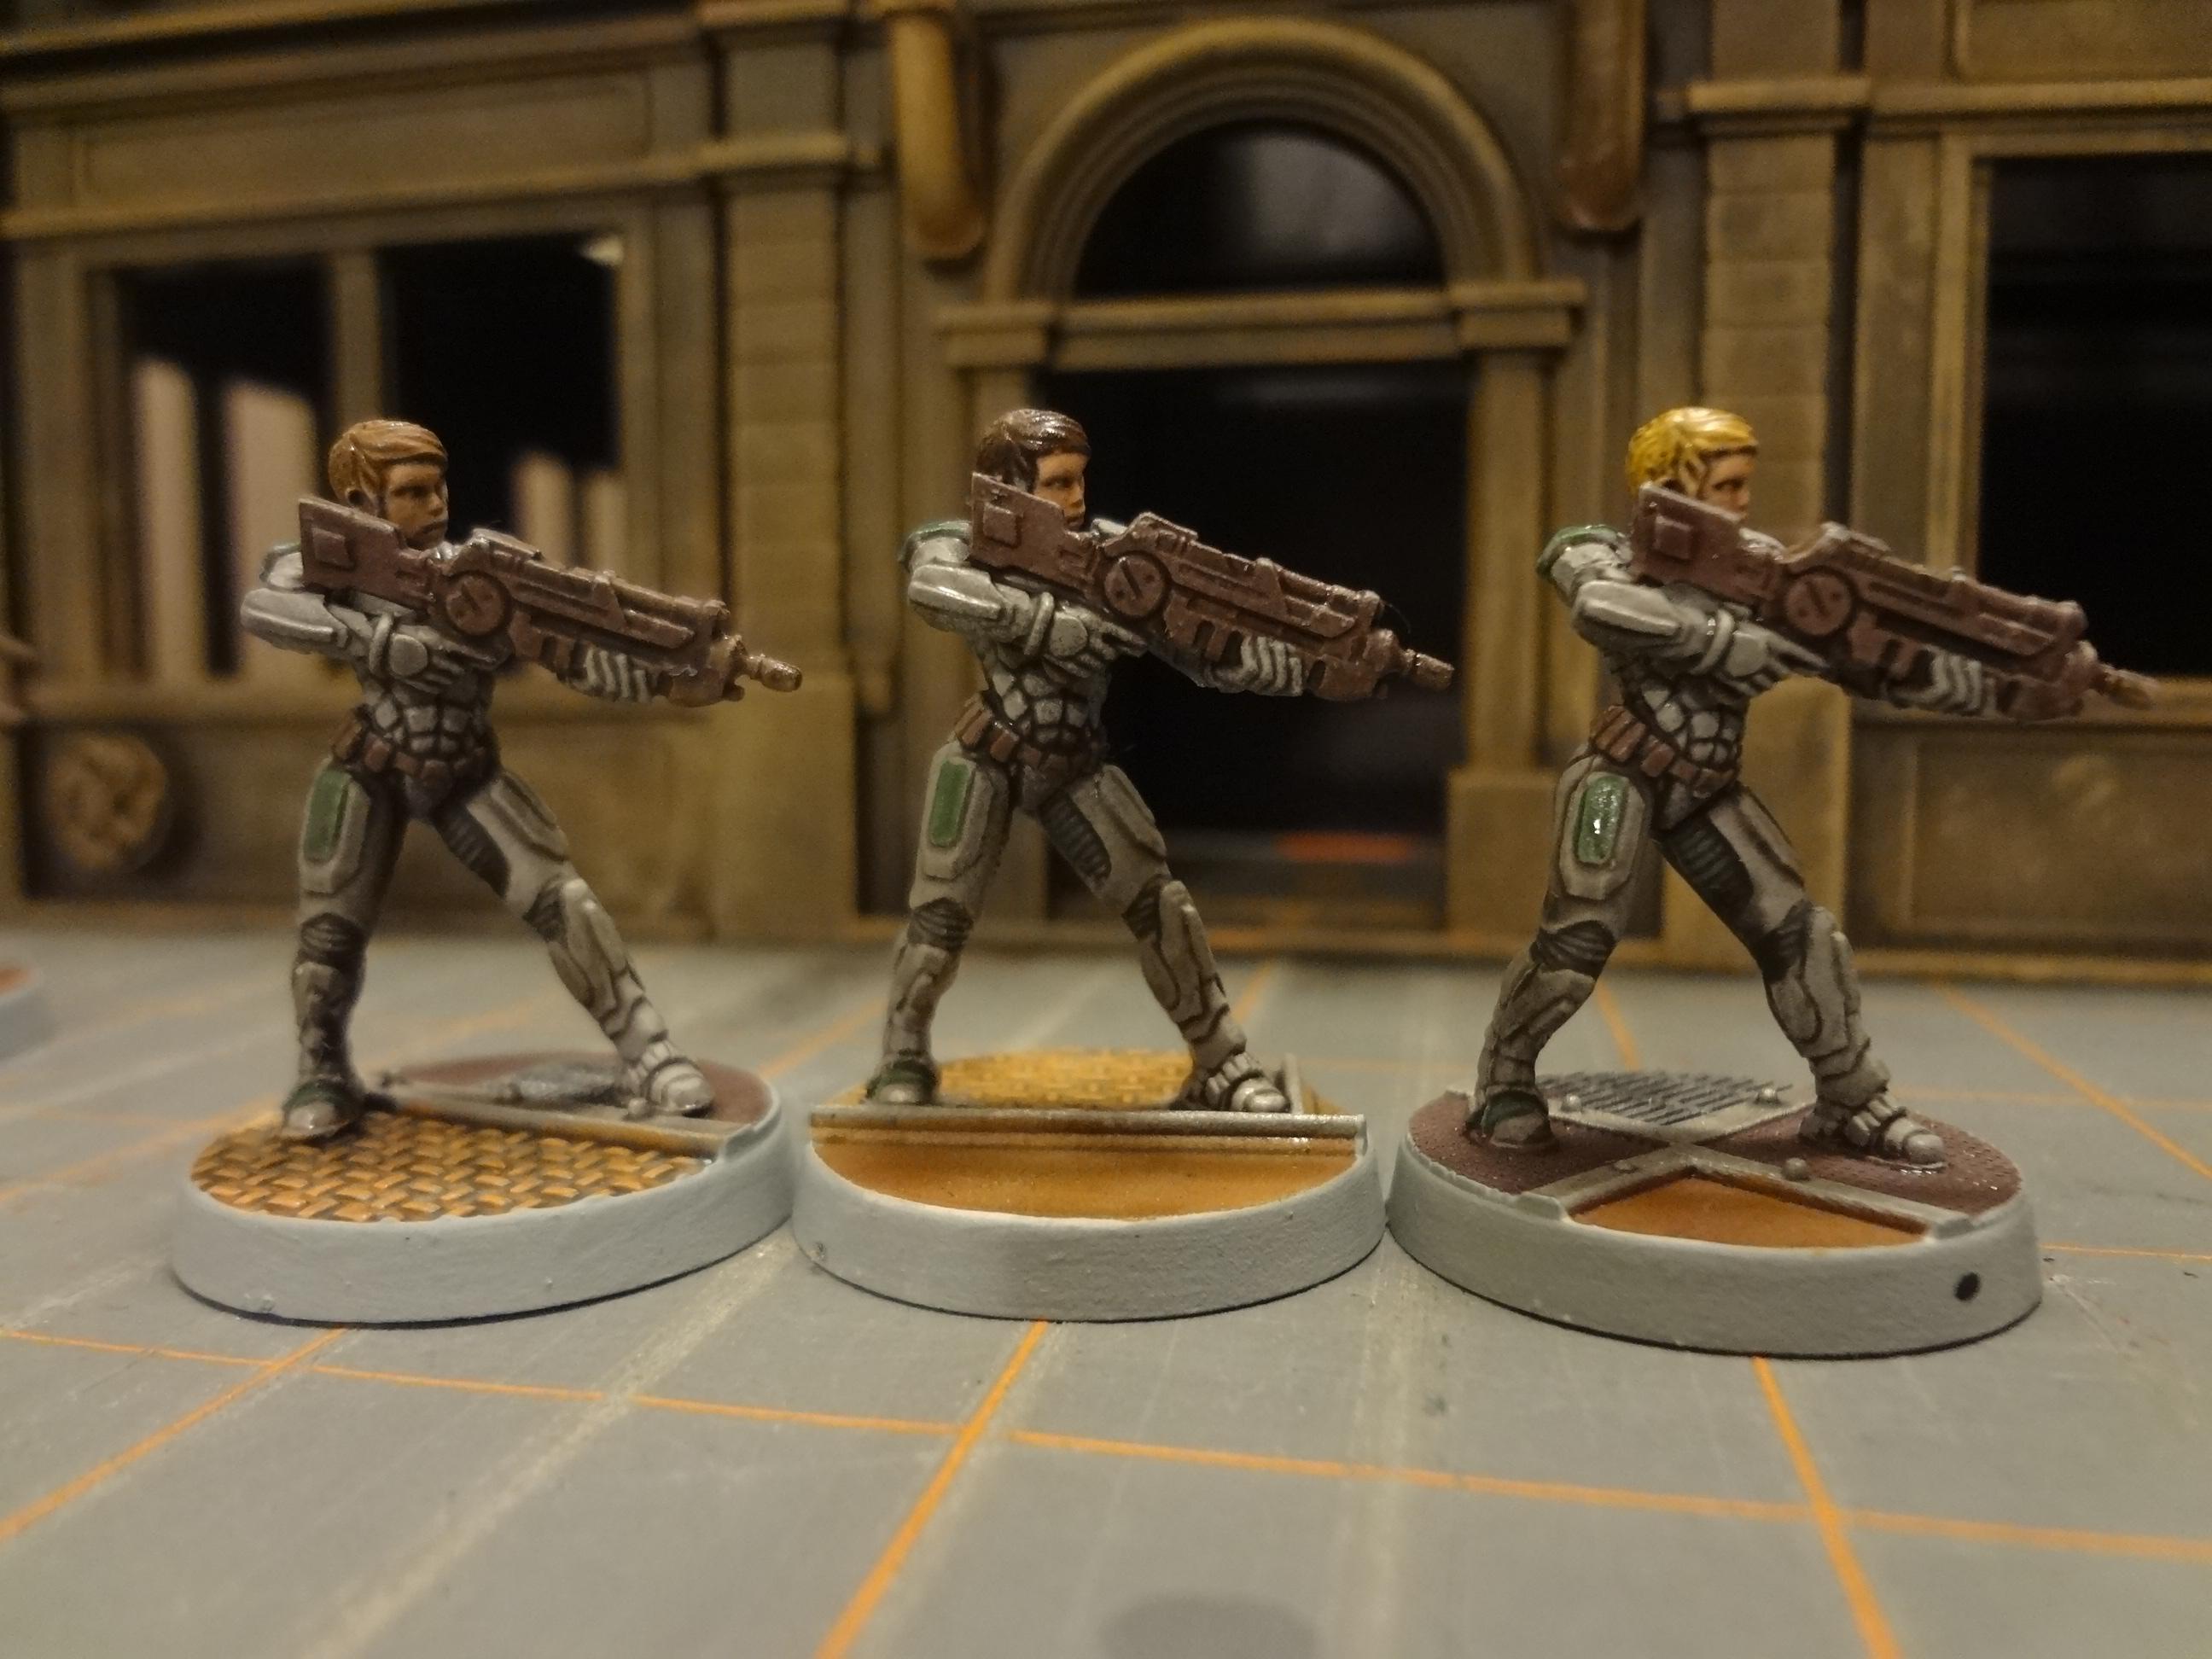
Here's the male trooper with rifle.
These guys have shoulder joints that protrude much farther back than they should when you attach the arm/gun piece. Rectifying this required shortening the back of the shoulder pad and carving away a bit of the underarm area on the body.
Here is the male trooper with support weapon.
This one went together pretty easily without much trimming. I got two of these figures, both with the gun on the left. The figure on the right is converted with an optional flamethrower bit from my bits box.
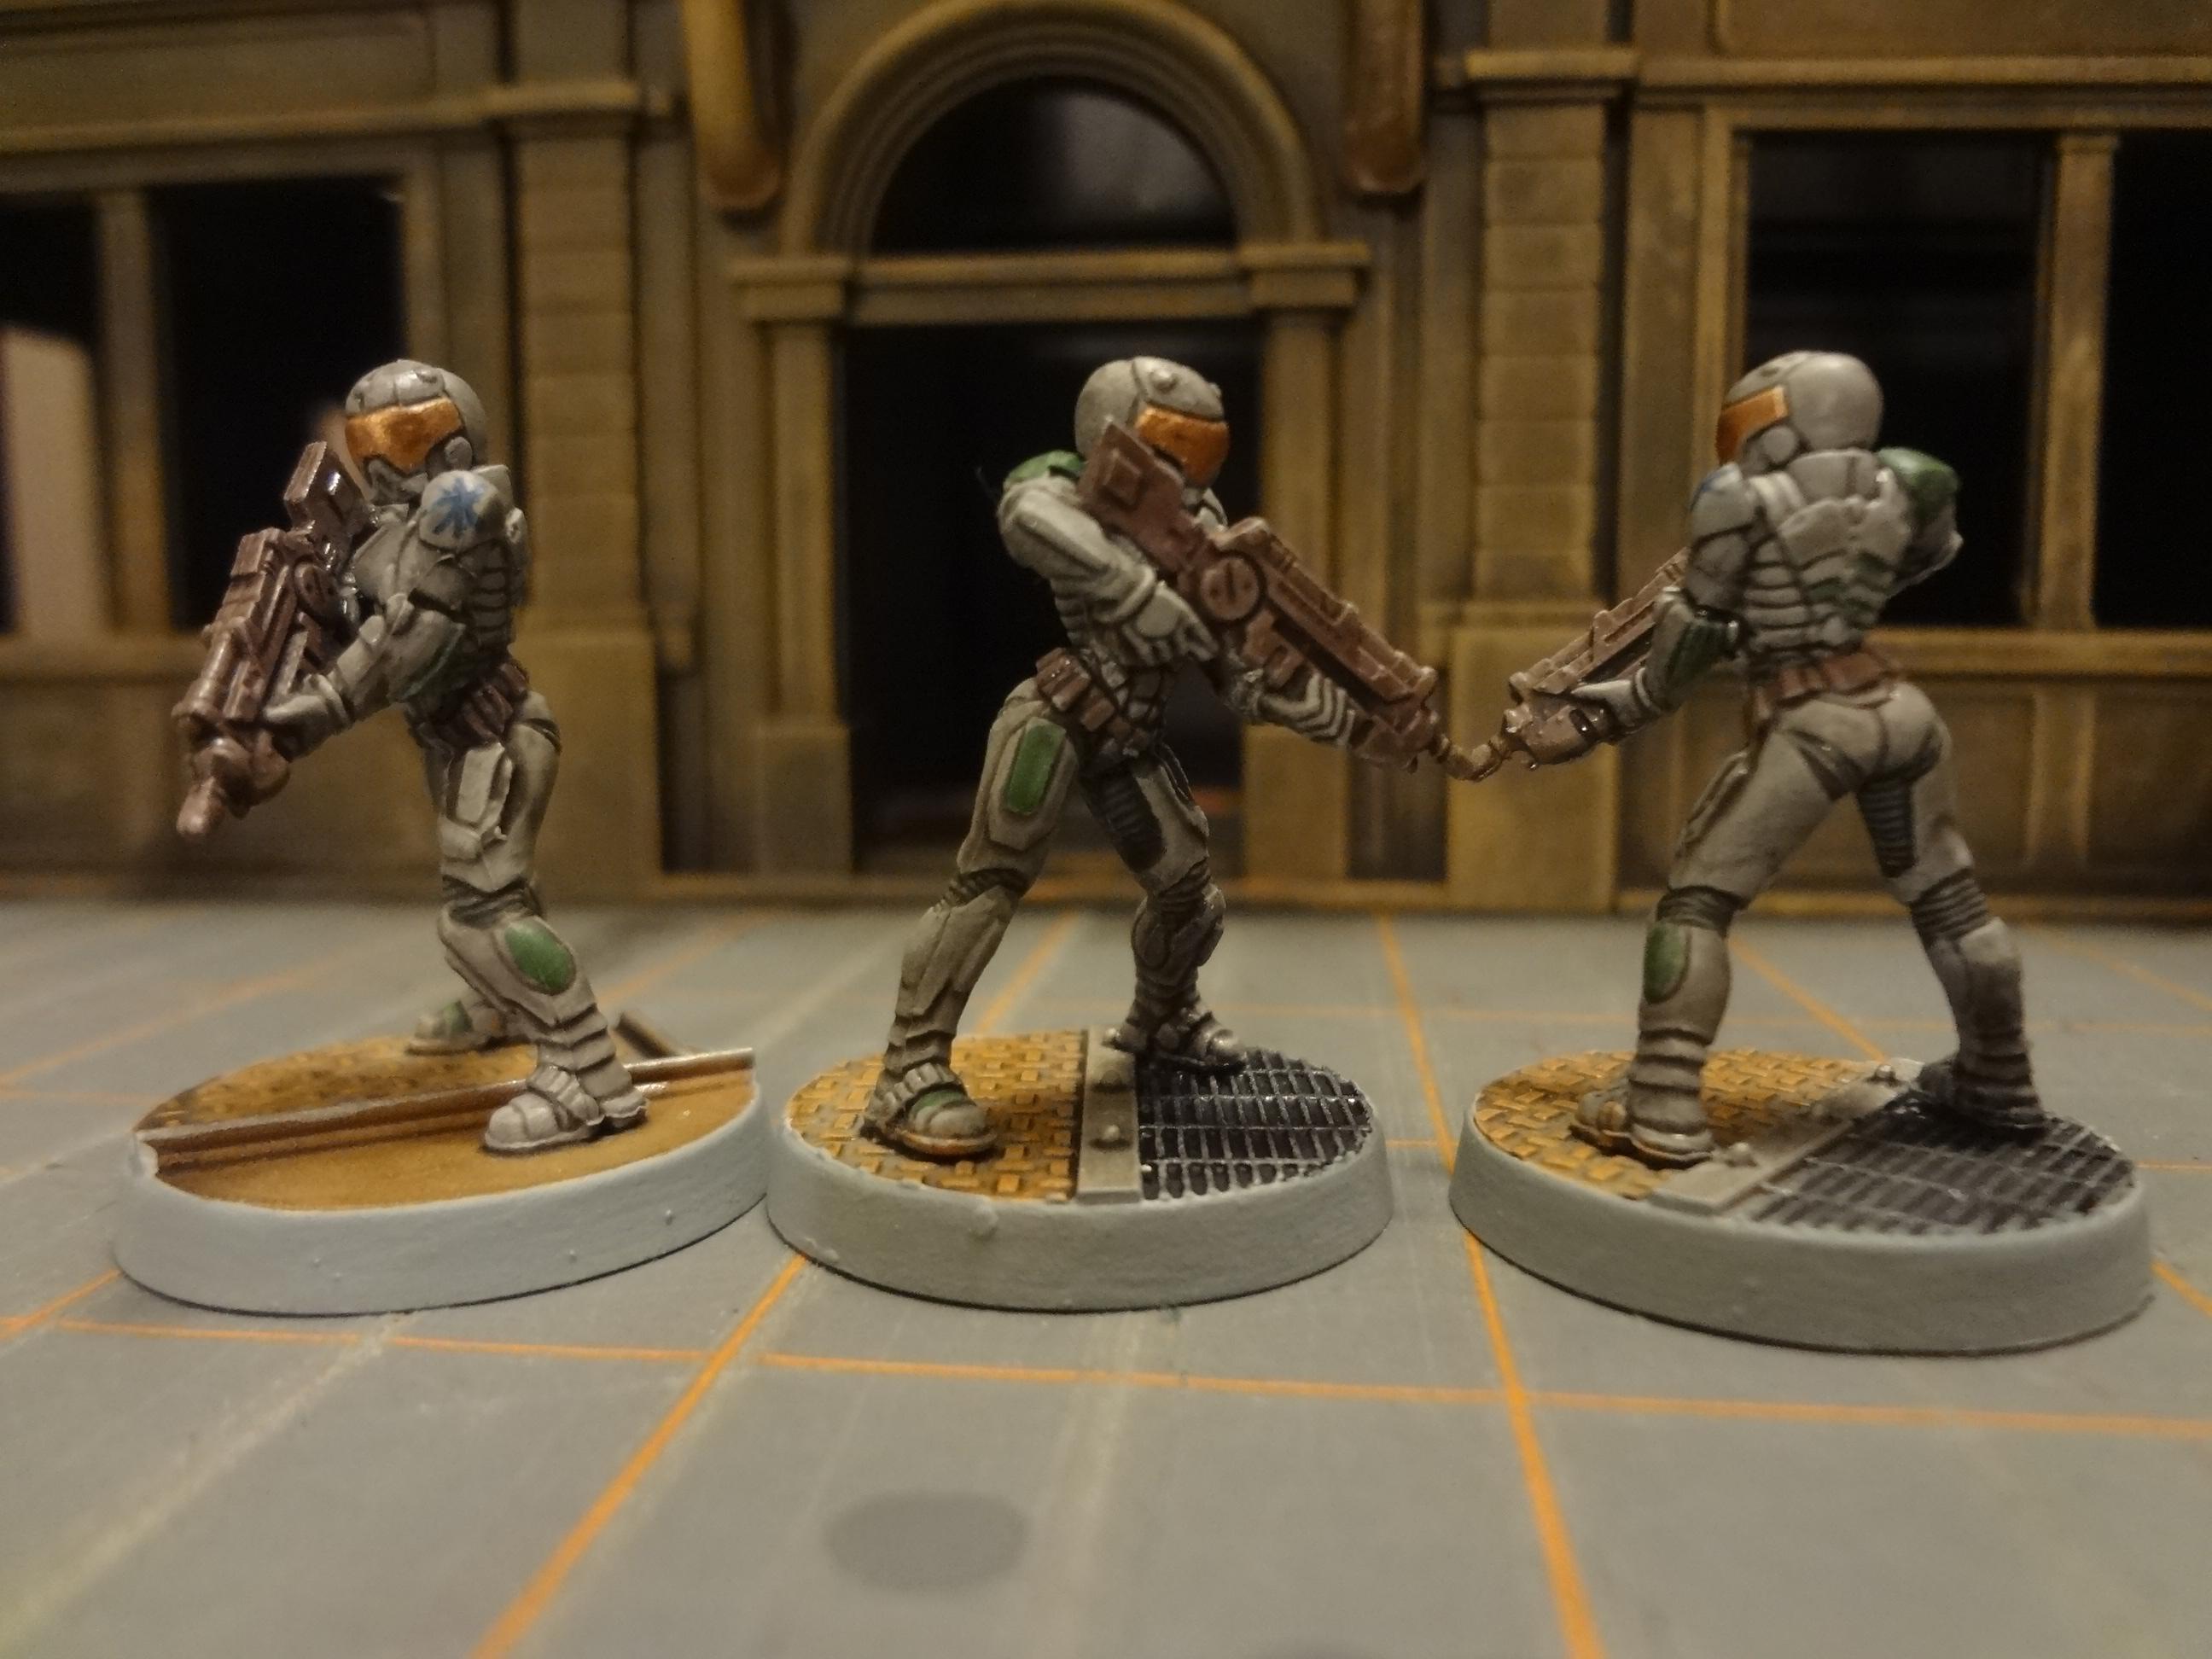
Here's the female trooper with helmet and rifle.
The female trooper comes in two poses: one helmeted and one bare-headed. Unfortunately, the connection between right elbow and upper arm is not a perfect one. A bit of sanding to the upper arm helps, but unless you want to sculpt every elbow joint, I recommend a nice thick gel superglue to fill the join. This is annoying, but it looks OK when finished.
Here's the female bare-headed trooper with rifle
The bare-headed female trooper has the same assembly issue as the helmeted trooper.
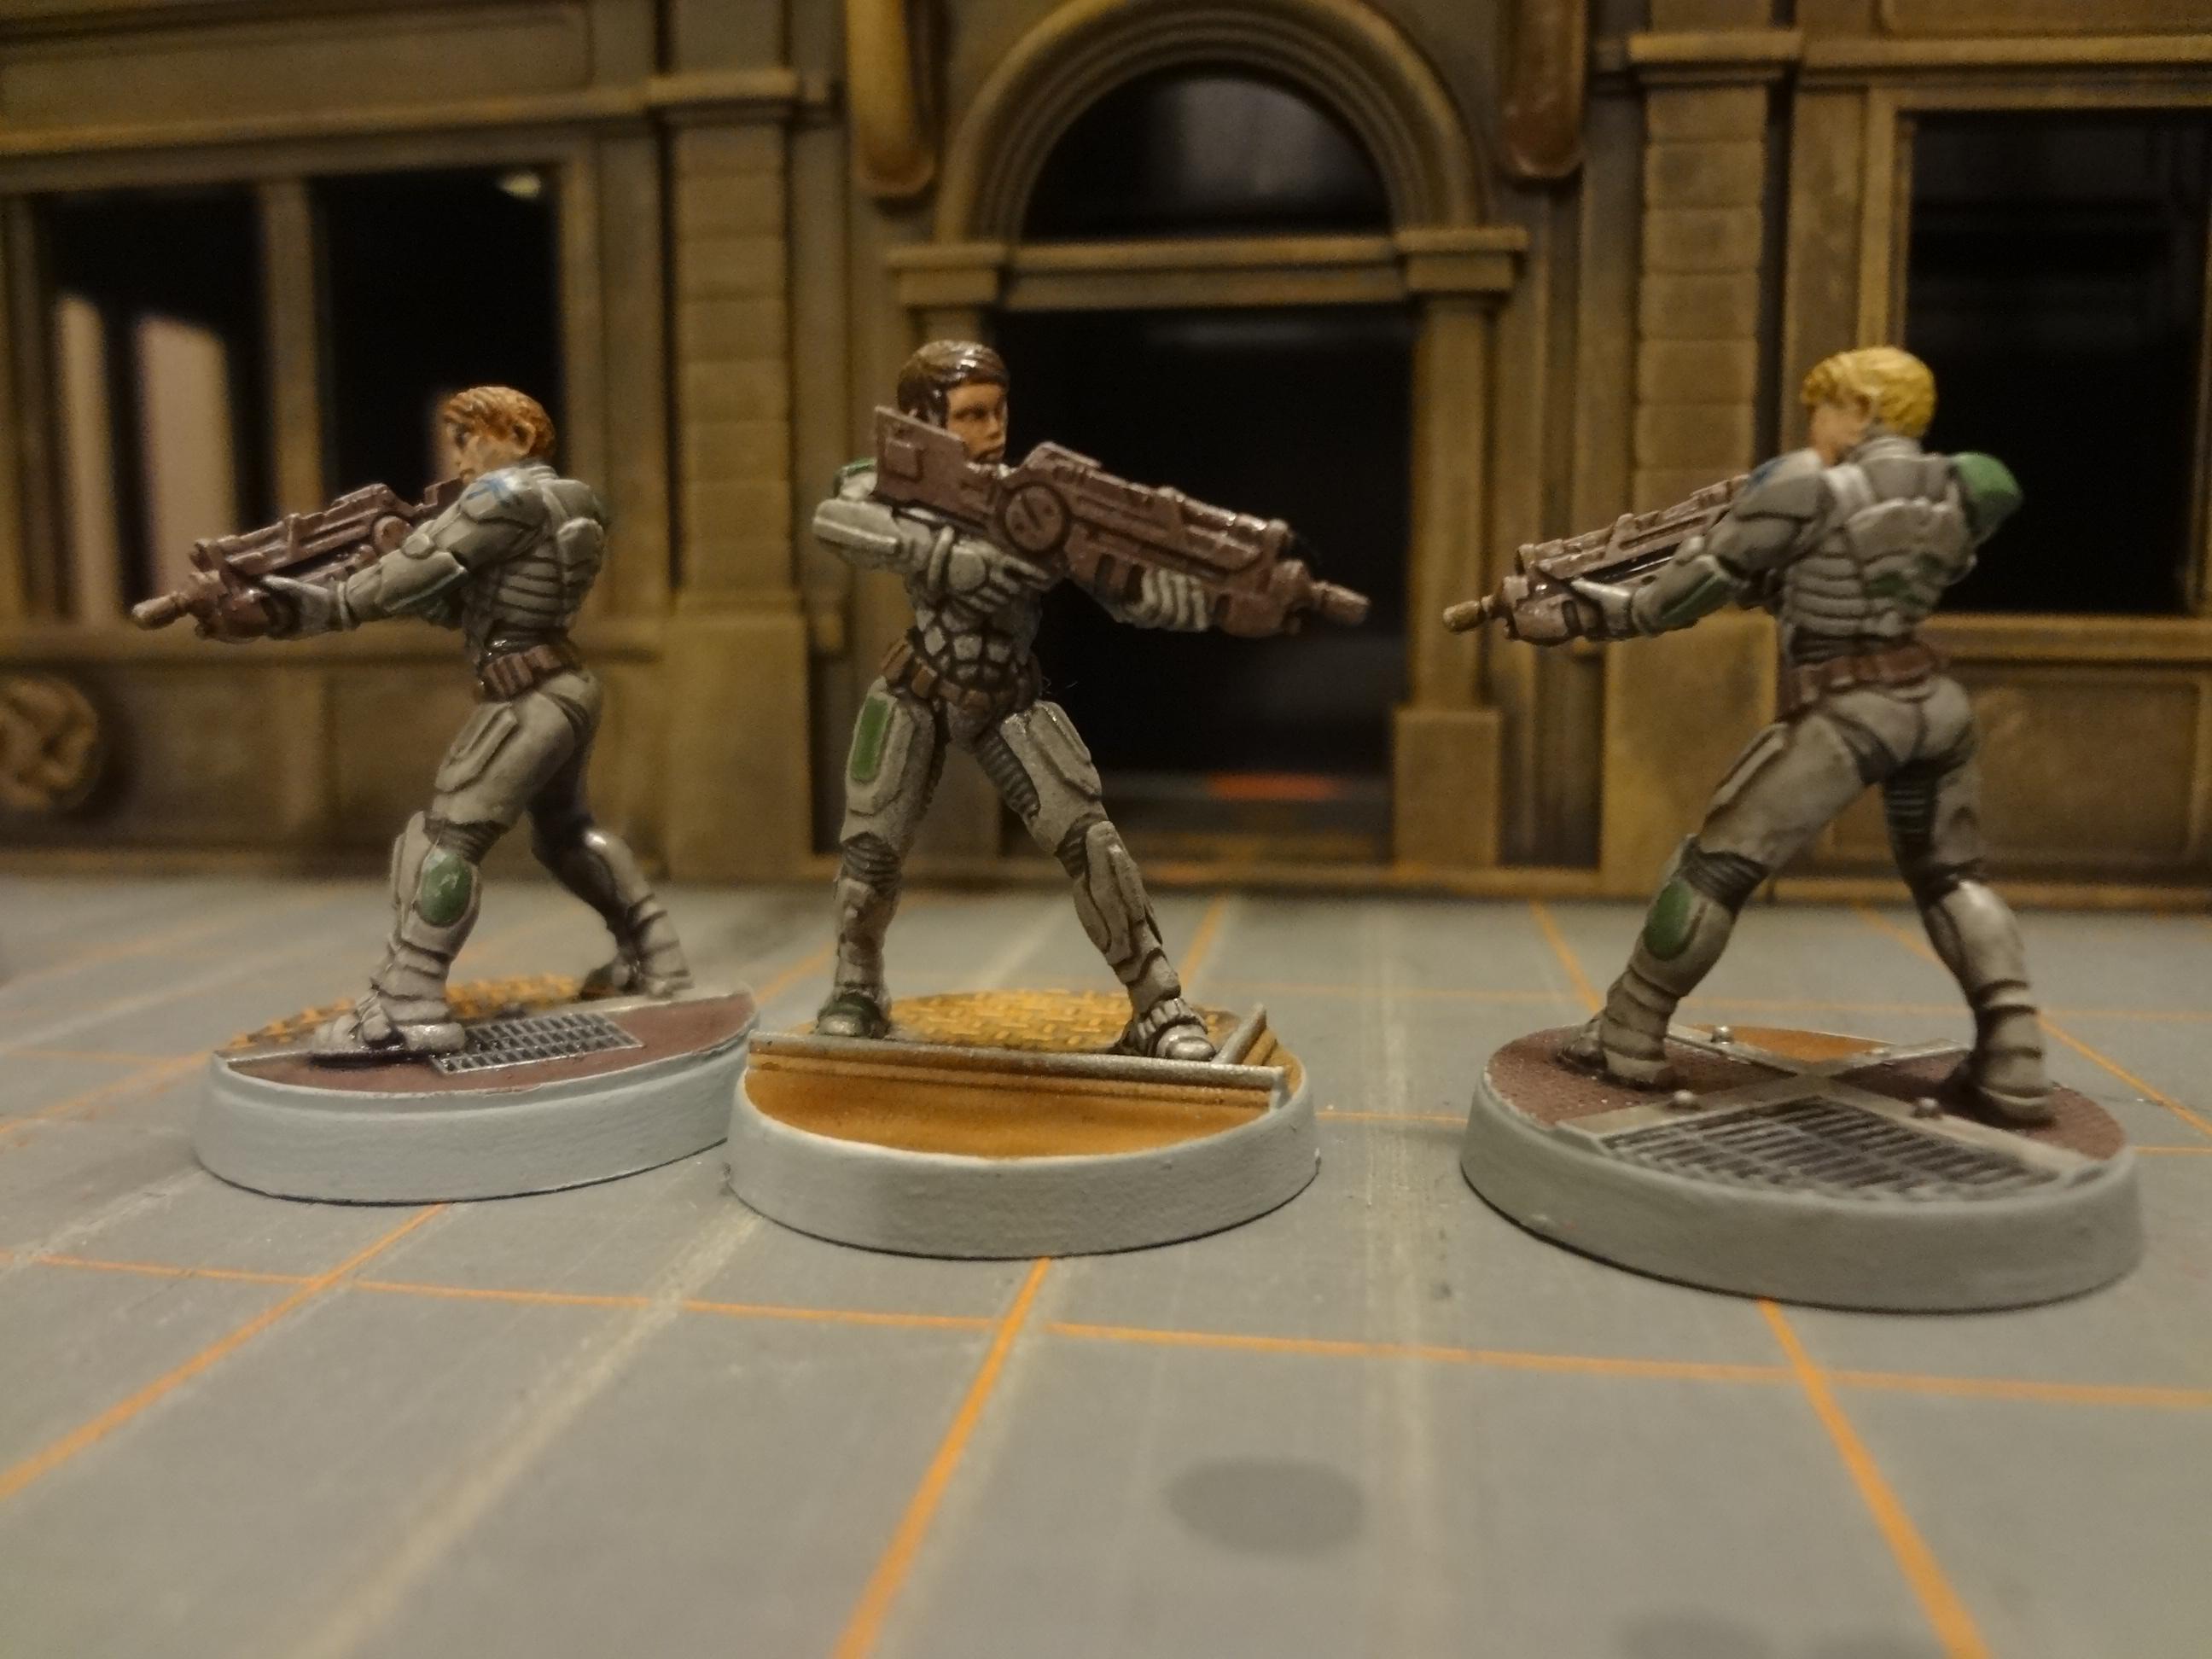
Here we have a couple female troopers with special weapons.
As well as rifle arms, the female troopers include four special weapons: two plasma guns and two grenade launchers. I wish they had included at least two more rifle arms as an option, but there are no extra guns included. The special weapons arms can be used with the either the helmeted or bare-headed troopers, and both unfortunately have the same elbow issues.
So, the full roster of Vanguard troopers came out as follows.
- 5 males with rifles
- 2 males with heavy weapons
- 5 bare-headed females
- 5 helmeted females
Six of the females have a rifle, and four of the females have a special weapon of some type.
The Bad News
As noted, the joins between the bodies and arm/weapons on most miniatures don't meet exactly. This isn't the end of the world, but I can see how it would be massively frustrating to someone without much gaming experience (Sedition Wars was marketed as a board game, after all). This is a major failing when you consider that most minis consist of just two pieces.
The real kick in the teeth, though, are the mold lines. They aren't huge, but every miniature has them, and they're awkward to remove. Mold lines are an expected part of plastic miniatures, but the issue here is that these figures are made of the sprue-less plastic material (aka restic, plastic-resin, etc) that many companies are using these days to save money.
This plastic cannot be scraped or filed or assembled with plastic solvent glue. All cutting must be done using a sharp knife (use a new blade), superglue is required to attach the pieces. Consequently, the removal of mold lines is a very long and sometimes frustrating task -- far more difficult and time consuming than with resin, metal, or polystyrene.
It took me noticeably longer to clean up a two-piece Vanguard miniature than to to clean-up and assemble a multi-piece Games Workshop infantry model.
The Good News
The sculpts themselves look great. They're a step above any of the other bargain-priced lines of sci-fi troopers. Studio McVey premium sculpts (some of the identical models) will set you back $8 to $15 each when bought individually in metal or resin.
Once properly assembled, these Vanguard troopers look almost as good. The style is crisp, the details are very well done and the design work is great. The figures are an example of the shiny sci-fi aesthetic seen in games like Infinity (where these figures would work as excellent proxies).
For those willing to put in the time and frustration, the opportunity to pick up McVey sculpts for around 50 cents each is too good to pass up.
My Overall Impressions
I really did not enjoy assembling these models, but I can't deny that they look great when done. The crisp sculpting and excellent detail made my speed painting style (block colors and a dip) look pretty darn good.
At this low price, I'm even considering buying another batch just to get more rifle-toting troopers. I might try some head swaps to add a bit of variation.
To be clear, I would never pay the original $90 retail price for this set. At that price, I expect better miniatures with less issues. However, at $25-30 for 50 figs, 50 scenic bases and a playable game, my calculations are completely different.
Sedition Wars: Battle for Alabaster offers the patient and experienced modeler a chance to get great looking figures at a superb price. After I finish a large terrain project, I'll be back with the last five Vanguard minis from this set: four characters and a robot drone.
-- Karl, Chicago Skirmish Wargames club member
Tuesday, January 6, 2015
Armor Reinforcements for Warpath and 40k
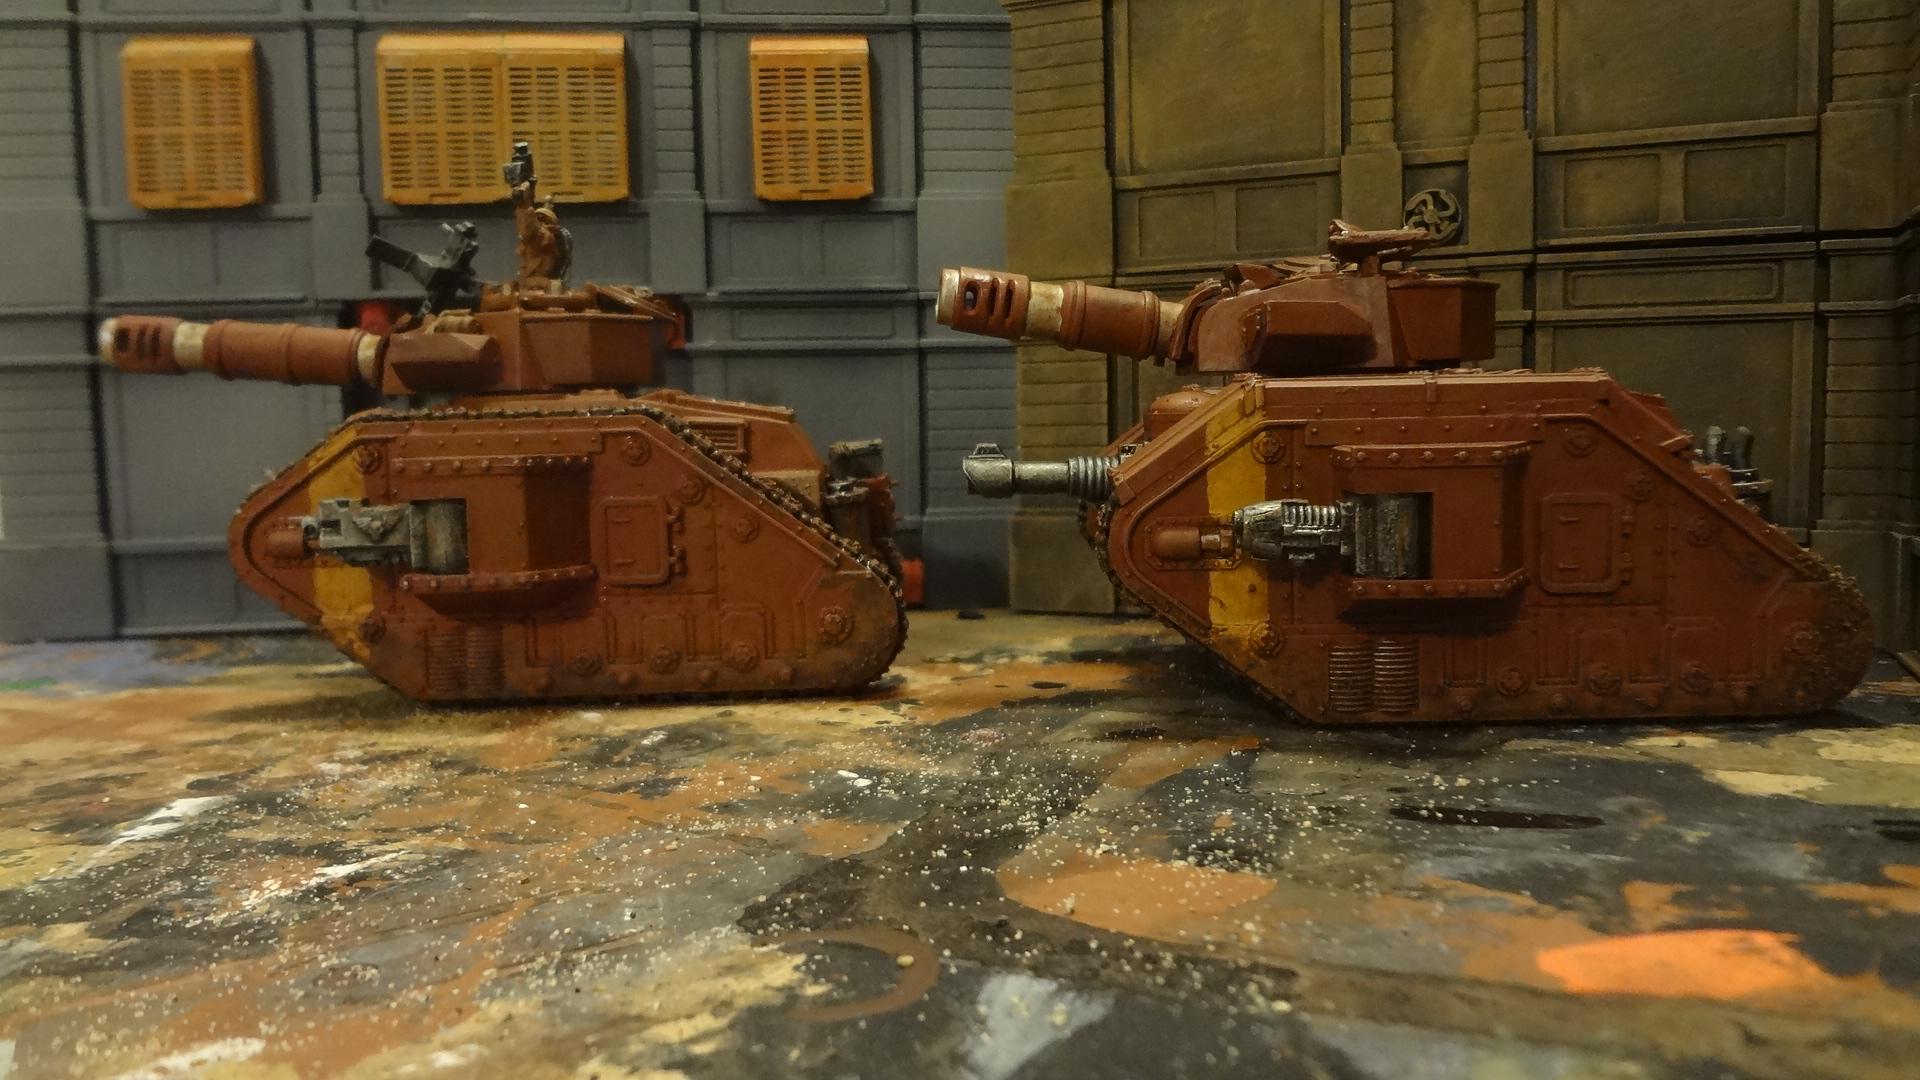
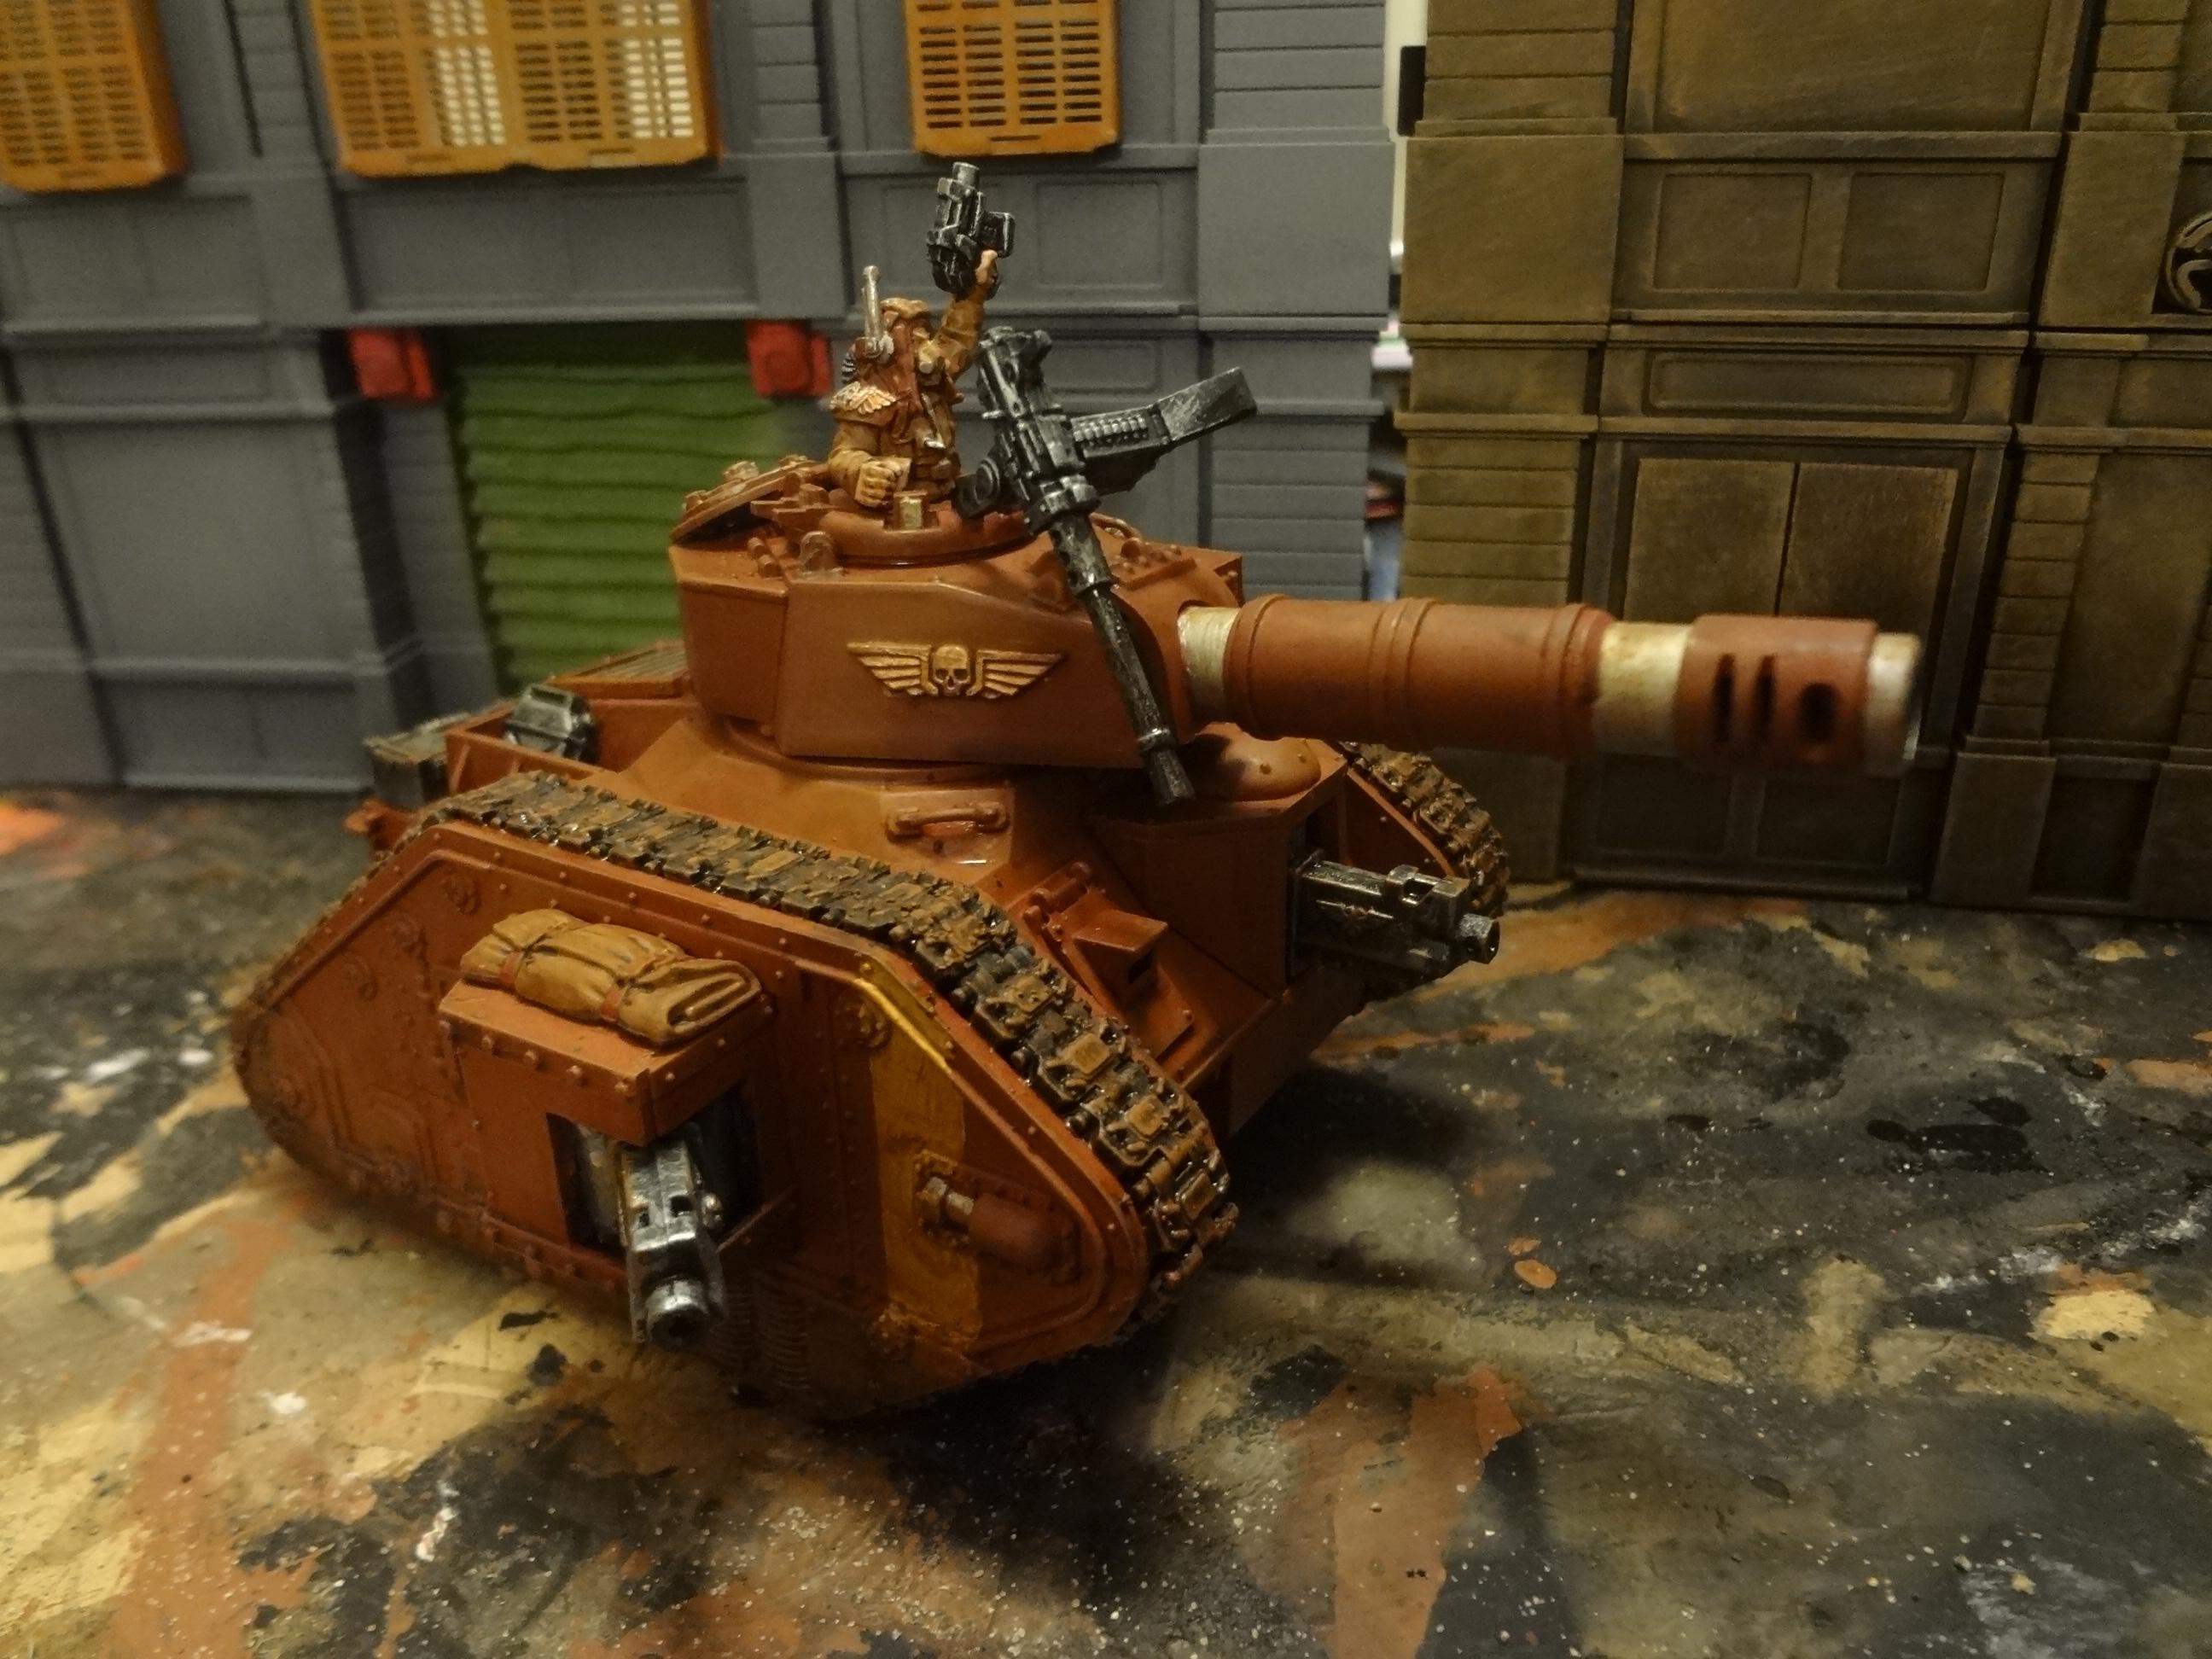
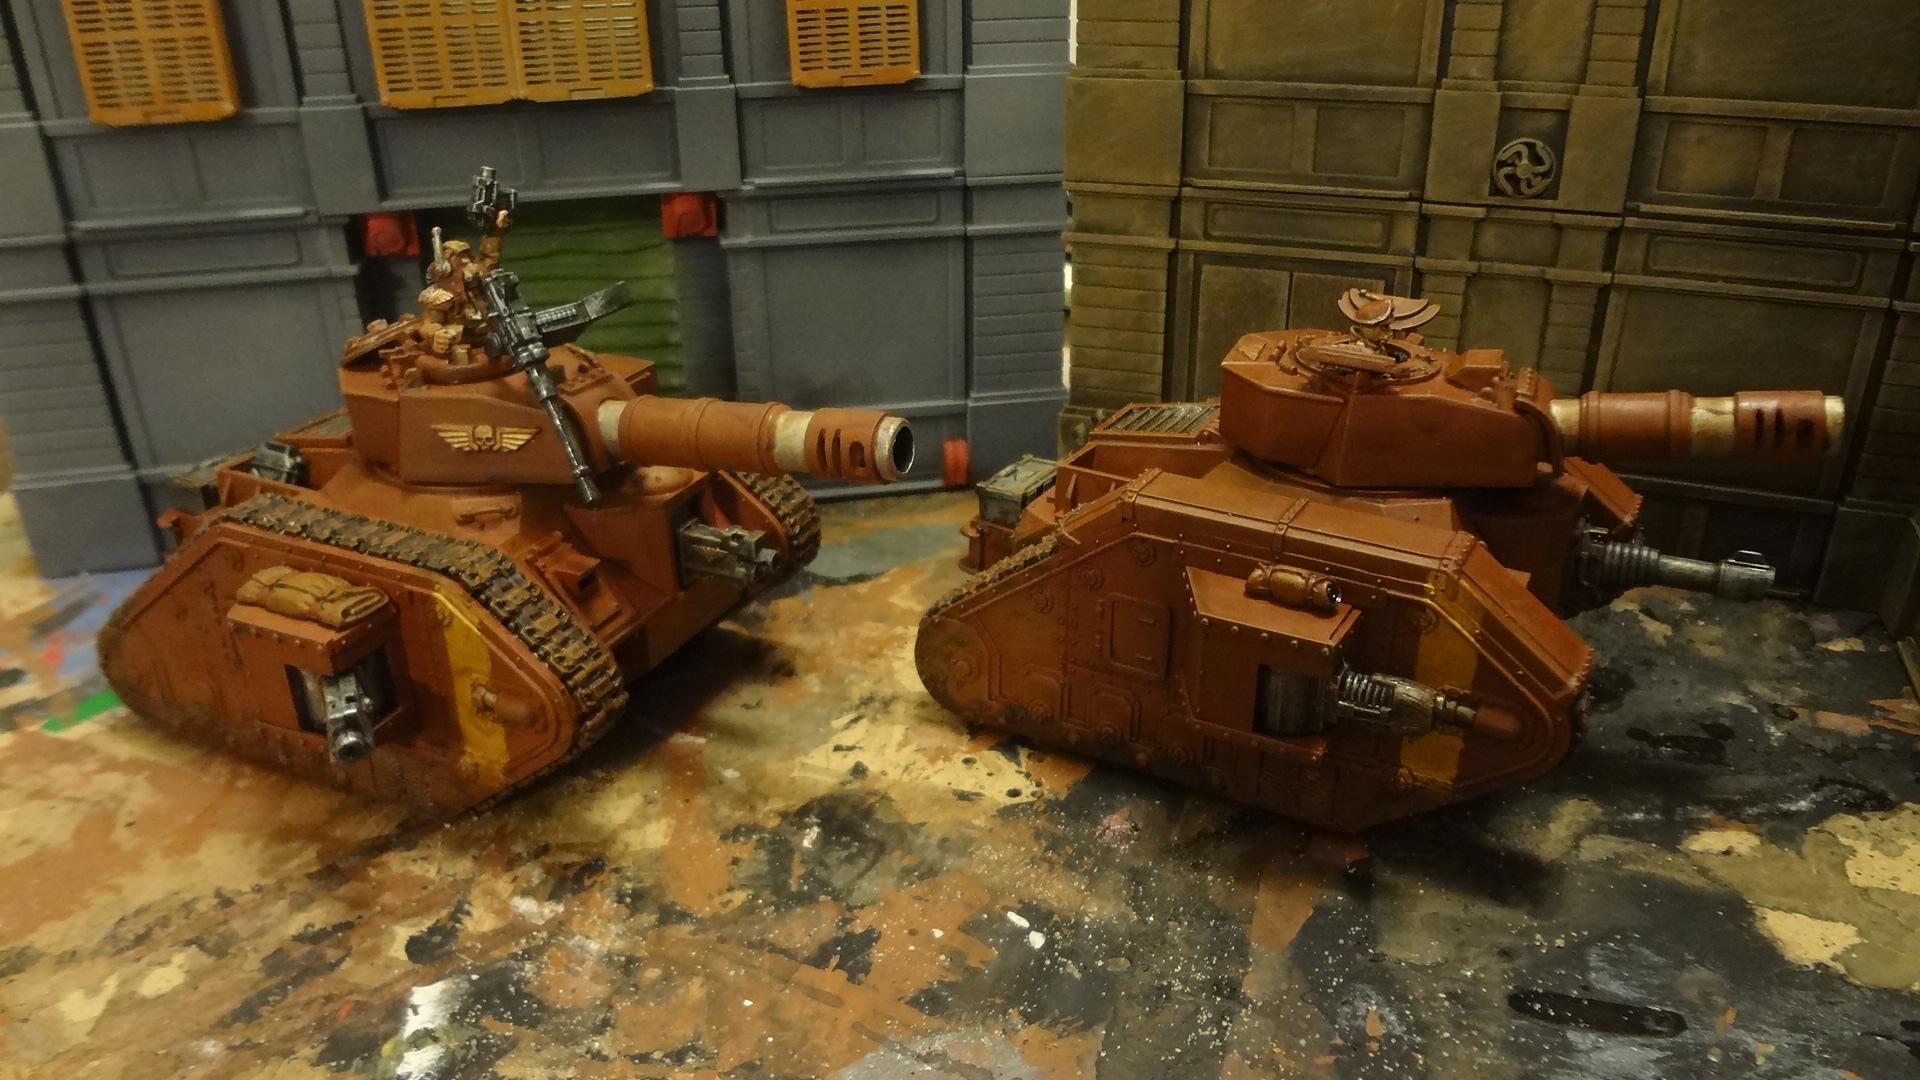
I finally brush-dipped and varnished the Leman Russ tanks I painted up for our mega-apocalypse Warpath game from last month. You can read all about it right here.
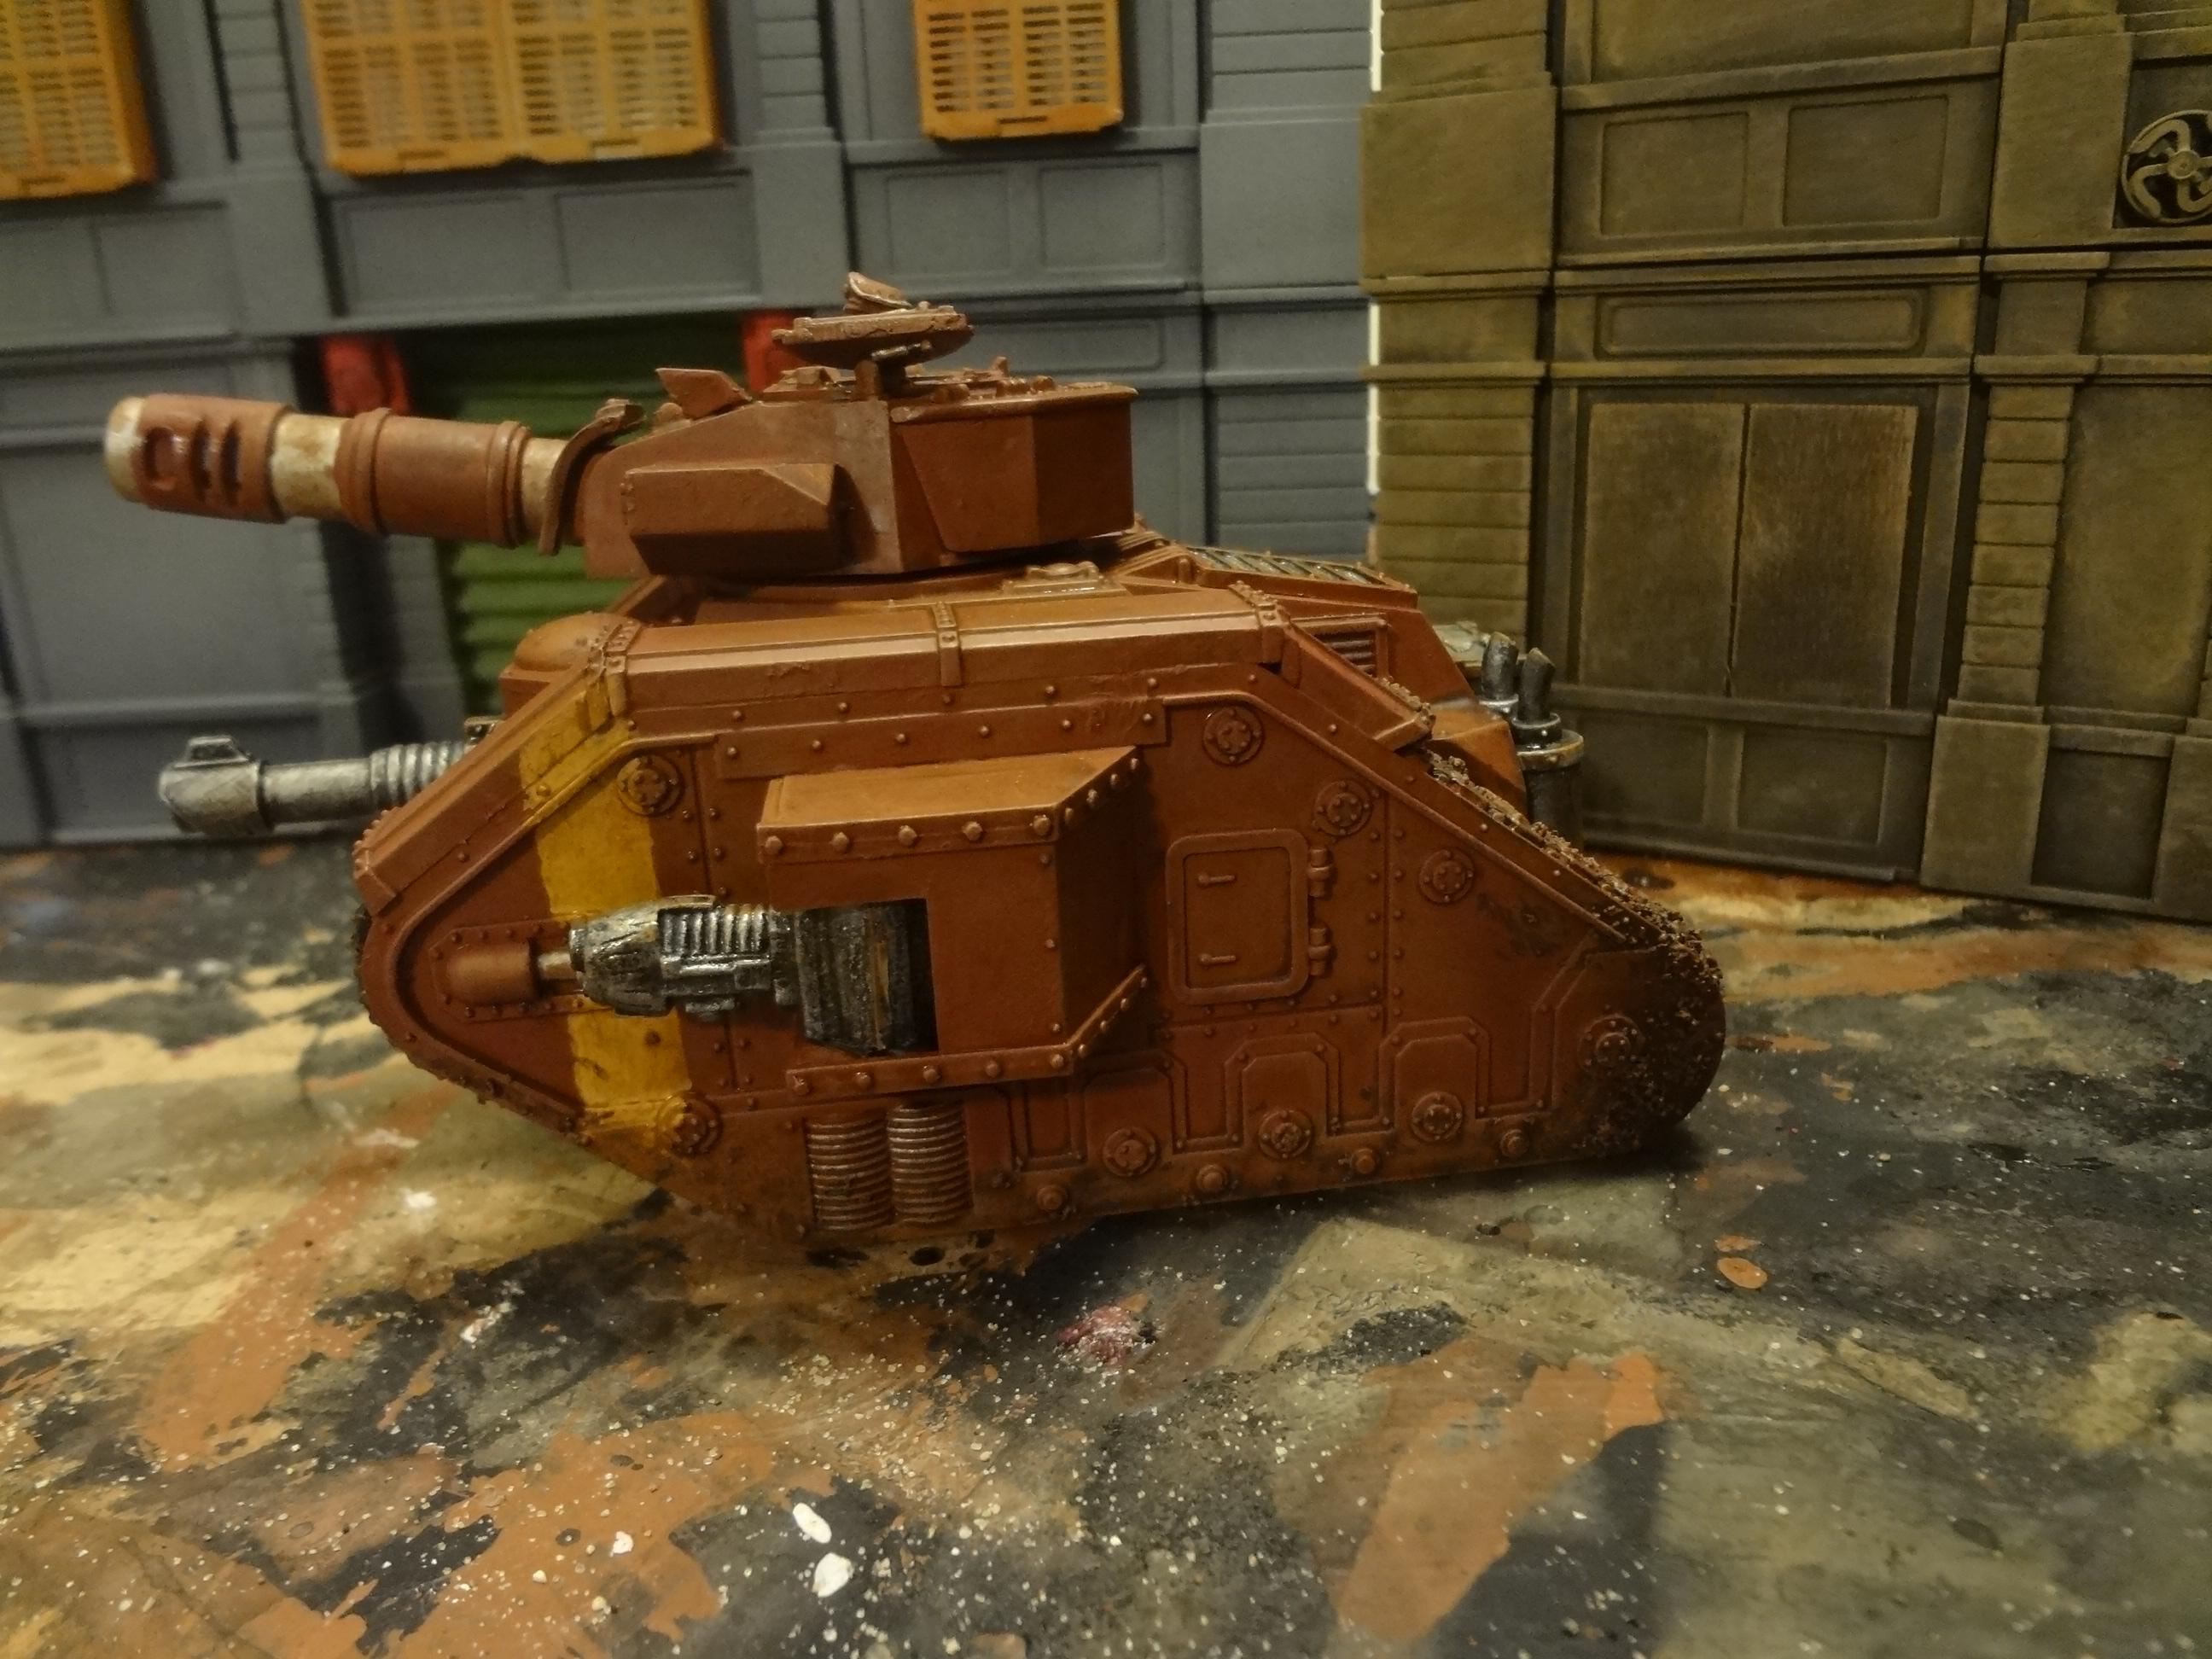
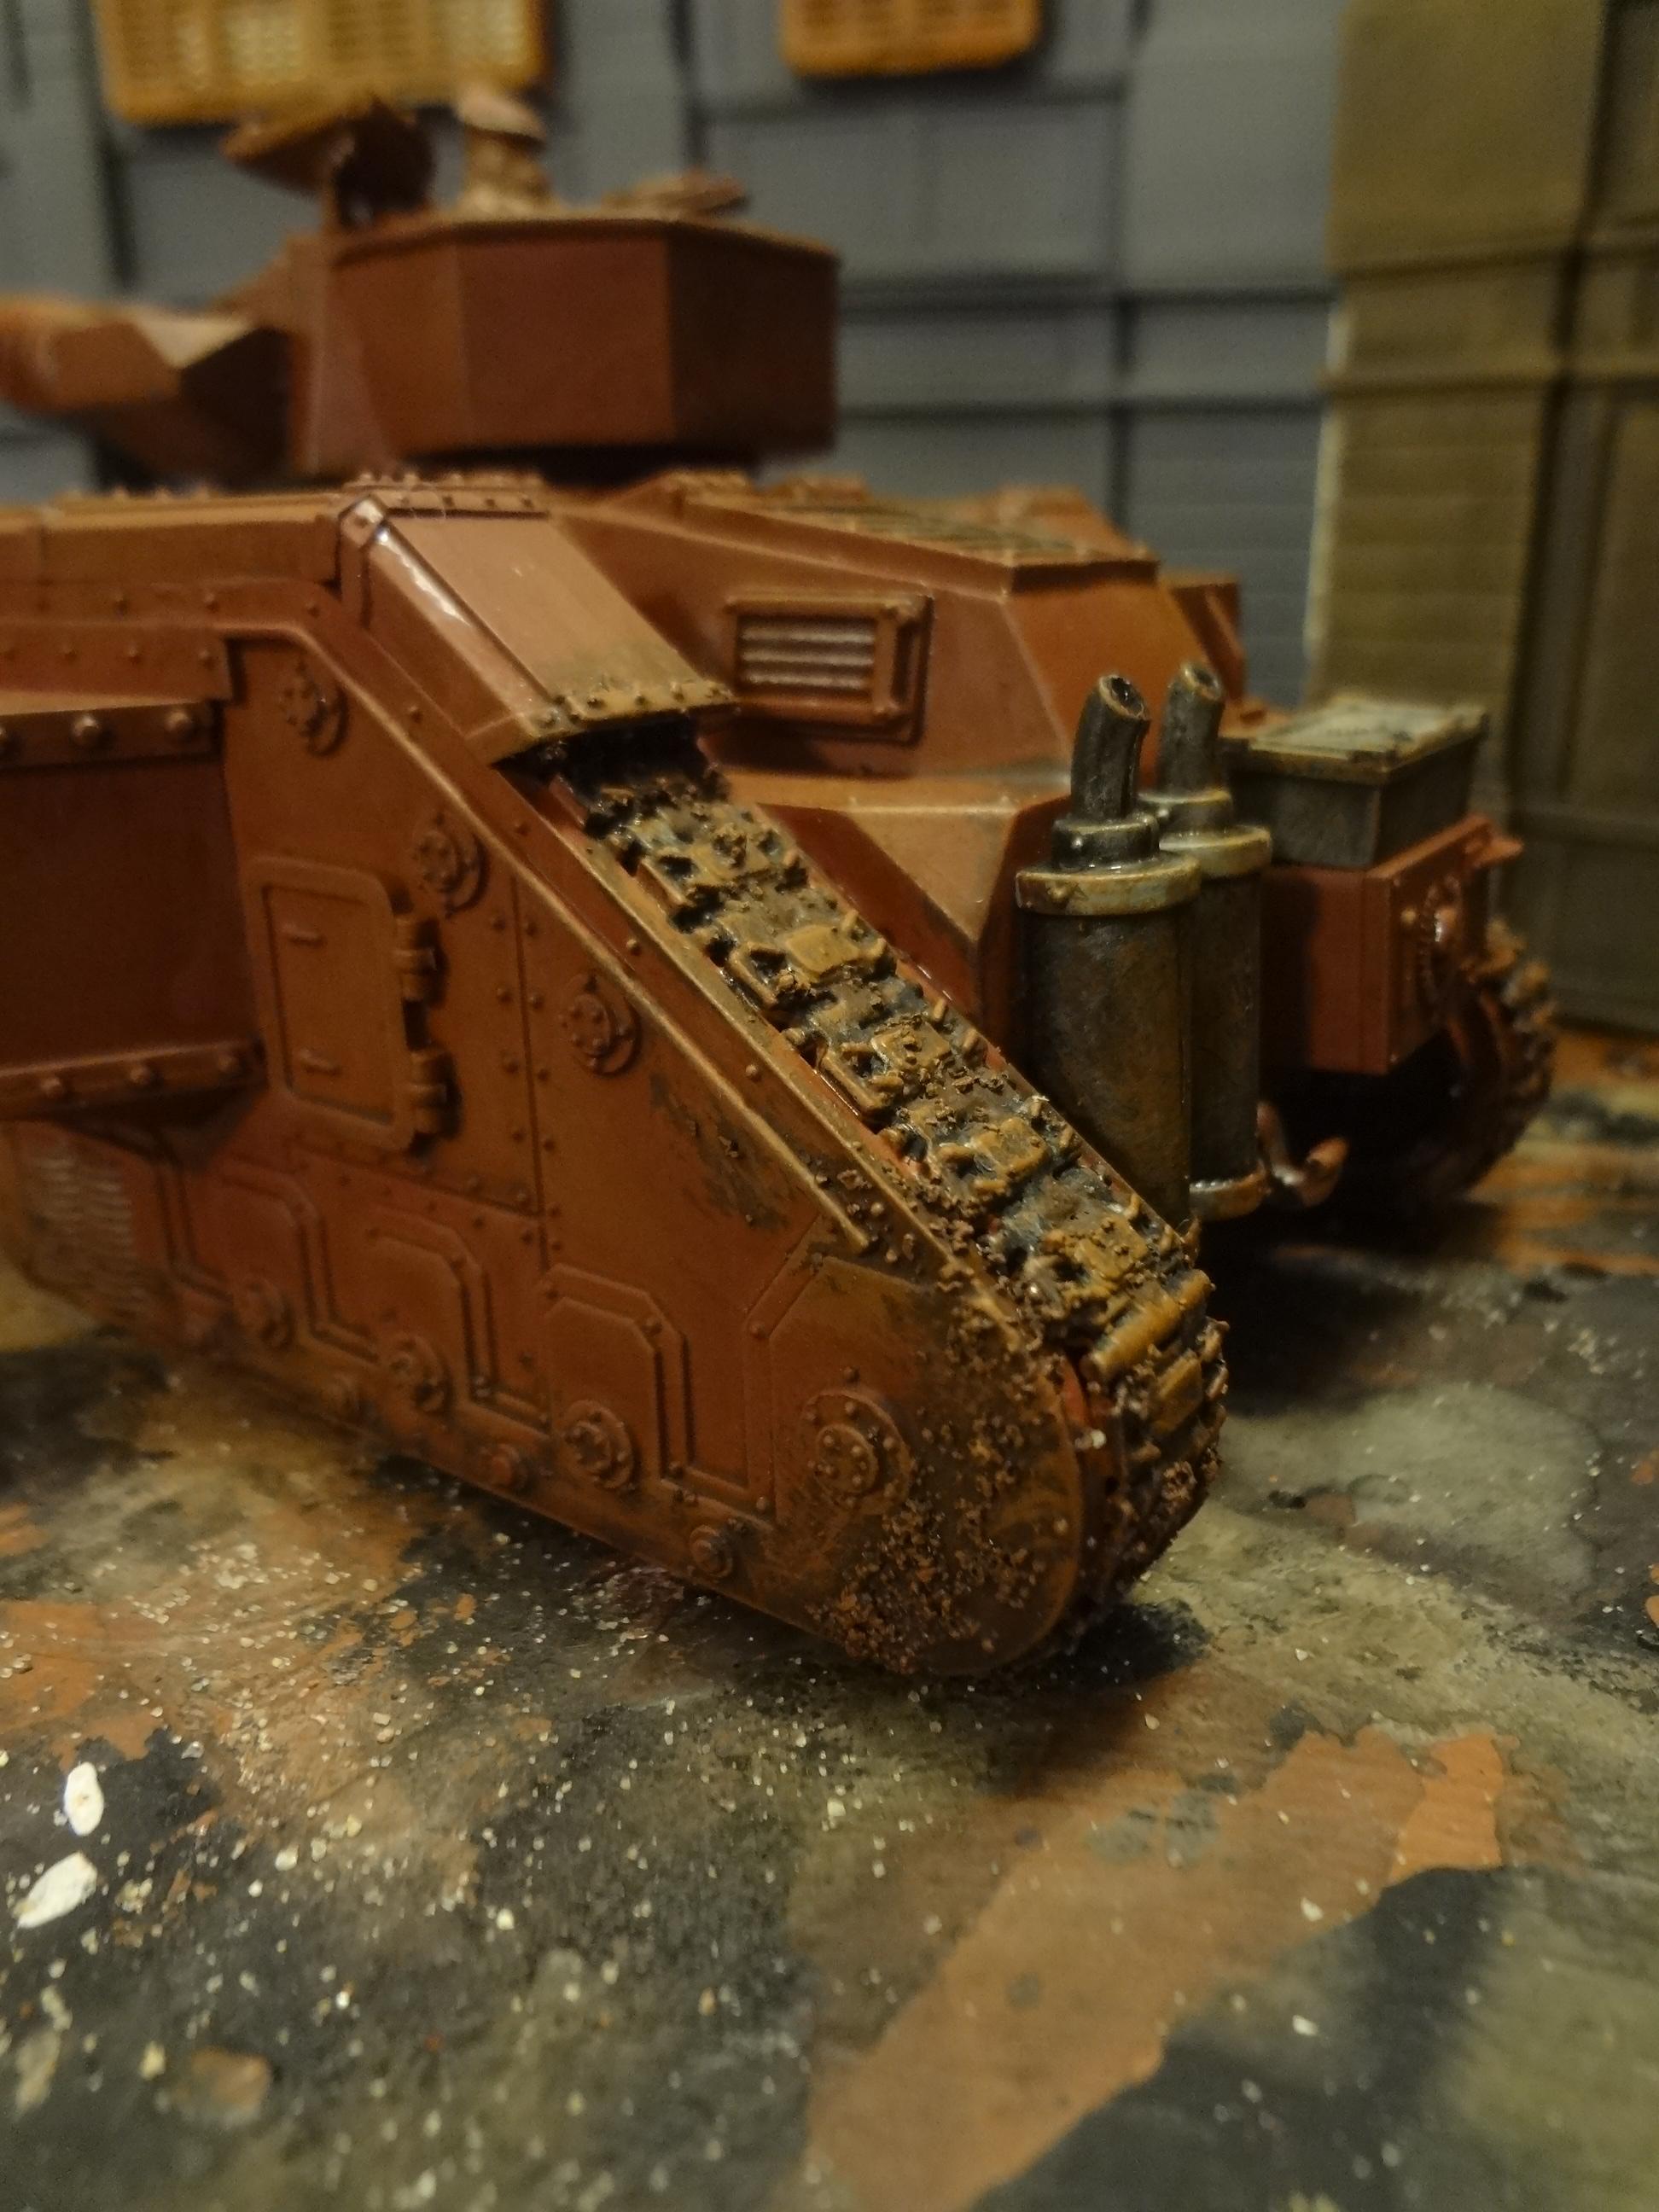
These vehicles are mostly stock with a couple of modifications, and they received a quick paint job of base colors, drybrush and brush-dip with Minwax Polyshades Tudor. One of these was a kit that I've had sitting around for about a decade and the other is a rescue of a very poorly painted (Testors gloss enamels, ugh) tank I got from Tim.
I lengthened barrel on the this cannon.
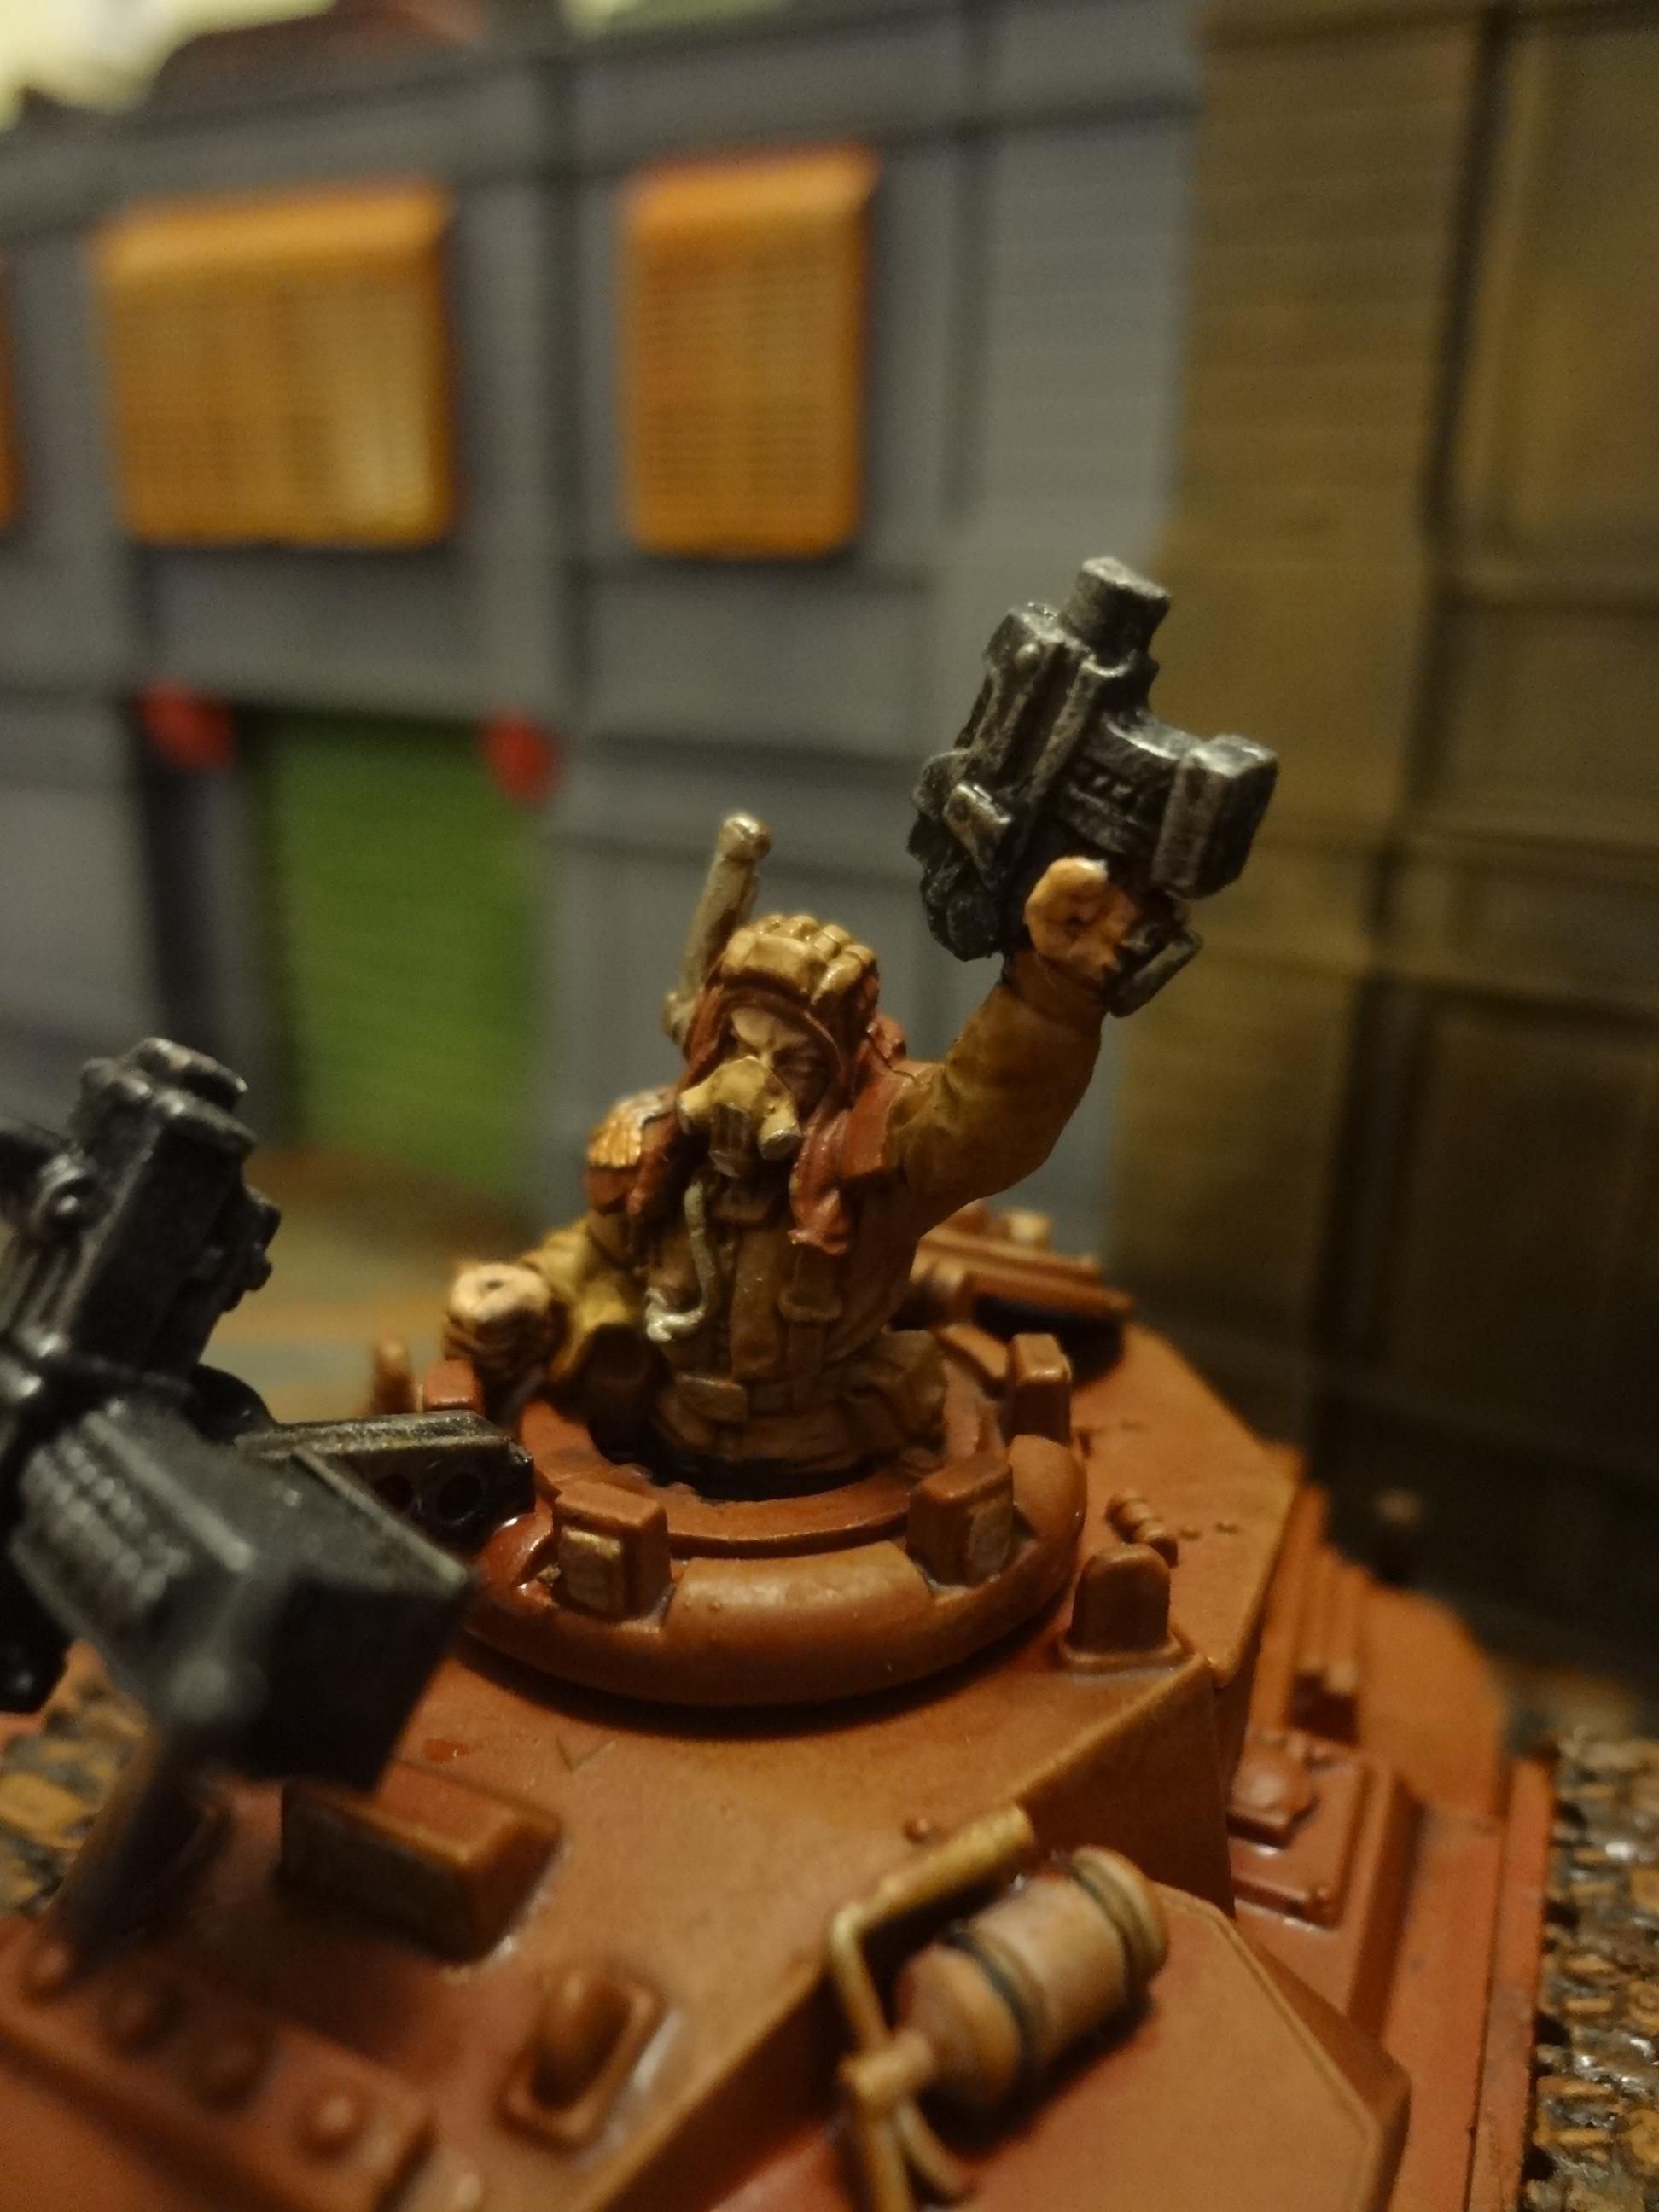
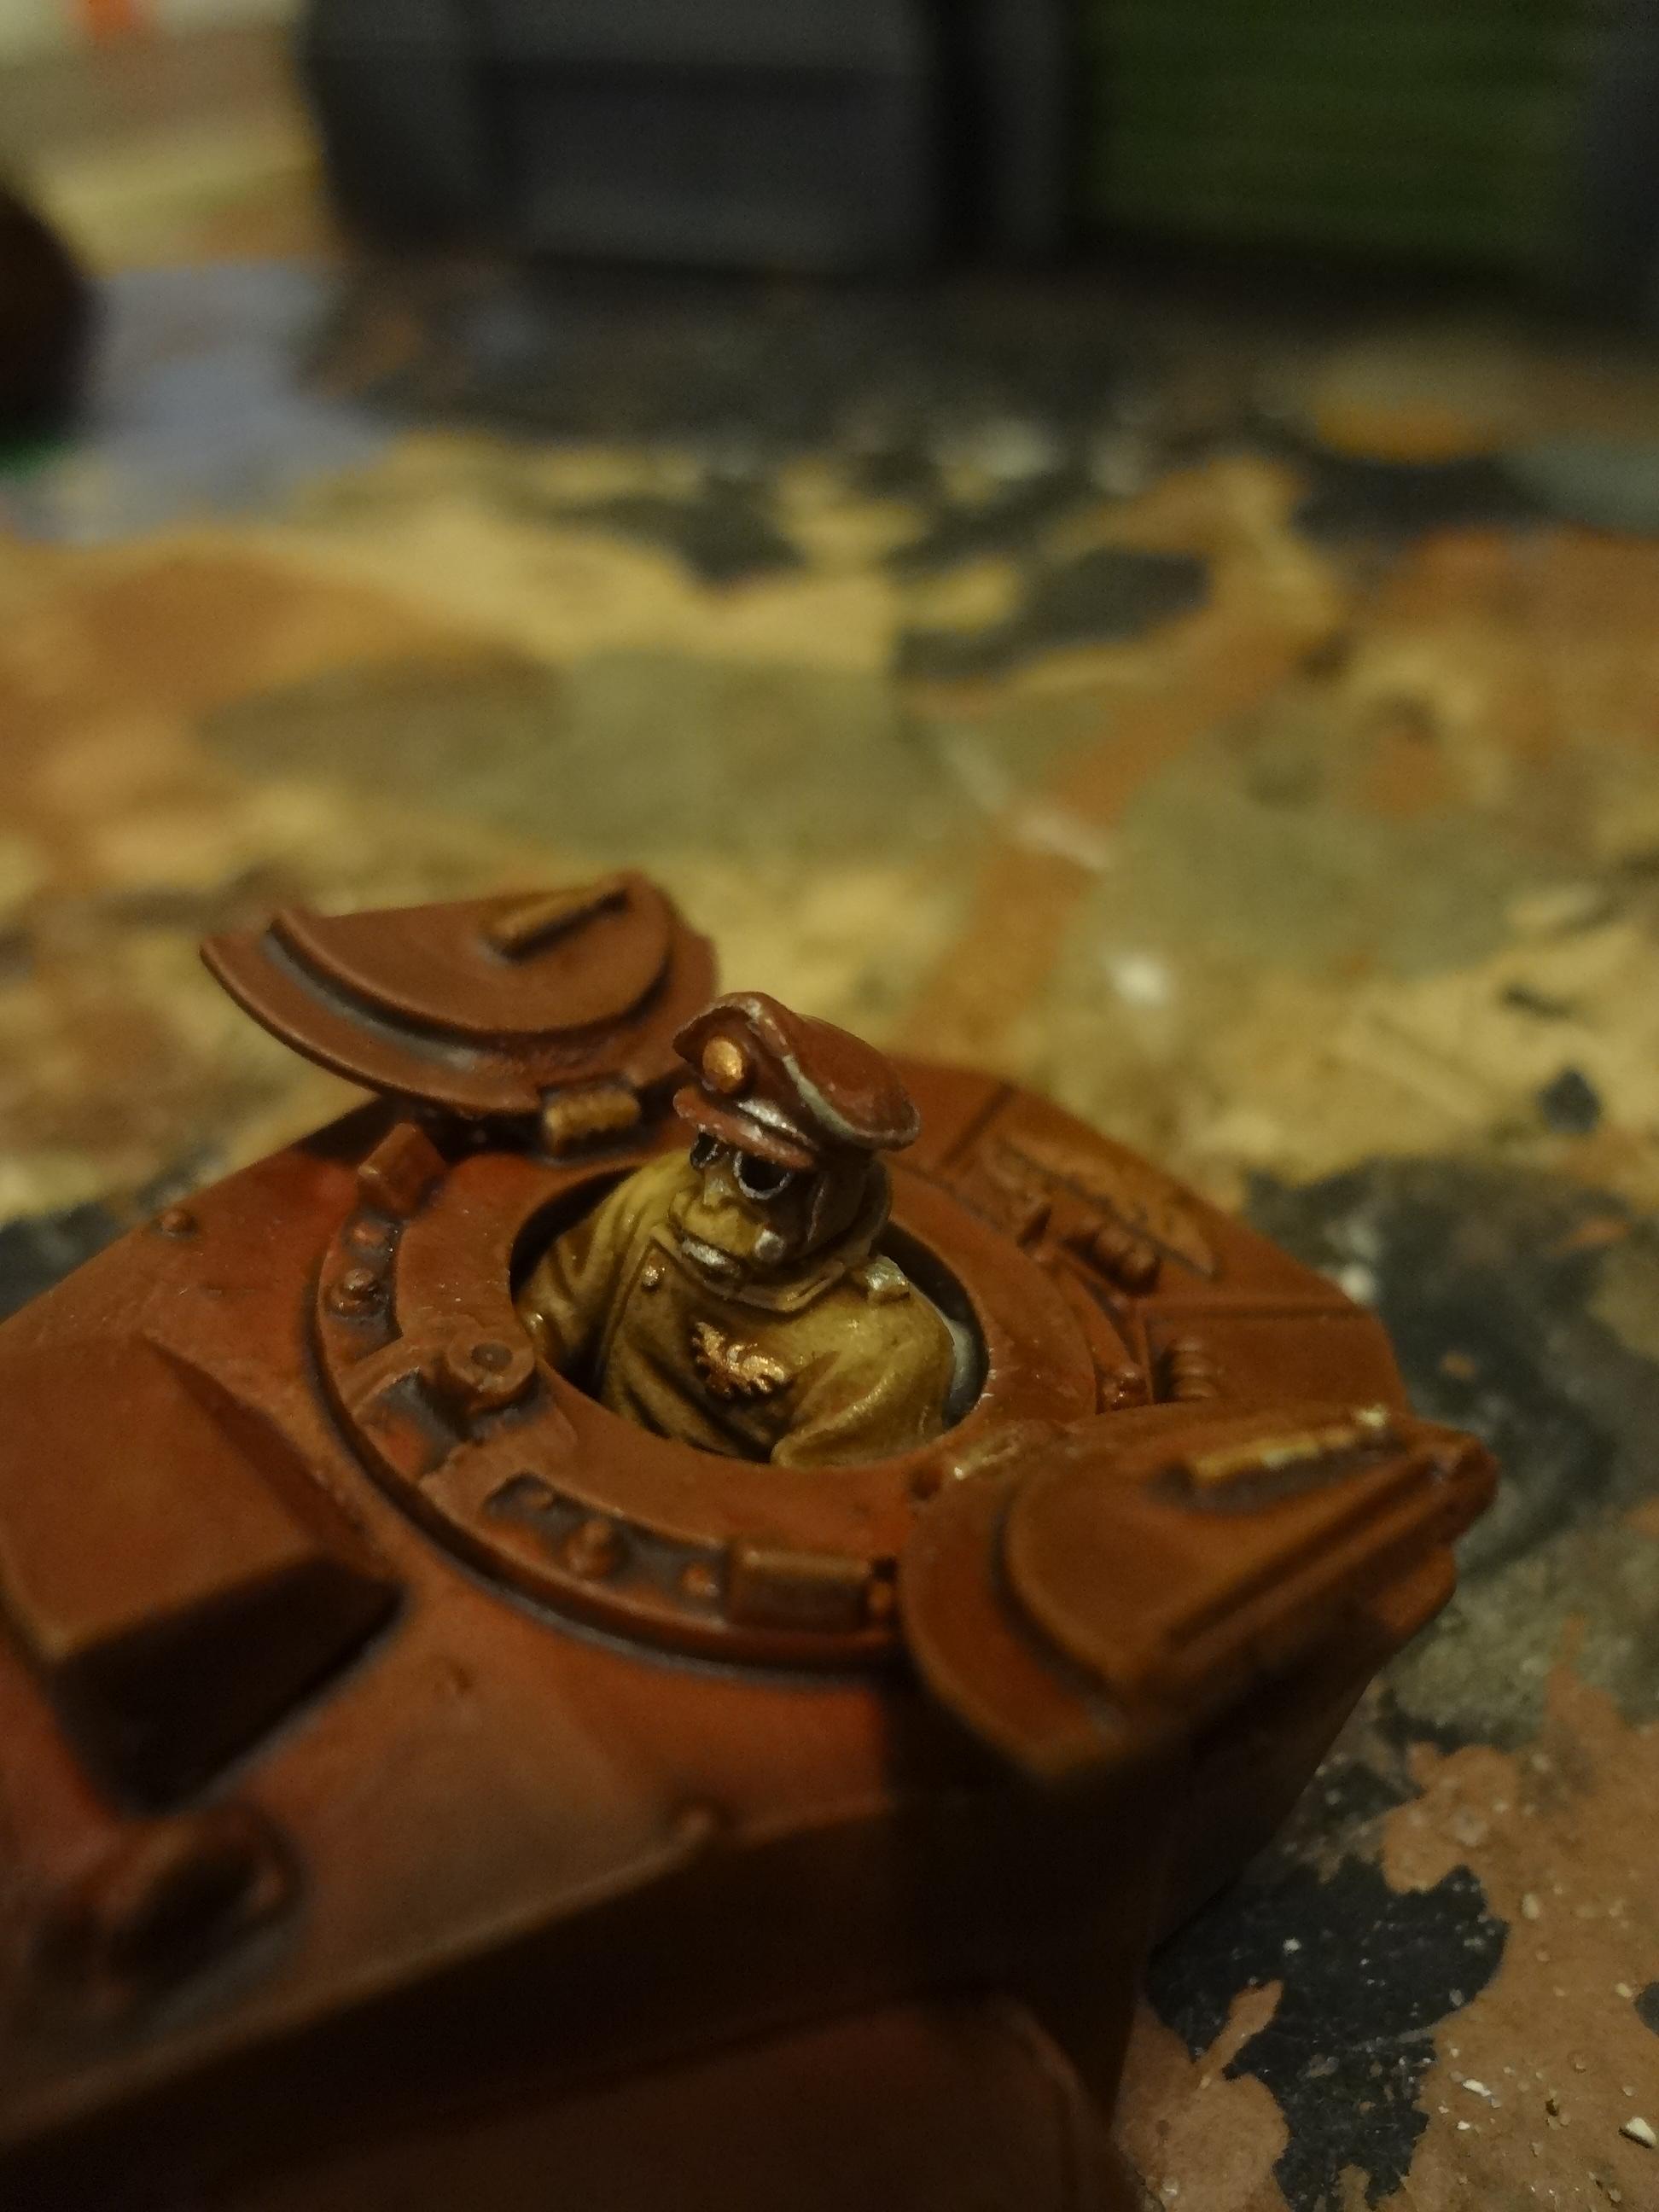
And I added a classic metal Imperial Guard tank commander figure -- something I've always wanted to paint one up. Here he is, with a small gas-mask bit from the Imperial Guard command sprue.
This one has a couple of metal plasma cannons from the old Demolisher kit. I'm not sure plasma cannons are an option for standard Leman Russ tanks at the moment, but I'm quite certain I don't care.
The head on the commander is from Pig Iron Productions. Every human figure in my Imperial Guard force has a gas mask.
The mud is Sheetrock brand paint texture mixed into brown paint.
All in all, these were a fun couple of tanks to build and paint.
I can't imagine anyone ponying up the $50 each that Leman Russ tanks cost nowadays, but I've got a soft spot for these ungainly sci-fi-meets-WWI behemoths and was glad to add them to my army.
I don't play 40k anymore, but Warpath is always an inspiration to paint up a unit or two. So, expect the army to continue to slowly grow...I've still got a Valkyrie VTOL, some Ogryns, a small platoon of infantry and a few Chimera transports waiting for the brush.
-- Karl, Chicago Skirmish Wargames club member
Sunday, August 24, 2014
Painting Matters: In Defense of Hobby Standards
(Editor's note: This week's post is written by Karl, a prolific gamer, terrain builder and painter, and also one of the founding members of Chicago Skirmish Wargames. He wanted me to point out that the opinions below are his and his alone ... but if you perchance happen to game with us, you won't find an unpainted model anywhere on our battlefields. Also, a portion of this article appeared in Dakka Dakka.)
I frequent a number of forums, and periodically discussions arise regarding painting and whether or not it is a necessary part of the hobby. This often comes up among players of popular games like Warmachine, where players are rewarded for buying entire factions at once just to have a competitive option against every opponent. Similarly, Warhammer and Warhammer 40,000 require a player to buy many dozens or hundreds of miniatures just to play the size of game most people at the local game shop will enjoy.
Some folks inevitably chime in with "it's just a game" or "it would be just as fun with chits." In the end, the discussion usually settles around a philosophy equivalent to: "Those who don't choose to paint their models have a different approach to the hobby and it's just as valid as yours."
Balderdash, I say! Pish posh and poppycock!
I will endeavor herein to make the case that painting is an essential part of the hobby, and a standard not to simply overlook. Like many here, I have a "live and let live apart" attitude towards folks who don't paint their miniatures. My philosophy is generally, "That's fine for you, but you'll have to find someone else to play against," though I'm wiling to make exceptions for folks whose painting is in-progress.
Still, I'm not so relativistic as to be willing to give some sort of tacit approval to those who don't paint and say that they're involvement in the hobby is just as good as mine. It's not, nor should we delude ourselves to think that it is so, simply for the sake of good feelings and avoiding offense.
Like any activity, there is a hierarchy of involvement. In the tabletop wargaming hobby, those who play with painted miniatures bring more to the table, and those with grey hordes bring less. It may sound elitist or harsh, and no one seems to like the word "hierarchy" anymore, but consider that every other hobby activity has standards by which they judge a member's degree of involvement and commitment to the hobby.
Why should wargaming be any different than other hobbies that require painting?
- If you're a part of a car club, but don't paint or keep your car up, you're going to be viewed differently.
- If you're part of a fine-scale modeling club, but just assemble and convert your models, and don't paint them, no one is going to think that you've "finished" them or want you to display with the club.
- -If you show up to a train club with a bunch of ready-to-run "Bachman" models with plastic wheels, eyebrows may be raised.
- In sports, it's the better players who make the varsity team.
- In music, it's the better musicians (or better promoted musicians) who get the gig.
- In business, it's those who get results and profits who become executives.
However, make no mistake, painted models are part of wargaming and have always been. If you're content to repeatedly bring your Bondo-patched Camaro to the car show, that's your choice, but don't expect the same degree of esteem and approval from your fellow enthusiasts. Like any hobby, there are loads of people out there ready with tips and techniques to help you get your stuff done, and many more are willing do it for you for a price, but it's up to you see that it gets done.
I do not hold myself apart from these same standards and fully realize that they apply to me as well. I paint most of my minis with fairly quick block paint schemes followed by a Minwax dip. It's a standard I'm happy with and looks good on the tabletop. I even have a few prepainted miniatures that have been rebased and dipped!
But I don't ever expect to get the same kind of props or respect as someone who paints their miniatures to a higher standard any more than I would expect a best-painted award at a convention. In fact, sometimes I'm actually a tiny bit disappointed when I receive kudos for my fully painted figures, because it means that so many gamers are used to seeing hordes of unpainted models at their local game store.
To sum up, the hobby has standards. If you choose not to meet them, or your local game scene chooses to ignore them, then that's up to you and them. However, they do exist. Pretending they do not may give a warm fuzzy feeling to a few people, but it lowers the the hobby as a whole and does no one any favors. As one of the thousands of players who was attracted to wargaming by the spectacle of painted armies clashing on a battlefield of beautiful terrain, it's simply not a standard I'm willing to let go. Nor should any of us.
-- Karl, Chicago Skirmish Wargames club member
(Photos from the four-year history of CSW and the many games we've played during that time)