

I have had a large pile of Deadzone terrain sitting around since we received the Kickstarter months ago. I actually acquired a second large pile of sprues, but since I had no plans to play the actual Deadzone board game, I wasn't sure how I wanted to assemble these pieces.
While riding the train to work each day, I pass by a yard full of shipping containers, stacked up and pitted with rust and chipped paint. I used this as my inspiration.

My main priority was to make sure that these pieces were full of usable features. Increased elevation was a primary issue, as we've had a lot of fun with elevated buildings in our games lately.

The bridge between these two watchtowers is removable.

The charred edges were painted using Badger Minitaire Ghost Tints. I airbrushed the edges in black, followed by a halo of brown. I finished it off with a very fine line of black on the interior edge. This was all done after the other details were painted.

Some of the details from bits on the Deadzone sprues, supplemented with Games Workshop bits, plasticard, resin pieces, random odds and ends, and even some ammo casings.
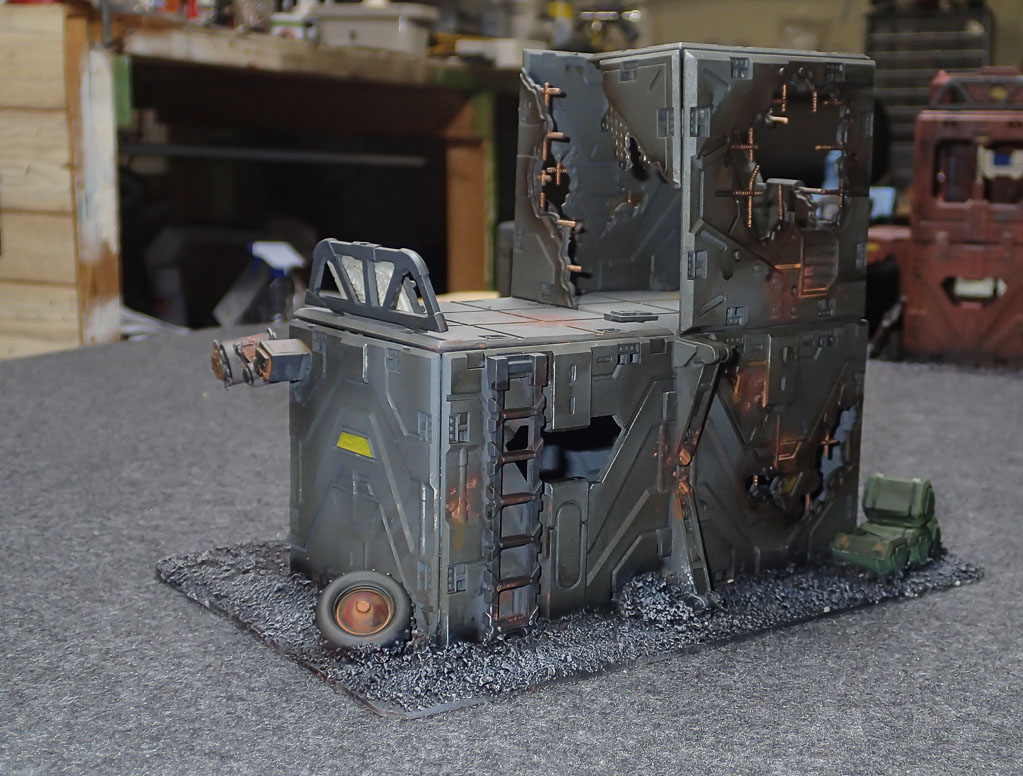
I also used parts from Mechwarrior clix which, if you've never looked at them before, are a treasure trove of industrial bits. And super cheap these days!

I paid careful attention to each addition to make sure it was usable for cover, or as a way to traverse levels.
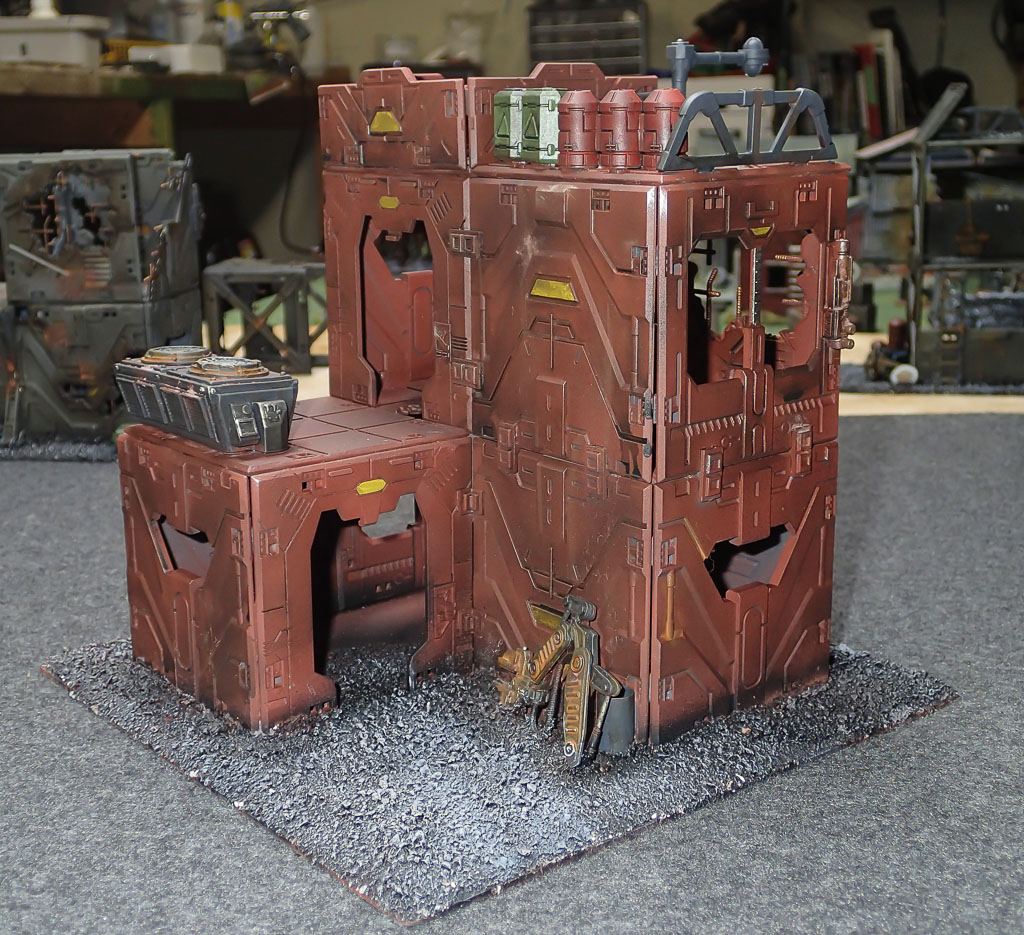
The colors were based on colors I saw in the container yard on my way to work.

Each interior space is also accessible.

This is my favorite building. Not only is it the tallest...
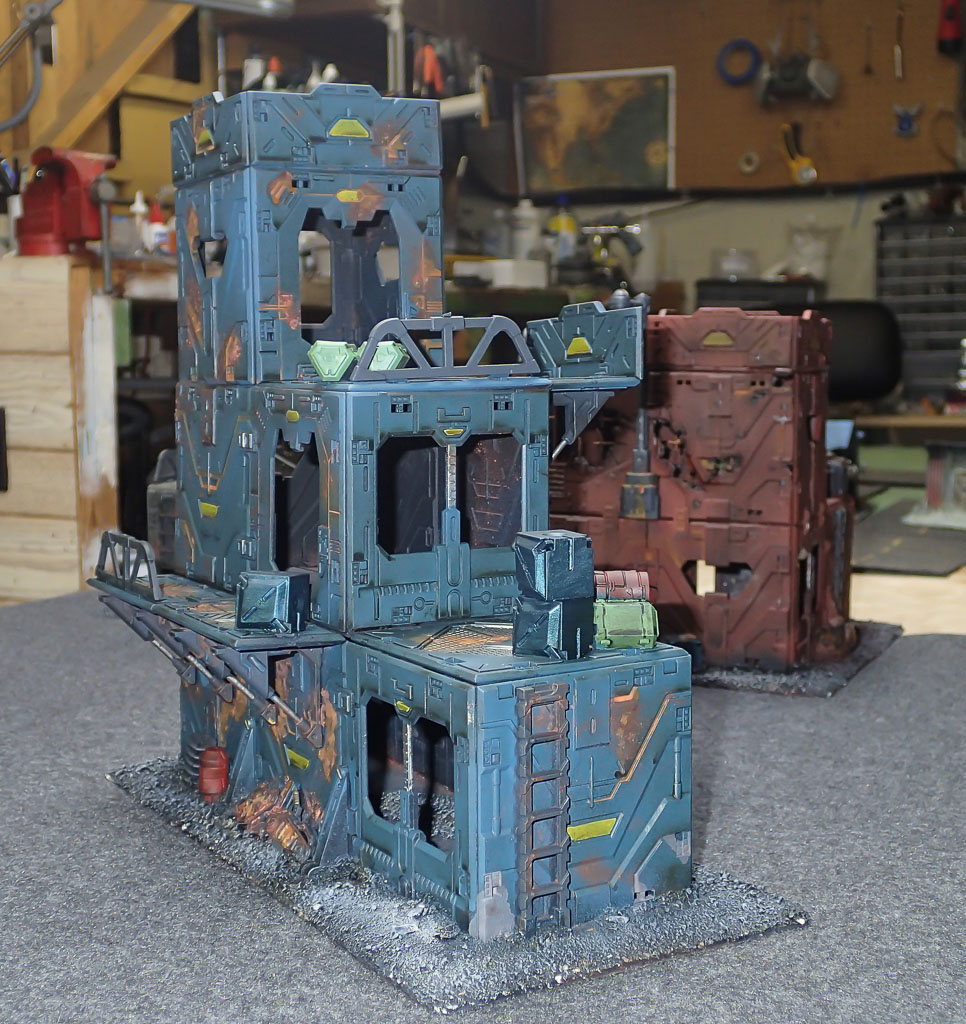
with cool balconies...

But it is reconfigurable!


This version is quite tall!

Here is a view from the top. Bob Kneely is ready to snipe, and you can see his colleague down below for scale.

I had a bunch of scrap pieces left over, so I made these ruins and barricades.
Here is a cool action shot of Bob Kneely kneeling.
Overall I am very impressed with the Deadzone terrain. The modular clip system is neat, but a bit delicate. I recommend gluing these pieces for best gaming experience. I was having issues fitting the clips until i discovered that there are mold lines inside the connection holes that need filing. A standard square hobby file works perfectly for this.
Keep an eye out for a battle report featuring this terrain in the very near future!
-- Josh, Chicago Skirmish Wargames club member

5 comments:
Very nice terrain. Your painting job is really great, rust and dirty effects are very effective. It seem to be a good thing to renforce them by glue and basing and wile keeping a modular aspect.
Can't wait to see it in action.
Thanks! In case you are curious, I aged/rusted them as follows:
1) Get all basic paint/details done
2) Airbrush Secret Weapon Armor Wash over everything
3) Matte Varnish
4) Rust with a mixture of various pigments, and enamel washes
5) Additional layer of lighter rust colors
6) Final dabs of a rust colored enamel wash to bring it all together
7) Final coat of matte varnish
Looks excellent dude!
Looks great, really like that blue high-rise
Very nice work. Good to see "how to" stuff.
Post a Comment
Note: Only a member of this blog may post a comment.