
Recently I've been knocking out a number of projects that have been sitting around for a while: units for my Kings of War army, various industrial terrain pieces, a case for my fantasy miniatures, barbed wire sections, as well as a crashed helicopter for Tim and a graveyard hill for Josh.
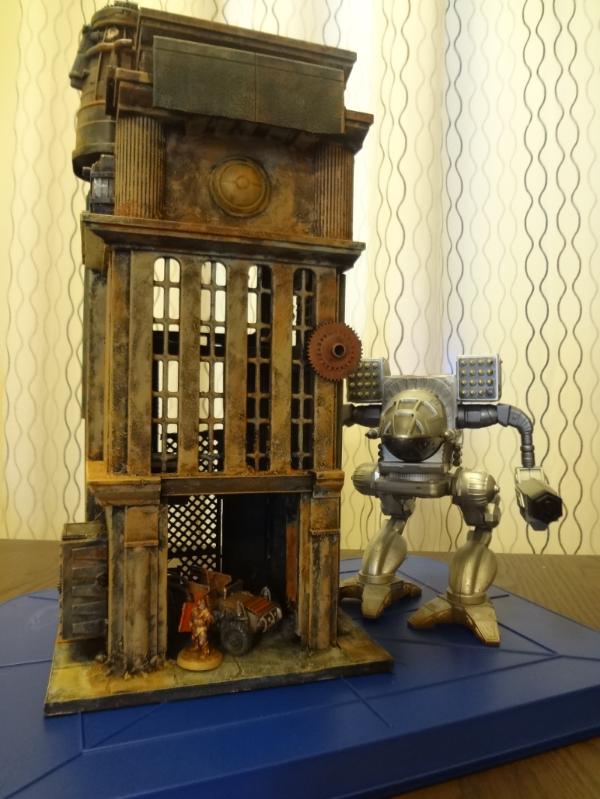
Now I've finished off the last of the in-progress stuff that was cluttering up my to-do list: the mammoth near future tenement high-rise.
This piece began life as pieces of two toy playsets from the Pokemon and Toy Story product lines. I picked up each at resale shops for about $3 each.
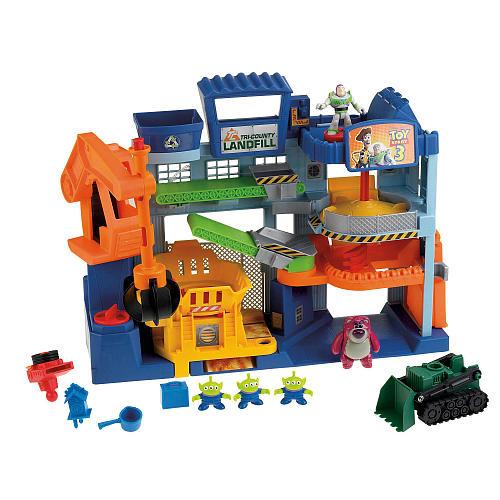
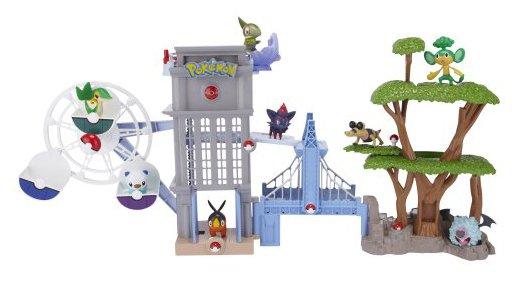
I'd love to find more of these, as that bridge section would be great, and the Toy Story playset could be used almost as-is.
Construction
With these two inspiring pieces of plastic on my workbench, I got to work. The front and left side of the building are from the Pokemon building.
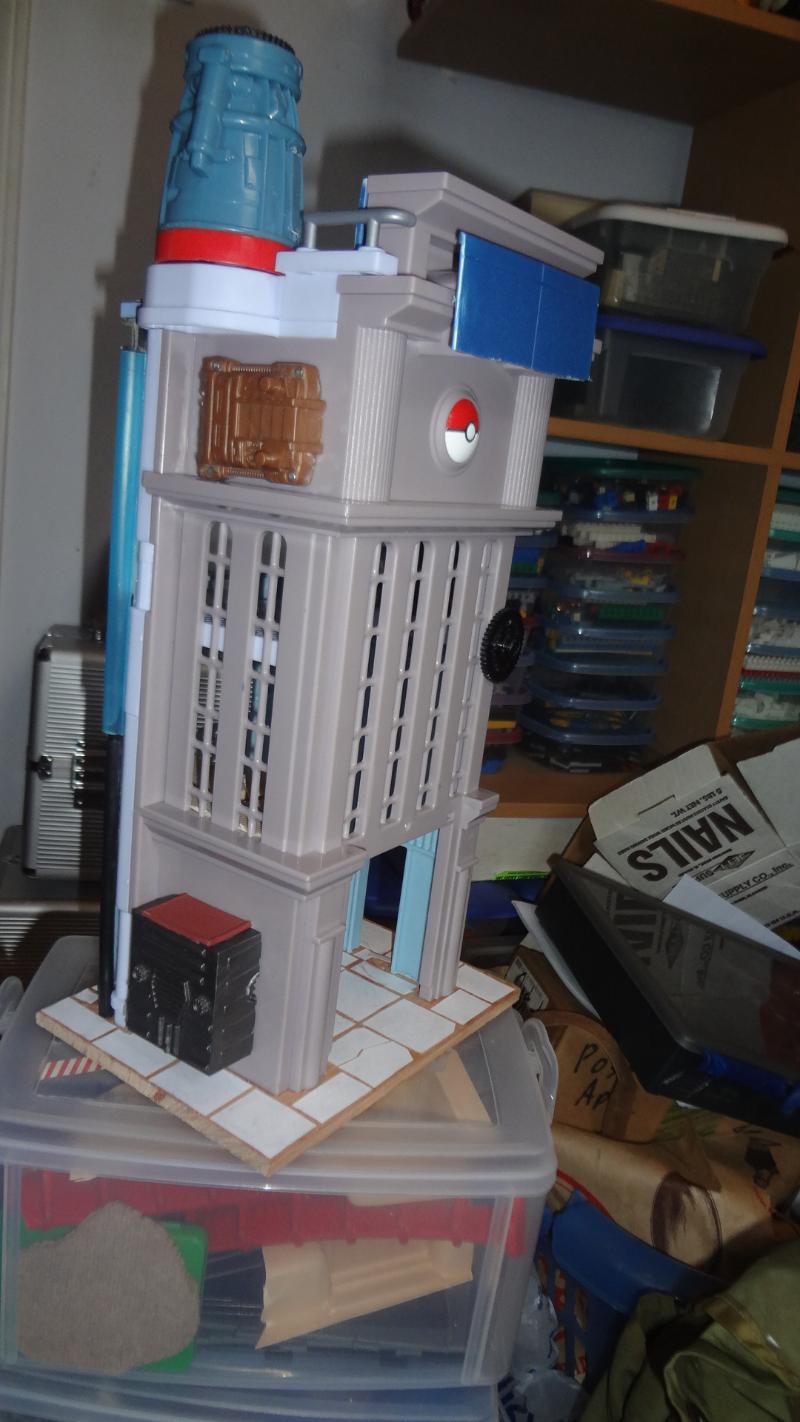
The right and rear are mostly cut-up sections of the Toy Story structure. I used superglue and plastic cement when possible, but epoxy was necessary for much of the construction due to the soft plastic of the Toy Story structure.
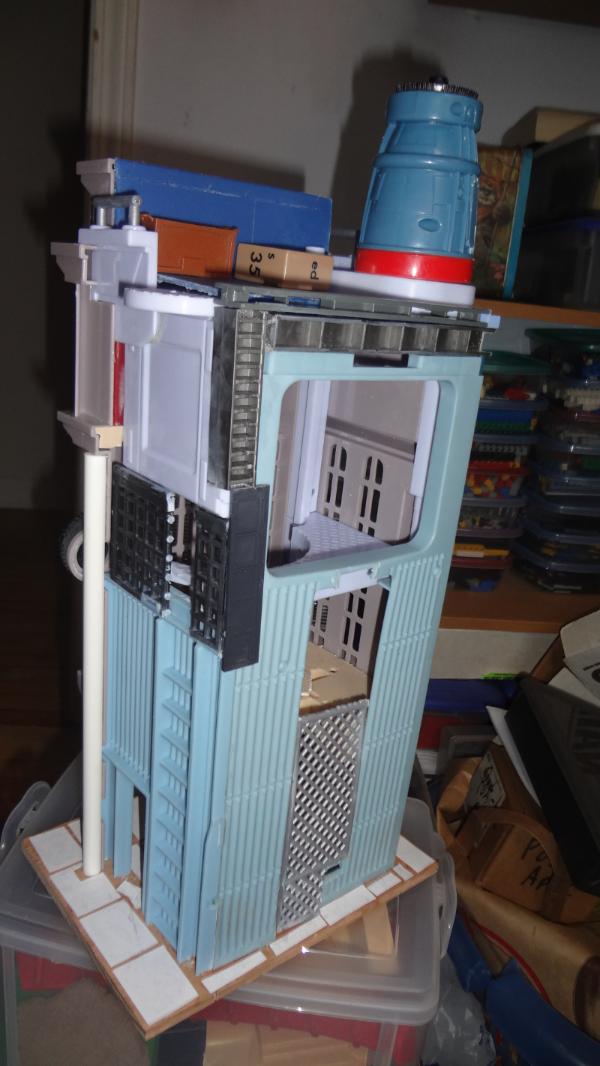
They are epoxyed to a wood base with cut up card for the cement flooring.
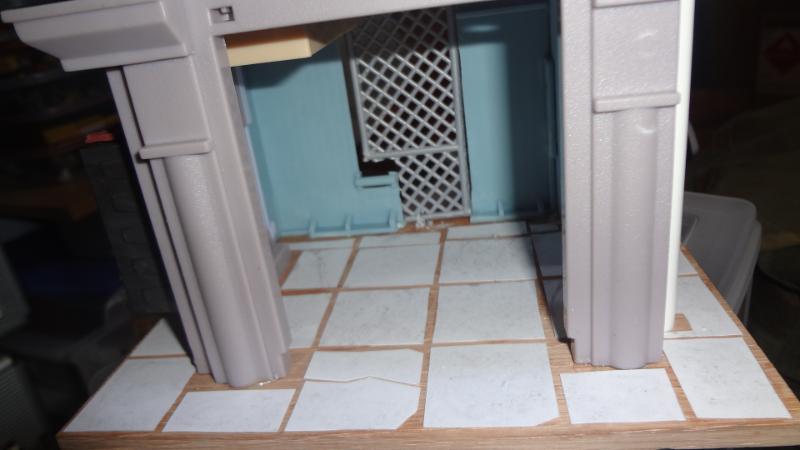
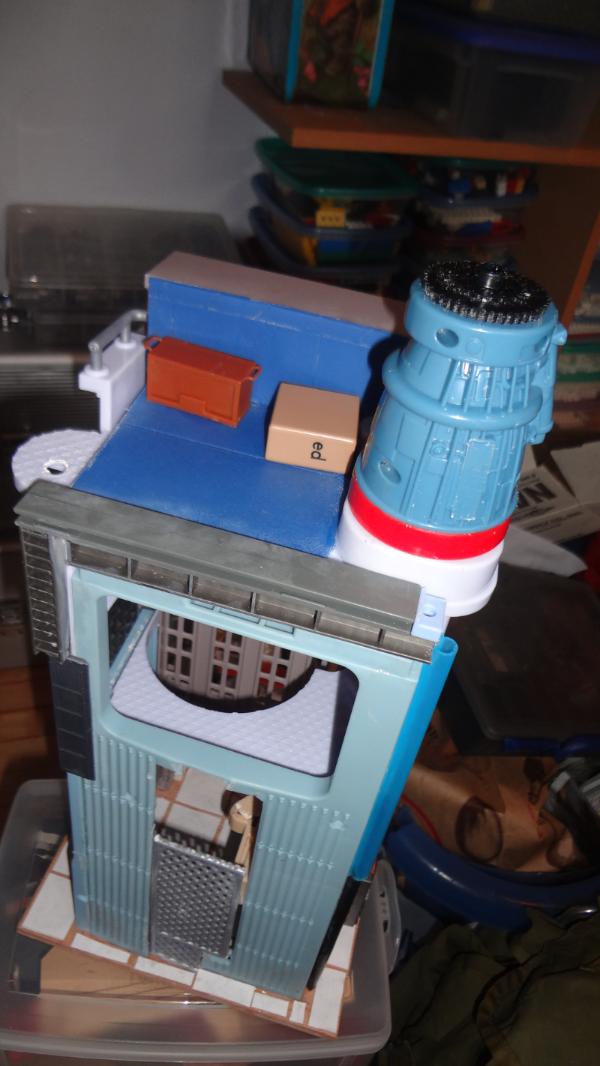
The basic building got covered with lots of other bits including toy pieces and crates, then was topped off with a Happy Meal toy chunk.
Then I rubbed the sides and ground sections with pre-mixed cement to add texture, then spray painted the whole thing black.
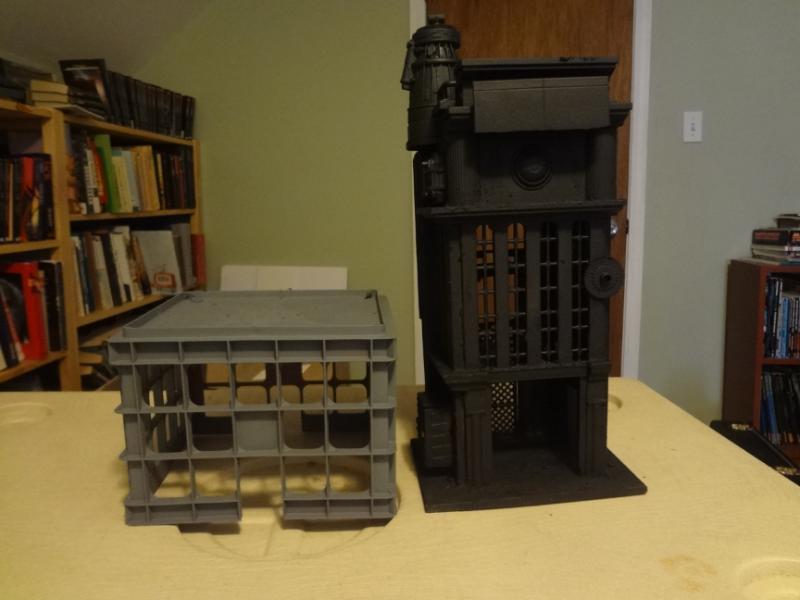
At this point, I realized I'd made a mistake. I had bought fireplace cement instead of premixed concrete patch for the painted surface, and the texture began to crumble off! I stuck it on the shelf in disgust, where it stayed for almost a year. Ugh!
Finishing and Finished!
Recently, I decided to finish this one off. I took a toothbrush to the entire structure and brushed off any loose cement, then painted black gesso over the bare and rough areas to re-prime the piece and stabilize the texture that remained. Then it was simply a matter of drybrushing on the main colors, a couple of heavy brown washes and then a drybrush of tan, and I was done.
There's always more that can be done, but for run-down terrain, I prefer quick and dirty painting. Here's a pic of the finished product. The miniatures in the pictures are a Mad Cat mech (by Joyride), Urban War Gladiators and a Void Junkers buggy.
Front
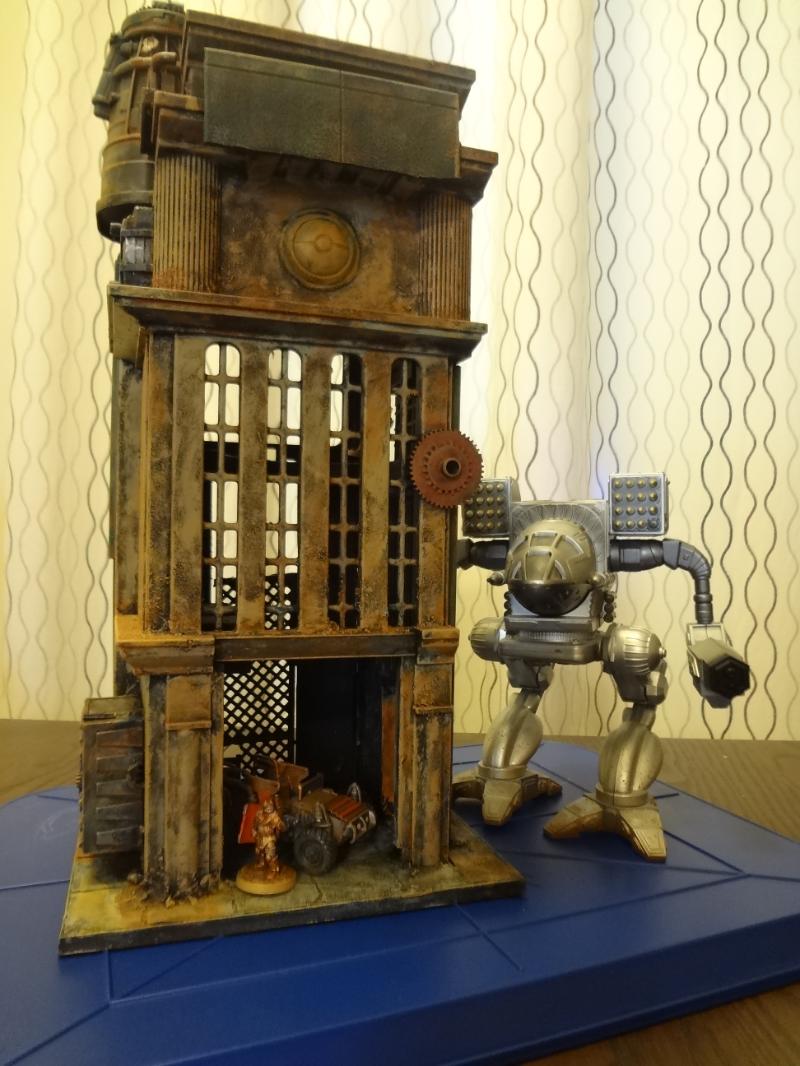
Right
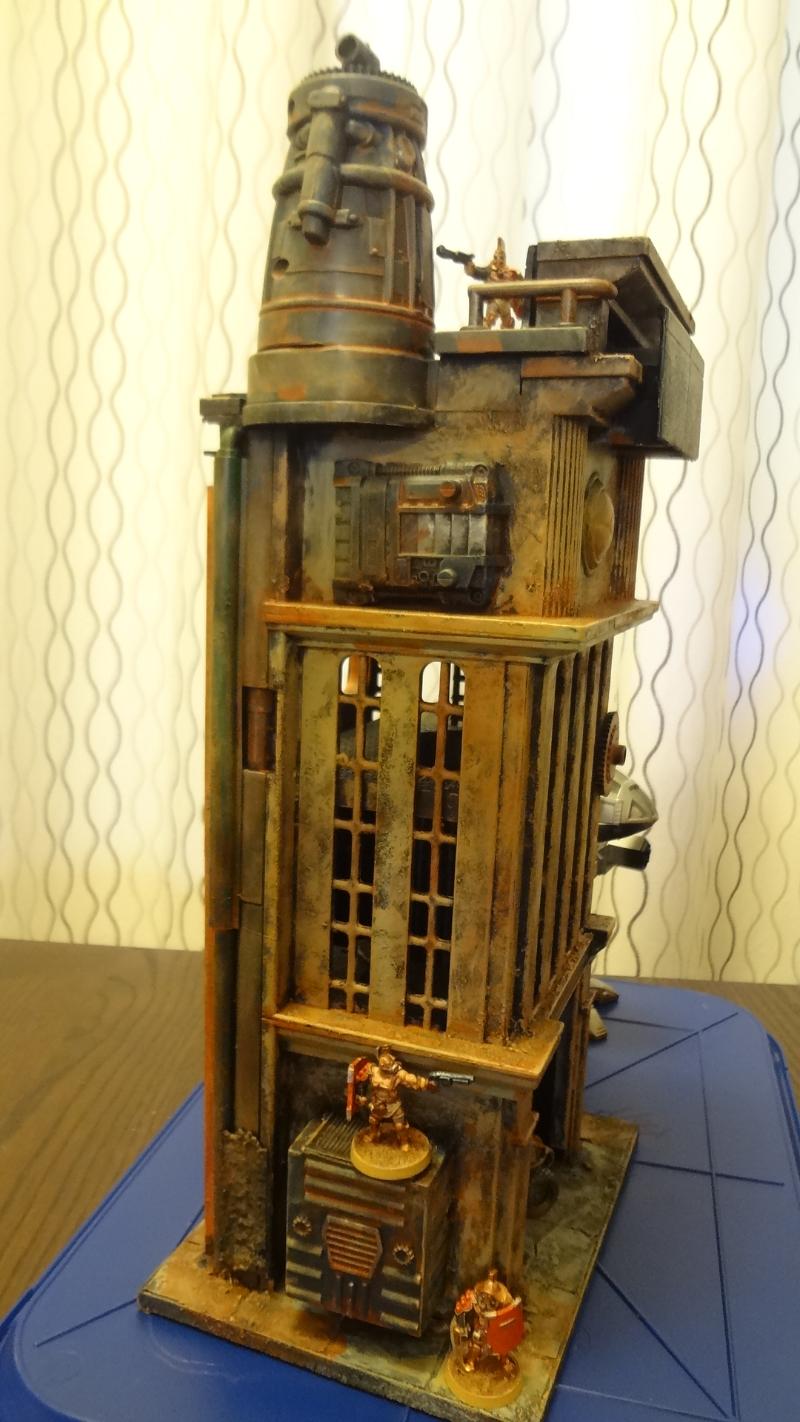
Back (a bit too much flash, but it shows the two upper floors with room for miniatures)
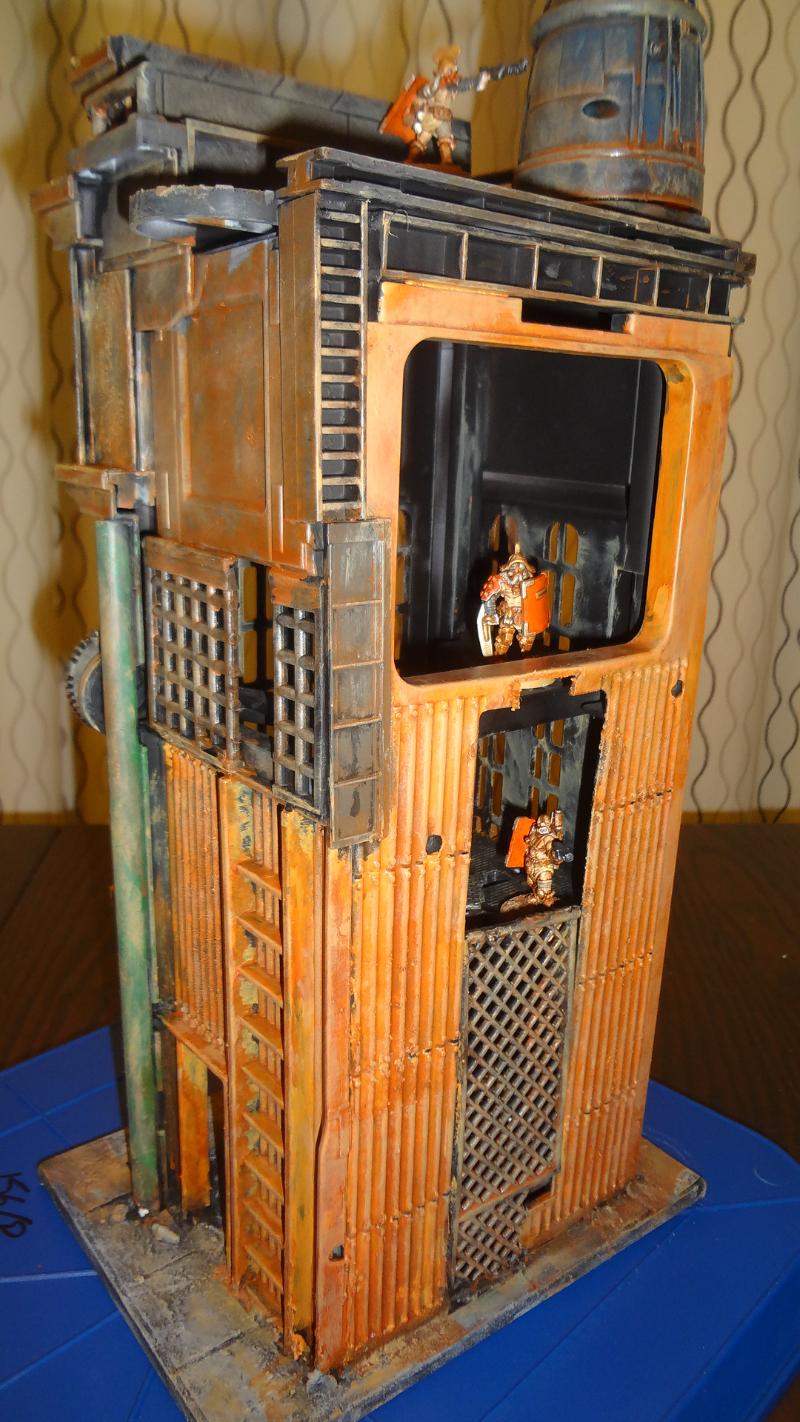
Left
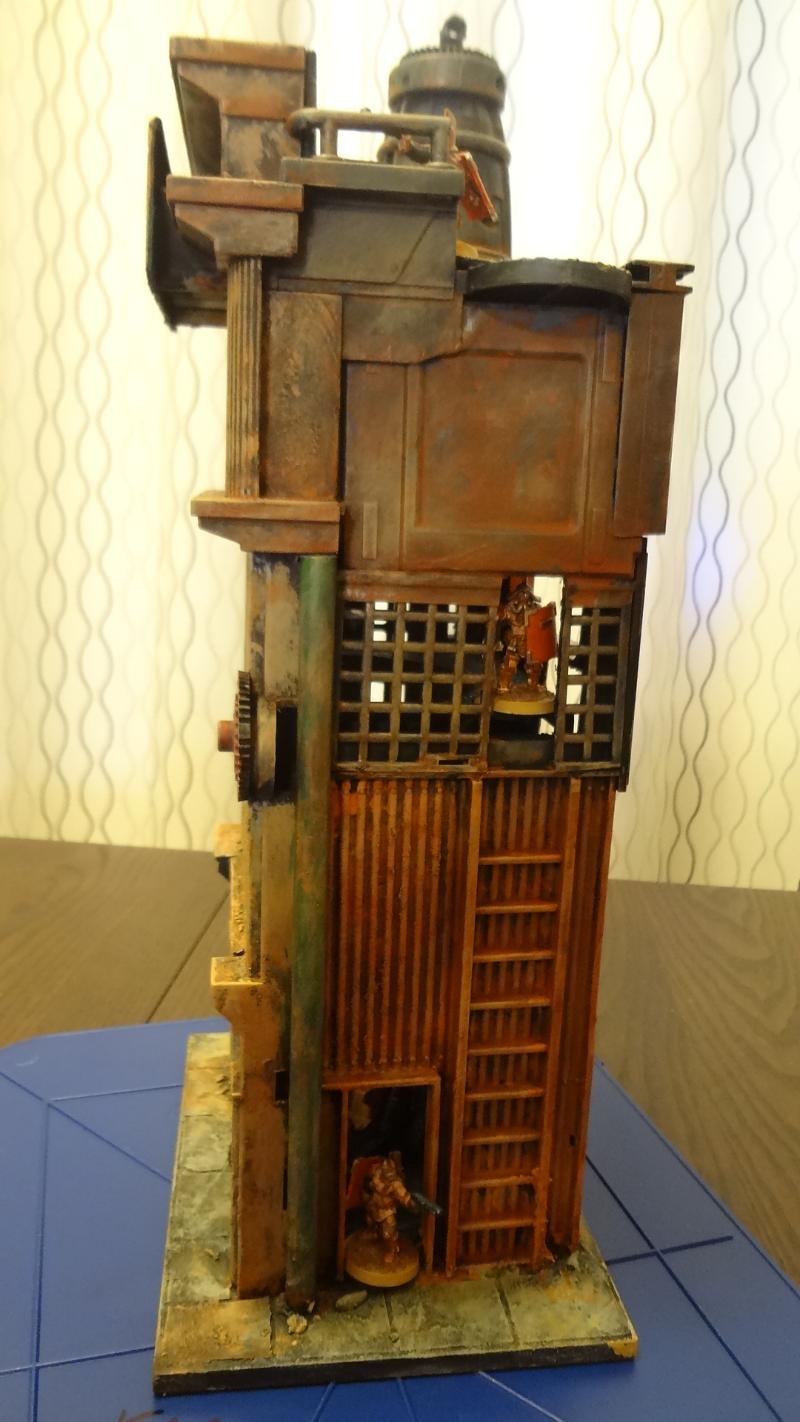
I'm particularly pleased with the roof. The crates are glued in permanently to allow minis to see over the front.
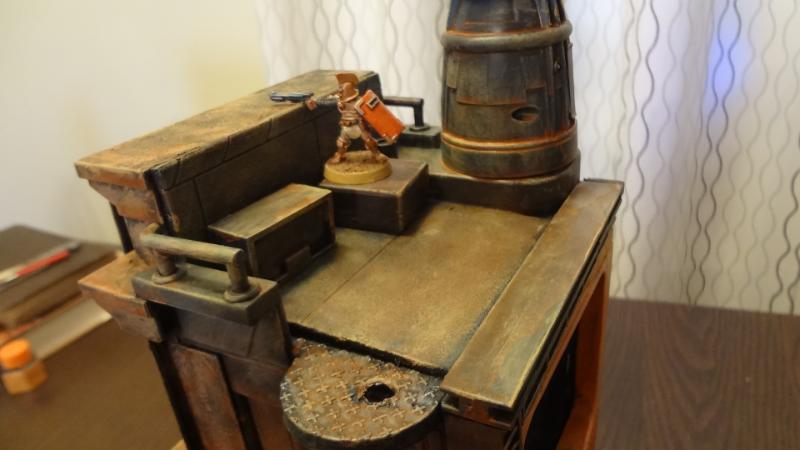
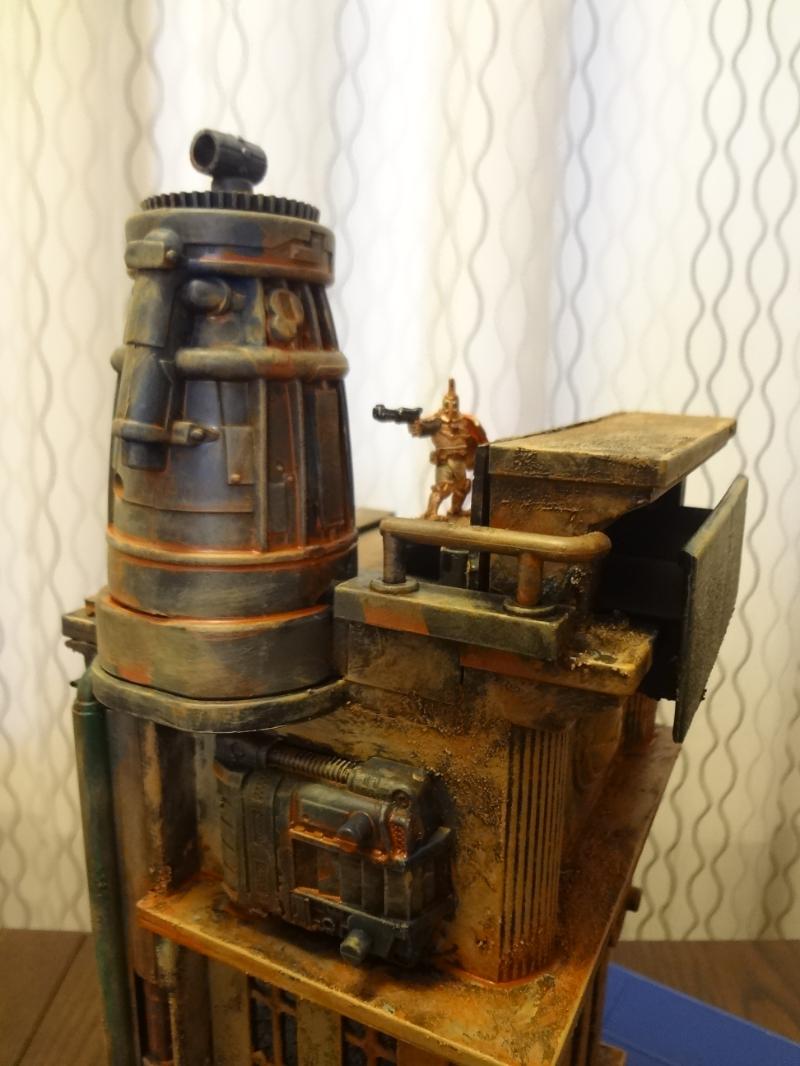
The street level view has some nice details as well.
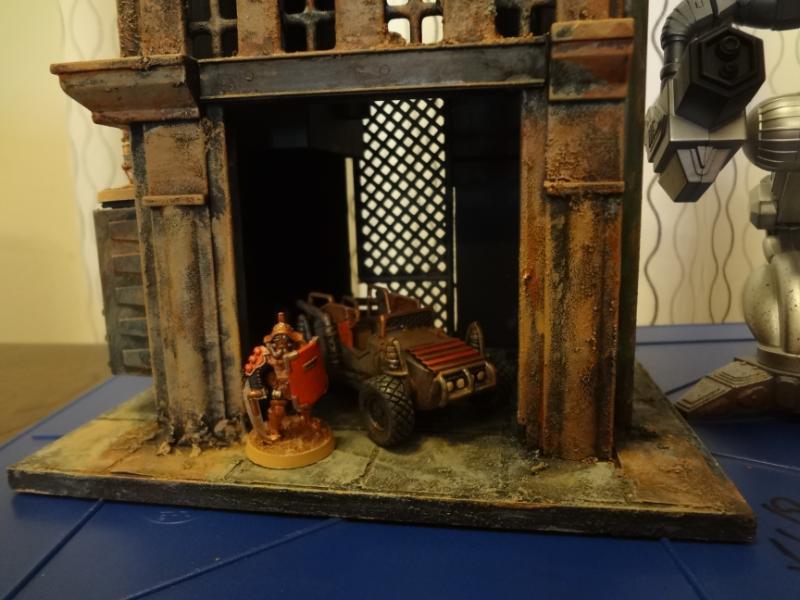
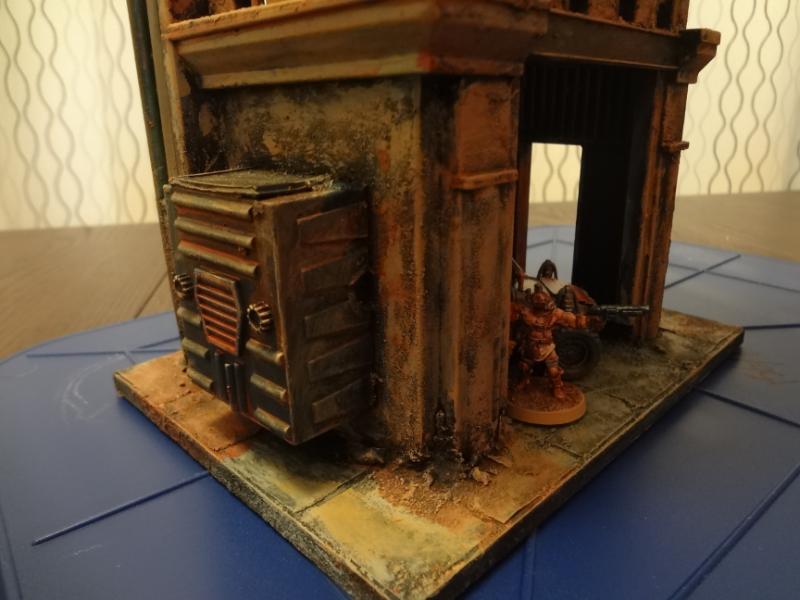
I'm very pleased with the way this turned out. This is the largest single piece of terrain I've ever built, and it wasn't terribly difficult to construct, nor was it very time consuming compared to smaller pieces. My collection currently has a lot of small and medium-sized buildings for skirmish games. This, however, is the start of a series of urban structures that will still be well suited to skirmish games, but large enough to be useful for my 28mm Mech Attack games as well. The future is going to be BIG!
-- Karl, Chicago Skirmish Wargames club member

5 comments:
Is nice :)
Sweet work!
Just saw this. Totally awesome sauce! I wish i had the vision to see the terrain uses for old toys. It looks great.
Thanks folks,
I forgot to reply earlier. Glad you all liked it. As luck would have it, I just picked up another one of the toy story playsets (missing some parts but noting essential) for a buck at a resale shop, this one I'll probably keep intact and just build onto it. When I finish the other projects…
This is so cool - you are a clearly a talented guy with a creative eye for potential!
Thanks for sharing
Post a Comment
Note: Only a member of this blog may post a comment.