Tuesday, March 31, 2015

Adepticon: A First-Timer's Perspective

Earlier this month I had the pleasure of attending Adepticon 2015, and here's a review of the experience from my varied perspectives, as a:

  • First time attendee who isn't a player of the flagship Adepticon games 
  • Terrain-building addict 
  • First time Adepticon game master 
  • Bargain hunter 


Thoughts as a First-Time Attendee
As an attendee, I have to say that the convention is very impressive. Even though I don't play any of the flagship Adepticon games (such as Warhammer 40,000, Warhammer Fantasy, Flames of War, Warmachine or Hordes), I found a lot to like about this convention.

From what Tim tells me, Adepticon has recently widened it's scope to cover other sci-fi and fantasy games, and it showed this year. This expansion wasn't limited to some of the other big players like Reaper Miniatures, Mantic Games, Bolt Action and Infinity. There were demos and booths for small local games like Wreck Age, recent Kickstarter successes like Aetherium and Super Dungeon Explore, startups like Broken Contract, and a host of vendors selling all manner of Mminiature supplies and services.

To be fair, many of these ancilary companies were directly related to the "big" games, but there was still alot to enjoy.
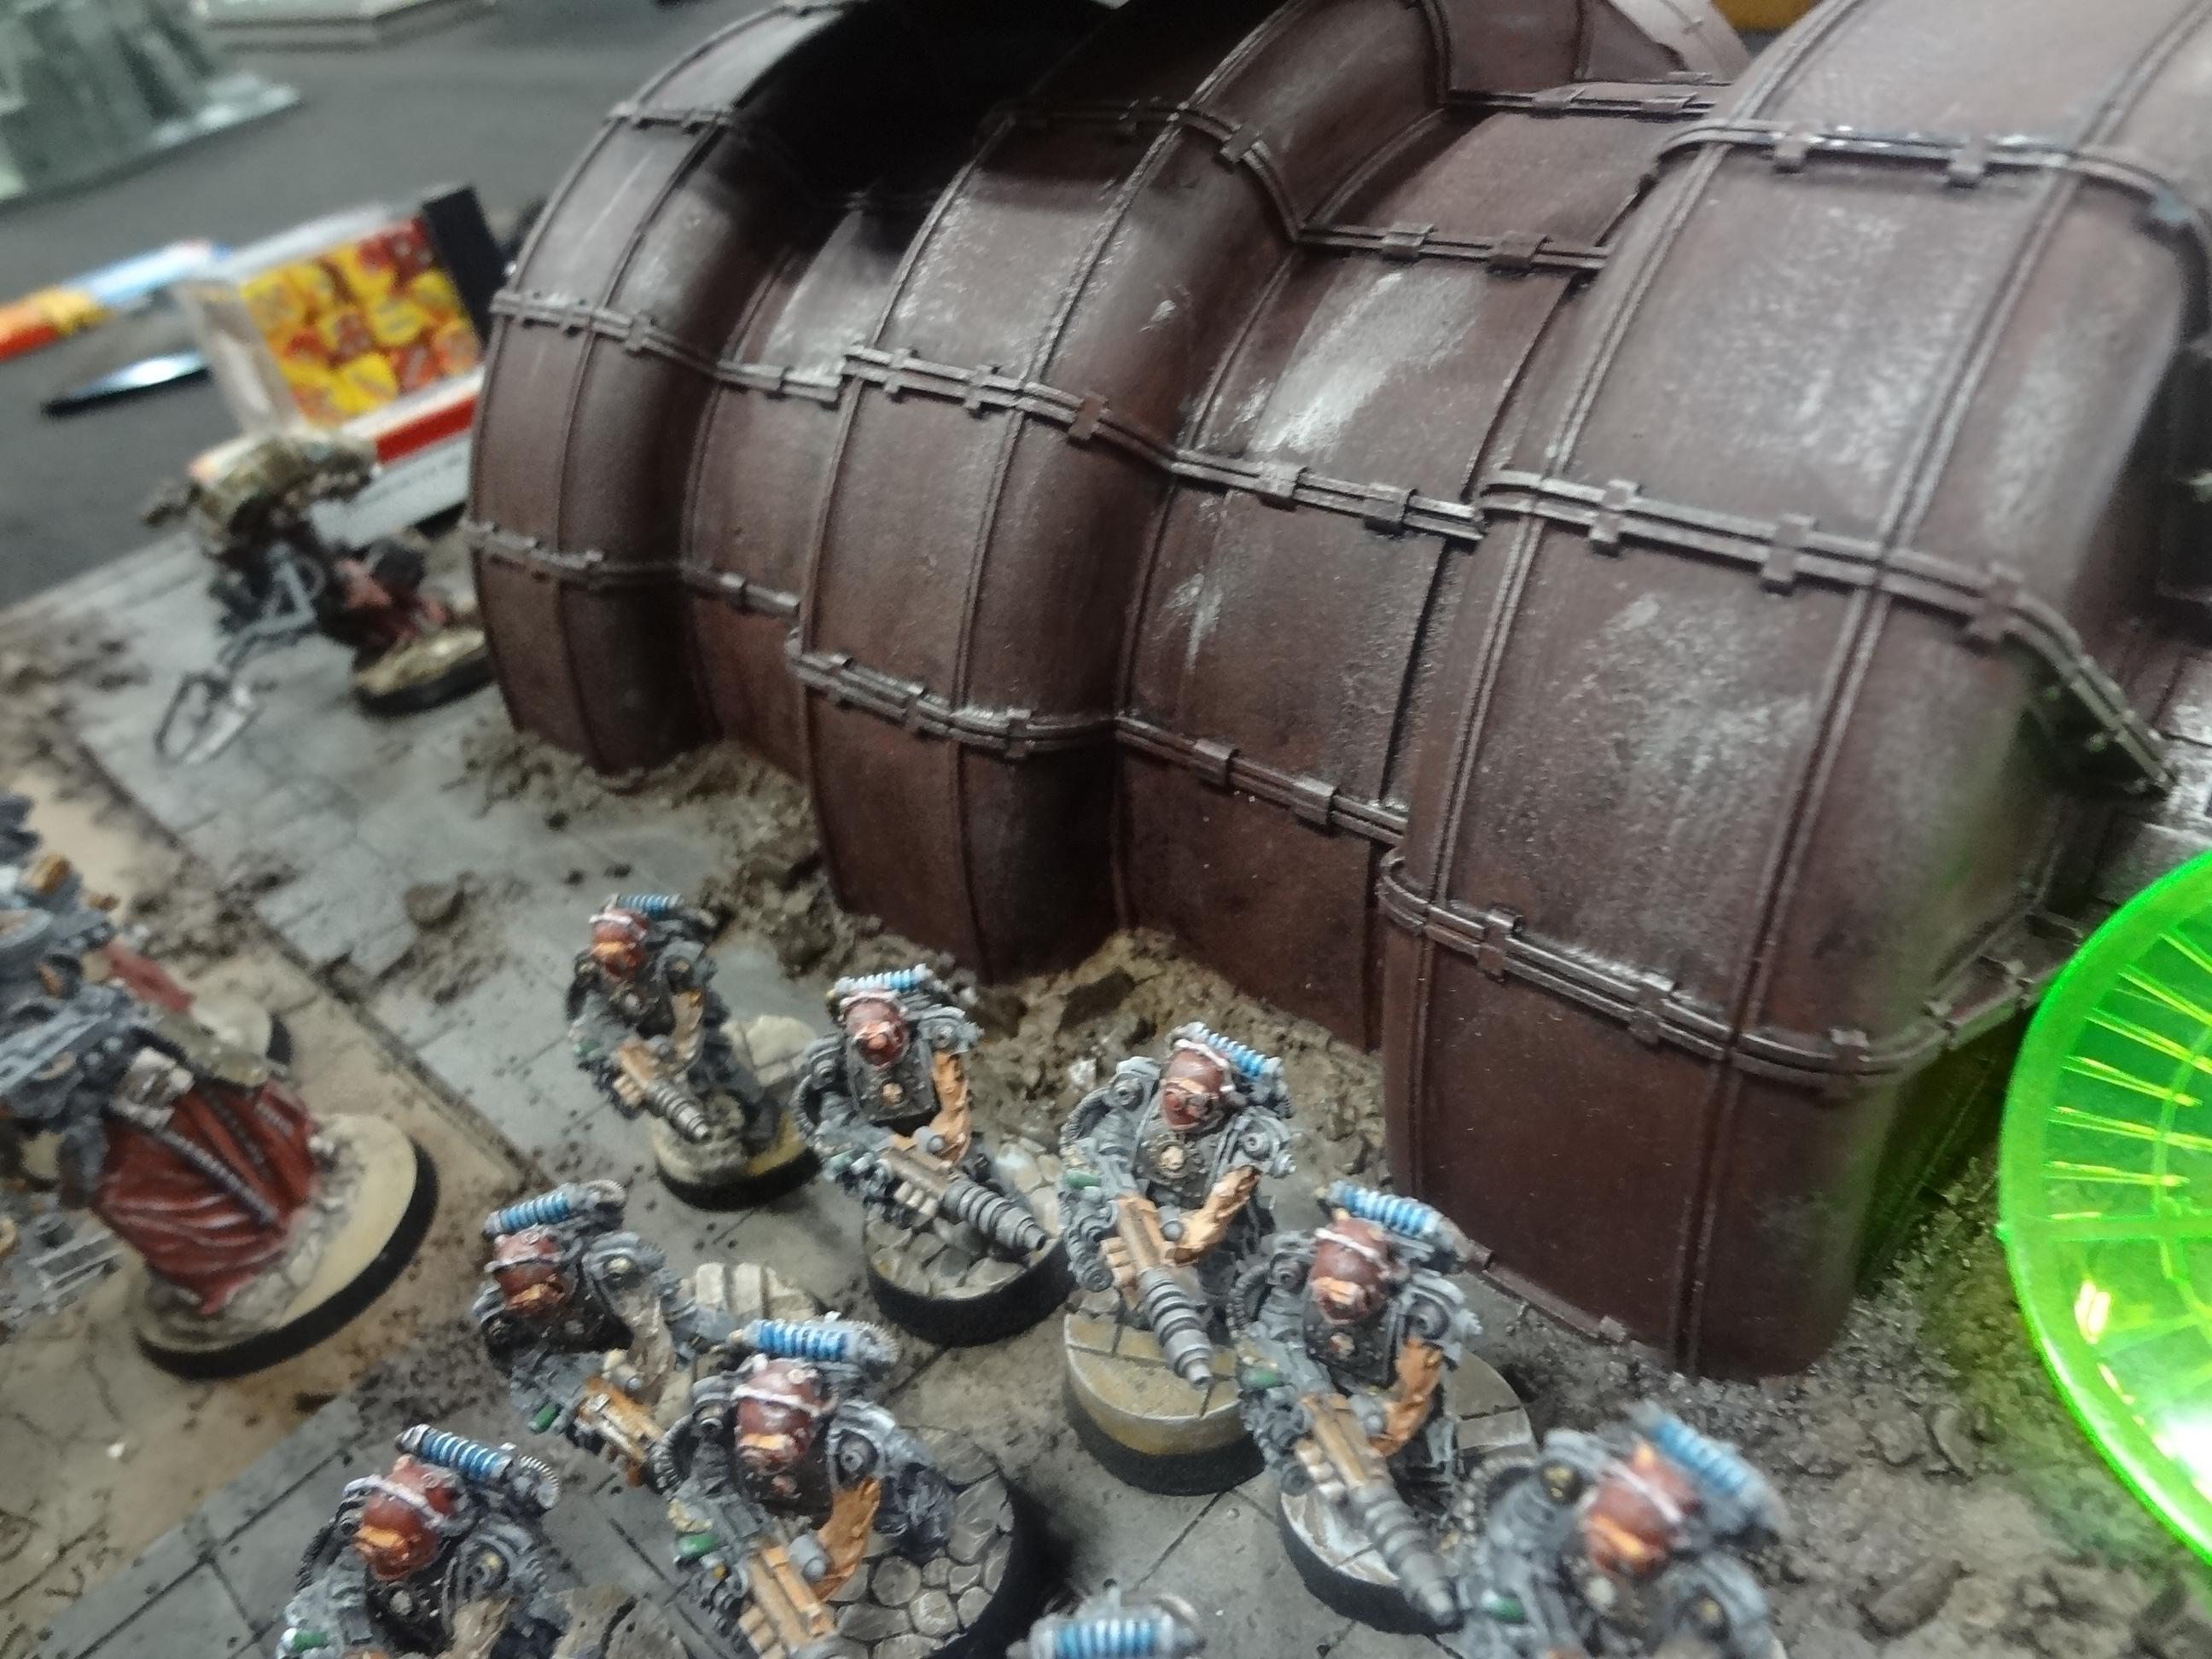


I'll say right up front that the convention also did a bit to improve my views of the "big games." When we game at the FLGS, I invariably find the 40k tables to be loaded with unpainted, half-assembled miniatures. To the guy playing with three sets of unpainted dreadknight legs (just the legs): I'm looking at you. However, at Adepticon, the 40k tables were filled with wonderfully painted miniatures alongside good terrain and thematic boards.
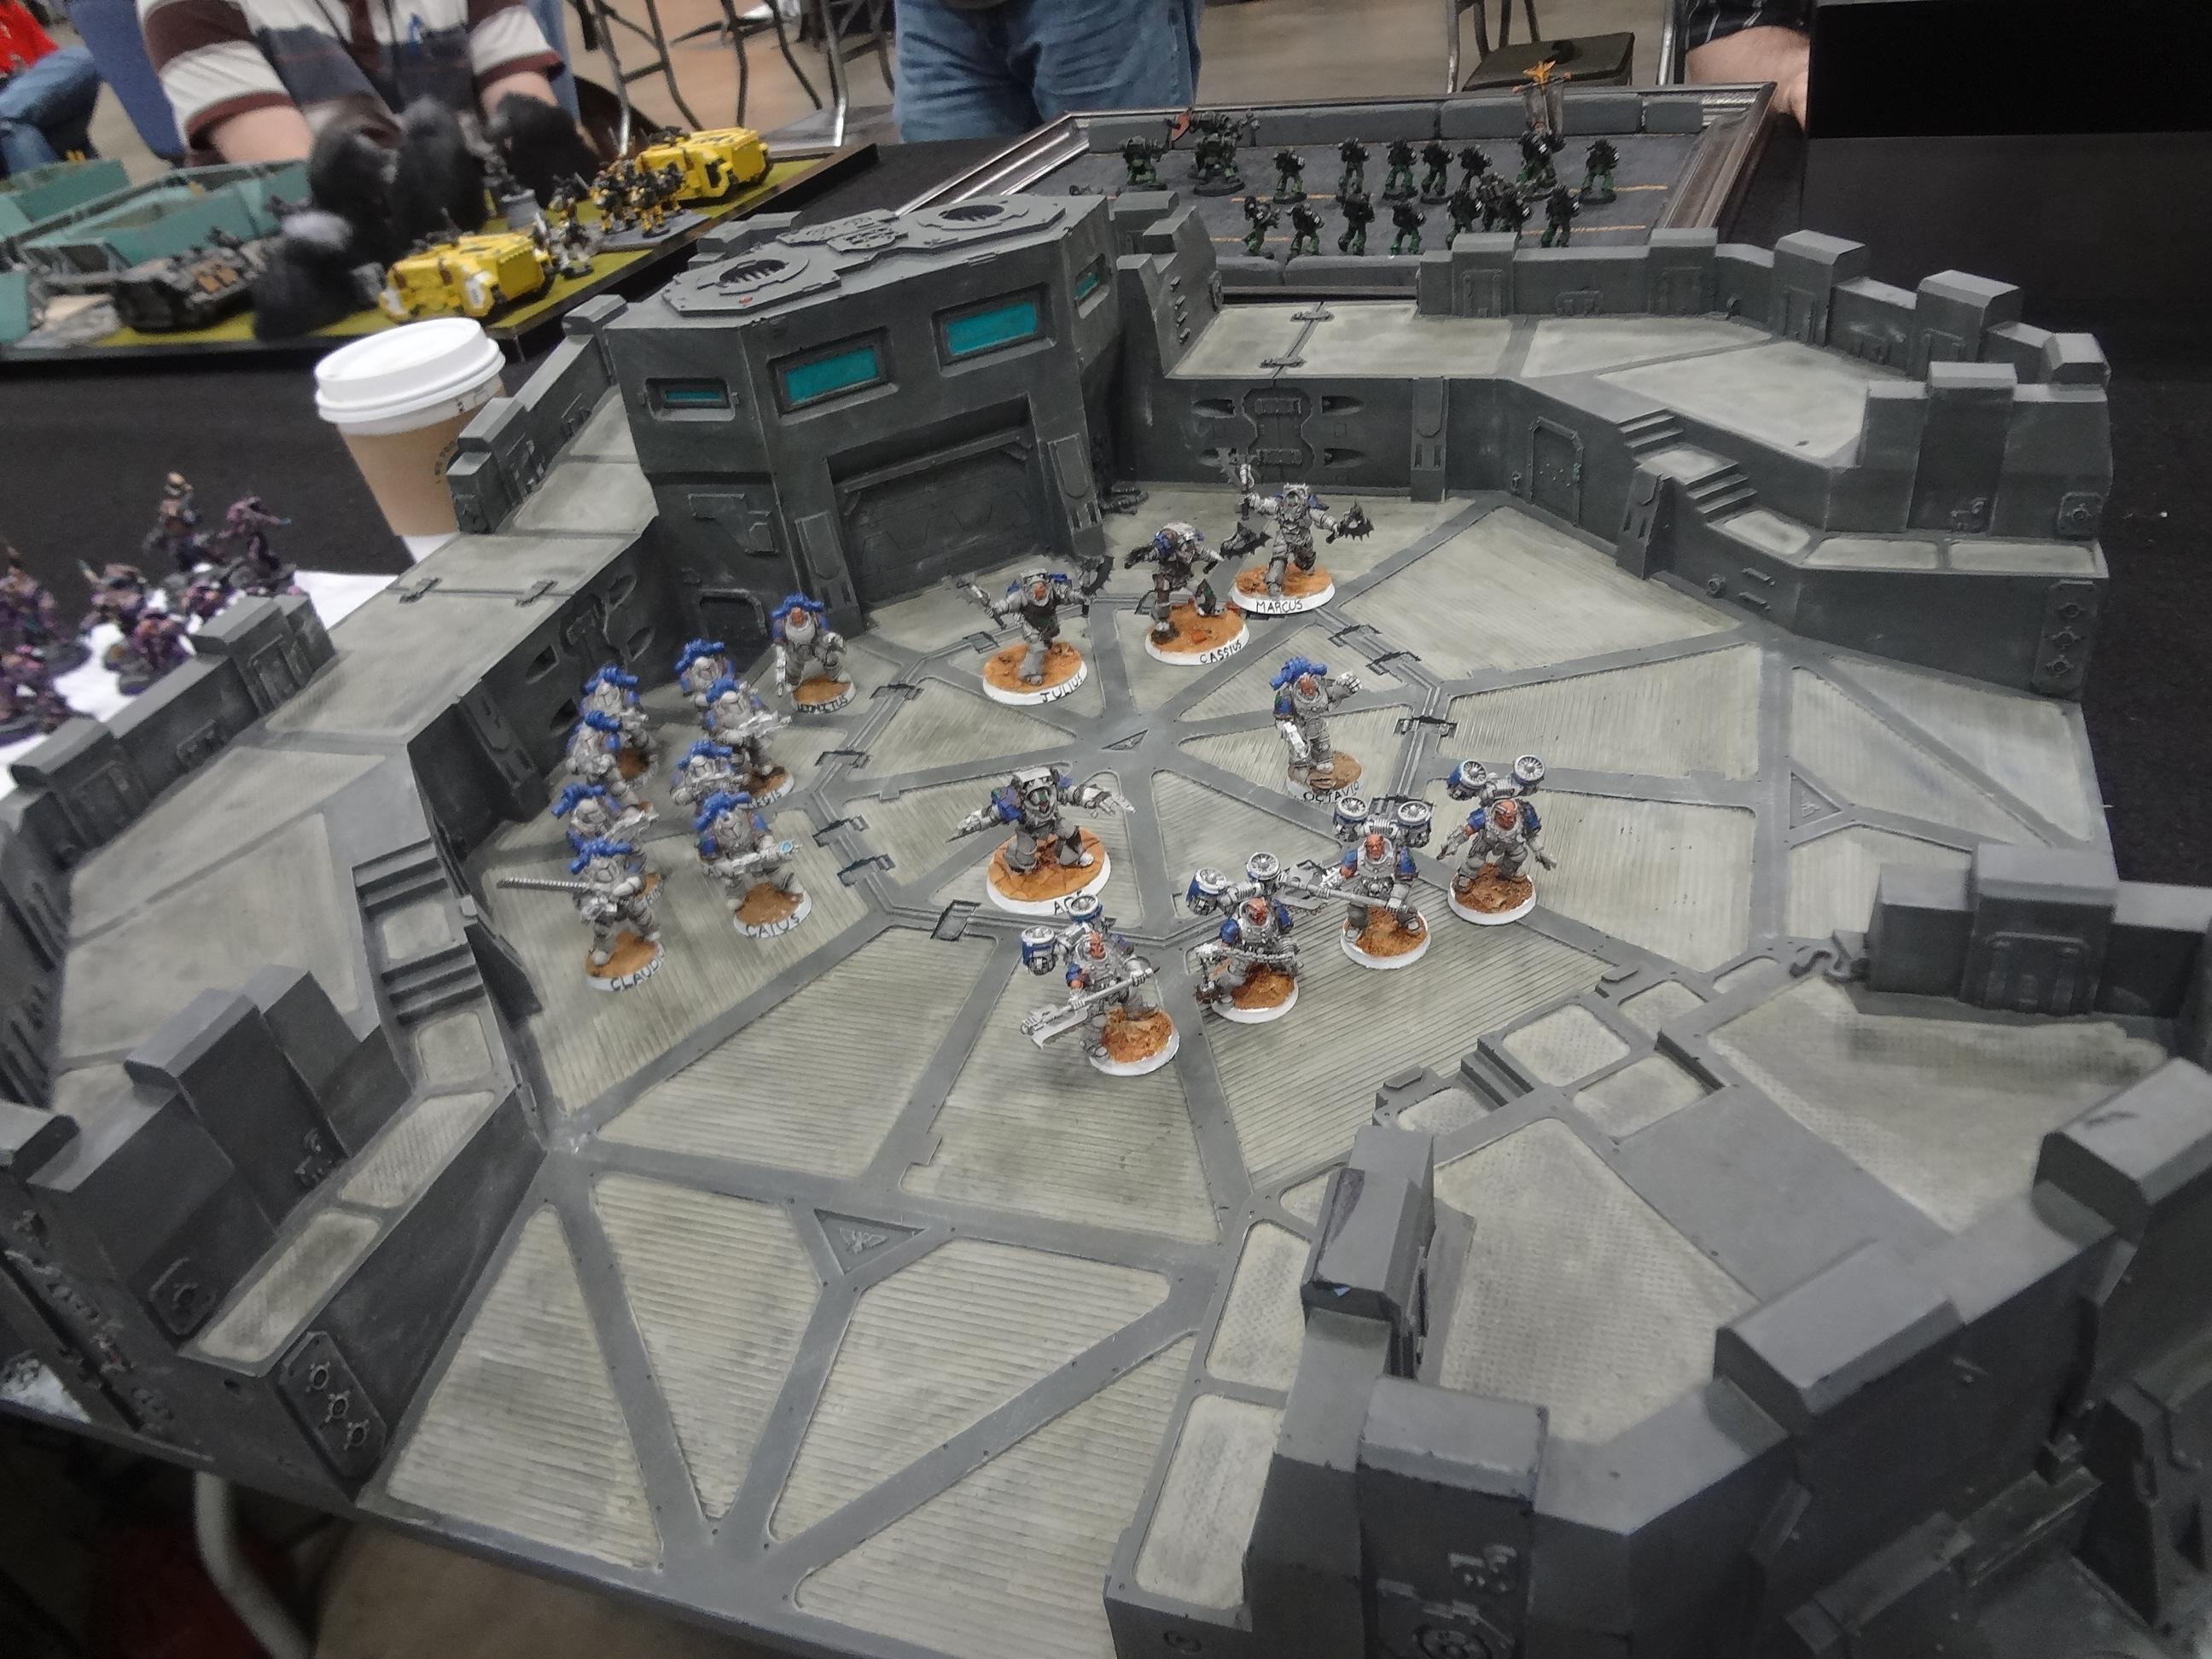


I didn't take any pictures of them, but the Hordes (see what I did there...) of bare metal Warmachine miniatures seen on shop tables were instead replaced by lovely paint jobs showing off the incredible detail of these elaborate sculpts.

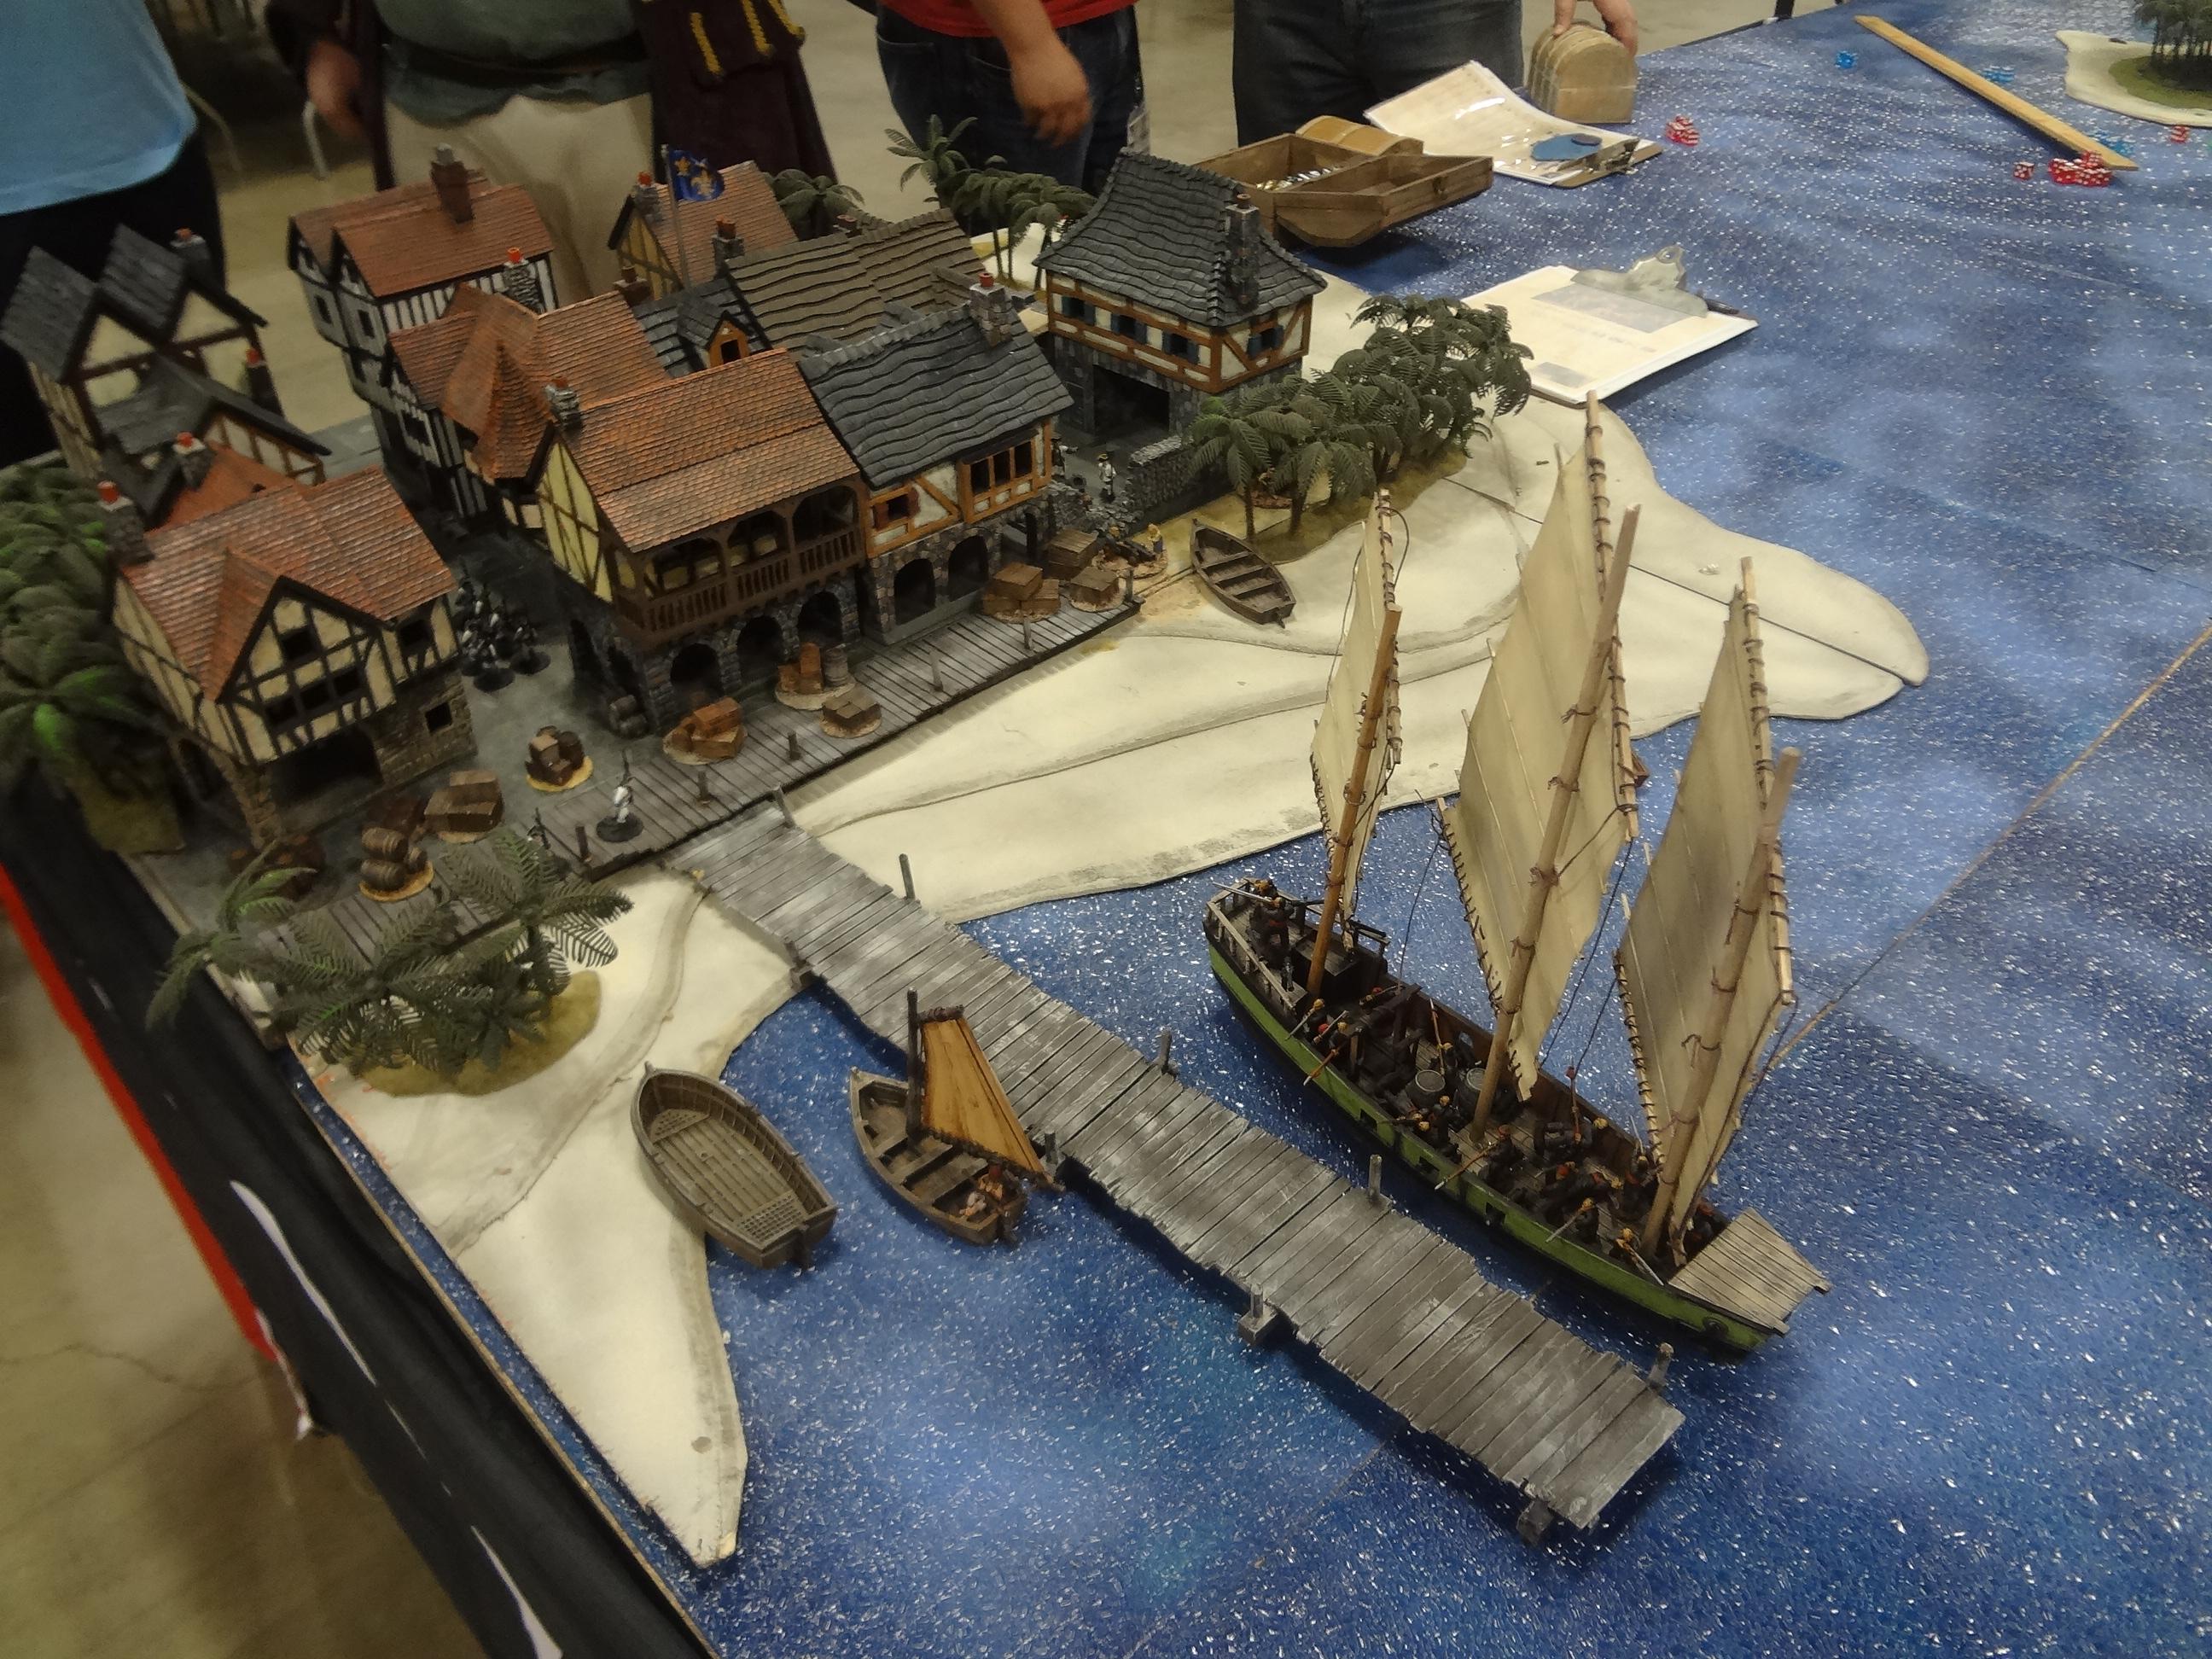
As an example of the variety, Tim, Mike and I were treated to a full guided game of SAGA, a historical Dark Ages warband combat game. The experience was extremely enjoyable, and as Tim has the rules, we will definitely be trying this game out again soon. Tim and I also played in a massive naval game that I'll review in a future blog post.


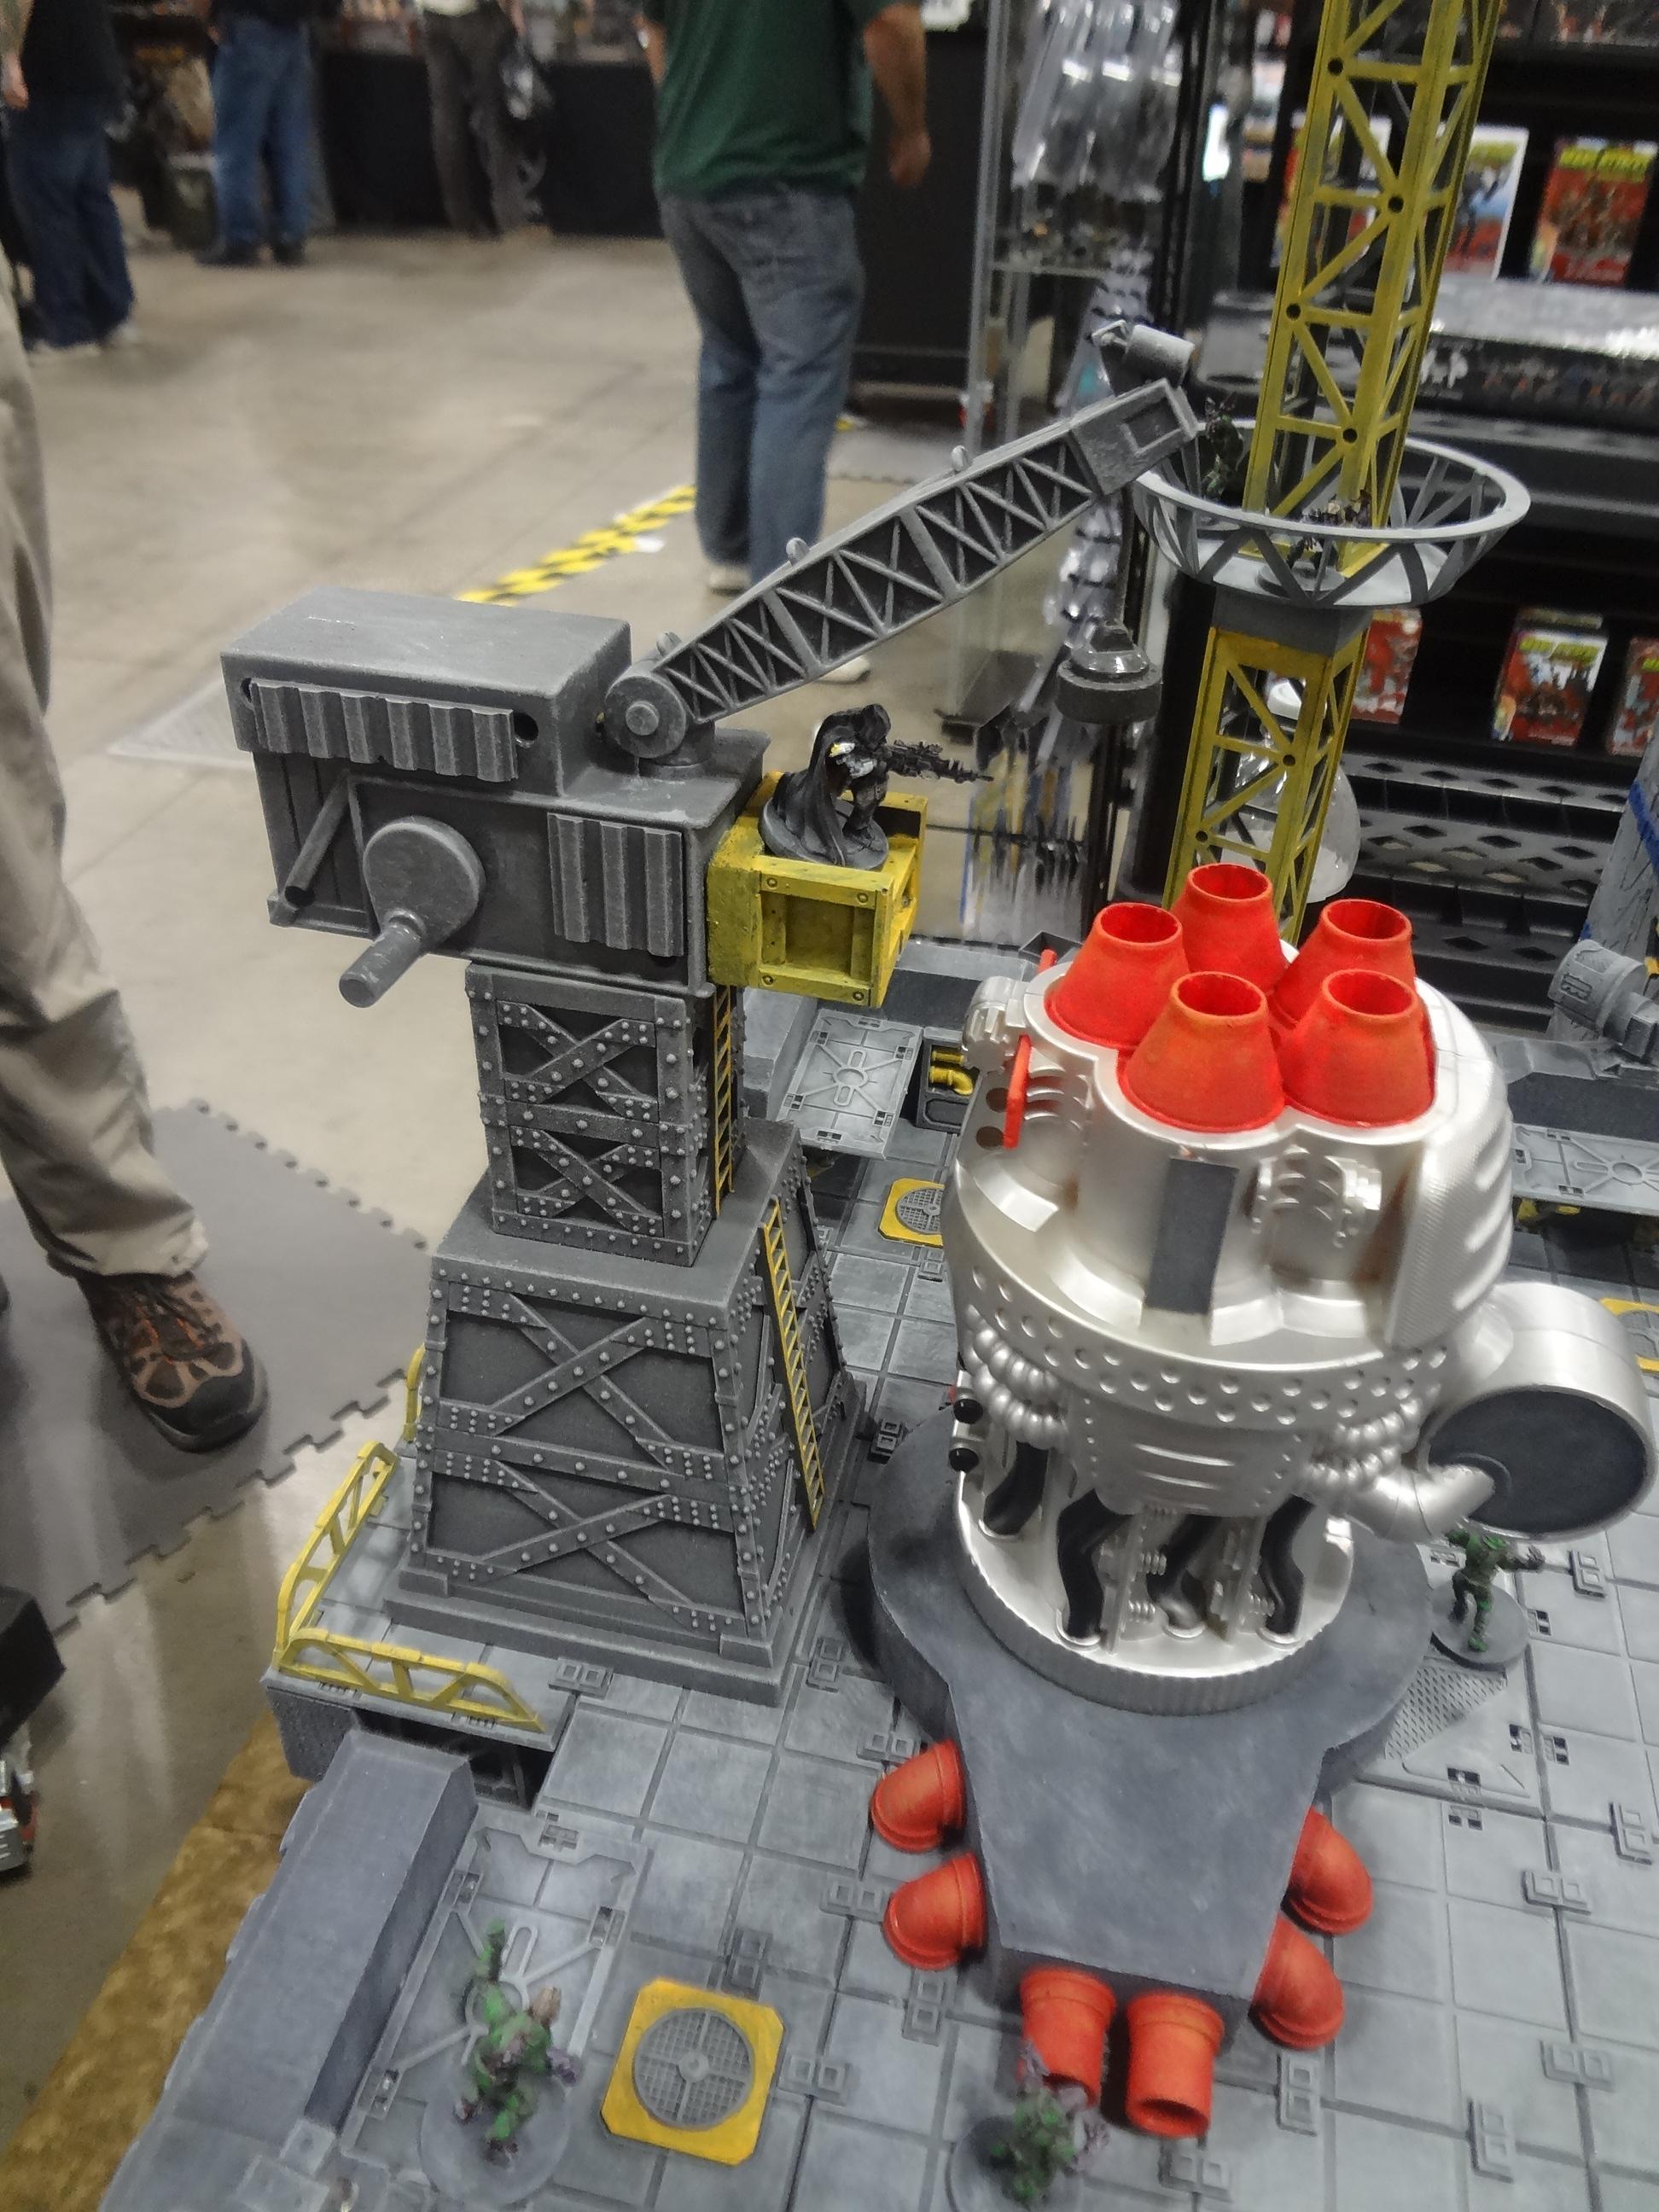
In the vendor hall, I had an excellent conversation with Mike of Terrainaholic.com about his construction of this display at the Mantic booth. Note the interesting use of NERF guns and other toys.


Thoughts from the Terrain Addict's View
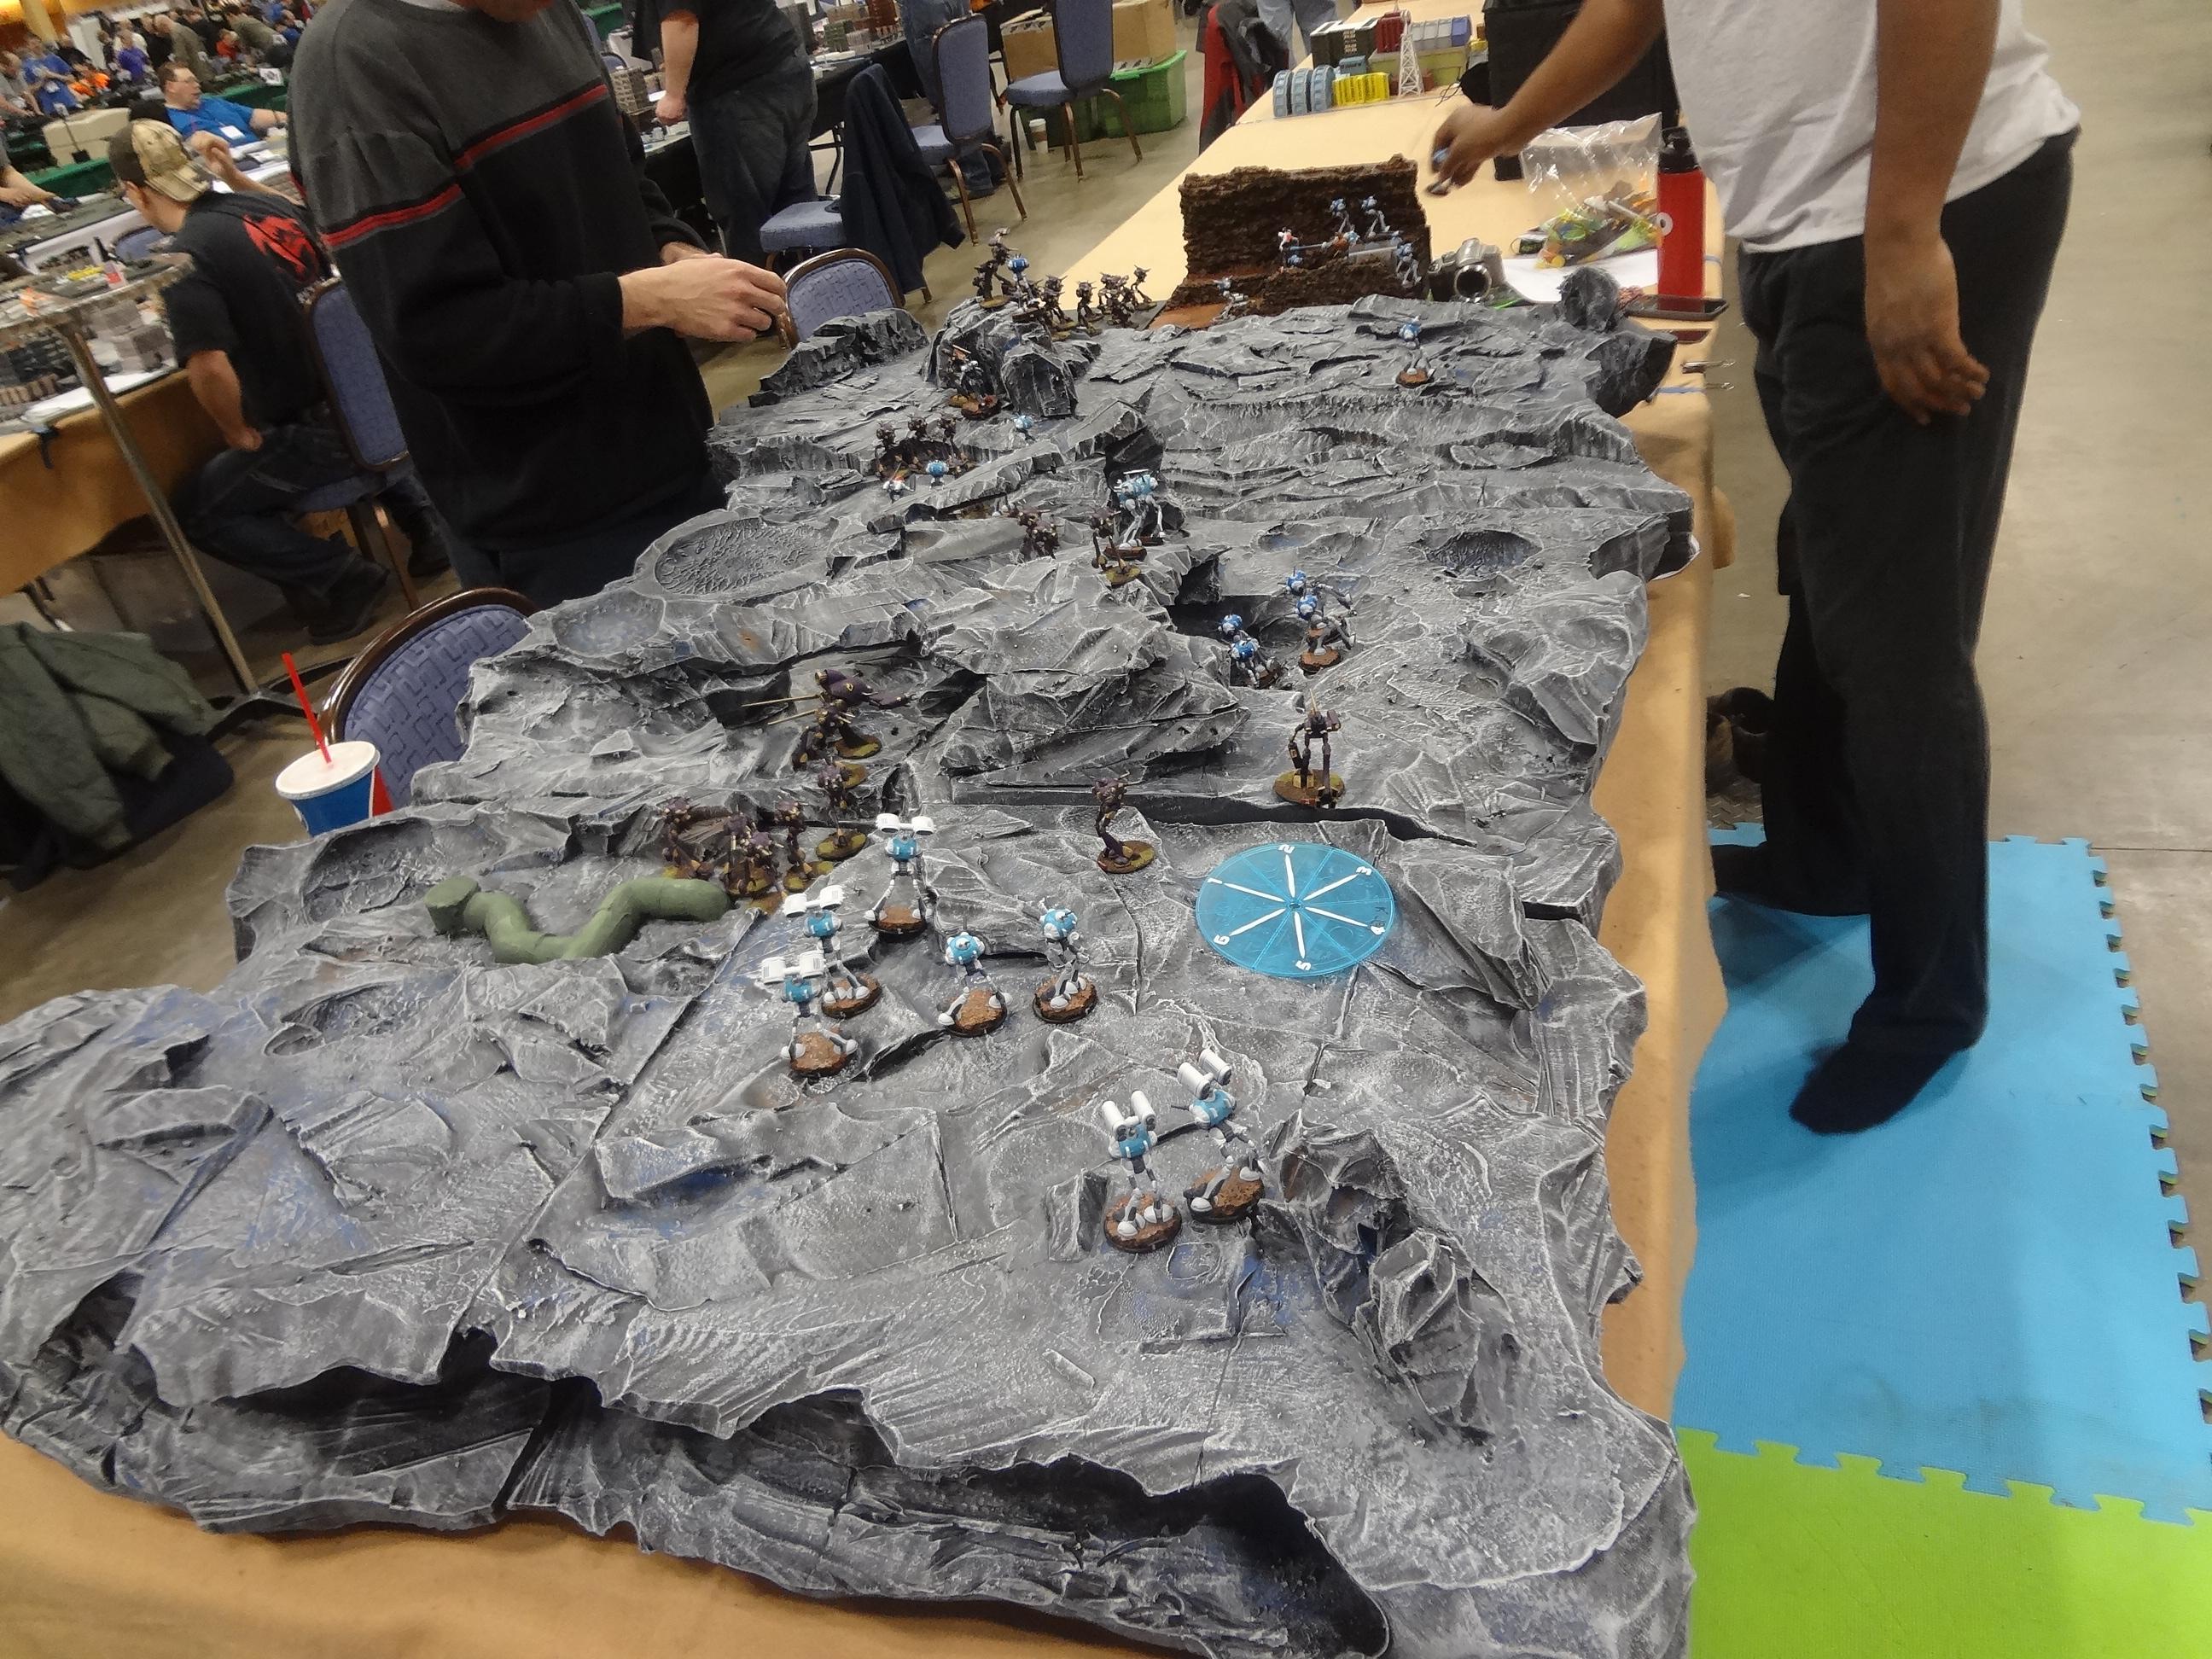
Much of my interest in attending was seeing what kind of terrain folks had constructed. Even if you're not a paying attendee, Adepticon is a joy to walk through just to see the variety of terrain on display, such as this amazing asteroid setup for Robotech.

We saw a number of terrain pieces based around common sizes of buckets combined with laser-cut wood MDF elements. I must find out more about this clever product.
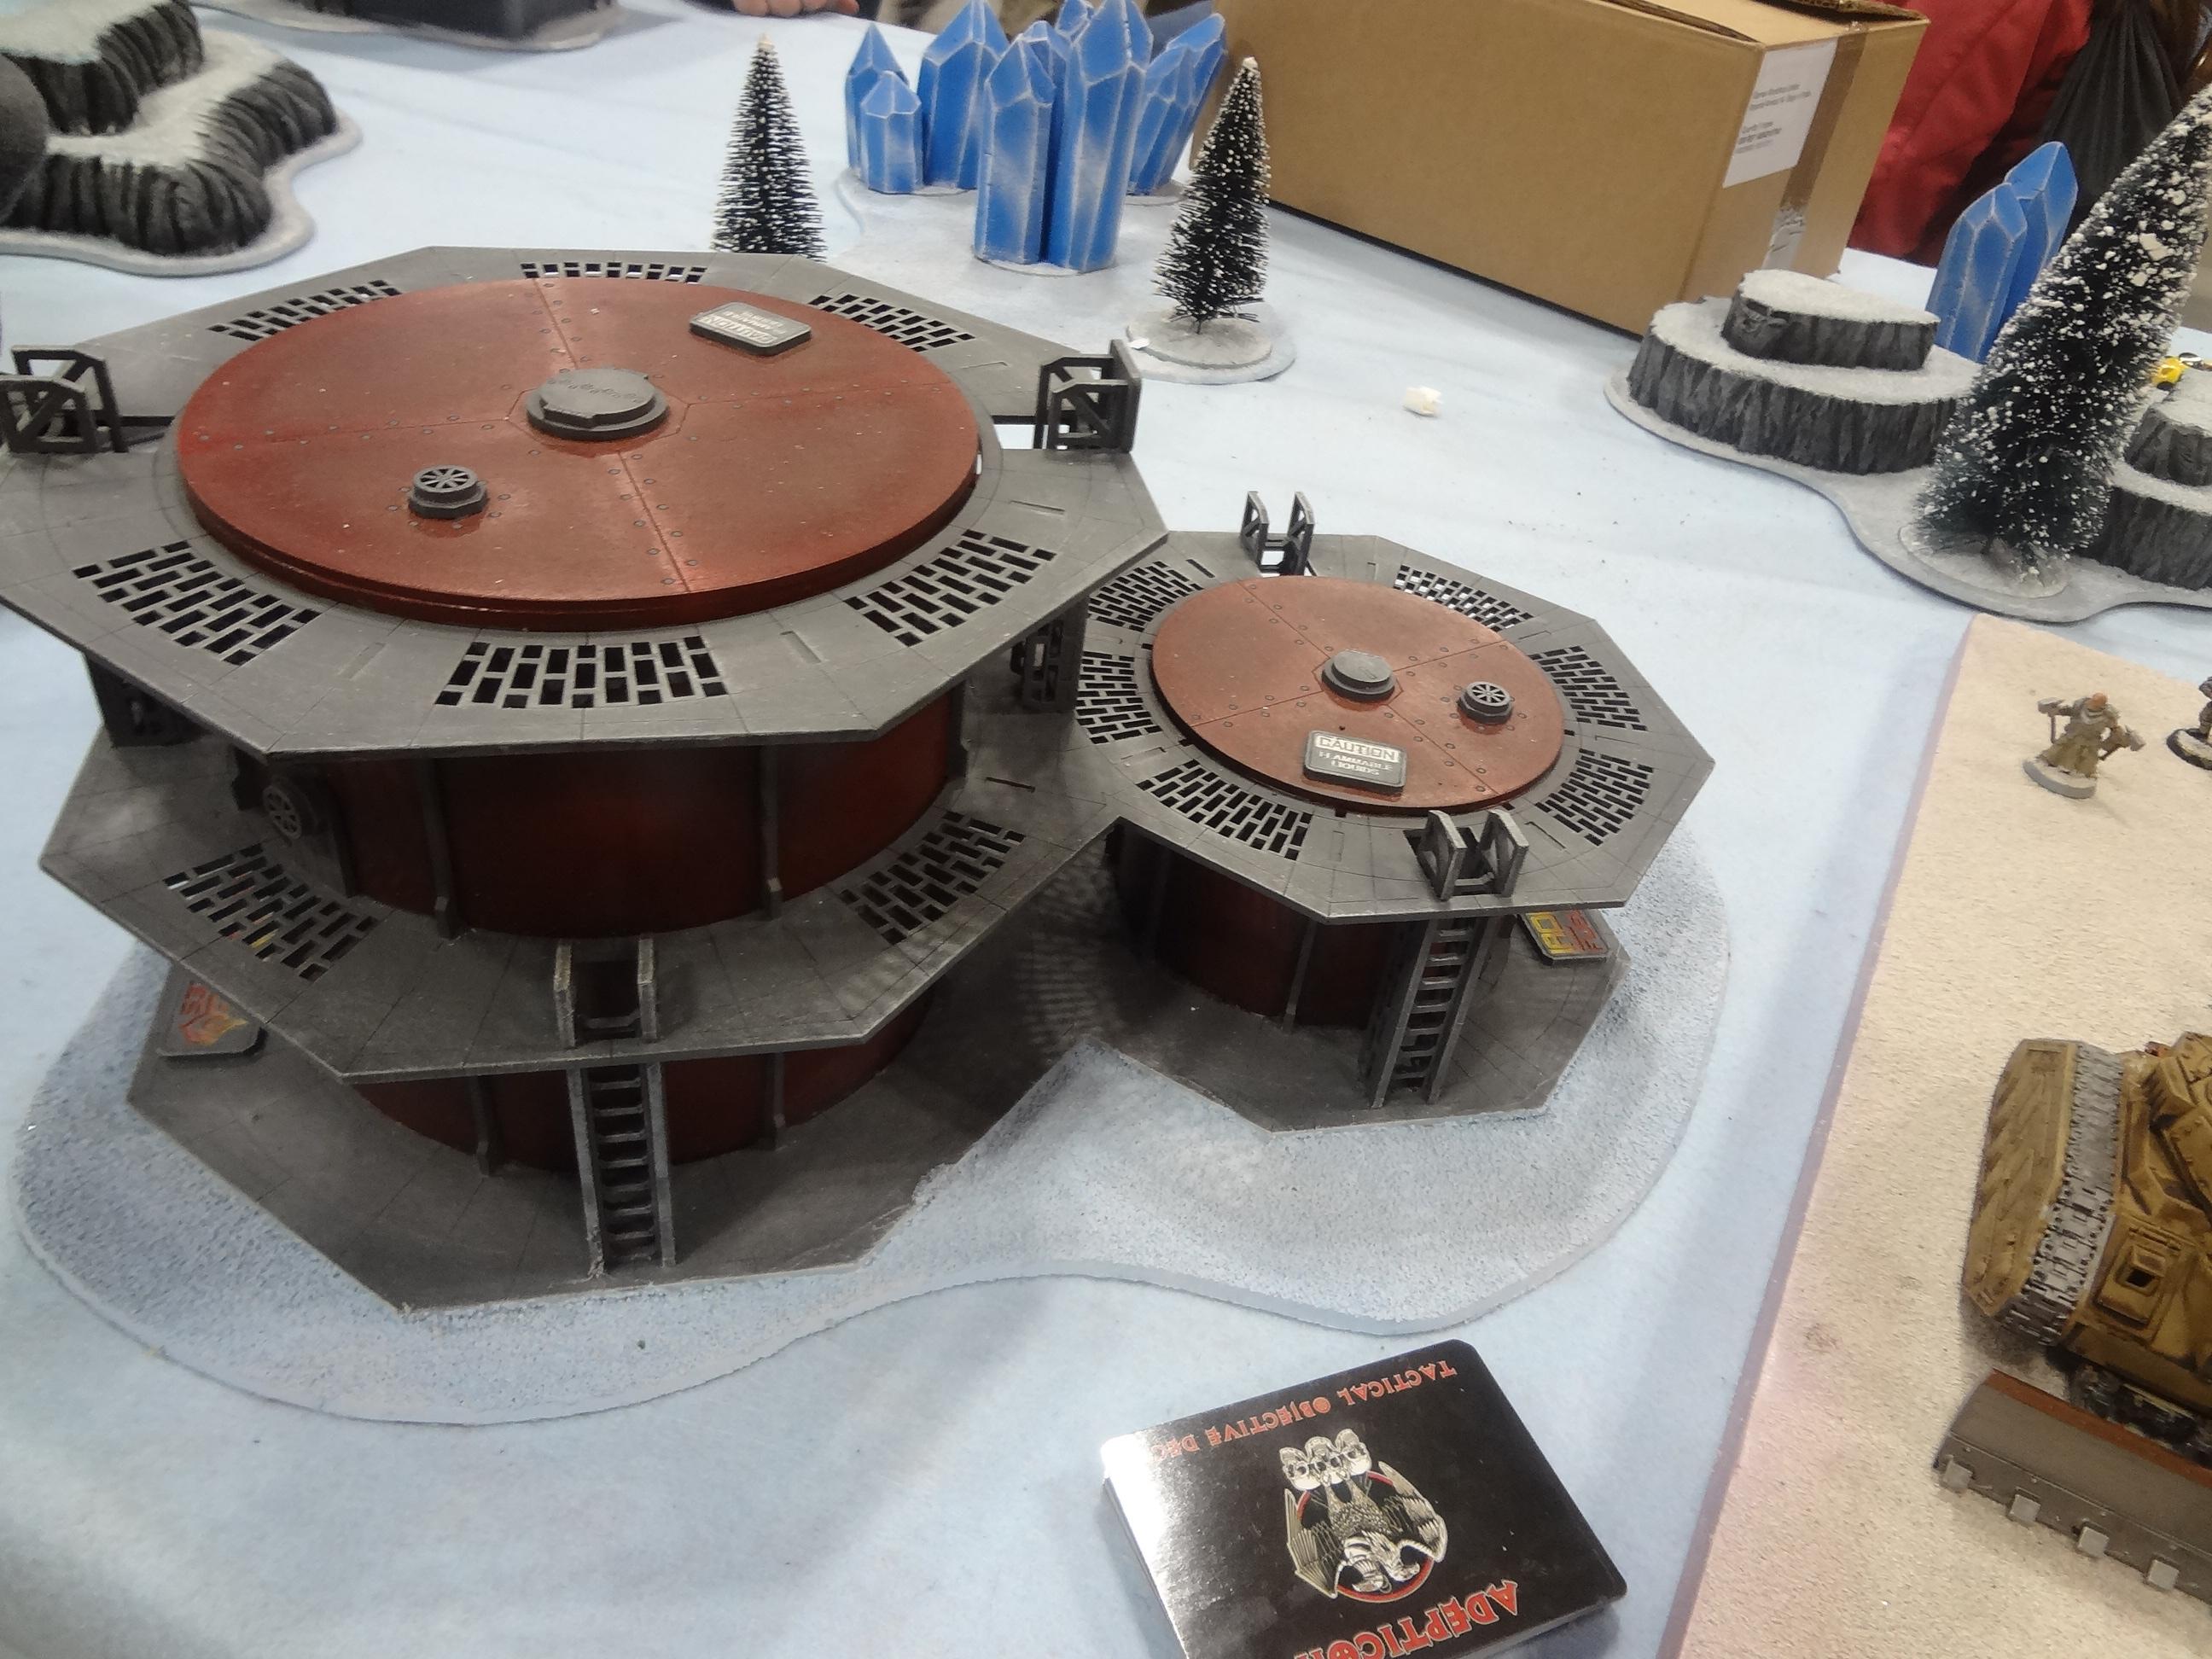

I don't think this concept is quite fleshed out, but I plan to try a similar combination of Dust Tactics buildings and Mantic Battlezone pieces. I have a large quantity of Deadzone sprues on the way…
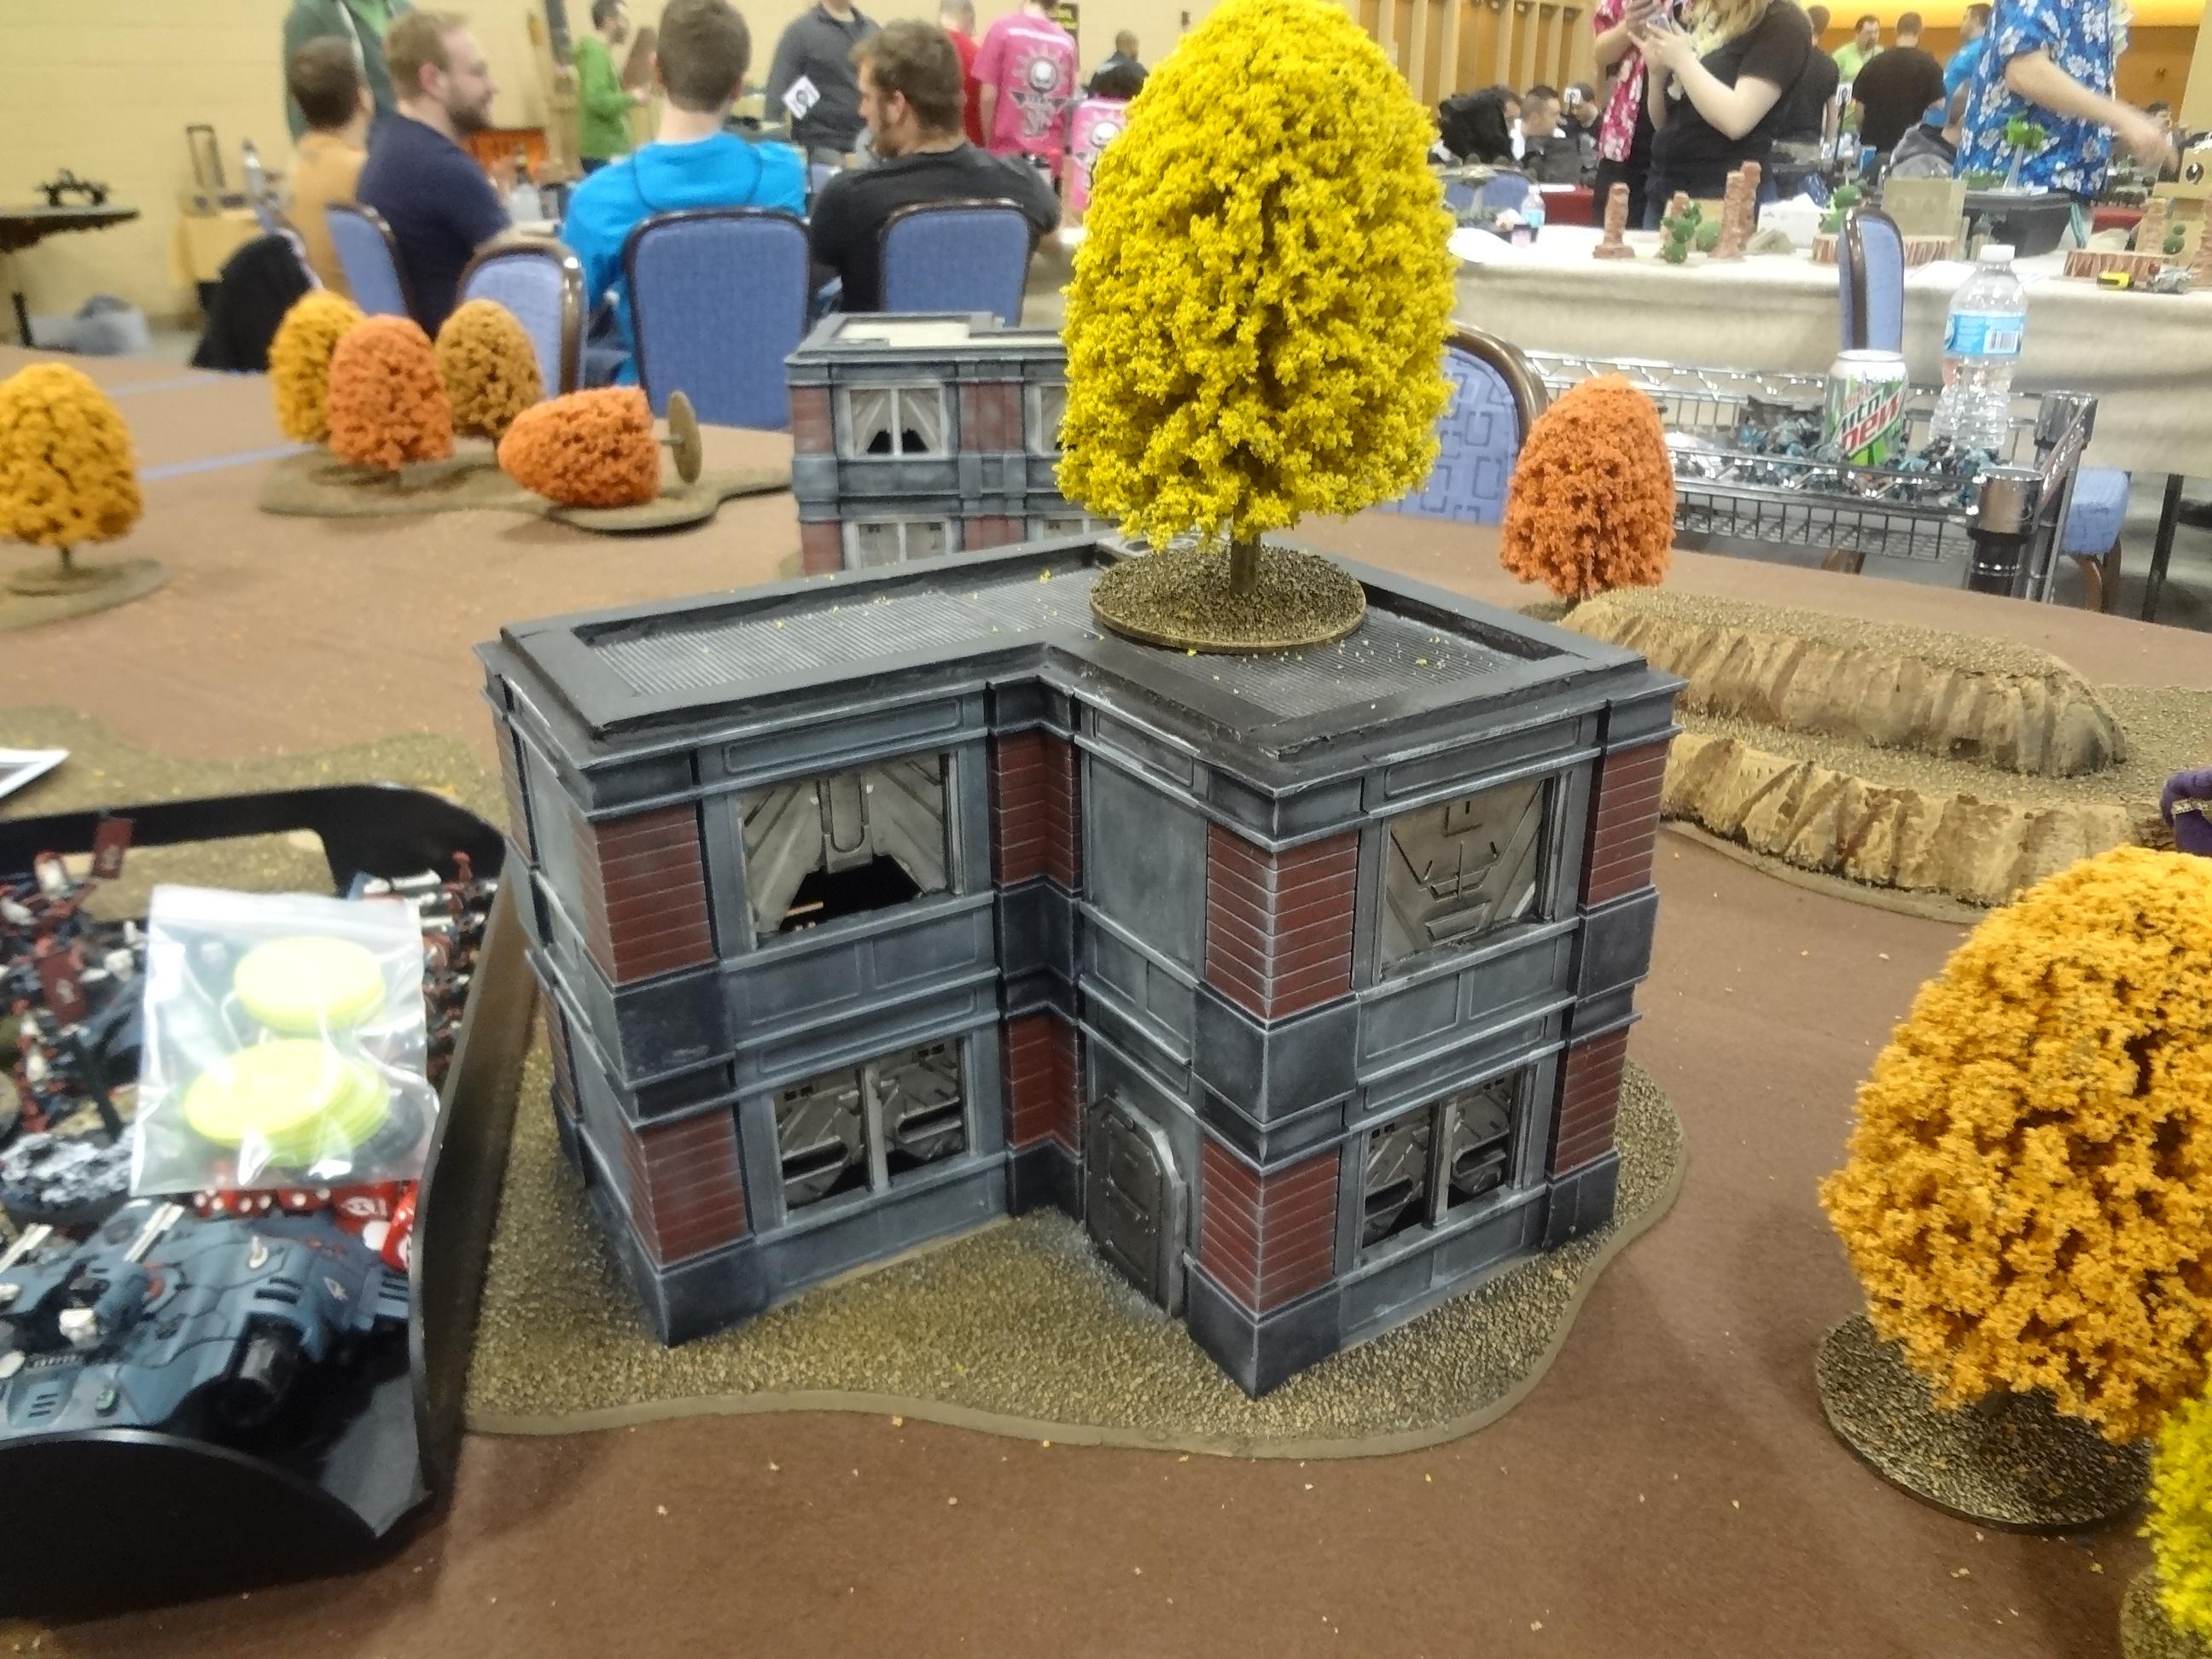

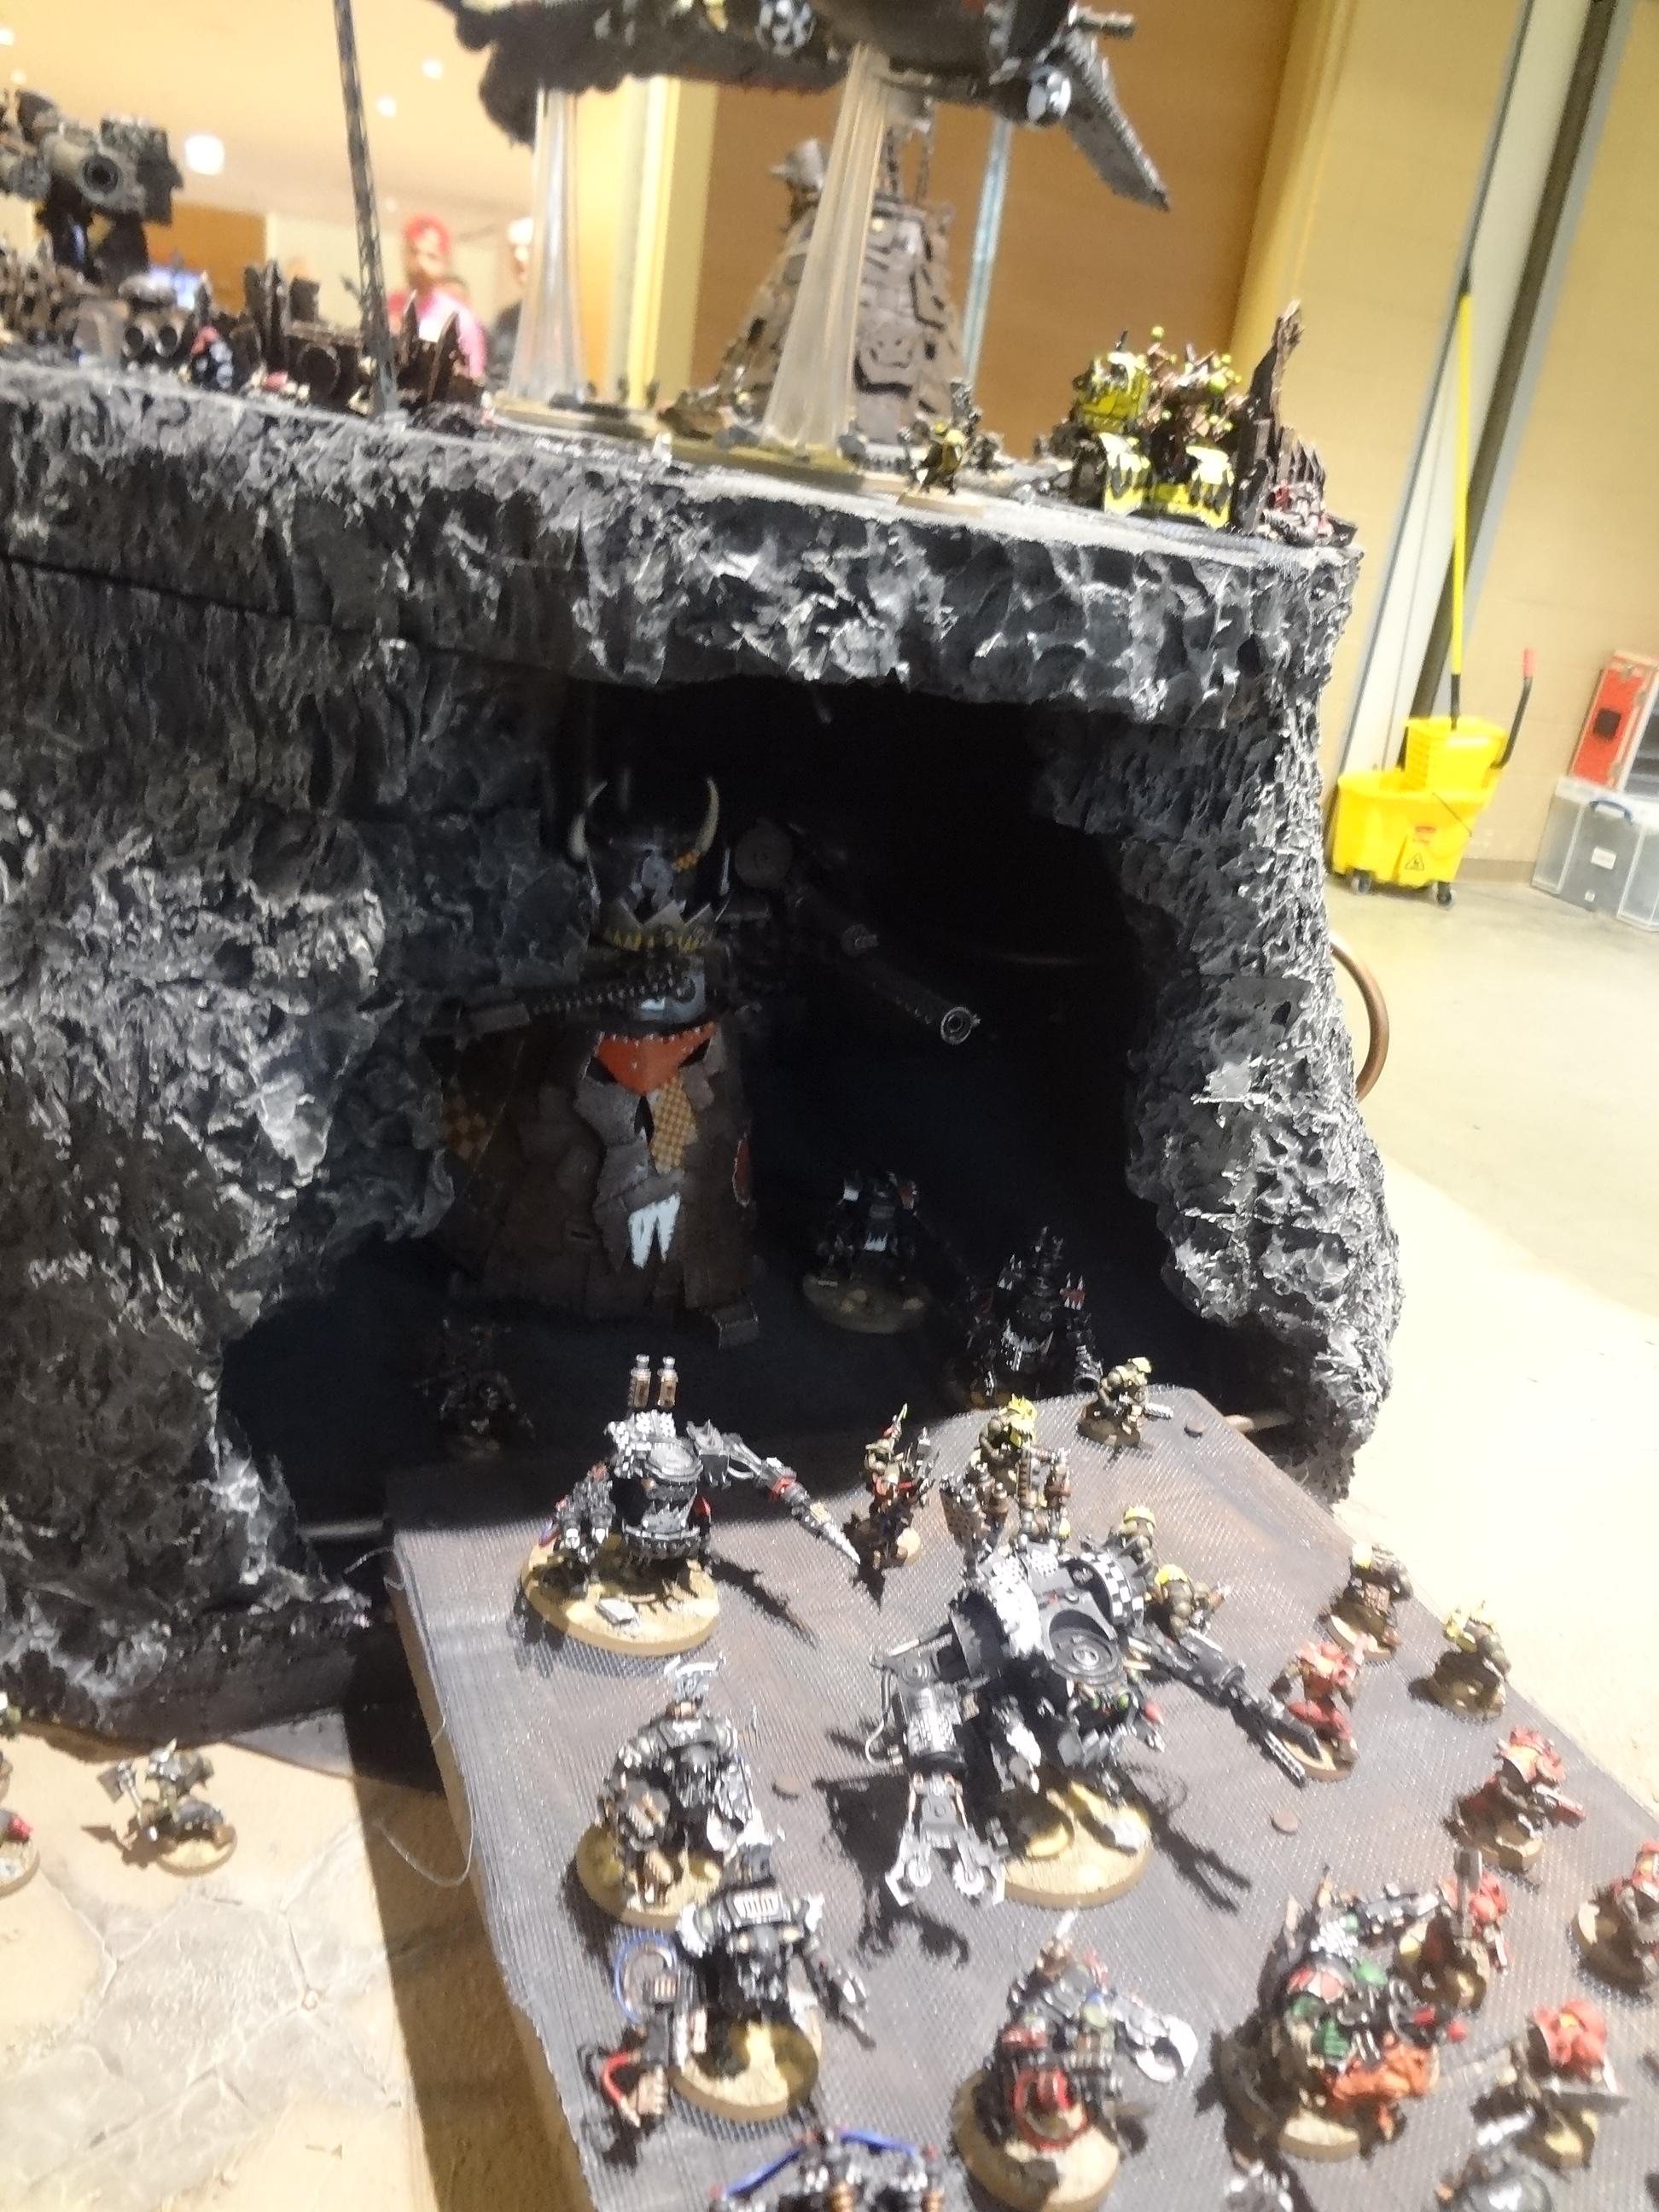
I won't be buying any Forge World terrain anytime soon, but there were a number of pieces that I photographed for future inspiration.


Thoughts as a Game Master
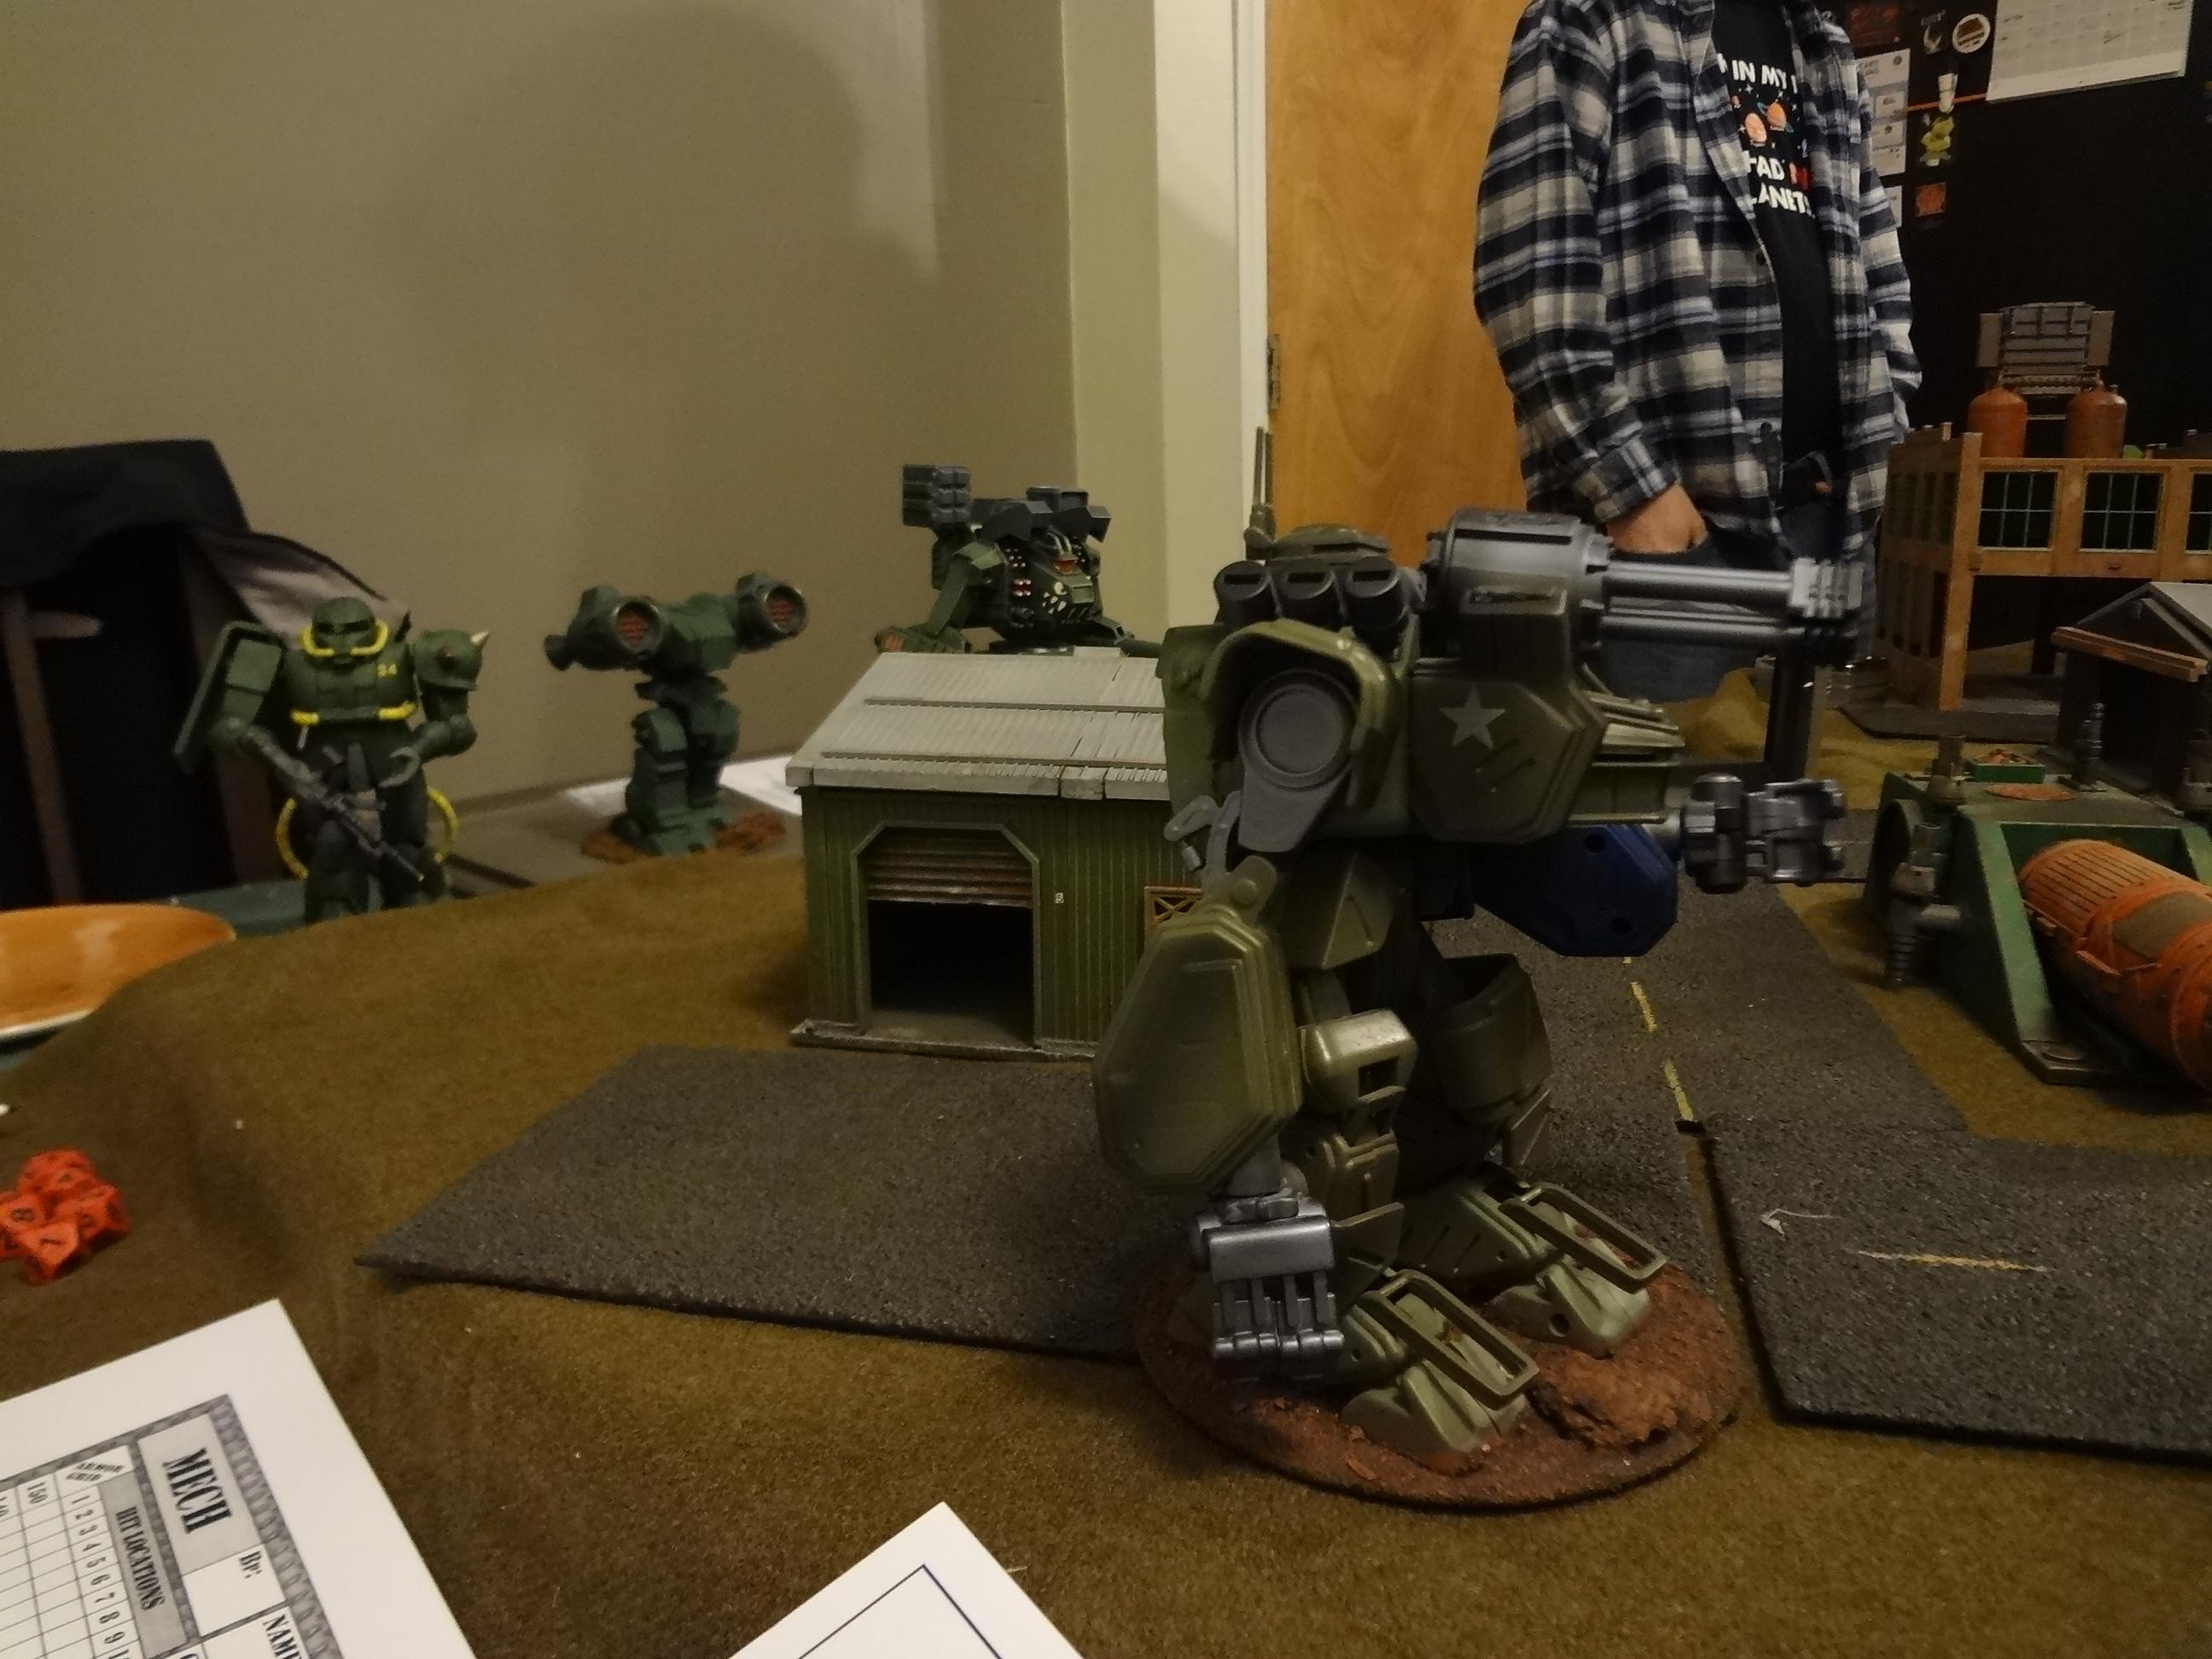
On Saturday morning Tim and I ran a game of Mech Attack. A full battle report will be coming soon. Here's a sneak peek...


As a judge, I was very pleased with my experience. The staff was very courteous and helpful. Tim and I were given free admission to the entire four-day event and each received one of full swag bags, which I will elaborate upon below.

Our room was off the beaten path, and we didn't have any sign-ups prior to the start of the game, but we had some good foot traffic and managed to rope in enough participants to have a good game.
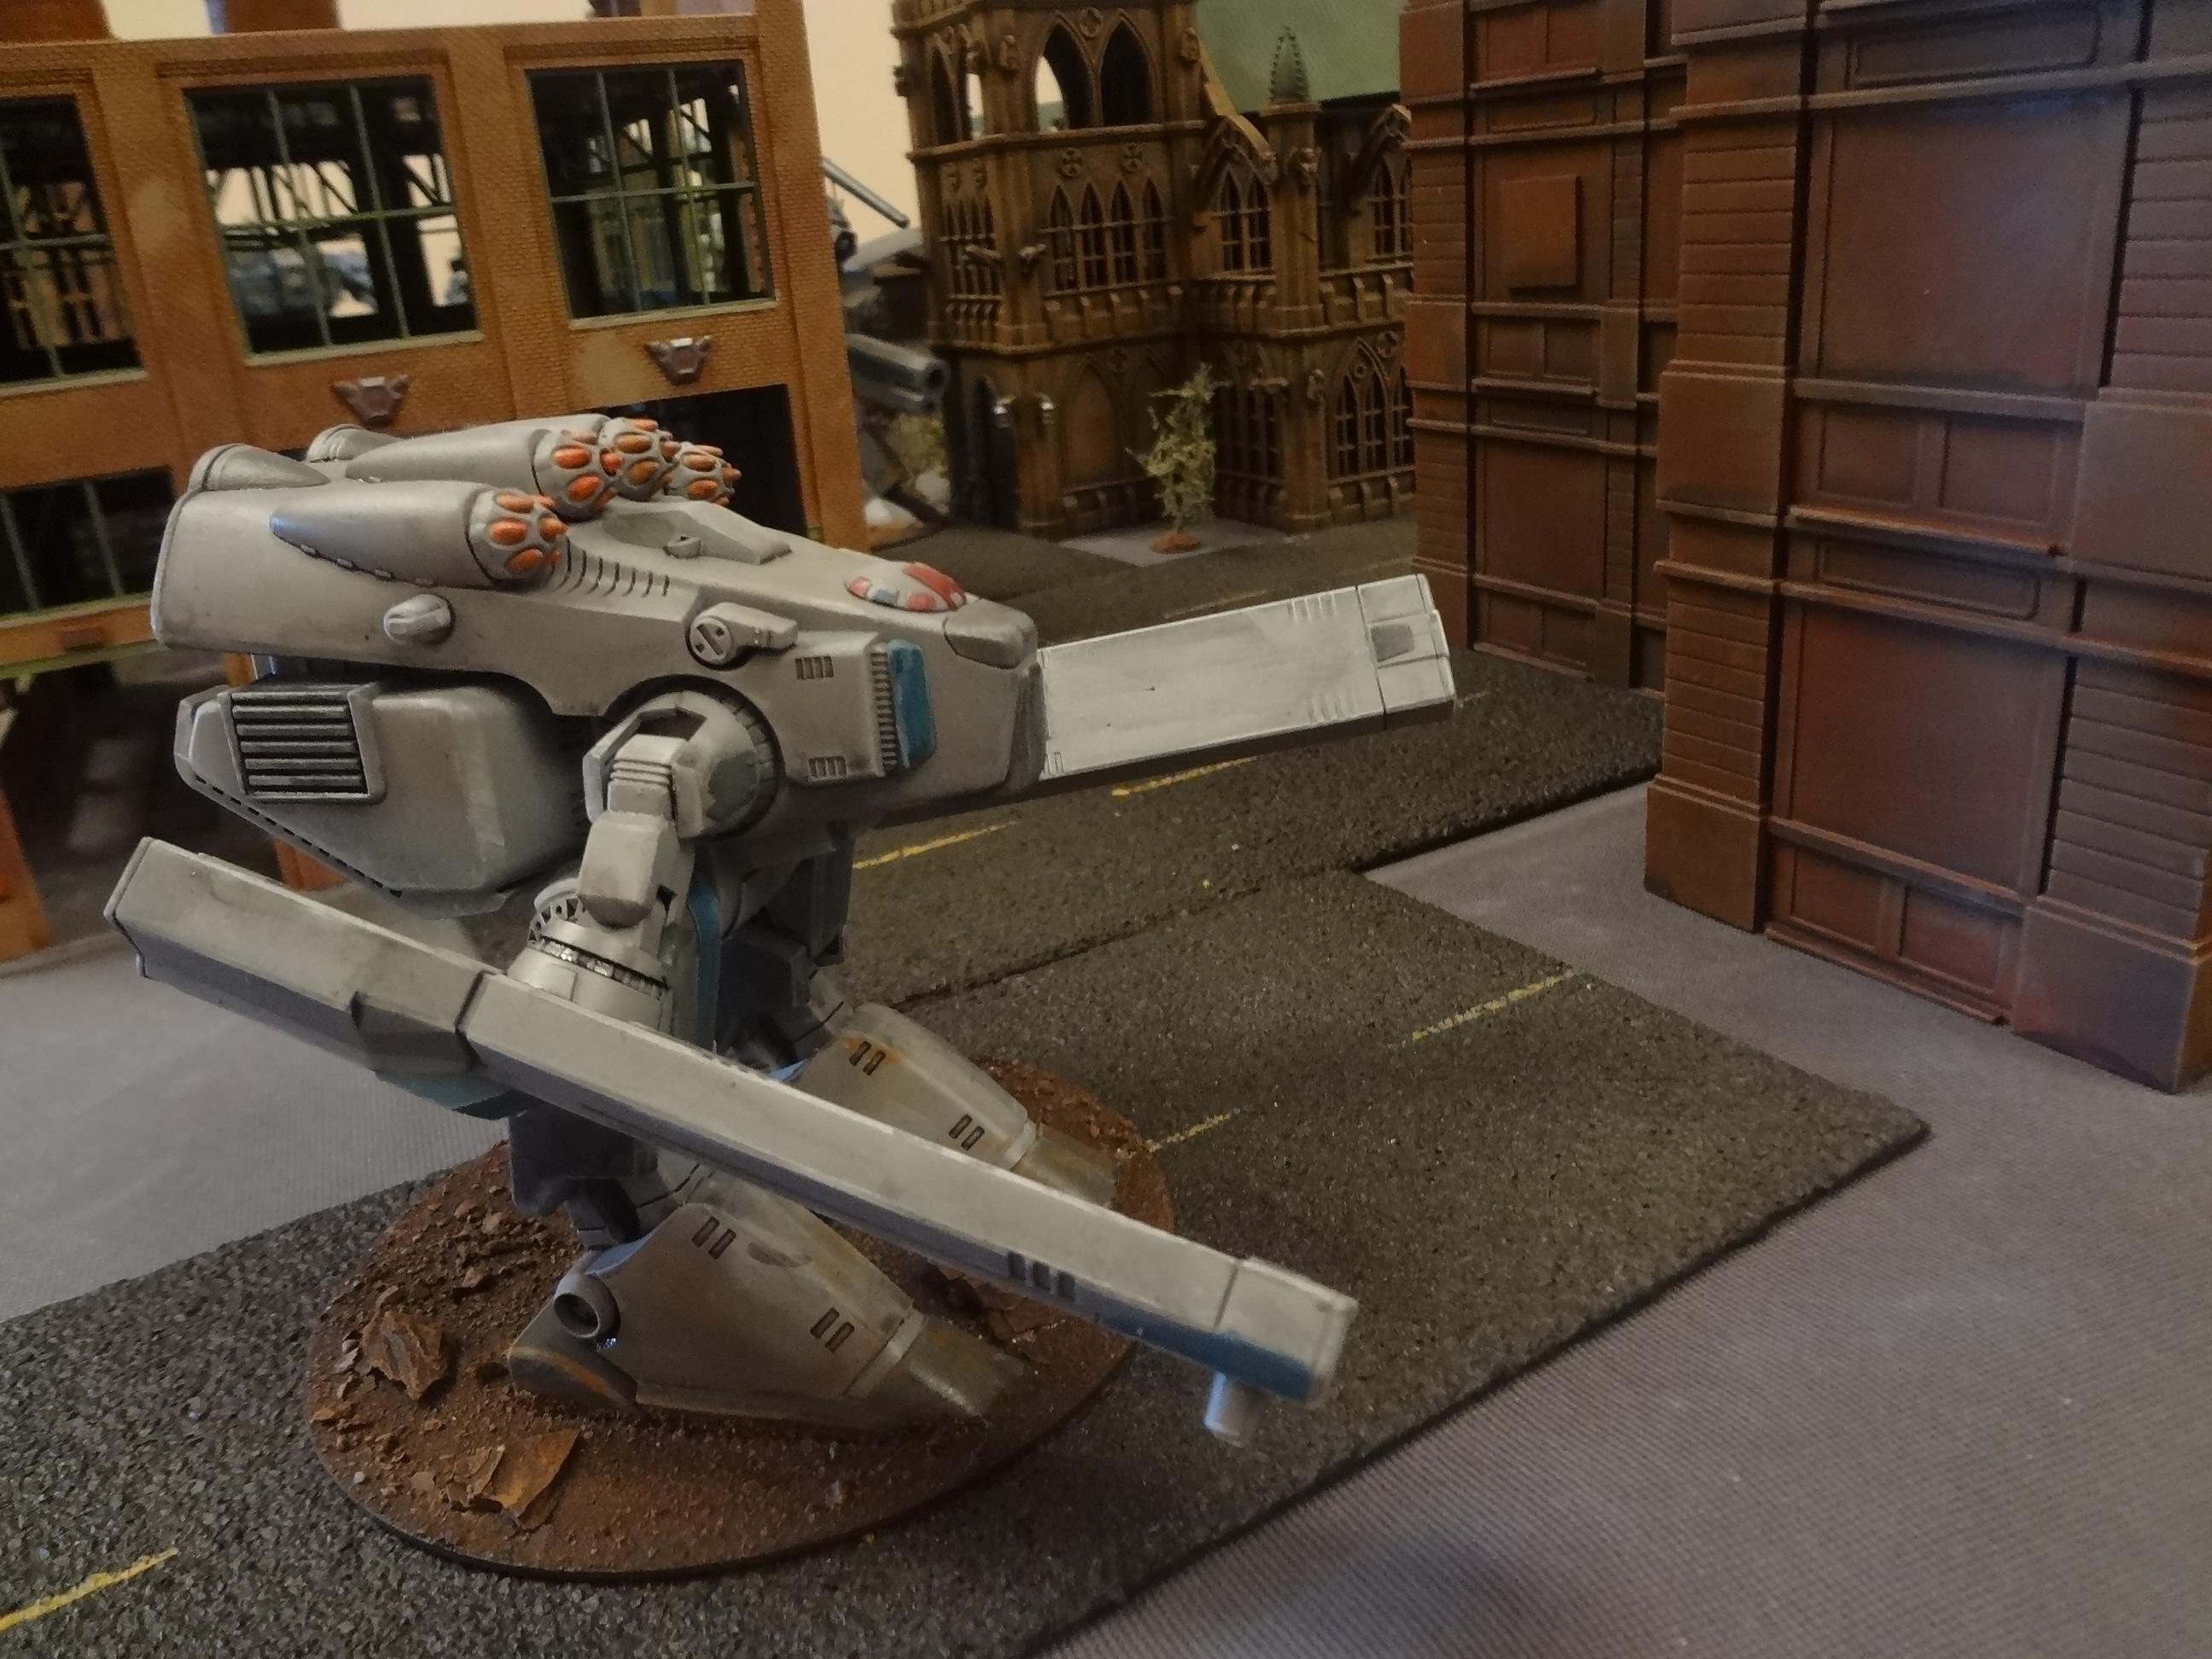

The only downsides were the slightly out-of-the-way location, and the organizers forgot to make the mini-plaques for our game winner. However, the overall experience was very positive.

Mention must be made of the full swag bag, which is available to those who sign up relatively early. We submitted our event application before registration opened, so when it did, we were primed with our free admission voucher and were able to sign up in time to qualify for a full swag bag. Here's a peek at the contents:

  • Warmachine starter army
  • Mantic Mars Attacks Alien
  • Official Adepticon fantasy miniature
  • Special Edition Adepticon Victoria Miniatures Female Imperial Guard Officer
  • Aetherium Figure (actually a coupon to be redeemed for figure at their booth)
  • Issue of Wargames Illustrated
  • 2 Robogear Veritech Mecha on sprue
  • Reaper paint bottle, which just happens to be in a shade that I find very useful
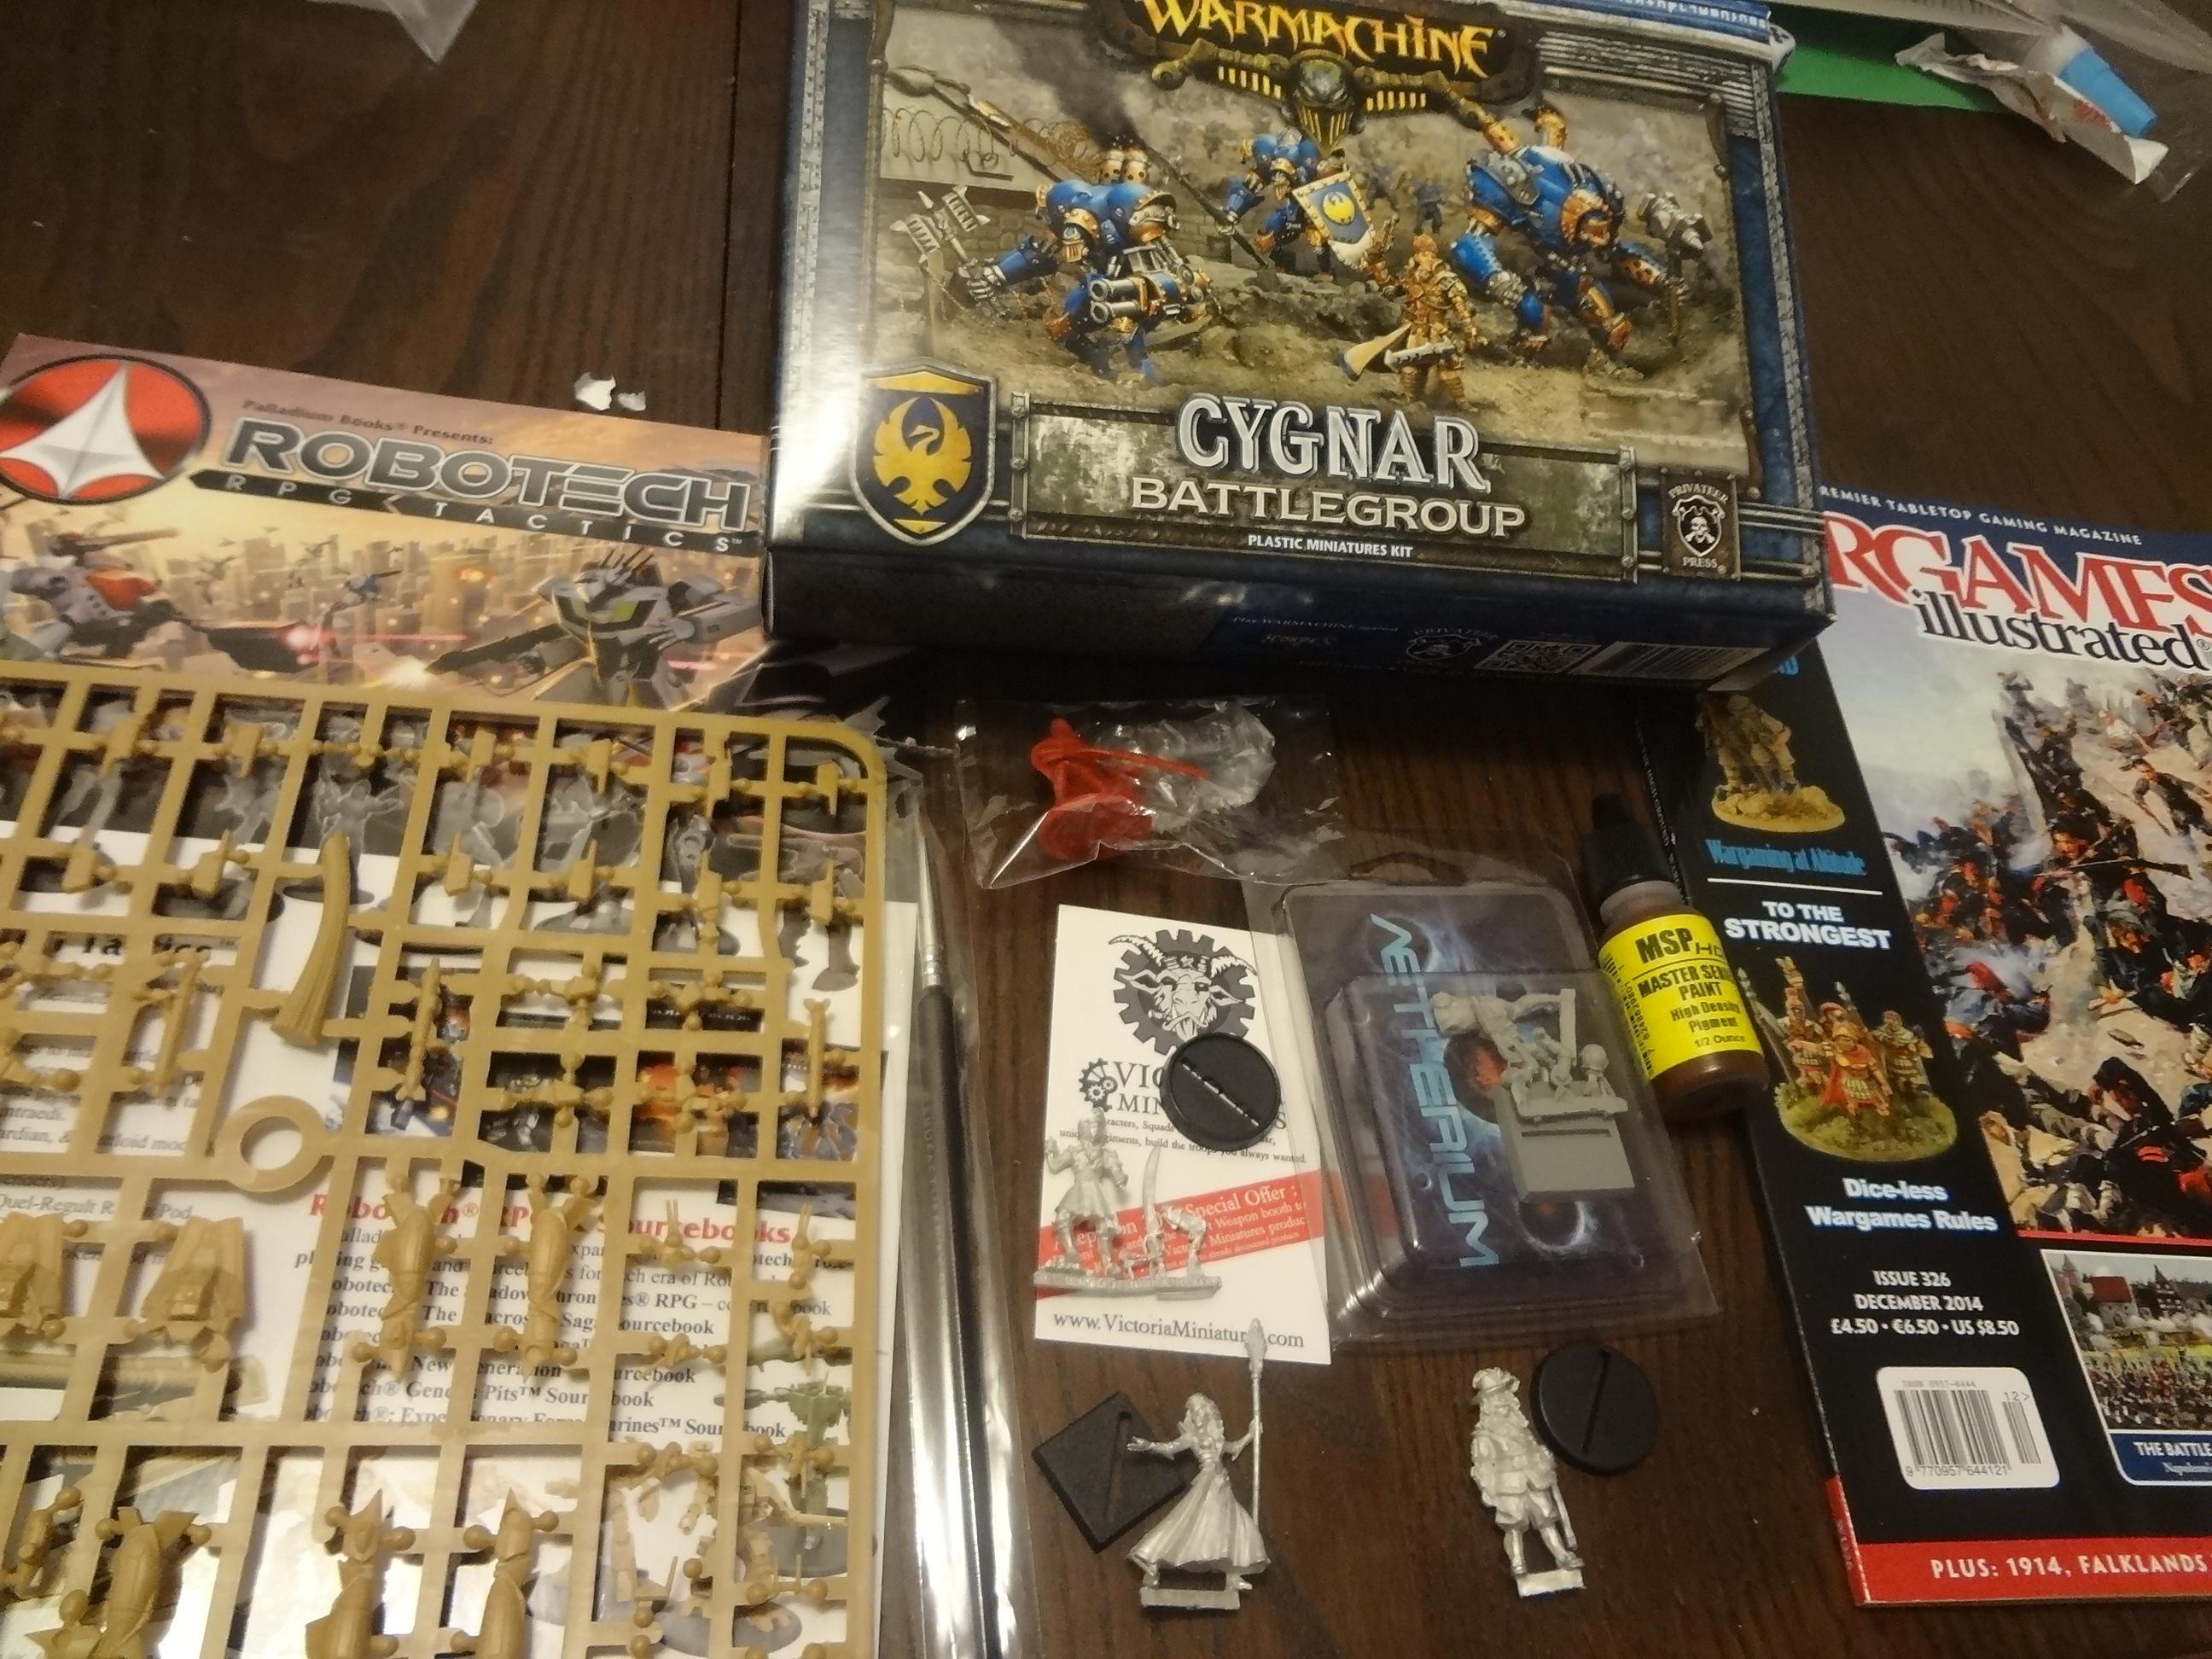


Not pictured is the drawstring bag it came in and a batch of coupons for various services and vendors. The pirate captain figure is a freebie for participating in the naval game (which will get its own blog post later).
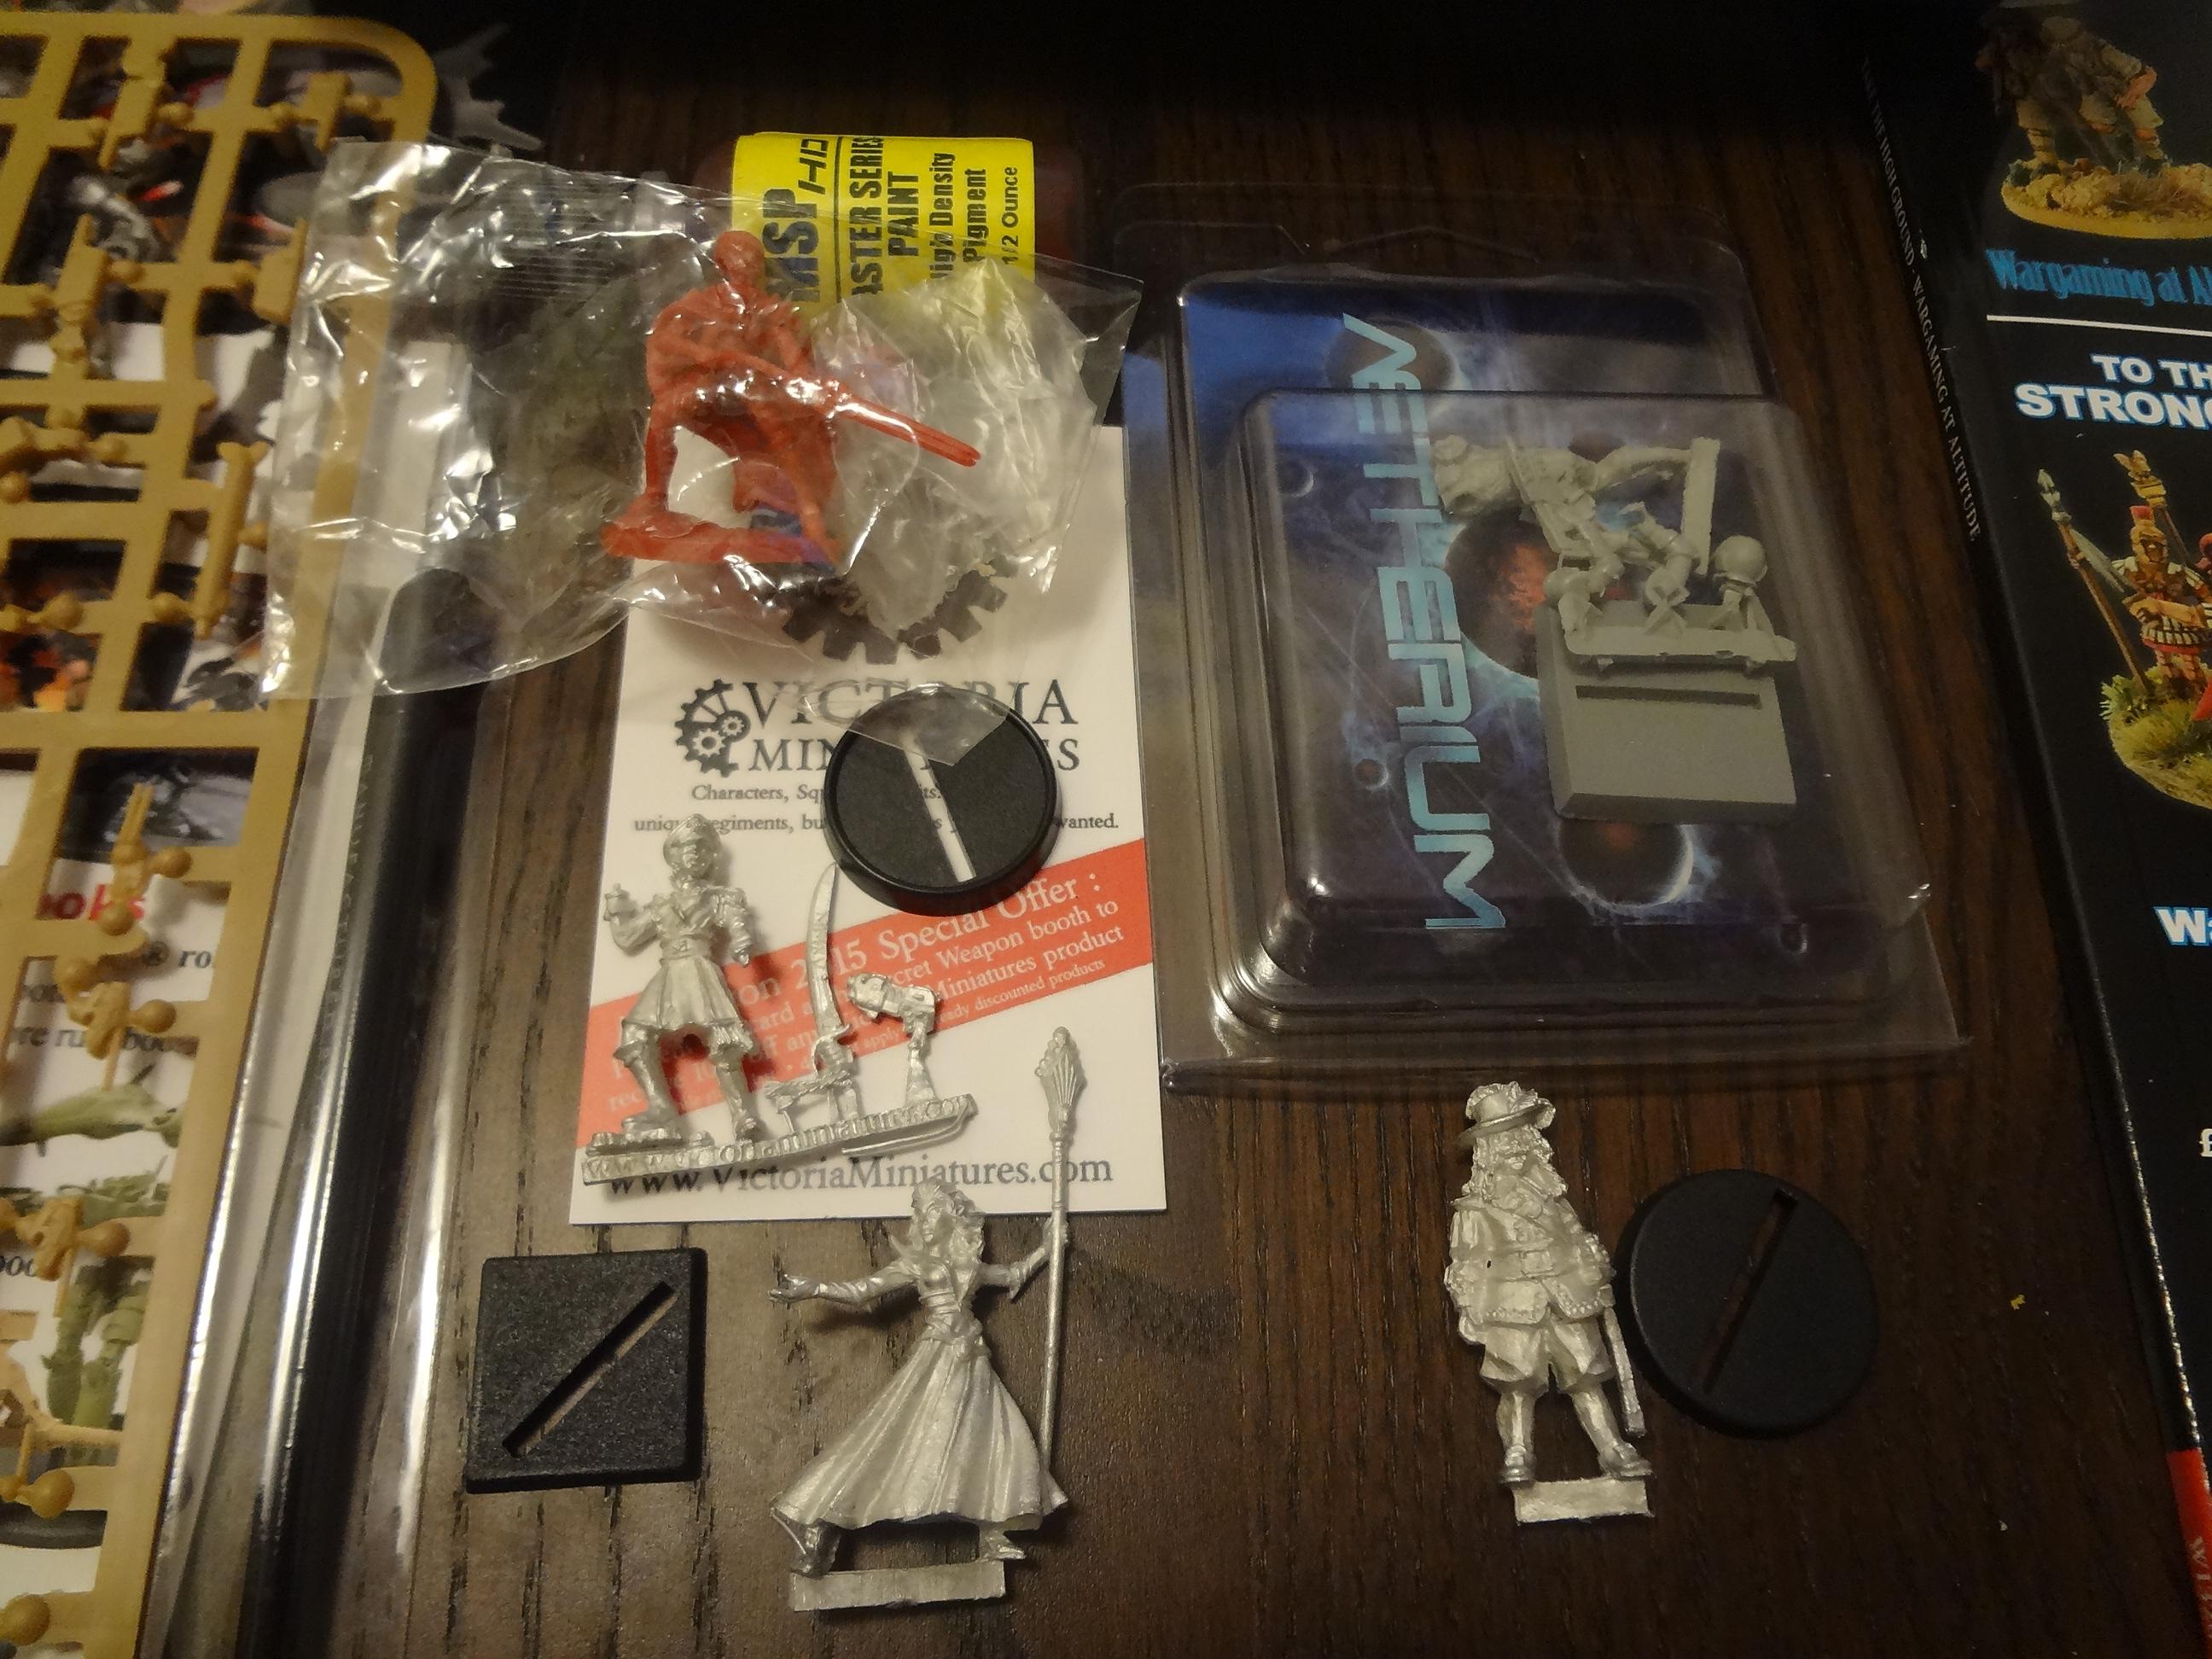


Conservatively measured (and not counting the pirate), that's well over $50 worth of stuff. Even though Adepticon offers free admission for those only looking to shop and look (but not play), I'd pay the $25 admission fee just for the loot!

Thoughts from the Bargain Hunter's Perspective 
Lastly, as any reader of this blog knows, when I go to conventions, I am always looking for real bargains. Most of the merchandise available was aimed at players of the "big games," and most of the discounts were only moderate. However, I still managed a few good scores at both the vendors and the after-hours open trading session. They call it "Bits Trading" but it's actually a free-for-all swap meet that takes place at 10 p.m. in the hallway.

Here's what I acquired at both venues. You can be the judge of how I did.
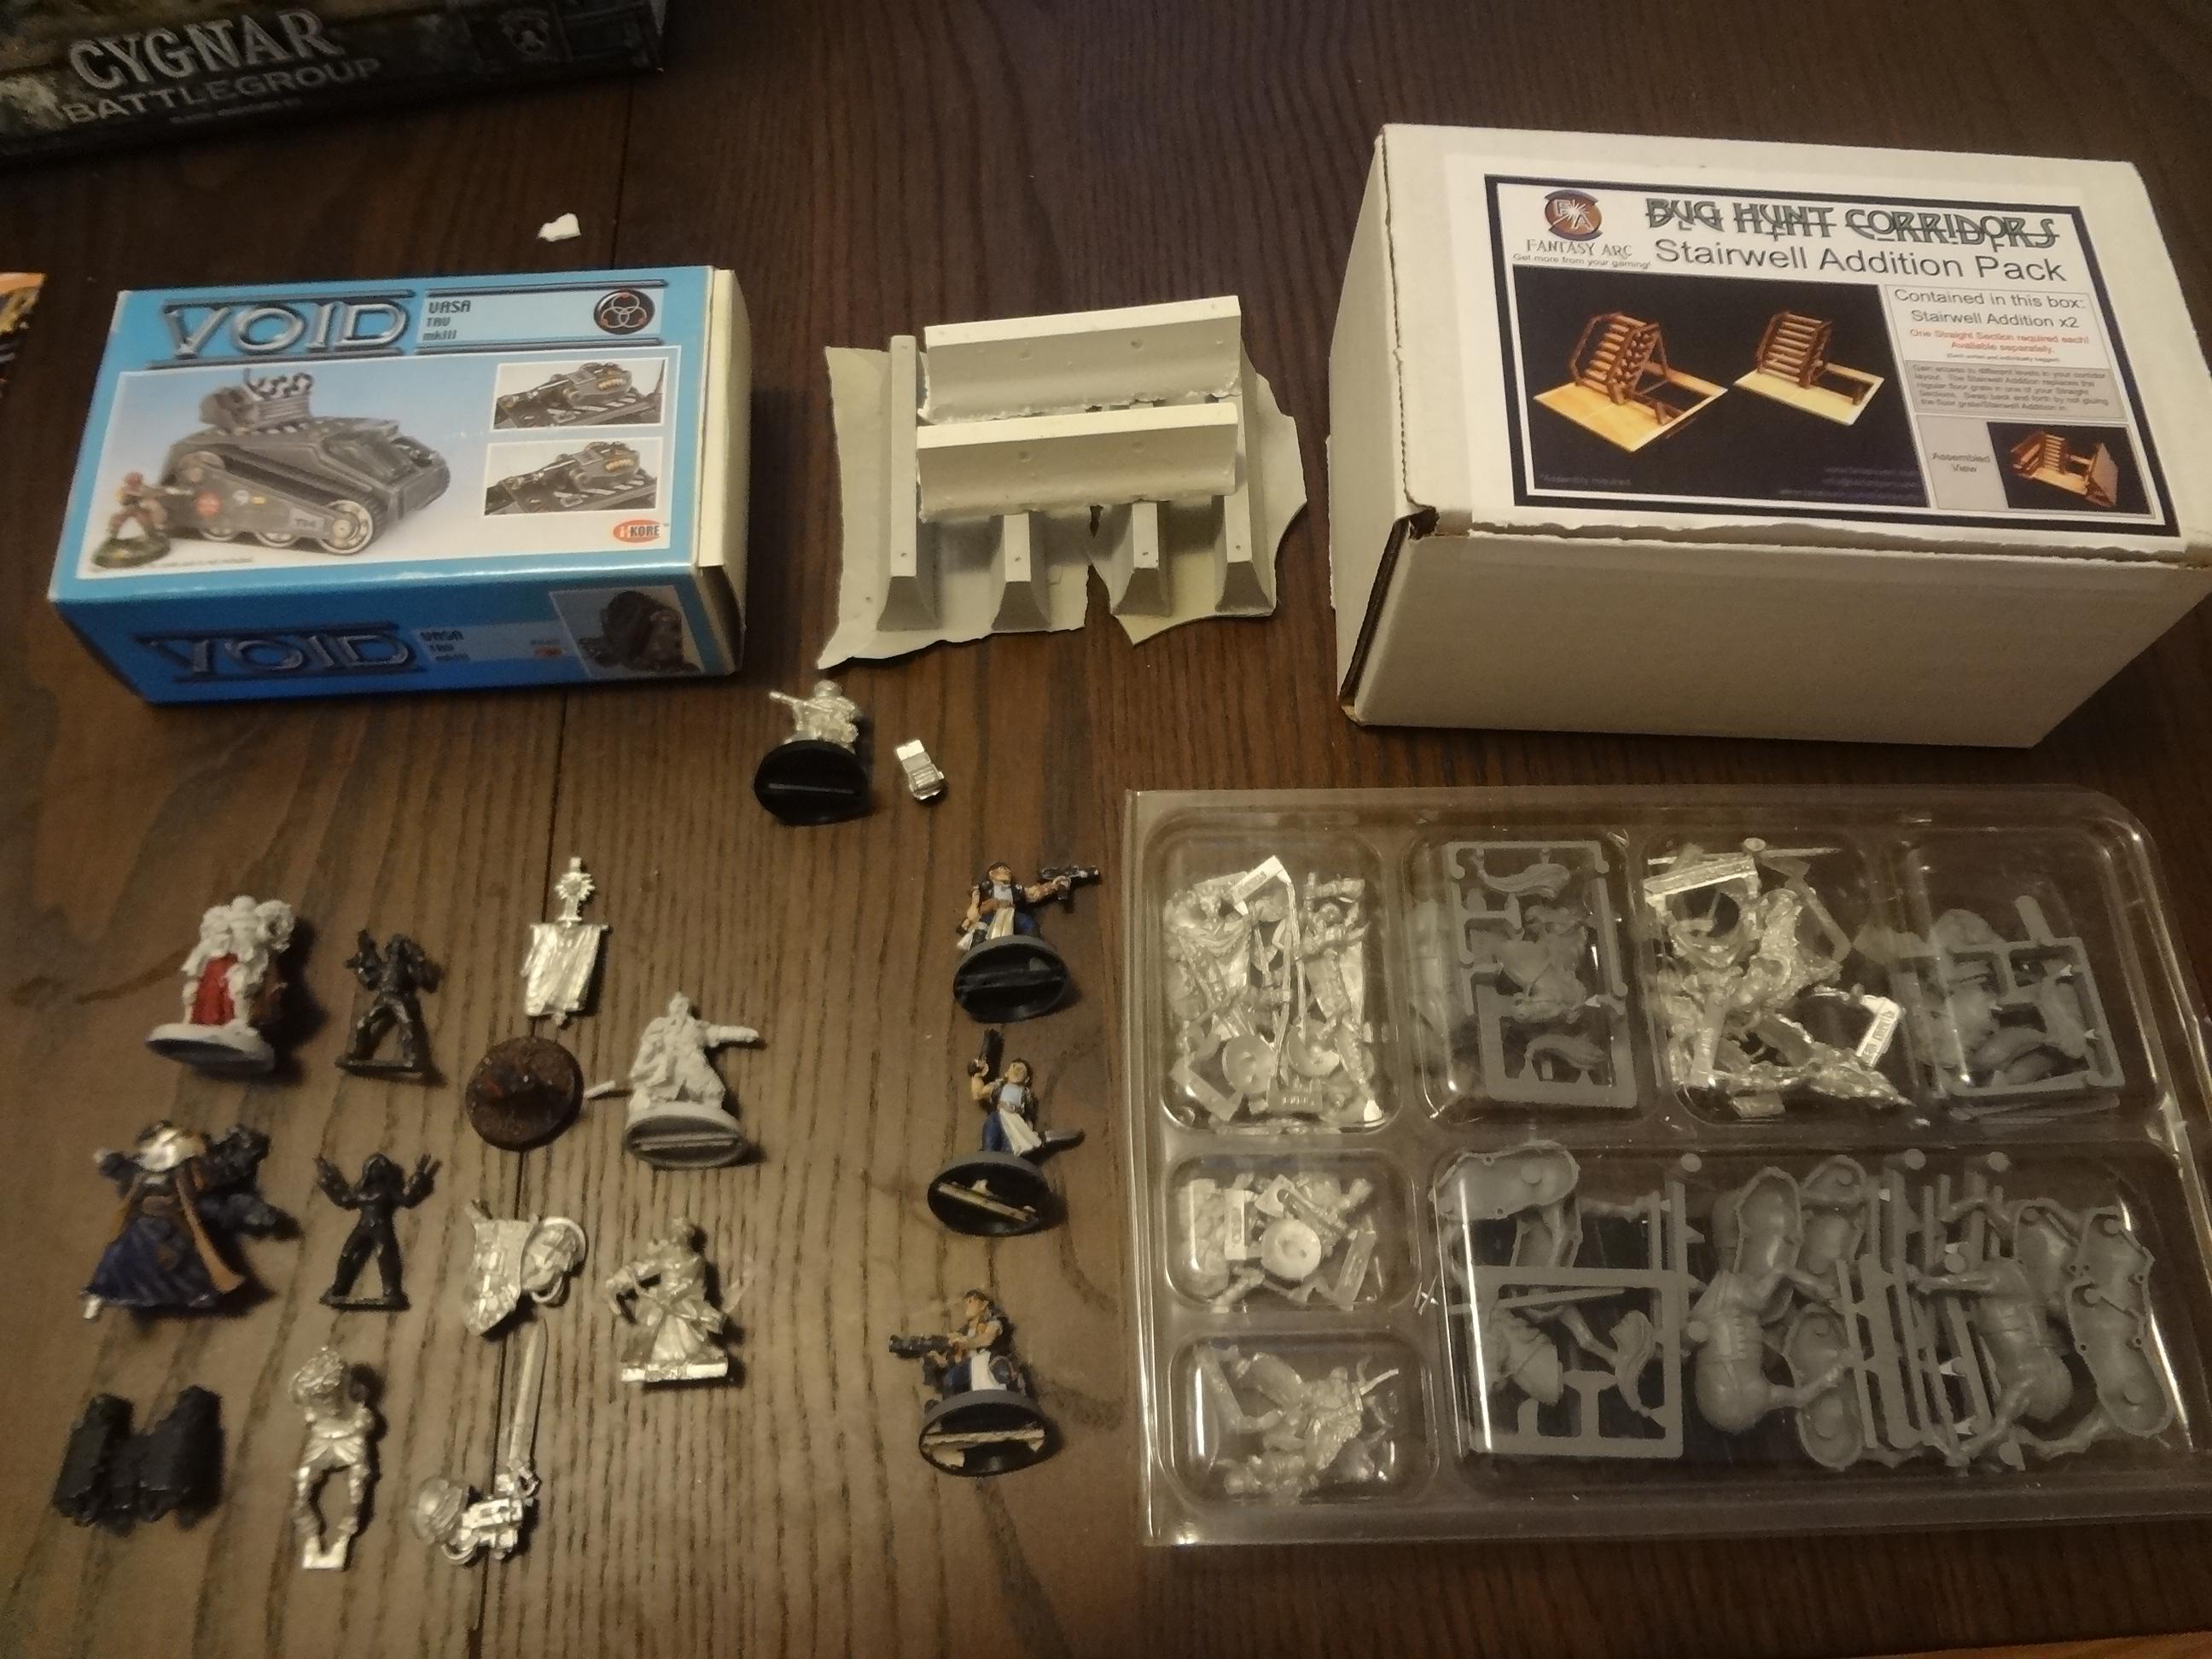


  • $7 for the Void VASA armored vehicle (1/3 of retail) 
  • 50 cents each for resin Hesco Barriers 
  • $8.50 for laser-cut plywood stairwells (2 big and 2 small sets... stairs are a pain to scratchbuild!)
  • $12 for the group of 40k figures and bits, 3 Lord off the Rings figures, 2 Copplestone musicians and a Void Junker
  • $10 for 3 Necromunda Orlock figures 
  • $20 for mounted Chaos Marauders on sprue. These are the previous edition figures without as many skulls. I've been looking for a deal on these exact figures for a long time. It would have been even better if it had contained the 11 figures the seller had said, but I'm not complaining. Anyone got two more to unload?


I'm sure someone with more interest in Games Workshop and Privateer Press would find a lot more deals especially at the after-hours swap meet, but I'm very happy with what I found and what I paid. I may even bring some things to sell next year.


Final Thoughts
Adepticon is most certainly worth a visit for gamers of all types. If you can register early, the swag bag is reason enough to pay the entry fee. However, at the very least it's worth the price of gas for all Chicago area gamers to go and feast their eyes on what I often refer to as the "Glorious Spectacle of Painted Armies Clashing on Evocative Terrain". After my very positive experiences, it's likely I will be a game-running attendee at Adepticon for years to come.

-- Karl, Chicago Skirmish Wargames club member


Thursday, March 19, 2015

Post-Apocalyptic Greenhouse Scratchbuild, Part 3 – Basing


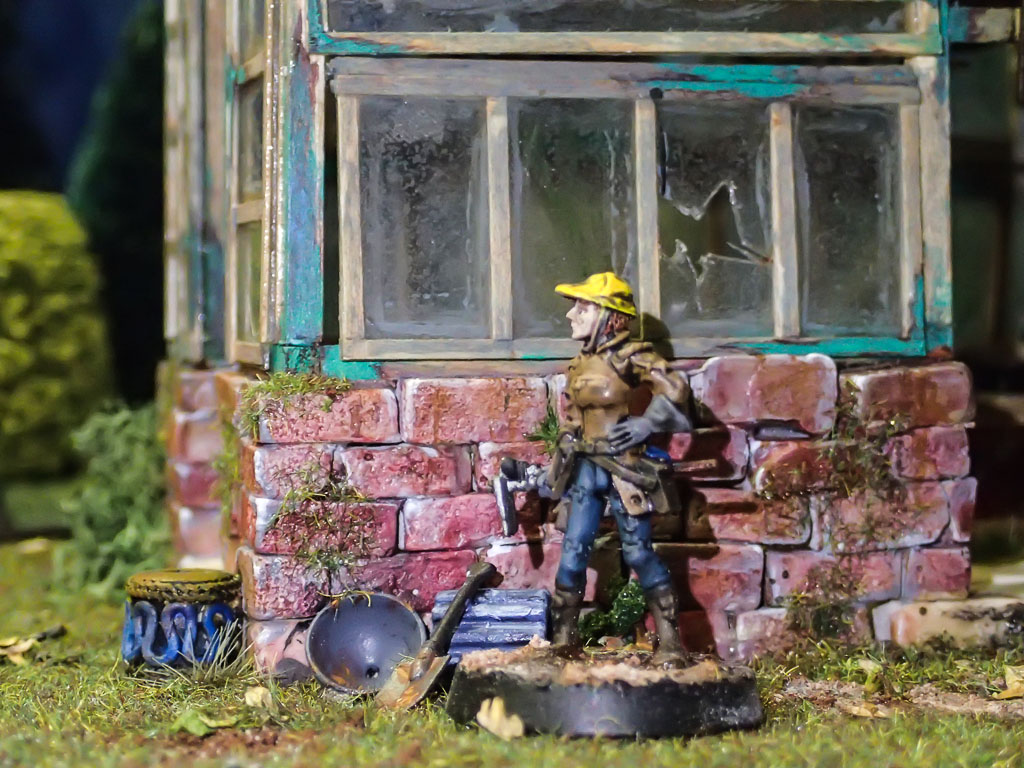
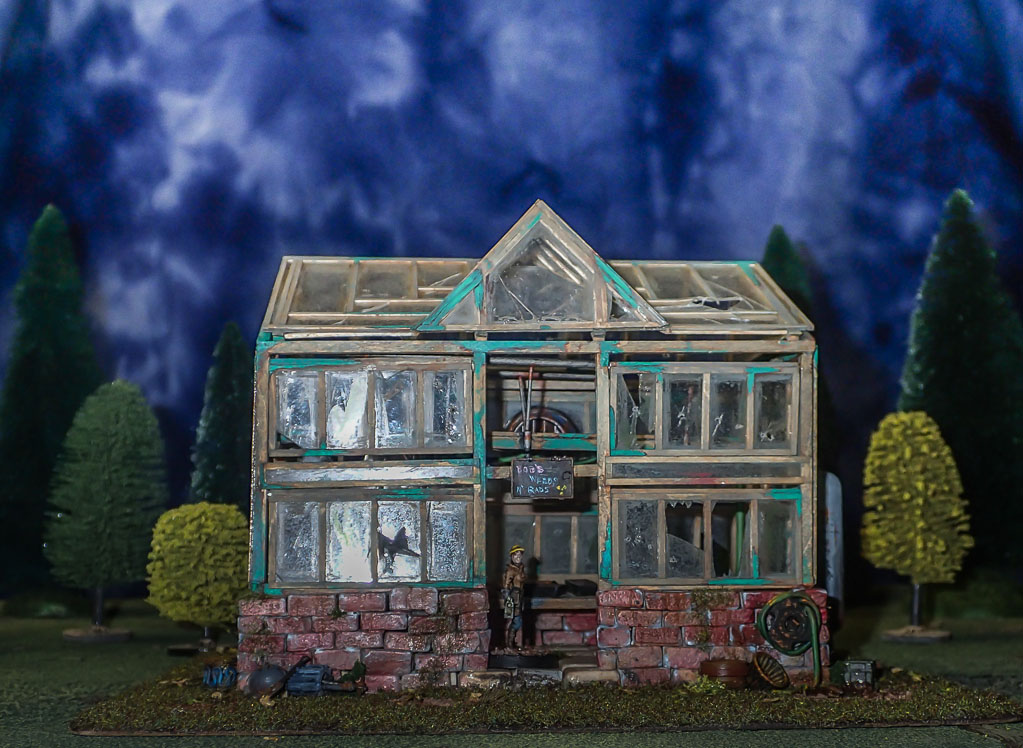
I enjoy basing. Often times, more than painting! So, when I got the finished (but unbased) greenhouse from Jon, I was excited. I wanted to give it a basing treatment worthy of the time he put into it. I forgot to take pictures of a few steps, so I will do my best to describe them.


The first step was to get some texture on the base. I used Liquitex Resin Sand. It is cheap enough and comes in a large container. Liquitex makes two versions of sand texture. Resin Sand has larger grain, giving it a coarser texture. No need for primer... this stuff sticks great! After it dried (36 hours or so since it was thick in spots) I painted it all over with Games Workshop Dryad Brown.


Next, I gave the whole base a wash of black and brown. Then, I drybrushed progressively lighter shades of brown and grey. There are at least four layers of drybrushing here.


I used the same wet mud technique as I did on my Wreck-Age Stakers to help these sections pop.


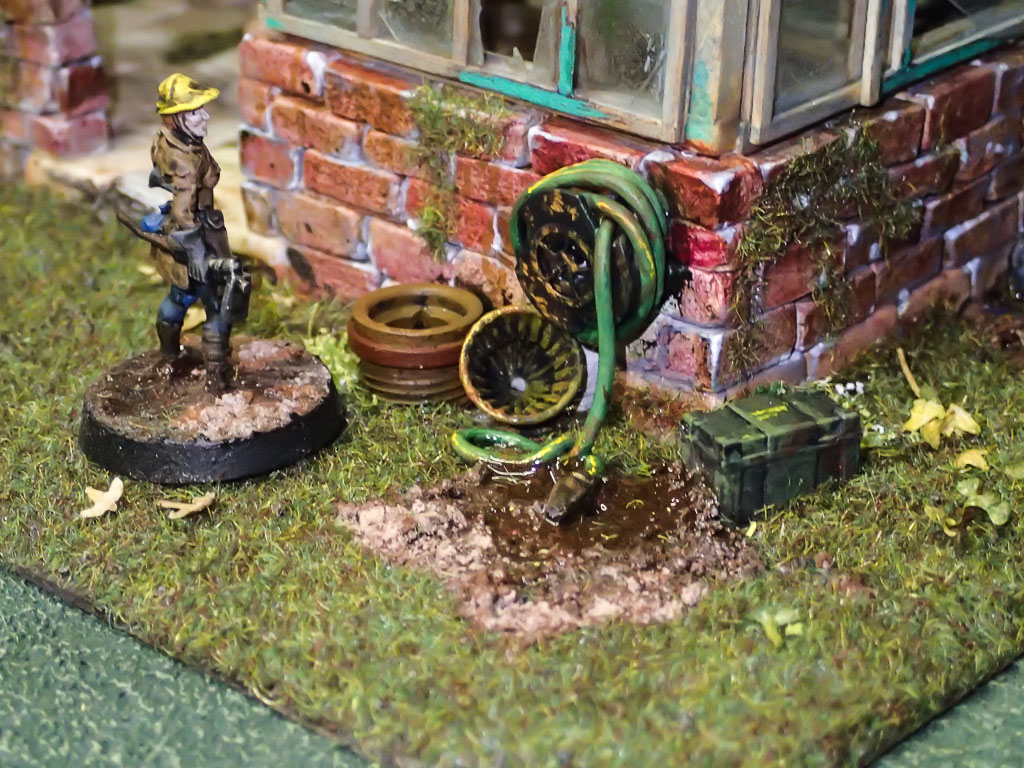
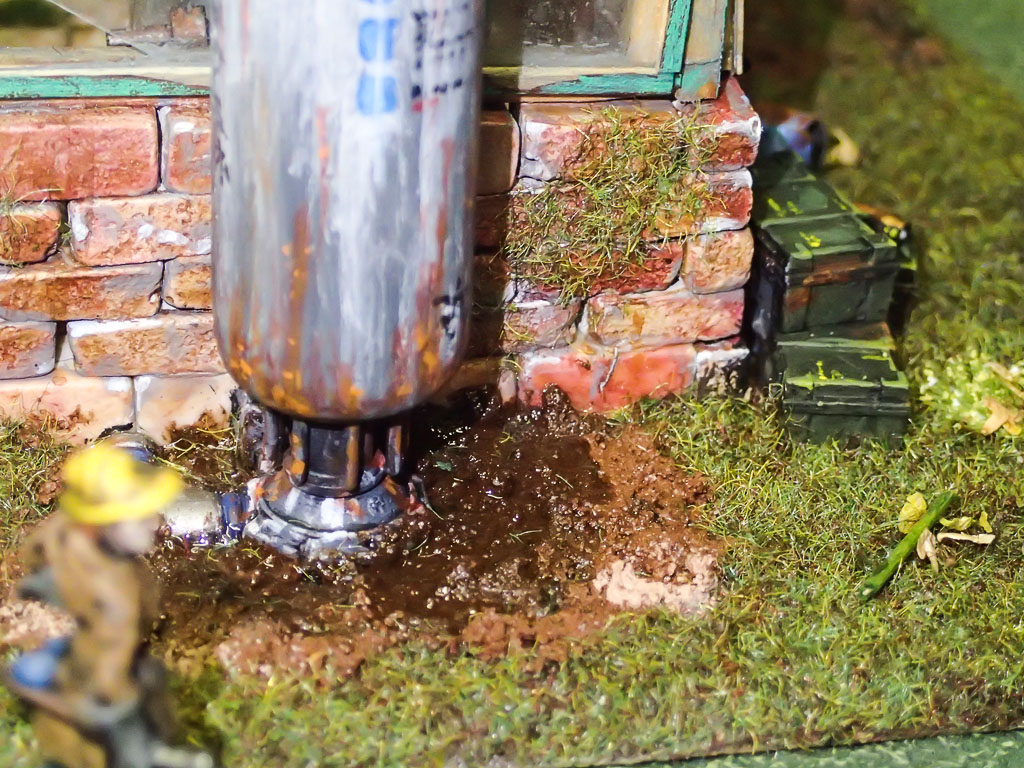
I added the resin water in thin layers, letting each one dry before adding the next. I added some patches of dried mud (no water) in various other spots around the base.


Next, I covered it all up with static grass! It is thinner in some spots, so the depth of the painted texture shows through. I added some individual leaves as well.


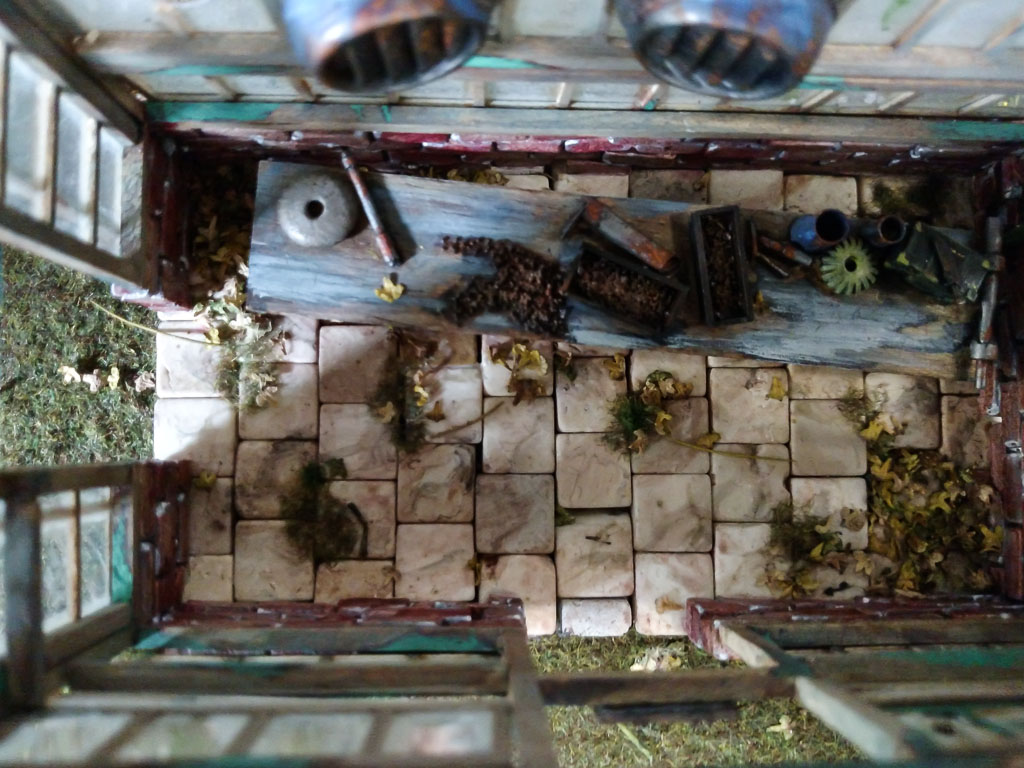
I wanted to get a natural look inside of the greenhouse. I splattered watered-down PVA on the tile floor, and sprinkled the leaves from high above it. Once the floor was littered in leaves, I blew into the greenhouse through the doorways to clump them in the corners.


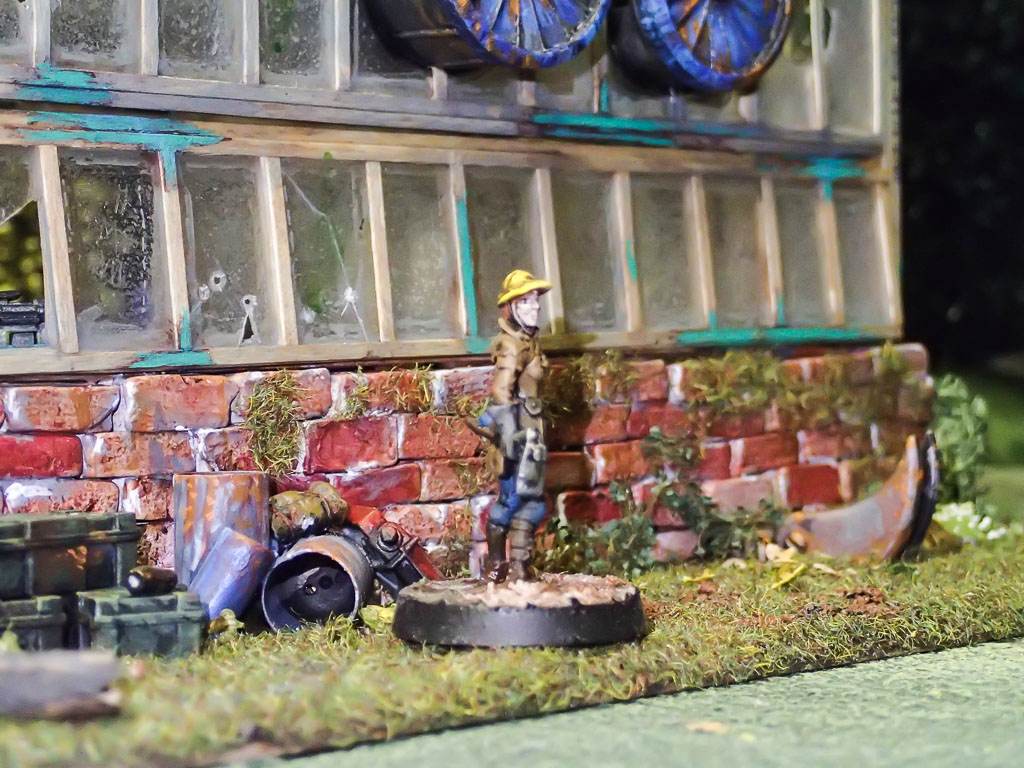
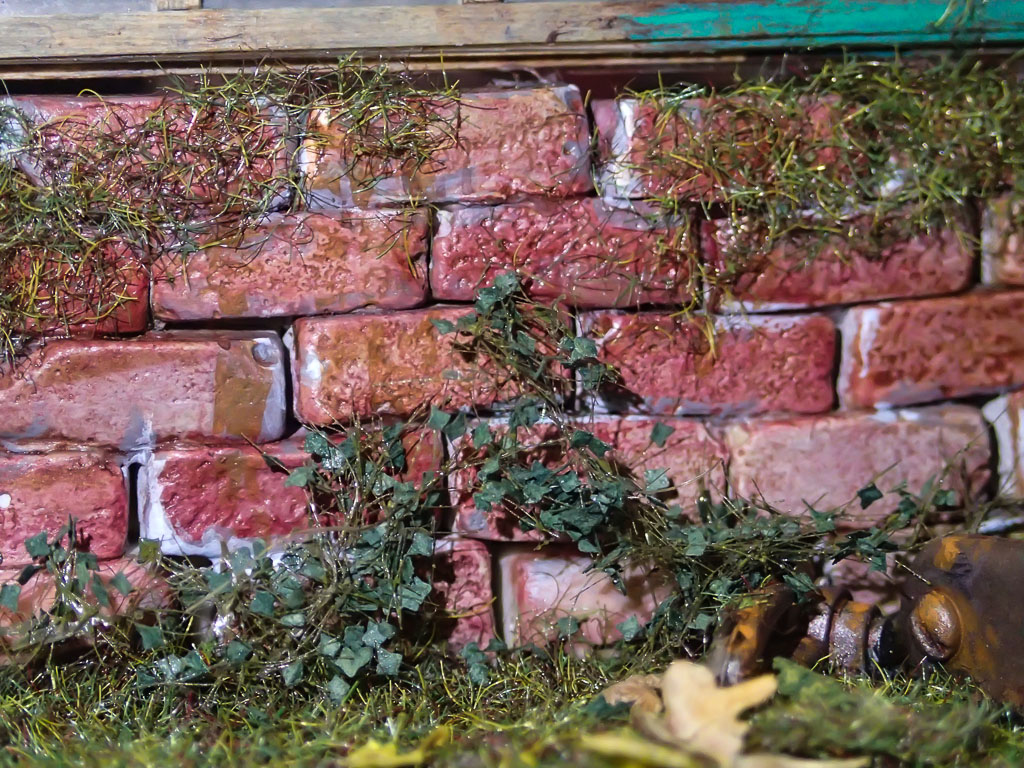
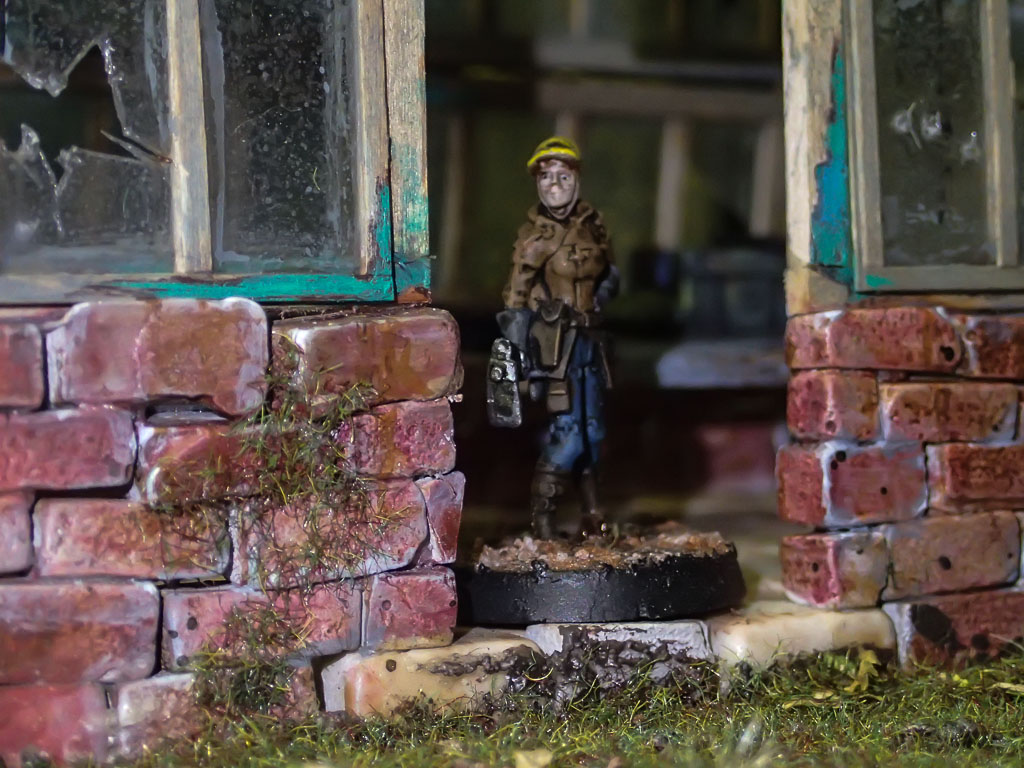
I added static grass to some of the brick areas, as well as some individual leaves in random spots. There are also some small shrubs and some wild flowers.


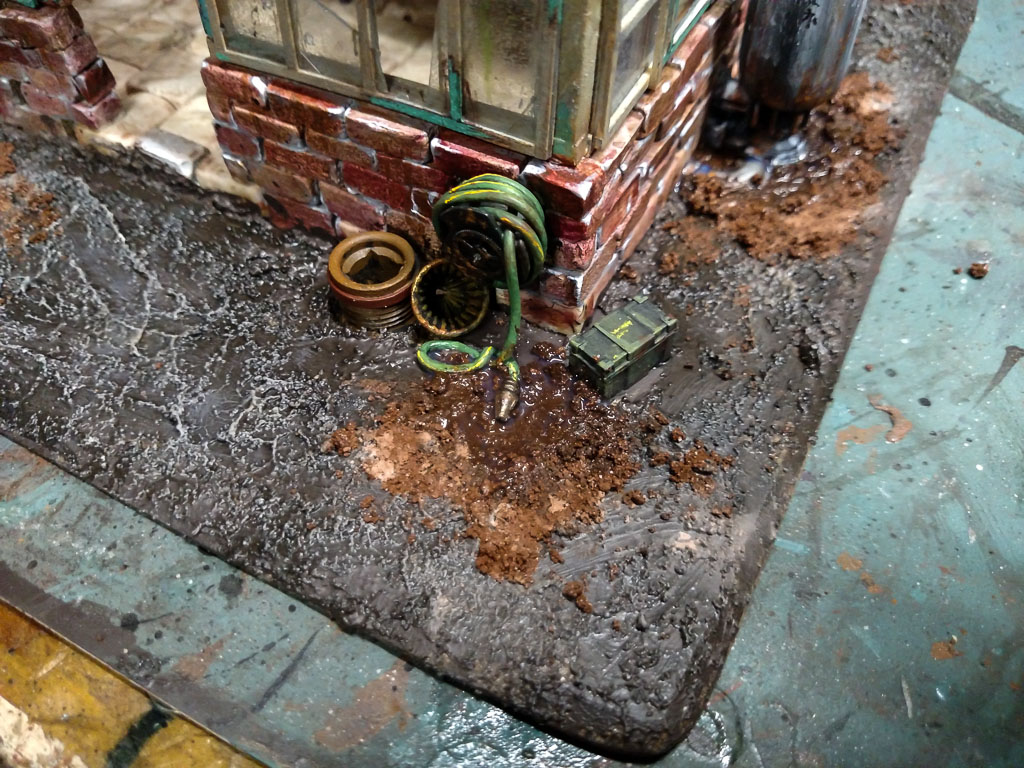
Here you can see one of the finished "wet" spots. Isn't that hose awesome?


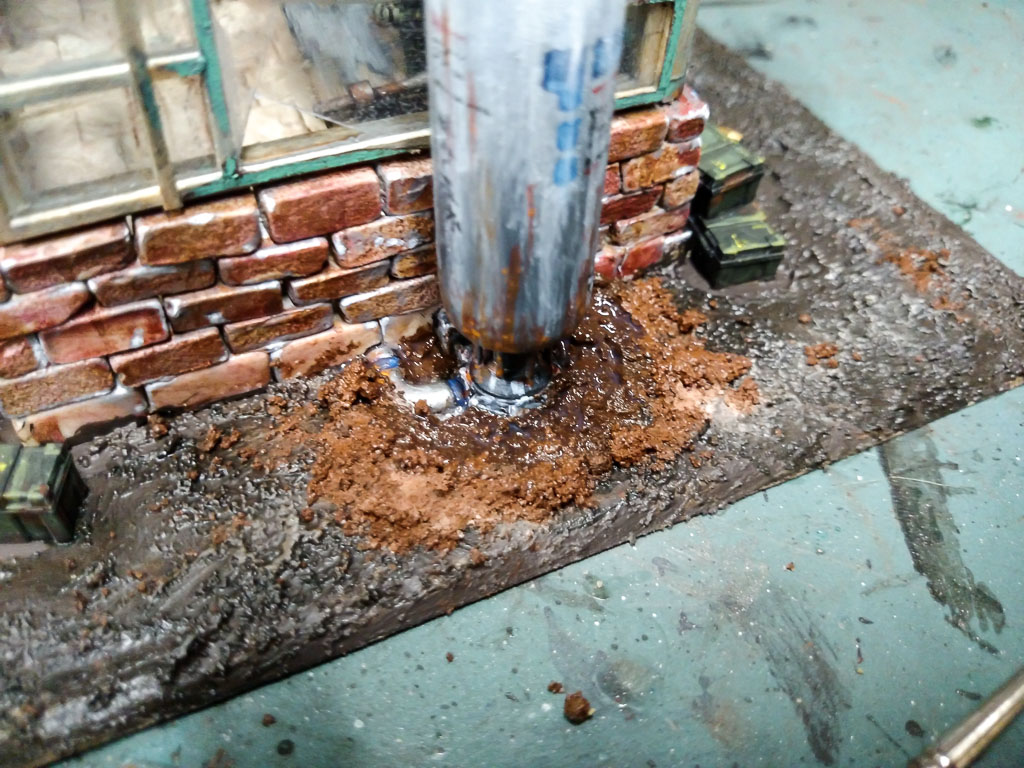
This is the wet area around the water tank.


I kept the back side of the greenhouse simple, adding some moss and vines. Just out of the picture is a large log, made from a small stick. No painting necessary!


Here is a close up of one of the vines. I think this is my favorite picture!


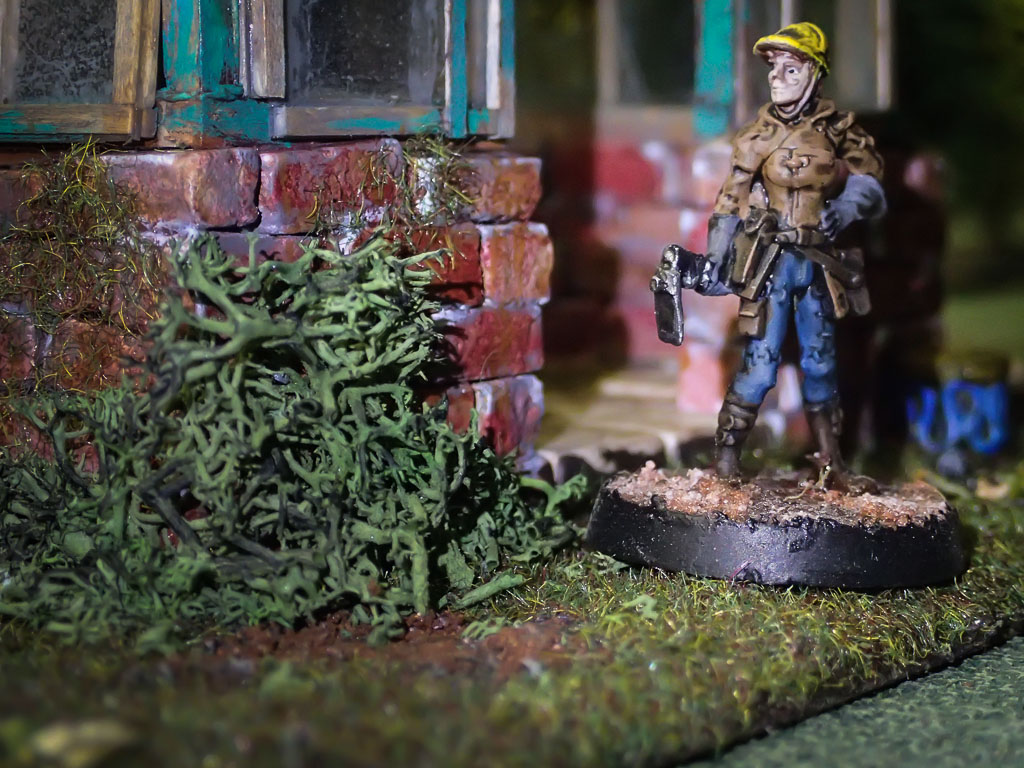
In one of the far corners, I made a shrub from some lichen. I gave this a black and brown wash.


I am very pleased with this addition to my post-apocalyptic terrain set. Look for it on the battlefield very soon!!

-- Josh, Chicago Skirmish Wargames club member
Tuesday, March 17, 2015

Repainting the Hirst Arts Wizard Tower


Way back in fall 2012 I completed a rather spectacular online swap, whereupon I traded a mountain of comic books and graphic novels for two huge boxes brimming with fantasy terrain, buildings, walls, fences, accessories and bits galore. Seriously -- this is the sort of trade that comes along once in a lifetime. The other fellow wanted to divest himself of his 28mm fantasy stuff, and I just so happened to have a ton of comics and graphic novels to send his way in exchange. Chicago Skirmish Wargames has been enjoying the spoils of this deal ever since.

Anyway, among the many, many terrain items packed away in this huge box was a Wizard Tower made from Hirst Arts bricks. It was painted dark gray and was otherwise unfinished. Nevertheless, it made its way onto the battlefield in several games, including this one where you can see it in the front-most table.


I always planned on repainting and rebasing it, and, as I'm due to become a father in the next week or so, I figured this was a good time to finish off this terrain piece as a sort of "swan song" for this phase of my wargaming career. A final project before real life takes over for a little while, if you will.

Here is what I came up with. The exterior got a quick repaint and drybrush, followed by some green and brown streaks to suggest that the elements have not been kind to this particular watchtower.


The overgrown cobblestone pathways are pieces of Lemax decorative vinyl cut up and glued to the base. The edges are hidden with gravel, sand and flocking to make the whole thing appear old and time-worn.


I had a little fun with the back corner by crafting a little built-up rocky foundation using blue foam chunks and pea gravel. (While building the foundation, I once again marveled at the fact that you can sand blue foam with a piece of sandpaper.)


The foliage is a mixture of clump foliage and static grass. I really like the whole "overgrown ancient ruin" look for my fantasy terrain. Even though this tower is certainly occupied by someone (or something), I still made sure to put some vines and creepers up the sides.


What's up with this guy? Is he exploring the depths or fleeing from the tower's denizens?

Up top I had fun with my newly acquired packet of little fake leaves. It takes just a few to give the impression of windswept parapets.


There you have it! This terrain piece will be equally at home on back alleys of a fantasy cityscape or in the trackless depths of the wilderlands. Look for it in future battle reports!

-- Patrick, Chicago Skirmish Wargames club member
Monday, March 16, 2015

Post-Apocalyptic Greenhouse Scratchbuild, Part 1 - Assembly

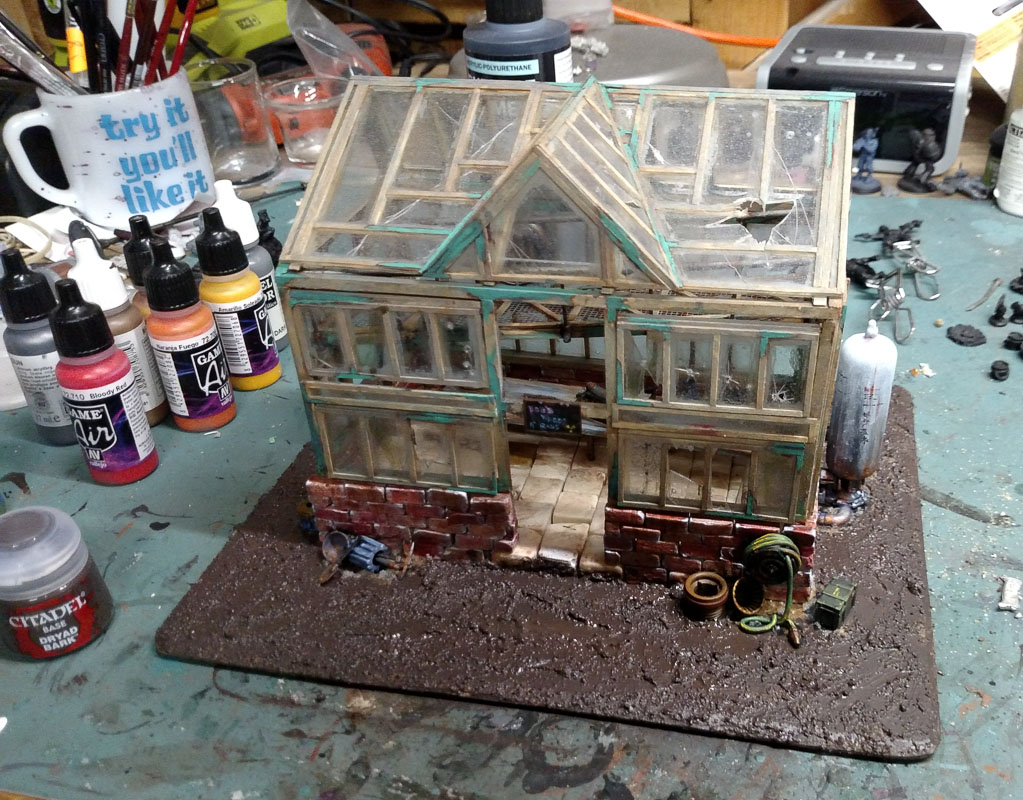
The aspects that probably I enjoy most about the tabletop gaming hobby are model conversion and scratch-building. Last year Josh came up with the great idea for a post-apocalyptic greenhouse, so we worked out a deal wherein I would build the model in trade for some models from an ongoing Kickstarter.

Josh supplied some core materials, including stone mosaic craft tiles, and small-scale bricks (roughly the size of a cinderblock at 28mm scale) for model building, and I provided the rest. Ninety-five percent of the model came from materials I had on hand.

To start, I laid out the floor tile, then built up a small wall of bricks. The tile and brick were too grainy to work with super glue, so I used contact cement as the binding agent. On top of the brick, I then used balsa to frame out the shape of the building.


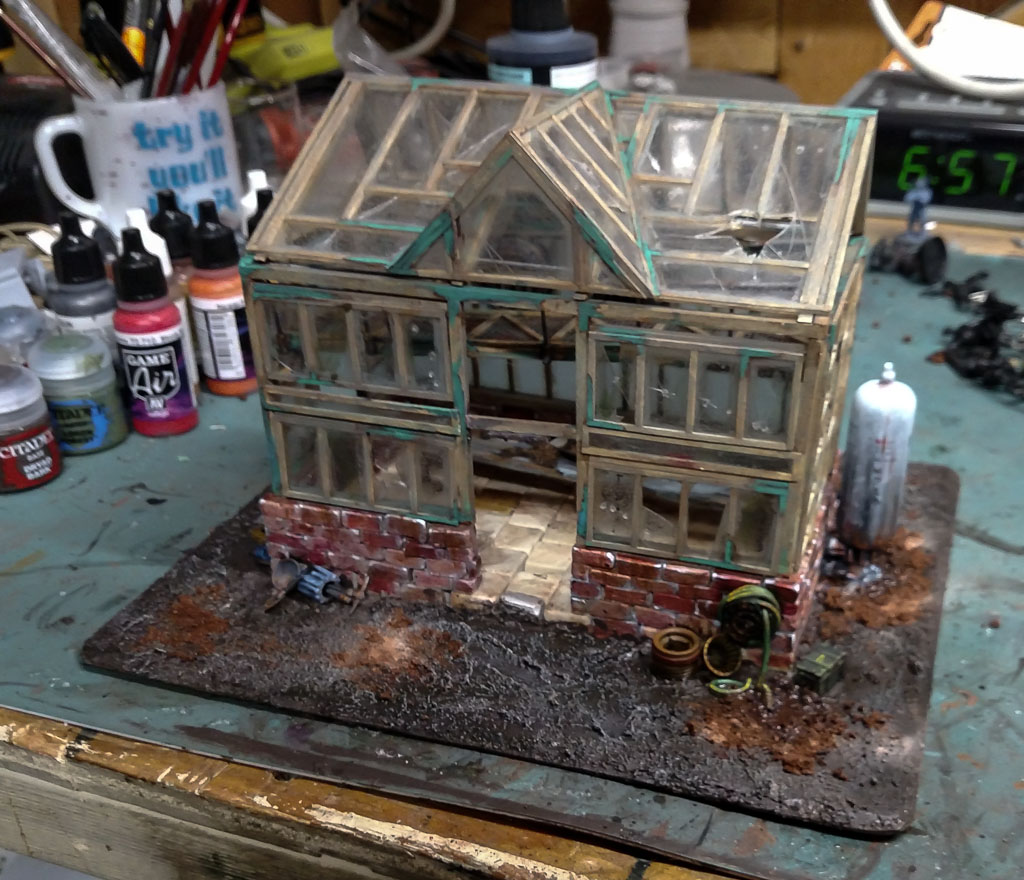
Next, I framed out a removable greenhouse roof, and windows. The original plan was to use clear CD covers from broken CD cases as windows. The material is hard and scores and snaps easily (I use these for movement trays all the time). I quickly found the CD case cover was too thick and made the windows look cartoony. Blister-pack plastic proved to be the perfect material.

All of the window were built as larger pieces framed with very thin strip balsa on both sides of the plastic to make panes. This added strength to the window pieces (very necessary when they were later distressed) and covered the unpainted, underside glued to the window (to avoid having bare clean wood showing on the other side of the pane in the finished model).

For the roof, which needed greater rigidity for regular gameplay, I found an old transparent plastic sign cover, stiffer than the blister pack, but not nearly as thick as the CD case. The entire process of laying out the balsa strip for proved to account for probably two-thirds of the entire build time.


Finally, it was time to add a whole lot of detail. Highlights consist of:

  • A catwalk above the interior made from screen mesh, styrene rod, paperclips, and balsa. Underneath is strung hose made from tubular plastic covered wire (the kind you have to untwist when opening toy packages) and tiny watch gears for sprinkler heads. Inside a pipe runs down the wall from the catwalk to the floor, just inside the building from the water tank.

  • Two large fan\vents in the rear wall made from vents cut of of zoid parts, and a couple of fans I picked up several years back from Evil Mushroom Games, and a few other bits 
  • A balsa table on styrene legs with tools and bits strewn across it. Bits used include planting trays (halved 20mm square bases filled with ballast for dirt), bullet shells, Dreamforge ammo box bits, brass rod, paperclip, and vases (beads) 


  • External details outside of the building including additional ammo boxes, bins (ammo shells), resin stowage bits, backhoe heavy equipment parts (a large hook\shovel piece from a zoid), 40k bits (shovel, pickaxe), a hose (again made from plastic covered twist wire), gears, and beads, and a large water tank (an old vacuum tube, zoid parts, plastic model bits)  


Following detail work, I distressed the windows (photos to come) using a variety of techniques:
  • Drilled bullet holes with scored edges all over the model 
  • Cracks scored into the windows 
  • Panes cut in part or whole leaving jagged holes or bits of glass remaining, or gaps where a pane used to be. People who live in glass houses… and all that. 
  • Scratched graffiti including lines from semi-obscure poems ‘Childe Roland to the dark tower came…”, mis-quotes and random slurrings... “NEEL B’FOR ZED” 
Tune in next time for the Part II where-in painting the greenhouse green (…overly literal?) commences.

-- Jon, Chicago Skirmish Wargames club member
Friday, March 13, 2015

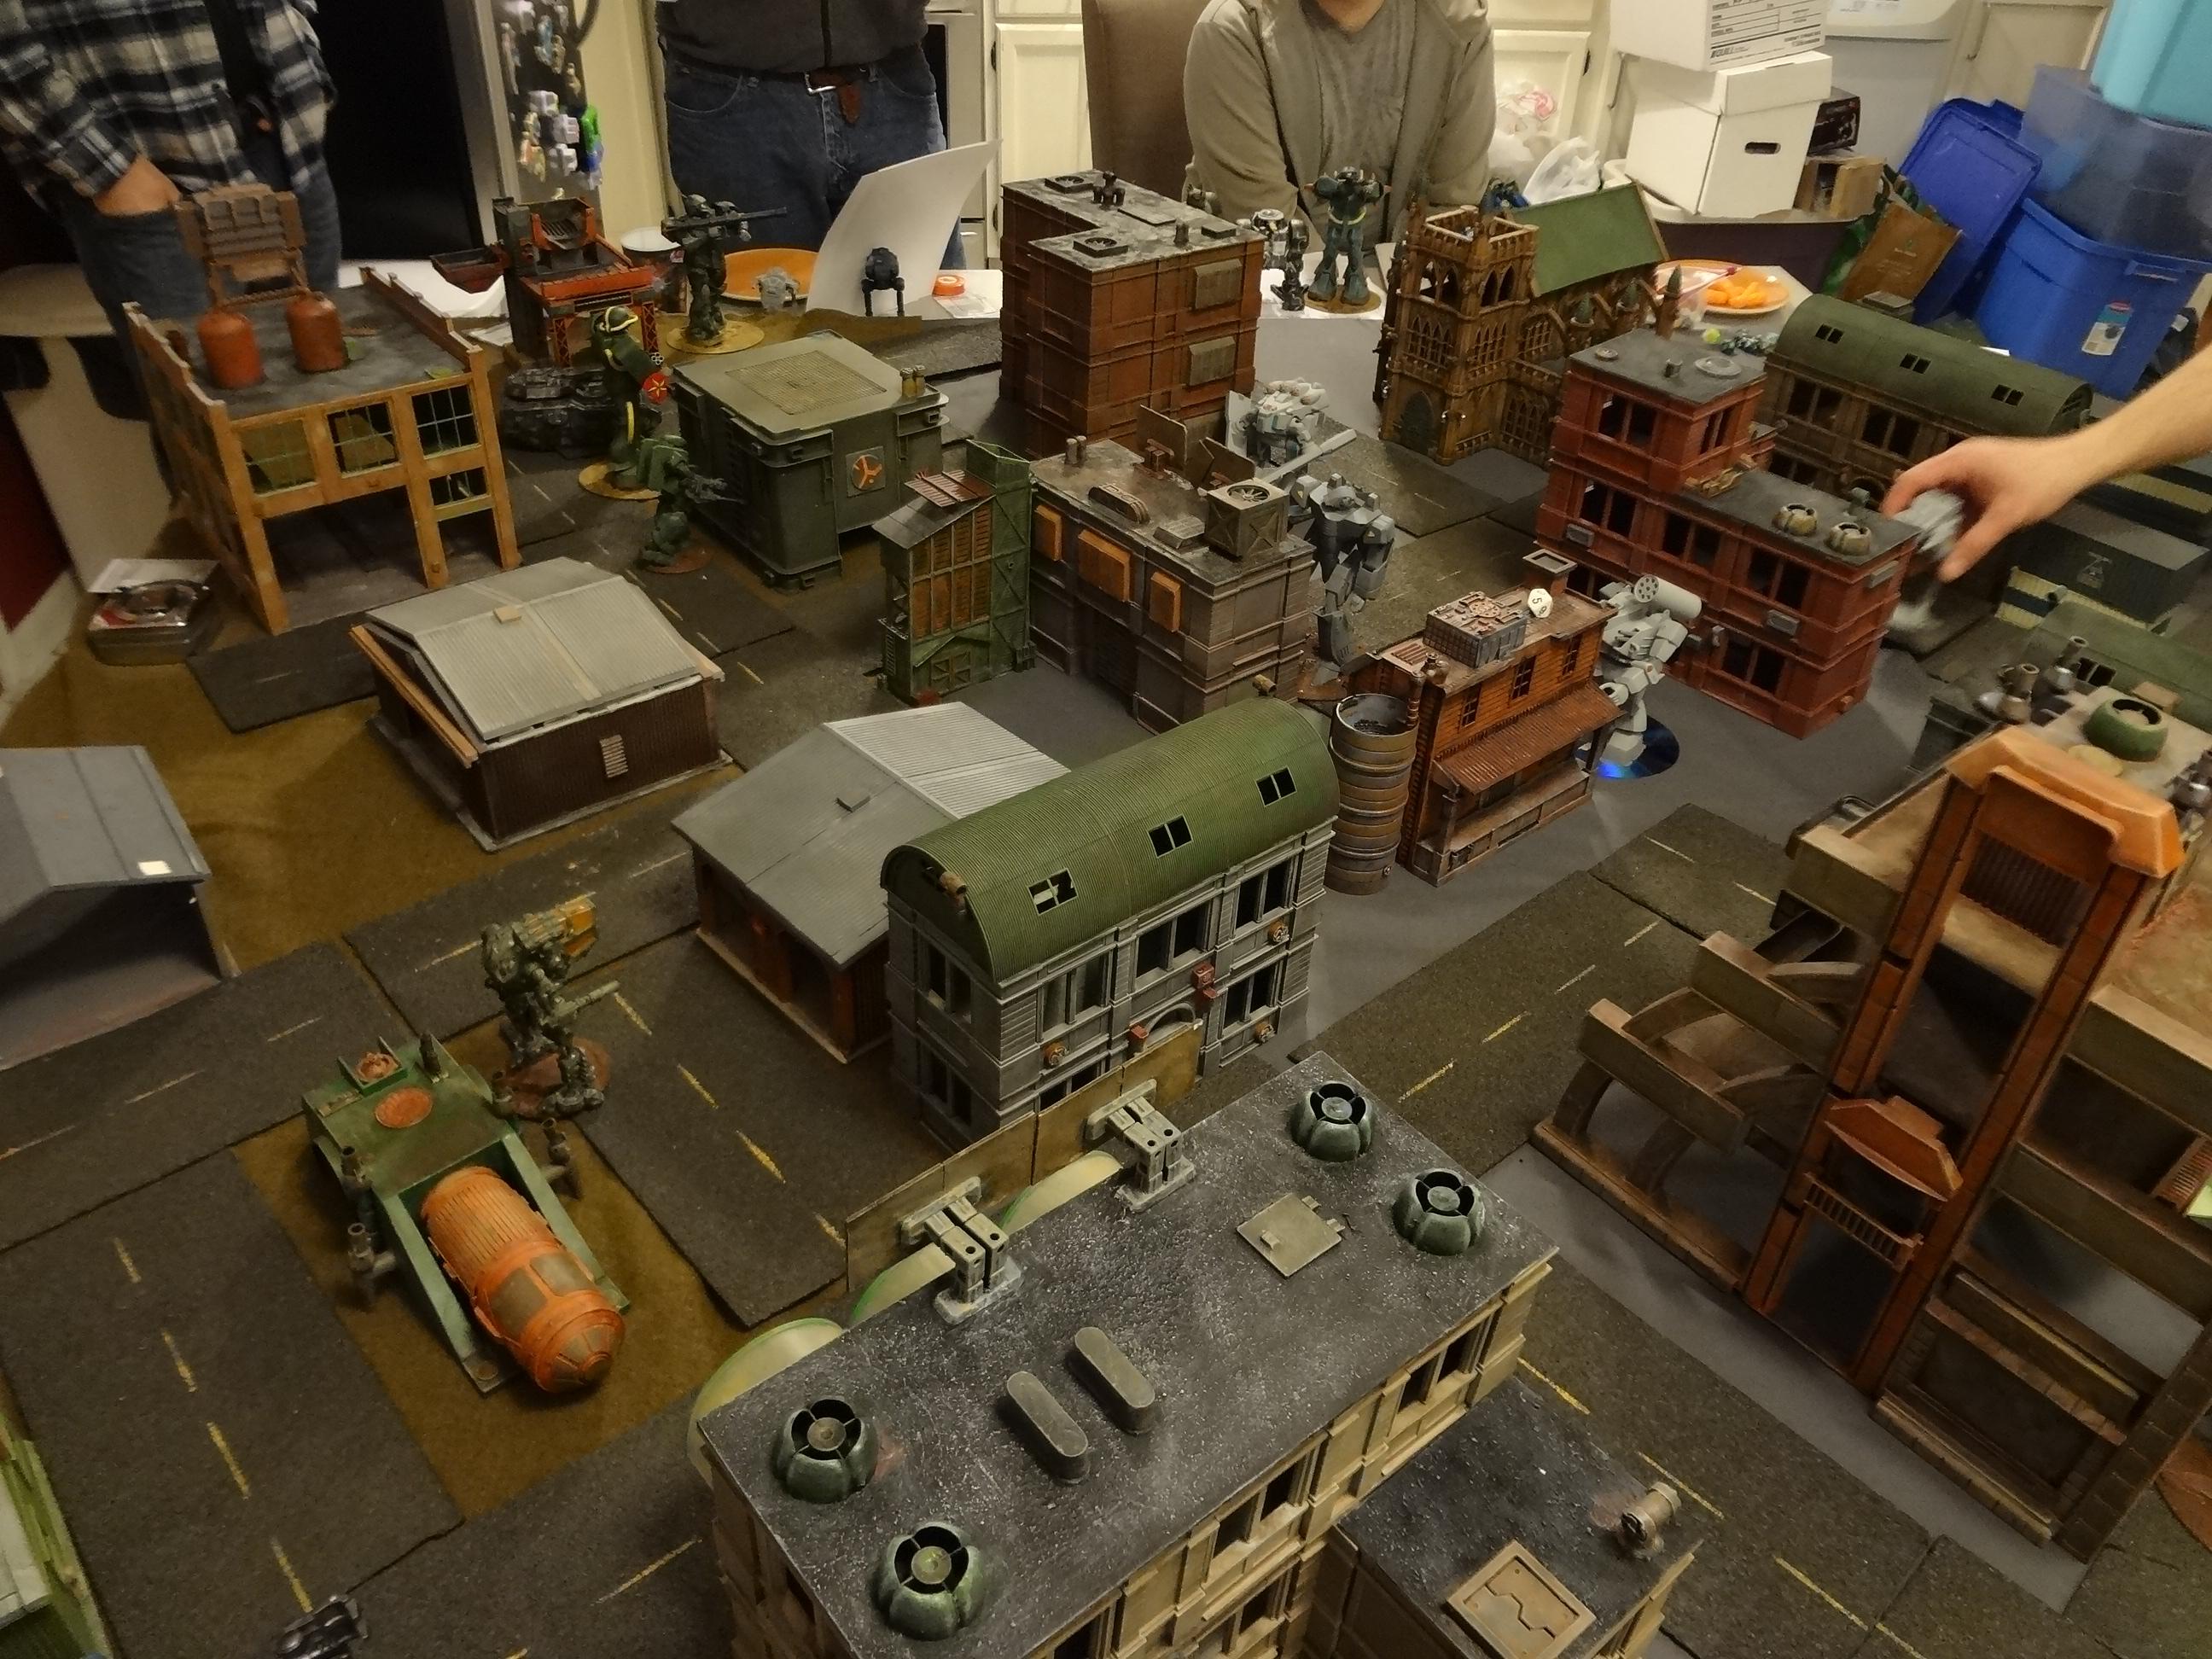
Mech Attack Adepticon Playtest Report

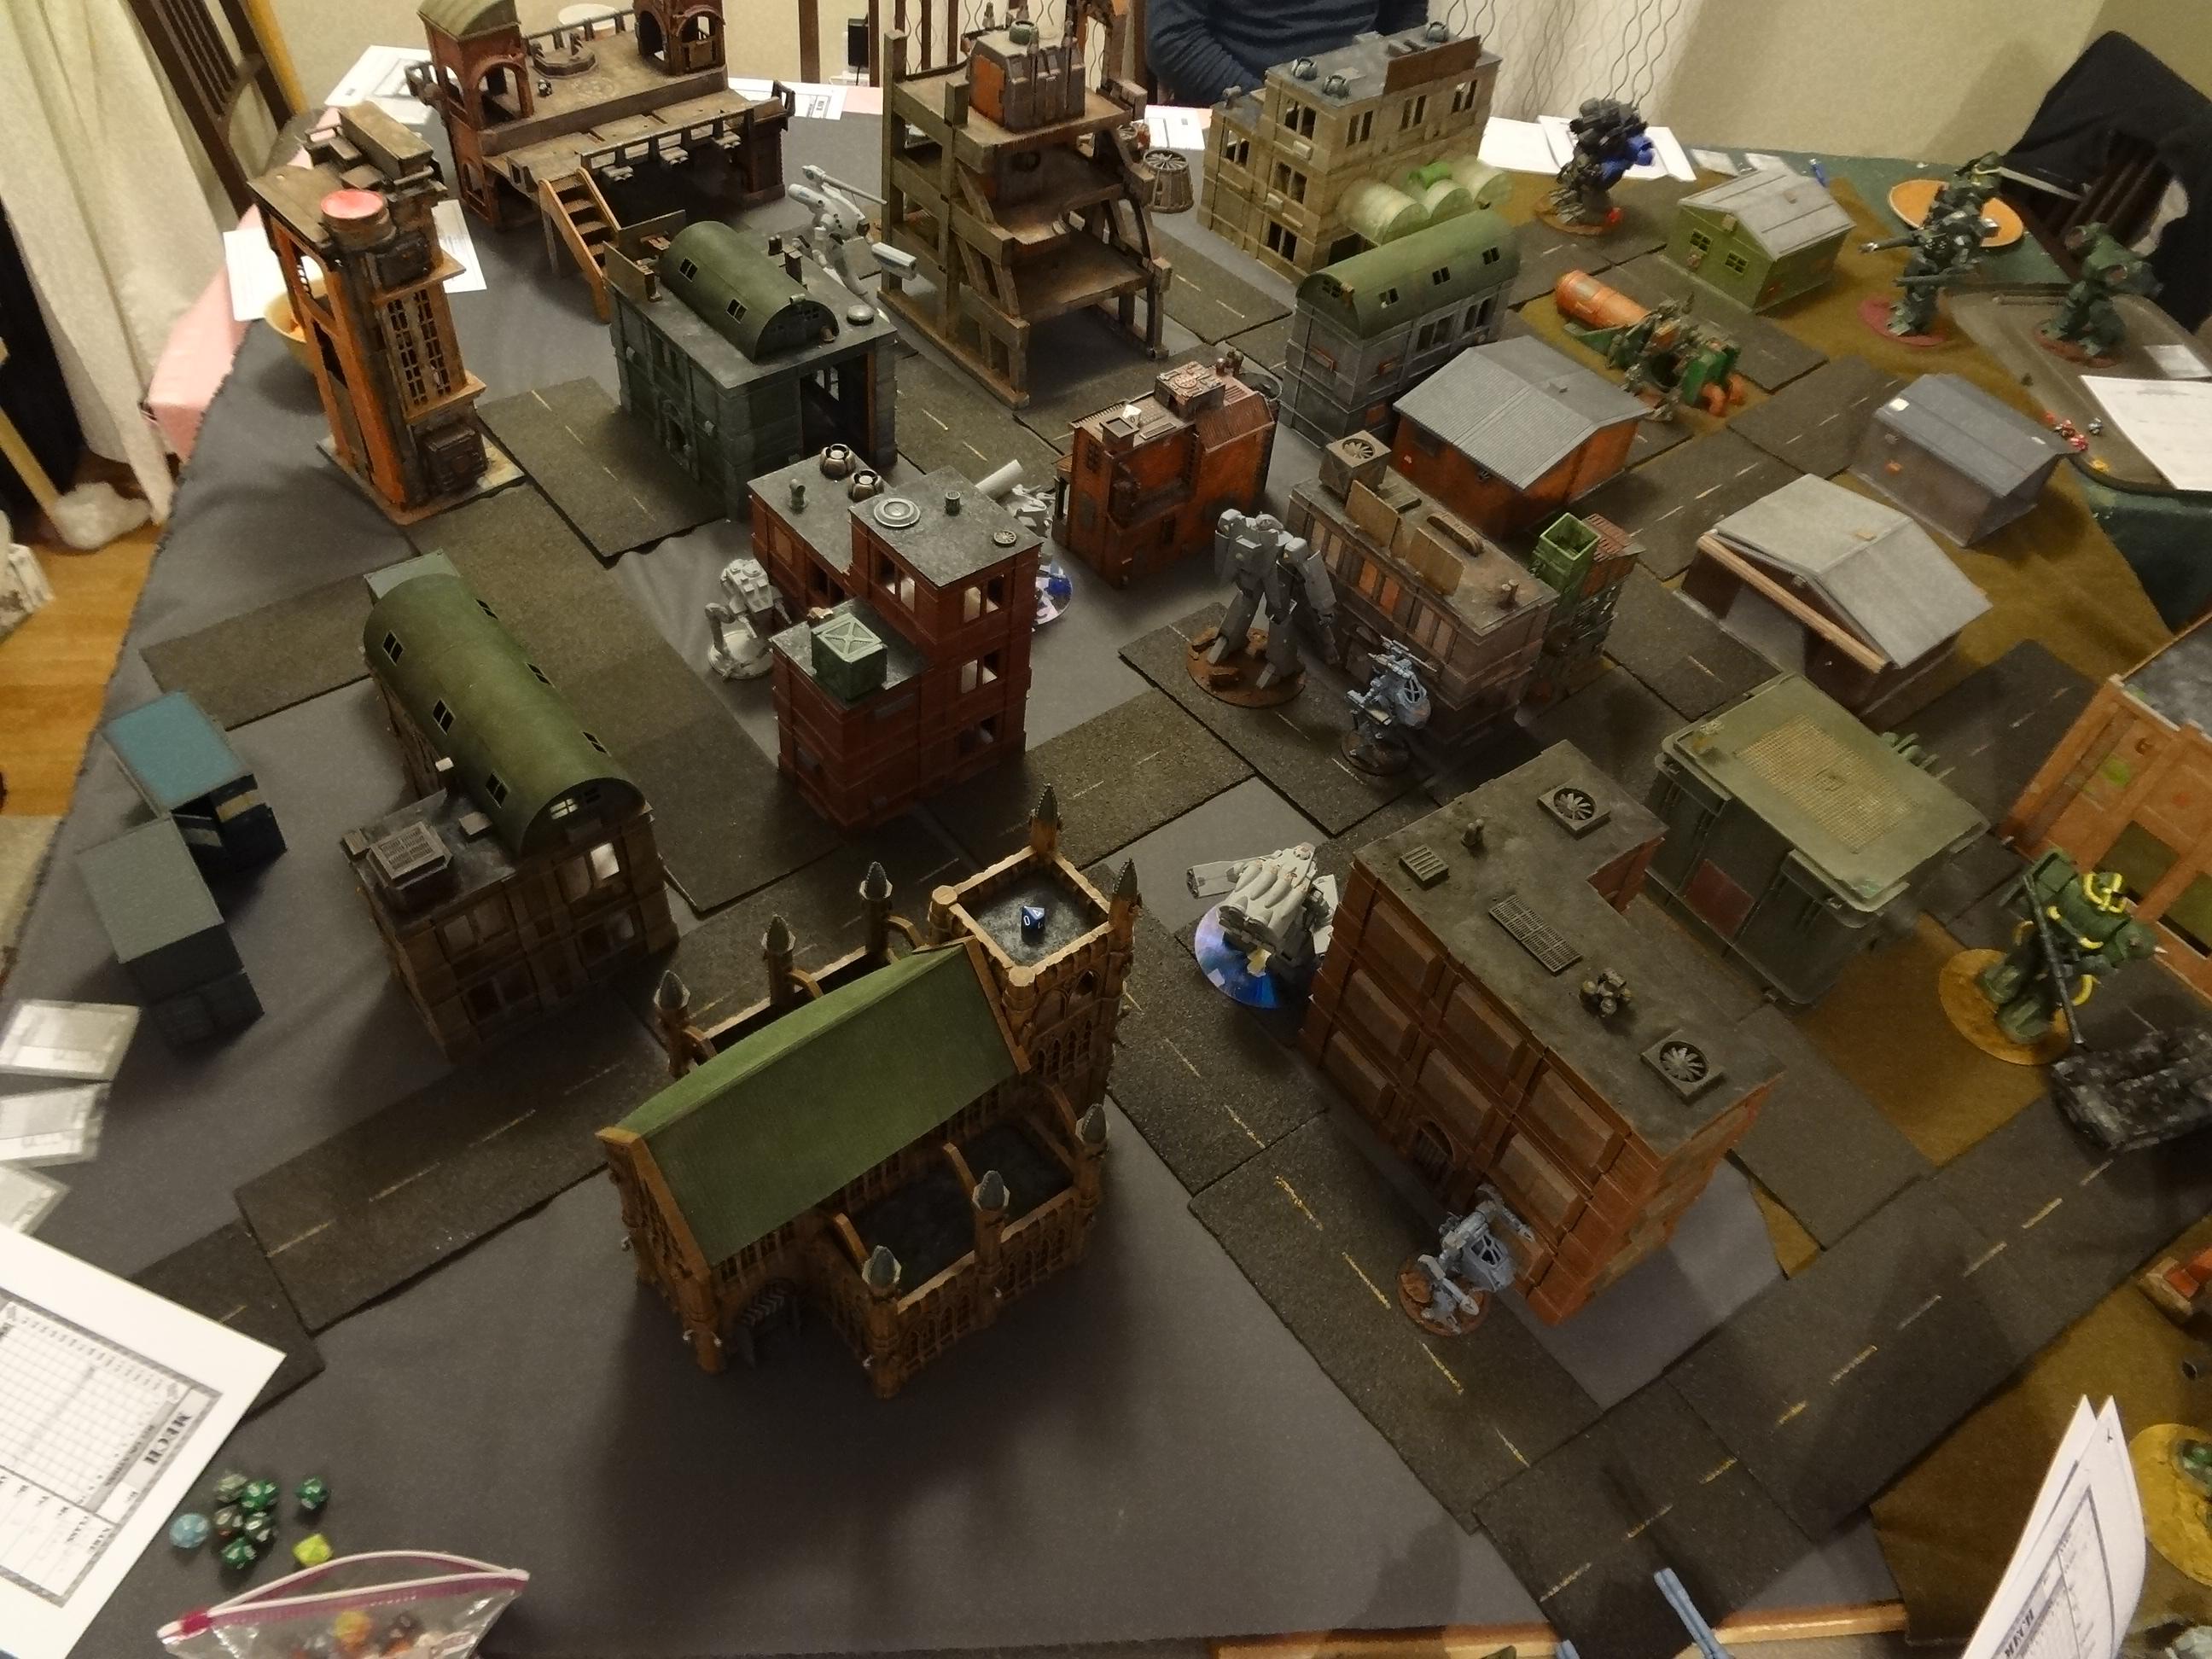
The club is putting on its first-ever game at Adepticon next weekend, and so last week we got together to playtest the scenario we'll be running there. The setup is similar to last year's scenario: a raid where the attackers are aiming to destroy certain buildings in a built-up urban environment.


The rest of the details will be a surprise for the actual players at the game. If you like what you see below, join us at 10 a.m. Saturday at Adepticon. We still have some spots available!


For those unfamiliar with our convention Mech Attack games, it's mostly a matter of scaling up. Usually at the club we play with 10mm scale rebased MechWarrior clix units, but for the conventions we double the ranges and use 28mm scale mechs ranging from 4 to 8 inches tall!

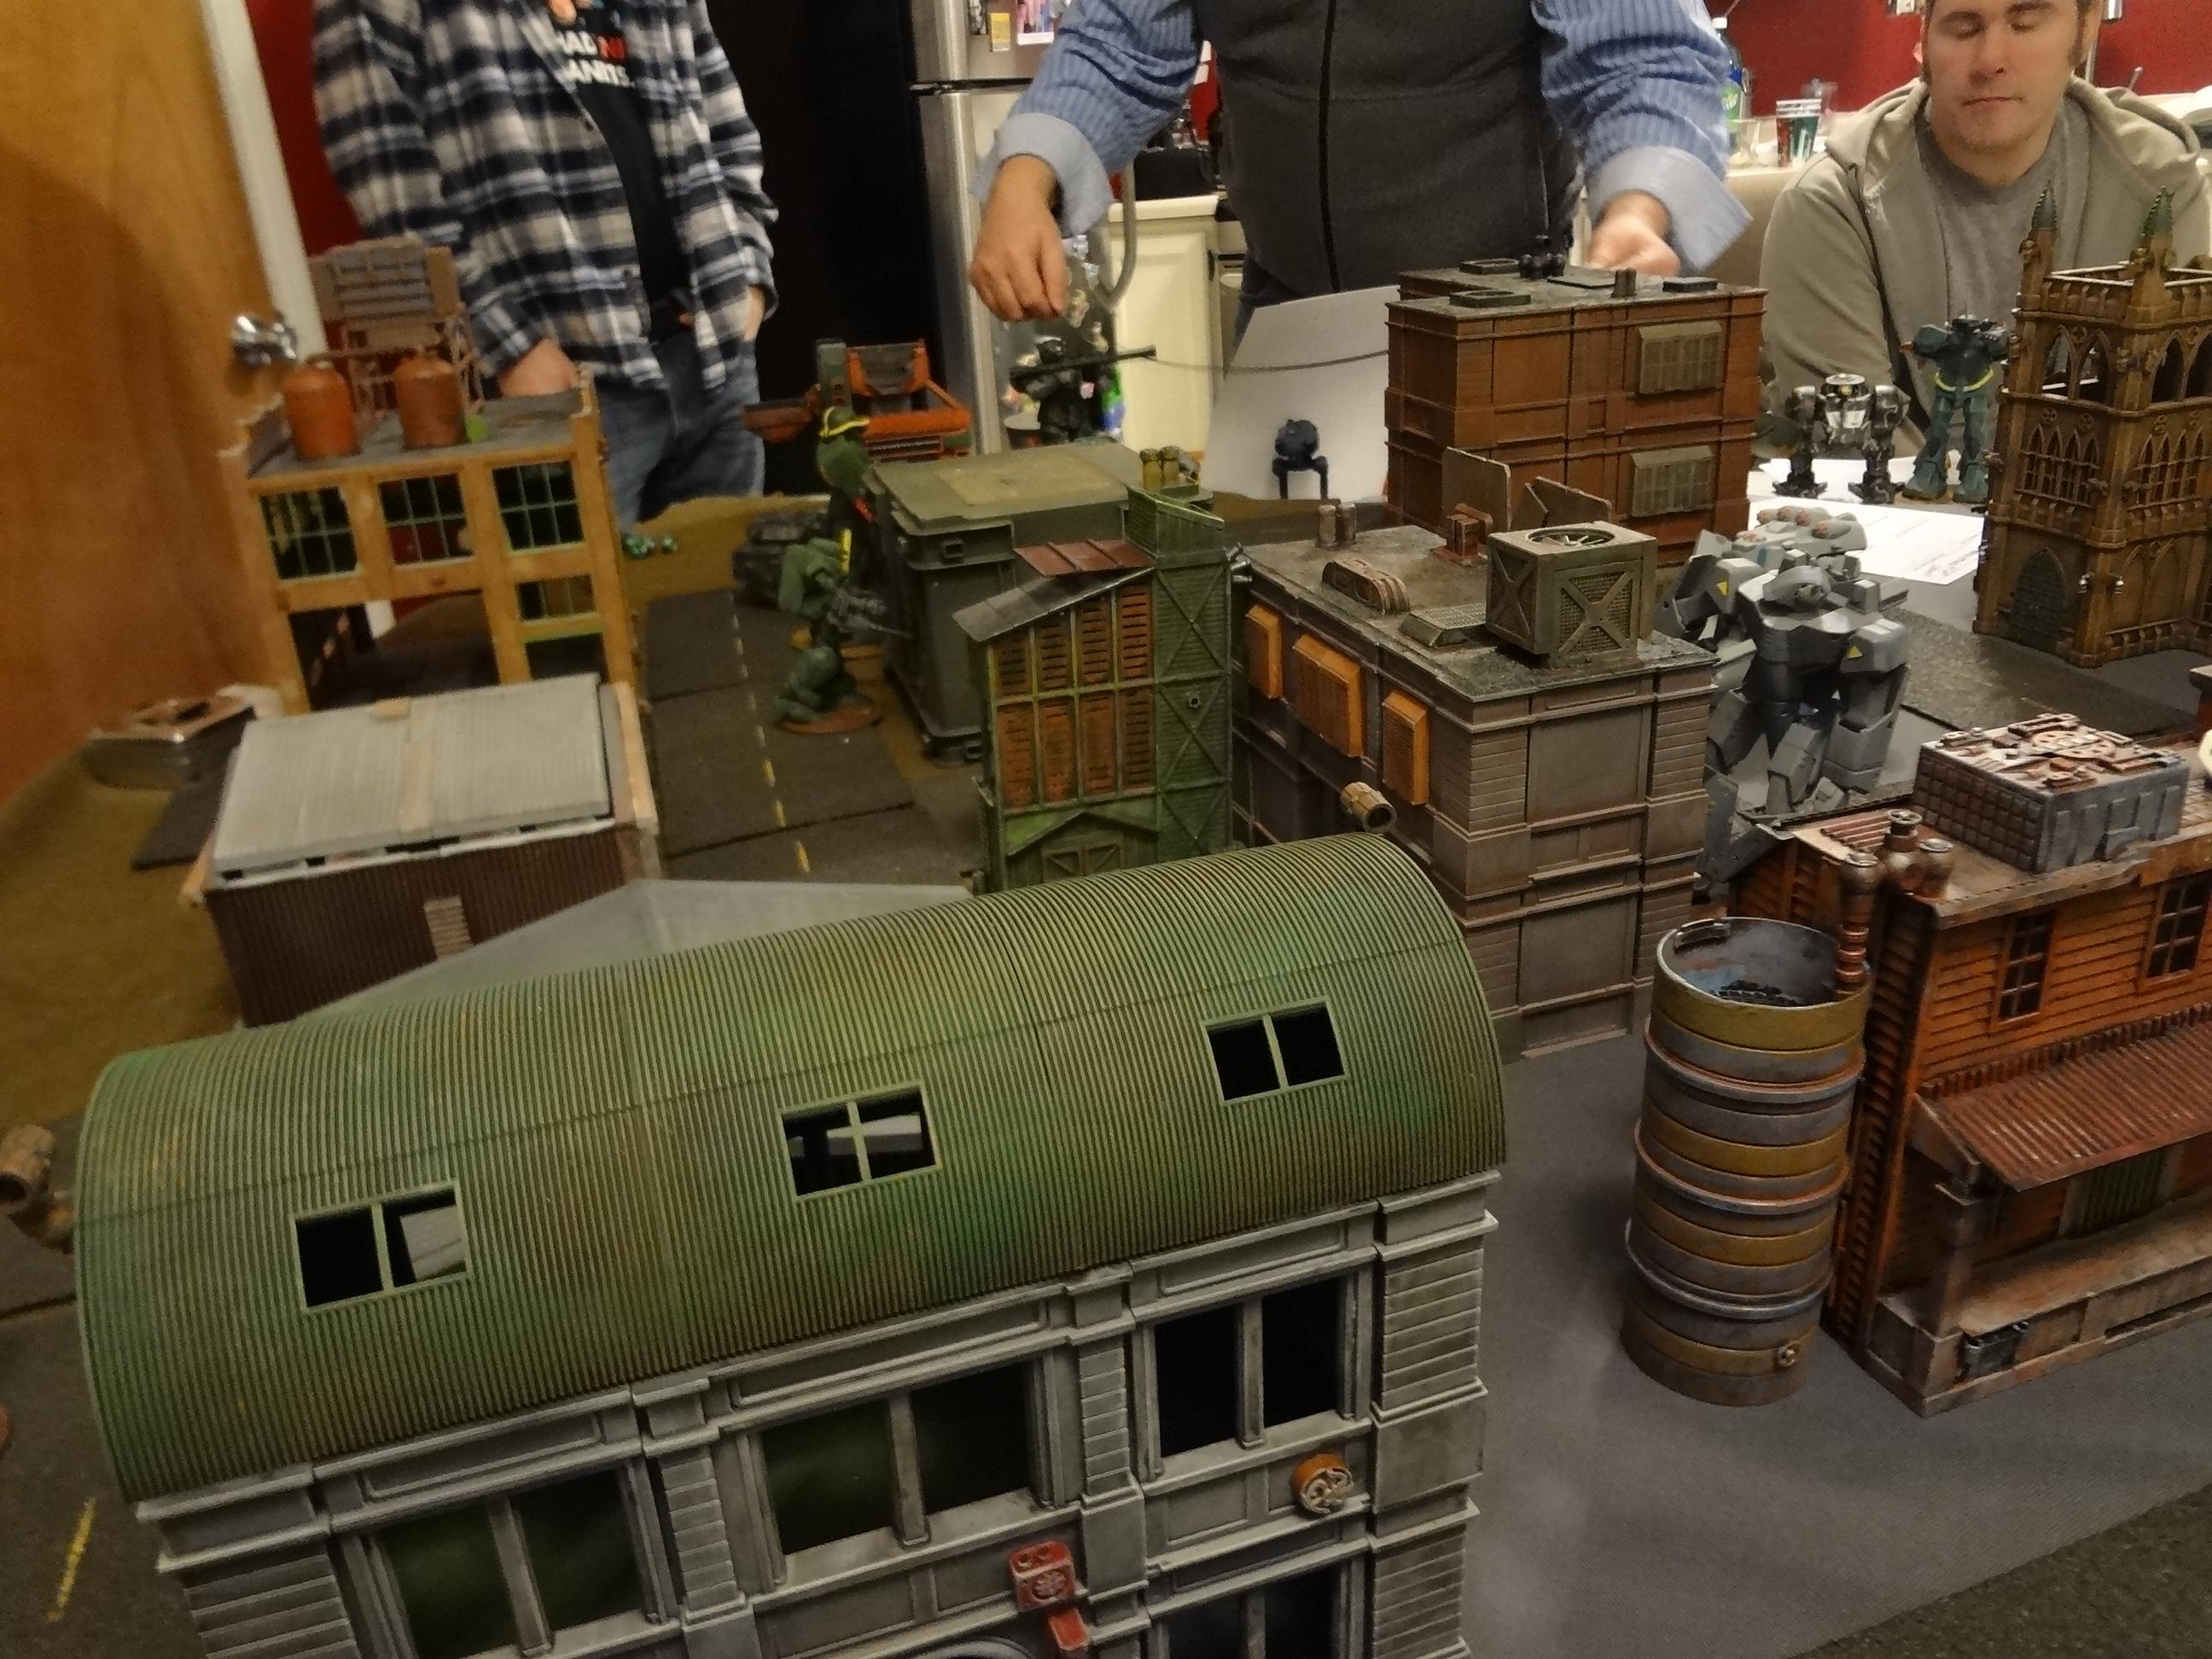
We've also moved from crate buildings to actual models this year, which will provide a visually striking improvement. The crate buildings are very lightweight and easy to pack up, but these new buildings are a good deal more gritty and realistic.


Also, we've moved from desert to an urban theme, though I still have to drybrush the grey fabric "concrete" mat. I'll also be putting out alot of scatter terrain that will mostly have no effect on the game but will make some of the open areas look a bit less bare.


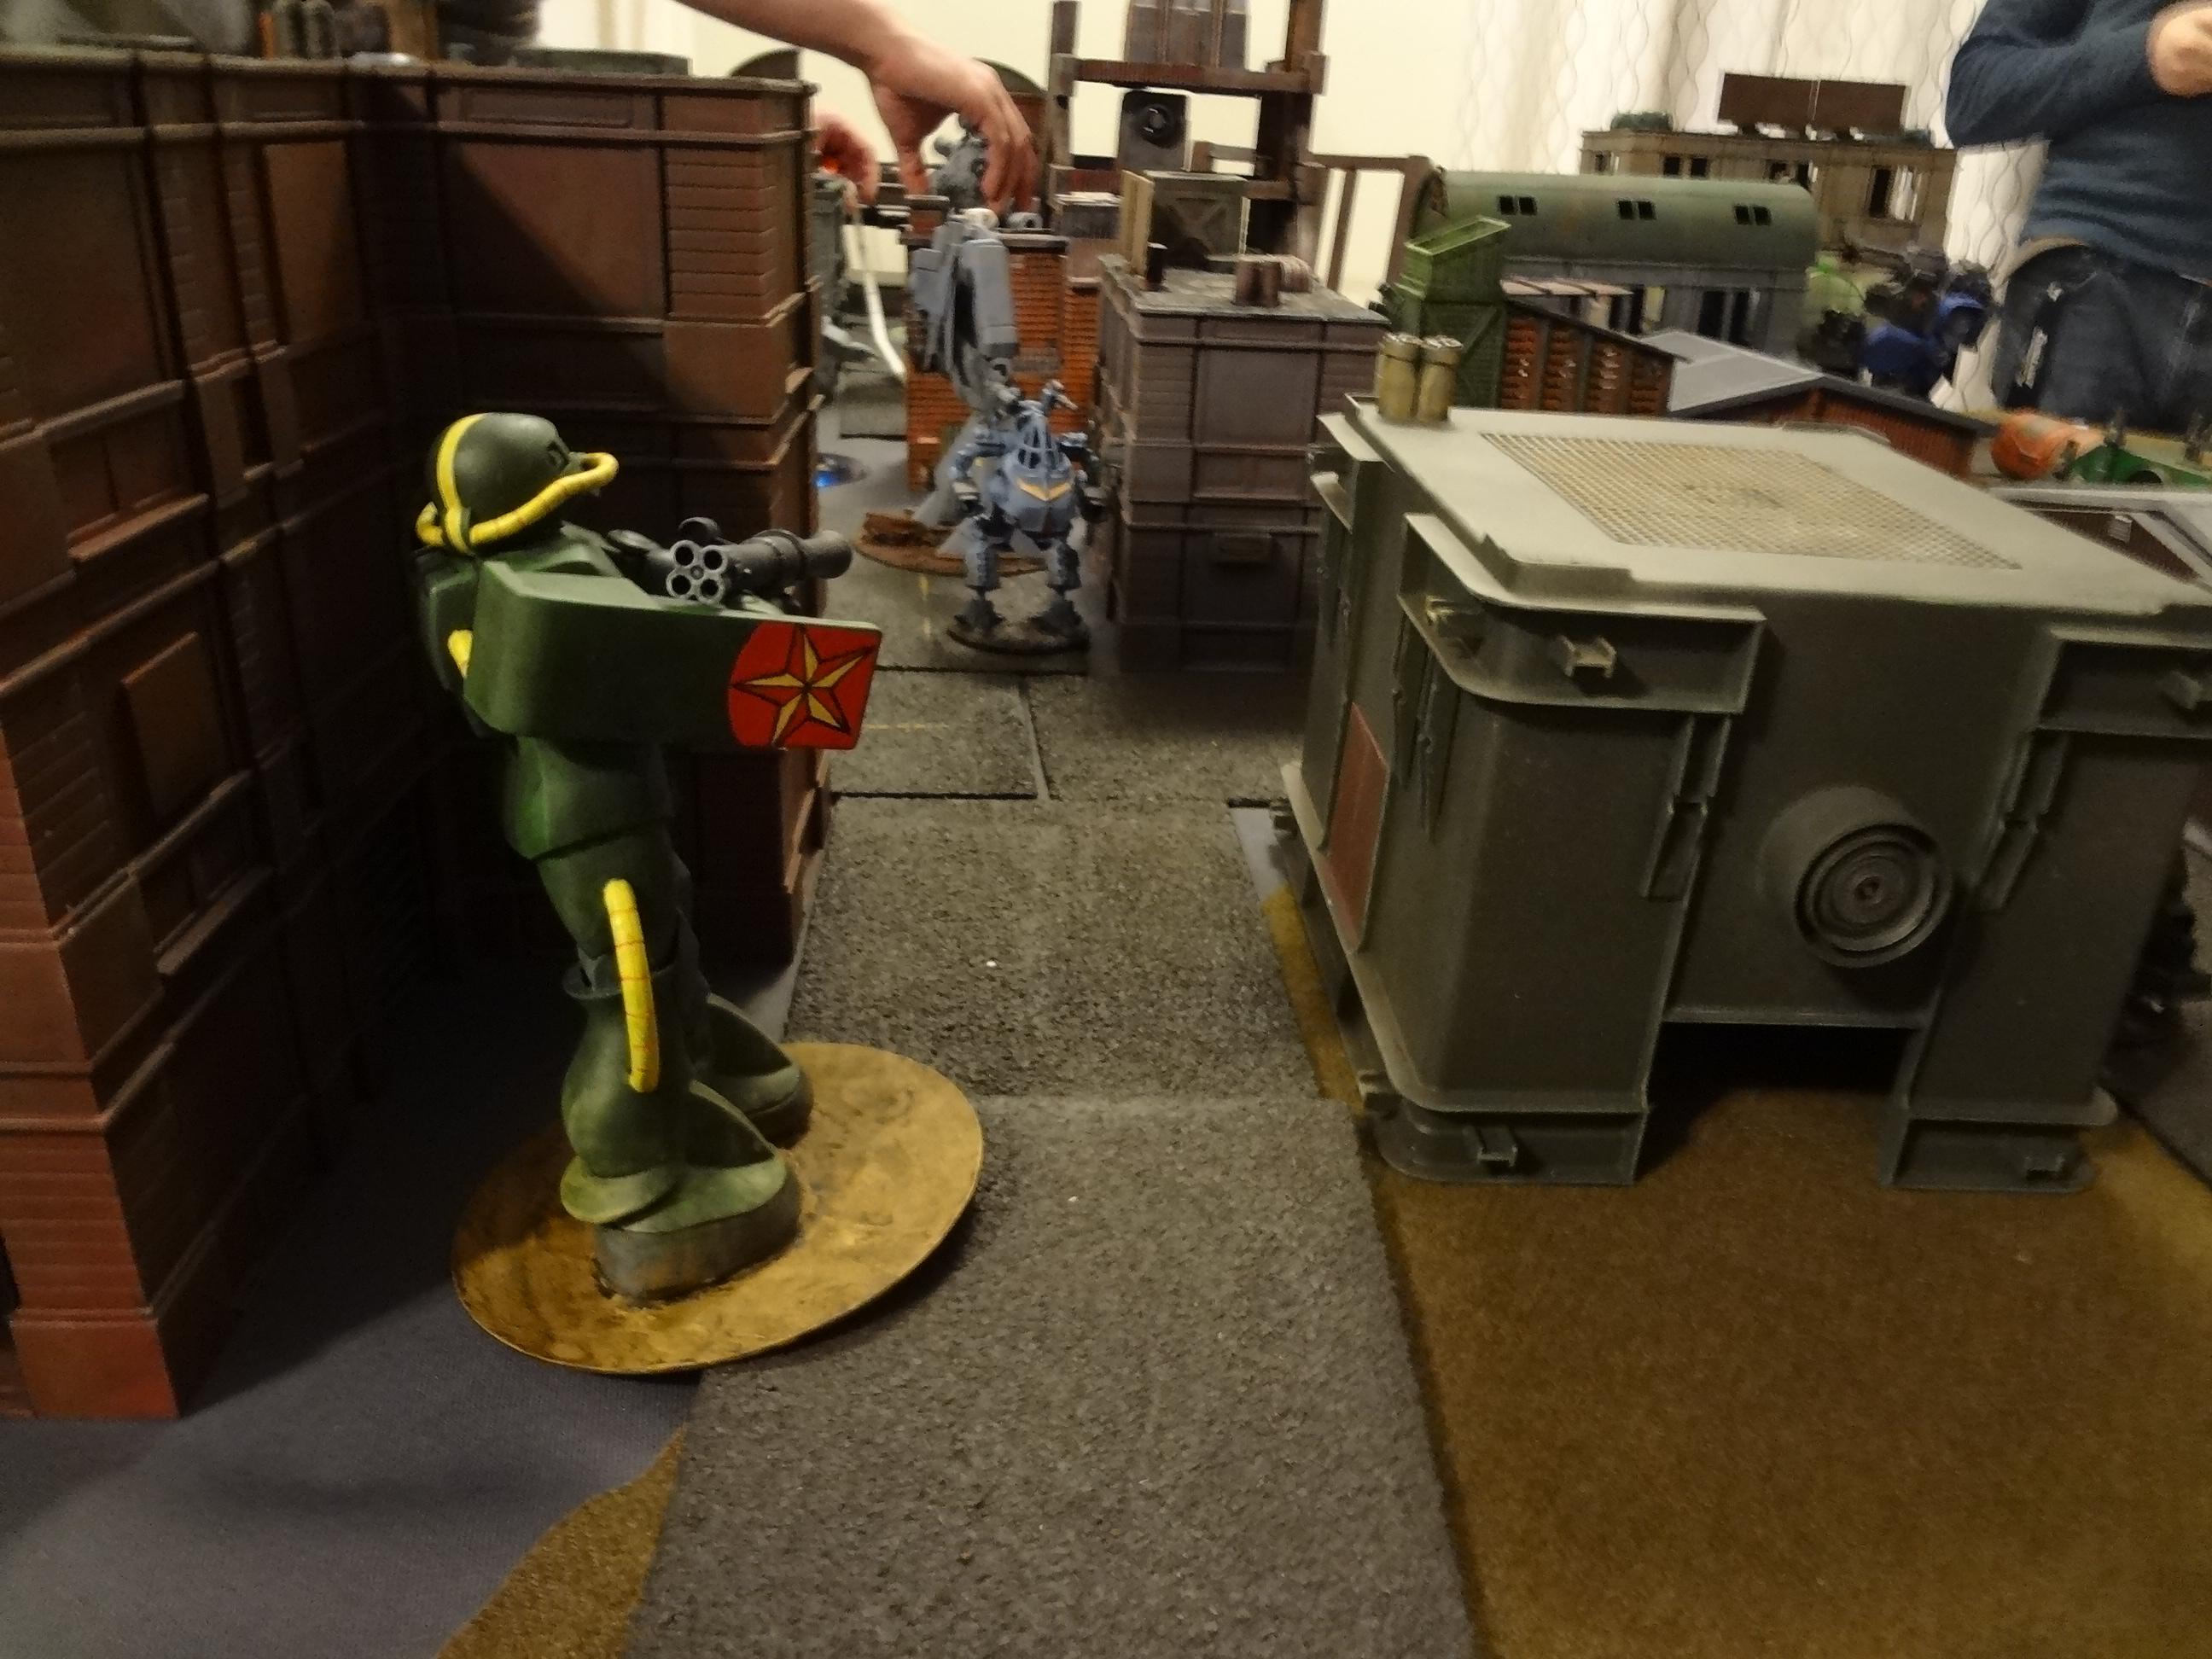
Tim has prepared five new Zaku mechs for the Green Attackers. These guys are massive!


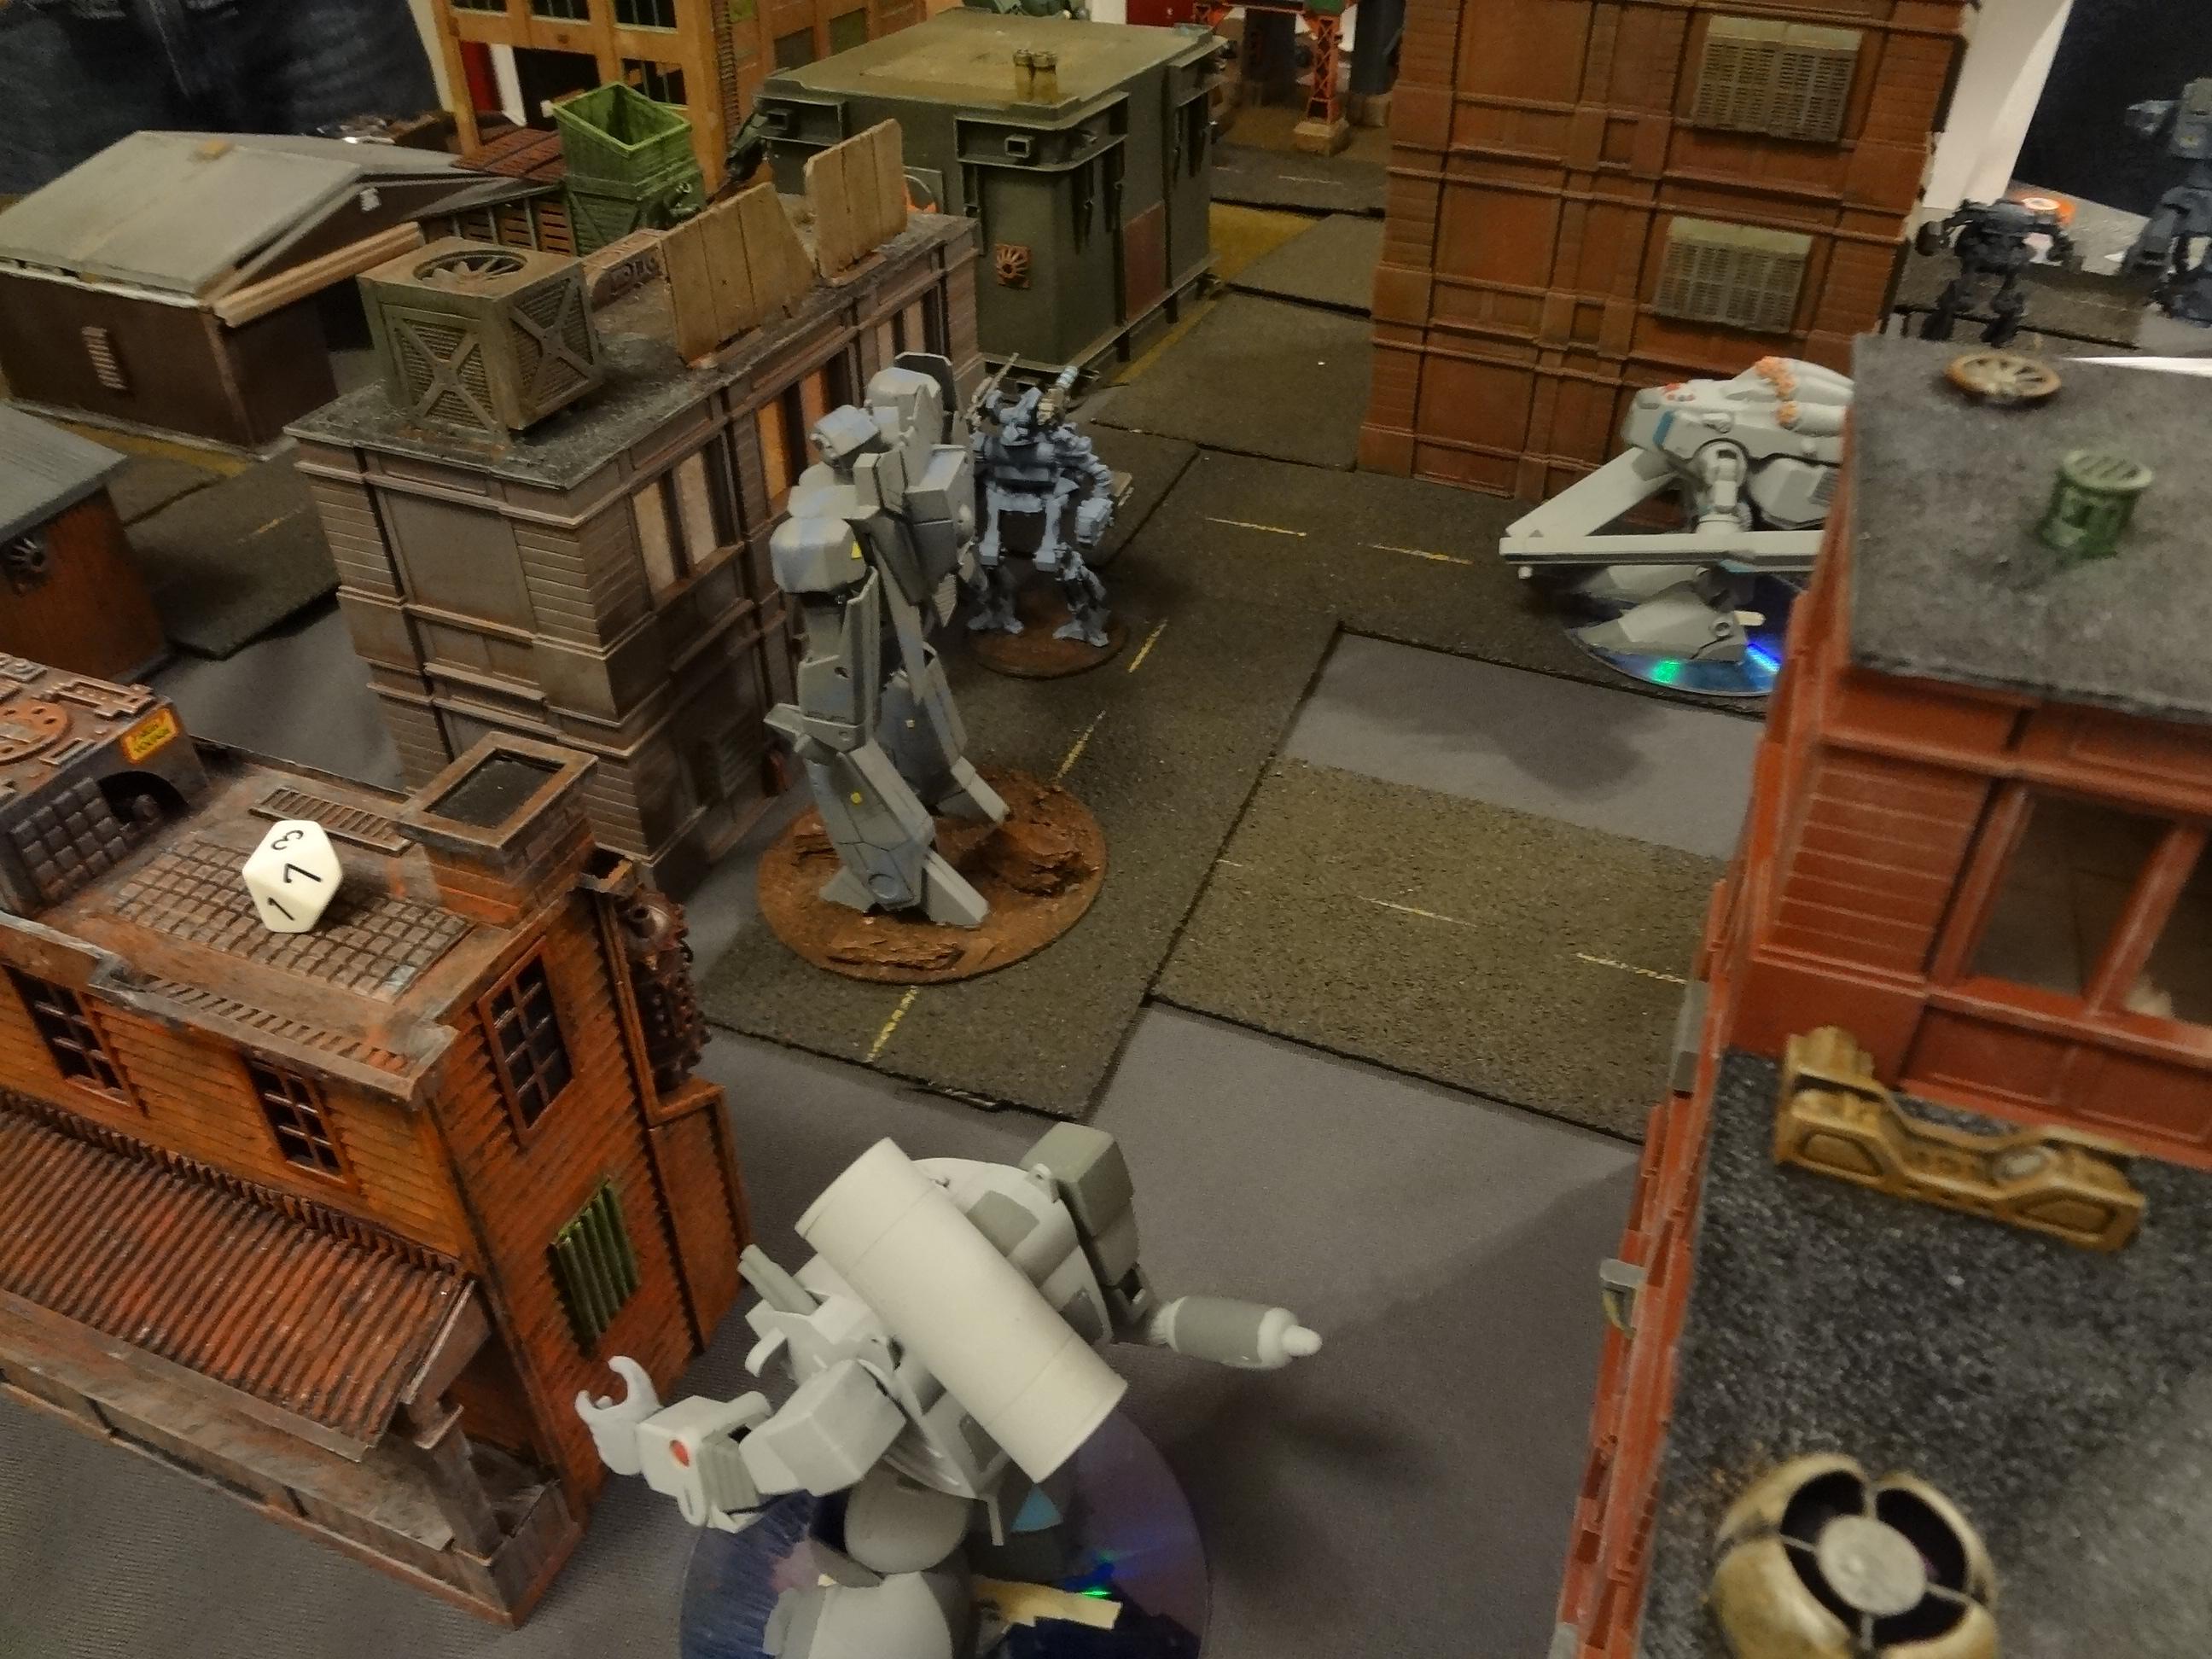
I'm bringing six new mechs for the Defenders: 3 Kryomek Striders and 3 plastic mecha kits


You can identify them easily in the pictures because they haven't received a wash yet and their bases are bare.

Lastly, here's the diecast Mechwarrior Legionnaire. It was a favorite from last year. I've got another one of these that I might base up. The stock paint job is nice enough that you just have to base it up and maybe dirty the feet a bit.


And that's all for now. The countdown to Adepticon is on! Remember: We'd love to have you join us there for the game or just stop by and say hello

-- Karl, Chicago Skirmish Wargames club member