
"There are strange things done 'neath the midnight sun by the men who moil for gold…"
- Robert W. Service
The wretched Harba watched from the shadows as the his tales spun from straw... tales of gold and vast wealth filtered down through tellings and retellings down to the mercenaries, villains and adventurers who now searched the ruins in the valley below looking for plunder and treasure... but just as likely to unearth moldering artifacts and glittering gewgahs of fearsome uncanny disposition... better left in their grimy cairns and dungeons... laid to uneasy rest eons, and eons ago...
On a dark and... well… not so stormy night, five Chicago Skirmish Wargames members met in a... well… not dark and dingy basement… and split into two games of Song of Blades and Heroes. Michael brought forth his custom converted and based Mordheim-esque terrain buildings, and Tim set forth a farm with stone cottages.
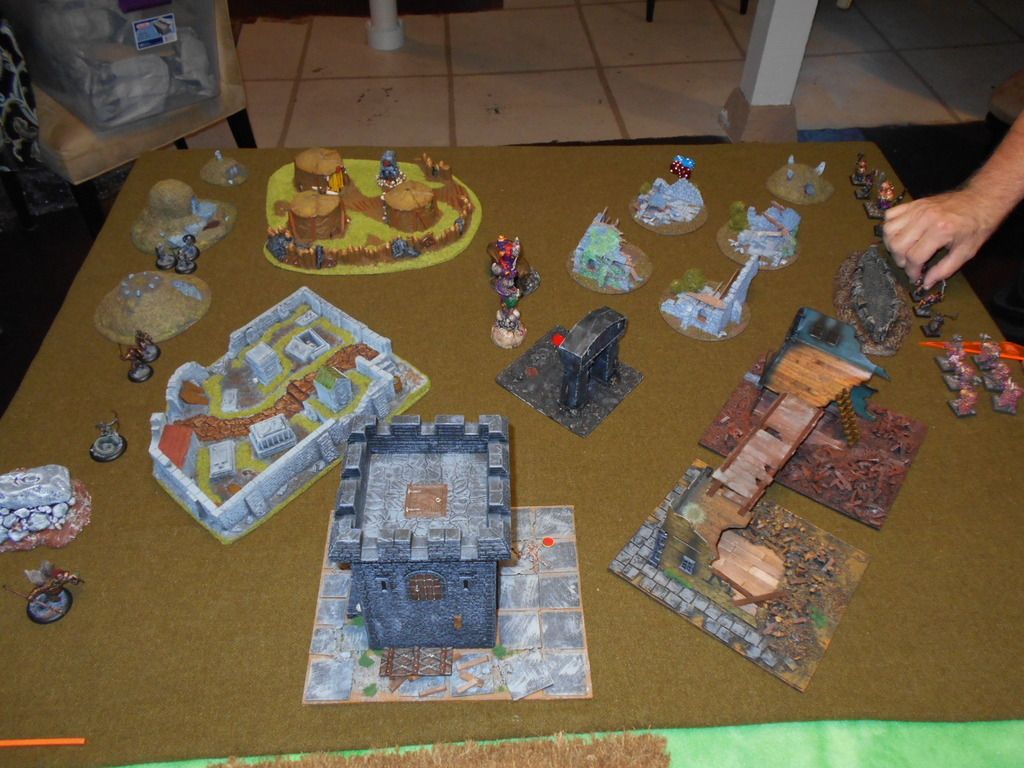
On the first table side, three warbands blundered and crept through the ruins searching for rumored treasure. The three competing teams were Michael’s warband ("The Debauched Ones" led by Samira the Salacious), Joe’s Men at Arms, and Jon’s "Calibans Cursed."
The scenario rolled was a treasure hunt, the goal being to find and spirit the treasure off of the table. All three warbands focused on the treasure hunt, rolling to score a 10 or higher (rather than a 12) for each terrain piece encountered. Given the focus, minimal combat occurred with only a few casualties on the board. Jon’s Medusae effectively removed Michaels mounted character from the round. Within four turns, the treasure had been located and removed from the battlefield. Samira the Salacious took the win, finding an extensive amount of money, a magic item, and several gems ...in suspiciously archaic settings of gold.
We quickly reassembled for another three player game. The scenario was a King of the Hill, with victory going to player with the most points of models on the hill at the conclusion of the scenario. We configured a tower as the ‘hill’ and a massive melee ensued outside one of the doors to the tower. Jon flew Oinkos, his flying warthog warrior, over to the tower to enter from the top, his scorpion and skeletons moved towards the base of the tower. Michael likewise moved his ogre and warriors to advance towards the same side that Jon was approaching. Tim moved in from both sides, and some of his models easily avoided the massive melee developing other side of the table. Jon moved a skeleton inside, and then melee began in earnest as each player attempted to delay the others from entering the tower.
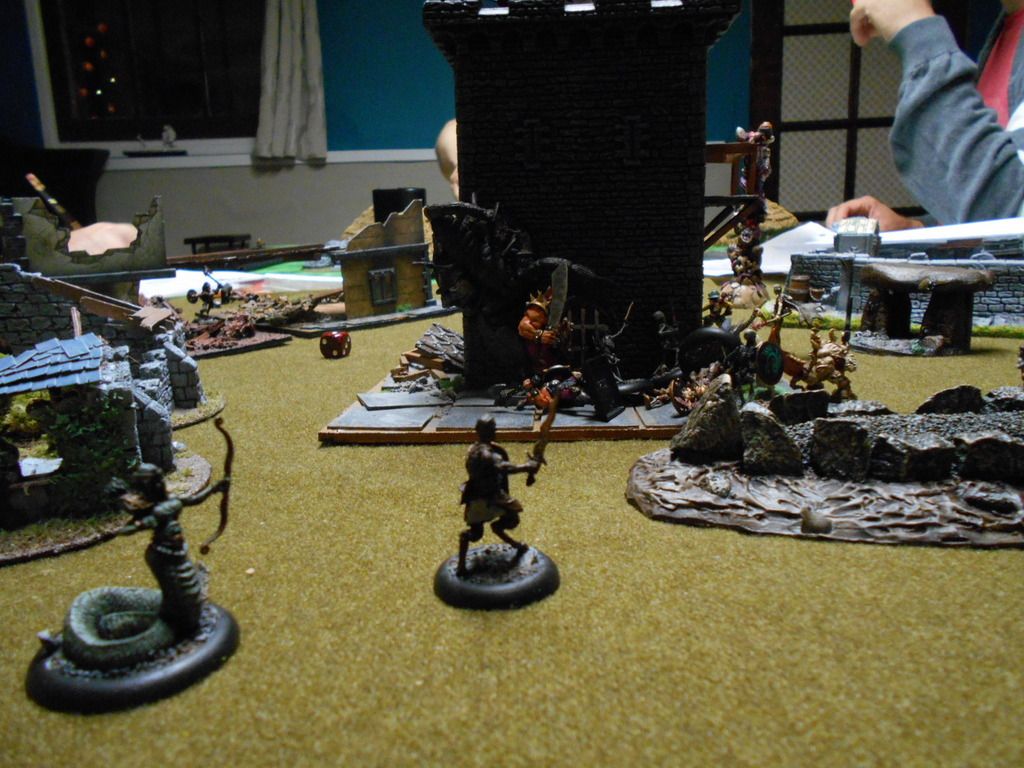
Fluffy the scorpion climbed the tower wall using, his clinging and poison traits to attack very effectively from above his opponents. Tim moved a smaller portion of his force, including the assassin, toward the large melee, and further slowed Jon’s forces from entering the tower. Jon’s skeletons and Oinkos added their prowess to the melee, and with Medusa shooting into combat with nary a care for her own, they were able to slay several of Michael’s warriors, including the ogre.
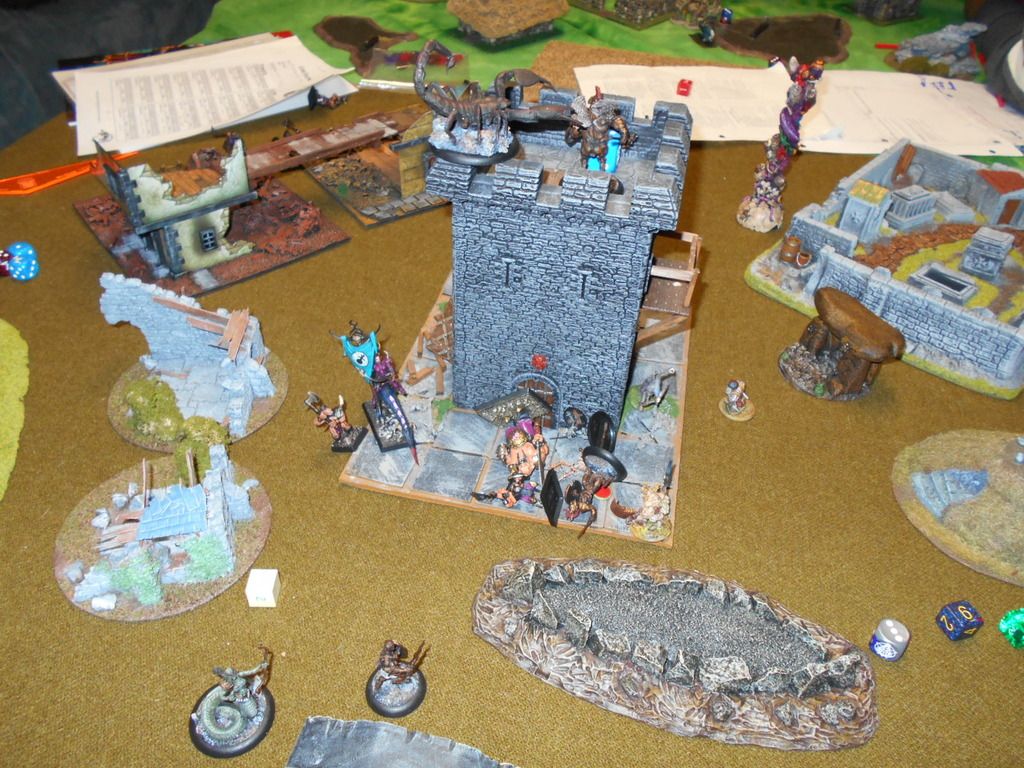
While the melee ensued, Tim had subtly moved three models into the building. The final game turn was a rush to enter the tower. Jon successfully moved another skeleton and Oinkos into the tower. The scorpion, having dispatched his last opponent, scaled the outside of the tower but couldn't quite make it to the top. Michael was able to get a single character into the tower. Final counts saw Tim and Jon both with three models inside the structure. Once the dust had cleared, Tim’s force secured the victory.
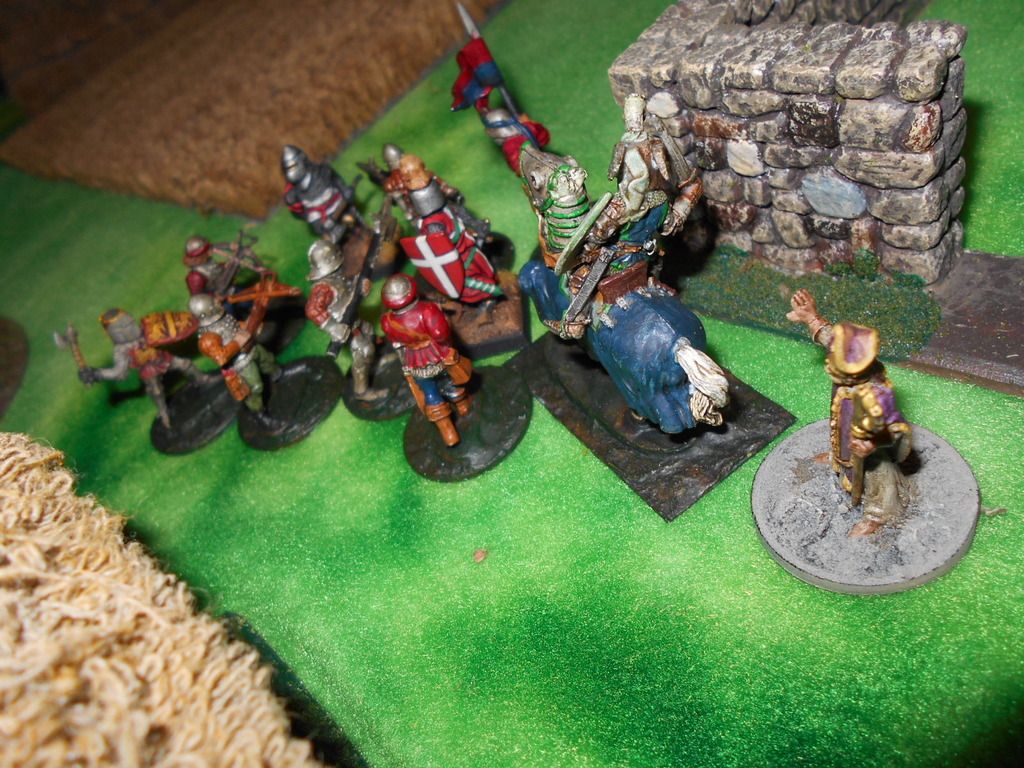
That same evening, Tim and Karl played the Surprise Attack scenario with Tim as the defender. Most of his guys were spread across the board, but the monk and cavemen were reinforcements that would come in later. Karl was the attacker.
Karl quickly surrounded and overwhelmed Tim's piecemeal defenders. Tim’s autumn priest then used his wall of fear spell to break up Karl's warband and provide some cover while his remaining members regrouped. This wall of fear had the desired effect, and slowed down Karl's attack enough for Tim’s monk to come in and help. With his leader surrounded, Karl chose to withdraw rather than risk his life. So, despite being very beat up, Tim's warband pulled victory from the slavering jaws of defeat. In the campaign resolution, Tim’s tourist died of his wounds, and his warband caught an illness after a botched role on the exploration table. Karl warband came upon a cursed glade in their own encounter, but emerged away unscathed.
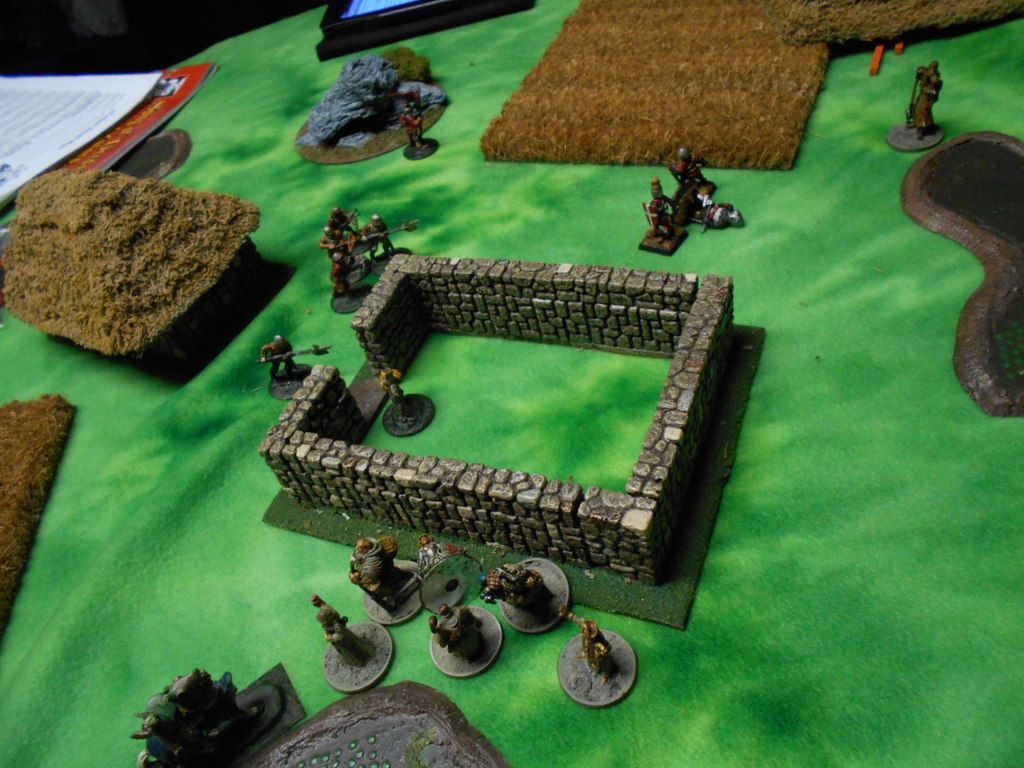
The second battle saw Bishop Stuka’s crusaders facing off against Joe’s Men at Arms. Joe was able to successfully sequester his leader within a stone cottage, while keeping his warband in range to be take advantage of his leadership and defend him from attack. This strategy allowed Joe to win through against the crusaders. As a part of the exploration, Karl’s crusaders sacked an Evil temple and escaped with a portion of the temple’s gold for their trouble before heading again down secret paths, with "secret tales, that would make your blood run cold." (Robert W. Service)
…Old Harba... he knows...
-- Jon, Chicago Skirmish Wargames club member

No comments:
Post a Comment
Note: Only a member of this blog may post a comment.